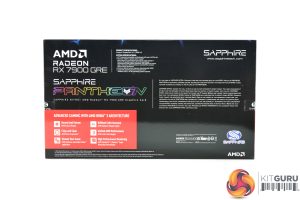
The Sapphire RX 7900 GRE Nitro+ ships in a mostly black and blue box, but with a large Nitro+ logo dominating the front. On the back, the company highlights required specifications and there's some marketing-speak about the card.
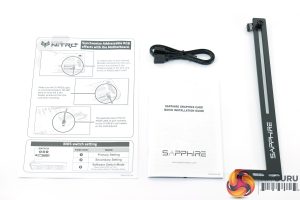
Inside, we find a quick start guide, but more interesting is the included GPU support bracket which sits below the card to help prevent GPU sag. There's also an ARGB 5V cable which connects the graphics card to your motherboard if you want to synchronise the LED lighting that way.
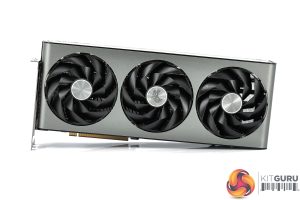
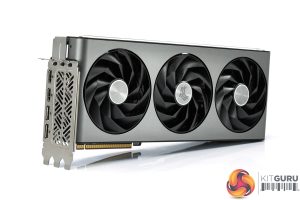
As for the card itself then, it's using the same design as the other Nitro+ cards we have reviewed this generation. That's a very good thing though, as I think this is up there as one of the very best-looking GPU designs on the market right now. The grey shroud wraps beautifully around both the front and end of the card, creating the sense of a unibody design – it's not, but it looks very sleek.
We get a good look at the triple fan setup, too. These utilise Sapphire's Angular Velocity Blade design, notable for their very sharp and angular appearance, while each fan measures approximately 100mm in diameter. These fans also feature Sapphire's Quick Connect technology, so they can be removed after unscrewing just one screw per fan.
In terms of its dimensions, the Nitro+ measuring 320 x 134.85 x 61.57mm, so it's well over 30cm in length and is over three-slots thick. It weighed in at 1600g on my scales.
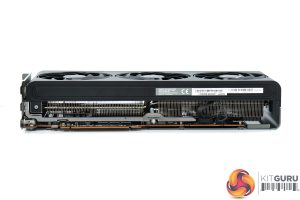
On the front side of the card, you will notice a metal frame that sits just below the backplate. Sapphire calls this a ‘Cold Rolled Steel Frame', and it's essentially a bracket screwed onto the PCB to offer extra structural rigidity to the card.
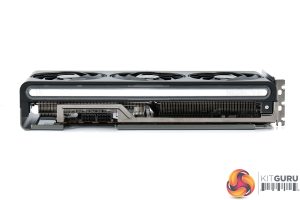
We also get a good look at the ARGB light bar running the length of the card. This is a lovely RGB implementation, the LEDs blend together very well and there are no visible hot spots.
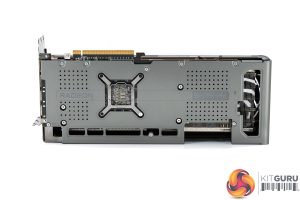
As for the backplate, this is made of metal and runs the length of the card but with a relatively large cut-out towards the end to allow air to pass through the heatsink. The Sapphire logo is another RGB zone on the card.
We can also note the dual-BIOS switch positioned near to the I/O bracket – this offers a choice of either the OC or Silent modes, or a third setting allowing you to toggle between those two modes using TriXX software instead.
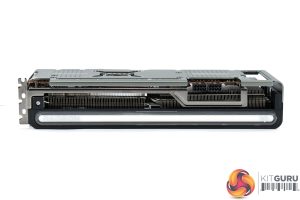
Above we can see the ARGB header which is positioned next to the power inputs. This lets you connect the graphics card to your motherboard if you want to synchronise the LED lighting that way, though do note you have to download the TriXX software and set the LED setting to ‘external source'. Another header is positioned at the end of the PCB, this one is a 4-pin PWM fan header allowing you to connect a case fan and have it directly controlled by the GPU's temperature.
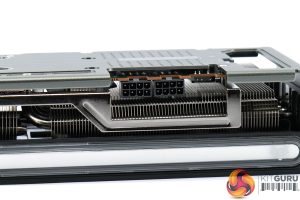
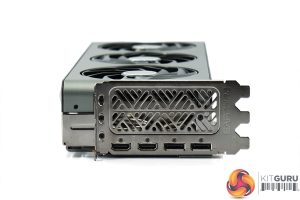
We already mentioned the power connectors, with 2x 8-pin connectors utilised here, while display outputs consist of 2x HDMI 2.1 and 2x DisplayPort 2.1, an increasingly common allocation.
 KitGuru KitGuru.net – Tech News | Hardware News | Hardware Reviews | IOS | Mobile | Gaming | Graphics Cards


