If you managed to spot my previous opinion article, then you will know I am big fan of Nvidia's Ansel tool. It's a brilliant piece of tech that lets you take some of the best in-game screenshots around. However, not everyone knows how to use it and some people don't even know it exists at all, so with this article we are diving in with a hands-on guide to Ansel and its many features.
Before we kick off, there are a few prerequisites to go through before you can start diving right into Ansel itself. The first is, most obviously, that you'll need a Nvidia card. More specifically, you'll need a GTX 600 series or better to use Ansel. If in doubt, check out the full list of supported graphics cards over HERE.
After that, you'll need to own a game that actively supports Ansel. It's not a feature you'll find in every game. That being said, back in February Nvidia announced a publicly-available Ansel SDK, so now any developer can incorporate Ansel into their game. So hopefully a lot more games will be supporting the tool in the future. You can see a list of currently supported games, HERE.
For this hands-on Ansel guide, we are going to be using Mass Effect: Andromeda to demonstrate. So, you're in the game, what next?
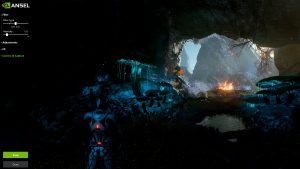
The first thing to do is press Alt+F2 to bring up the Ansel interface along the left-hand side of your screen.
It's broken down into a series of different tabs, as you can see above. The first tab is the ‘filter' option, and here you can choose between a few different filters, including B&W, sepia, half-tone and more. You can also choose the intensity of the filter, allowing for just a hint (or huge amounts) of your chosen filter.
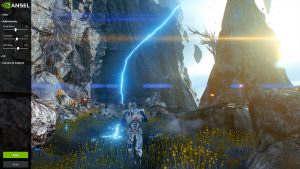
Next, we come to the ‘adjustments' tab. This gives you control over three areas of your image: brightness, contrast and vibrance. Depending on the look you are going for, have a play with the settings and settle on something you're happy with.
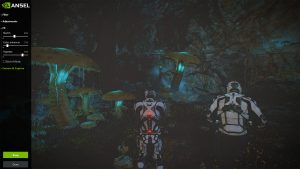
After that, we come to the ‘FX' tab. Here, you can adjust the sketch, colour enhancer and vignette sliders. The last two are pretty self-explanatory, but sketch makes you image look progressively more grainy, like it has been ‘sketched' in.
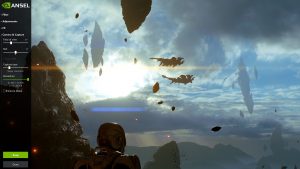
Lastly, we have the the ‘camera and capture' tab. First up are the field of view and roll sliders, which adjust the scope of the shot and the horizontal orientation, respectively. After that, the capture type slide lets you change what type of screenshot you want – you can opt for just a regular, native-resolution screenshot, or you can go crazy with super-high resolution shots and even 360 degree panoramas. The last setting is the image resolution, which if paired with the super-resolution capture type, lets you take images up to a whopping 61440×34560. Be warned, though, that images that size will take up around 28GB of storage space.
So, those are the main settings you can control within the Ansel interface. It is very in-depth and gives a lot of control over each image. I should also mention that you can actually move the position of the camera using the WASD keys – you do not have to be stuck behind Ryder in every shot! The same applies for other Ansel supported games, you are free to move the camera around as you see fit.
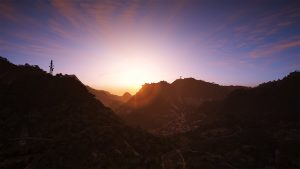
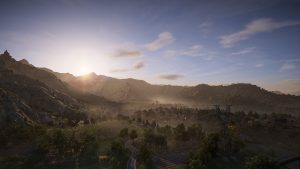
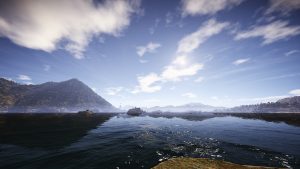
So, that's that for the how to! Its quite simple really, but it can take quite a while fiddling with all the different settings to get the perfect shot. I've included some of my favourite screenshots from Ghost Recon: Wildlands which showcase some of the different effects and ‘looks' you can go for, but please do send it some of your favourites – we'd love to see them!
KitGuru says: We hope you've found this guide useful if you've never considered using Ansel before but want to give it a go. It's pretty easy to take any old screenshot but if you happen to be a budding photographer, or enjoy photo editing at all, then you'll likely find yourself spending a lot of time tweaking all of the options to get the perfect shot.
 KitGuru KitGuru.net – Tech News | Hardware News | Hardware Reviews | IOS | Mobile | Gaming | Graphics Cards



Thanks for this guide, I just reinstalled the Witcher 3 to play on my new GTX1080. I’m going to have a play with Ansel tonight.
Welcome – enjoy! it’s great fun. send us in some of your best shots via facebook or twitter, we’d love to have a look
Lol..I didn’t even know I had this feature until I accidentally pressed ALT-F2 whilst trying to bring up the console in Witcher 3 :))
I knew it existed of course but thought you needed to have Geforce Experience installed for it to work, which I refuse to have on my PC.