

On this page we follow the instructions for installing the Accelero Hybrid III-140. We were sent the model designed for the GTX 980 Ti (which supports GTX 1080/1070 & Titan X as well) and are installing it on a GTX 1080 Founders Edition card.
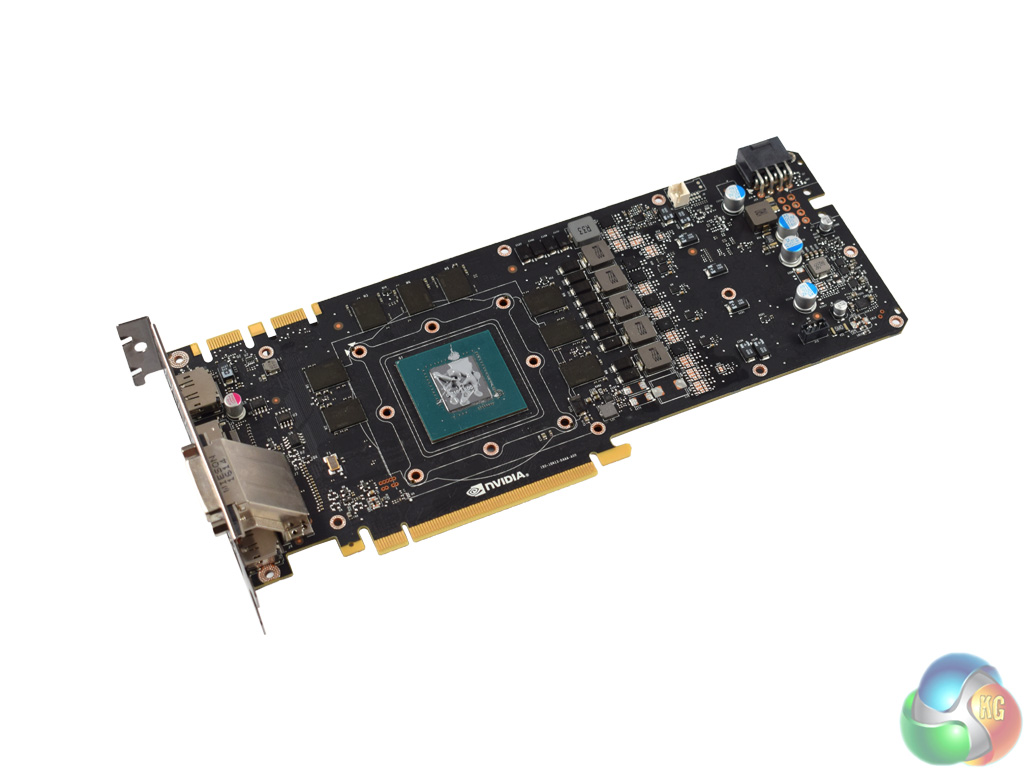
The first step is to remove the stock cooler from your graphics card. This is usually pretty simple and involves unscrewing all the screws from the back of the card, before slowly prising the cooler away from the PCB. If you are stuck, there will undoubtedly be a clear guide online somewhere.


Next, consult the manual to find out which of the three waterblock mounting holes the specific card requires you to use. For the 980 Ti model it was the furthest hole to the right (when looking down on the waterblock as above).
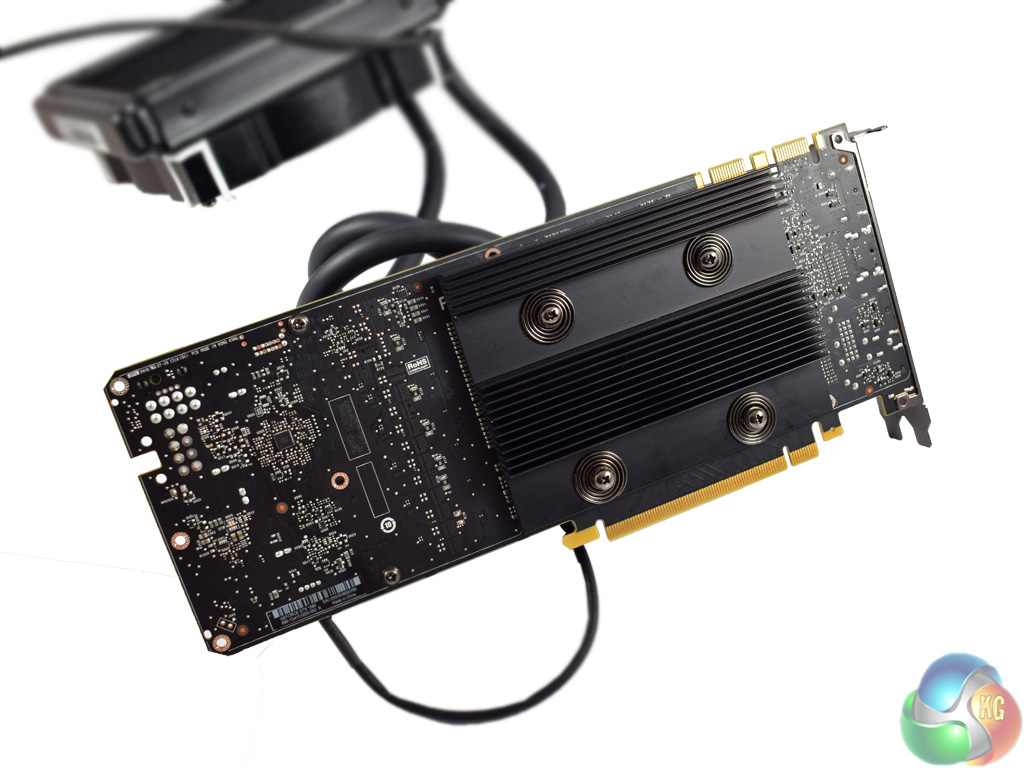
Once you've done that, go ahead and attach the backplate to the rear of the card. The four holes align with the four GPU screw holes on the card.

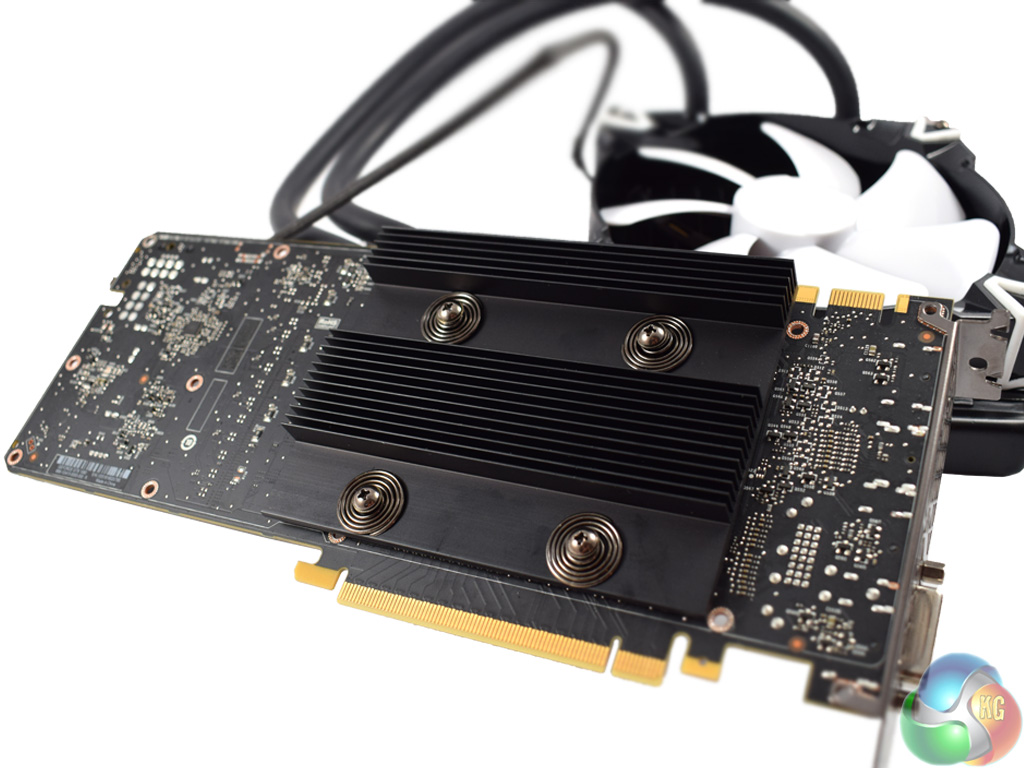
The next step is to secure the waterblock to the backplate. It sounds easy enough – simply line up all the holes and screw the waterblock in place. However, I found this part of the installation maddeningly fiddly.
This was because the mounting holes on the block are very small, so you have to be very precise – and added to the fact that the waterblock was sliding around on the GPU core thanks to the slippery thermal paste, it was far from easy.
When you eventually get the block secured, though, it should look something like the above images.
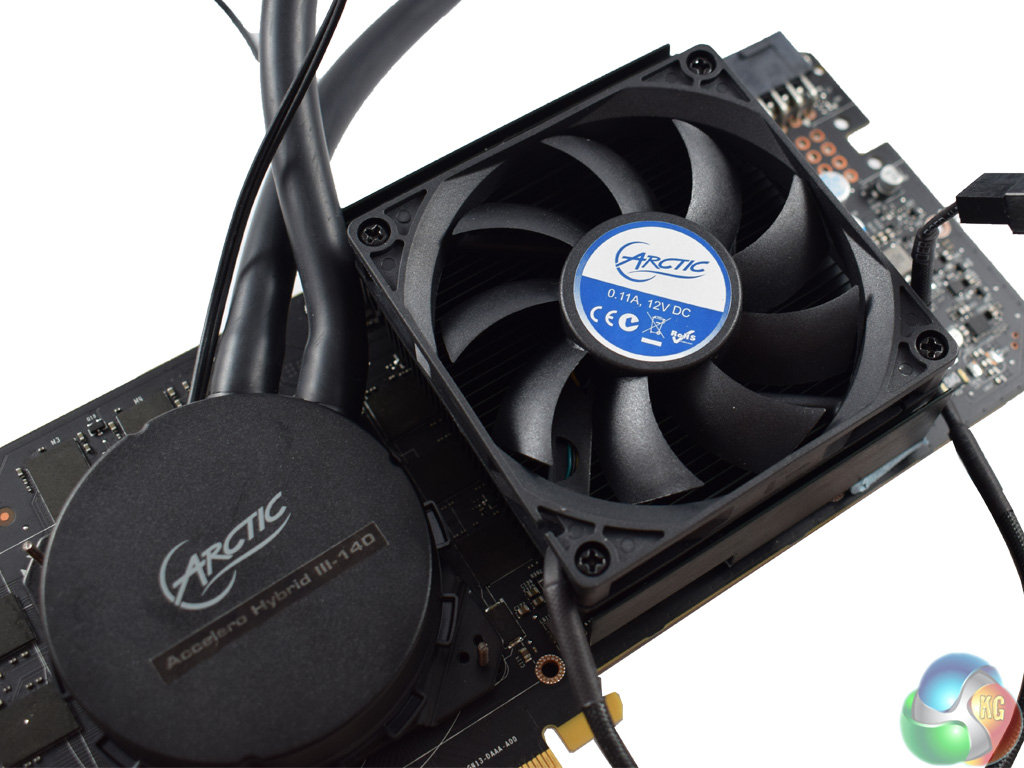
The last step is to attach the VRM heatsink to the PCB. It mounts using two of the screw holes which were originally used by the card's stock cooler. The 80mm fan simply screws on top of the heatsink and even connects to the GPU's on-board fan header.
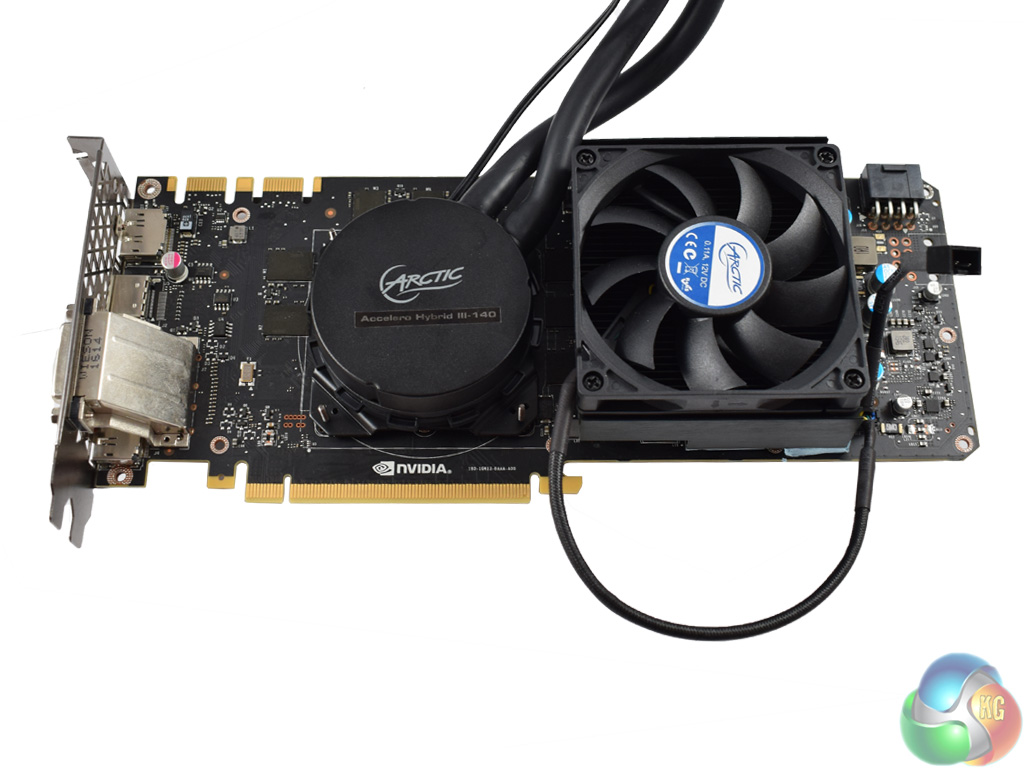
That's it for installation, with the above images demonstrating what the finished article should look like. It may not be overly attractive, but hopefully the improved thermals will be worth it.

Great performance, but a shroud for the front would make it a lot more visually appealing.
Good idea – I agree the visuals are a bit lacking
Very nice results for sure with this cooler. It is to bad Nvidia gimped the cards bios so much it would be great to see those 2.5Ghz clocks they were talking about when they released the 10 series. I guess we won’t see that until someone manages to decrypt and unlock the Bios on the 10 series. But at this stage of the game if it hasn’t happened yet it most likely won’t because in a few months Nvidia will release the rebranded 20 series and no one will care about unlocking the 10 series anymore.
Google is paying 97$ per hour! Work for few hours and have longer with friends & family! !mj244d:
On tuesday I got a great new Land Rover Range Rover from having earned $8752 this last four weeks.. Its the most-financialy rewarding I’ve had.. It sounds unbelievable but you wont forgive yourself if you don’t check it
!mj244d:
➽➽
➽➽;➽➽ http://GoogleFinancialJobsCash244MarketLogicGetPay$97Hour… ★★✫★★✫★★✫★★✫★★✫★★✫★★✫★★✫★★✫★★✫★★✫★★✫★★✫★★✫★★✫★★✫★★✫★★::::::!mj244d:….,…
This is really a great aftermarket hybrid cooler for reference graphics cards.
This is a CLC (closed loop circuit), not an AIO. Please correct accordingly.
Am I the only one concerned that the RAM on the front is not addressed by any heatsinks?
The ram is cooled by the backplate. Which makes sense because the temps actually conduct through the pcb better than the plastic casing they are in.
Same difference. With a few exceptions (basically swiftech and ekwb) all aio are clc’s
I went ahead and added this beast to my 1080 FE and I so far I can’t get the GPU over 45 degrees c. Very nice. I added copper heatsinks to the front of RAM and touched them during 3dmark loop and they were very hot! Note that I do oc both GPU and memory. Glad I added the heatsinks