


Navigating the olde worlde AMI BIOS is a little tedious as you work your way around with the TAB and arrow keys – this is not a UEFI with mouse control. This has the potential to be a bit of a pain however you don't have to do very much in the BIOS as there are view options at your disposal.
Assuming you have no desire to disable audio or USB you are pretty much limited to using the BIOS to check which drive is connected to which SATA connector, confirming the memory is recognised and setting the boot order of your various devices.
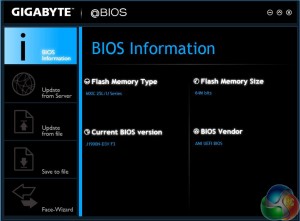
When the J1900N-D3V arrived it was running on BIOS F2 so my first task was to update to version F3. This was more laborious than I expected as the BIOS does not include the Q-Flash utility where you put the update file on a USB flash drive and let the update proceed.
Gigabyte doesn't supply a Windows based .EXE utility to update the BIOS so instead I had to use a bootable USB flash drive to get a DOS prompt and then run an Autoexec command to update the BIOS.
I didn't really have a choice in the matter as Gigabyte states that you should update the BIOS before you install drivers and in particular before you get to such delights as the TXE driver for the Trusted Execution Engine and audio drivers.
Incidentally Gigabyte only supplies drivers for Windows 7, 8 and 8.1 with no mention of Linux.
Once I had the Gigabyte running on BIOS F3 with Windows 7 installed I was able to install drivers, update Windows and then drill into the installation disc where I found a utility called Gigabyte App Centre. This consists of a single utility called @BIOS that will be familiar to anyone who has owned a Gigabyte motherboard. I cannot claim that Gigabyte made this part of the process easy but at least it should be easier to update the BIOS in future using the ‘online check' function.
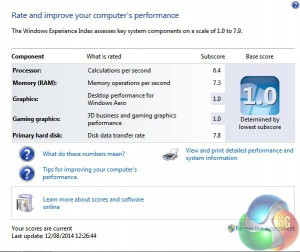

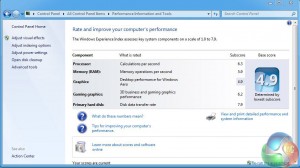
You might find it interesting to compare the Windows Experience Index rating in Windows 7 before and after the installation of Intel graphics drivers. Before the drivers were installed the Celeron J1900 can barely be called a computer but the finished rating of 4.8 doesn't look too bad at all.
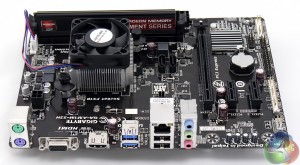
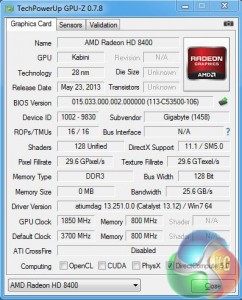
The Gigabyte J1900N-D3V is a bit of an oddball but I had the perfect motherboard for comparison in the form of a Gigabyte AM1M-S2H. This Socket AM1 motherboard sells for £24 and the matching Athlon 5350 APU costs £41.50 so the price of motherboard and APU is almost identical to the J1900N-D3V.
There are two notable differences as the AM1M-S2H is larger than Mini-ITX at 225m x 170mm and the 25W TDP of the Kabini APU requires an active cooler.
 KitGuru KitGuru.net – Tech News | Hardware News | Hardware Reviews | IOS | Mobile | Gaming | Graphics Cards


The J1900N-D3V is perfect as a home firewall or as a home NAS, I use it for both and I’m very satisfied!