To install the Venom Voodoo in our test system we have to remove the default retention bracket and backplate so that we can use the ones Akasa have provided for this purpose. With the originals removed we simply line up the 4 threaded pins on the Akasa backplate and insert them through the 4 mounting holes on our motherboard.
Our next step involves attaching the X shaped bracket to the base of the heatsink using the 4 provided screws from our hardware kit. Once that is complete we can peel off the protective layer from the base of our cooler.
We now turn the heatsink upright and carefully place the heatsink and bracket in place over the 4 threaded pins of the backplate. Once in place we then put the 4 black washers in the proper spot and tighten the heatsink in place with the 4 threaded silver nuts. We suggest these four nuts be tightened in a diagonal pattern to ensure even pressure is applied.
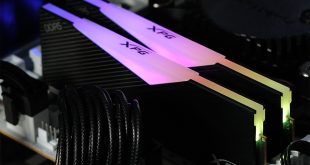
The first of the 2 images above shows that clearance will be an issue with this particular motherboard if low profile memory is not used. The final image shows the cooler mounted in a Thermaltake Overseer chassis.
 KitGuru KitGuru.net – Tech News | Hardware News | Hardware Reviews | IOS | Mobile | Gaming | Graphics Cards


2 comments
Pingback: The News: At Least That’s Over Edition | MEGATechNews
Pingback: Need a low cost cooler for your low cost Llano? - IT Lounge