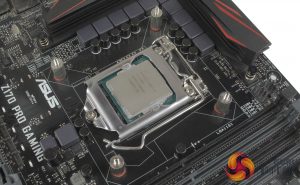
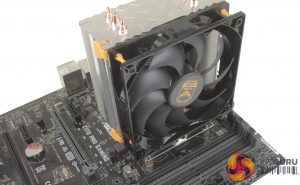
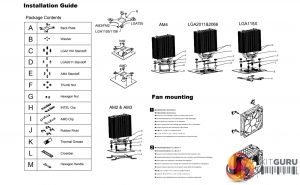
Here we show the installation process. We now test with a Z170 motherboard, socket LGA1551, so the process below reflects this.
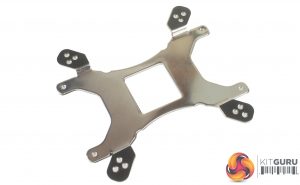
Installation starts with the backplate, which unfortunately doesn’t really feature any locking mechanism or adhesive, so it is a little fiddly to get in place. You just have to hold it up against the back of your motherboard, and then using both an included washer and the double-threaded standoff, mount the backplate to the board.
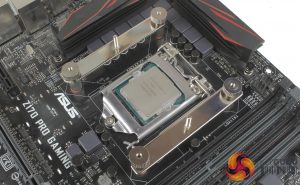
With the backplate mounted, there are two brackets which need to be fixed next to the CPU socket, the orientation of which will dictate the orientation of the cooler. These brackets are socket specific though, and are held down with four thumbscrews.
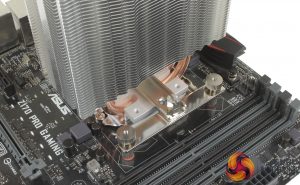
The body of the cooler is held to the CPU with a crossbar that passes through the cooler, and then is fixed to the mounting bracket using two hex nuts. A small wrench is included to help tighten these down, but the process was made much easier as the hex nuts have a Philips head to them which allows you to use a standard Philips screwdriver instead.
Fan installation is actually pretty simple, and just involves pressure fitting the rubber mounts into each of the four fan mounting holes, and then pushing the tubular ends into the channels on the cooler. A number of stick-on, anti-vibration pads are also included, which can be attached to the fan directly. You do also get a full extra set of mounting pads which is nice to see if you planned on adding a second fan for a push-pull configuration.
Installation did take some time, primarily as the included instructions aren't very clear and are a bit clustered. Clearer instructions would definitely be appreciated, and speed up the installation significantly.
 KitGuru KitGuru.net – Tech News | Hardware News | Hardware Reviews | IOS | Mobile | Gaming | Graphics Cards


