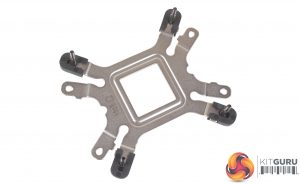
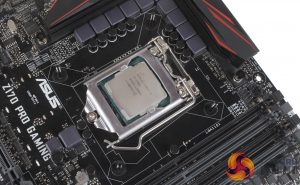
Installation starts with the backplate. First, you need to locate the correct mounting holes for your socket, as we test on the Z170 platform, the installation will reflect this. Four long mounting screws can then be passed through the backplate, and you can lock them into place with the four included plastic retention clips. With the screws firmly in place, you can install the backplate on the rear of your motherboard.
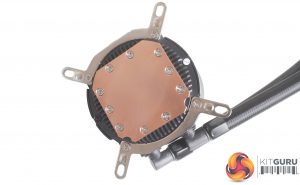
The cooler itself also needs some preparation. There are two sets of brackets, one for Intel and one for AMD which need to be installed directly on the CPU block with the included small screws. With these brackets installed, you can apply some thermal compound, place the CPU block atop your CPU, and start tightening it down with the four included thumb screws.
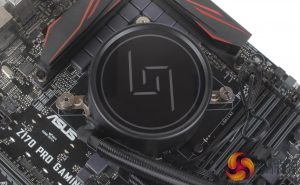
The mounting screws are not threaded the whole way, so once the thumbscrews no longer turn freely, the cooler is installed.
Short and long screws are included for installing the fans, and the radiator as well. Connecting up all the cables is also nice and easy. You connect both the fans to the included hub, then the hub to your motherboard CPU fan header, while the 3-pin pump power cable connects to the CPU Opt header. Both the fans and CPU block's 3-pin LED connections can all be plugged into the included adapter, and then to your motherboards 4-pin RGB header.
As our test motherboard doesn't have an internal RGB header, an inline controller was used to get a sense of the different effects and colours.
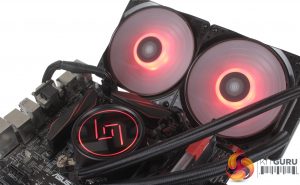
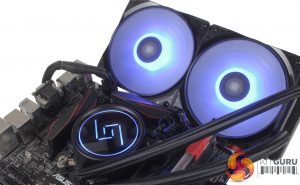
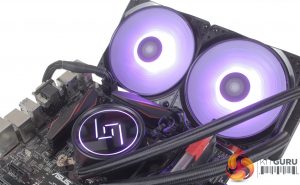
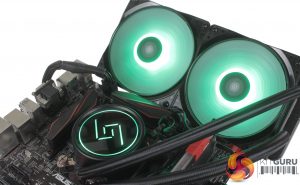
Firstly I have to say, wow – the LEDs are very bright. With a lot of coolers I’ve tested previously, you really only get a sense of the lighting in a dim or completely dark room, but the GAMMAXX L240 lights still shone through very clearly, even in brighter conditions. Running through some effects, strobing and breathing look really good, and the lighting on the CPU block also projects the GAMMAXX logo really well.
For the money, it is simply an excellent RGB implementation.
 KitGuru KitGuru.net – Tech News | Hardware News | Hardware Reviews | IOS | Mobile | Gaming | Graphics Cards


