As we test on the Z170 platform, and the LGA1151 socket installation is an absolute breeze. Firstly if you are installing a cooler for the very first time, it's great to see that the instructions include super large, easy to follow images, and clearly marked stages.
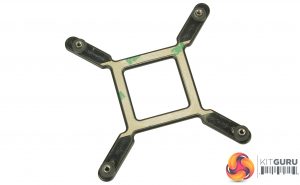
The required back plate is basically pre-setup with slidable motherboard pass-through’s, so you simply need to adjust them to fit. An adhesive pad is also there to hold the back plate in place when flipping the motherboard over.
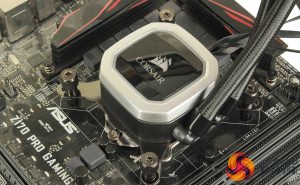
With the backplate installed, there are four double threaded standoffs which need to be screwed into place, and then you’re basically set to mount the CPU block. Thermal compound can be added (not necessary if you are sticking with the pre-applied) and the block can then be placed over the CPU, and mounted using the four large thumb screws.
If you’re planning on installing the H100i platinum on a socket other than LGA1151 there is a bit more work required. For 2011 it's simply a case of skipping the back plate and using a separate set of standoffs that screw directly into the socket and for AMD mounts, you will need to utilize the standard motherboard mounts and swap a couple of clips that attach to the block.
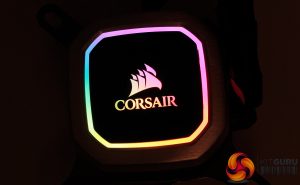
Installation is basically too less with the exception of mounting the included fans. After connecting both fans RGB connections and 4 pin PWM cables to the CPU block, plugging the SATA power connection in, and 3 pin fan cable to your motherboard you can power the cooler up where the RGB LED lighting kicks into gear.
Lighting is controlled by the iCUE software suite, and there is a massive range of customization available for not only lighting but also fans speeds and profiles. Each of the H100i's LEDs is addressable so you can really fine tune effects and colours to match your existing peripherals.
With the cooler installed, and our test rig powered up, It is time to see if the Corsair H100i's performance is as “platinum” as its name suggests.
 KitGuru KitGuru.net – Tech News | Hardware News | Hardware Reviews | IOS | Mobile | Gaming | Graphics Cards


