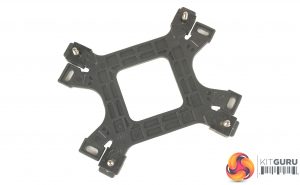
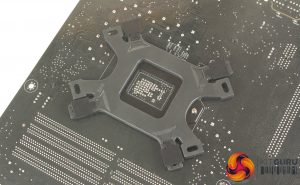
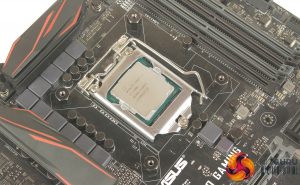
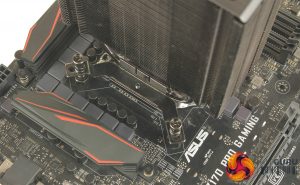
Installation is very beginner friendly. You start with the back plate, and by installing the four small square-ended screws, and mounting them to the back plate with four plastic clips. The back plate can then be positioned through your motherboard.
With the backplate fitted there are four tall hex nuts standoffs that need to be installed, and a smaller hex to phillips head adapter tool is included, to ensure these standoffs are tightened properly.
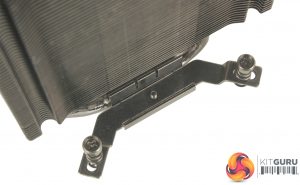
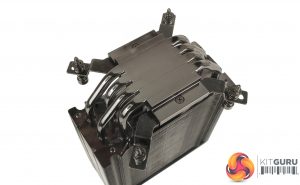
The Cooler Master Hyper 212 Black Edition comes with its fan mounted so this needs to be removed, a simple case of unclipping the two metal wire brackets. You then need to mount two brackets to the bottom of the heat sink, two sets are included, one for Intel and one AMD and these are simply screwed into the base of the cooler.
The four sprung loaded mounting pins can be adjusted for your socket by simply pushing the pins down and sliding them into place. You can apply your thermal paste, a small tube is included, and set the cooler down atop your CPU.
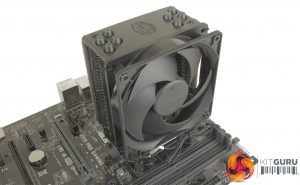
The 4 sprung screws then need to be screwed into the hex standoffs, to firmly mount the cooler. Once mounted you simply re-attach the included fan with the two mounting clips, and plug the 4 pin PWM connection into your motherboard CPU fan header.
Overall pretty straightforward although there are some minor adjustments that need to be made to the two separate mounting brackets, instructions are nice and easy to follow. It's also really cool to see that mounting hardware has also been given the same blacked-out treatment to keep everything uniform.
All in all a little less than 10 minutes to get the 212 installed and I will say this mounting process was a breath of fresh air compared to the MasterAir MA410M cooler tested previously. The fans being held to the cooler with wire meant the initial removal was tool-less, rather than removing 8 screws, and the more direct top mounting bracket was much easier to align. With the cooler installed, it's on to testing.
 KitGuru KitGuru.net – Tech News | Hardware News | Hardware Reviews | IOS | Mobile | Gaming | Graphics Cards


