Installation does require a number of steps and from the outset does appear a little tricky. The included instruction manuals do a really good job of walking you through the process, but it is certainly worth following the process closely, to ensure no mistakes are made.
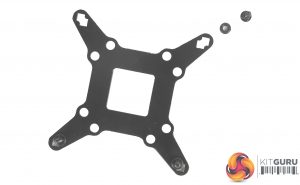
You start with the backplate and by passing four screws through the correct socket holes. 4 rubber o rings are included to hold these screws in place. The backplate can then be passed through the rear of your motherboard.
With the backplate fitted you then screw on the four standoff nuts. One issue I encountered at this stage is that the nuts are a little tight to thread and screw on and as there are no clips or retention brackets for the long screws that pass through your motherboard they had a tendency to move away from the back plate leaving me spinning the nut and screw together.
With the back plate secured you just need to place the top mounting bracket over the CPU block and line it up with the protruding backplate screws. With the CPU block in place, the four top mounting nuts can then be screwed on to firmly hold the block in place.
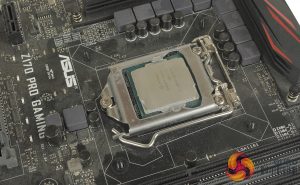
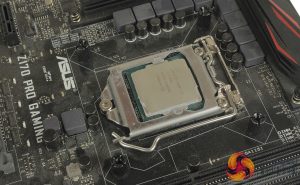
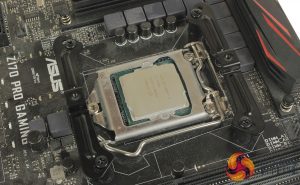
Four standoff spacer nuts need to be screwed in place on the top of your motherboard, and then two mounting brackets can be fitted atop these standoffs and screwed into place.
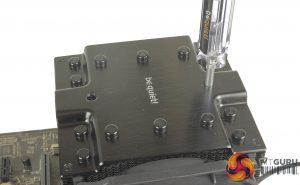
There are two small caps which need to be unscrewed from the top of the cooler, to allow the included screwdriver to pass through the centre of the cooler. The thermal compound can then be applied to the CPU die, and the included mounting bridge passed through the centre of the cooler, overtop the coolers CPU block.
You can use the included long screwdriver to pass straight through the cooler and reach the screws used to mount the bridge to the mounting brackets.
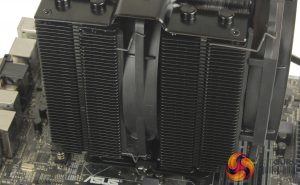
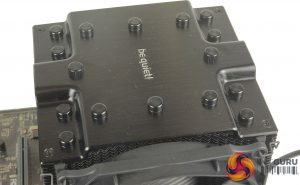
With the cooler firmly mounted you can mount the central fan using the included fan clips and reattach the top caps. Both fans can be attached to the splitter and connected to your CPU fan header.
Overall not a super tricky process, and around 15 minutes of work for me. It is a little fiddly but it’s nice to see that be quiet! have improved the installation process by simply adding a long screwdriver to the kit for ease of access.
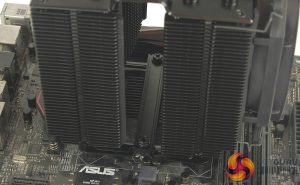
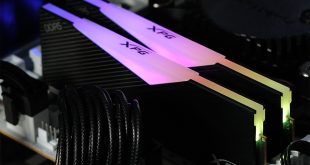
It's worth noting with the cooler installed that RAM clearance is a little limited. The front 120mm fan extended over 3 of the 4 available RAM slots on our test board, and with the front mounted at the very top of the cooler, there is only around 42mm of clearance for memory modules, only really suitable for low profile RAM.
 KitGuru KitGuru.net – Tech News | Hardware News | Hardware Reviews | IOS | Mobile | Gaming | Graphics Cards


