

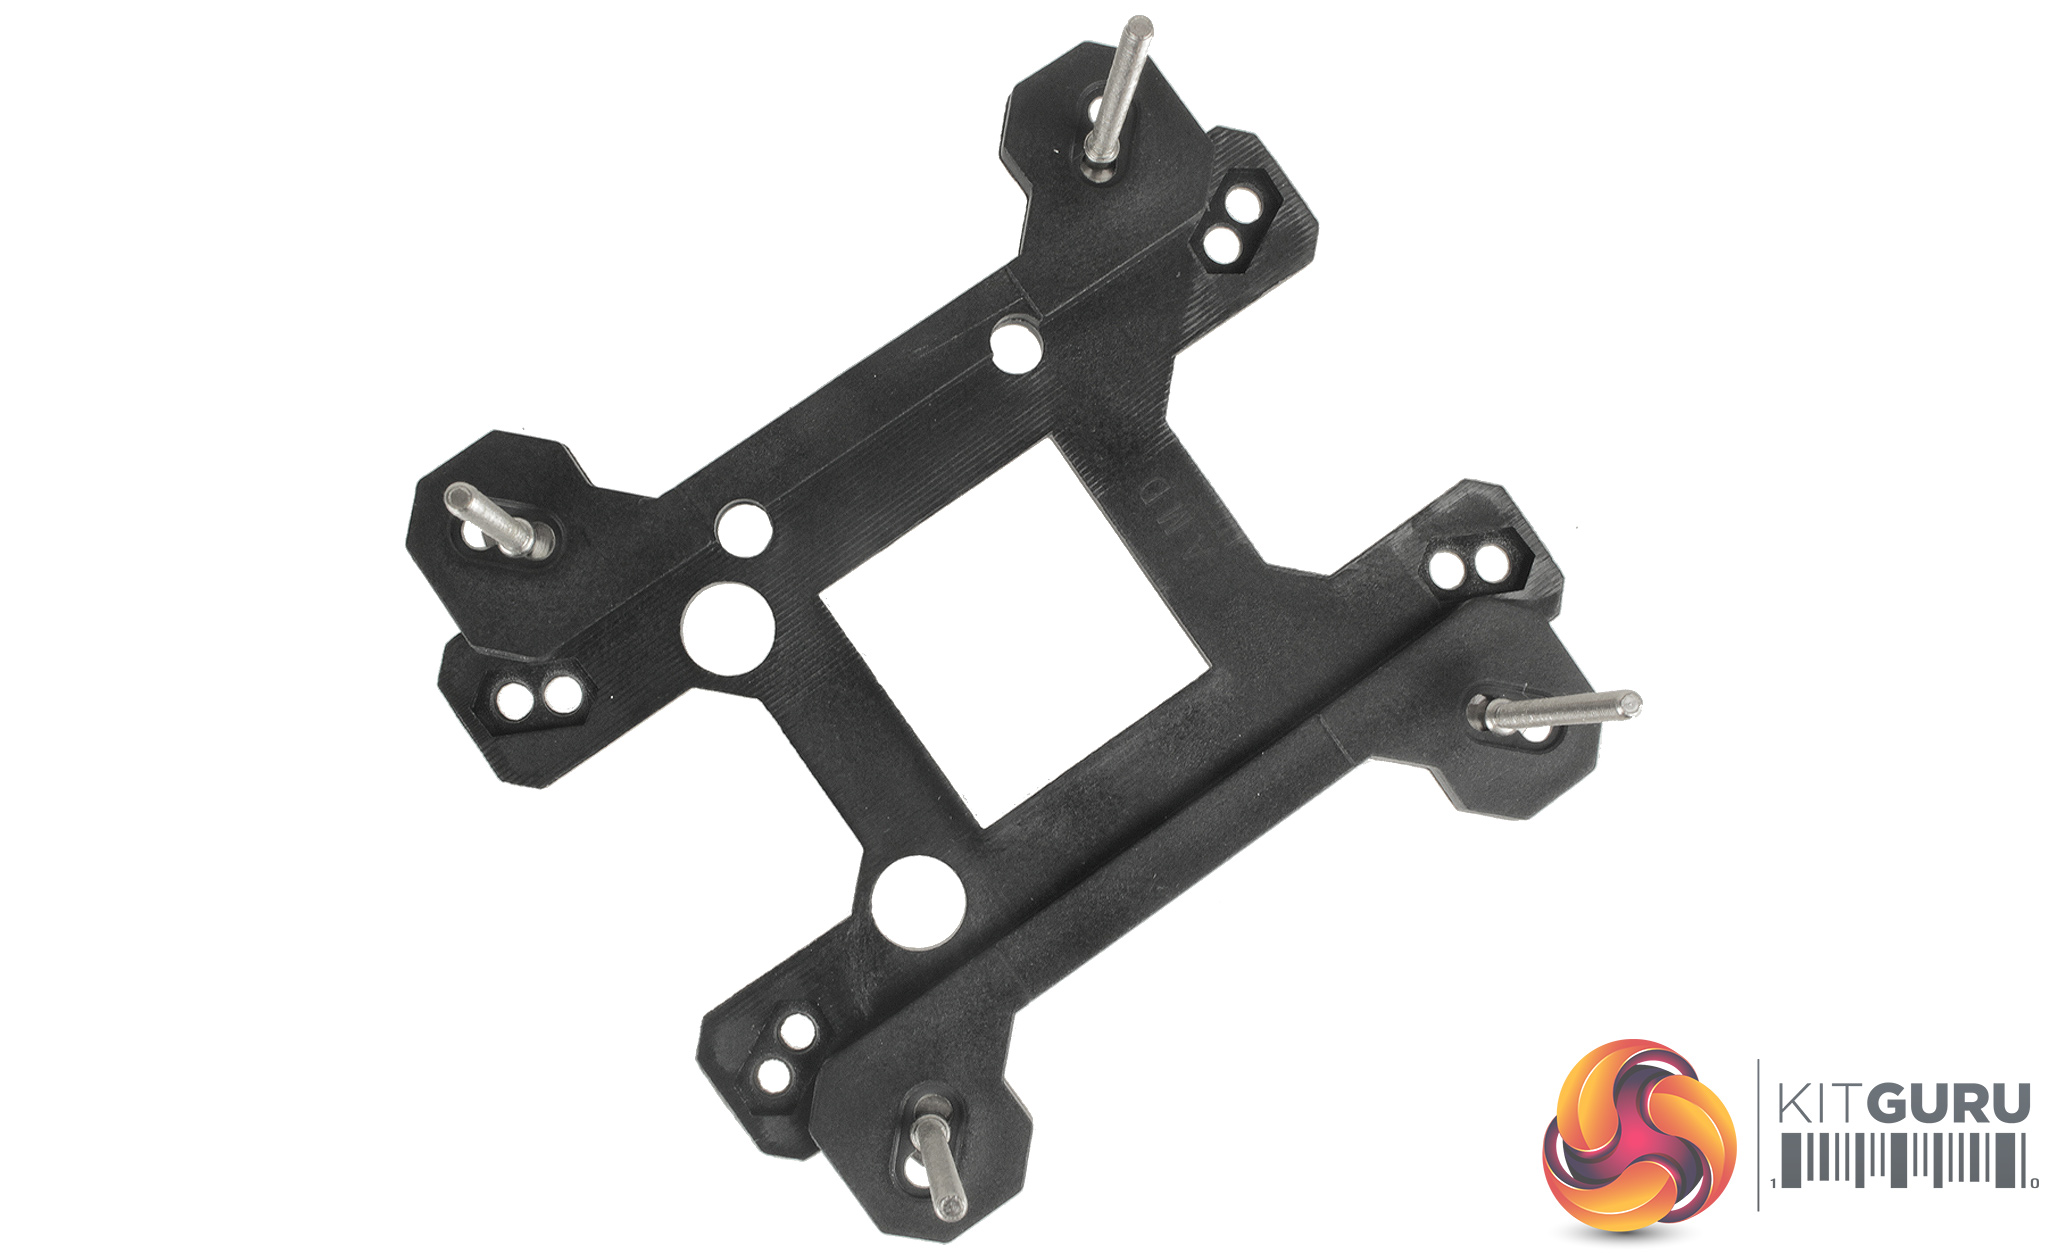
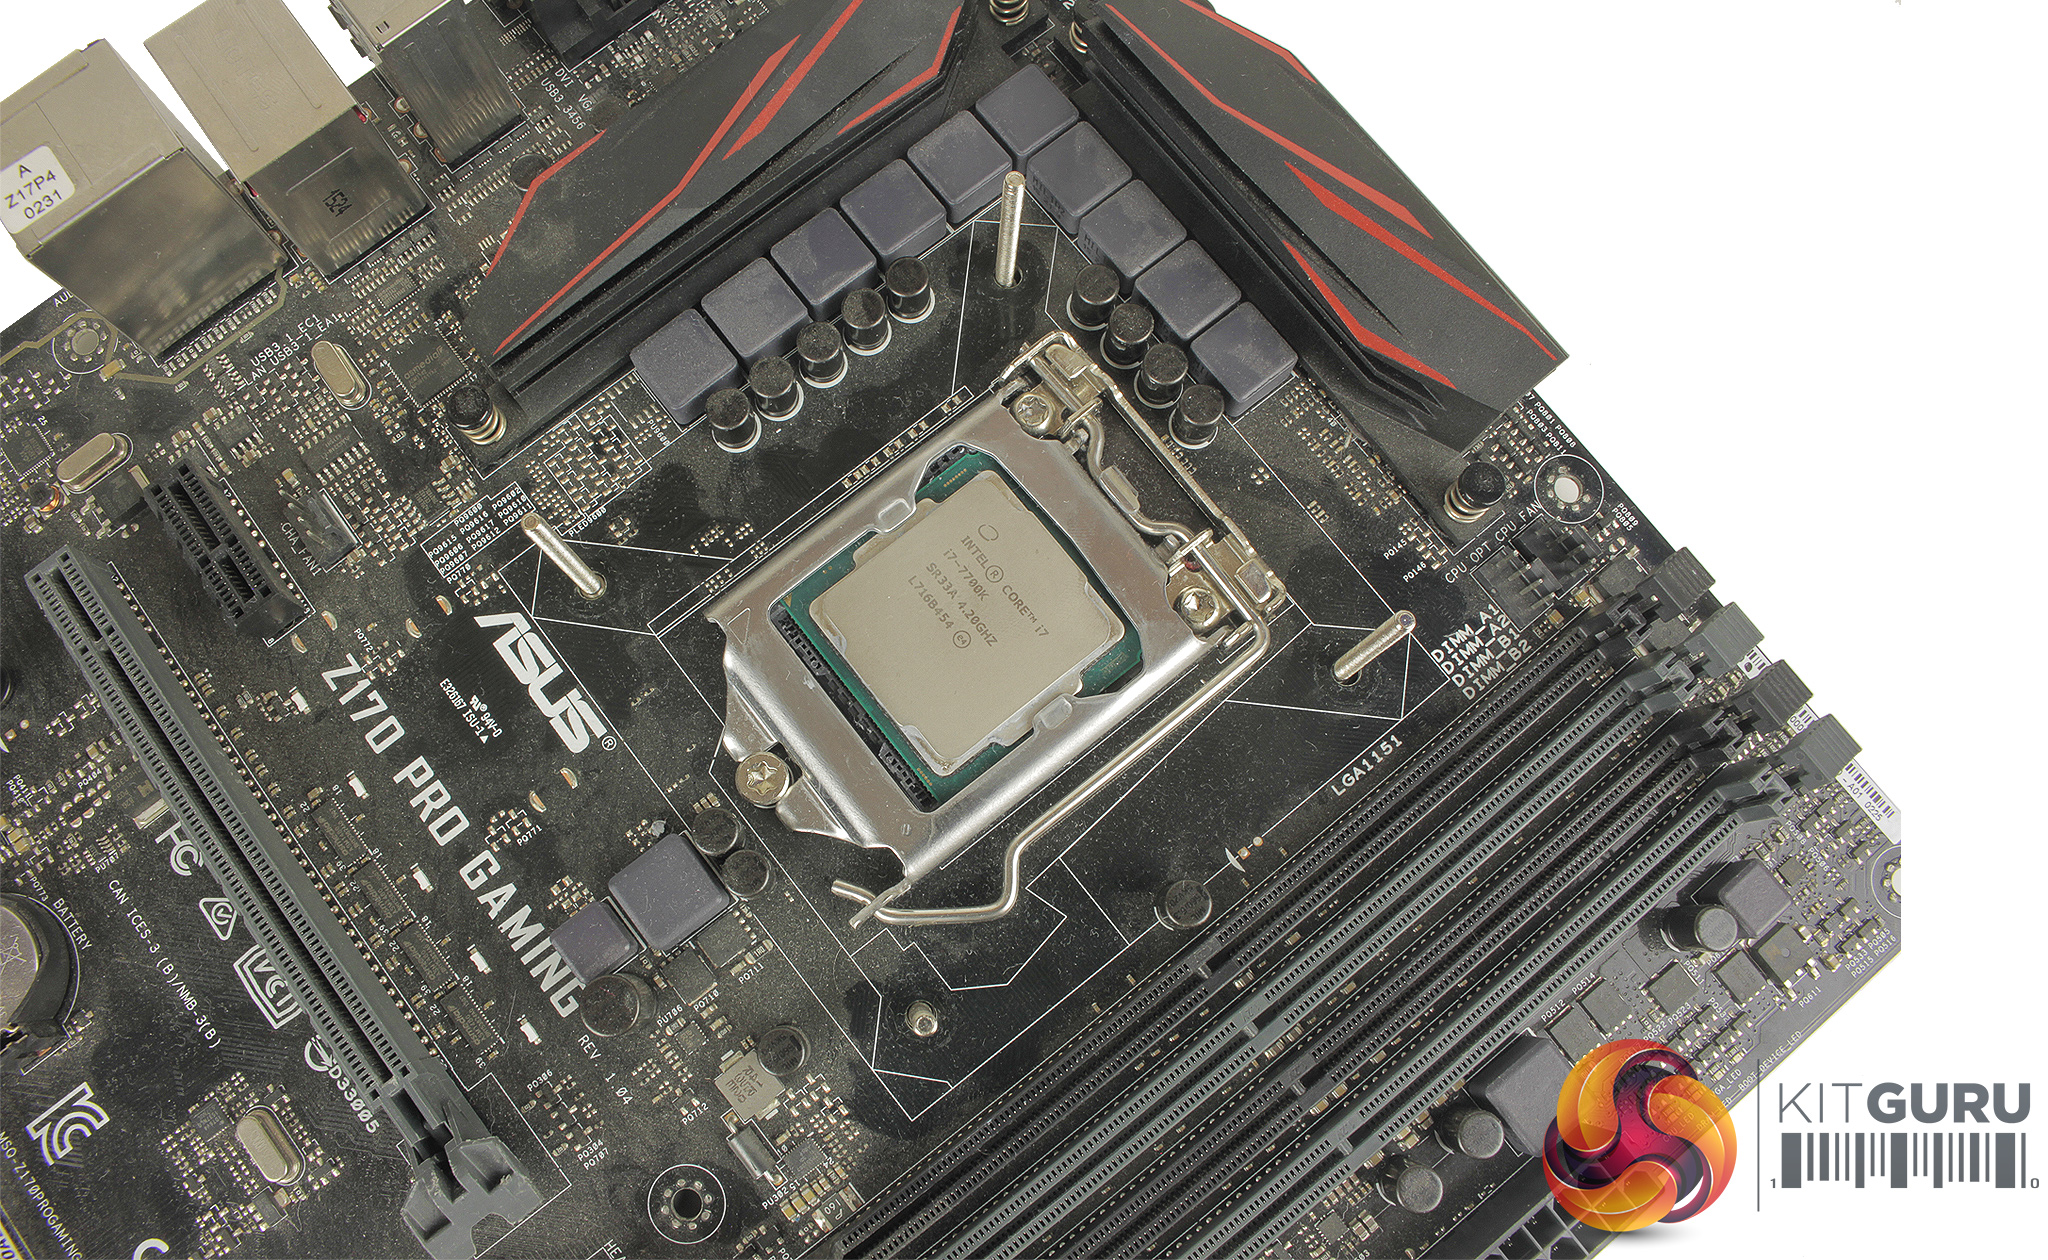
The installation process is pretty simple thanks to clear instructions and well-labelled mounting hardware. You start by preparing the backplate by passing the four long screws through the specified socket holes. The backplate can then be passed through from the rear of your motherboard.
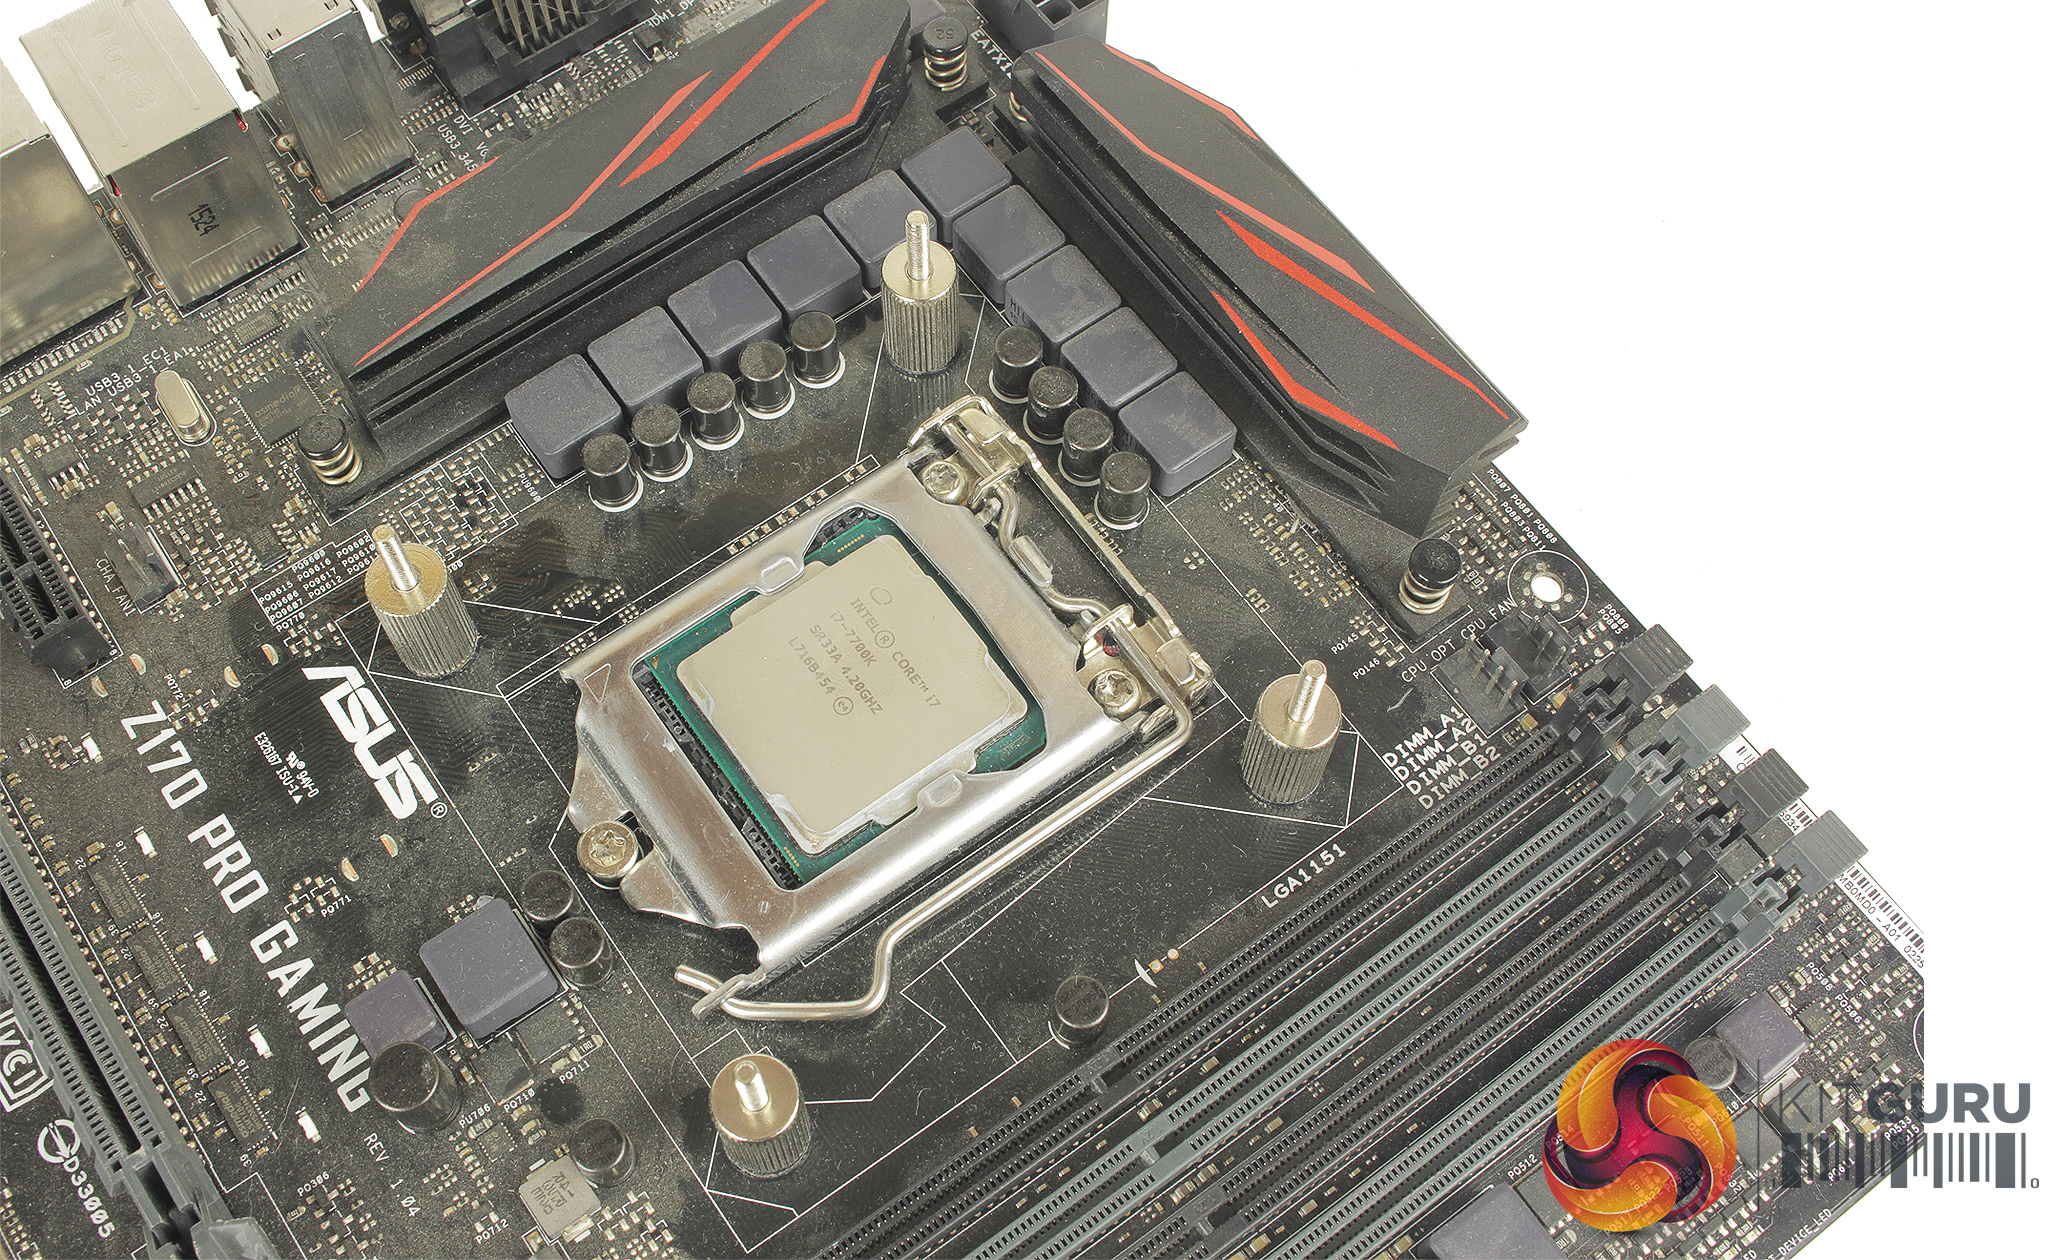
With the backplate fitted you then screw on the four standoff nuts. One issue I encountered at this stage is that the nuts are a little tight to thread and screw on and as there are no clips or retention brackets for the long screws that pass through your motherboard, they had a tendency to move away from the backplate – leaving me spinning the nut and screw together.
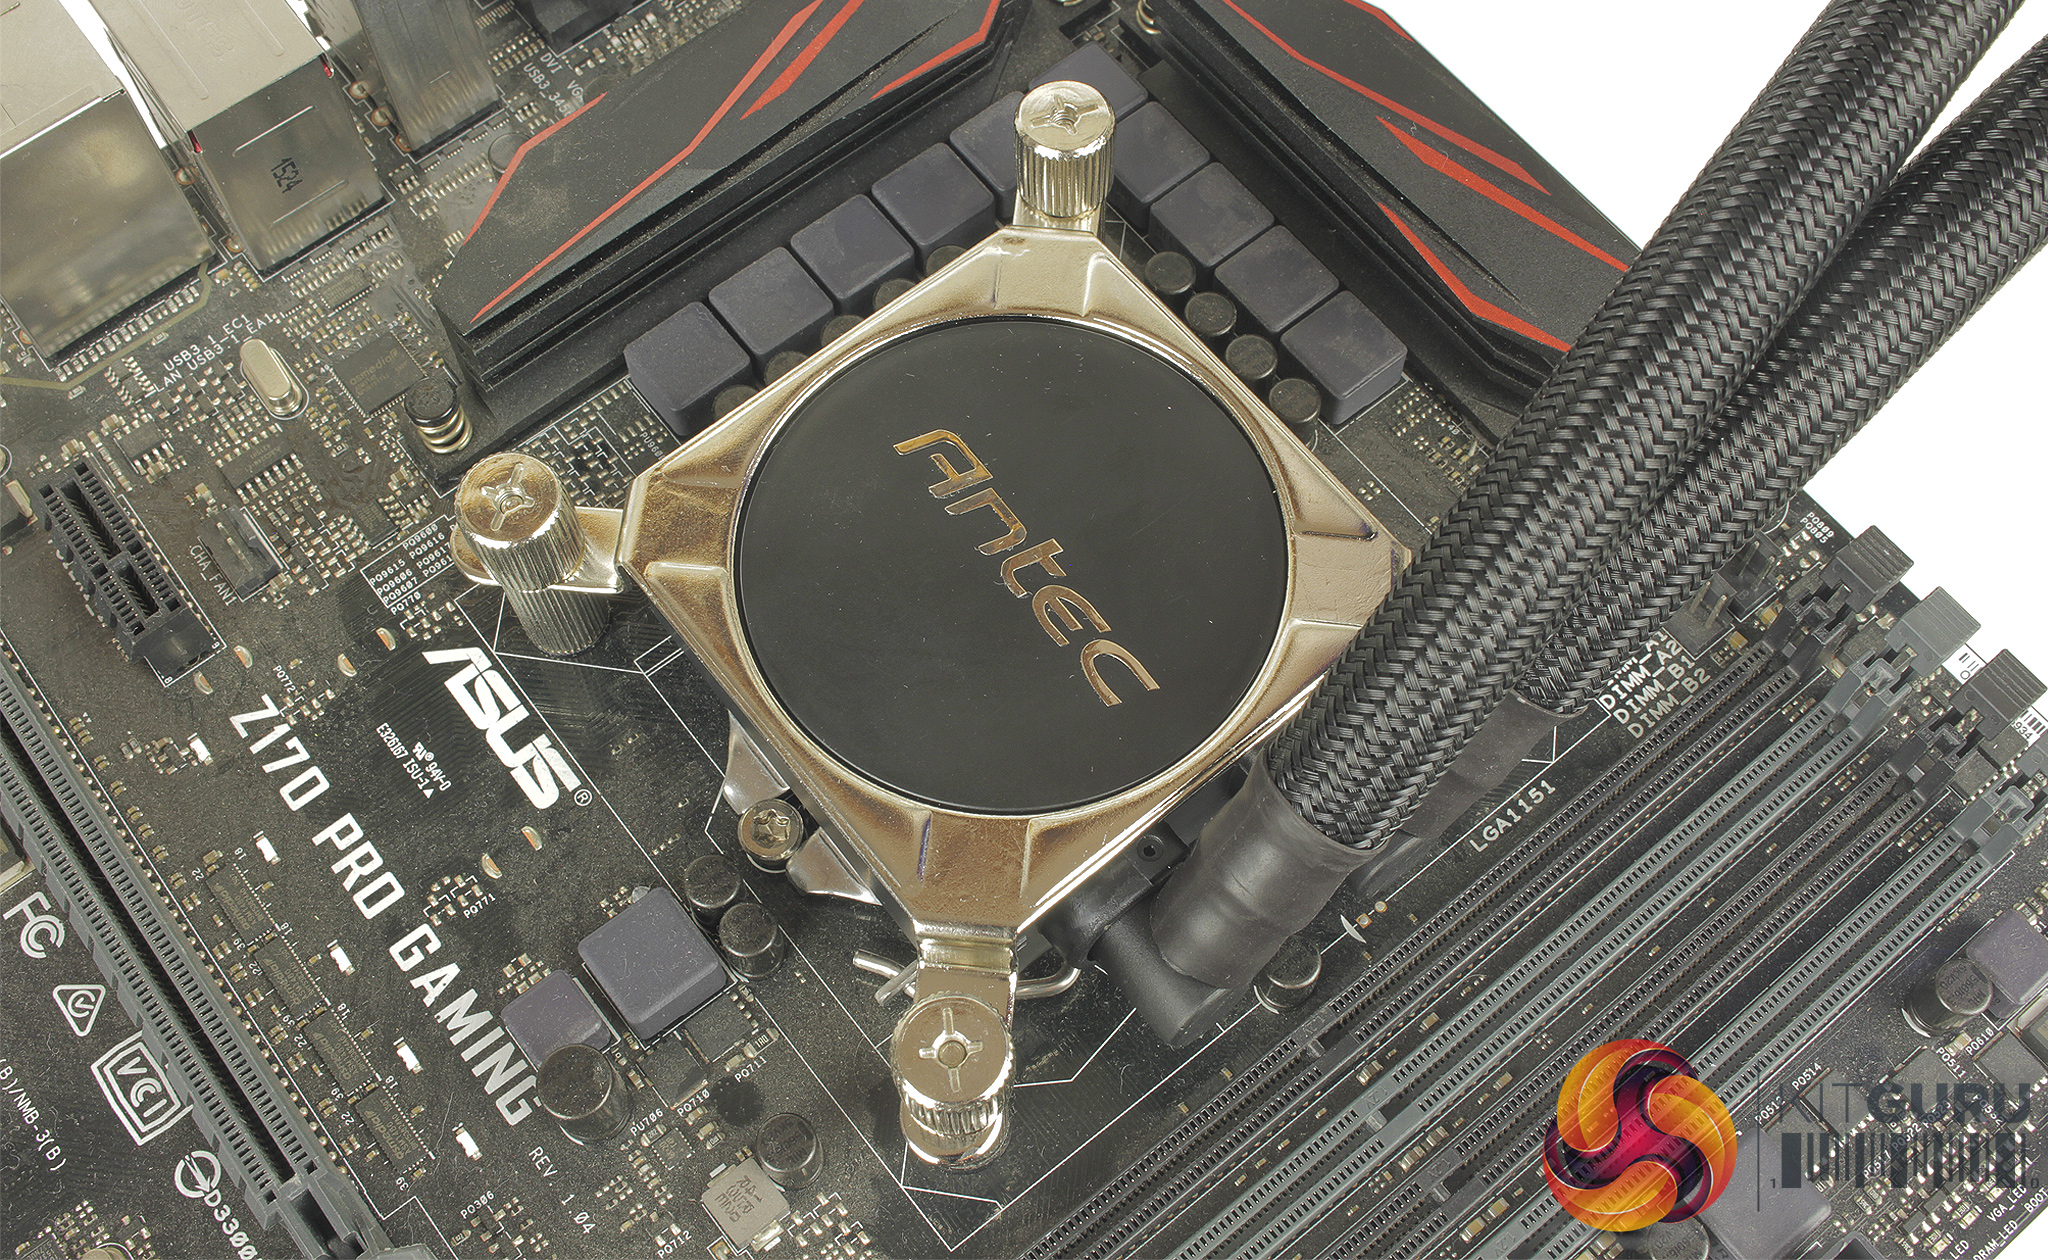
With the backplate secured you just need to place the top mounting bracket over the CPU block and line it up with the protruding backplate screws. With the CPU block in place, the four top mounting nuts can then be screwed on, to firmly hold the block in place.
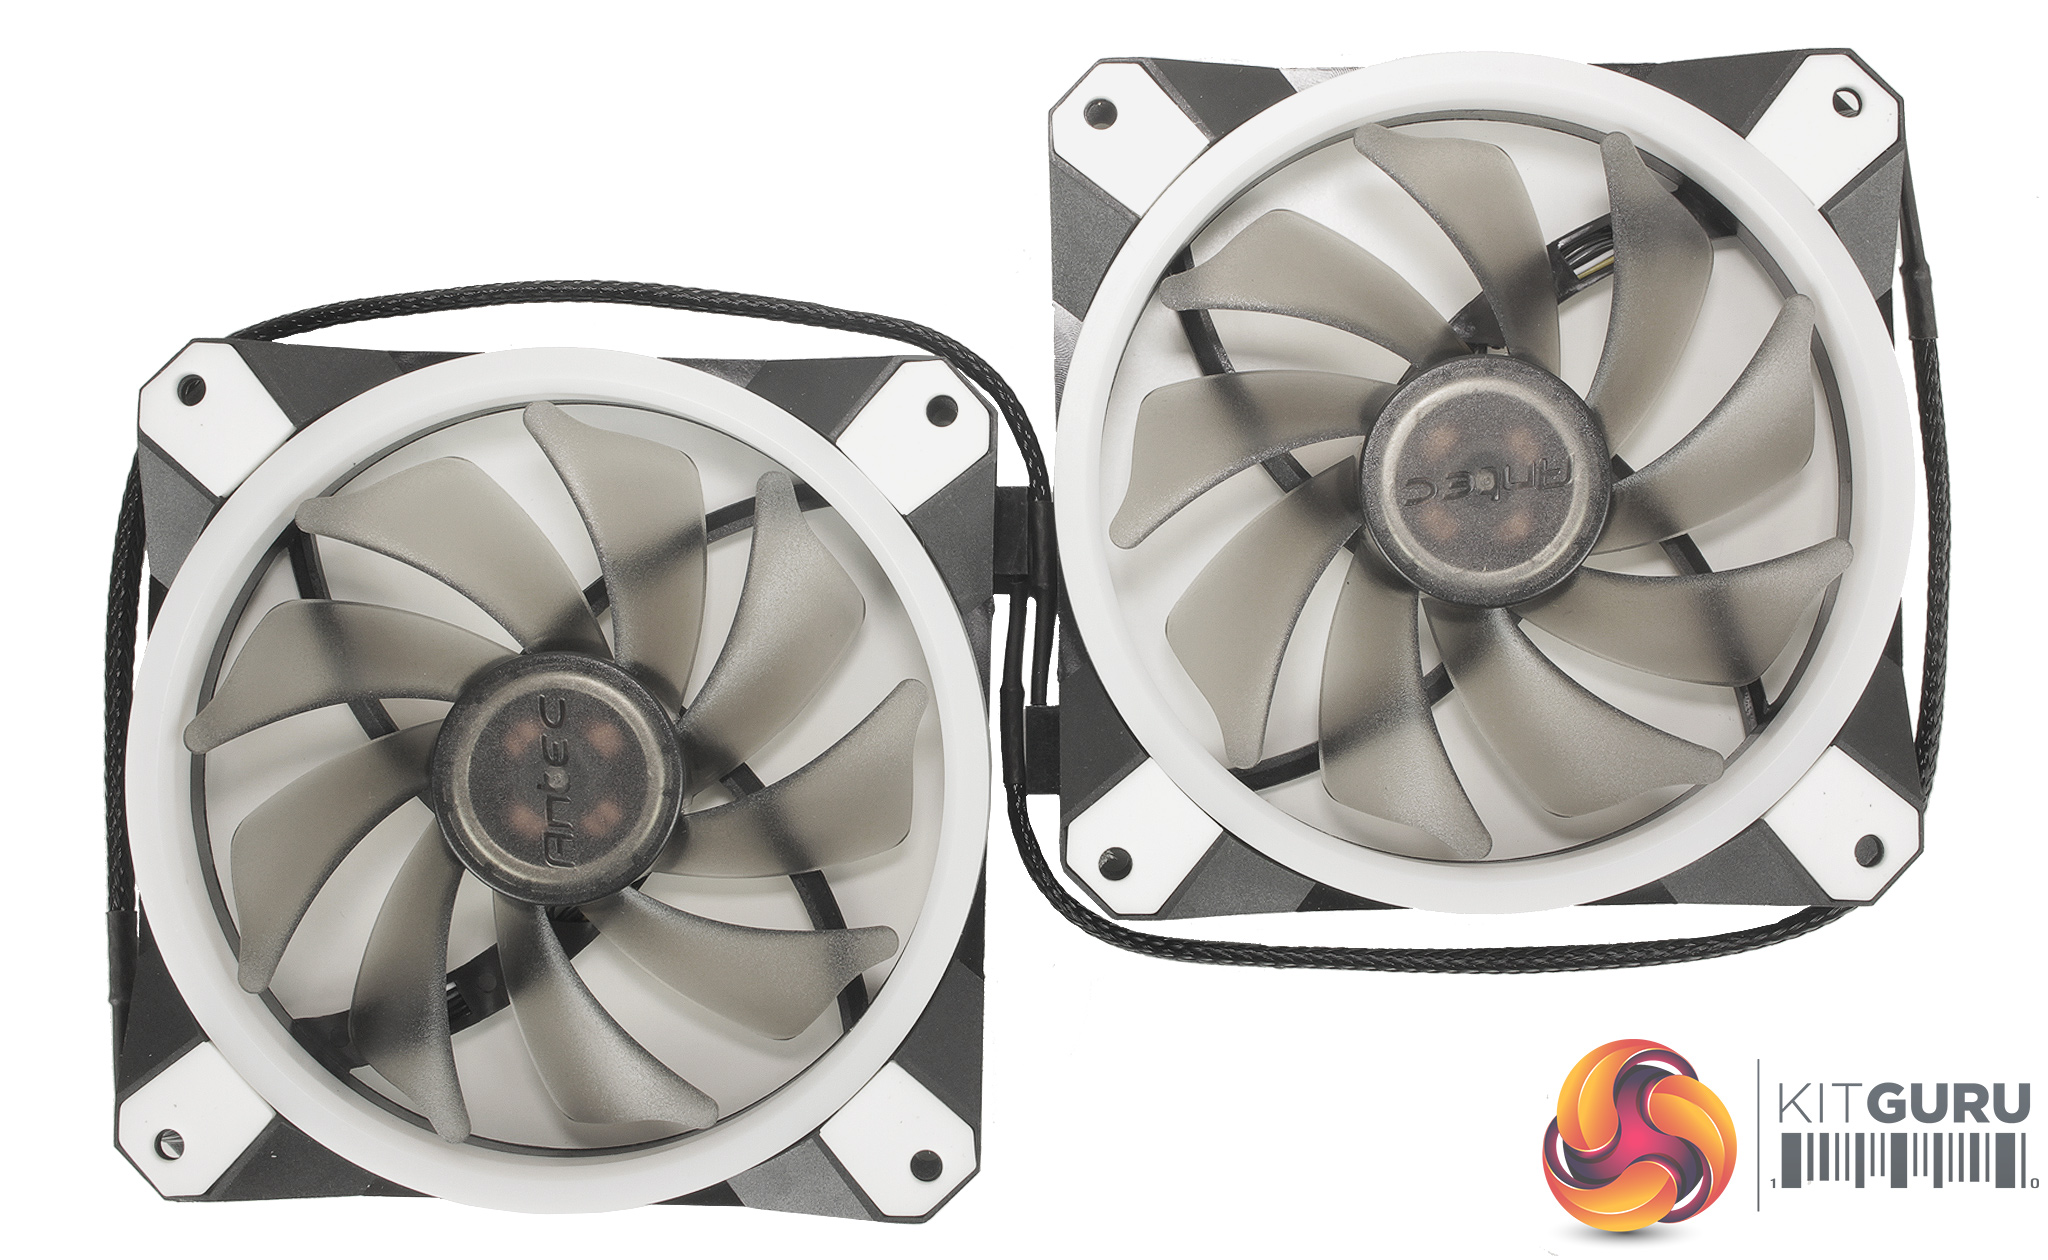
With the cooler block mounted, you can install the included fans, oriented dependent on your case layout and personal preference. Both fans can then be connected to the included 4pin splitter, and then to your motherboard CPU fan header. As the pump's power cable uses a SATA connection, this can then be connected directly to your power supply.
Installation is almost completely tool-less with the exception of the fan screws which is nice to see, and the pump's power cable being SATA does help with cleaning up cable management. Installation for me only took around 7 minutes but installation for AMD is quite a bit simpler, as the backplate isn’t required.
All you need to do is swap out the top mounting bracket for the included AMD one, and clip each side to the mount built onto the motherboard.