The instruction manual included with the Cooler Master Hyper 612 V2 relies solely on images with no accompanying text included. The steps are easy enough to follow but the addition of some short, concise written instructions would have been a nice addition.
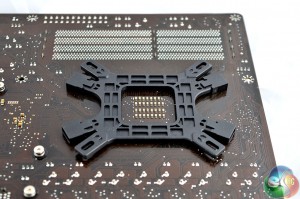
We had to do a little bit of ‘backplate preparation' before we could install it. To start off with, you will have to push four plastic screws into the corresponding holes for your CPU socket, you then push a plastic cover over each hole in order to keep the screws in place.
Then hold the backplate against the motherboard and secure it on the front side with the thumb screws provided.
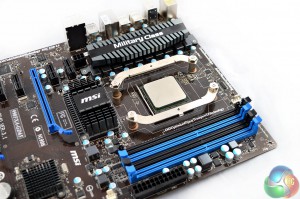
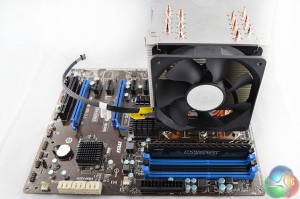
AMD users can then choose between two different mounting brackets, depending on how you want to position the cooler. For the purpose of this review, we chose to use the longer, arm shaped brackets, which are also compatible with Intel sockets. This way, we can position the Hyper 612 V2 with the fan taking air from the front of the case and directing it towards the back.
If you were to use the shorter, U-shaped mounting brackets, then the cooler would be positioned in such a way that the fan would be taking air from the bottom of the case and blowing it towards the top.
Securing the mounting brackets is an easy task, just place each arm on top of the thumb screws you just attached to the backplate and secure with a nut. There is a hole in the middle of each bracket- in order to screw the heatsink in to place, you will need to take one last thumb screw and place it in the middle of the bracket facing towards the back of the case.
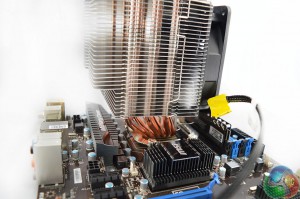
Now we're at the final step, one side of the CPU block has a latch, while the opposite side has a single screw. Simply latch the first side of the CPU cooler and then secure it down with the screw.
Personally, I liked this mounting method a lot- it's simple and easy to work with. Now let's move on to the testing…
 KitGuru KitGuru.net – Tech News | Hardware News | Hardware Reviews | IOS | Mobile | Gaming | Graphics Cards


