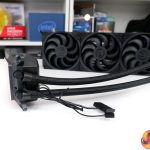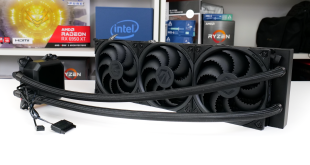
We have looked at several Endorfy (formerly Silentium PC) CPU coolers over the past several months. These range from budget air coolers to RGB equipped all-in-ones. In this review, we are looking at the biggest cooler from Endorfy thus far – the 360mm Navis F360. No frills, no gimmicks, just solid cooling at an affordable price point is what Endorfy aims for with the Navis F360. So, let’s see how this triple-fan unit performs on our test system.
Video Timestamps
00:00 Intro
00:39 First look at the cooler
01:49 Pump and CPU block
02:36 Fans / cables
03:37 Warranty details
04:01 Installation process
04:40 Test setup
05:45 Testing and performance
08:40 Closing thoughts
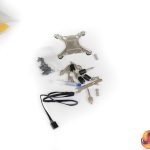
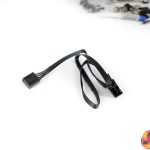
The accessory bundle is the usual set of mounting hardware for modern Intel and AMD sockets, excluding Threadripper. Endorfy also supplies a small tube of Pactum PT-3 thermal paste. And there’s a fan extension connection cable.
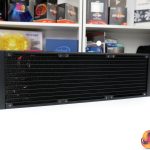
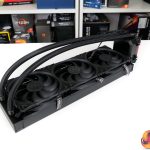
For the 360mm-class aluminium radiator, Endorfy goes with the standard thickness of 27-28mm. The radiator fins are all black, as we would expect from a styling perspective.
Black, braided tubing is a clear quality touch that adds to the feel of a premium product. With regards to tubing flexibility, this is reasonably positive. Factoring in the rotation of the connection entry points on the pump-block unit, and the flexibility is solid.
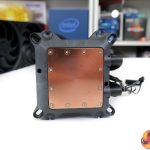
Sizing of the copper cold plate is large and should easily suffice for even bigger CPUs such as Ryzen or Intel HEDT. As Endorfy supplies a tube of its Pactum PT-3 thermal paste separately, there is none pre-applied. This is an approach that I personally prefer as it simply gives a little more control, especially as the tube of paste has sufficient quantity for multiple applications.
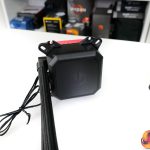
Chunkiness is clearly one of the main focus points for Endorfy’s design of pump-block unit. The bracket mounting hardware for Intel and AMD platforms is pre-applied. This should ease the install procedure, albeit at the cost of limited upgradability if Intel designs to change the mounting solution anytime soon.
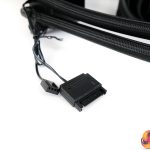
The ceramic bearing pump is PWM controlled. SATA power and a 4-pin fan connection manage the pump unit for its speed range of 1600-2600 RPM.
Just like the rest of the cooler, there is no LED lighting on the pump housing, which will certainly appeal to some. One short-sighted design feature is that the Endorfy brand logo cannot be rotated. So, depending on the installation location, the logo orientation may not suit your individual preference.
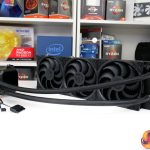
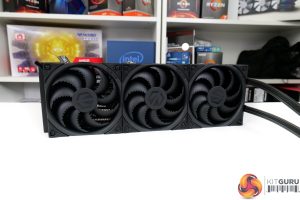
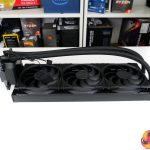
Three of Endorfy’s Fluctus 120 PWM fans are pre-applied on the radiator, allowing a more straightforward install for the end-user. Rated speed for these 120mm fans is 250-1800 RPM via their 4-pin PWM control.
To further aid cable management and ease of installation, all three fans are daisy-chained together out of the Endorfy facility. This means that a single 4-pin extension cable – as supplied in the accessory bundle – can be used to power and control all three fans from just the motherboard CPU header.
Endorfy uses a Fluid Dynamic Bearing inside the fans and there are clear optimisations on the blades to suit the pressure-biased use case.
Cable management for the Navis F360 cooler is good, and that is thanks in large to the pre-installed fan cables. Leaving the pump unit, you have a 4-pin PWM cable and a SATA power cable, though these aren’t particularly difficult to hide.
So, that just leaves the 4-pin fan extension for the main fans to be plugged in. And this is easily routed down to the rear side of the motherboard tray.
Warranty is just OK from Endorfy at 3 years. That’s not particularly great for a modern AIO cooler, as many of the top units offer 5-year warranties, but it isn’t too bad, either. Especially as the fans are rated 100,000 hours MTBF.
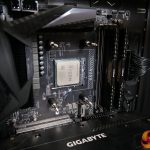
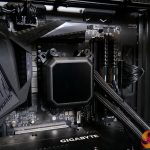
Installation was very quick and easy, thanks in large to Endorfy’s pre-applied hardware. All we needed to do was insert the threaded stand-offs into the default AM4 backplate. We then applied paste and positioned the pump-block unit, and once the spring and thumbscrew were tightened, the block was in position.
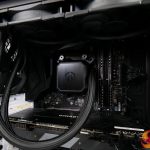
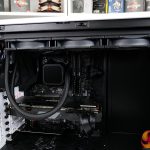
Pre-applied fans made radiator installation quick and simple, and then the reasonable number of cables was easy to route and deal with neatly.
 KitGuru KitGuru.net – Tech News | Hardware News | Hardware Reviews | IOS | Mobile | Gaming | Graphics Cards


