Our test system is Intel Z390 based, therefore, we will be following the relevant 115X socket installation procedure. However, there was no sign of any installation manual included with the PF240-ARGB. This may be due to us receiving a review sample – we would expect full retail versions to include this.
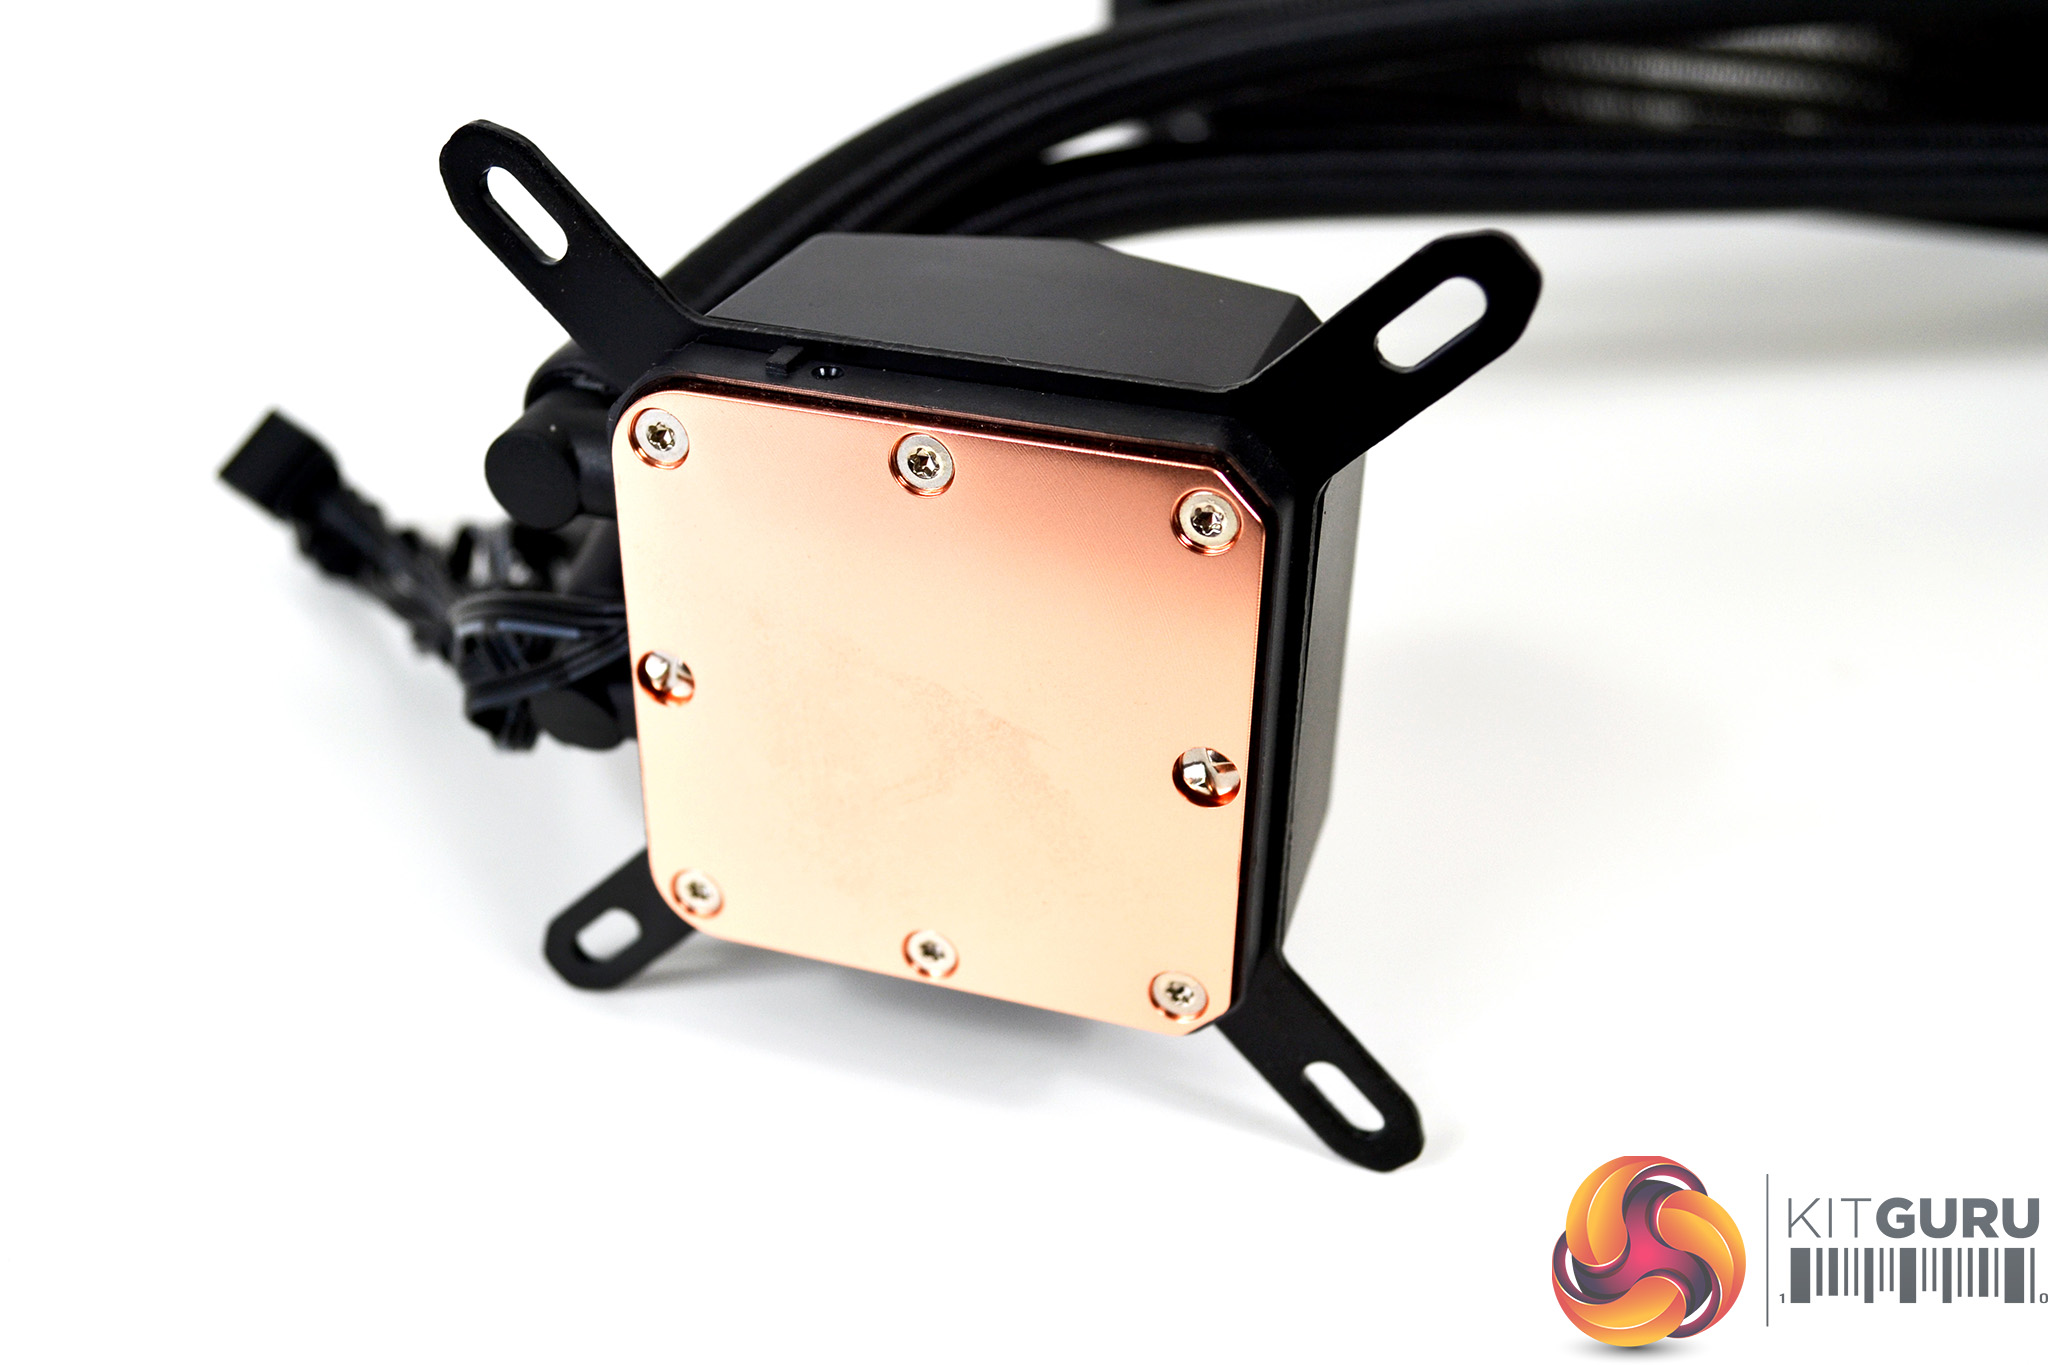
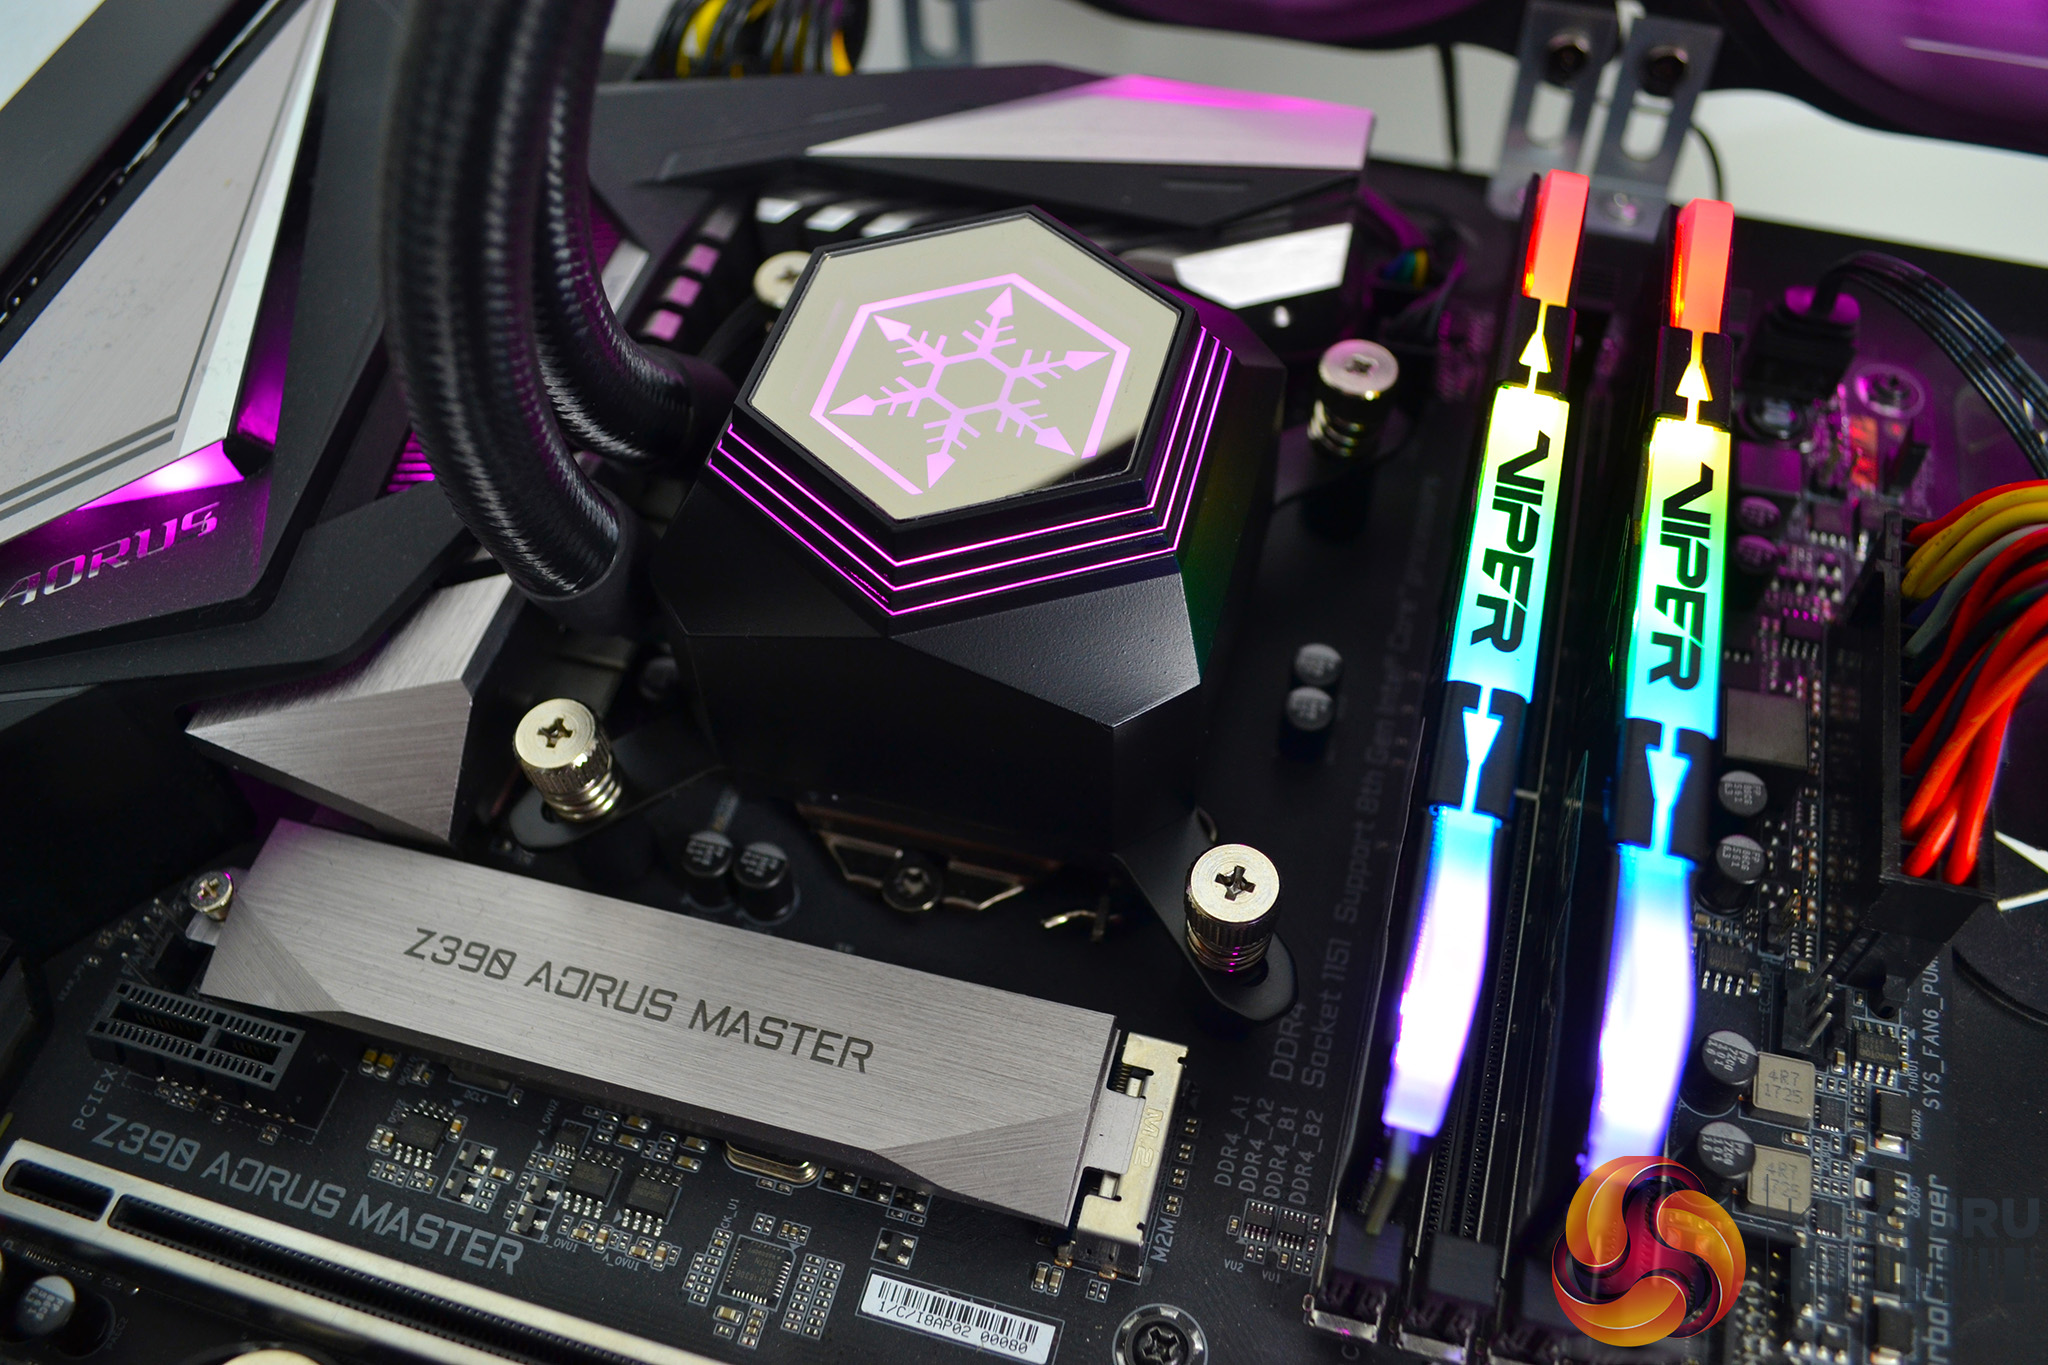
First off, if it’s not already fitted, take the Intel 115X top mounting bracket and slide it into the slots on the pump housing, until firmly fixed in place. There are no further screws to secure it.
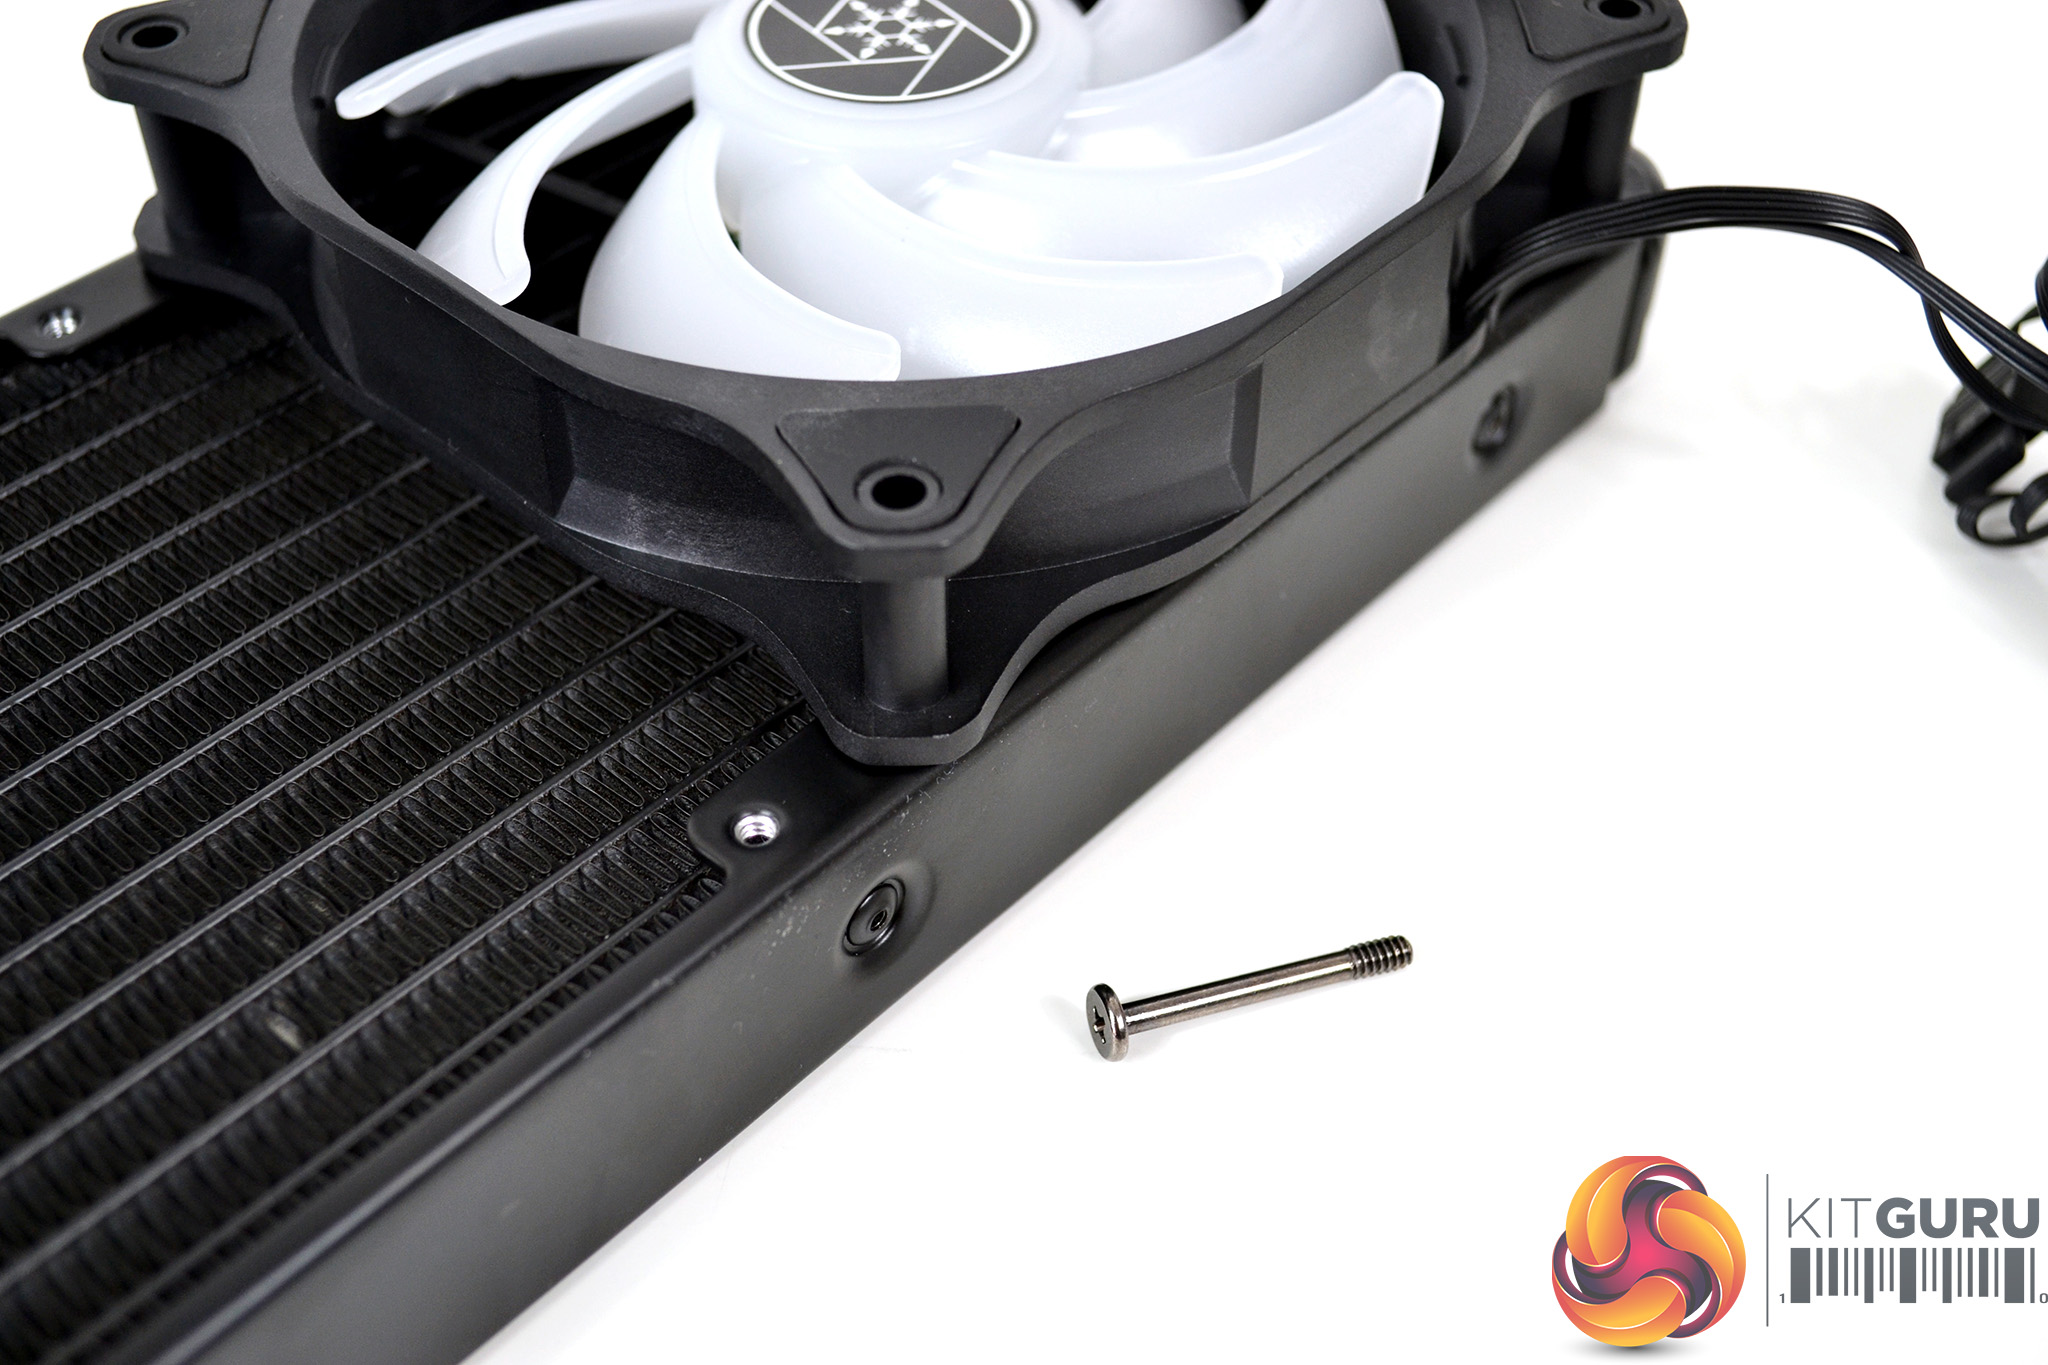
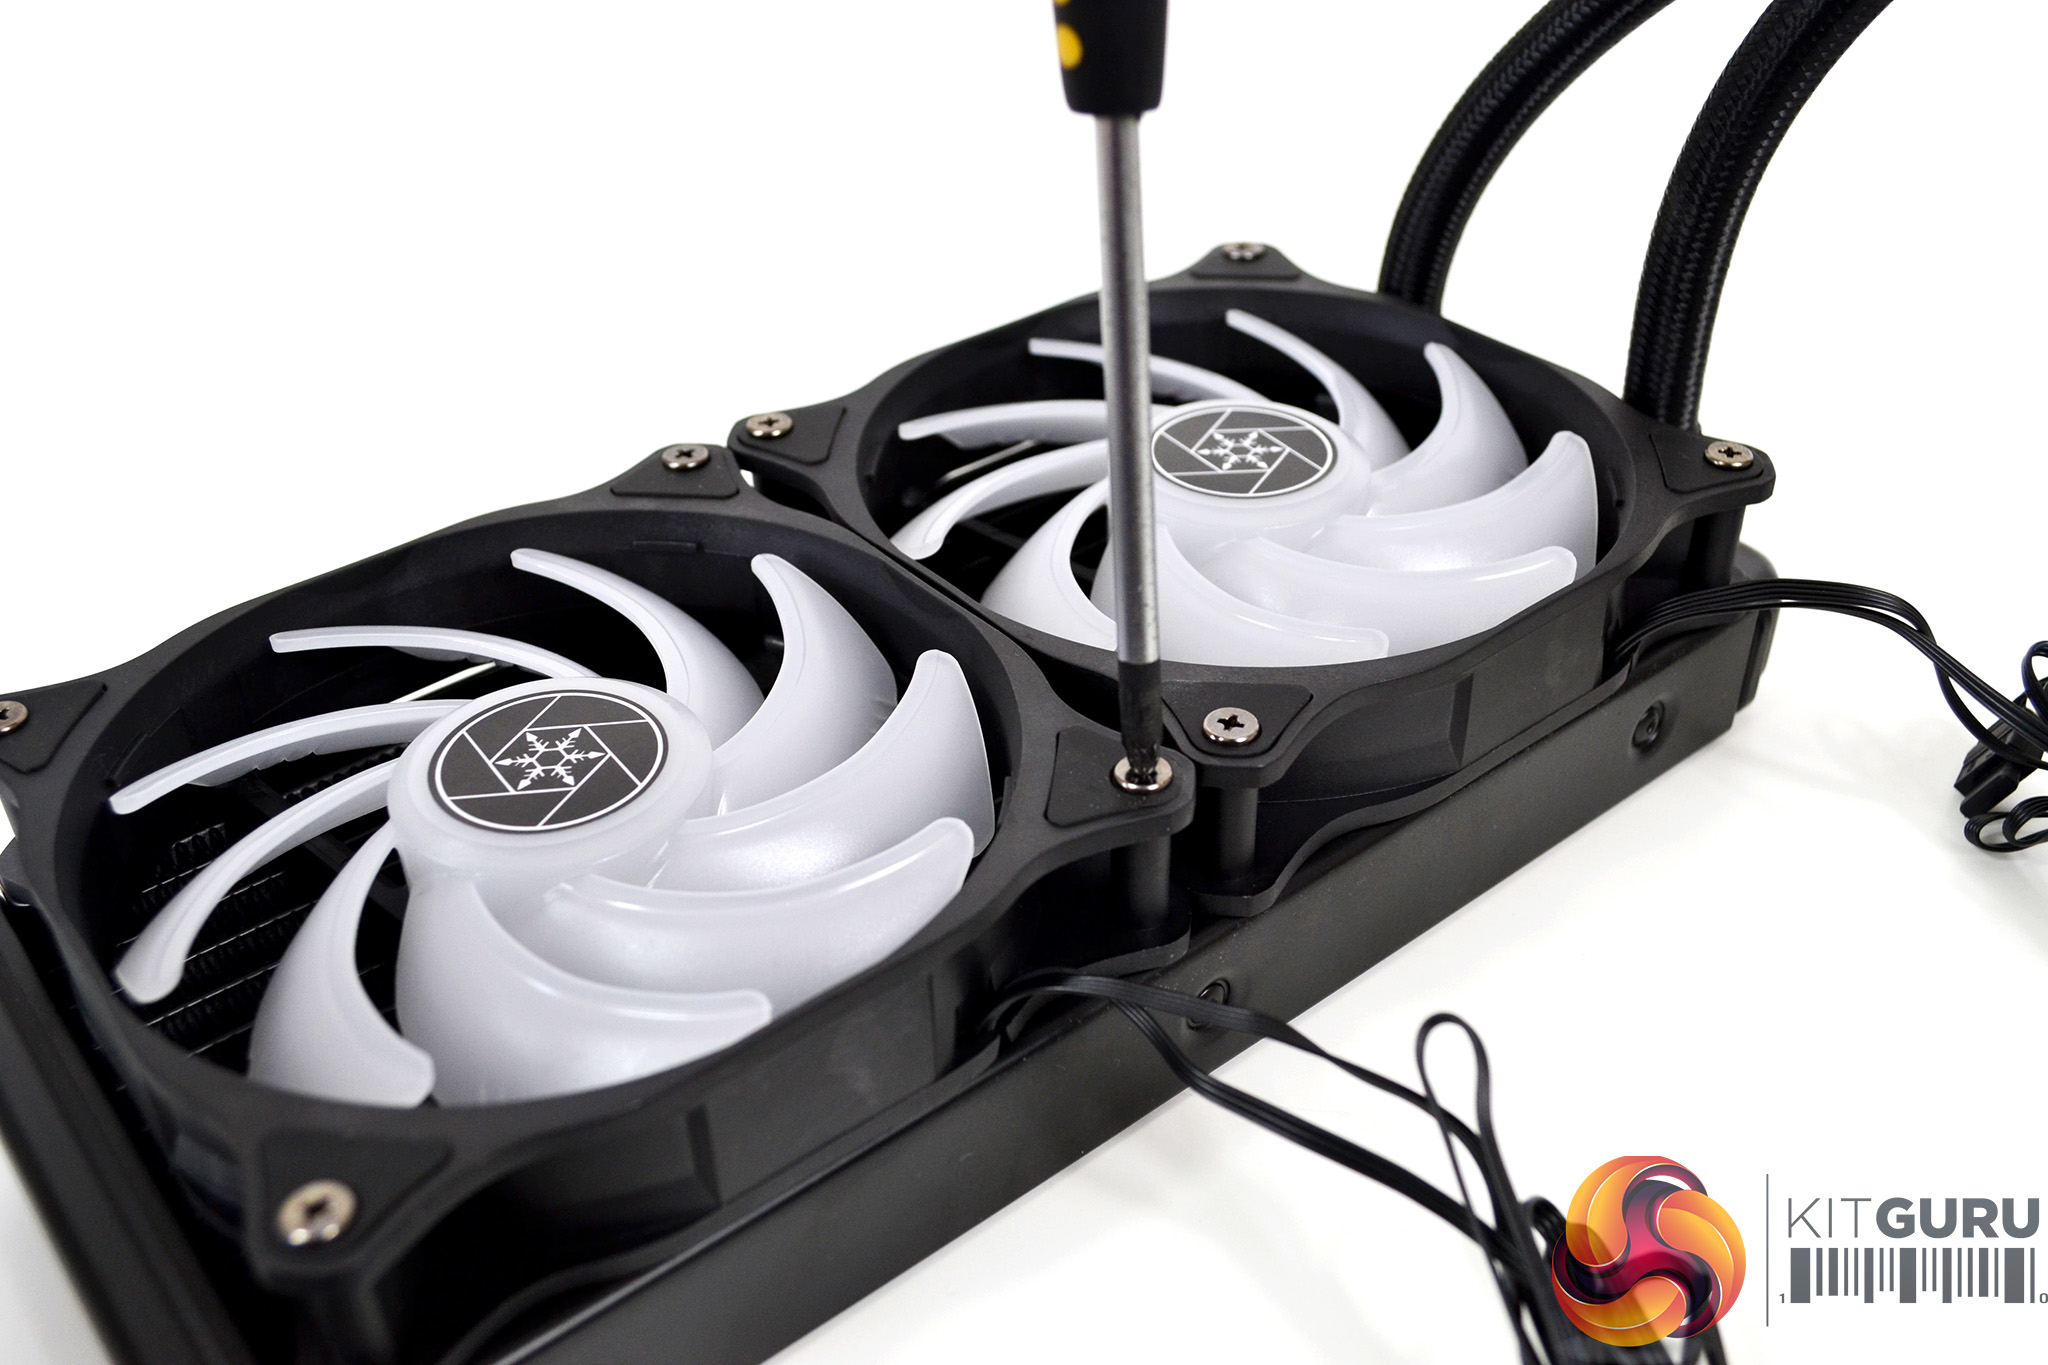
Next, fit the fans to the radiator. Place the fans over the radiator with the mounting holes in both components lined up and install the eight long Philips head screws provided. Tighten the screws down with a screwdriver.
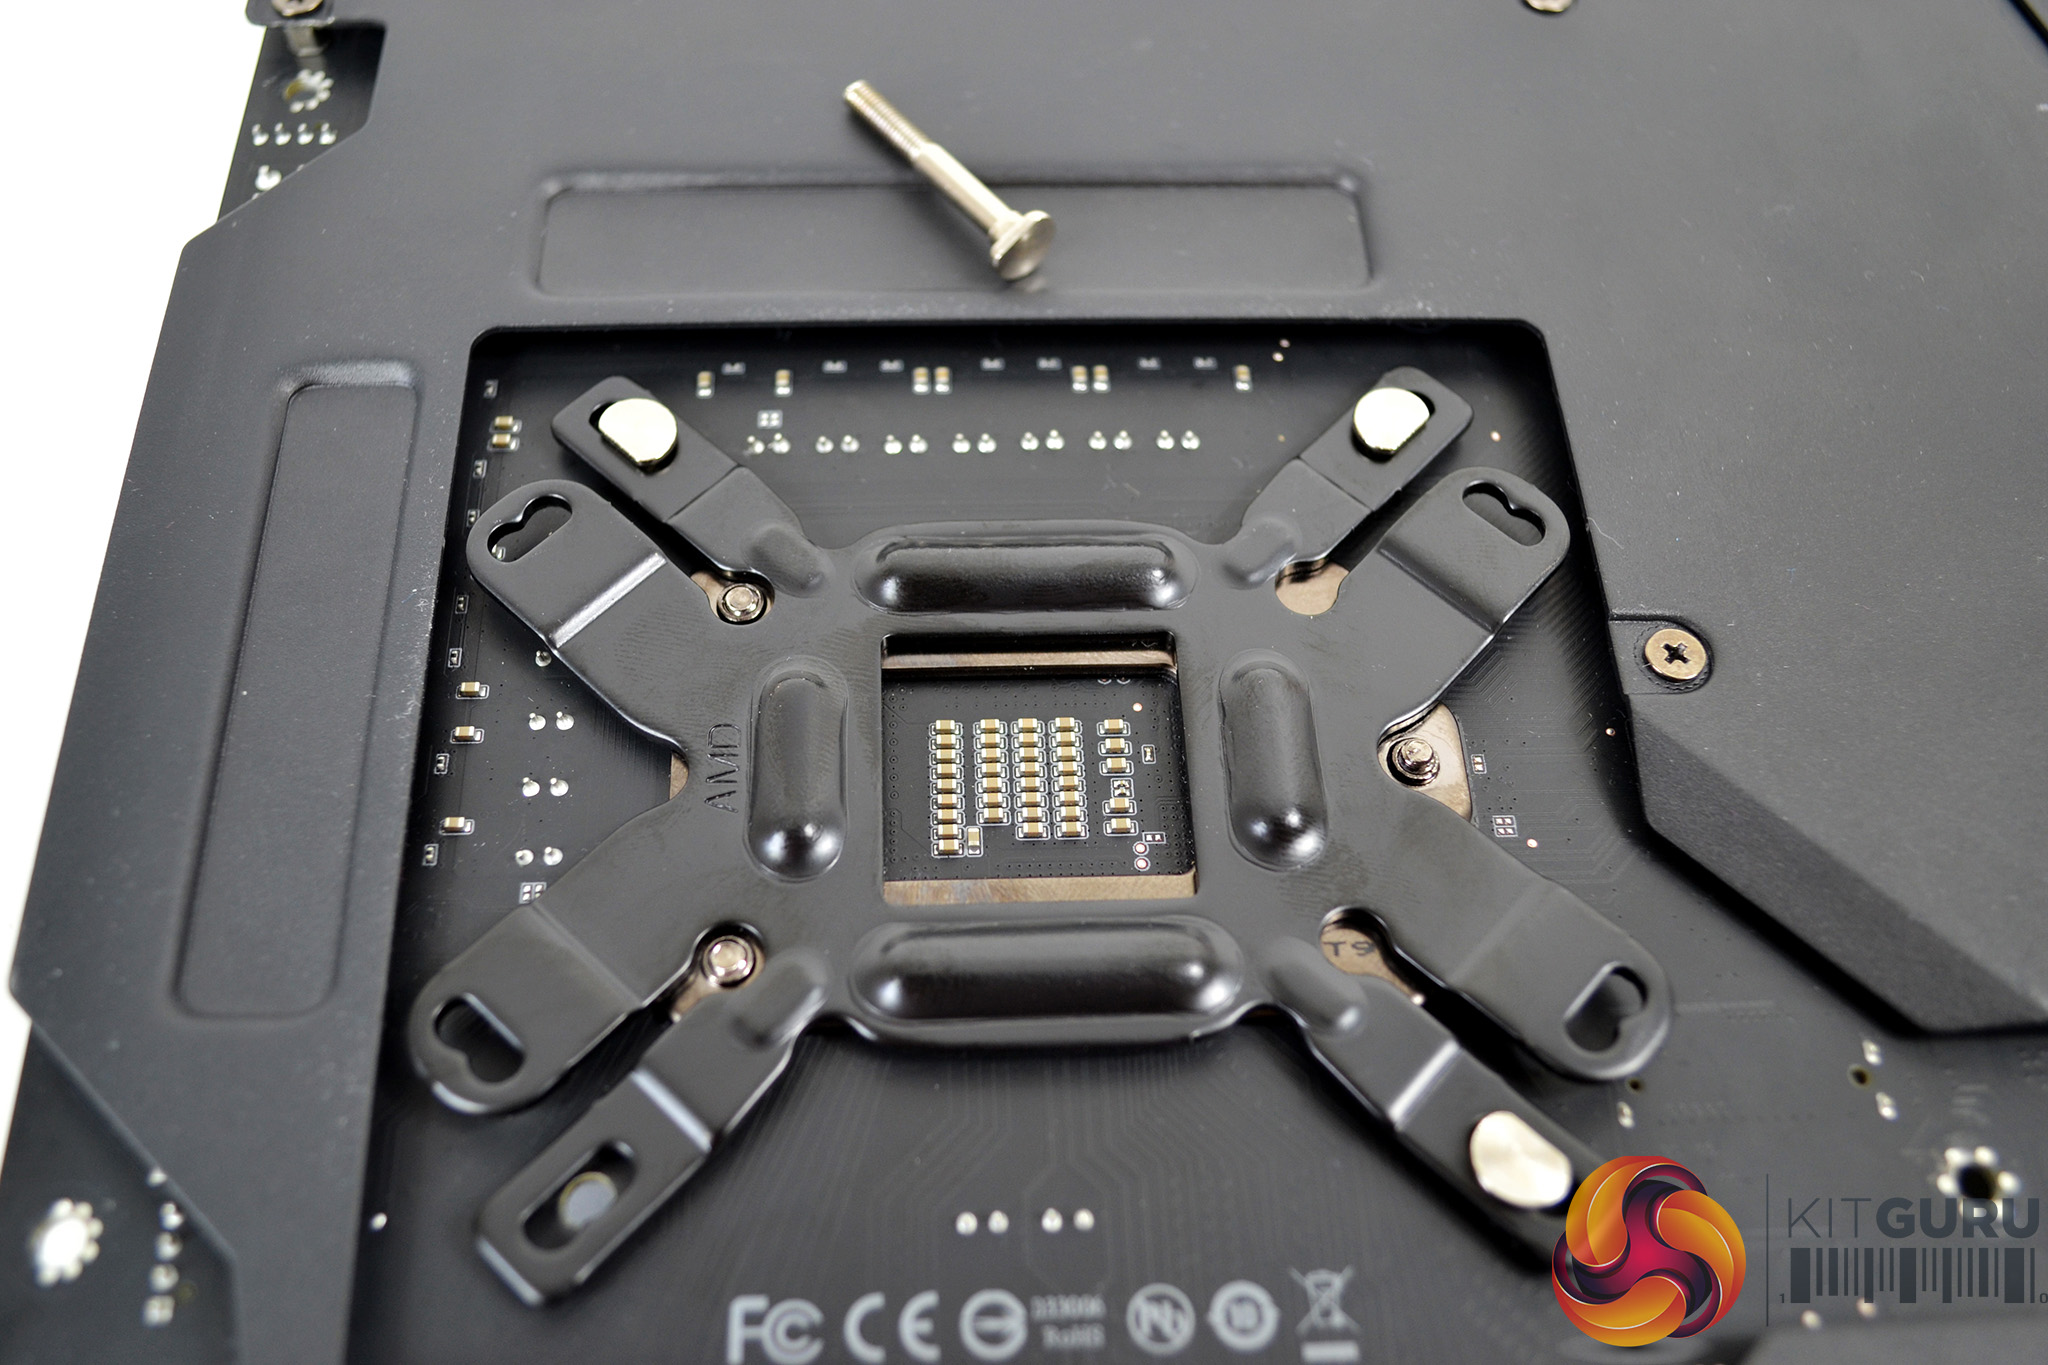
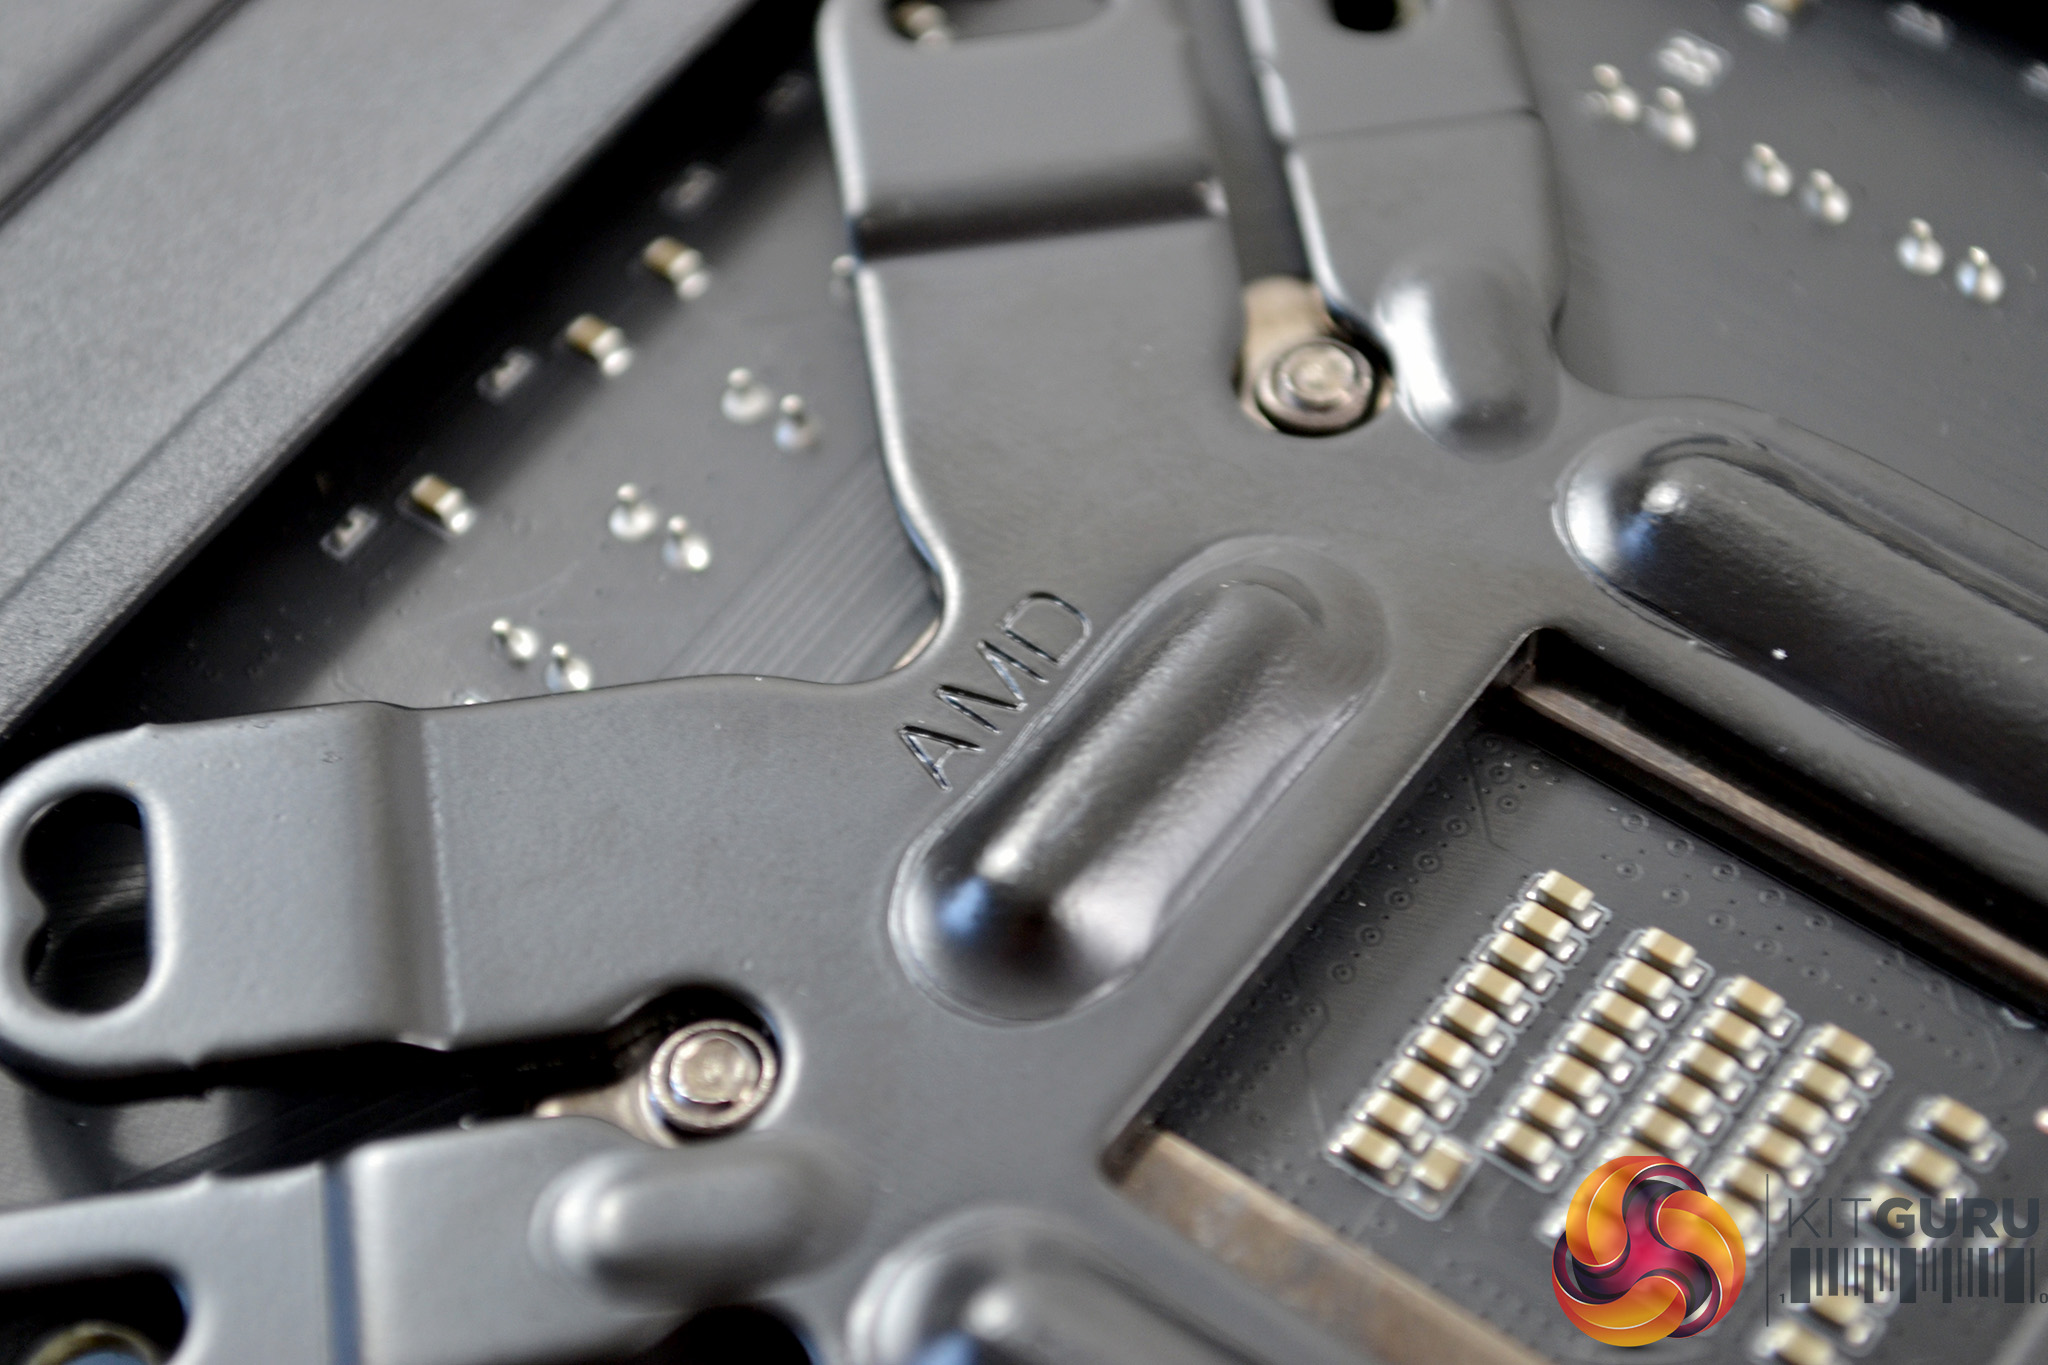
Now, prepare the motherboard. Flip it upside down and place the cooler's mounting backplate over the CPU socket's rear retention plate. Notice the three CPU socket retaining screws fit the cut-outs on the SilverStone backplate, and the AMD text on the cooler's mounting backplate is facing up.
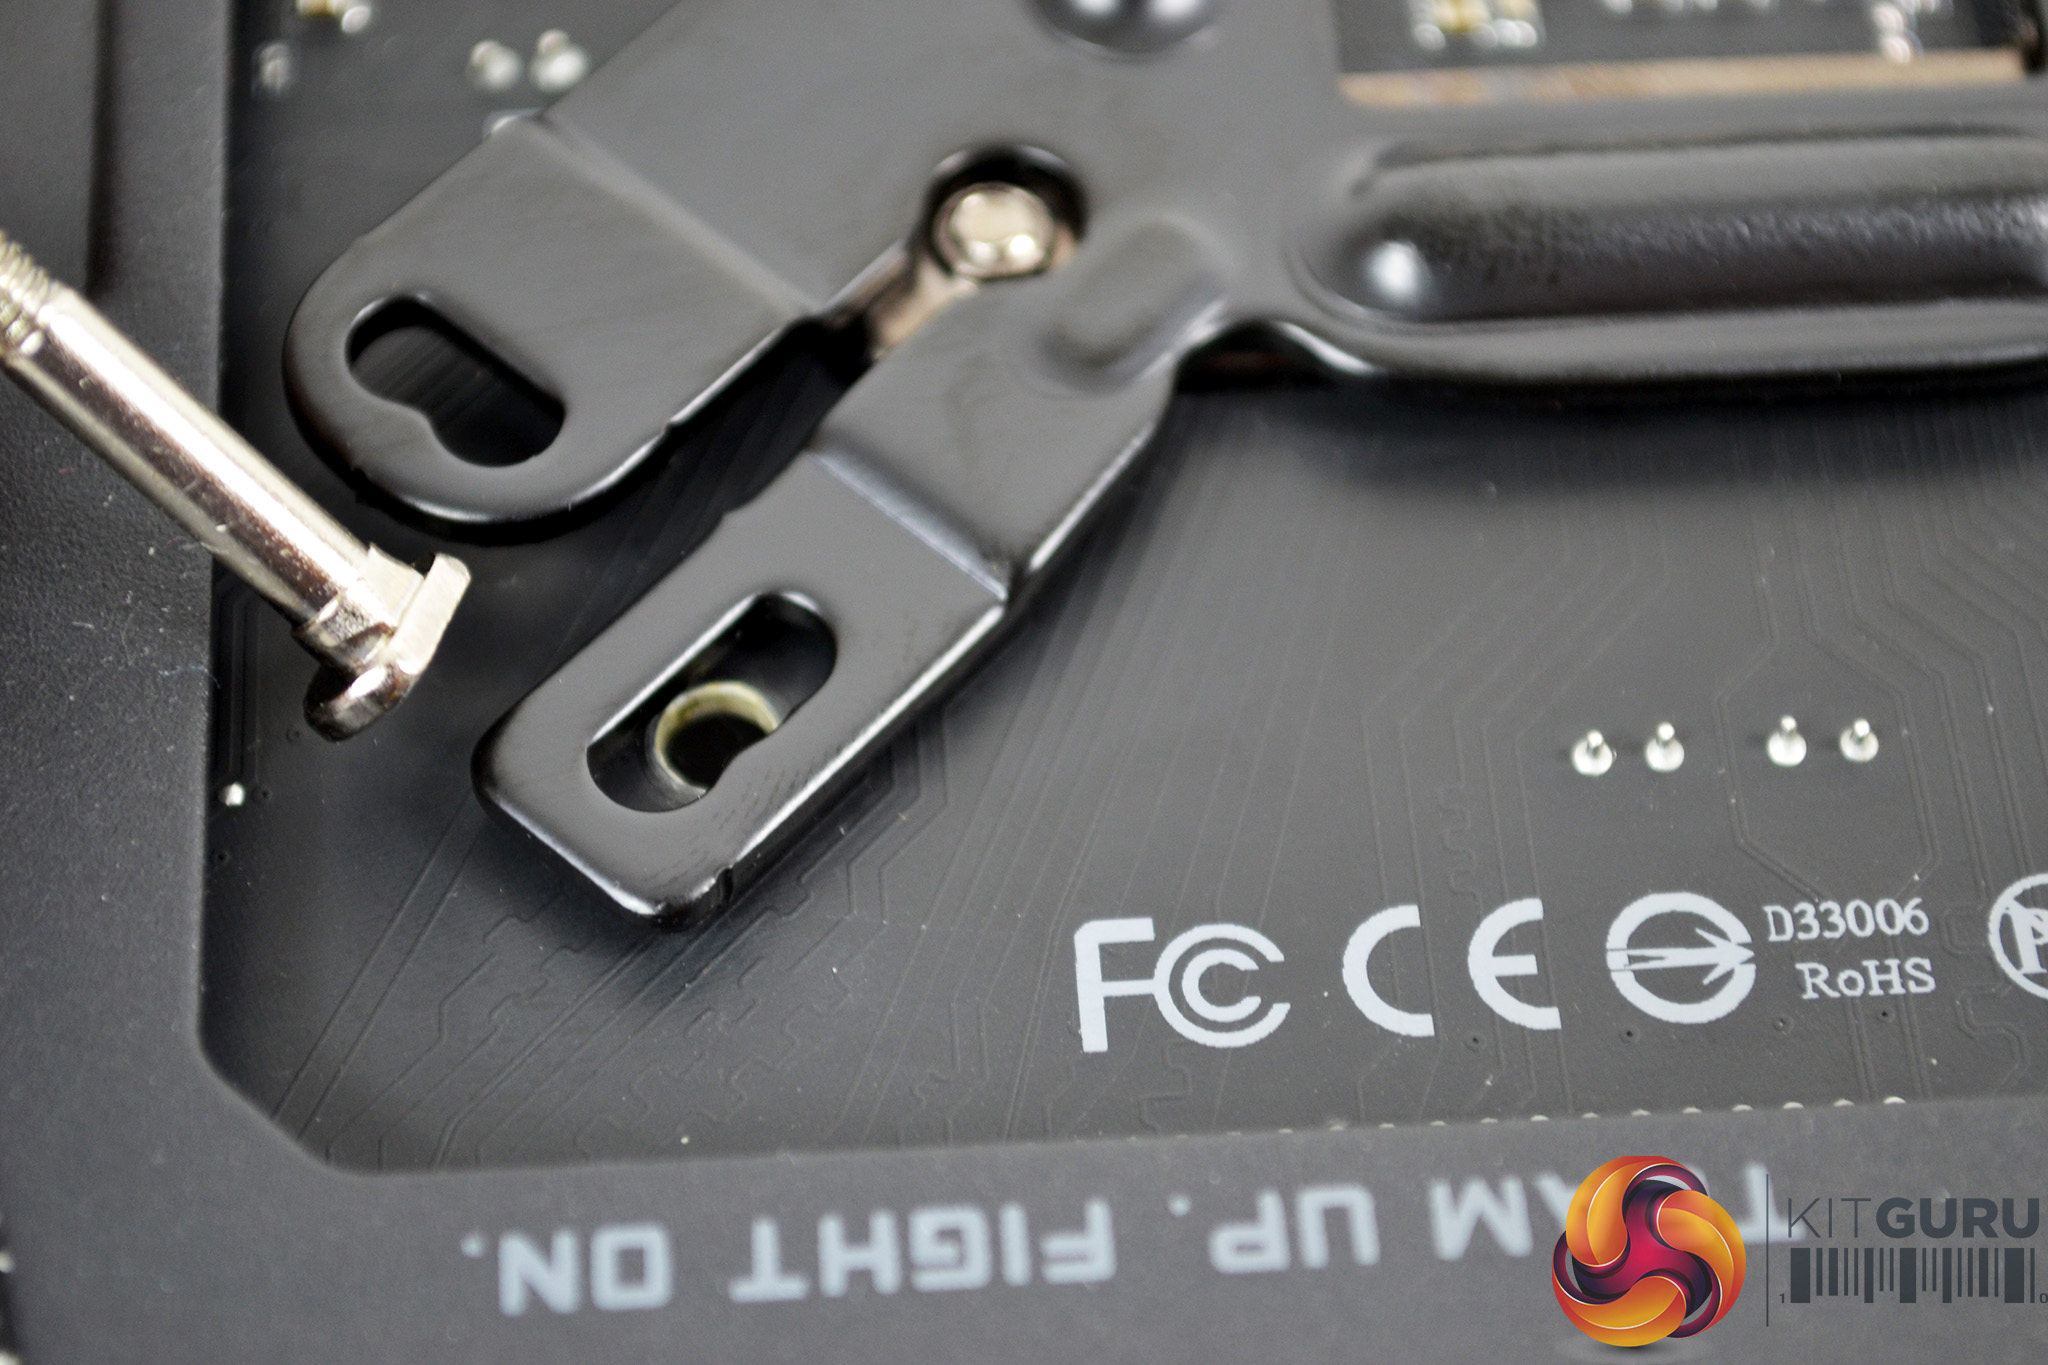
Push the four silver mounting screws into the corresponding holes in the backplate, through the motherboard and in the correct orientation. With nothing to secure the screws when you flip the motherboard back over, we recommend using some tape to hold them temporarily.
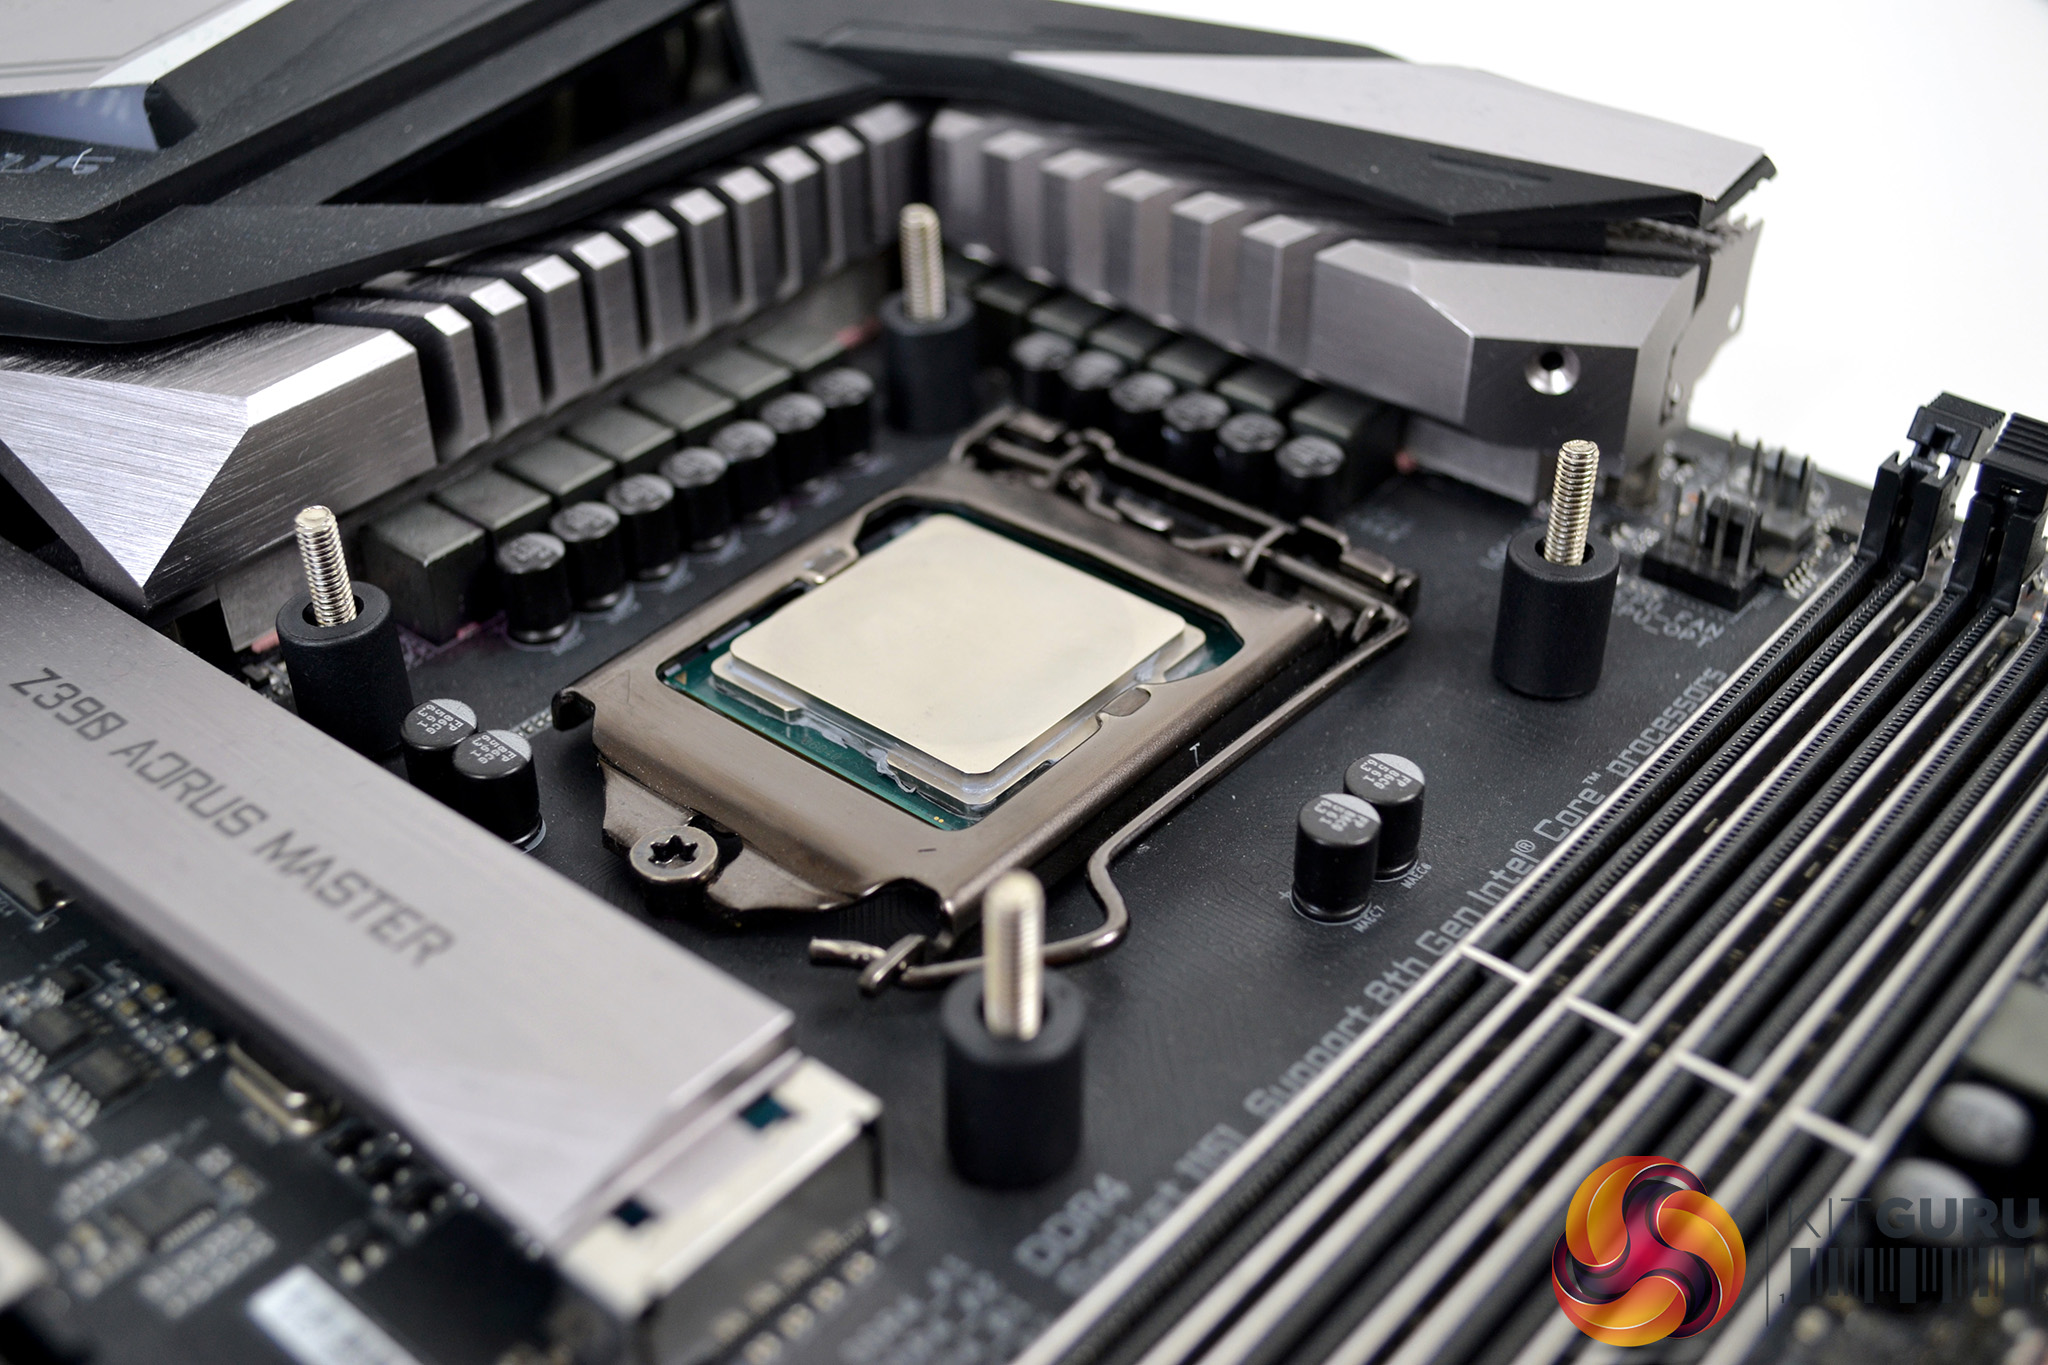
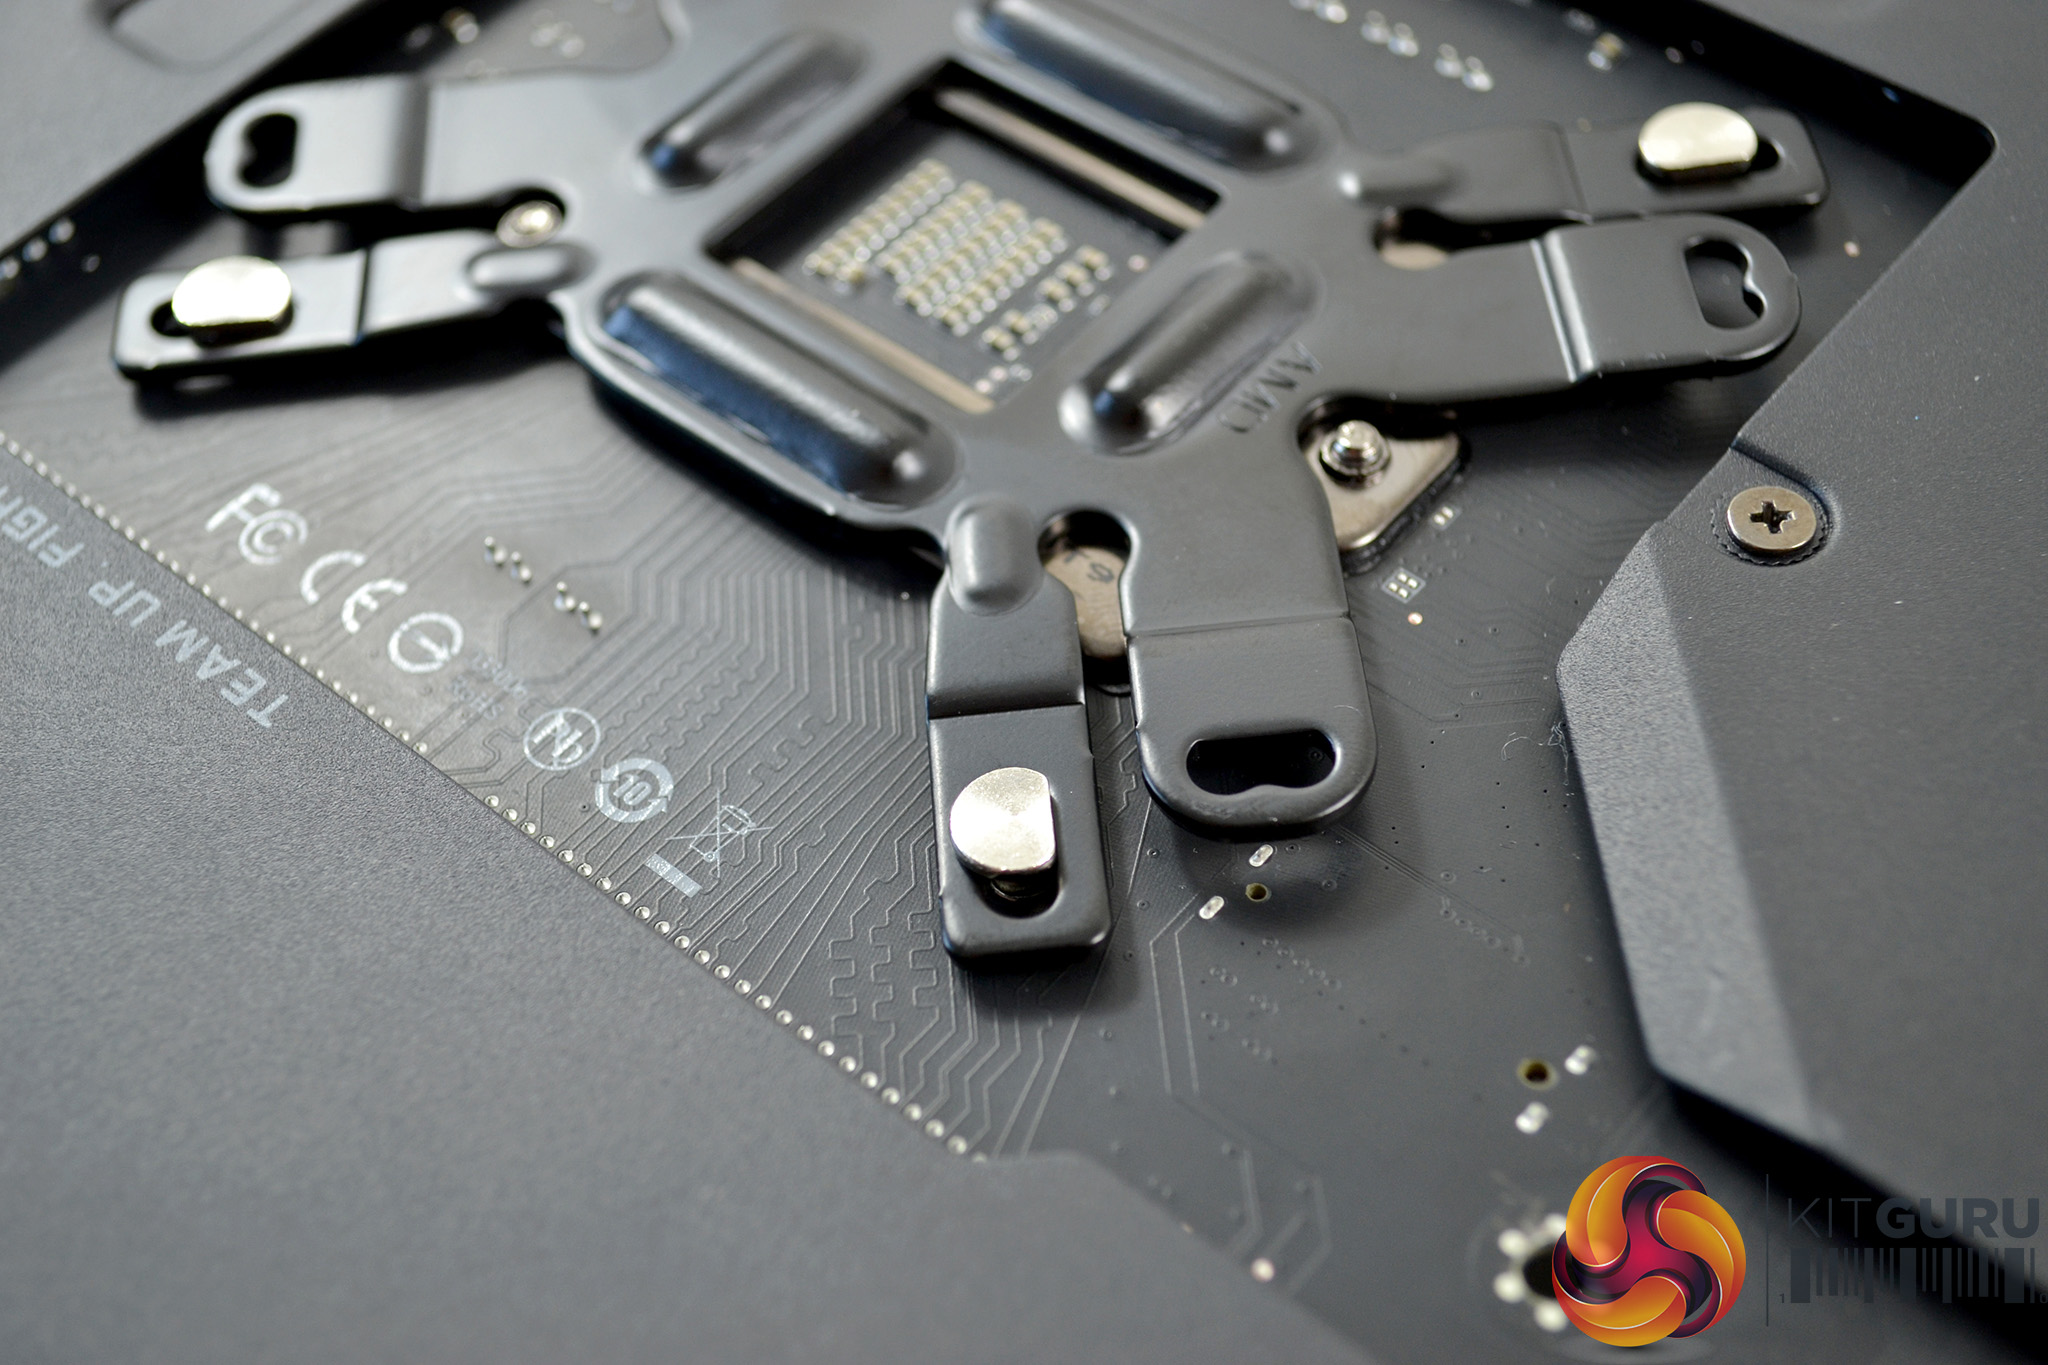
Now with the motherboard facing the correct way up, the mounting screws should be seen protruding up from the motherboard. Place the four plastic spacers over the screws.
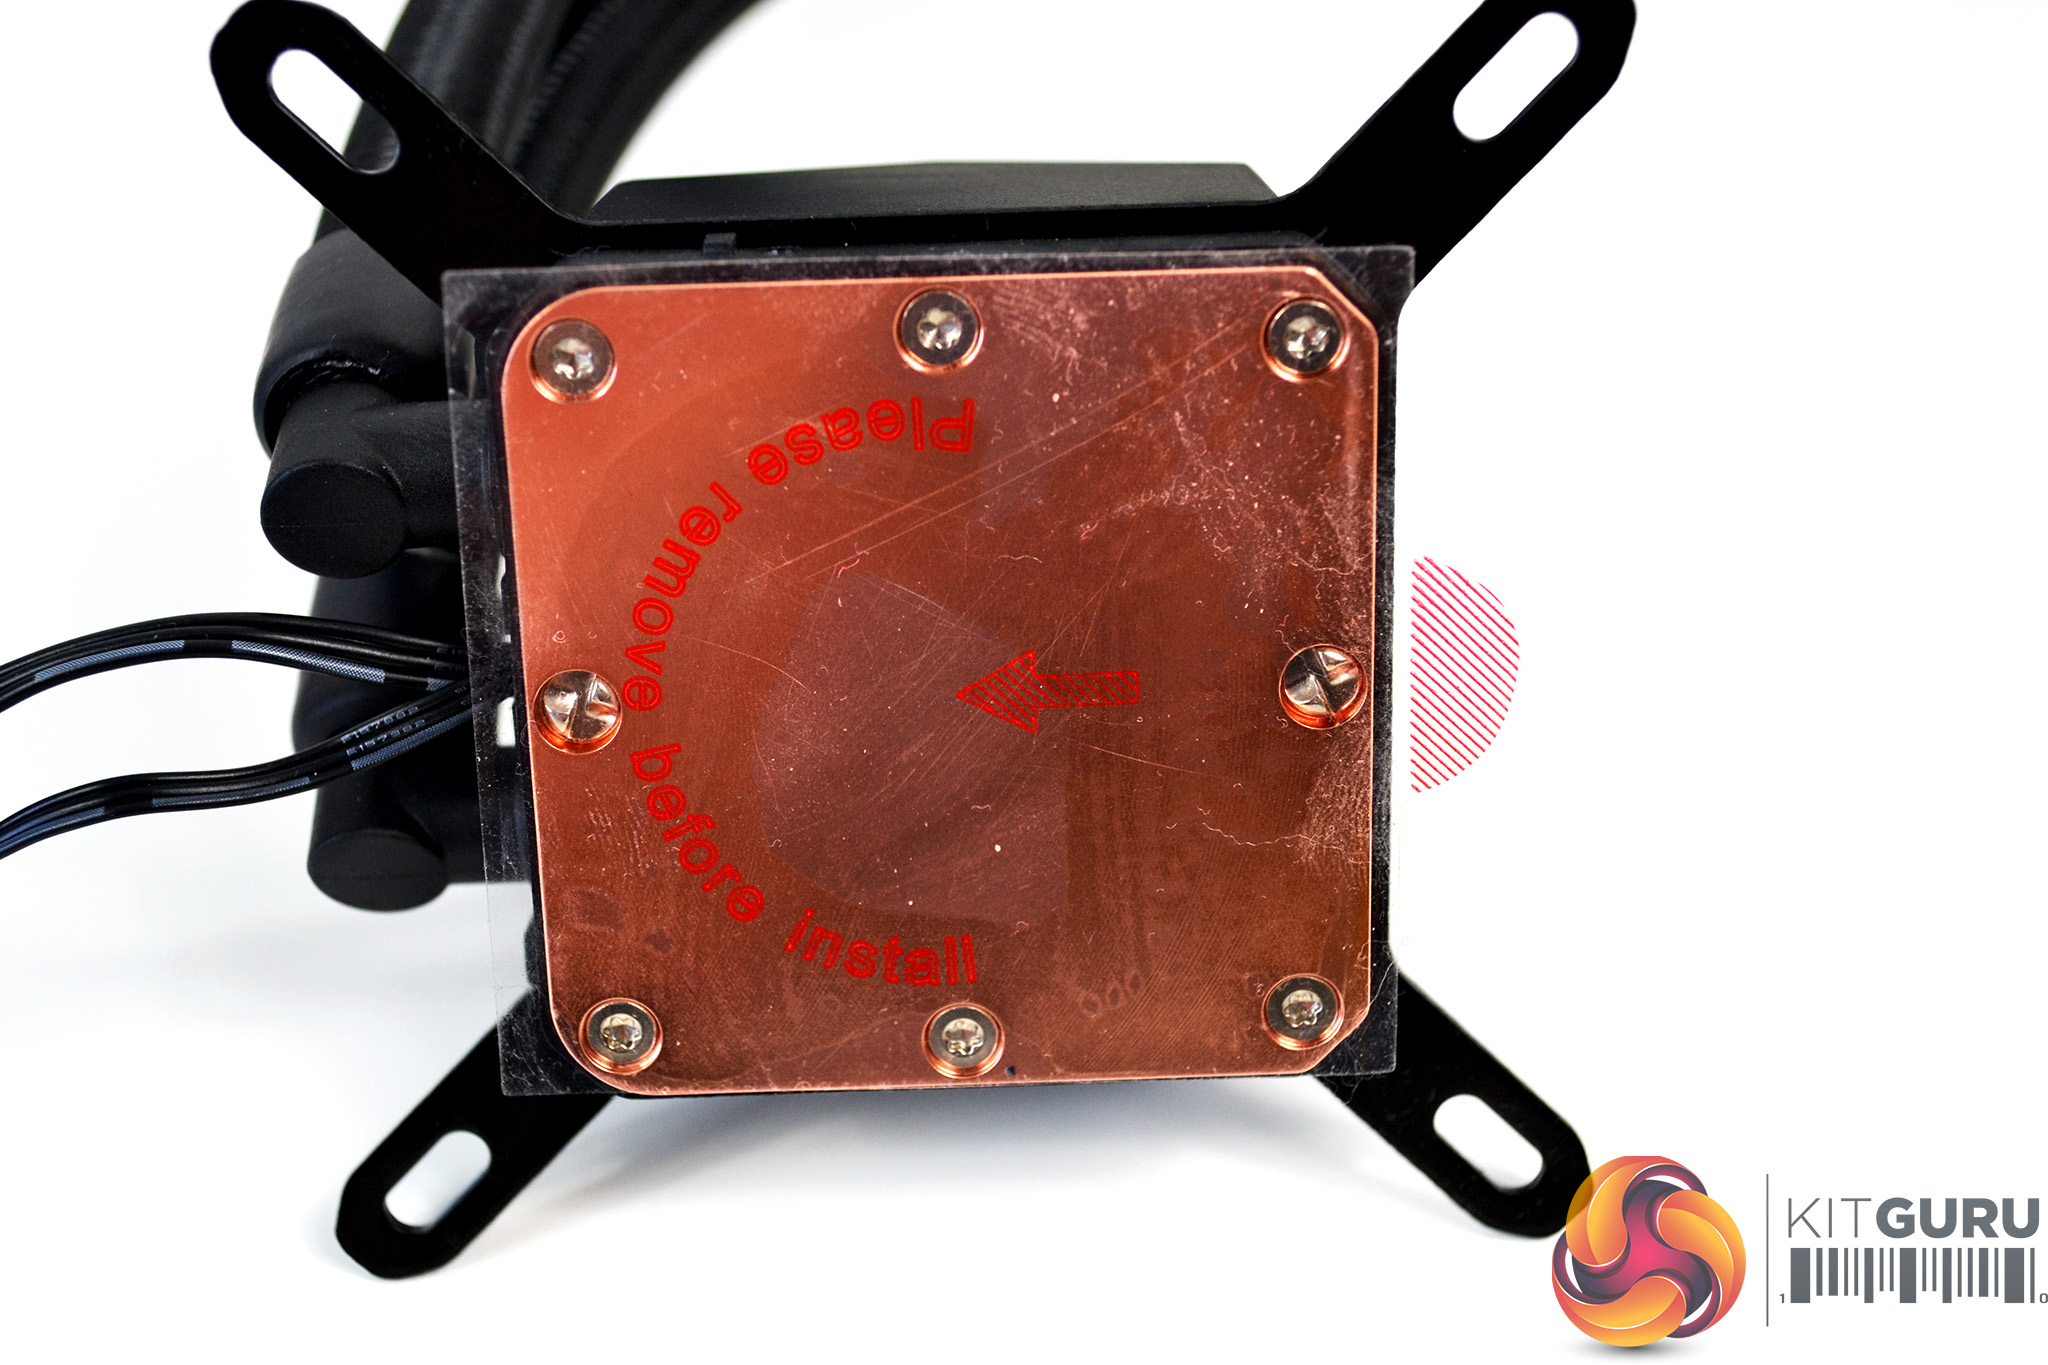
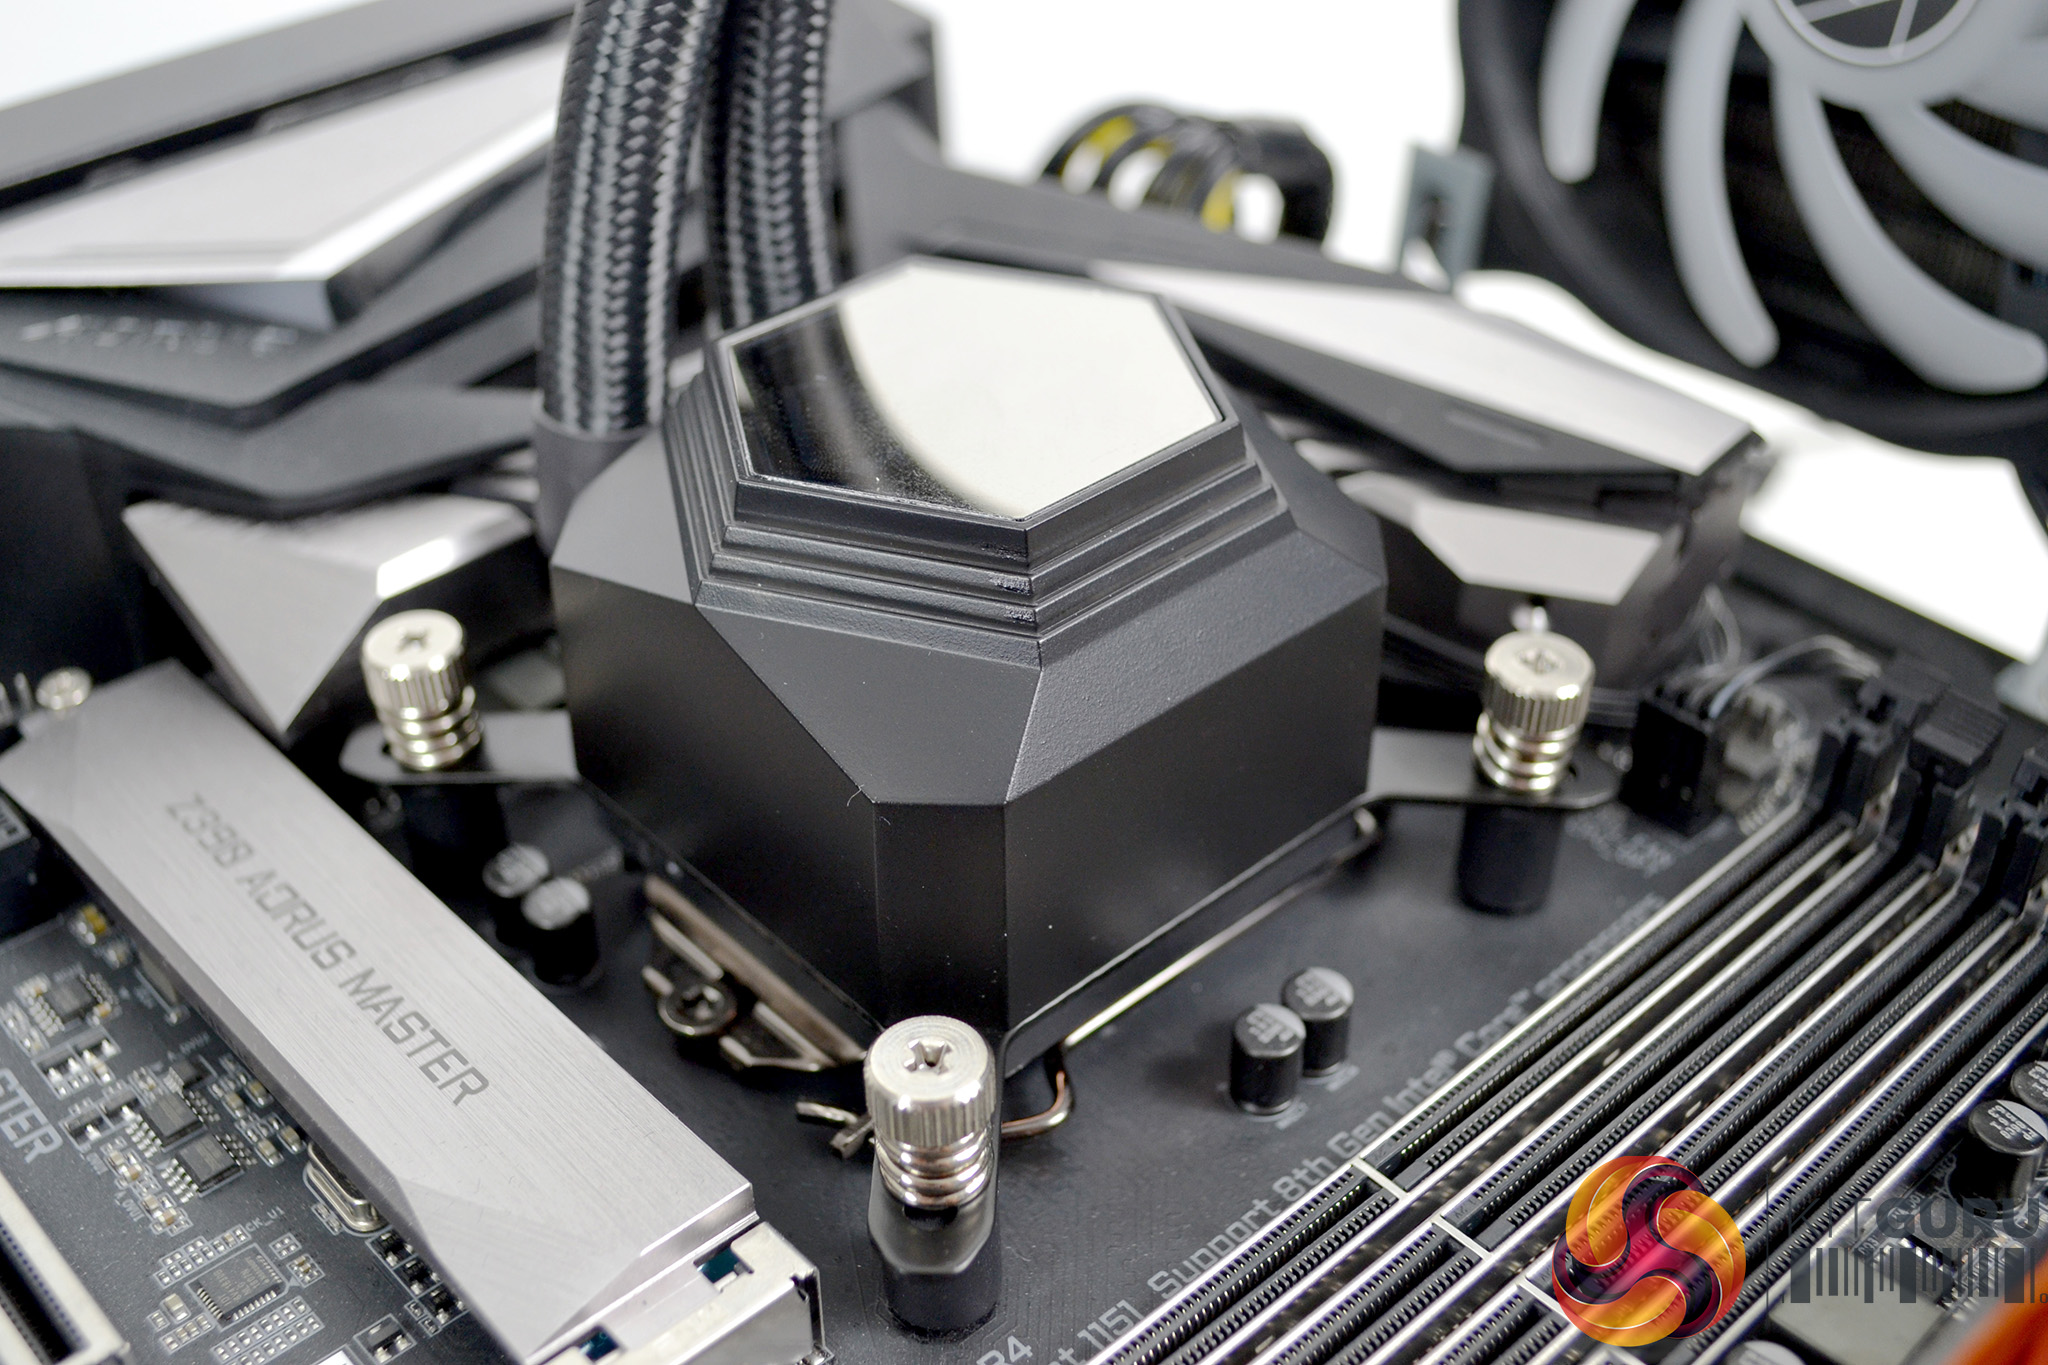
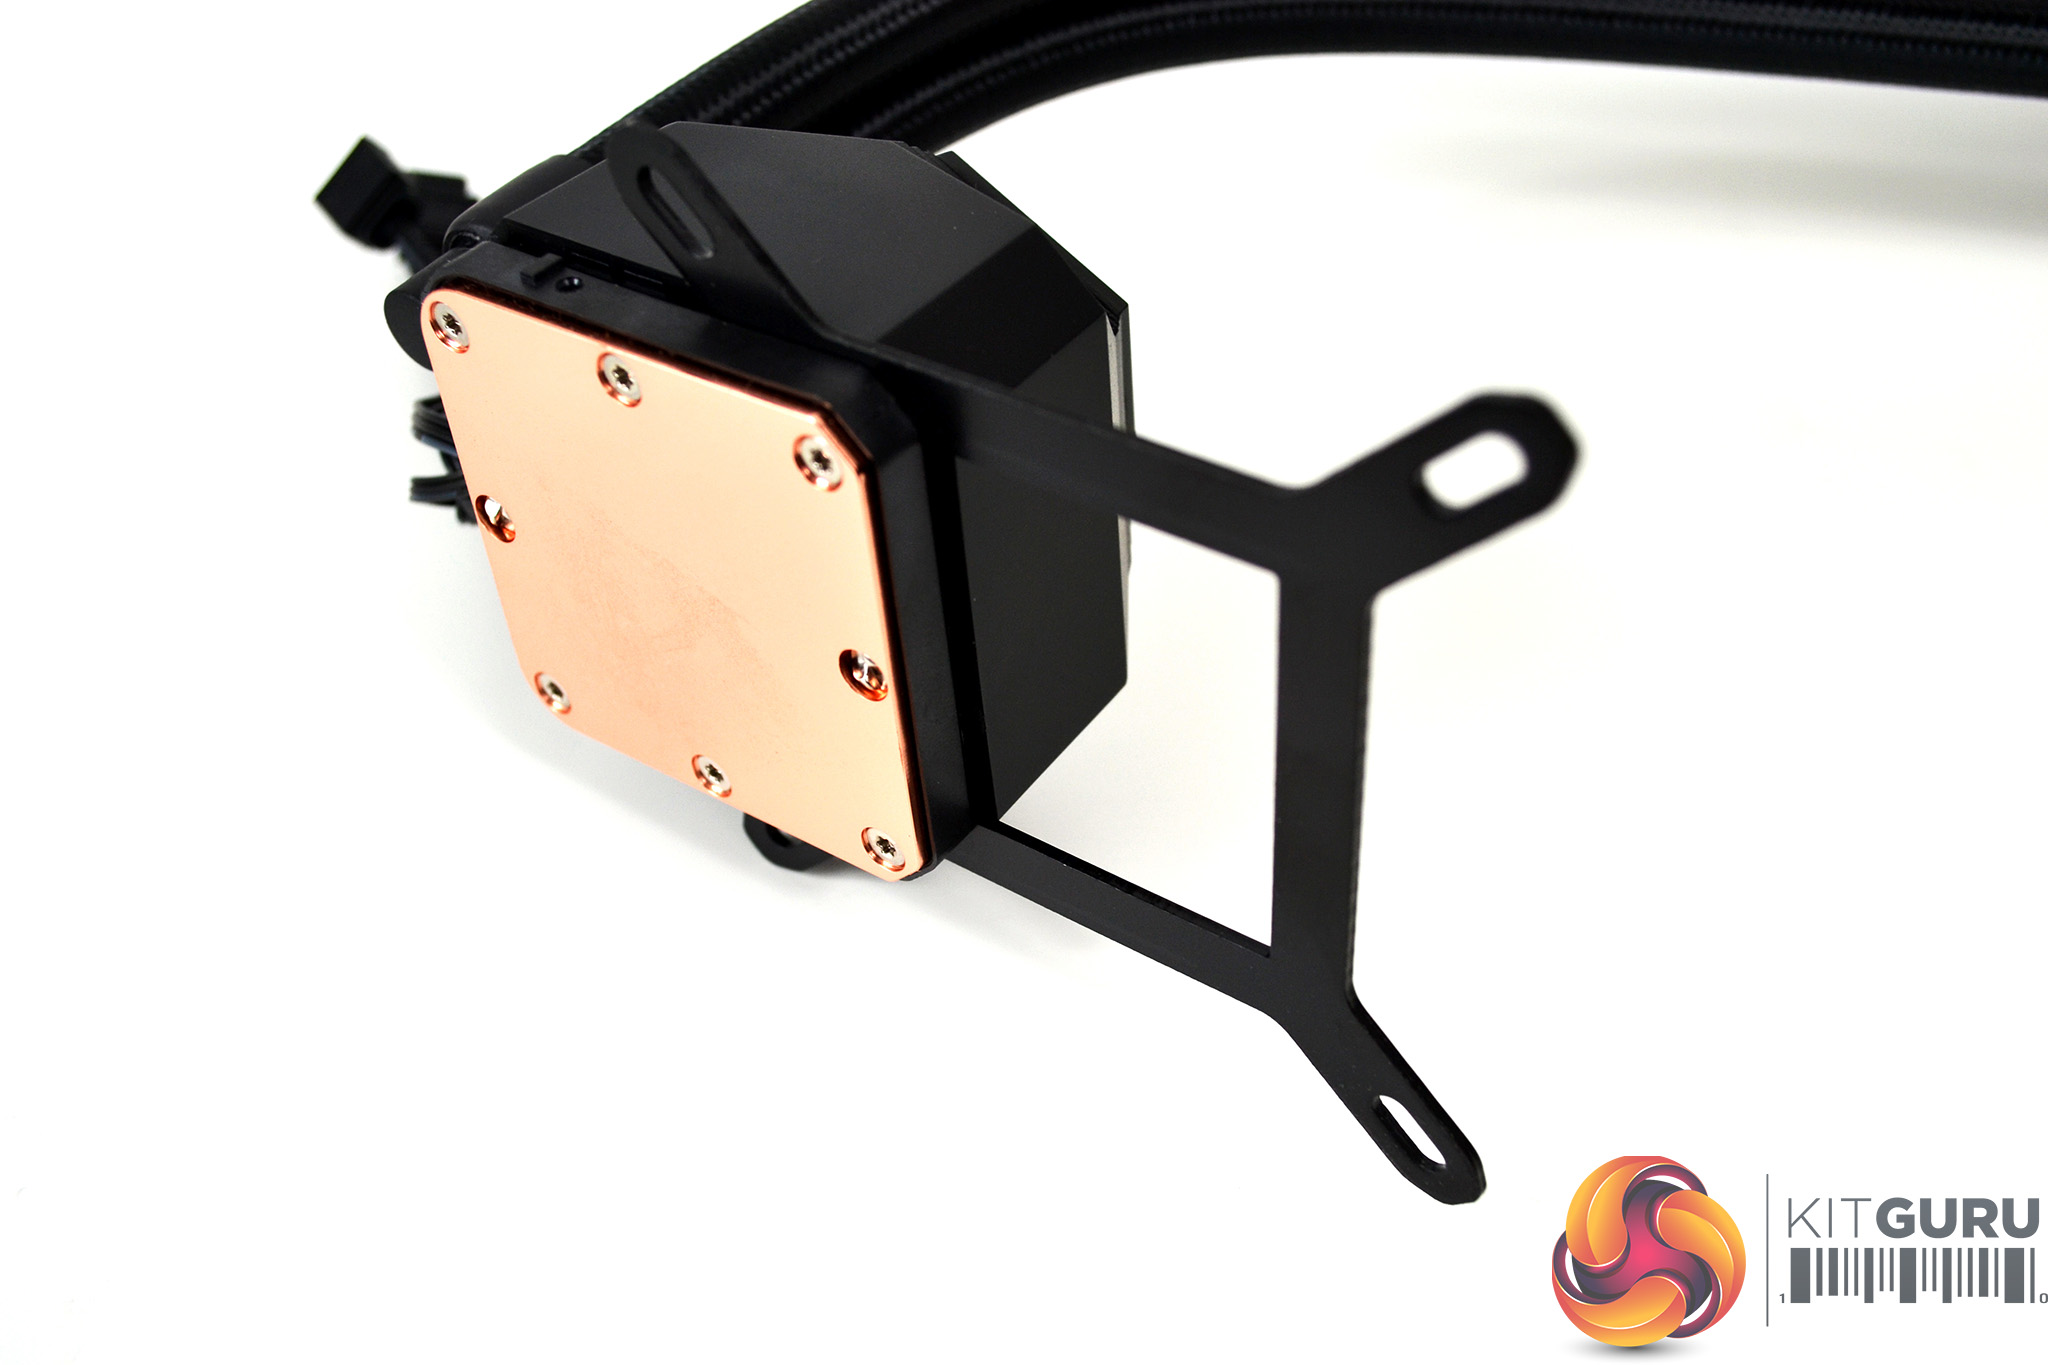
To install the CPU block to the motherboard, remove the protective film from the copper thermal transfer plate, apply thermal compound to the CPU IHS using your chosen method, and lower the CPU block over the mounting screws, aligned with the holes in the bracket. Using the four spring-loaded thumbscrews, tighten down fully in an X pattern to ensure equal pressure is spread over the CPU.
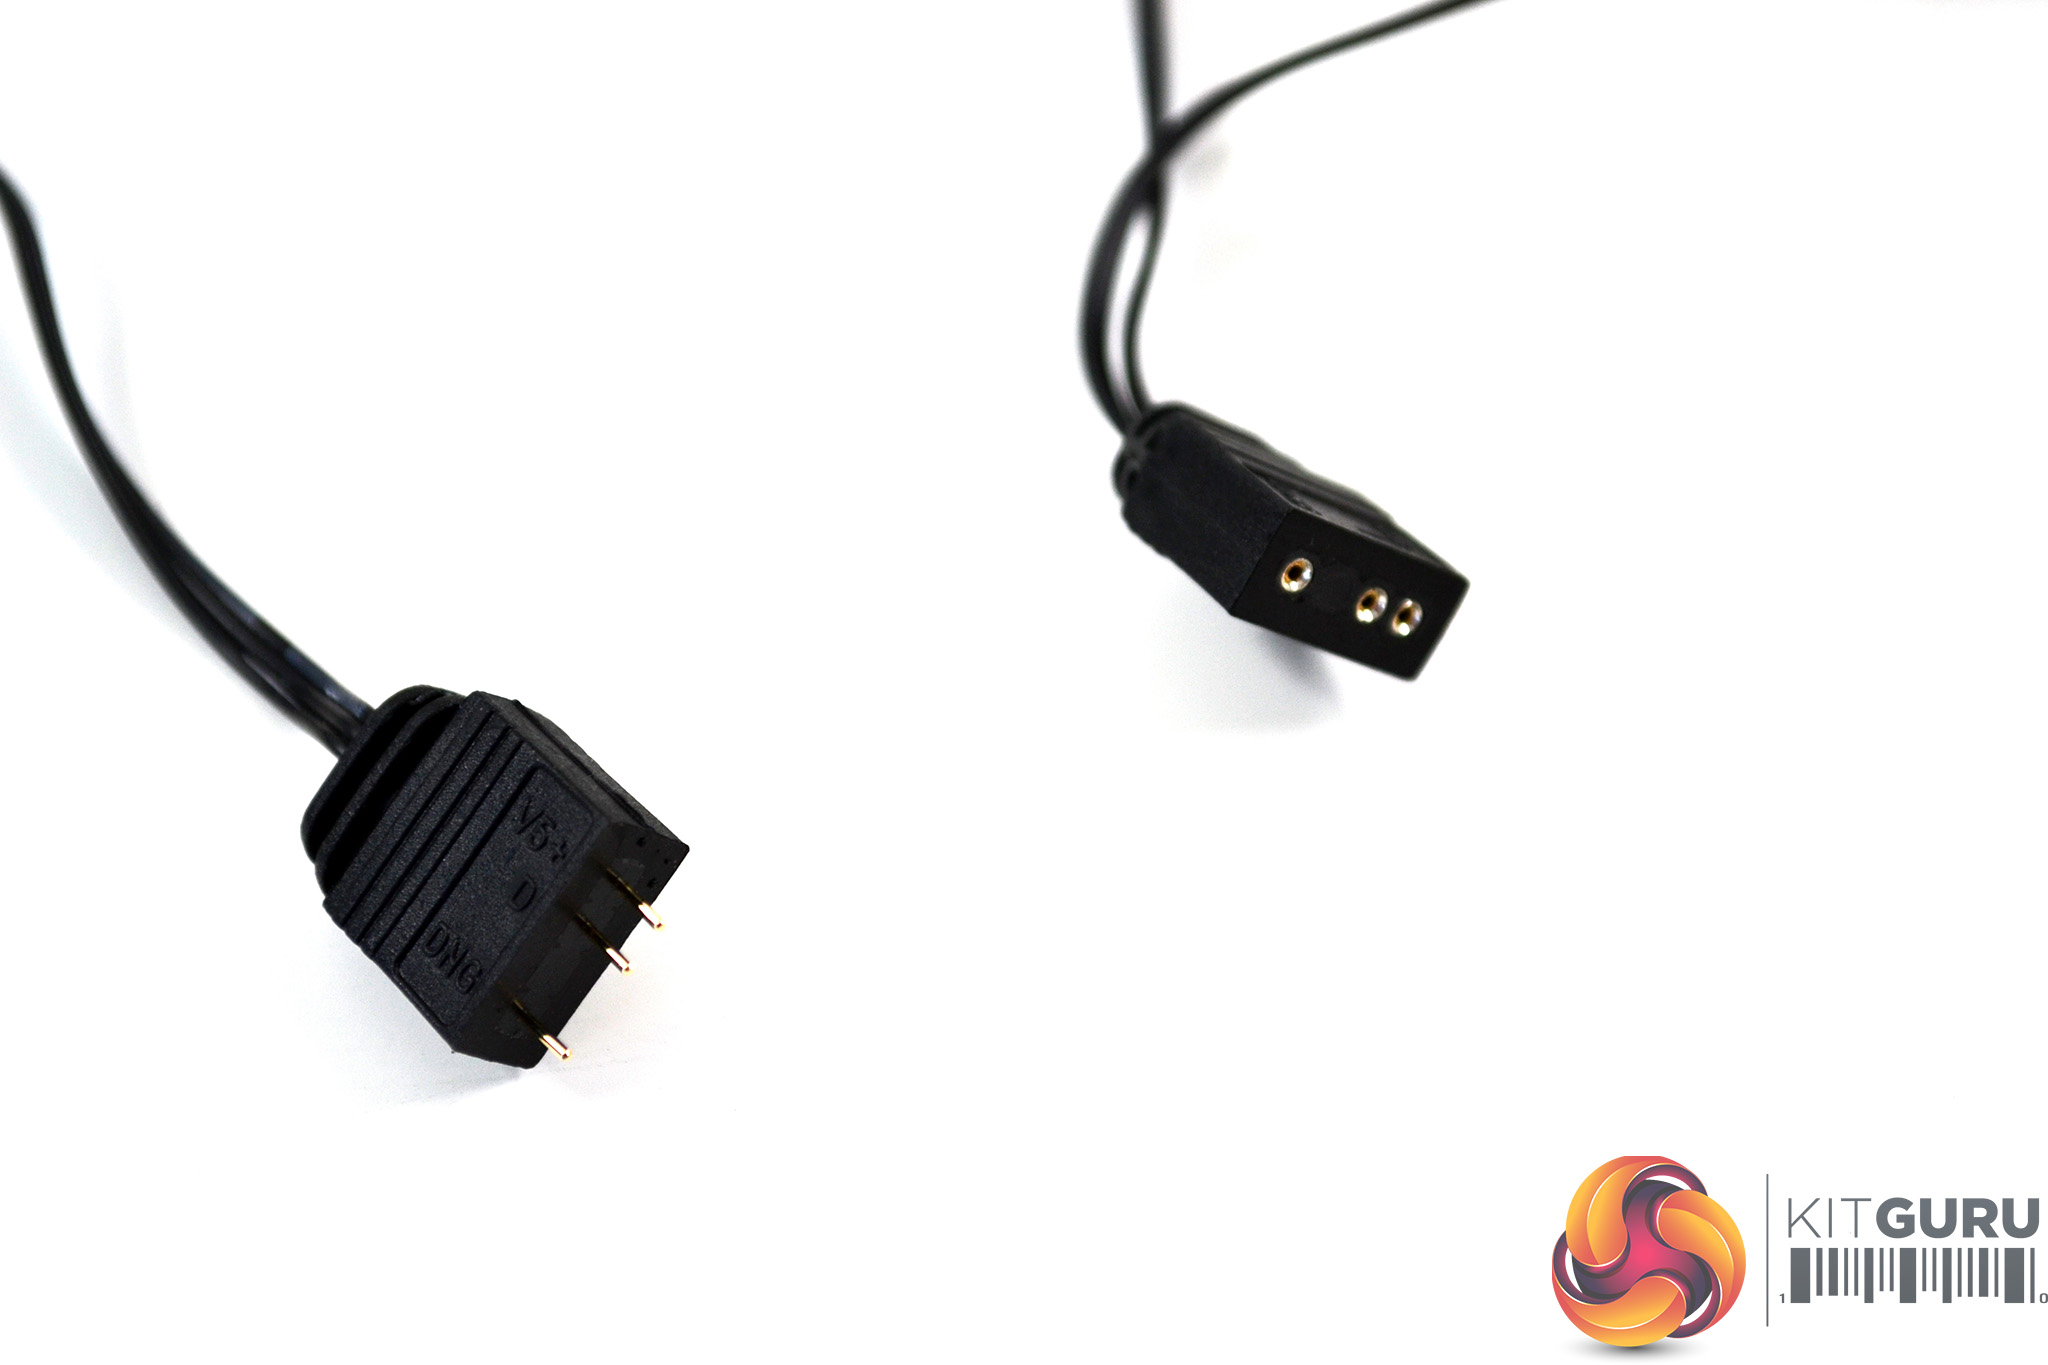
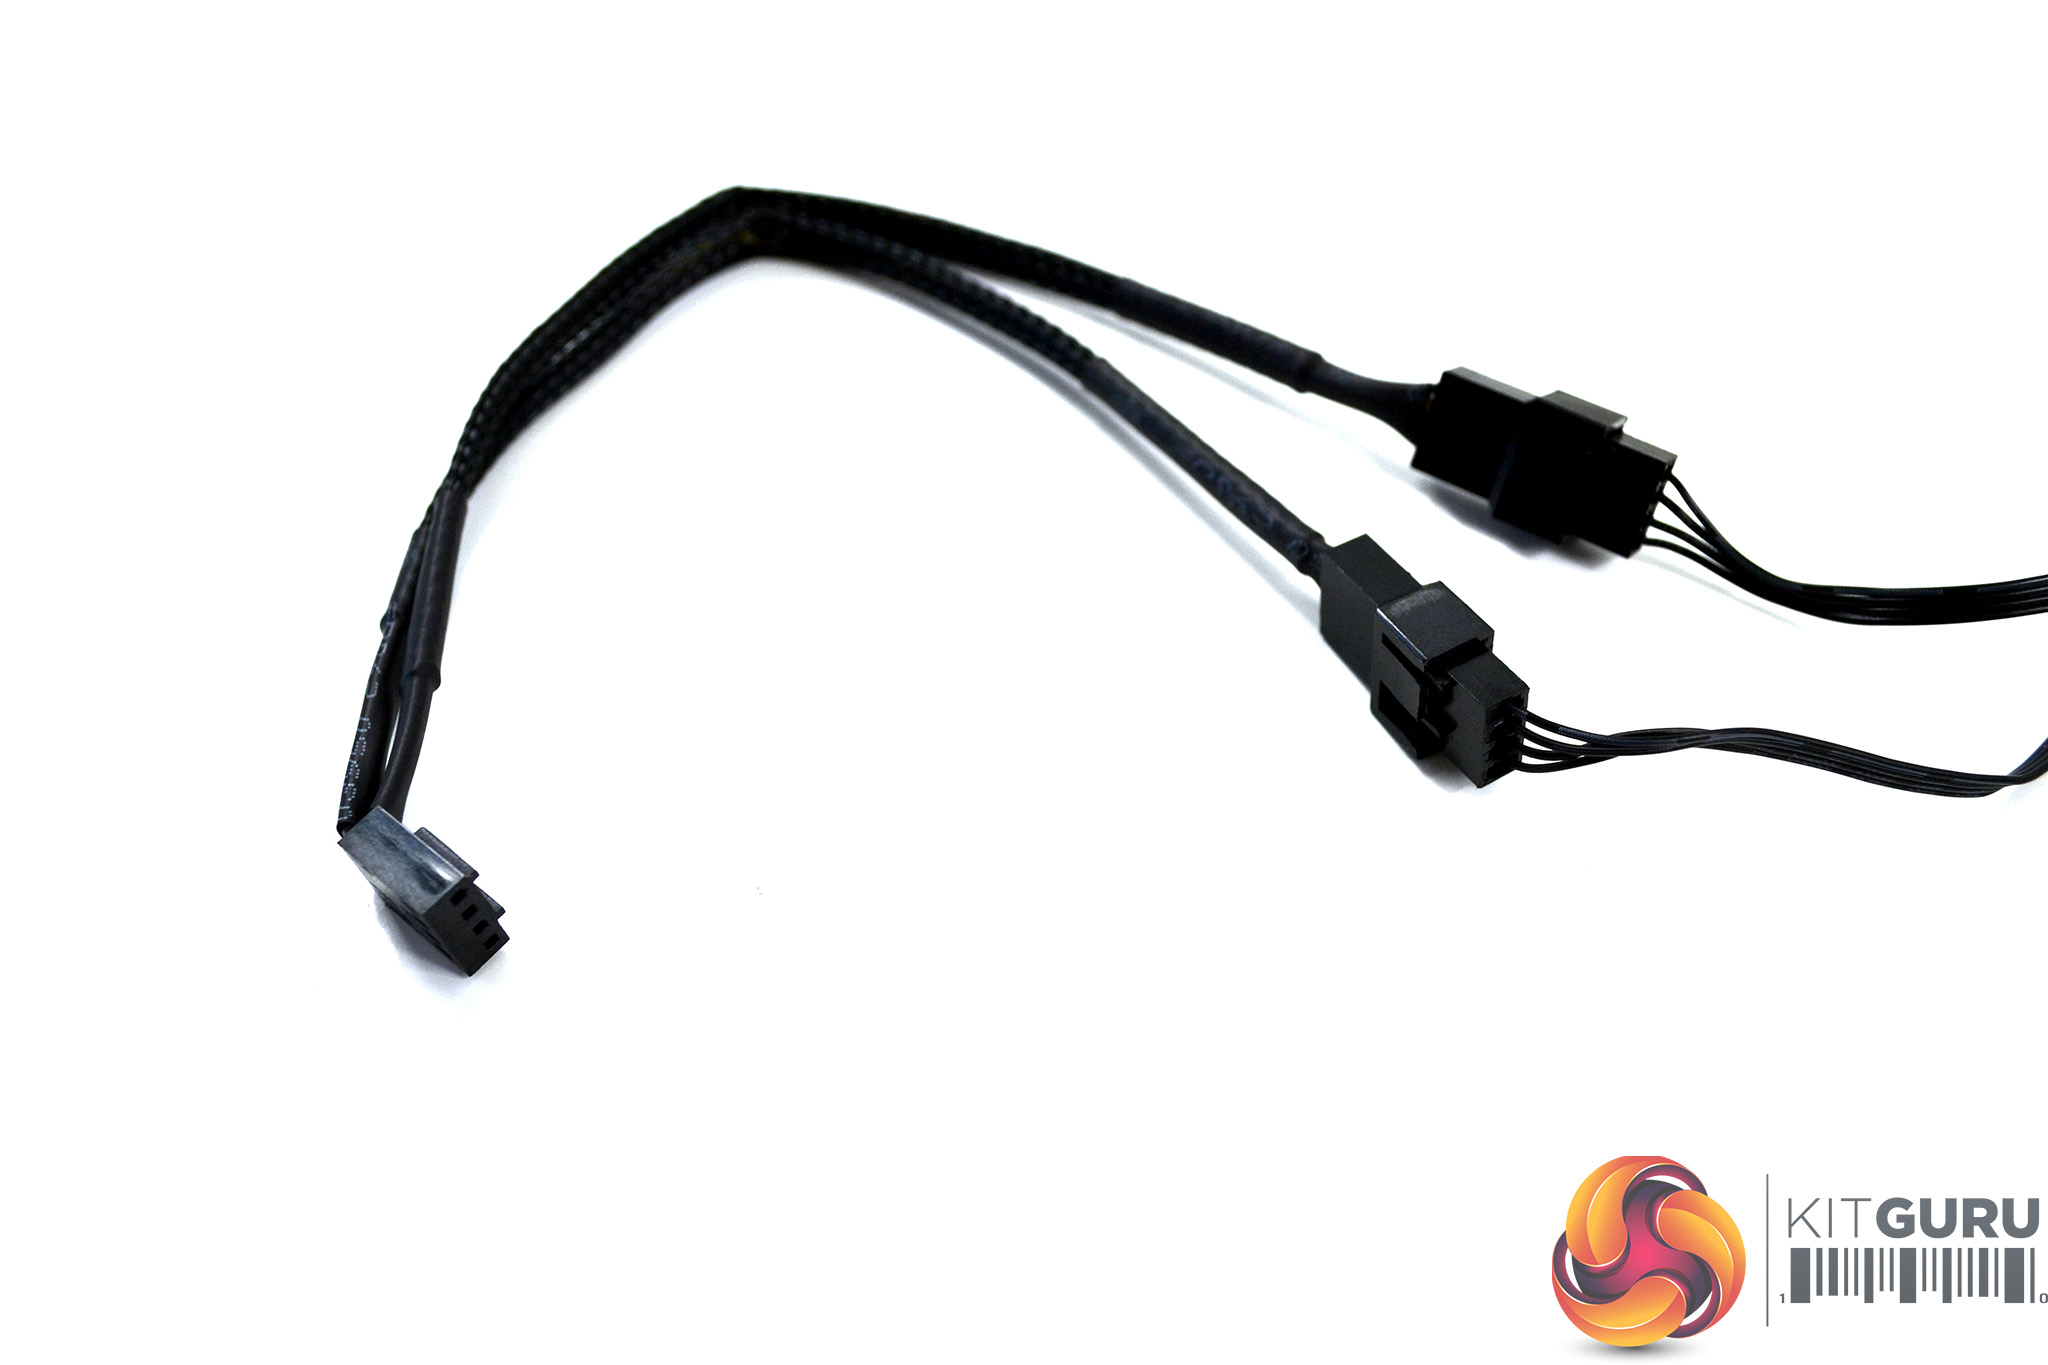
Finally, connect the cables. All the ARGB cables can be connected to each other as SilverStone has integrated handy splitters into them. You can then either connect directly to a motherboard ARGB 3-pin 5V header or use the supplied ARGB controller, which is powered by a SATA power connector.
Be sure to connect the cooler's 3-pin pump cable to the motherboard CPU_OPT header and connect the 4-pin fan cables together with the provided splitter and then to the motherboard CPU_FAN header, for full PWM speed control.
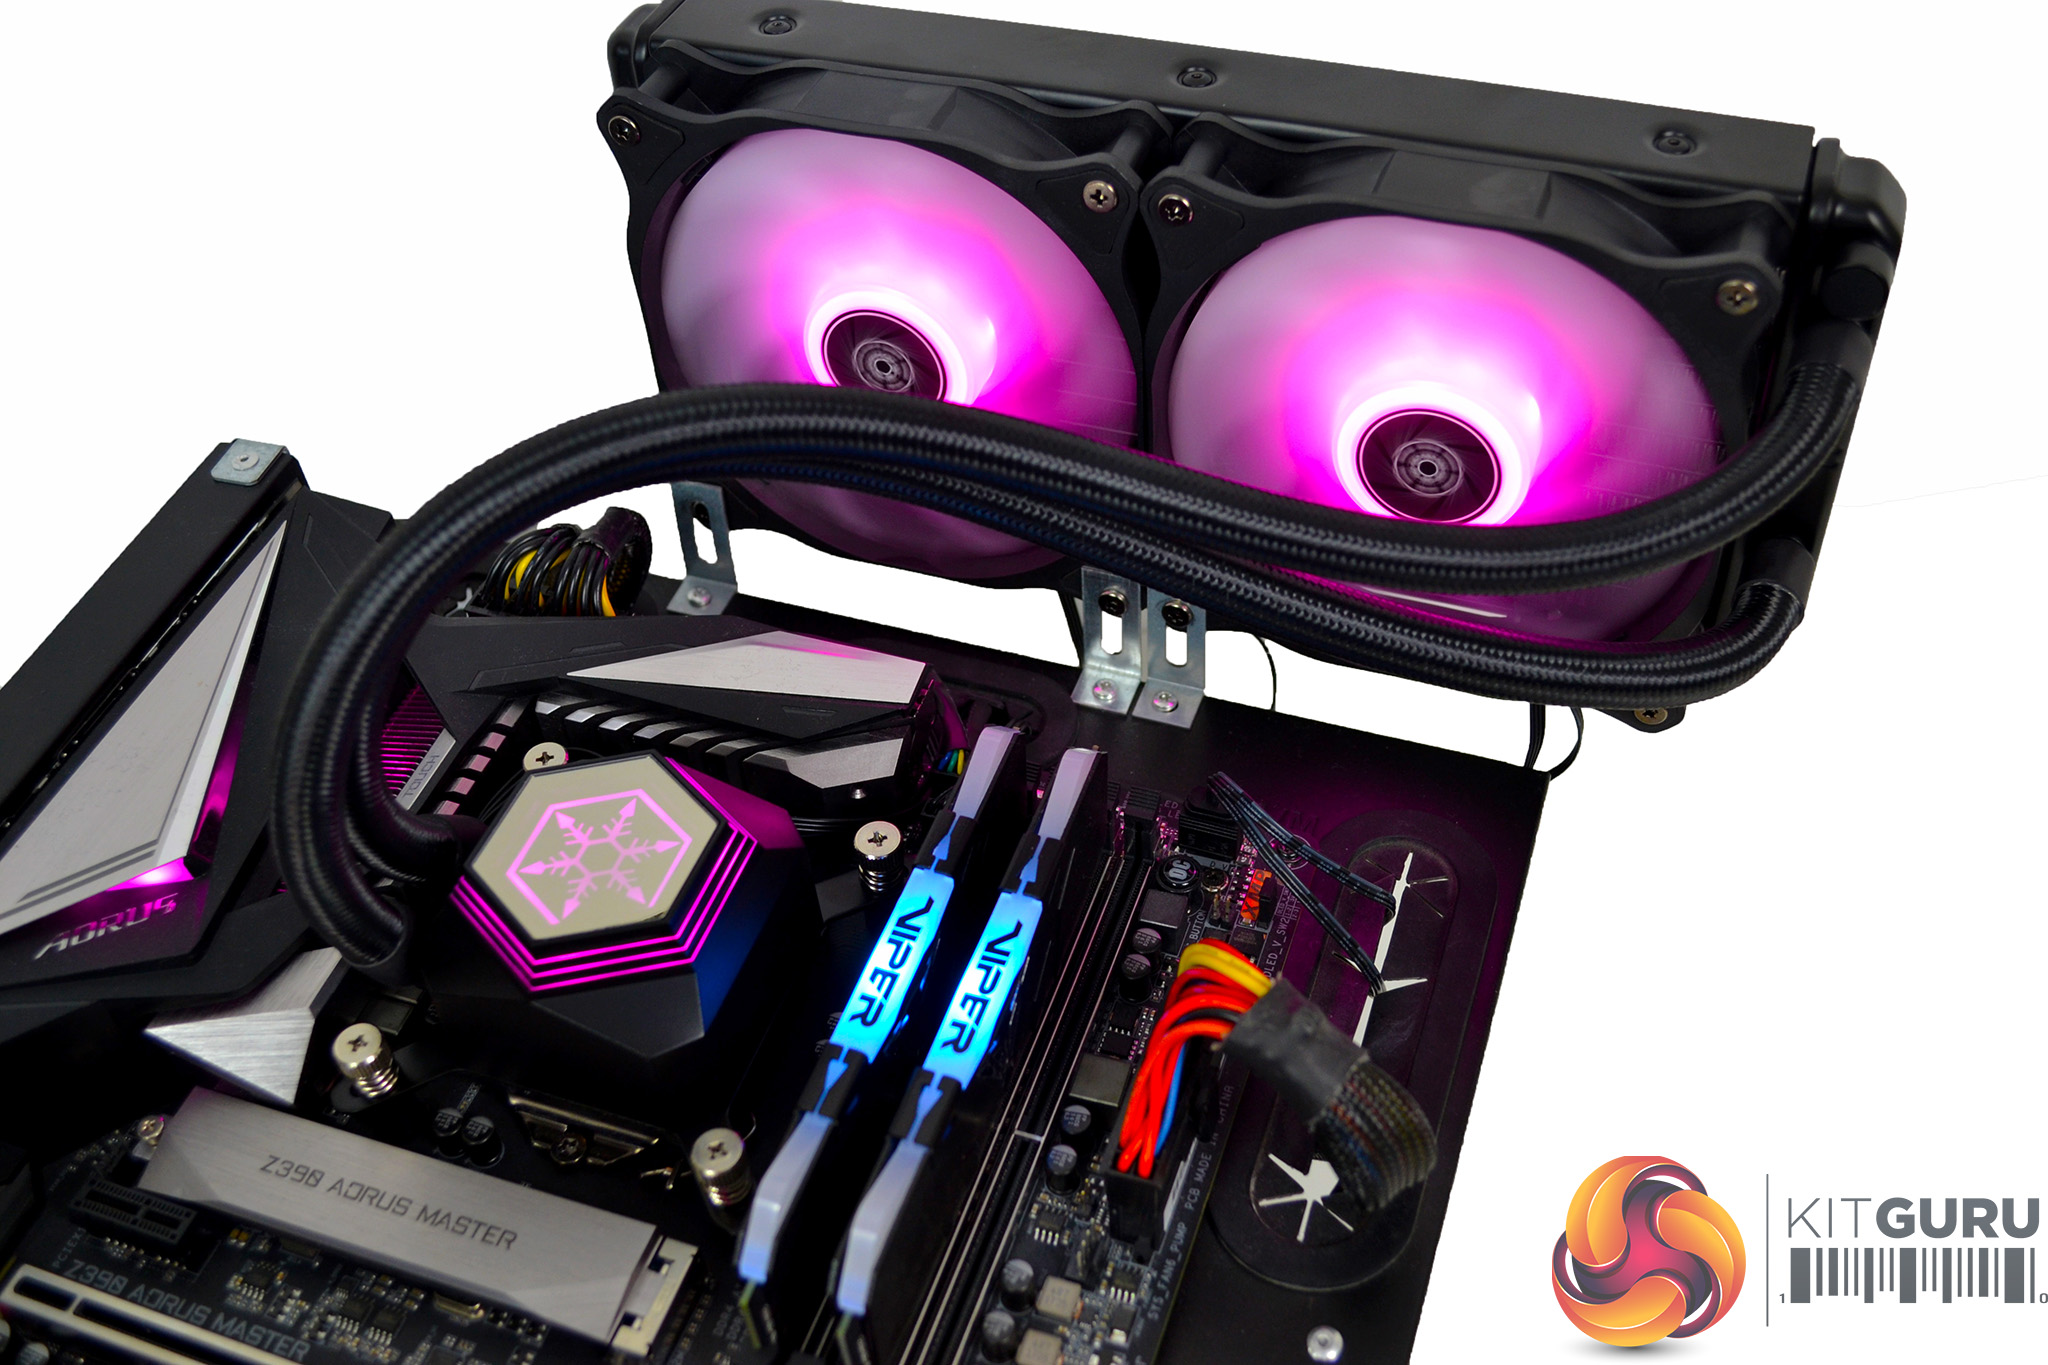
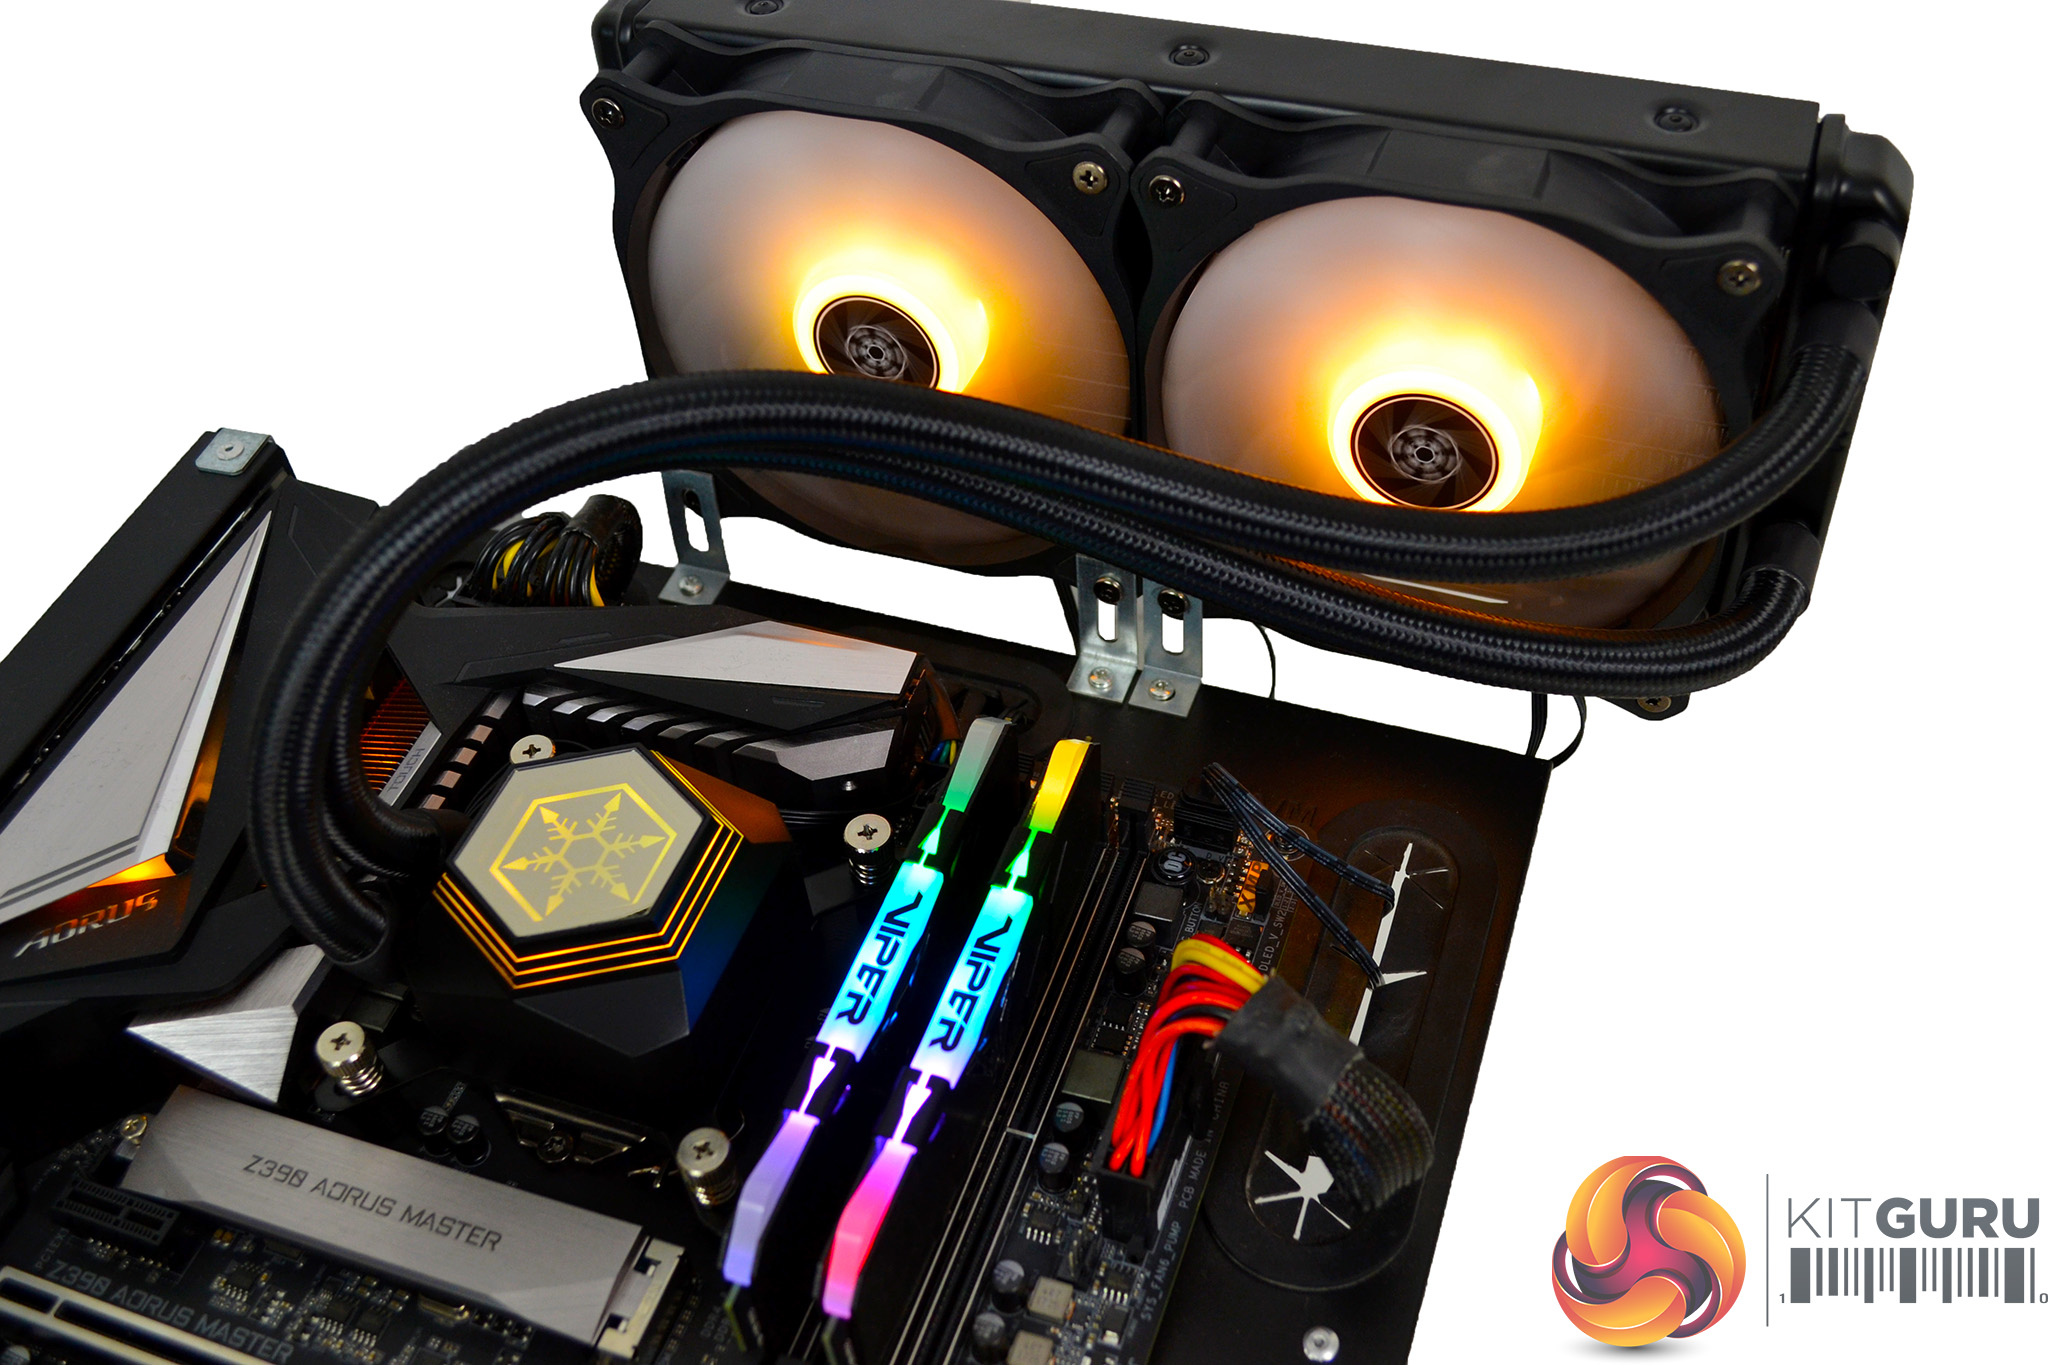
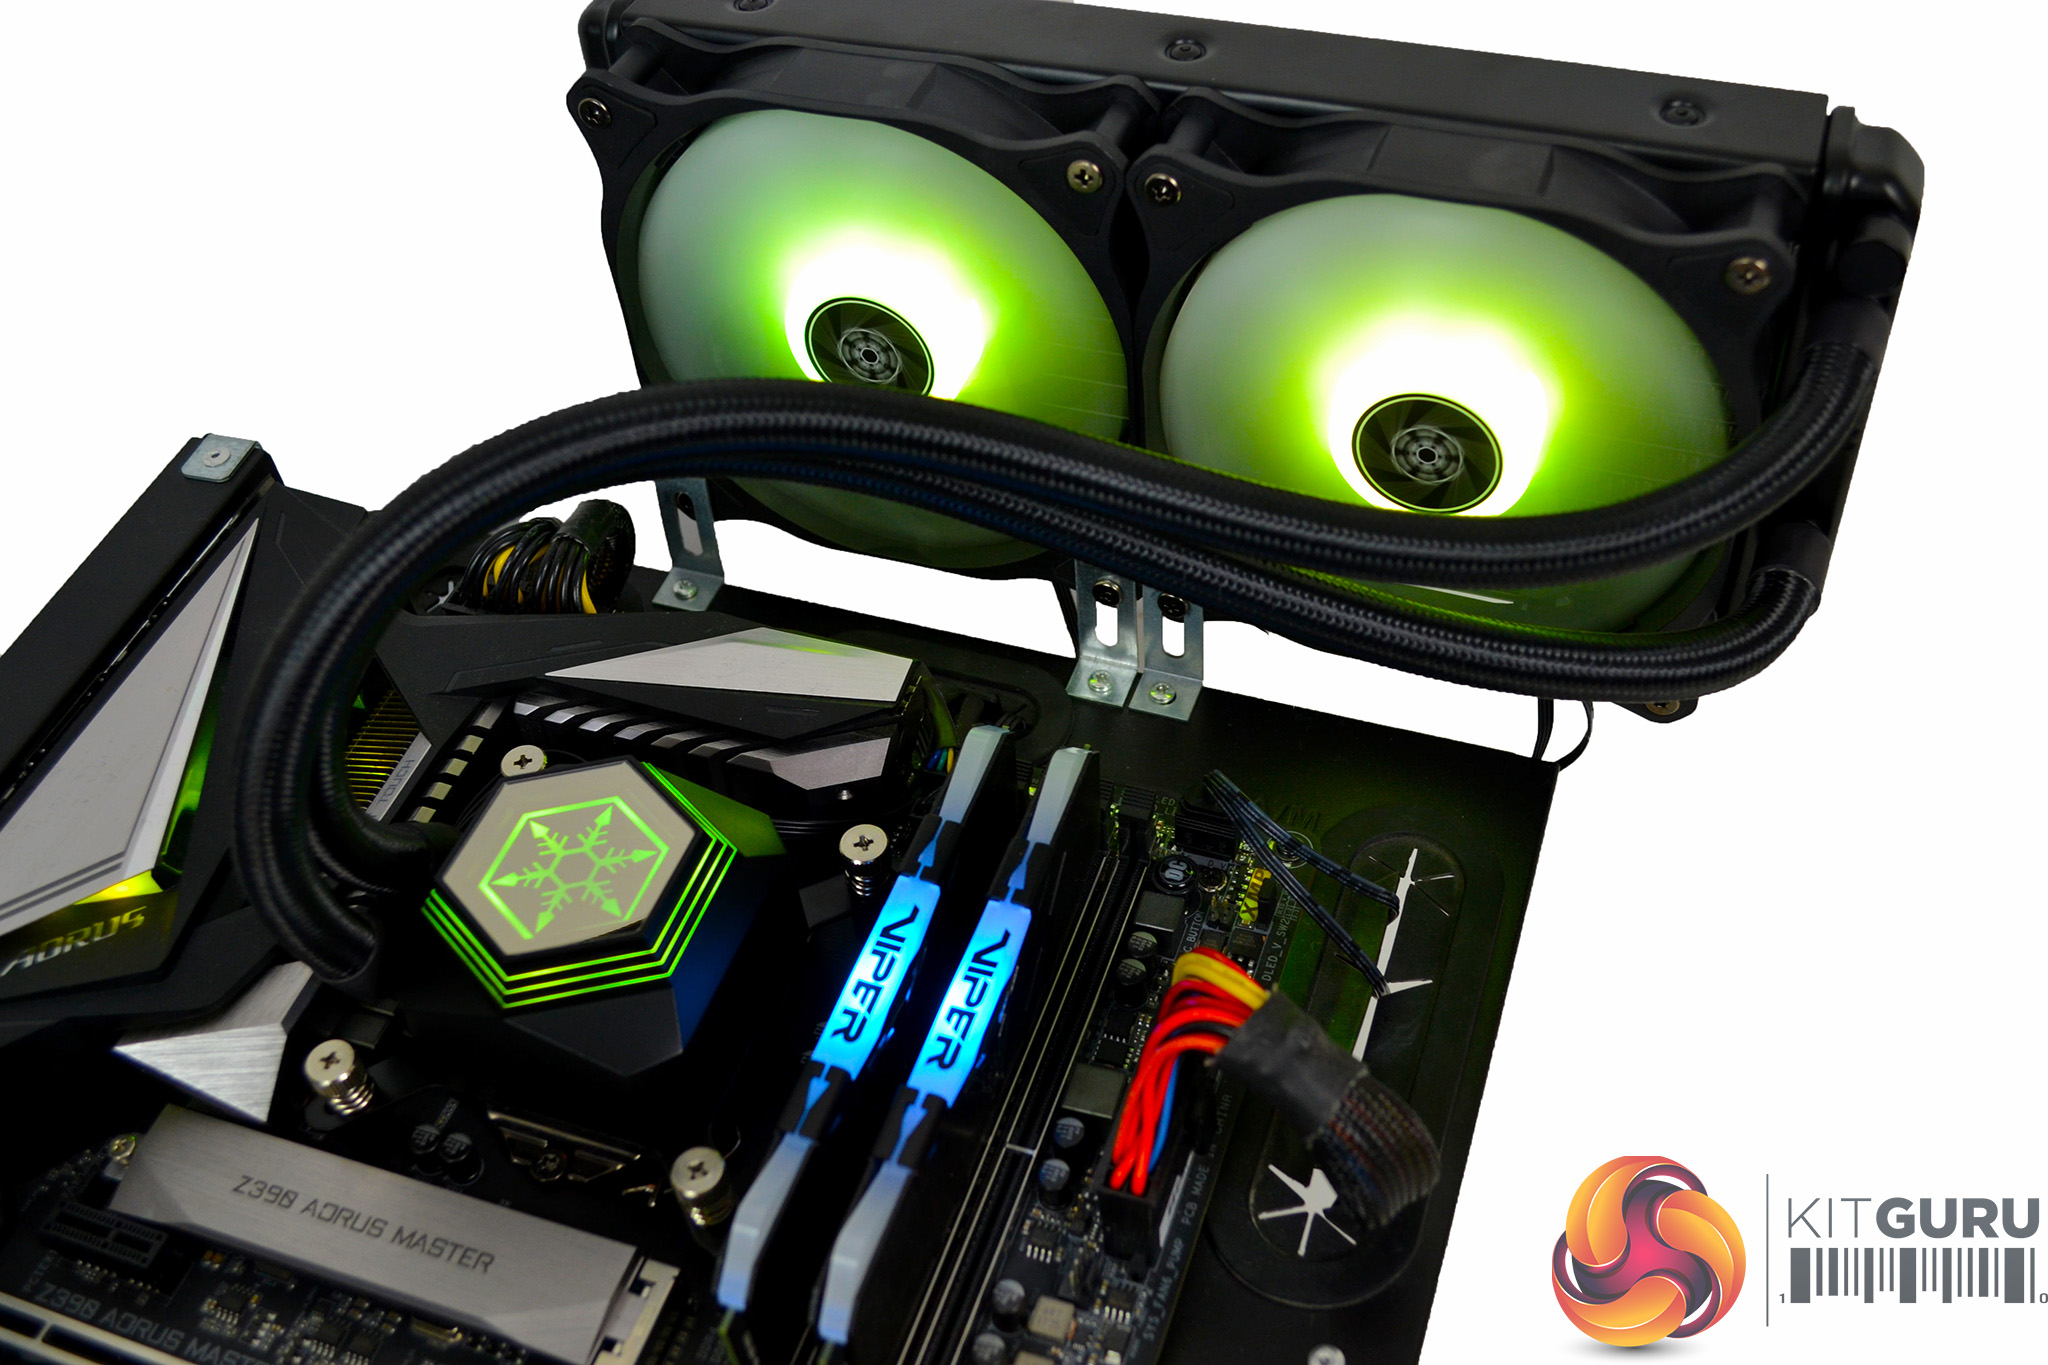
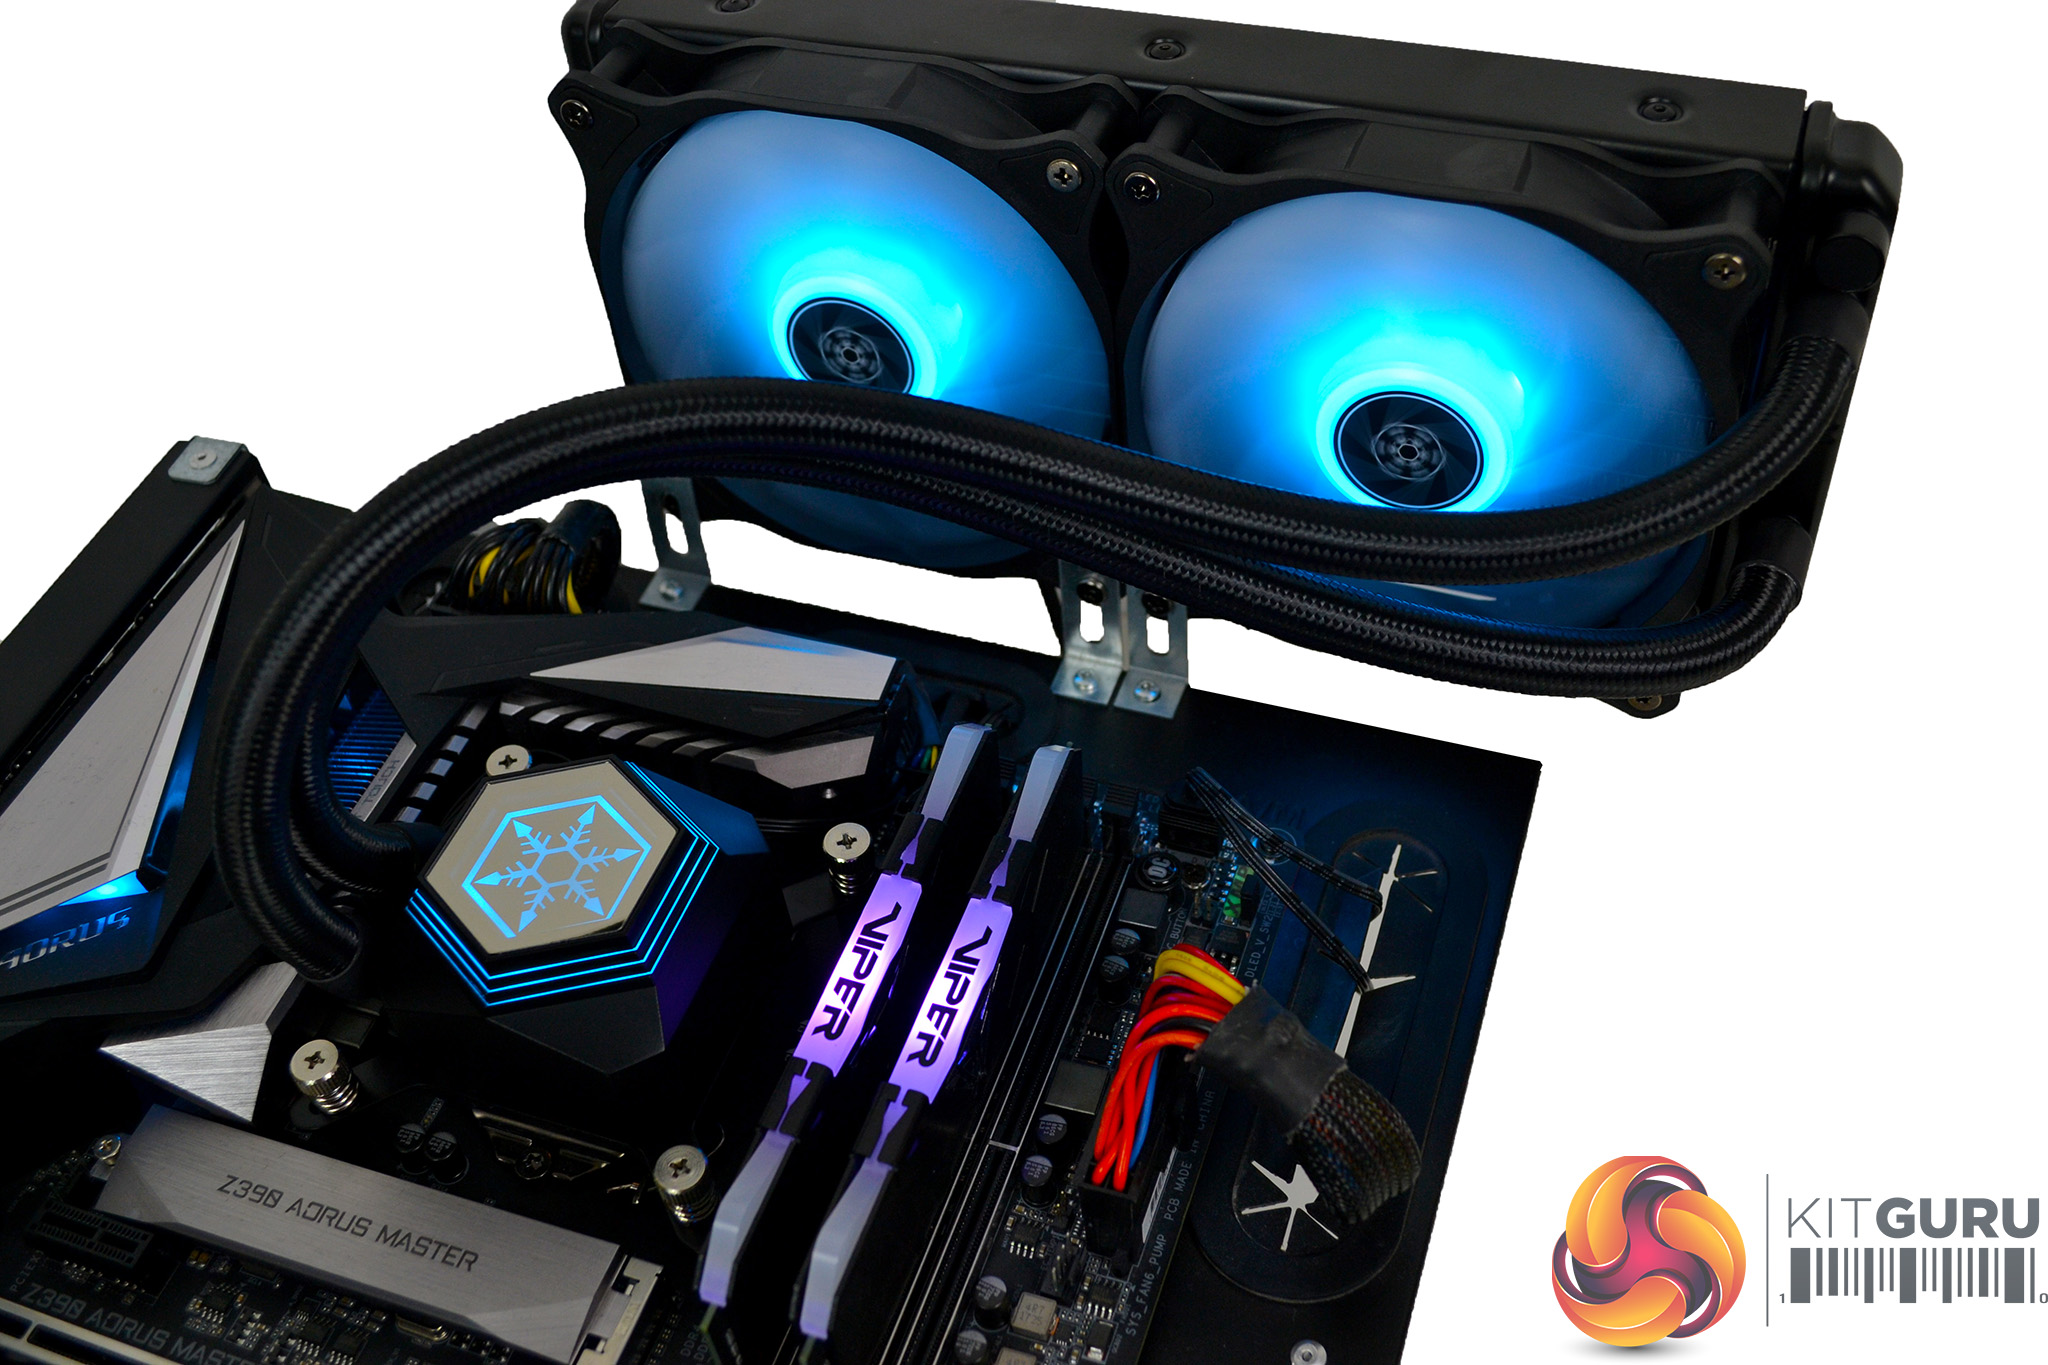
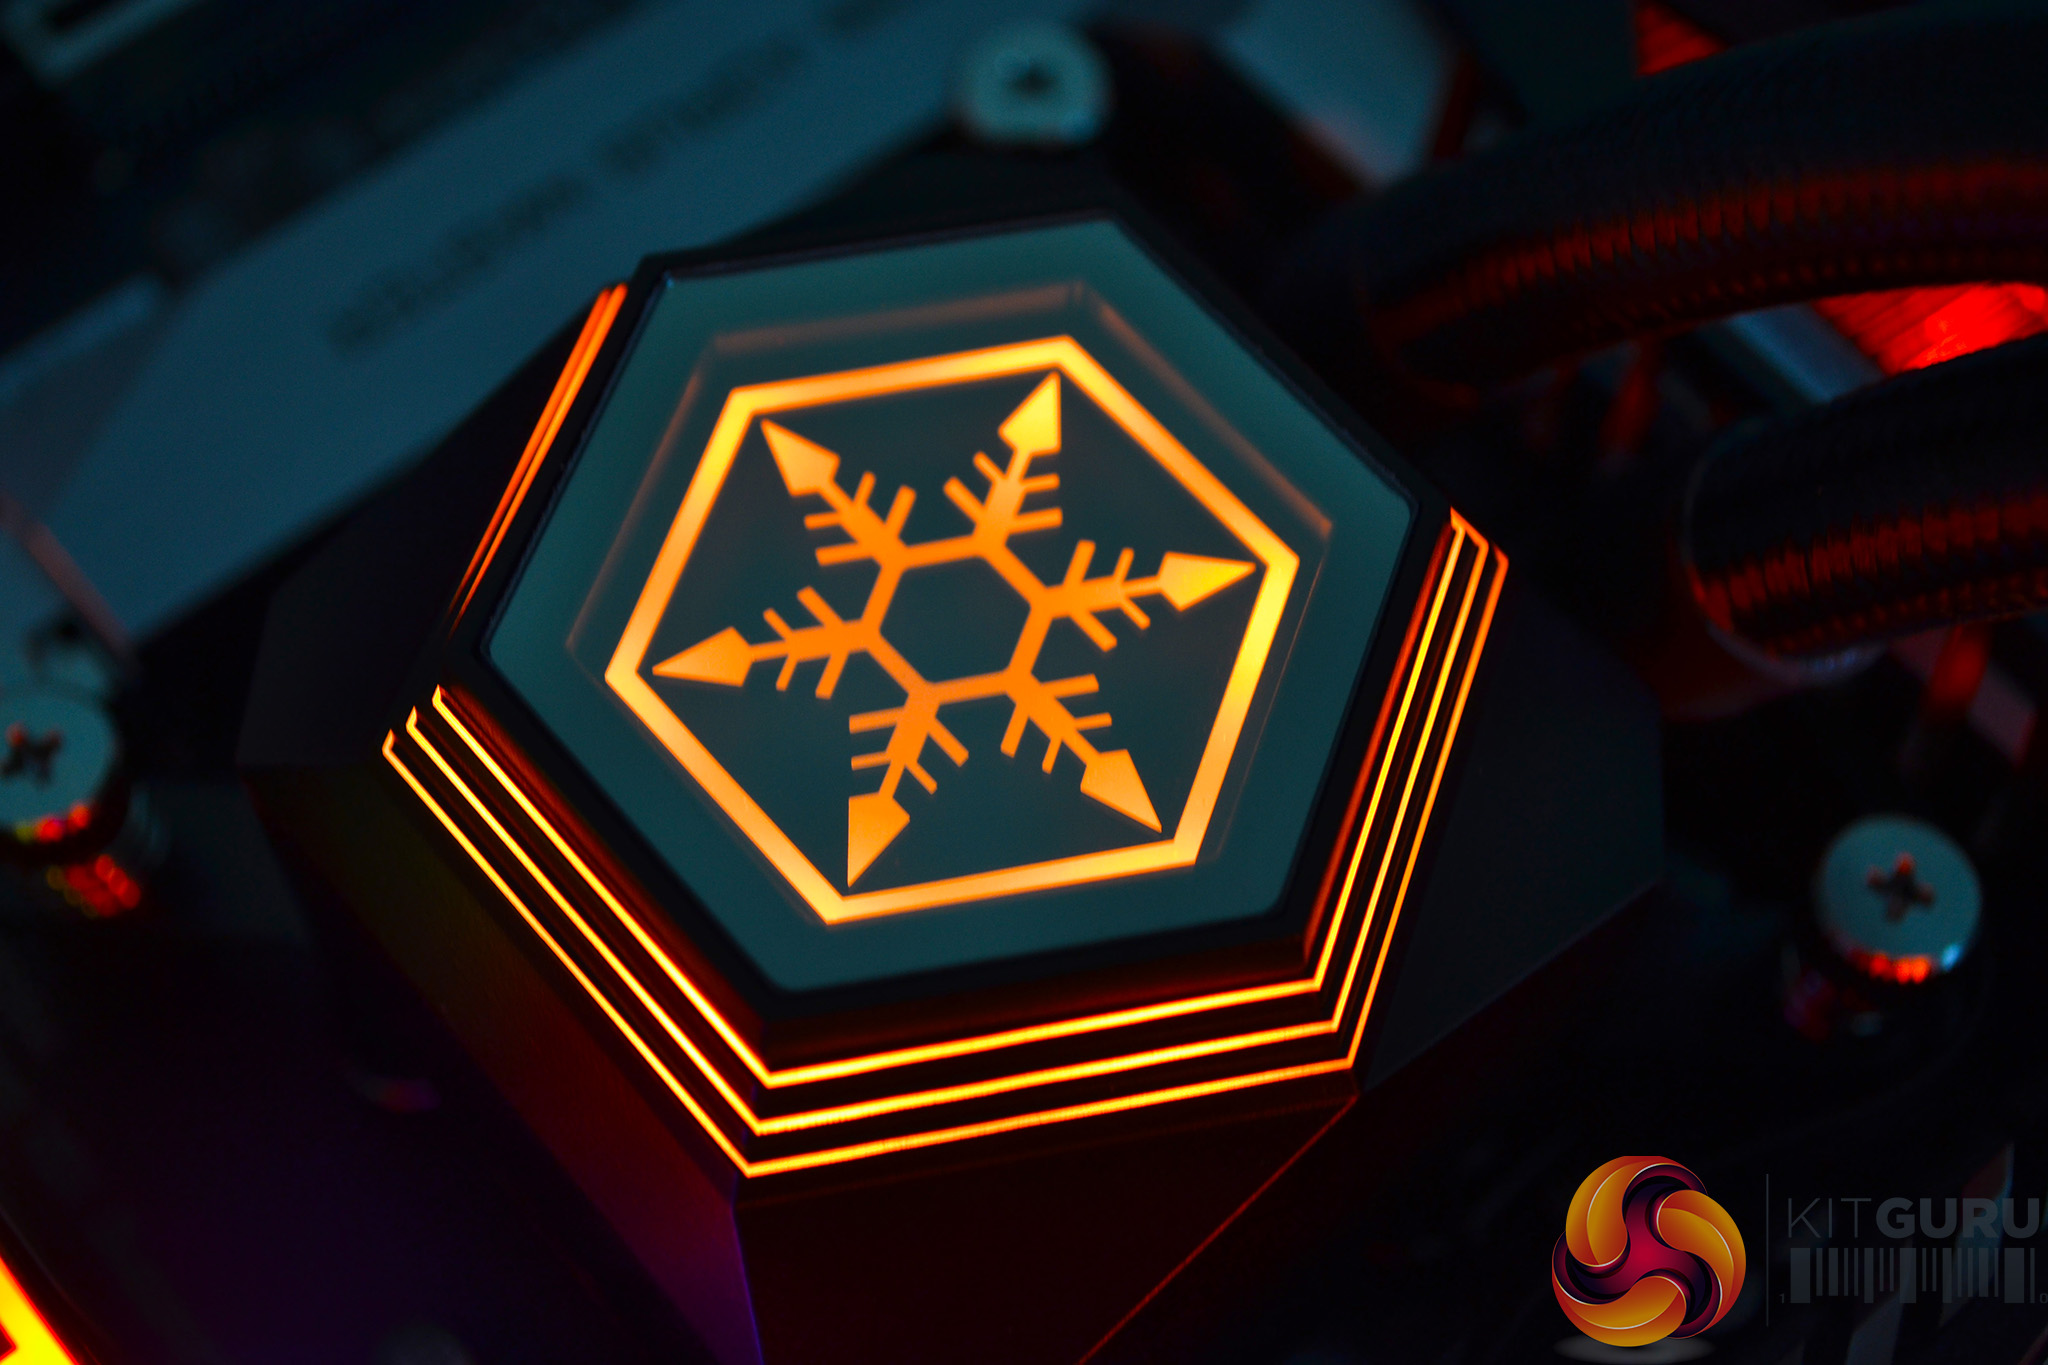
RGB Gallery