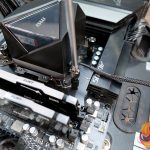
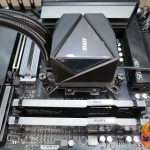
MSI MAG CoreLiquid I360 installation is a very quick and simple process which takes experienced users around 10 minutes. Here we show the installation on our test bench system which is AM5-based, the installation process on Intel platforms is similar but requires an additional backplate to be installed.
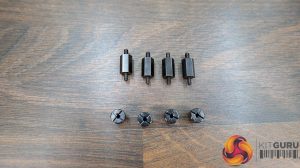
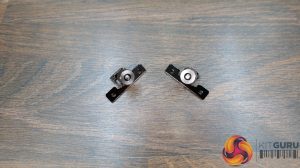
On AMD AM4/AM5 the cooler can be installed either by using the two clip brackets that utilise the stock motherboard upper brackets or a four-post mounting system, we chose the four-post system as it potentially offers more security.
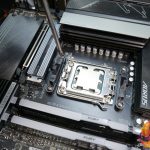
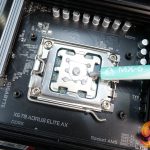
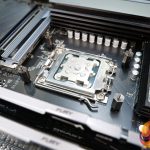
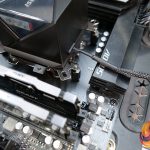
To install the cooler using the four-post mounting system first remove the stock upper mounting brackets from the motherboard, apply some thermal compound to the CPU then screw in the four AMD-specific stand-offs to the stock motherboard backplate.
Next, lower the CPU block down over the CPU socket aligning the stand-offs with the mounting holes on the upper mounting bracket that is attached to the block. Install all four thumbscrews loose to begin with then tighten them down evenly and progressively, Final tightening can be done using a Philips screwdriver.
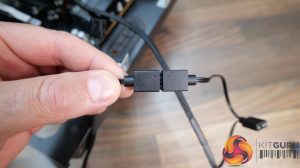
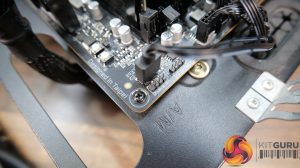
Connect the 3-pin male ARGB splitter cable from the pump to the 3-pin female cable from the fans, then you can either connect the other female end to a motherboard header to control ARGB lighting using motherboard software or alternatively, it can be connected and controlled by a standalone RGB hub.
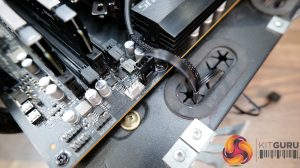
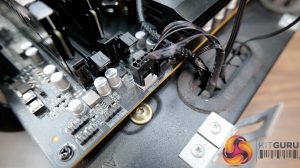
Then connect the 4-pin PWM cable from the pump to the motherboard header (usually labelled CPU-OPT or AIO PUMP) and then connect the 4-pin PWM cable from the fans to the CPU_FAN header on the motherboard.
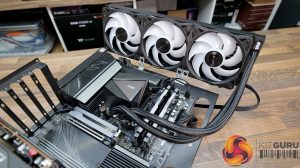
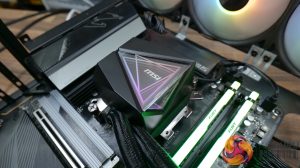
All you need to do now is find a suitable place in your case to mount the radiator which will usually be either in the roof or behind the front panel. There is no additional software required to run the cooler as all the power, fan speed and RGB are connected to the motherboard headers and controlled by the motherboard BIOS or motherboard vendor software.
 KitGuru KitGuru.net – Tech News | Hardware News | Hardware Reviews | IOS | Mobile | Gaming | Graphics Cards


