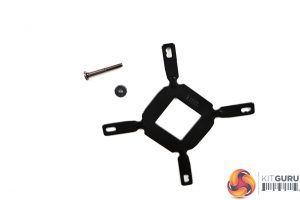
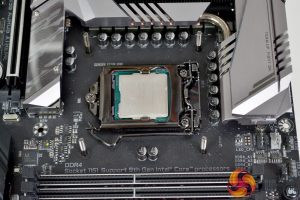
Our test system is Intel Z390 based, therefore, we will be following the relevant Intel 115X socket installation procedure.
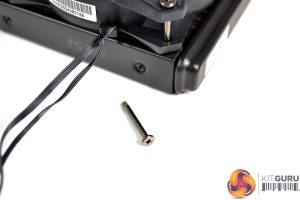
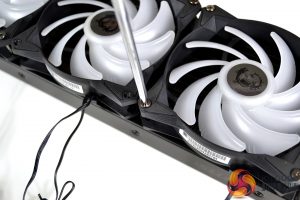
To install the MSI MAG CoreLiquid 360R on our test bench, we can first fit the fans to the radiator. To do this, place the fans in your favoured pull or push configuration on the radiator aligned with the screw holes and fix the fans in position using the twelve long nickel-plated Philips head screws provided.
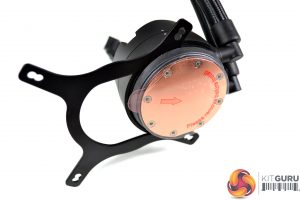
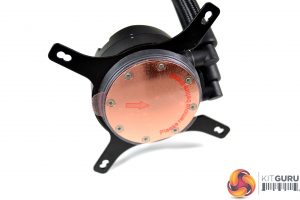
Now that the fans are fitted to the radiator, we can complete the preparation of the cooler by installing the upper mounting bracket to the CPU block. For Z390 platforms, select the Intel upper mounting bracket as shown in the installation manual, locate the bracket in the CPU block groove as show and slide it into position until it is fully engaged.
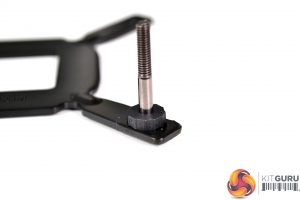
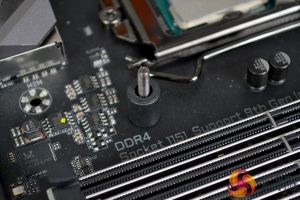
Next up is the preparation of the motherboard. For Intel 115x platforms, select the relevant Intel specific backplate, standoffs and retention washers. Push the nickel-plated standoffs through the holes that correspond to 115x on the backplate and secure the standoffs to the backplate using the plastic retention washers.
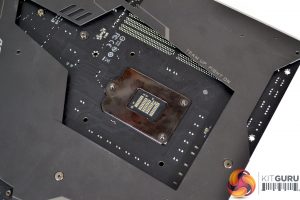
Now working from the back of the motherboard, align the backplate standoffs with the motherboard mounting holes and drop the assembled backplate into position before turning the motherboard back the correct way up.
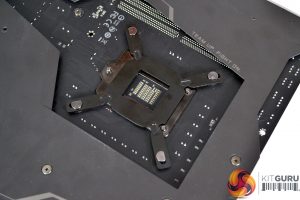
Take the four black plastic spacers and slide them over the standoffs. The spacers are designed to be fitted only one way around and, in this orientation, they grip on to the standoffs to hold the backplate in position while the rest of the installation is being completed.
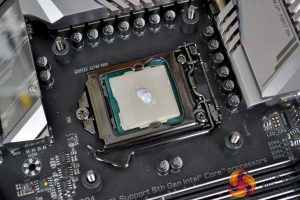
Since the MSI MAG CoreLiquid 360R has no pre-applied thermal compound coating of the thermal transfer plate, use the small tube of thermal compound and apply it to the CPU IHS using your preferred method. A pea-size blob in the middle of the CPU HIS usually works well but other methods are also just as effective.
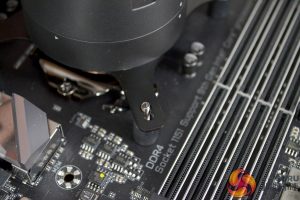
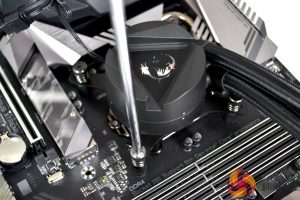
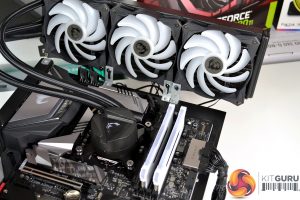
Once the thermal compound coating is applied, remove the protective label from the underside of the CPU block and lower the block down over the CPU with the holes in the upper mounting bracket aligned with the standoffs. Using the four spring-loaded thumbscrews, tighten the CPU block progressively in position in an X shape pattern to evenly spread the pressure across the CPU heat spreader for an optimal block to CPU contact.
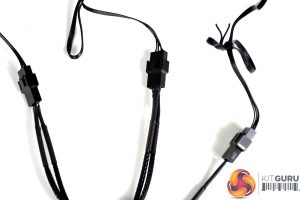
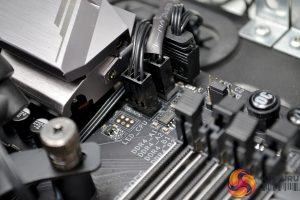
MSI has opted for standard cable connections throughout the MAG CoreLiquid 360R which means connecting up the cables is a simple job. Use the provided 4-pin PWM fan splitter cable to connect all three fans together, then connect the female end of the cable to the motherboard CPU_FAN header.
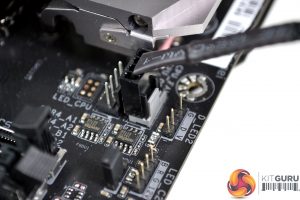
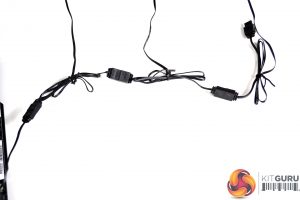
Connect the 3-pin pump cable to the CPU_OPT or AIO PUMP header on the motherboard, daisy chain all the RGB cables together and connect the last female RGB cable to a 5v 3-pin ARGB header on the motherboard for control and synchronisation of RGB lighting using the motherboard RGB software or BIOS.
That completes the installation on an Intel platform, the whole process isn’t too difficult. On our test bench the installation takes approximately 15 minutes to complete, it may take a little longer with the system installed inside a PC case, but even the most novice DIY system builder shouldn’t find it too challenging.
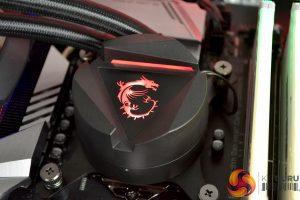
RGB Gallery
 KitGuru KitGuru.net – Tech News | Hardware News | Hardware Reviews | IOS | Mobile | Gaming | Graphics Cards


