

Enermax Liqmaxflo installation is a very quick and simple process which takes experienced users around 10-15 minutes. Here we show the installation on our test bench system which is AM5-based, but the installation process on other platforms is very similar.


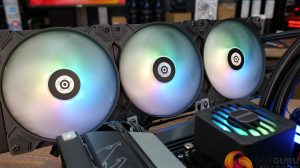
The first step of the installation is to attach the fans to the radiator using the long bright chrome screws provided. You can Install the fans either in push or pull configuration depending on your preference. Connect the fans using the link cables and then attach the PWM / ARGB adaptor extension to the end.
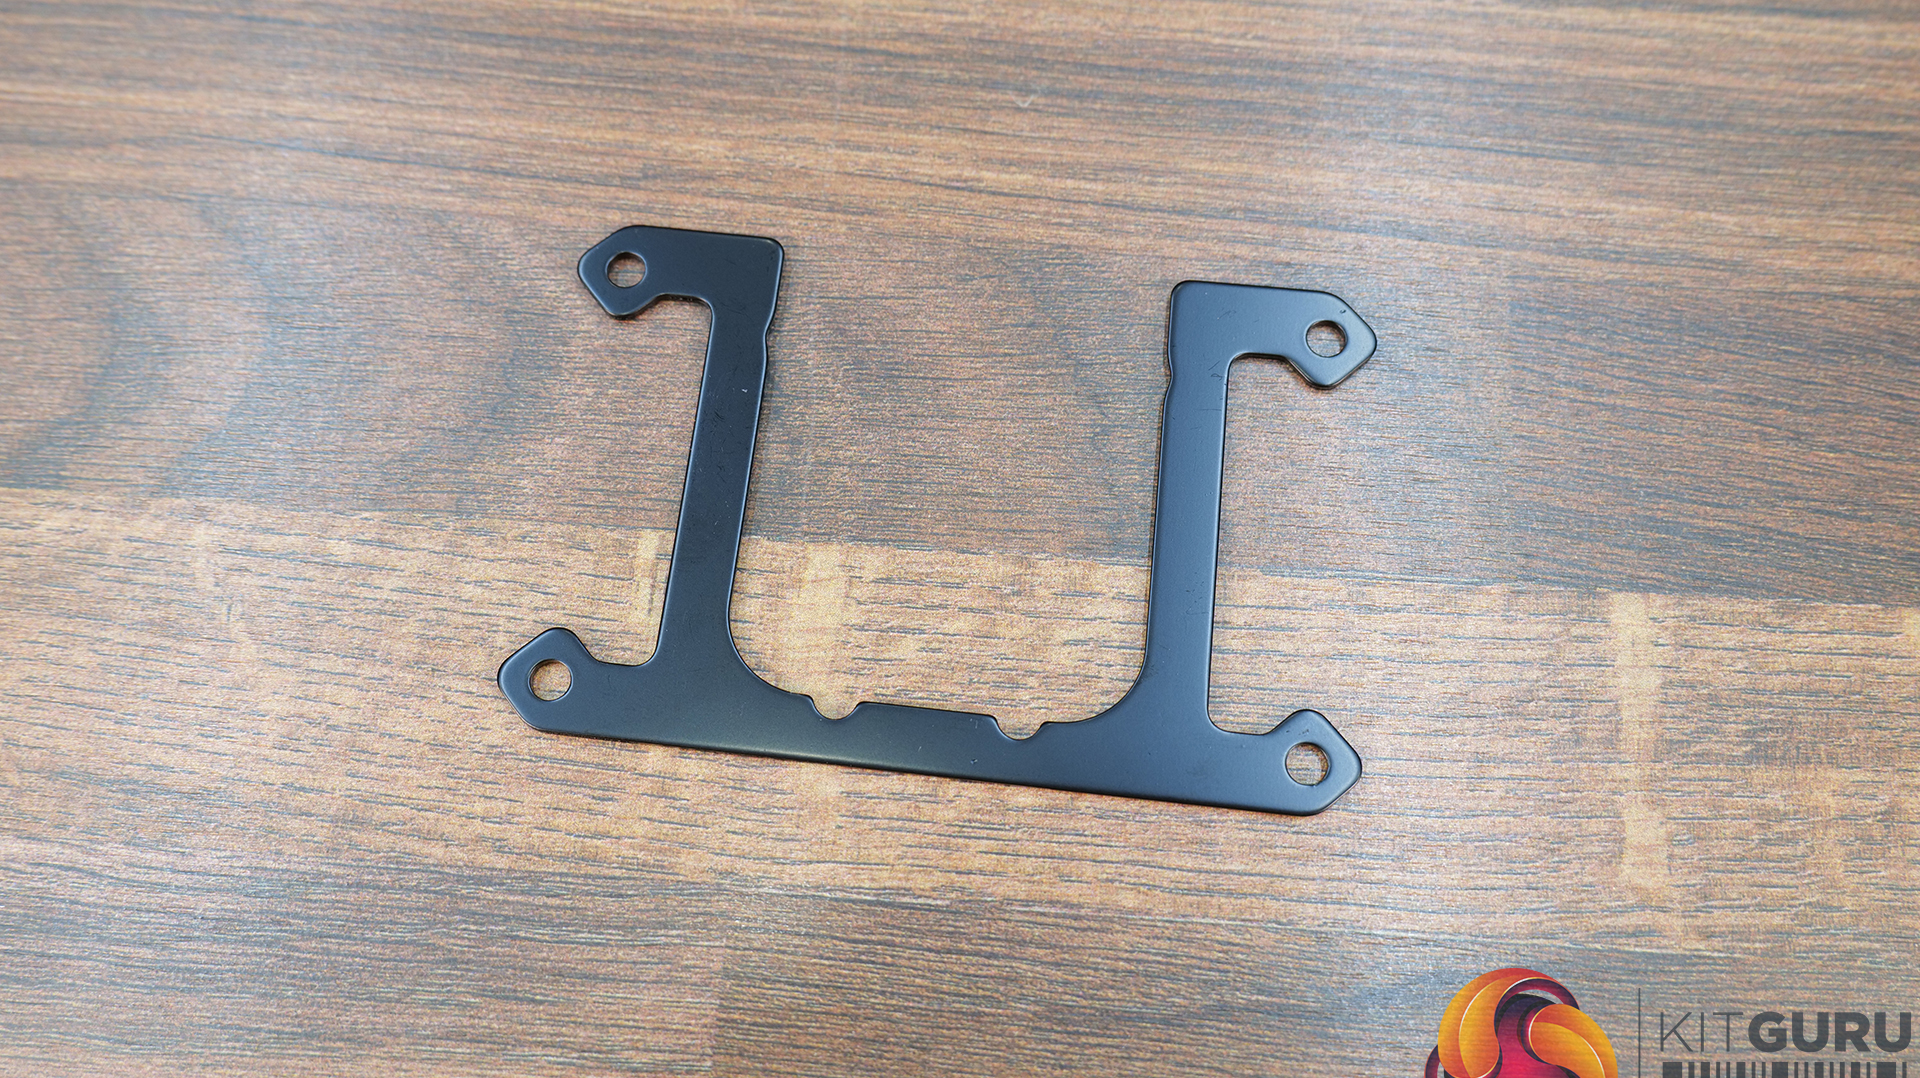
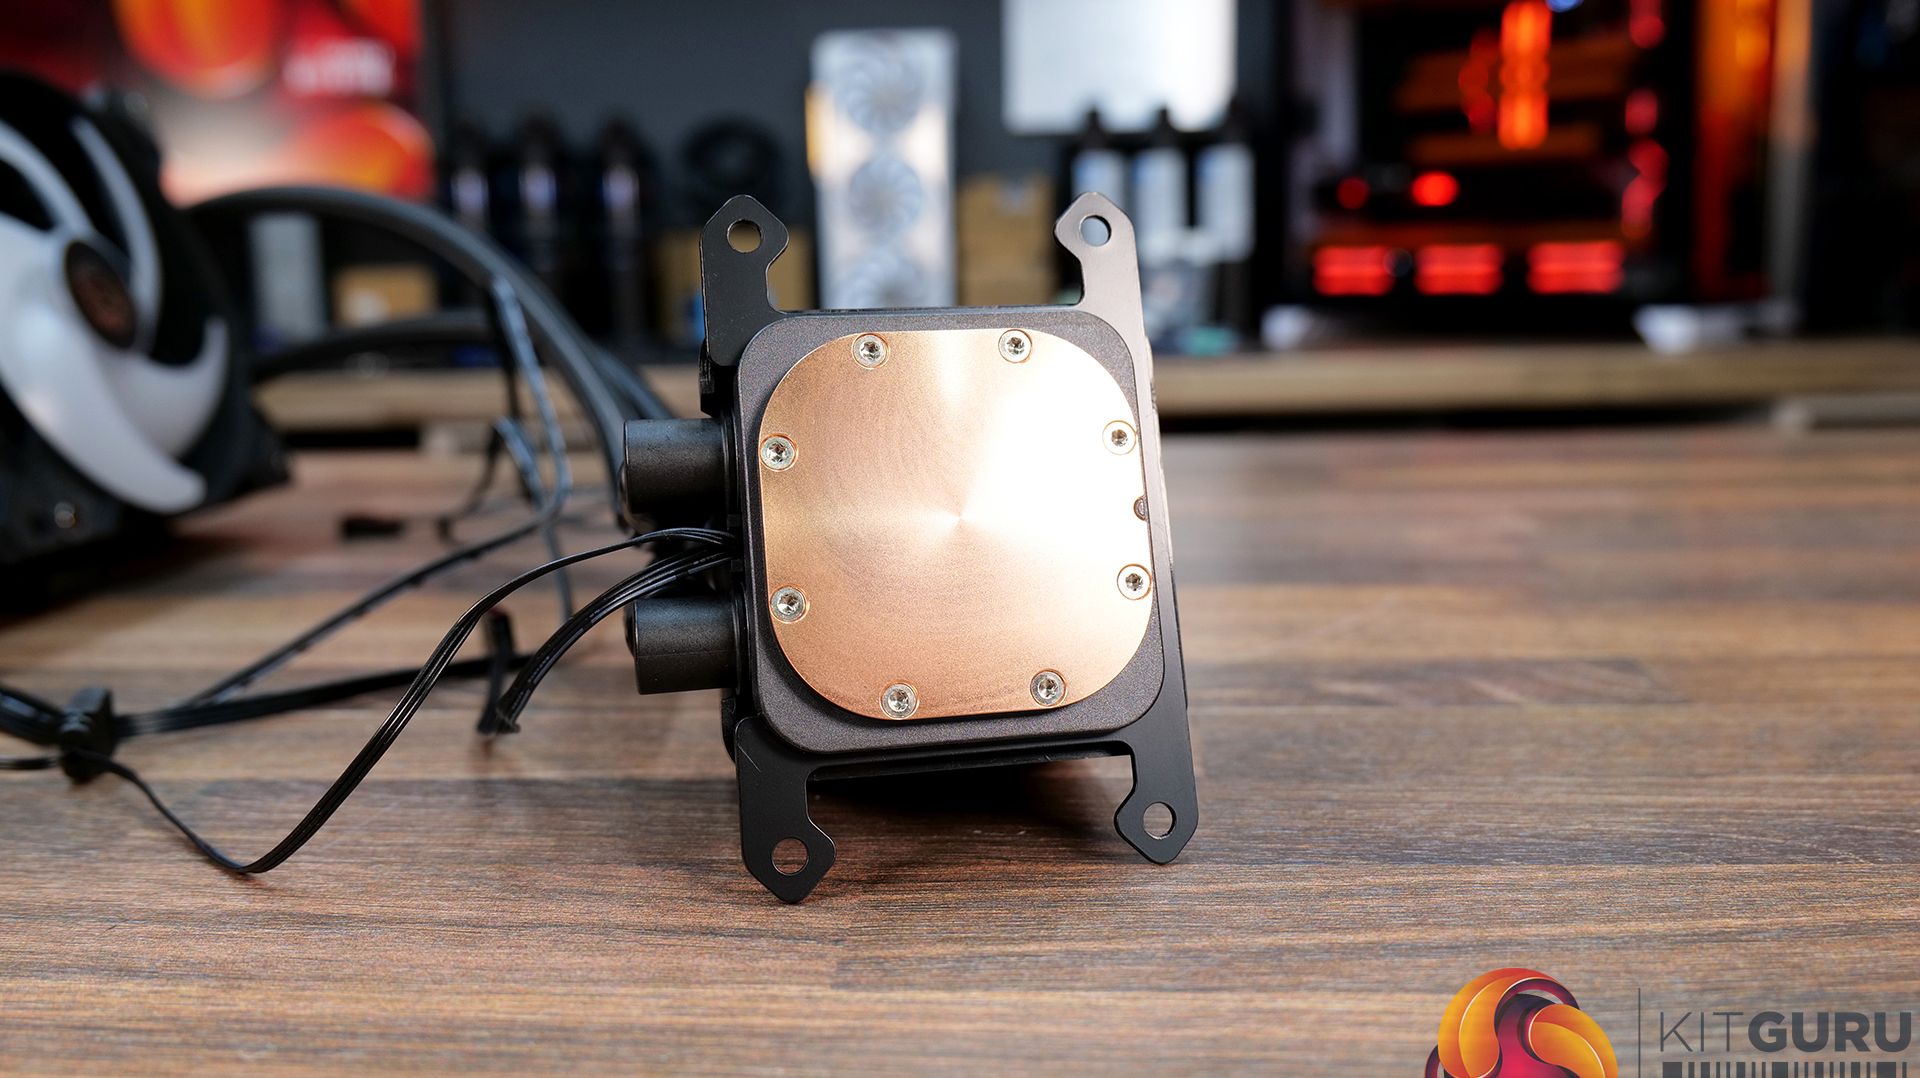
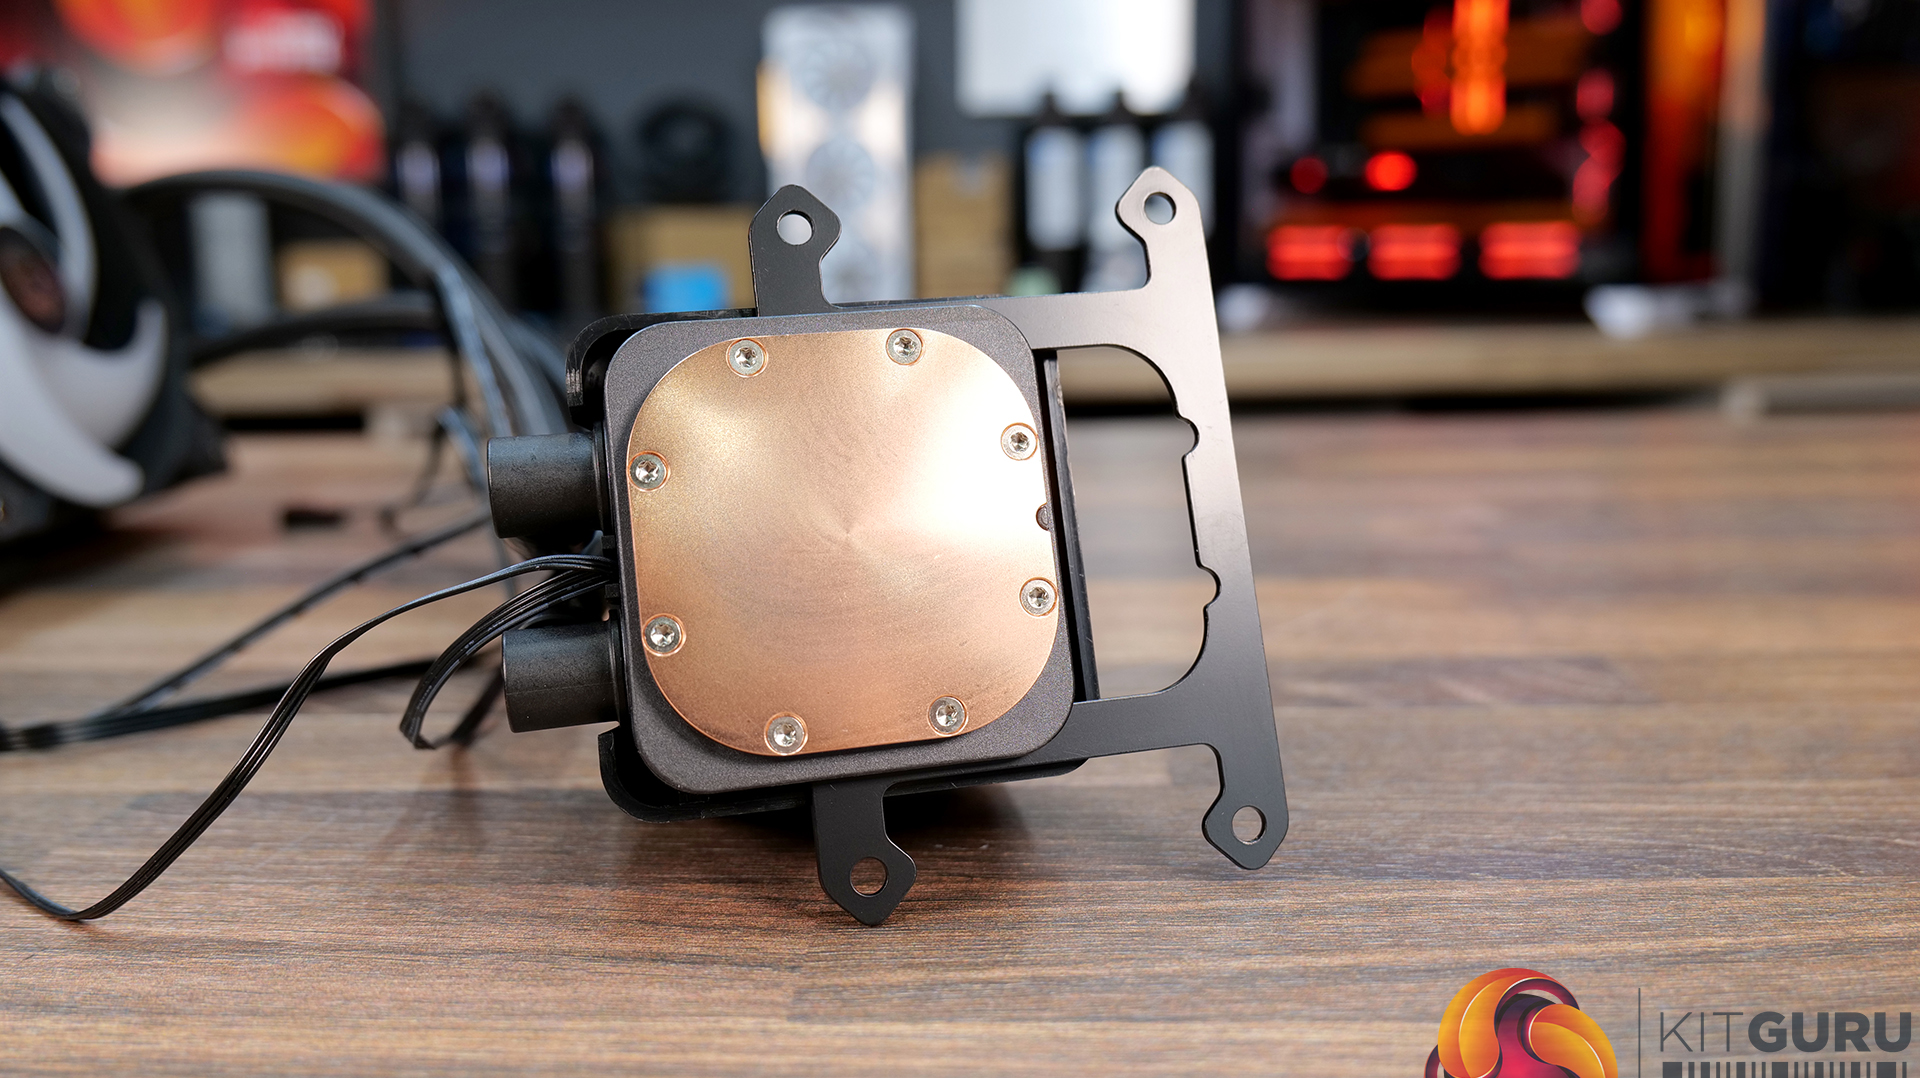
Take the AMD upper mounting bracket from the accessories pack and fit it to the base of the CPU block. The bracket slides on from the side and has a satisfying click into place when it's fully located.
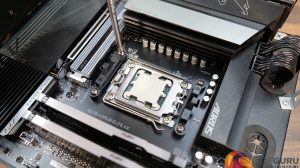
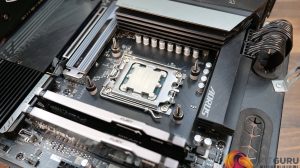
Next, remove the stock AMD retention brackets from the motherboard and screw the AM4/AM5 universal Enermax standoffs to the stock AM5 backplate. These are screwed into place by hand, there's no need for any additional tightening with tools.
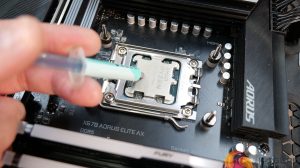
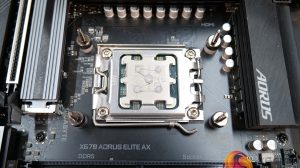
The cooler comes with a pre-applied thermal compound to the CPU block base so for first-time installation there is no need to add extra compound to the CPU. But if it's a re-installation after maintenance you will need to apply thermal compound to the CPU, a small tube is supplied with the cooler.
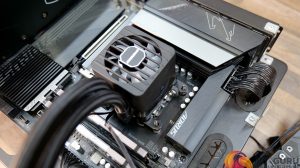

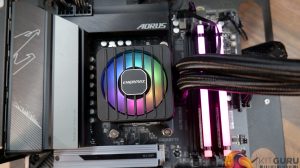
Now you can lower the CPU block into place aligning the upper bracket holes with the threaded part of the standoff. Once the cooler is in place fasten down using the spring-loaded thumbscrews, and ensure the screws are tightened evenly and progressively.
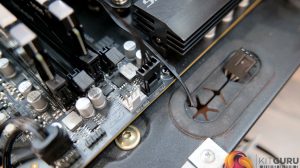
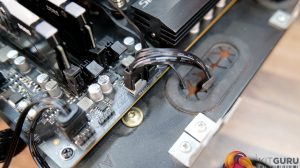
The last stage of the hardware installation is wiring. Connect the 4-pin PWM cable from the CPU block to a motherboard fan header (usually labelled CPU-OPT or AIO/PUMP) then connect the 4-pin PWM cable from the fans to the CPU_FAN header for motherboard speed control.
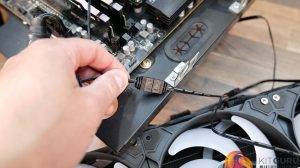
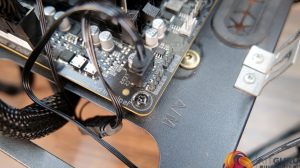
Connect the ARGB daisy chain link cable from the CPU block to the RGB connector on the fan adaptor wire, then connect the end of the cable to the 3-pin 5V ARGB header on the motherboard to synchronise ARGB lighting using motherboard software.
You will need to mount the radiator in a suitable place in your PC case then the RGB lighting can be controlled via motherboard software or alternatively by installing the Enermax RGB hub and controlled separately.