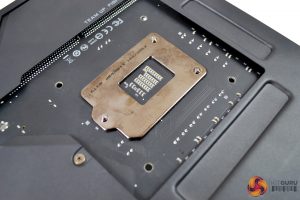
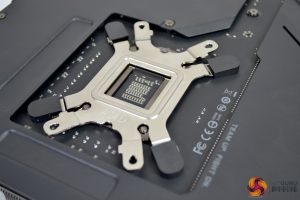
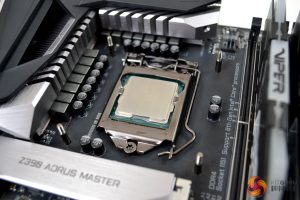
Our test system is Intel Z390 based, so we will be following the relevant 115X socket installation procedure, which will be documented here.
Deepcool has provided an installation manual, with very easy to follow instructions and detailed diagrams, setting out the various steps of the installation process and wiring connections.
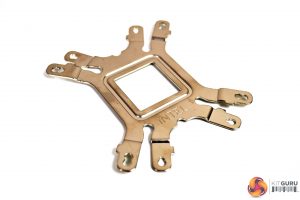
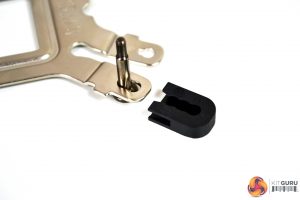
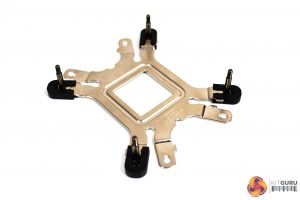
To begin the installation process, we first need to prepare the retention back-plate. Take the four black chrome mounting posts and insert them through the corresponding holes in the back-plate. For 115X installation, the inner most hole must be used.
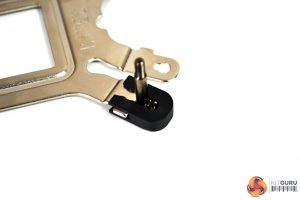
The mounting posts are keyed to prevent them from rotating, when tightening later. A plastic retaining clip is pushed over the ends of the back-plate and will lock the mounting posts in place.
Next, align the retention back-plate mounting posts up with the four holes in the motherboard from the underside and lower it in place. Notice there are no fixings at this point to retain the back-plate in place – a little electrical insulating tape or similar can be used to temporarily hold it, while you fit the pump. This will stop it from falling out when you flip the motherboard over.
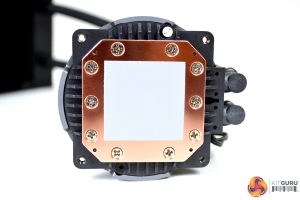
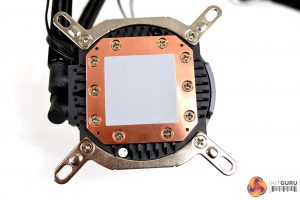
With the copper base of the pump facing you, there are four holes visible that the upper retention bracket fixes to. Take the relevant brackets, which are labelled in bags, and attach these with the four counter-sunk silver screws provided.
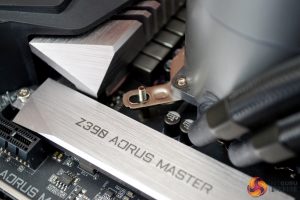
Now, turn the pump back into its upright position, lower it down and align the elongated holes over the four mounting posts. Try to position the mounting posts, so they are evenly spaced in the elongated holes.
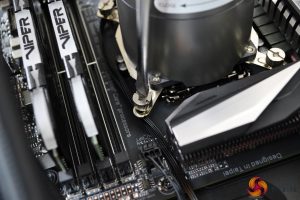
Simply take the four silver thumbscrews and tighten them down on the mounting posts by hand, in an X pattern, from corner to corner to ensure equal spread of pressure whilst fitting. For final tightening, use a flat blade screwdriver.
We found this worked better than a Philips, as it would foul the threaded top of the mounting post before maximum torque could be applied to the screw. A Philips screwdriver could have potentially left the screws slightly loose, which may have affected thermal transfer.
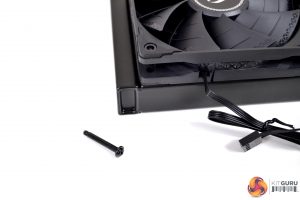
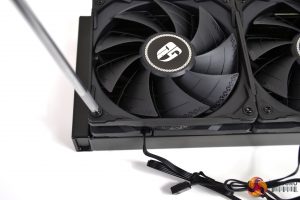
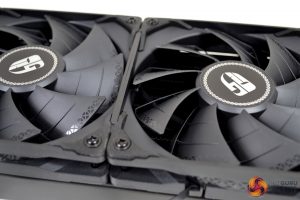
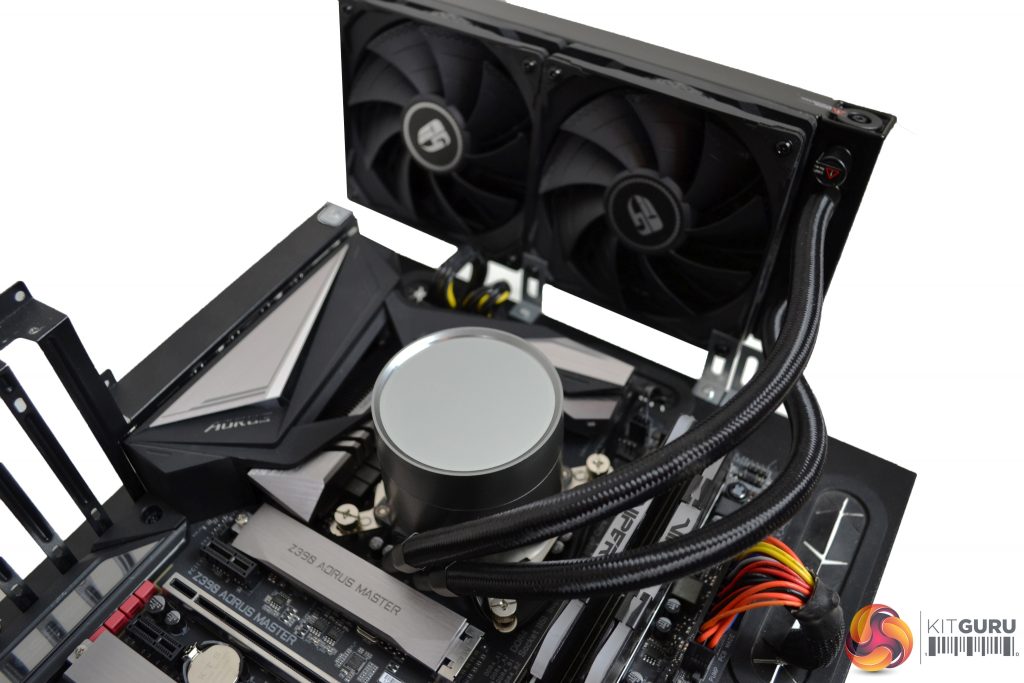
The final steps of installation are to fix the fans to the radiator, with the eight long black screws and connect up the wiring. When installed on the radiator, the fans fit very neatly together and almost look like one complete unit.
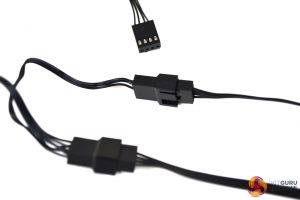
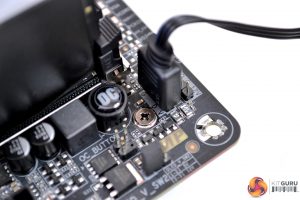
The pump is connected with a three-pin plug to the motherboard CPU_OPT header. There is a four-pin splitter cable to connect the fans, which then plugs into the PWM CPU_FAN header on the motherboard.
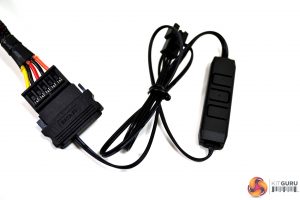
To connect the RGB lighting on the pump, you have two options. You can either connect using the supplied RGB controller module, which is powered by a spare SATA power cable from your power supply, or use an adaptor cable and connect to an addressable RGB header on your motherboard.
Mounting the radiator on our test bench is quite different to mounting in an ATX case, so it would be irrelevant to detail the process in this guide. Installation of the radiator in an ATX case is usually very simple and is shown in the Deepcool installation manual.
We found the whole installation procedure very easy to follow and did not come up against any issues, so top marks are awarded to Deepcool for this.
 KitGuru KitGuru.net – Tech News | Hardware News | Hardware Reviews | IOS | Mobile | Gaming | Graphics Cards


