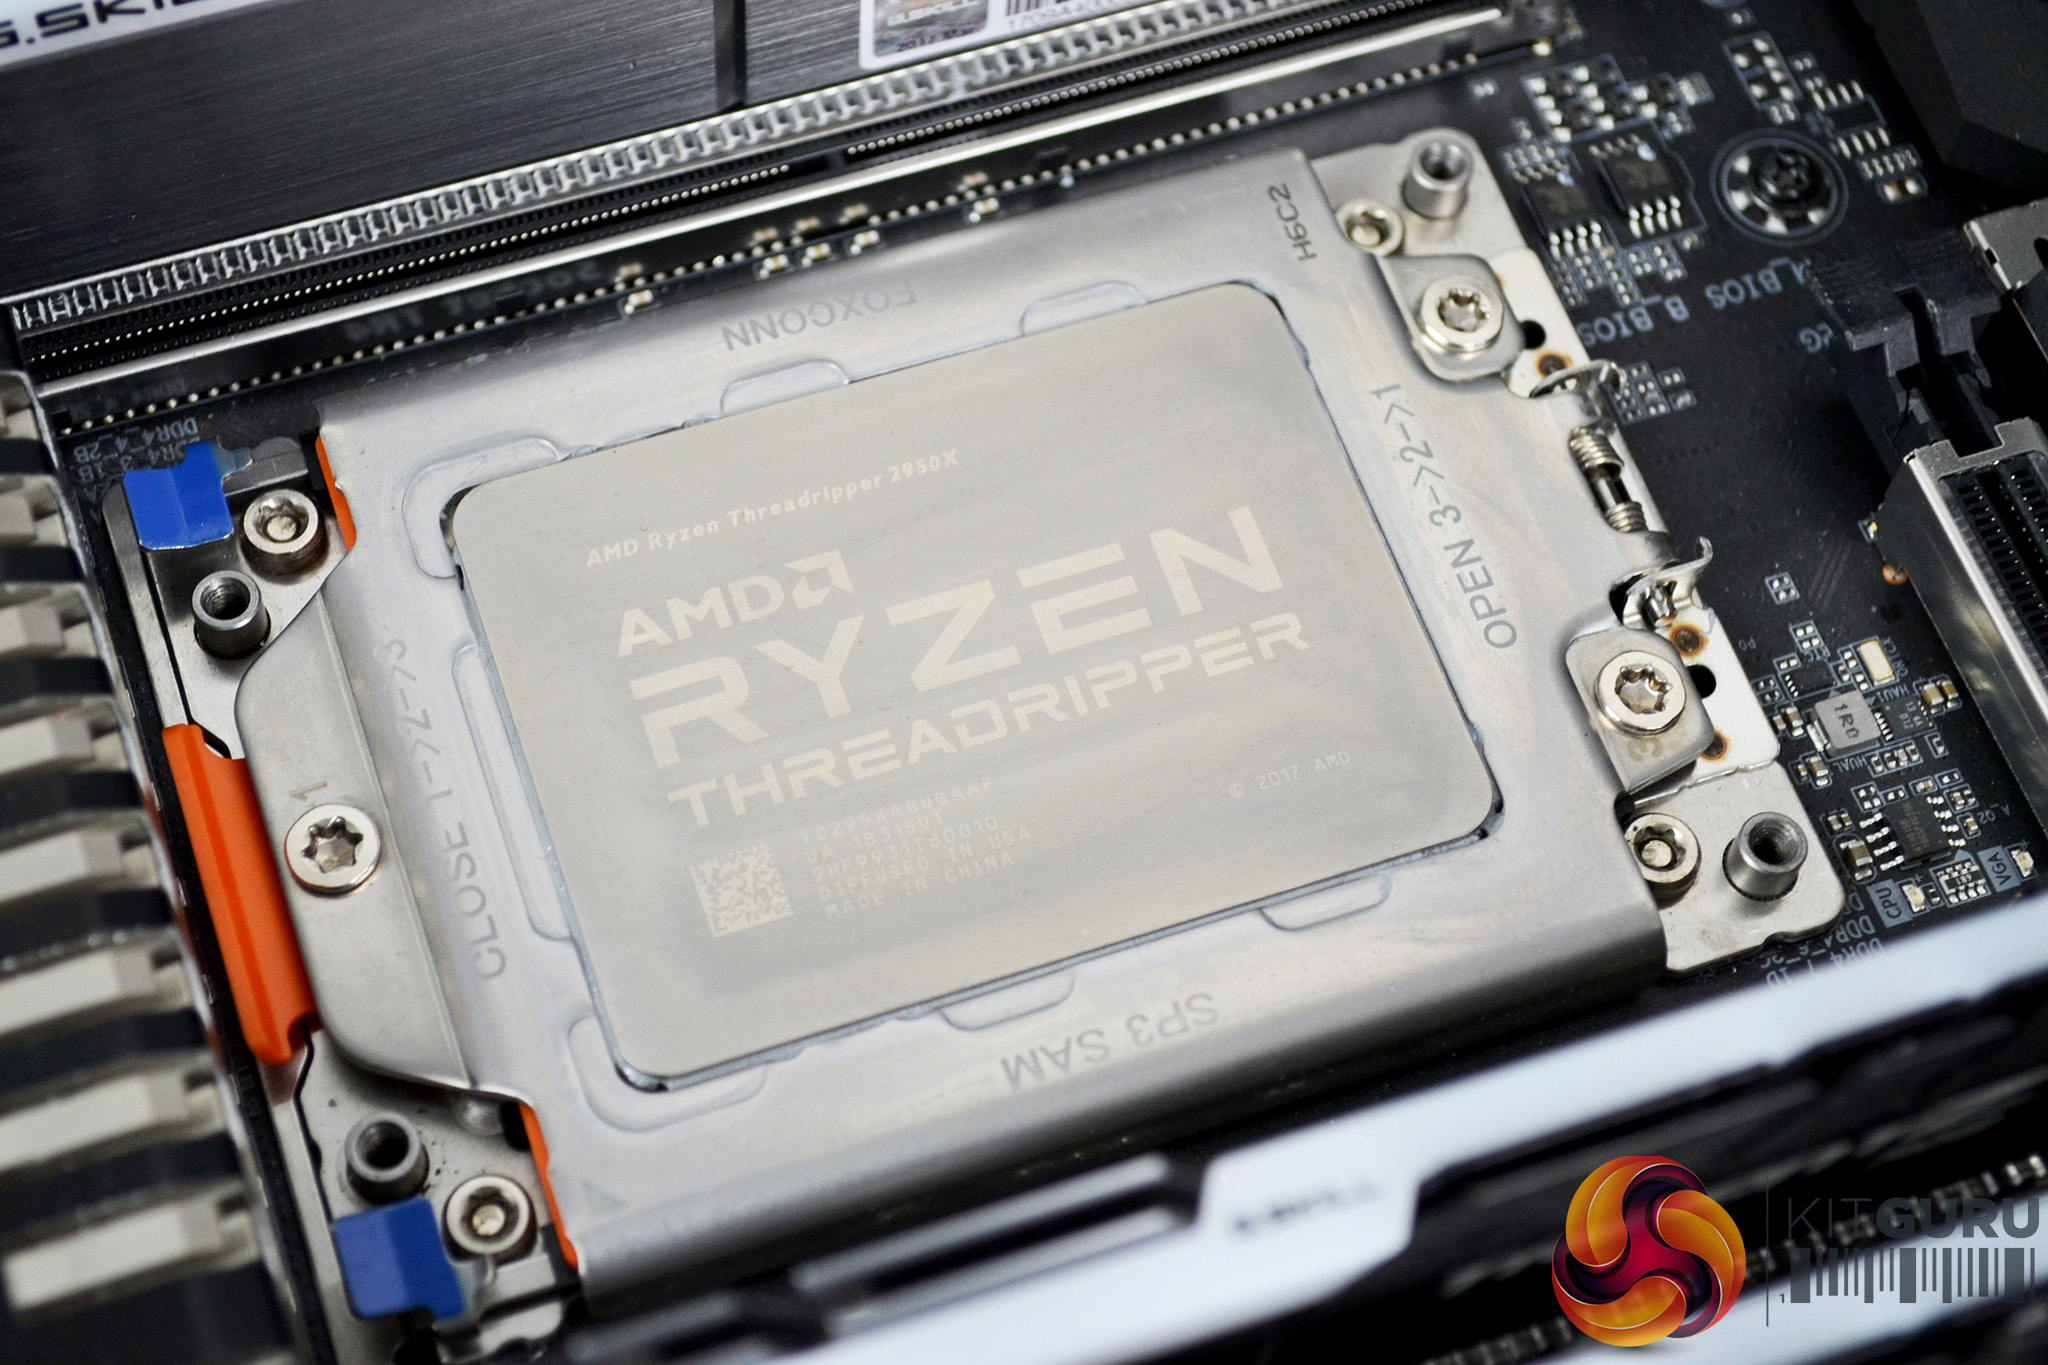
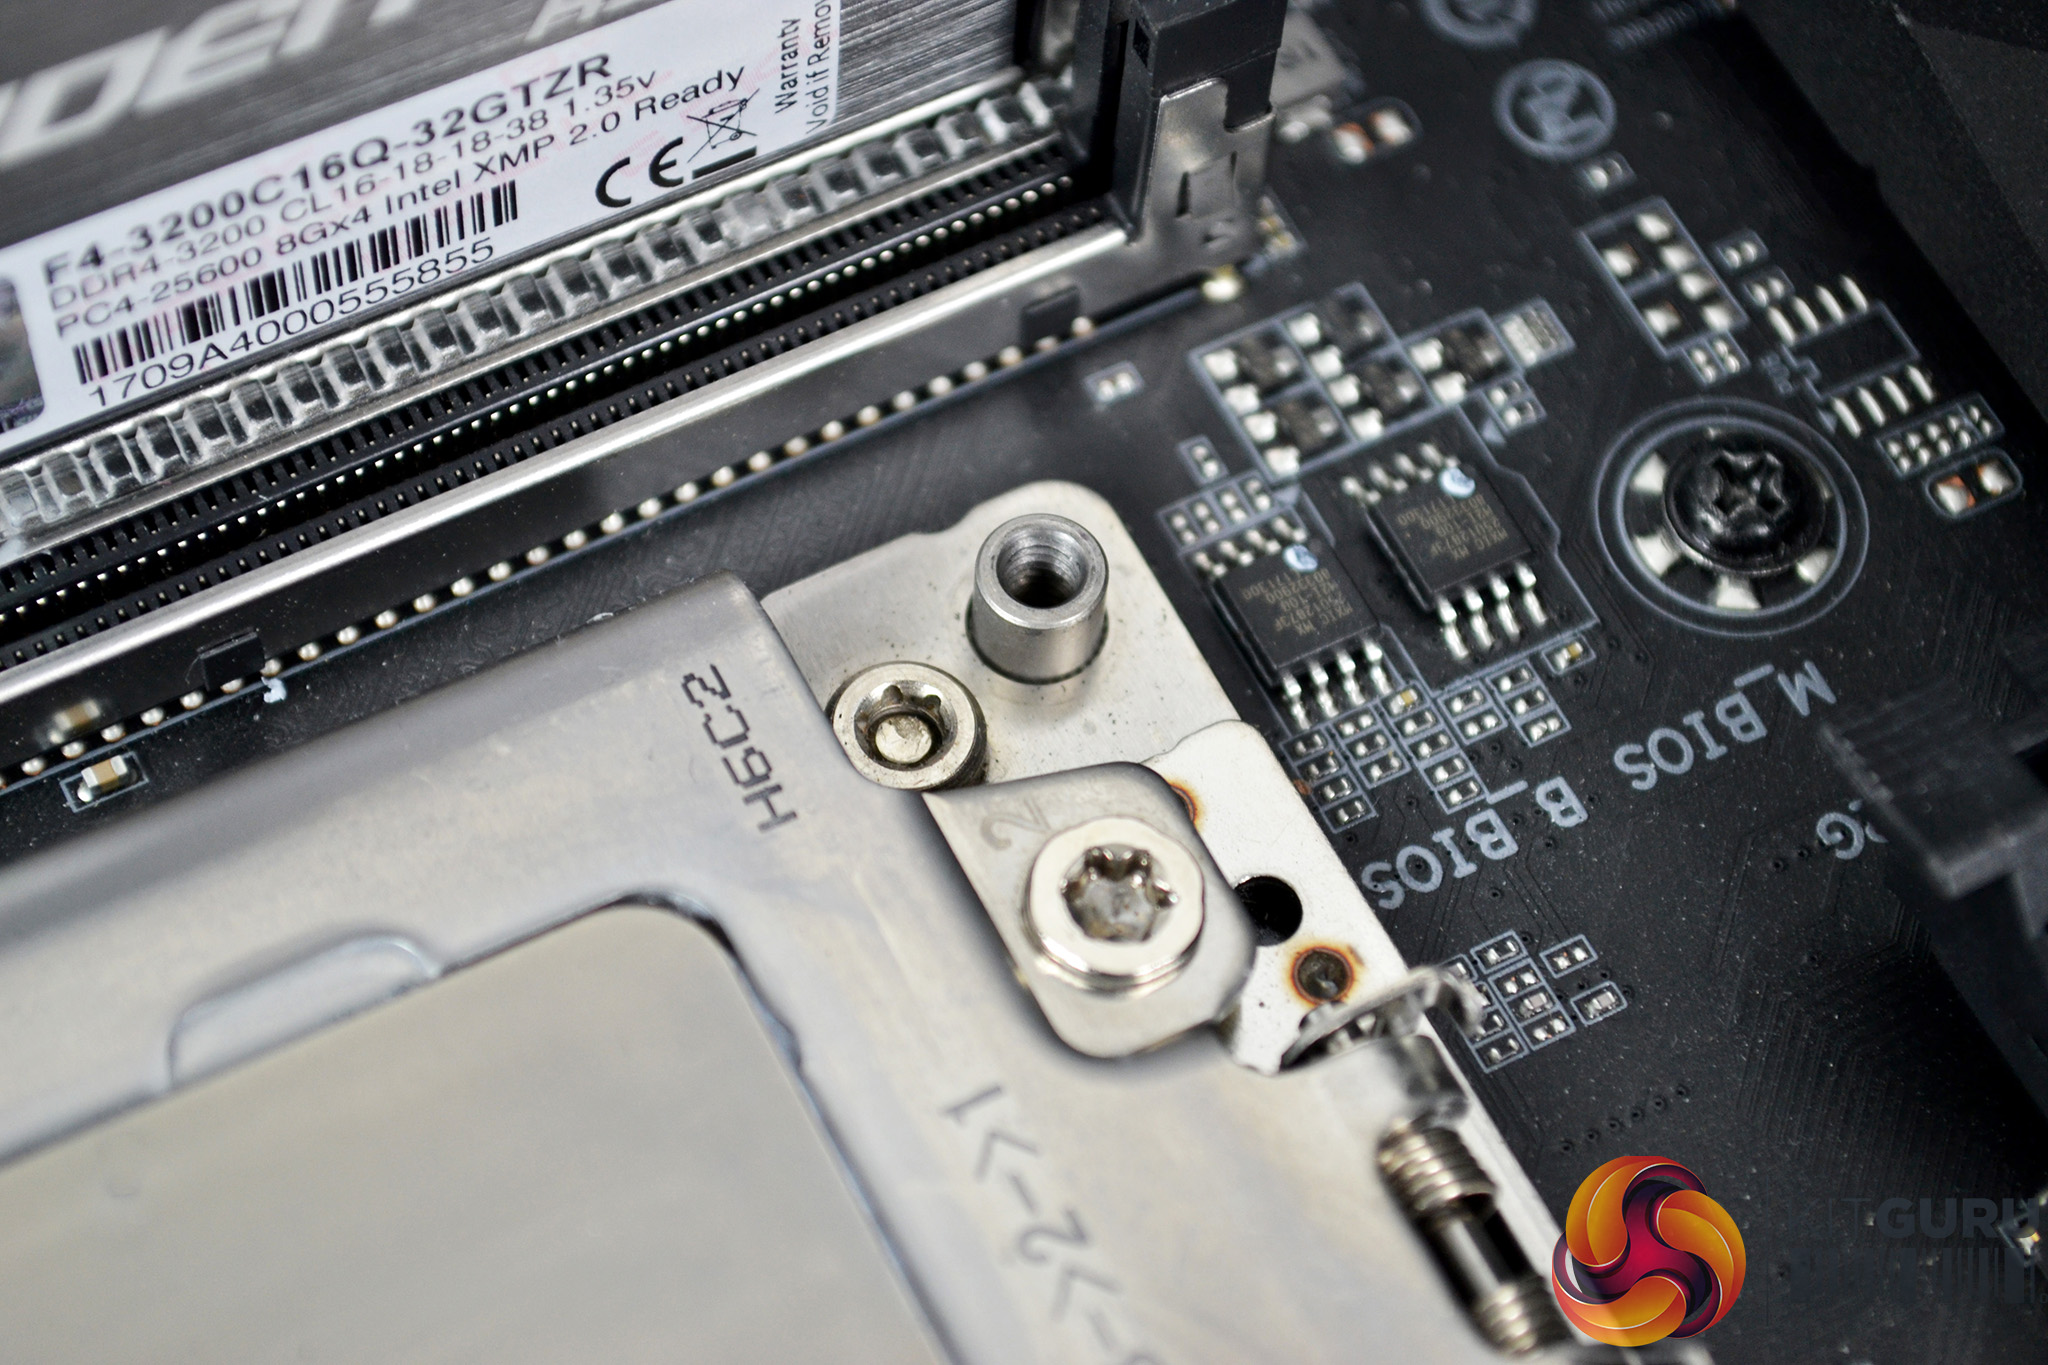
Since the AMD TR4 platform features a CPU cooler mounting solution directly integrated into the socket design, there are no fiddly retention backplates to install and even some CPU coolers require no preparation of the motherboard at all. However, the Deepcool Captain X series does require a little preparation prior to installing the pump on the socket.
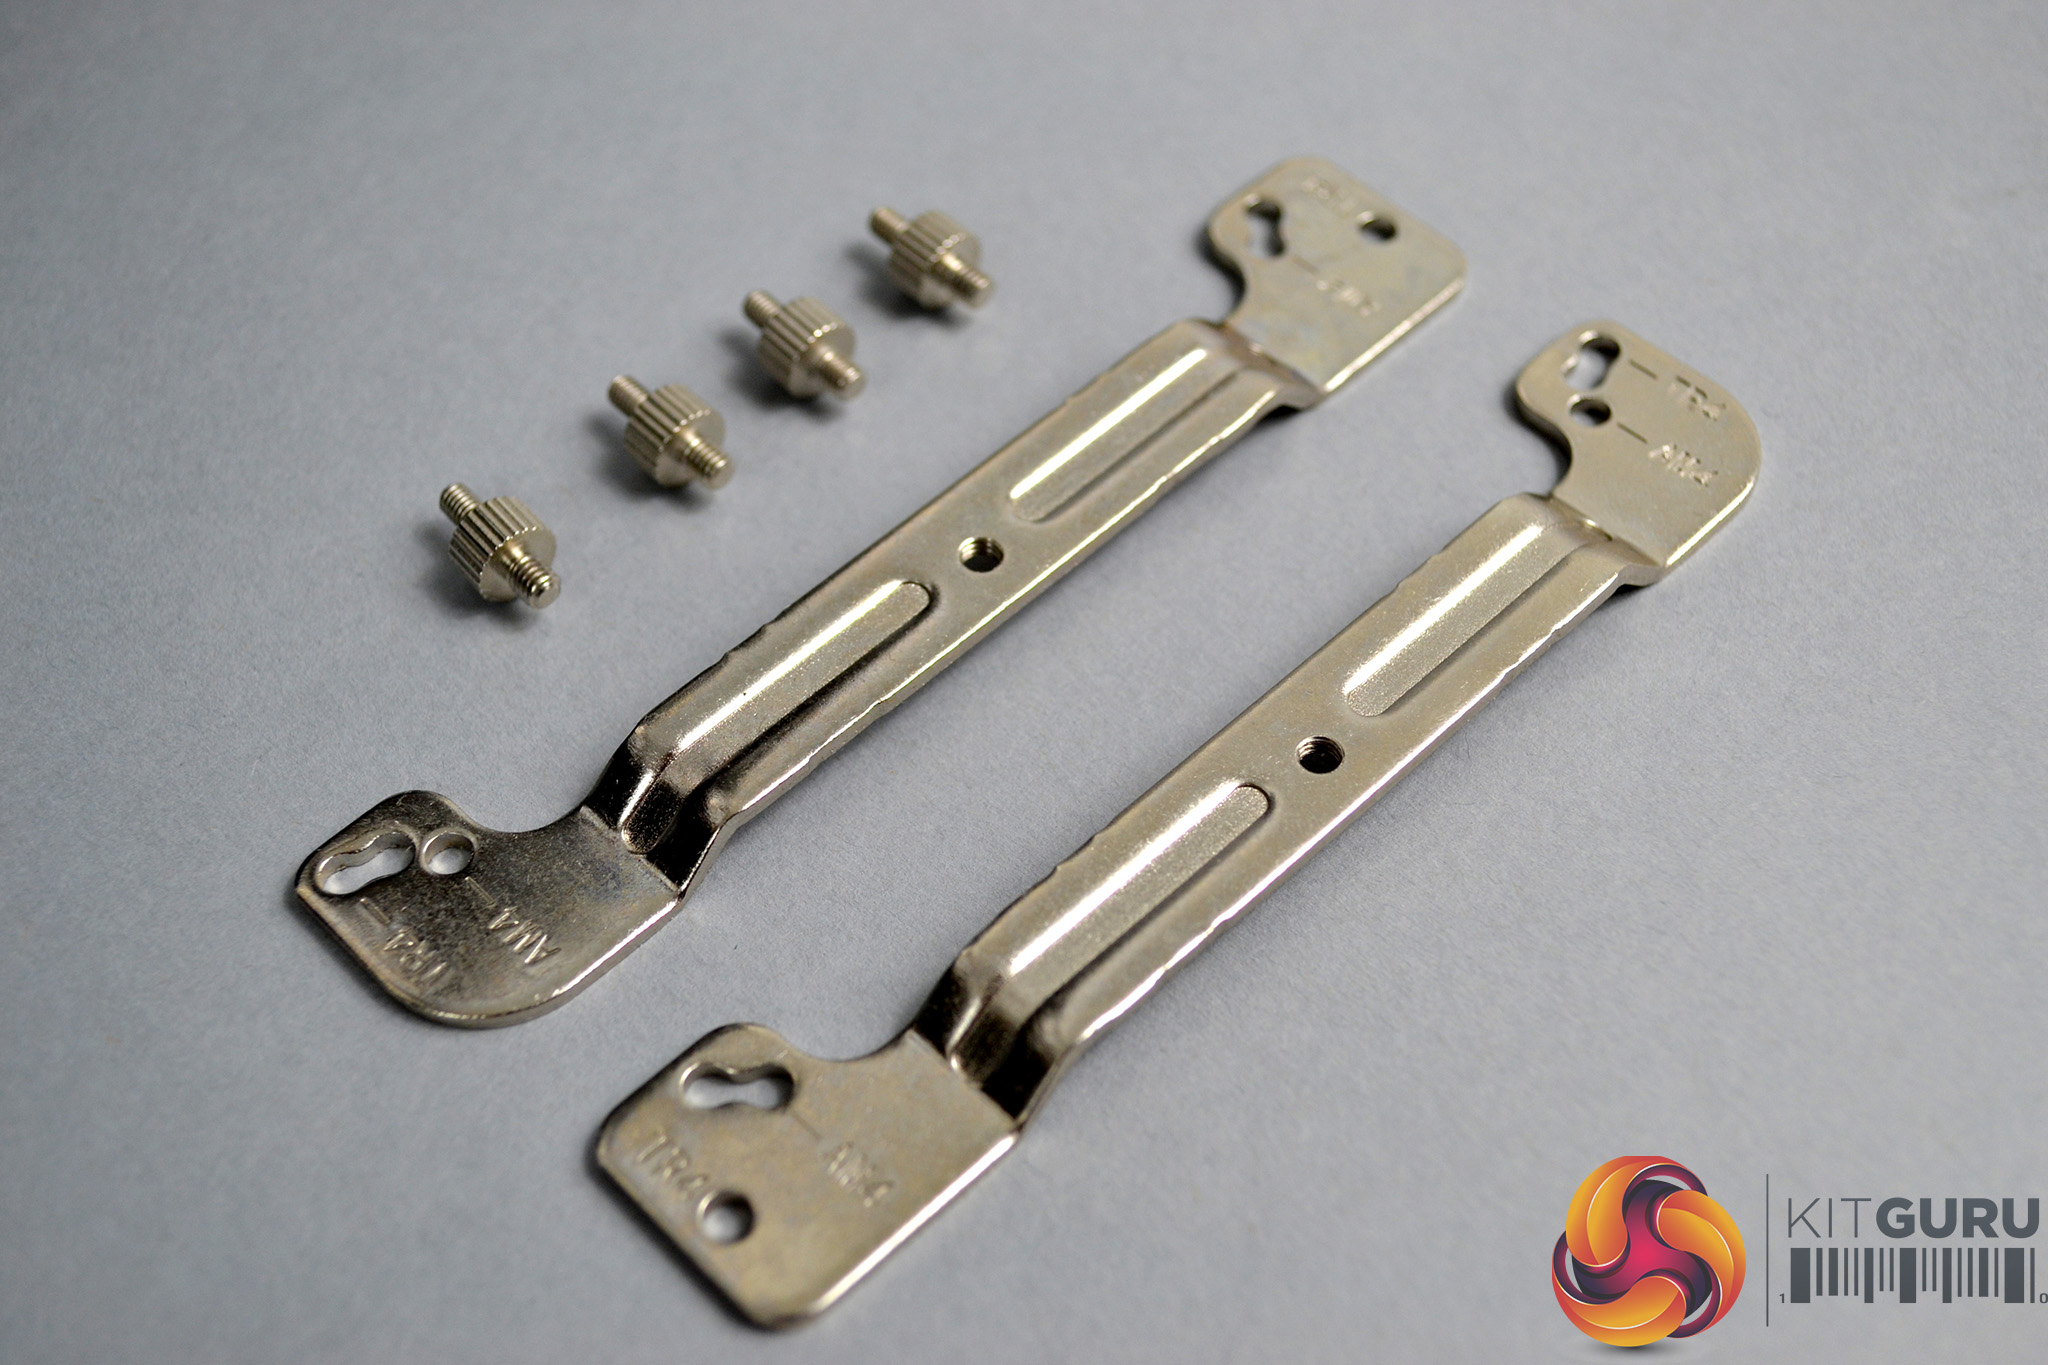
This involves installing two metal brackets to the TR4 socket. The process is quite simple – select the correct brackets and standoffs which are marked TR4 and can be found inside the bags labelled AMD. Screw the standoffs in place on the CPU socket mounting points by hand.
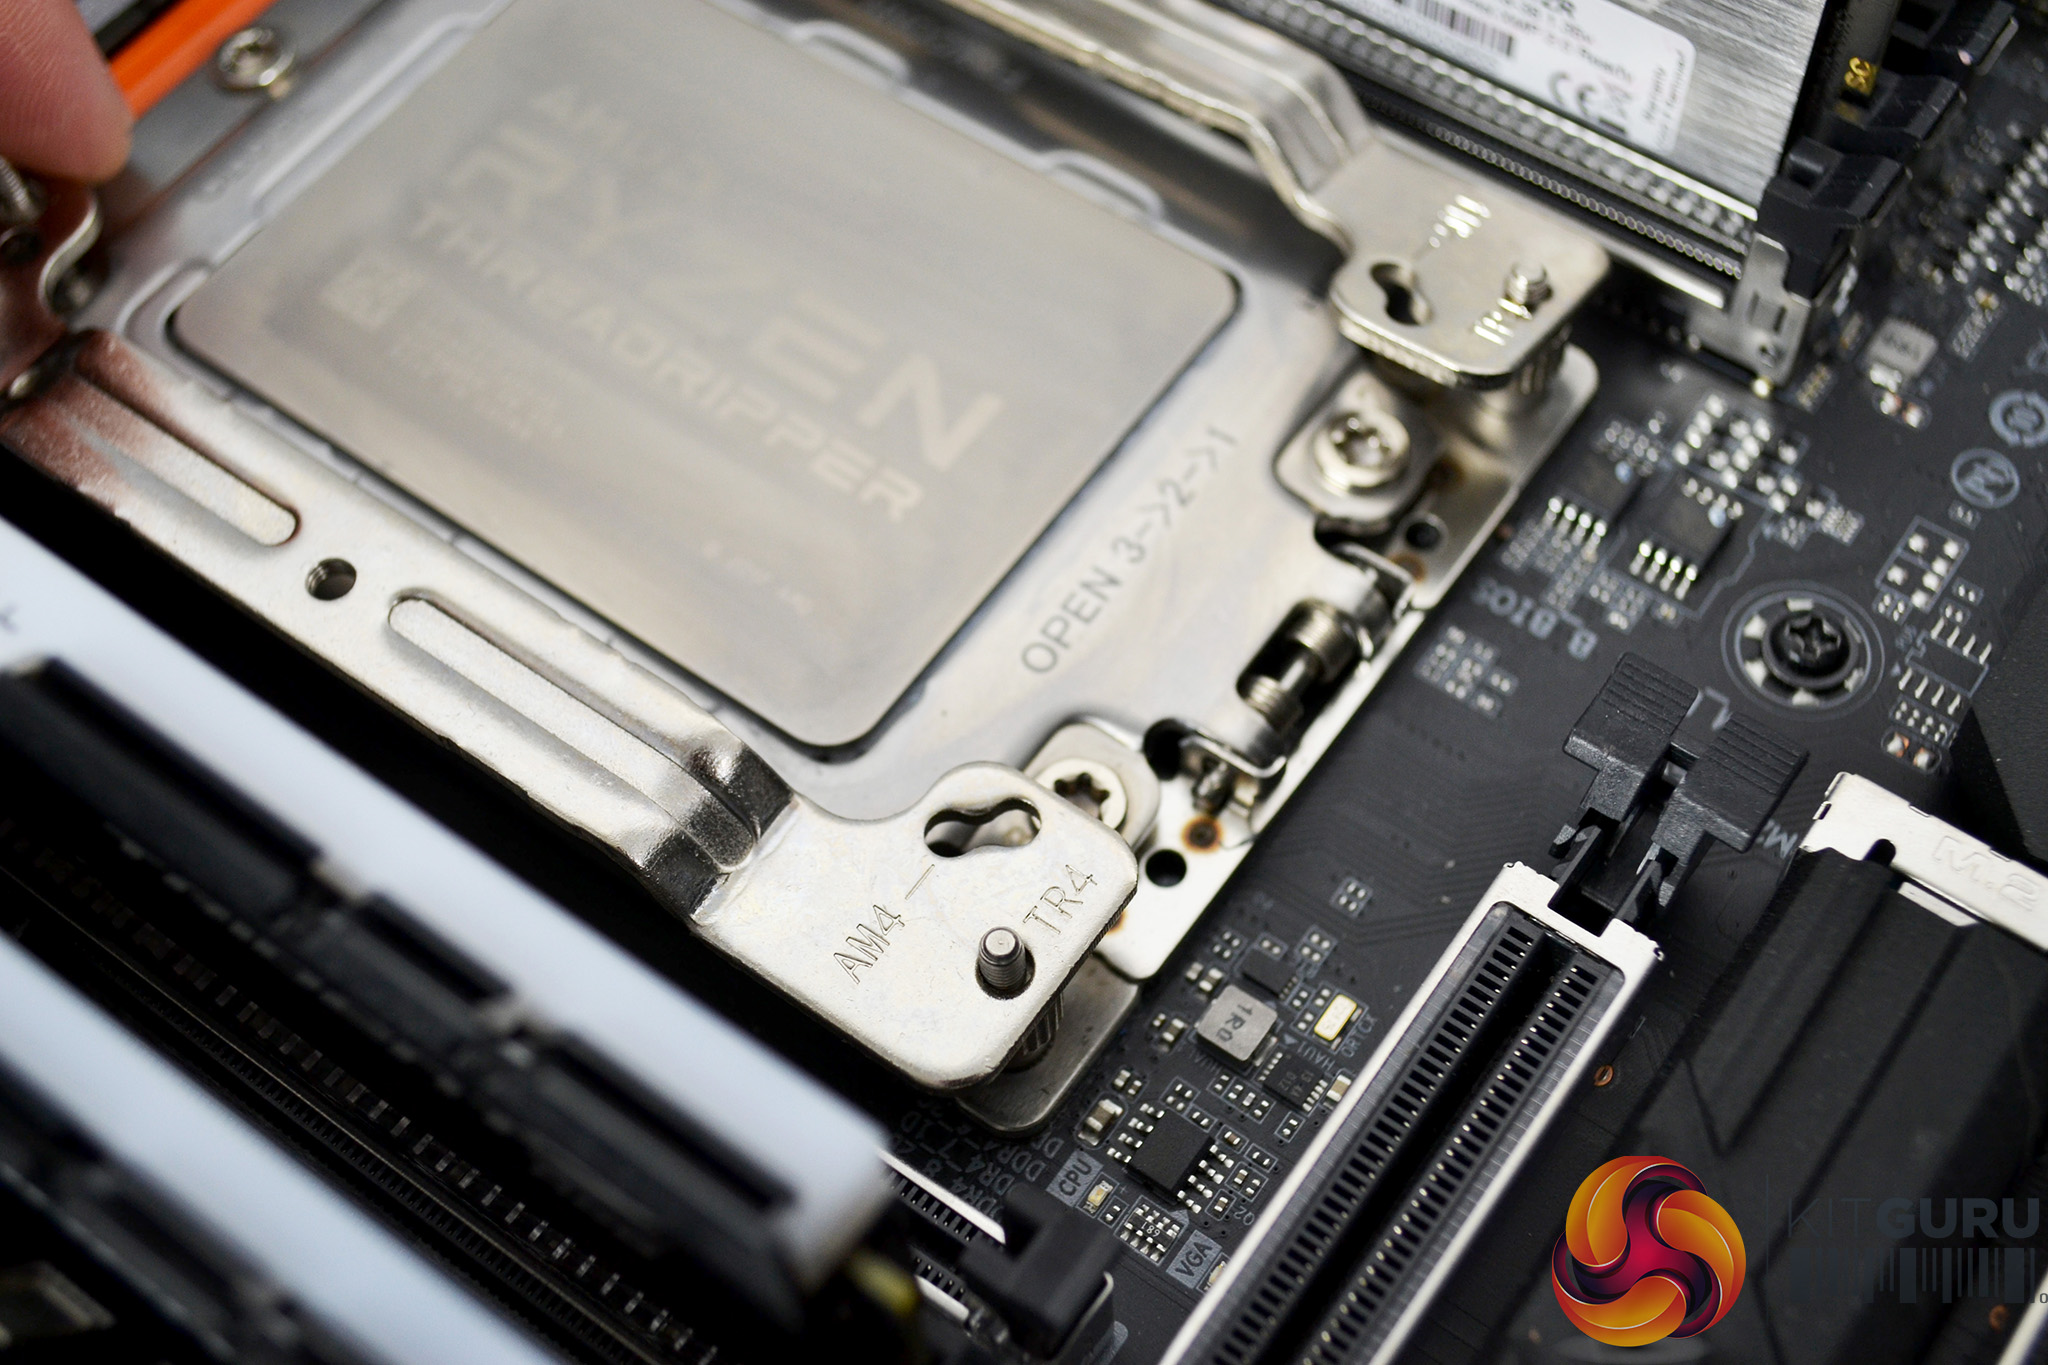
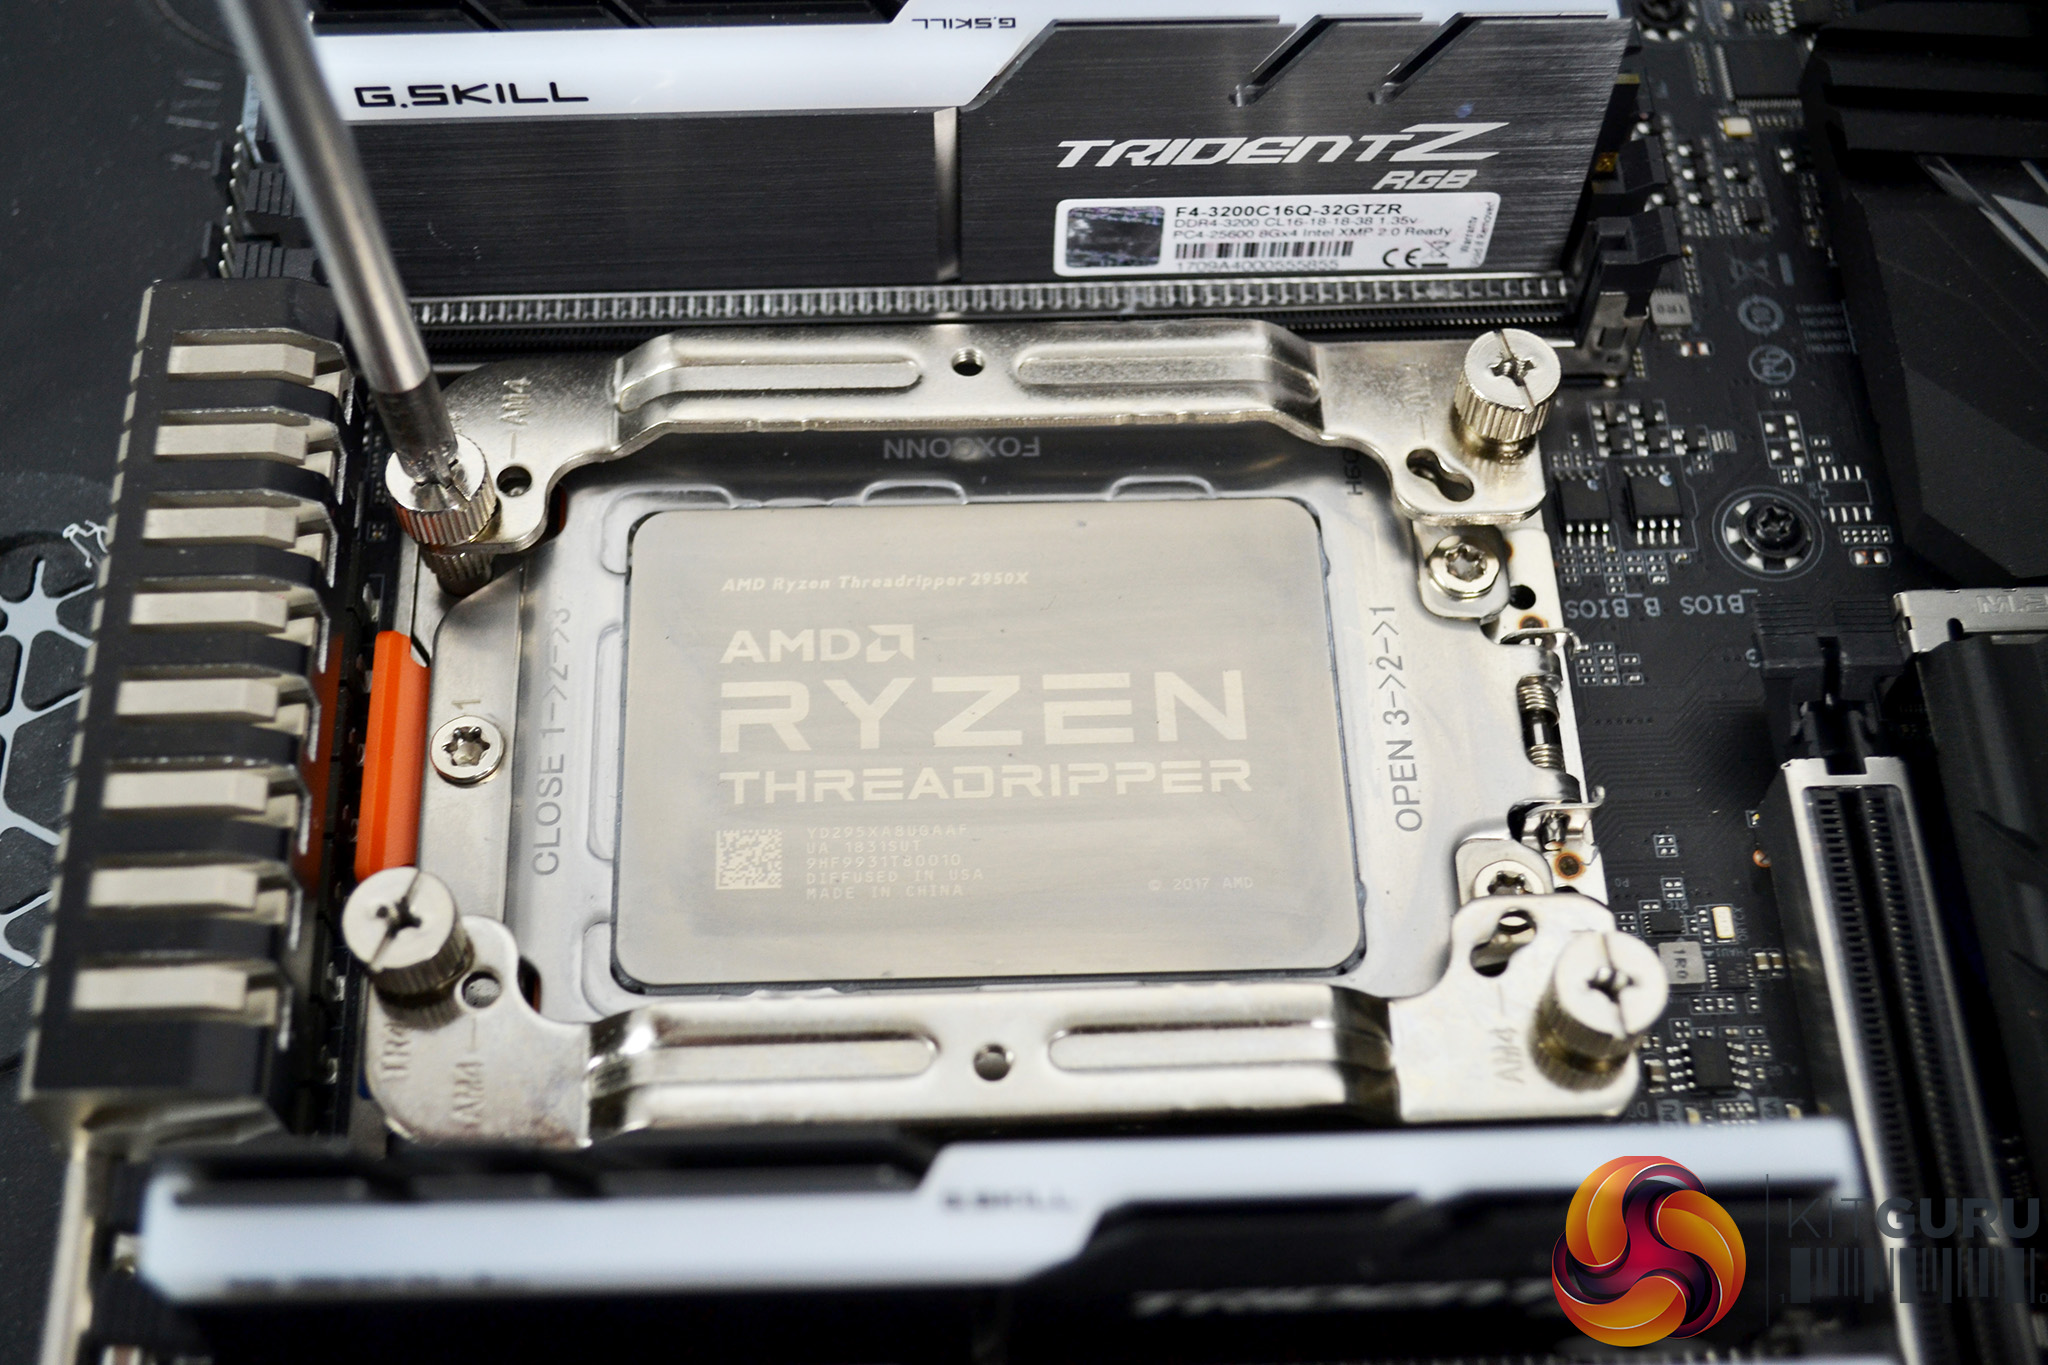
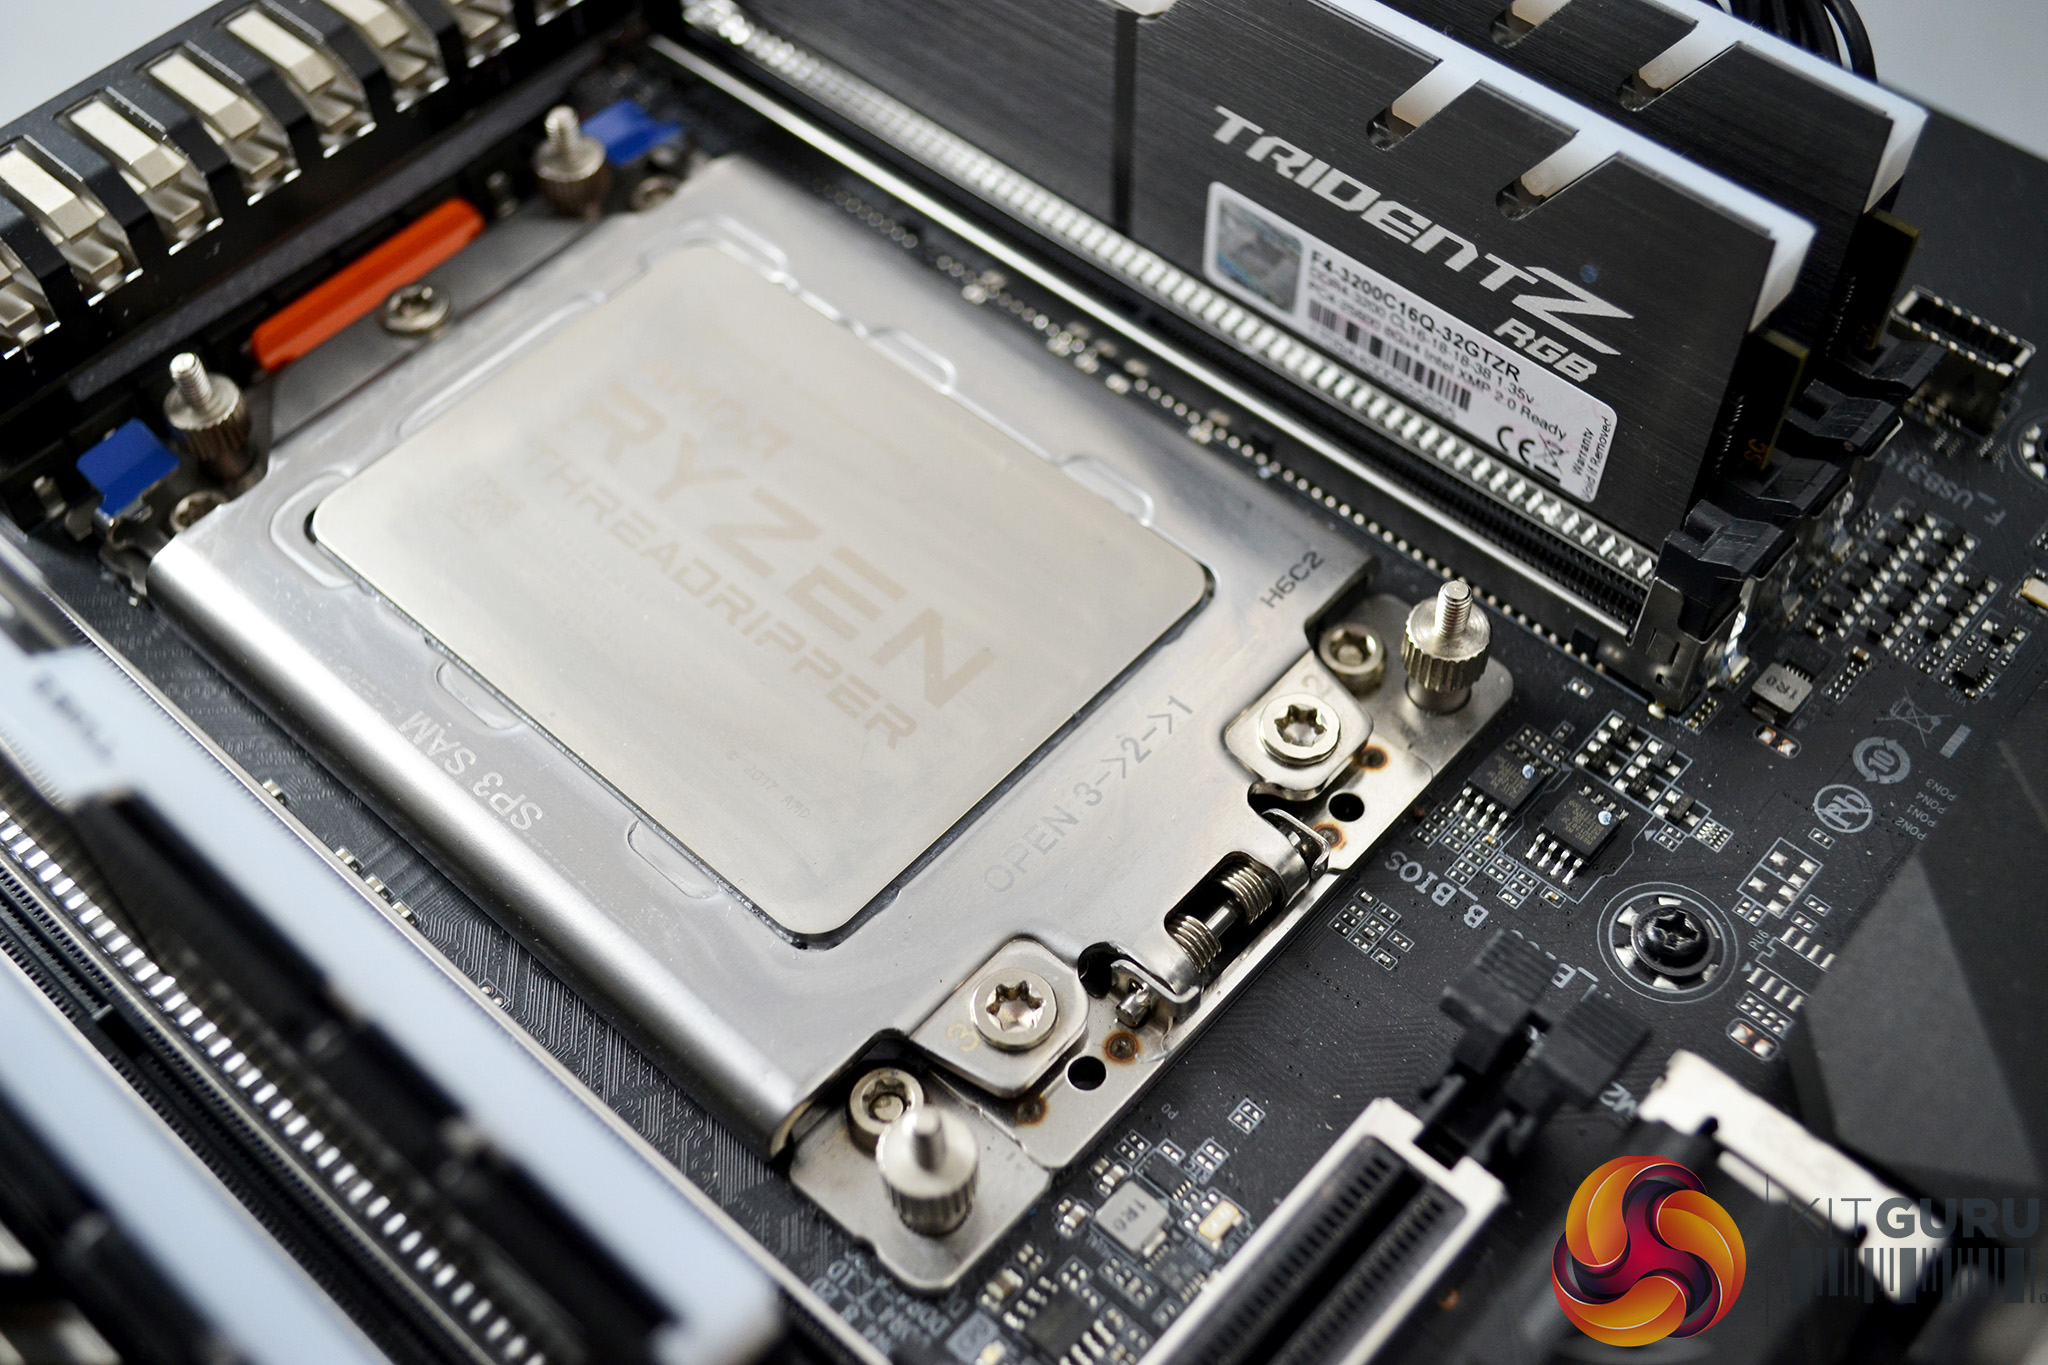
Next, place the AMD retention brackets over the standoffs in the correct orientation for socket TR4 and use the four thumbscrews to hold the brackets in place. Final tightening of the thumbscrews can be achieved by using a Philips screwdriver if necessary.
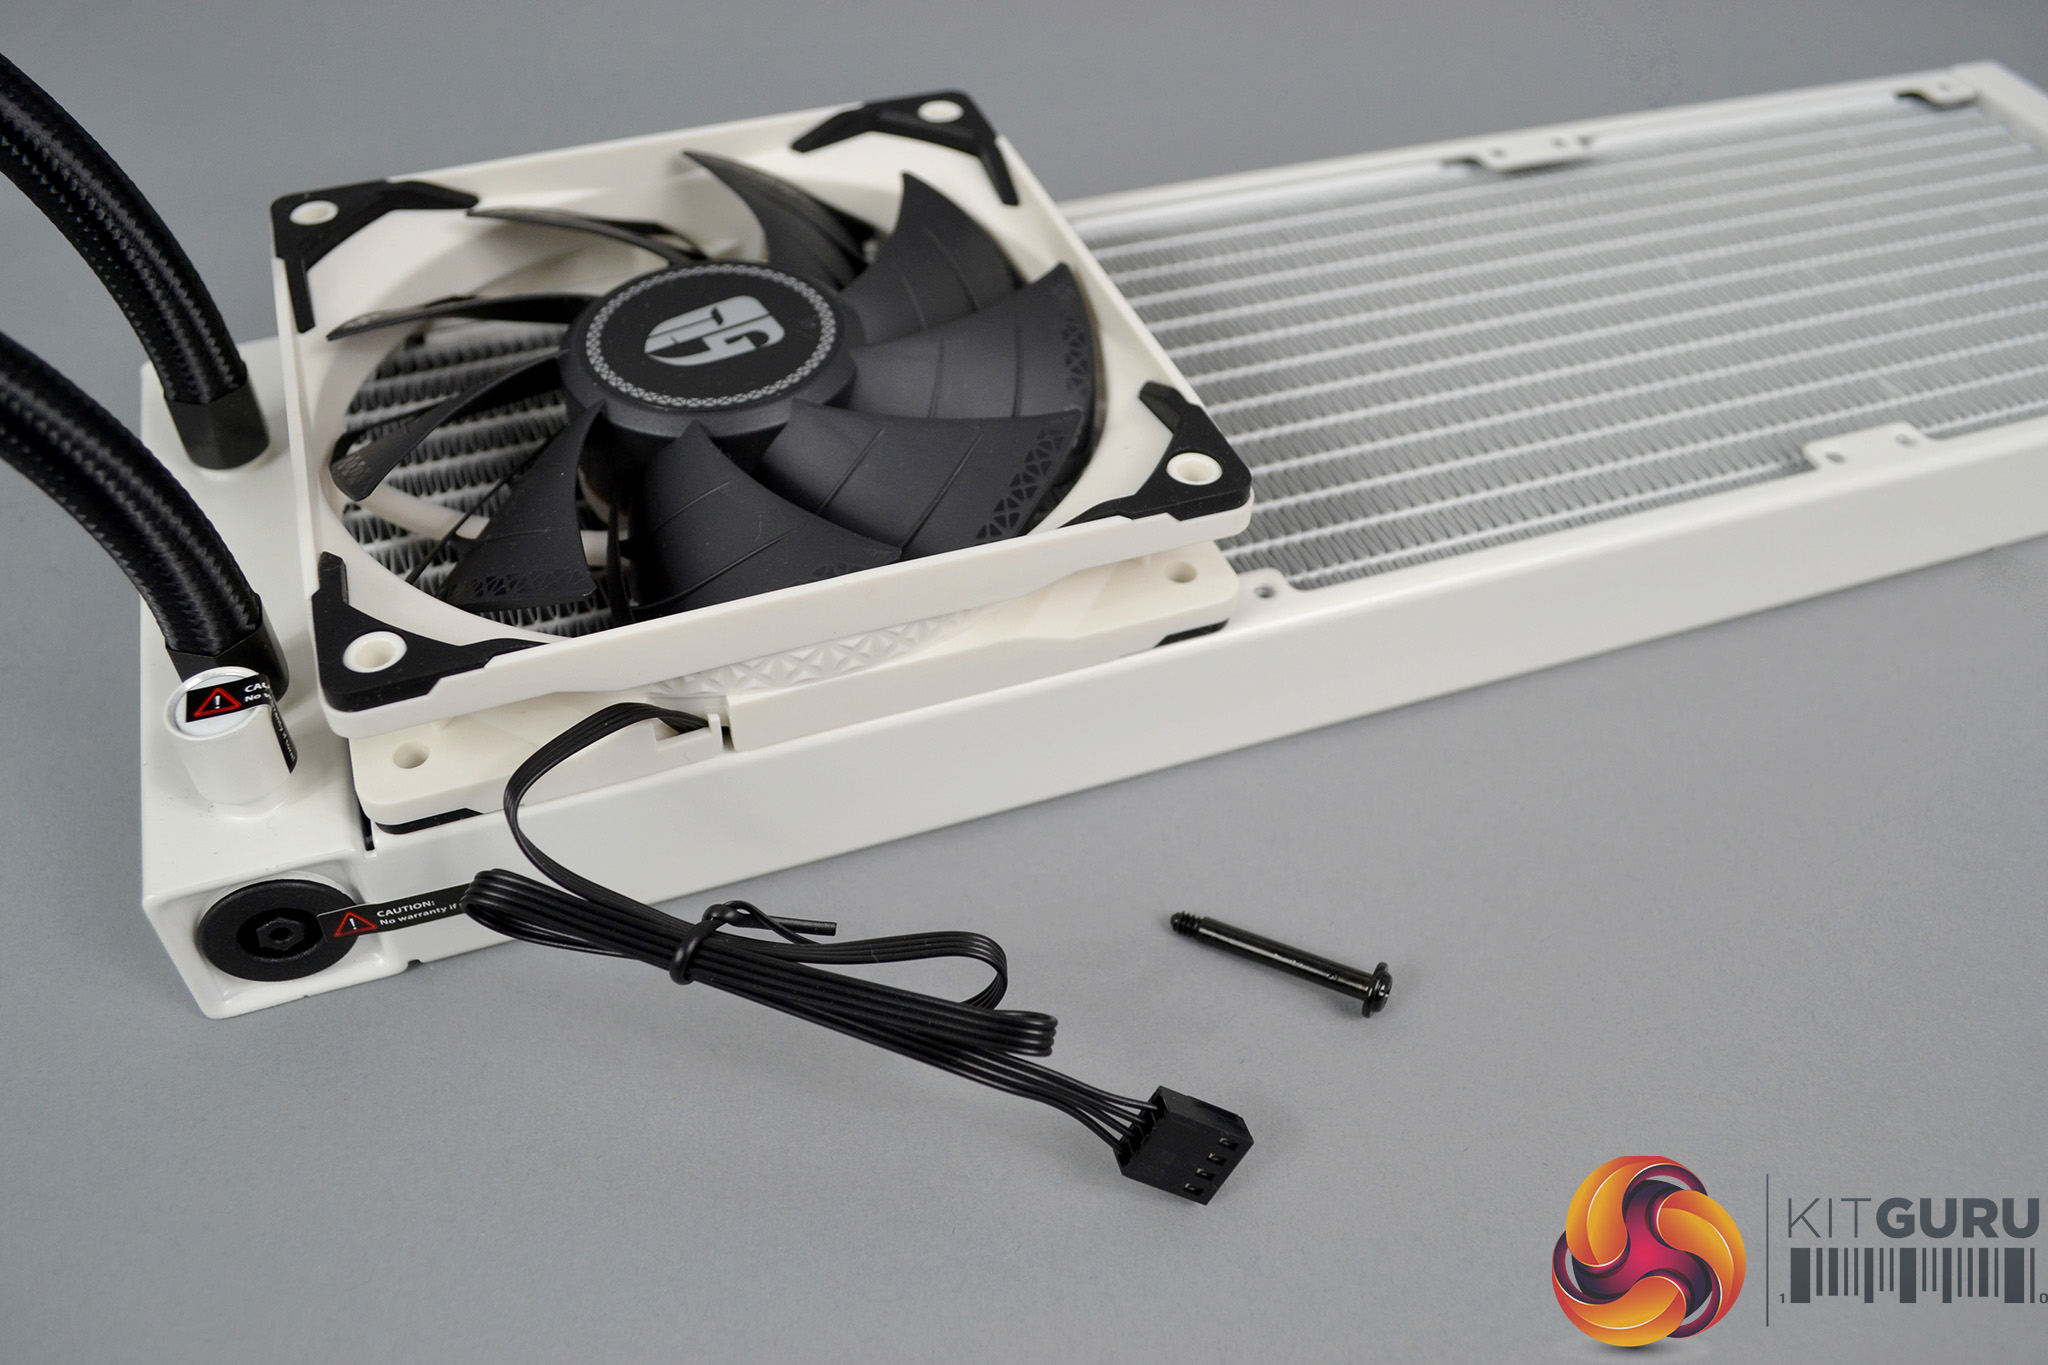
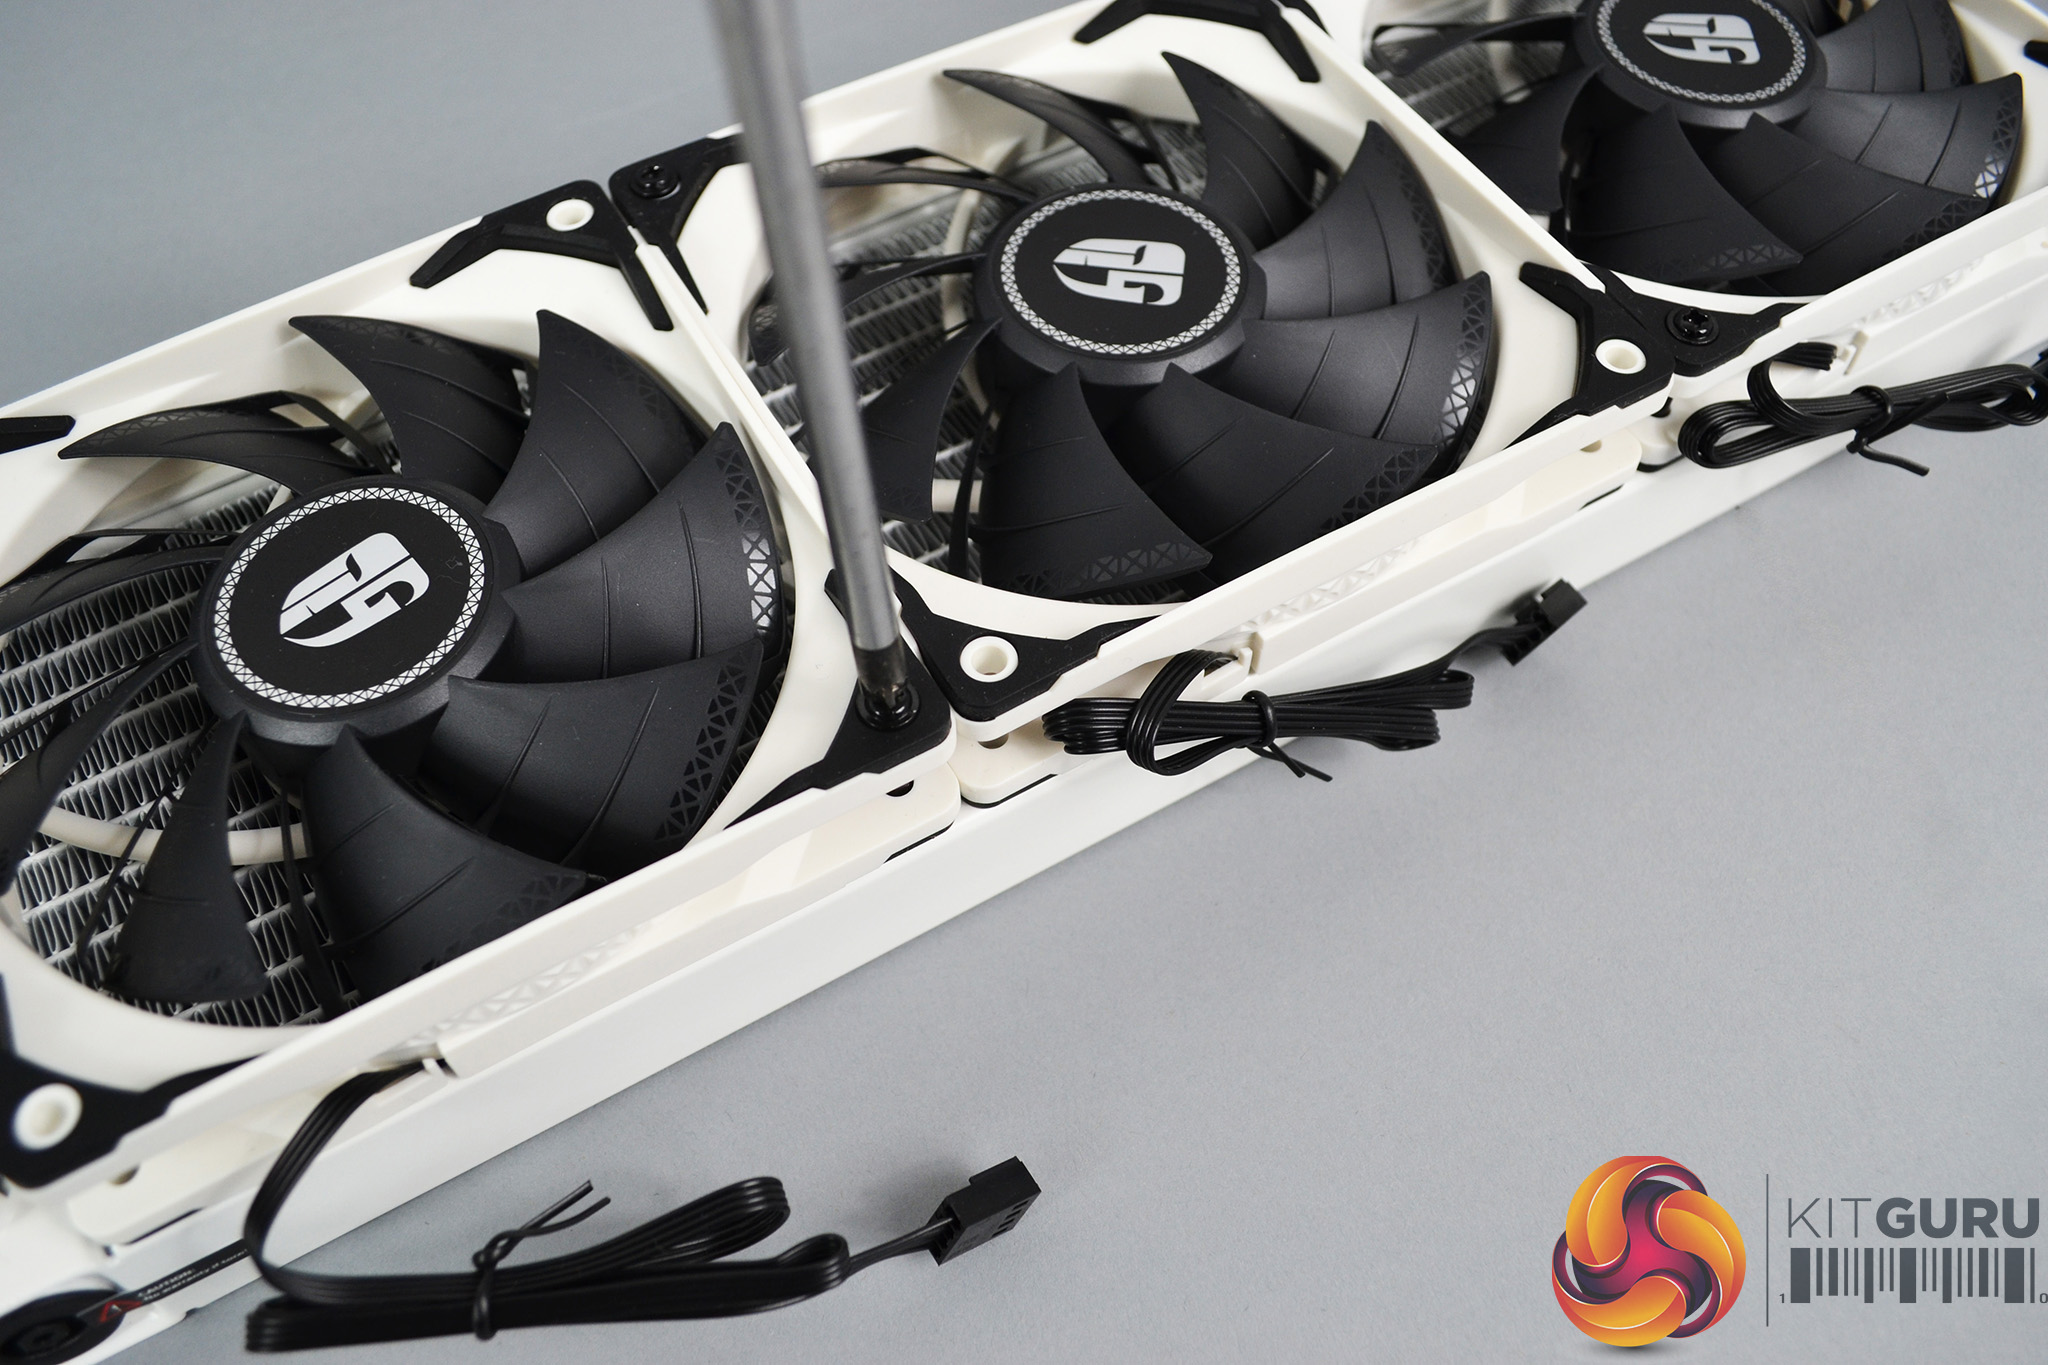
Now that the motherboard is prepared, the next step of the installation process is to attach the fans to the radiator. The easiest way to do this is by laying the radiator down on a table or other flat surface and placing the fans on top, with the mounting holes aligned. Fix the fans down to the radiator using the eight long black screws that are provided.
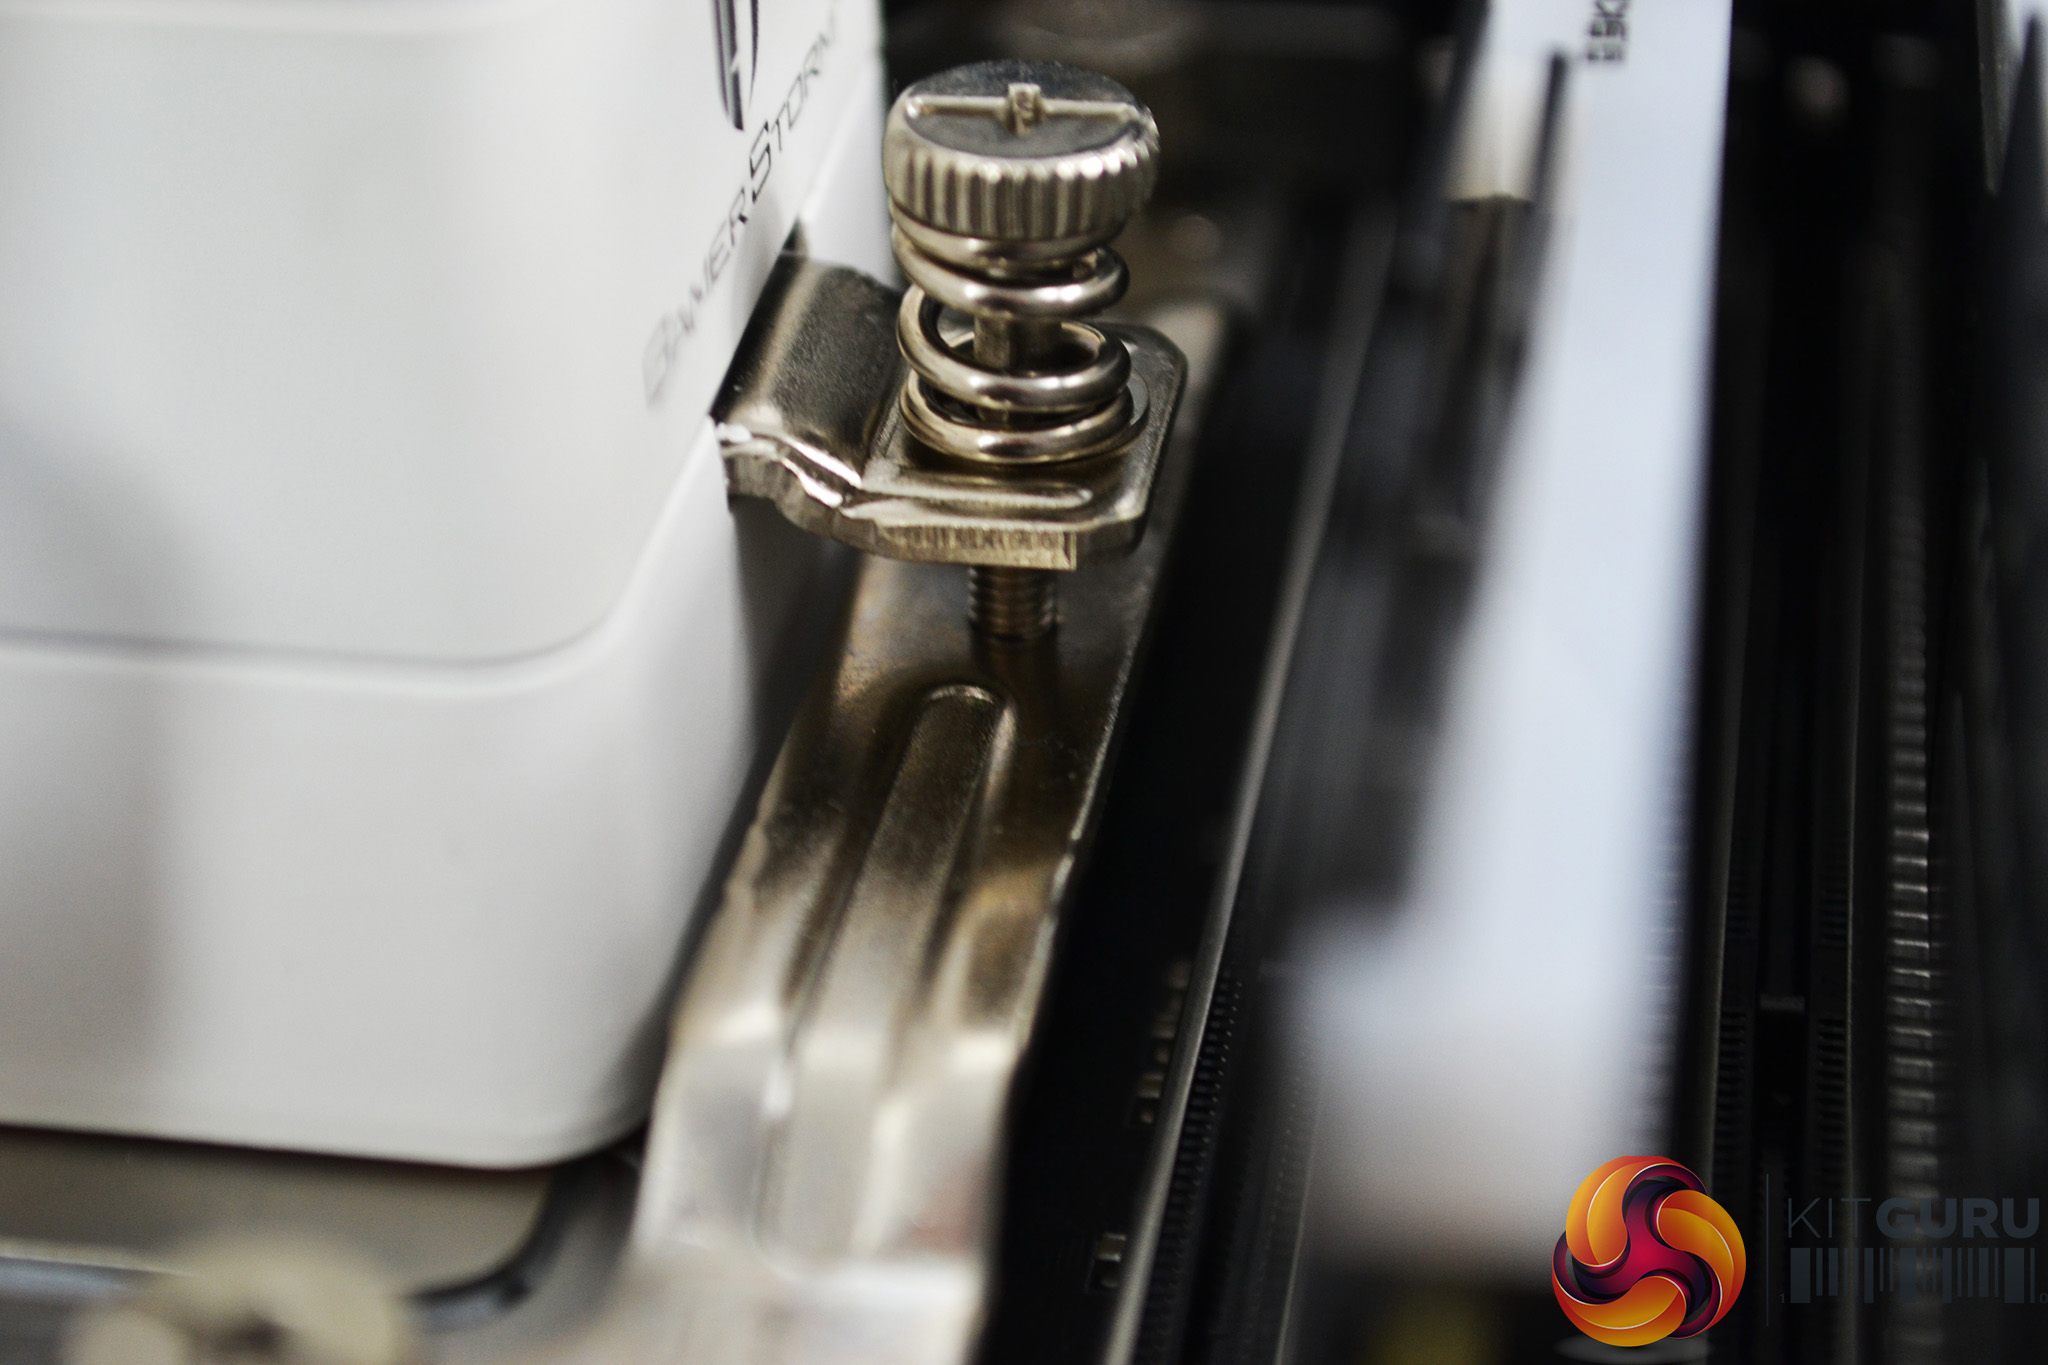
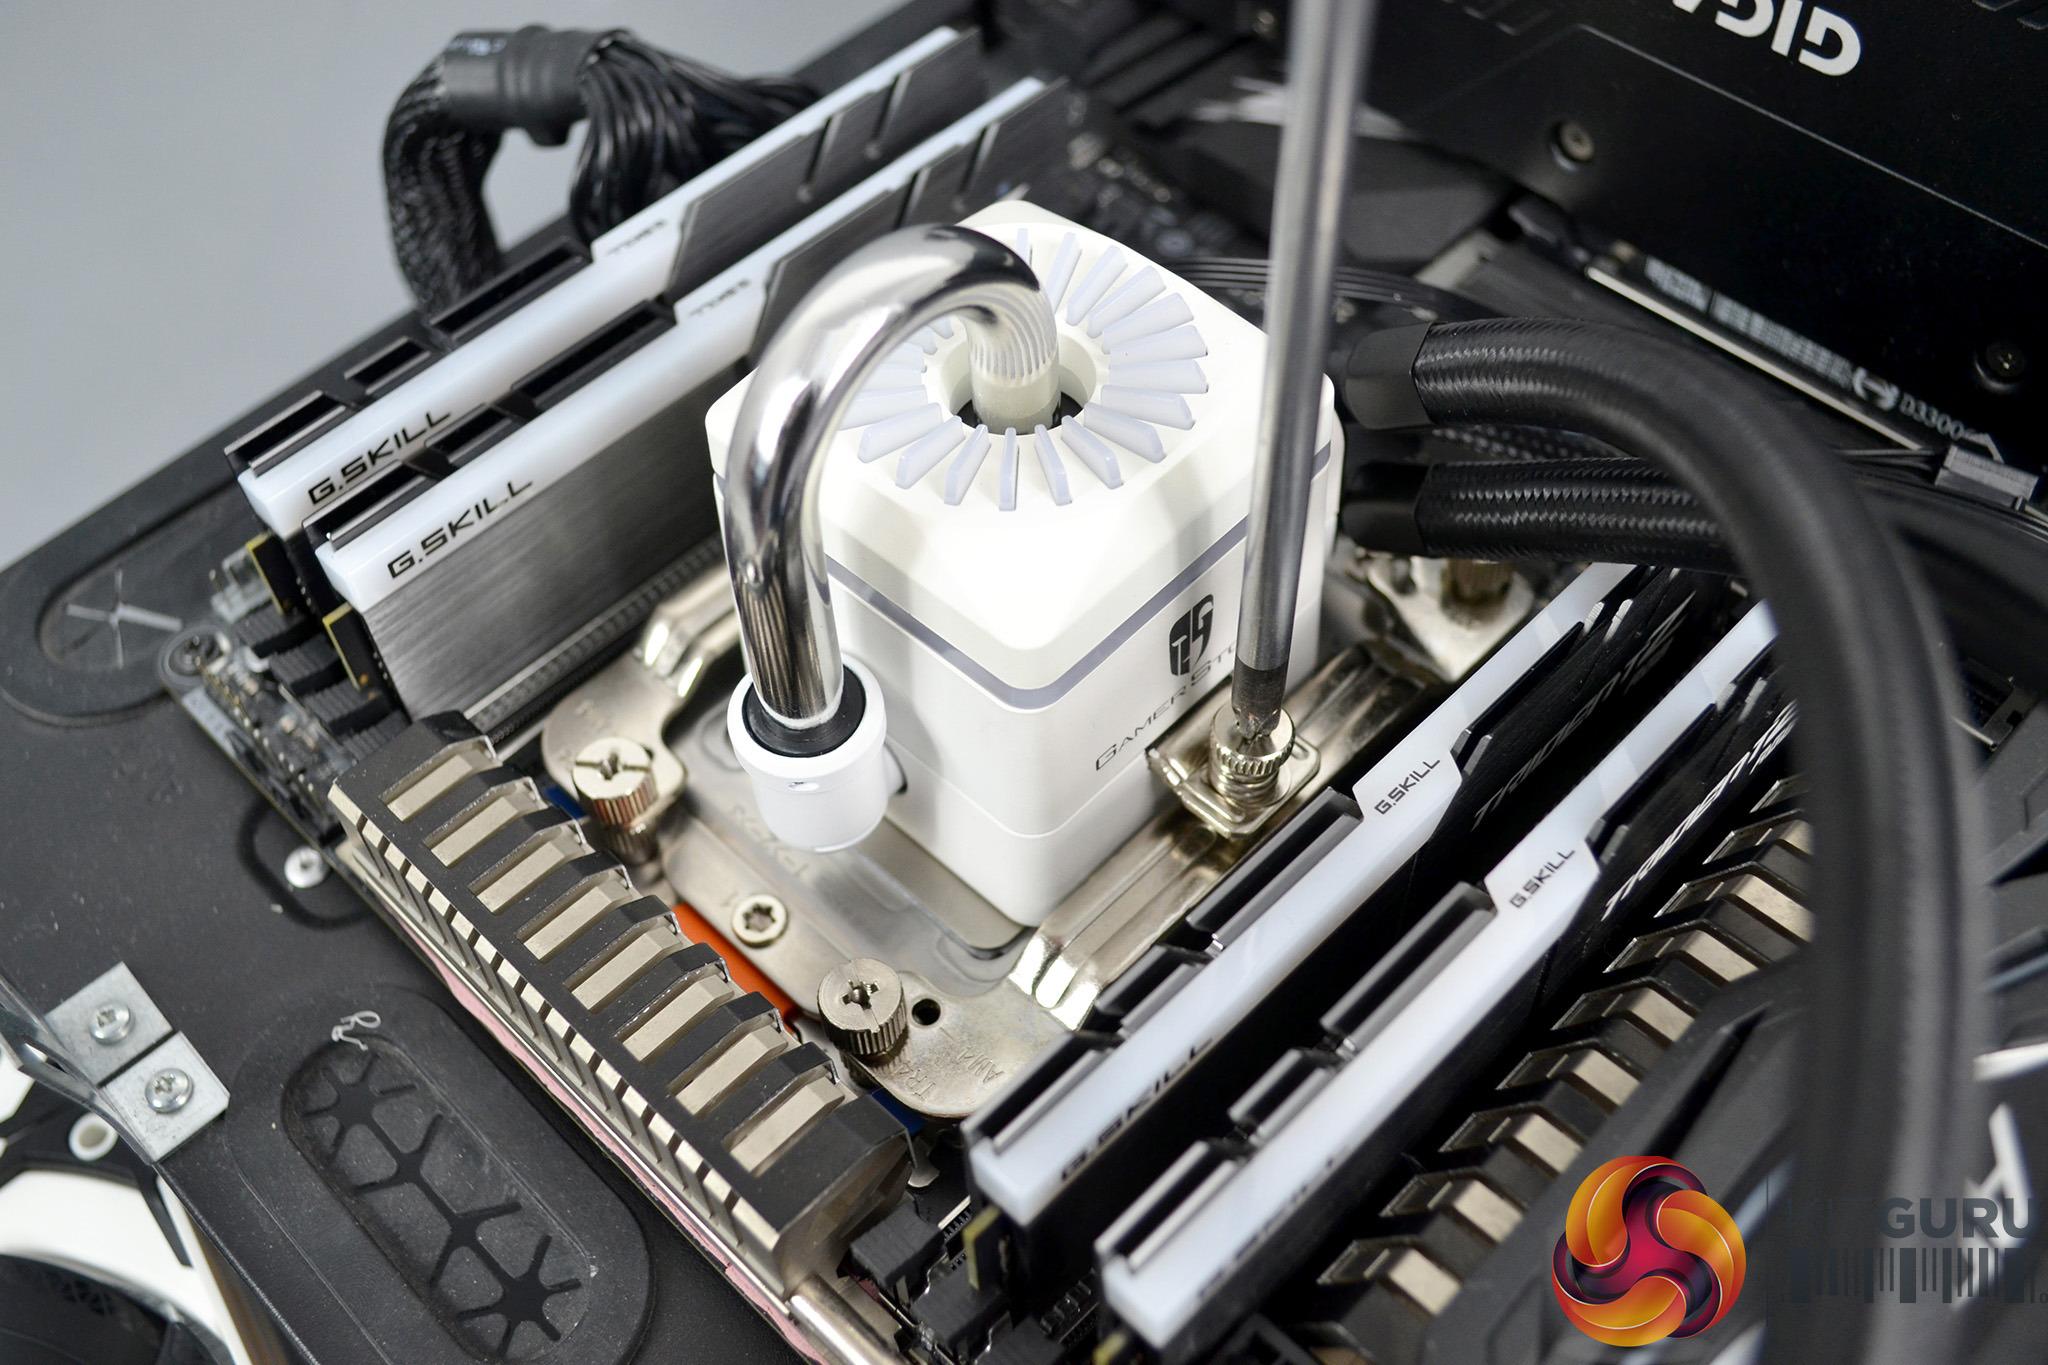
To complete the hardware installation, lower the pump down over the CPU socket with the mounting points aligned and tighten in place using the two integrated spring-loaded thumbscrews. Choose an appropriate position for the radiator to be mounted in your case. Then move on to the wiring installation.
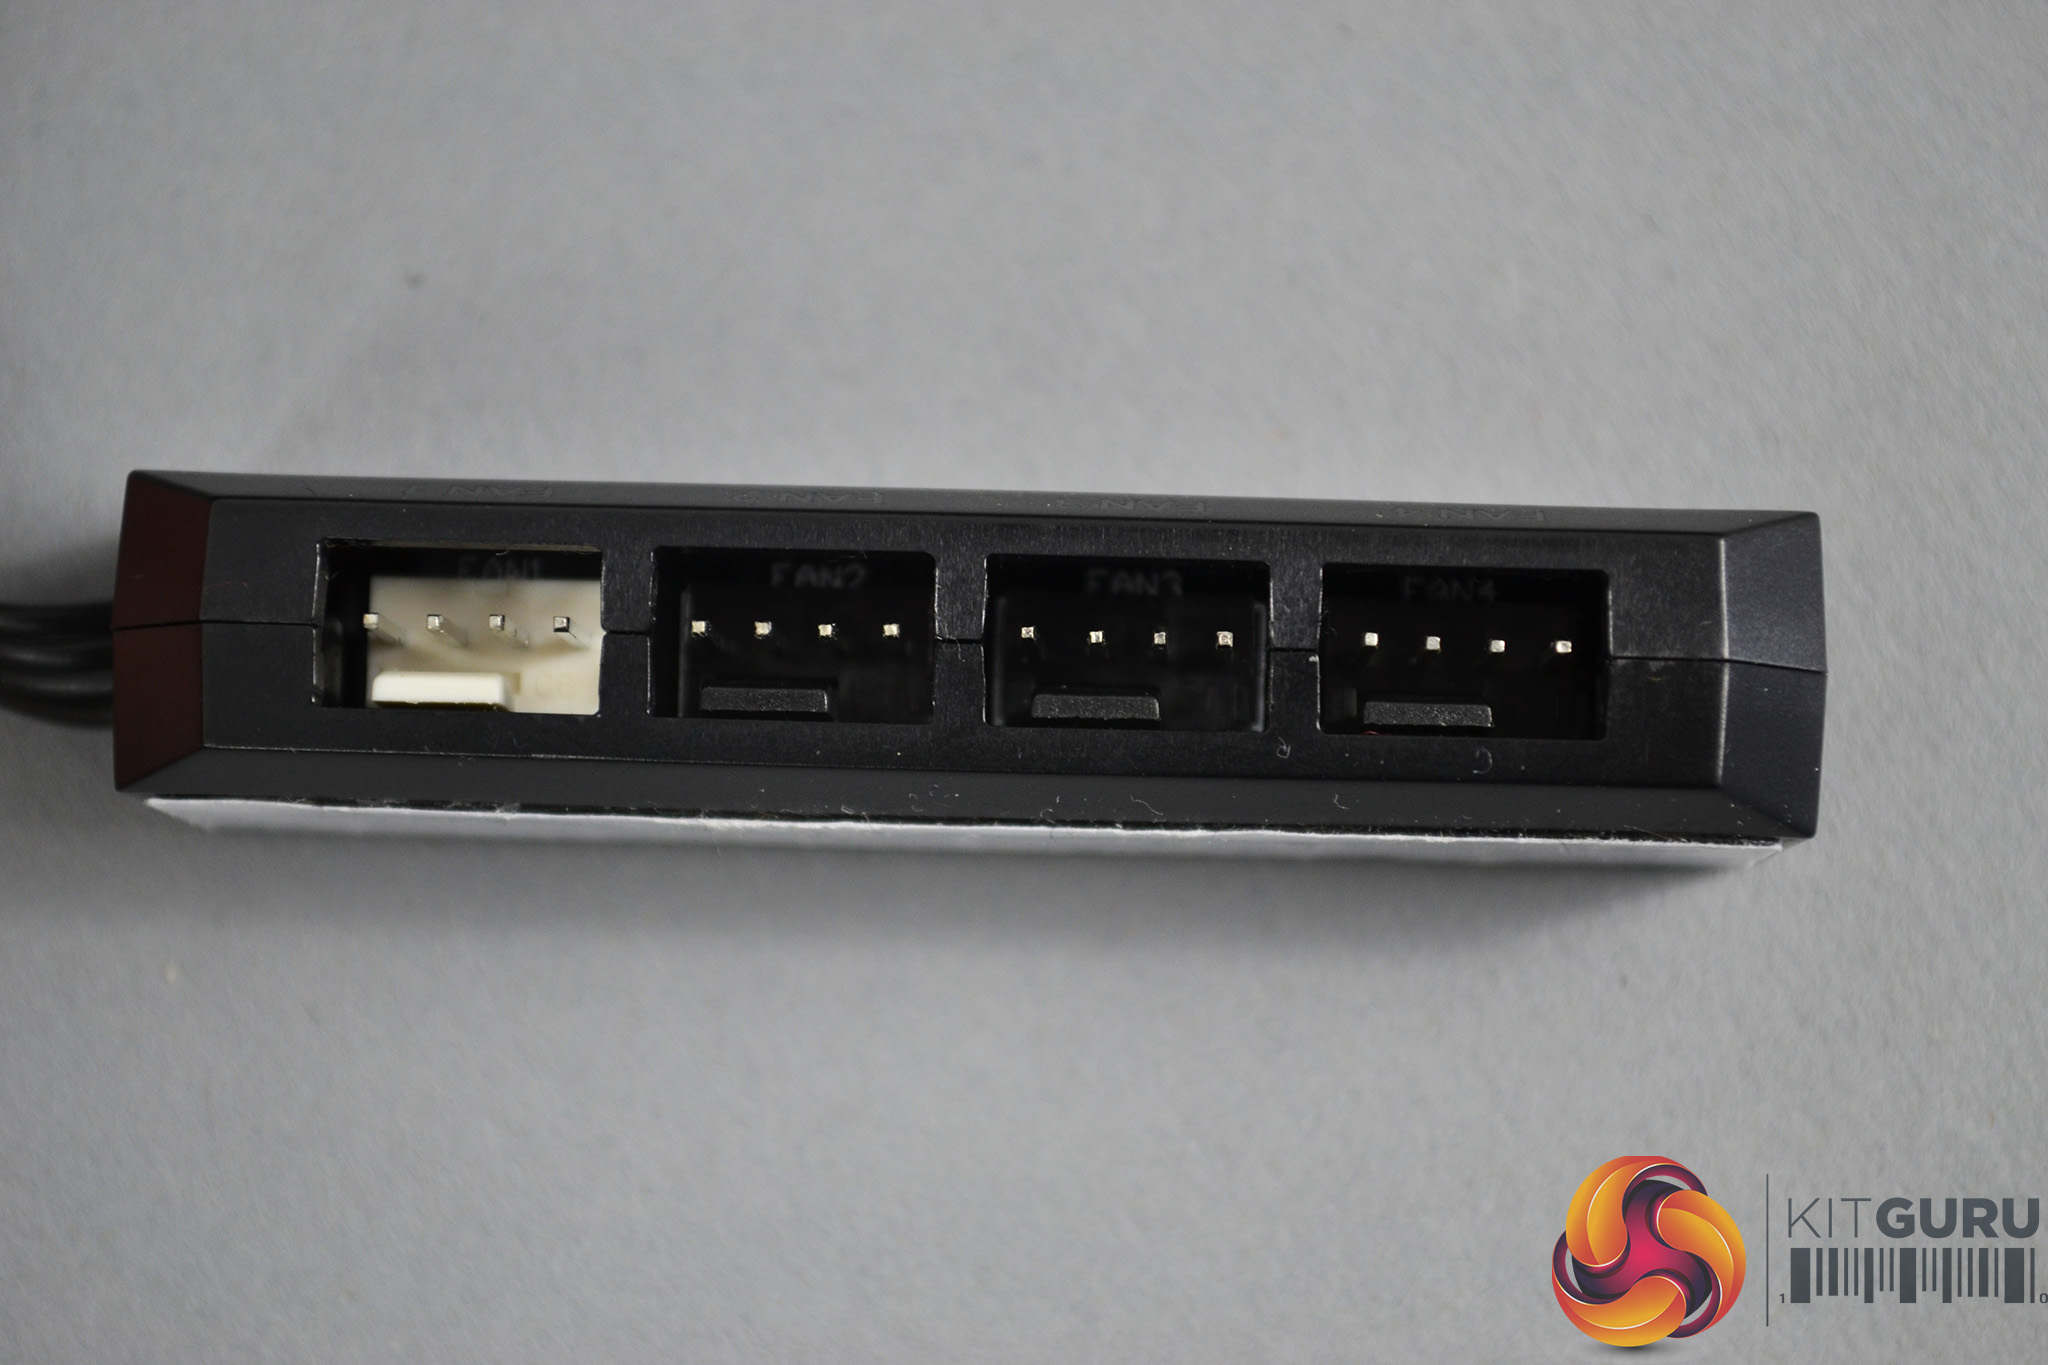

The final stage of installation for any all-in-one CPU cooler is the wiring. In this particular installation, it is quite simple – connect the included PWM hub to the motherboard CPU_FAN header and then connect the two fan cables to the PWM hub.
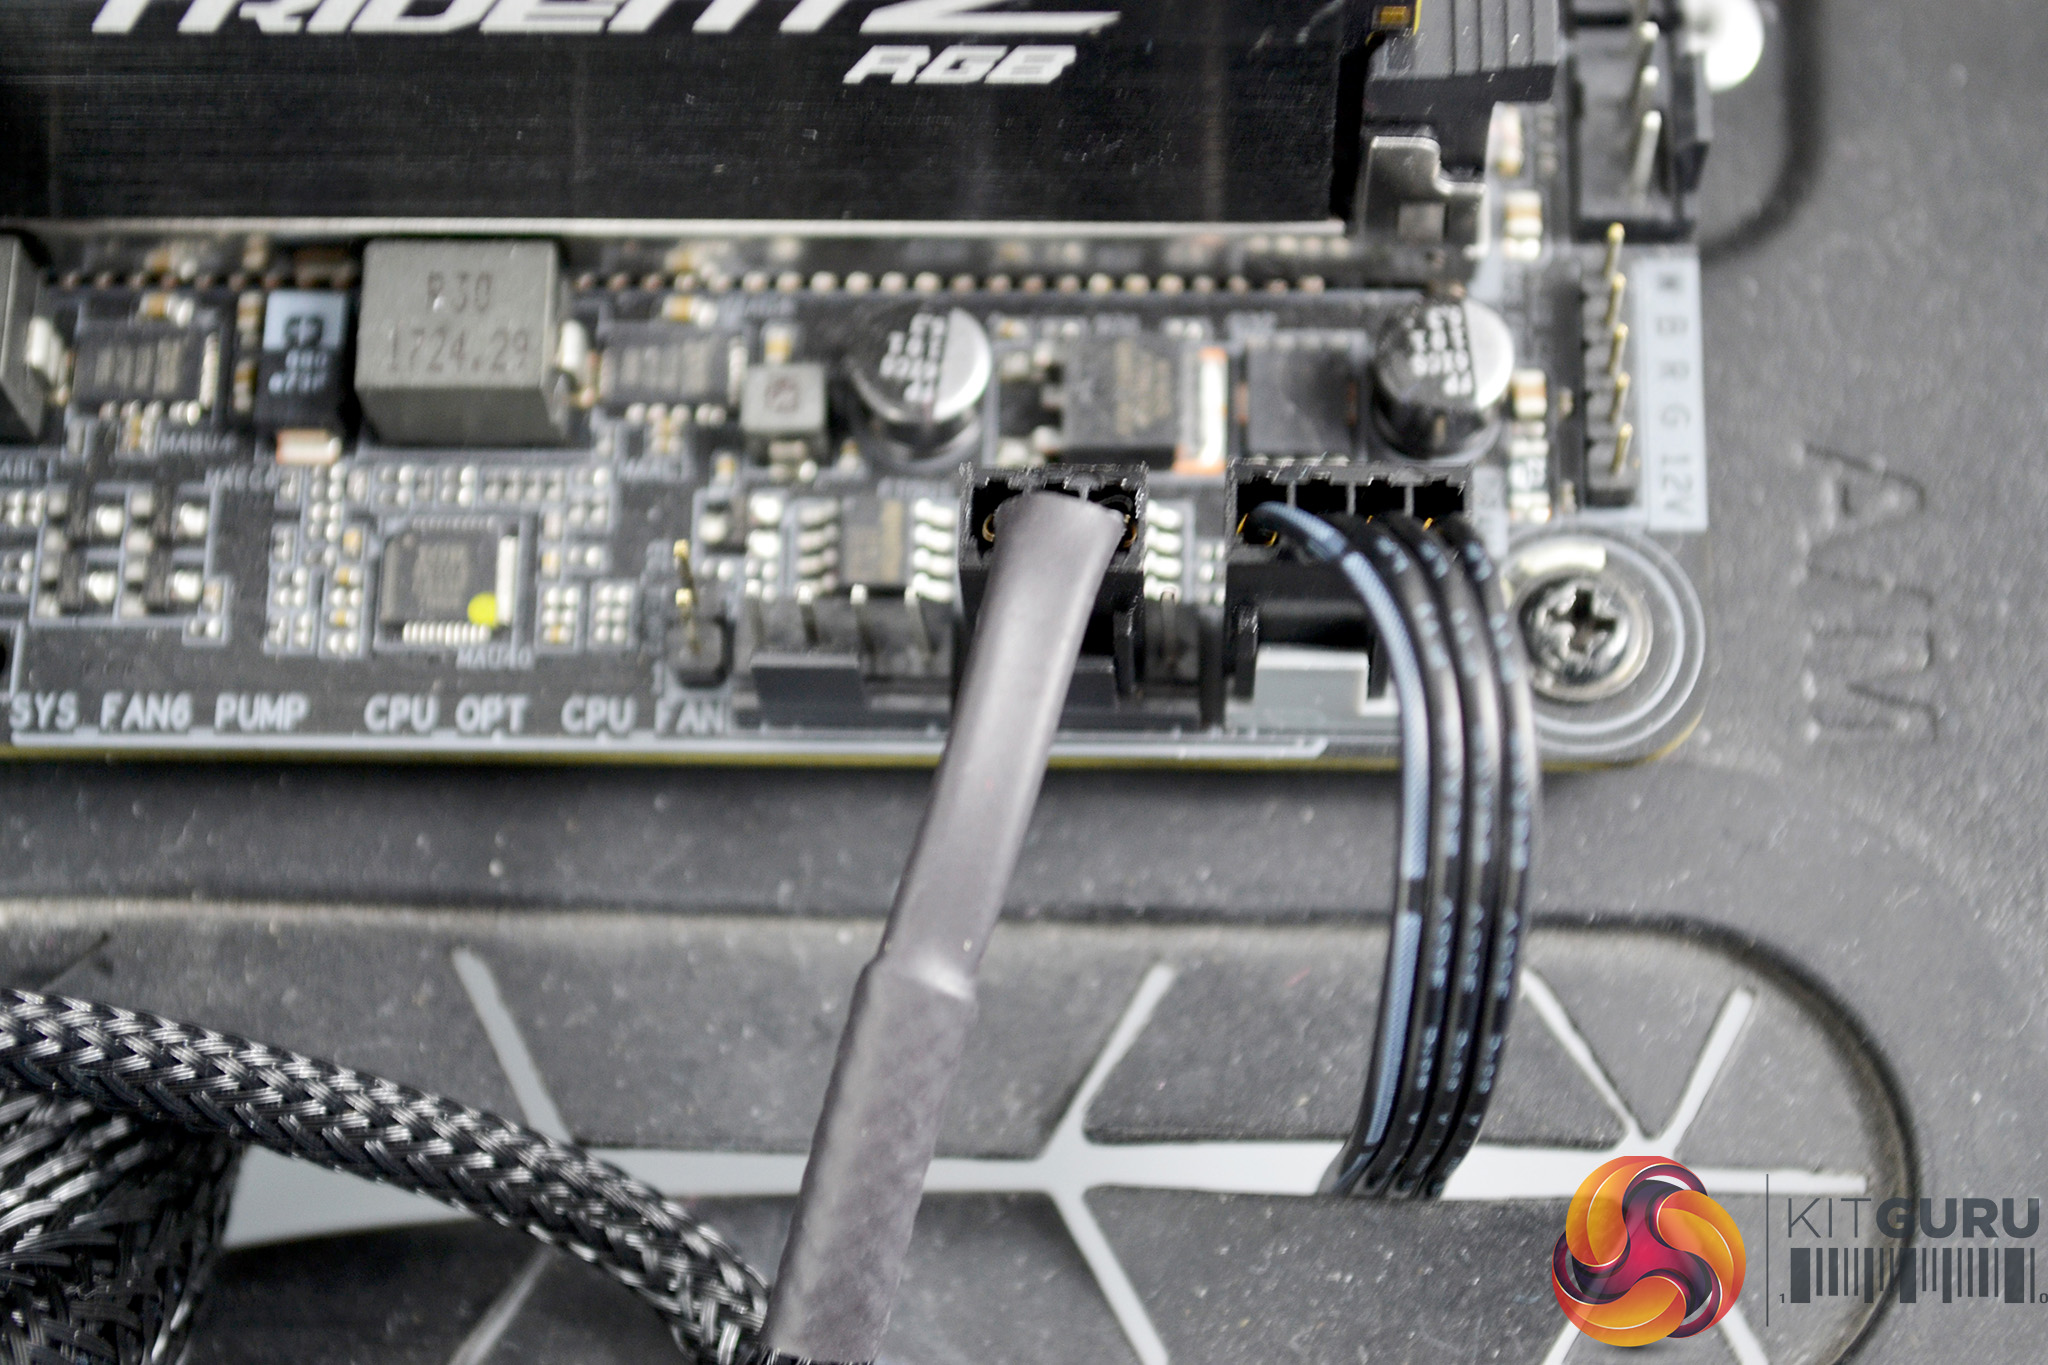
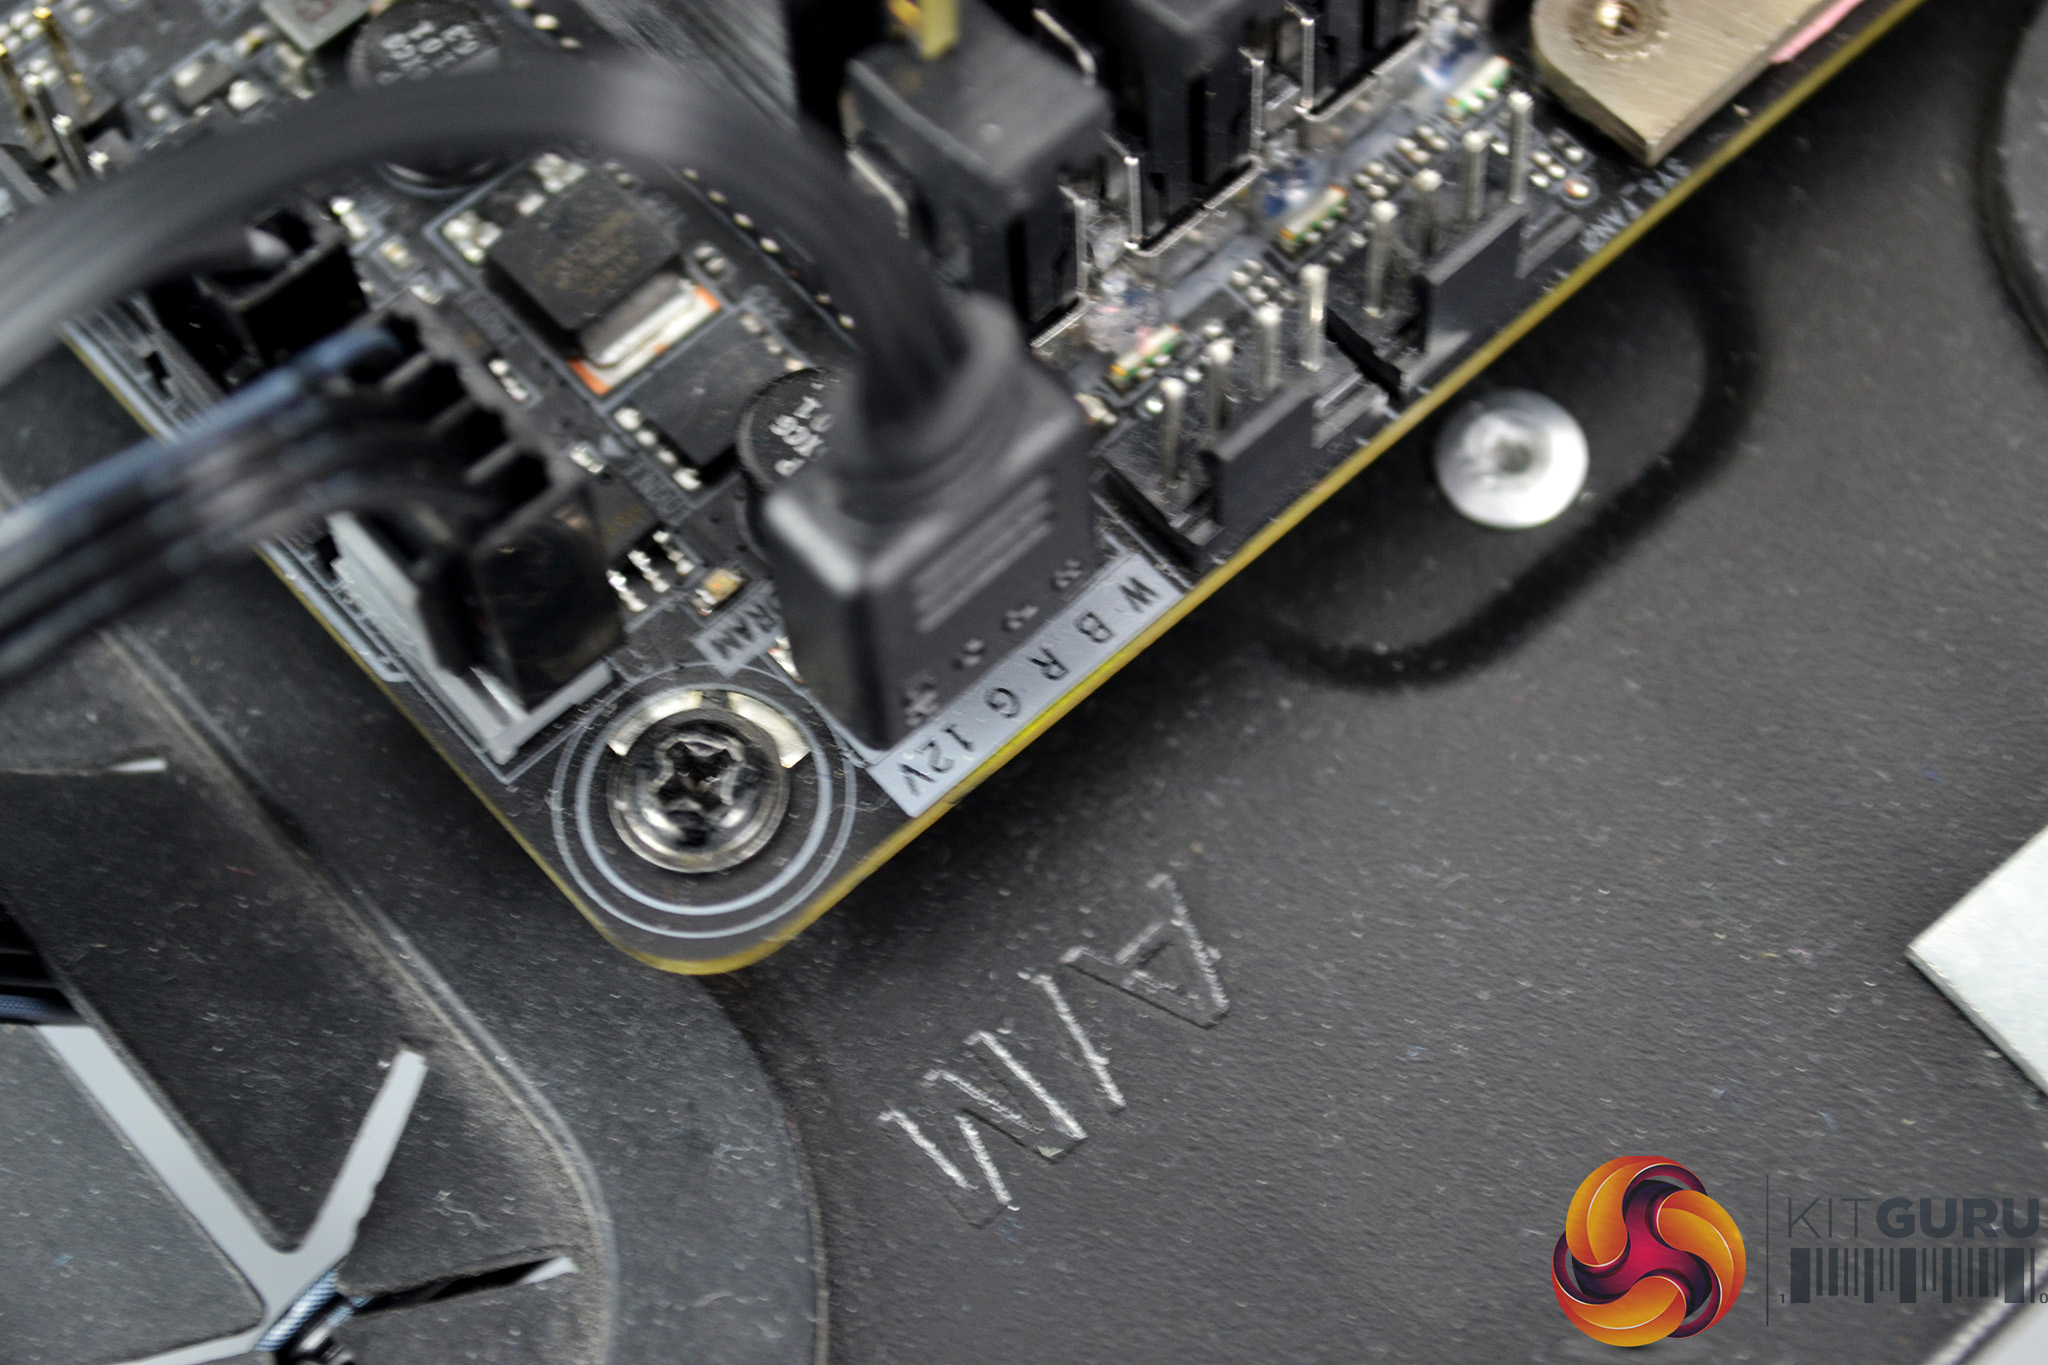
Next, connect the 3-pin pump cable to the motherboard CPU_OPT header to provide power to the pump. OurGigabyte X399 Aorus Gaming 7 motherboard includes 4-pin RGB headers, so to connect the RGB lighting we simply used the included RGB extension cable and connected to one of the RGB motherboards headers, so the lighting effects synchronised with the motherboard lighting.
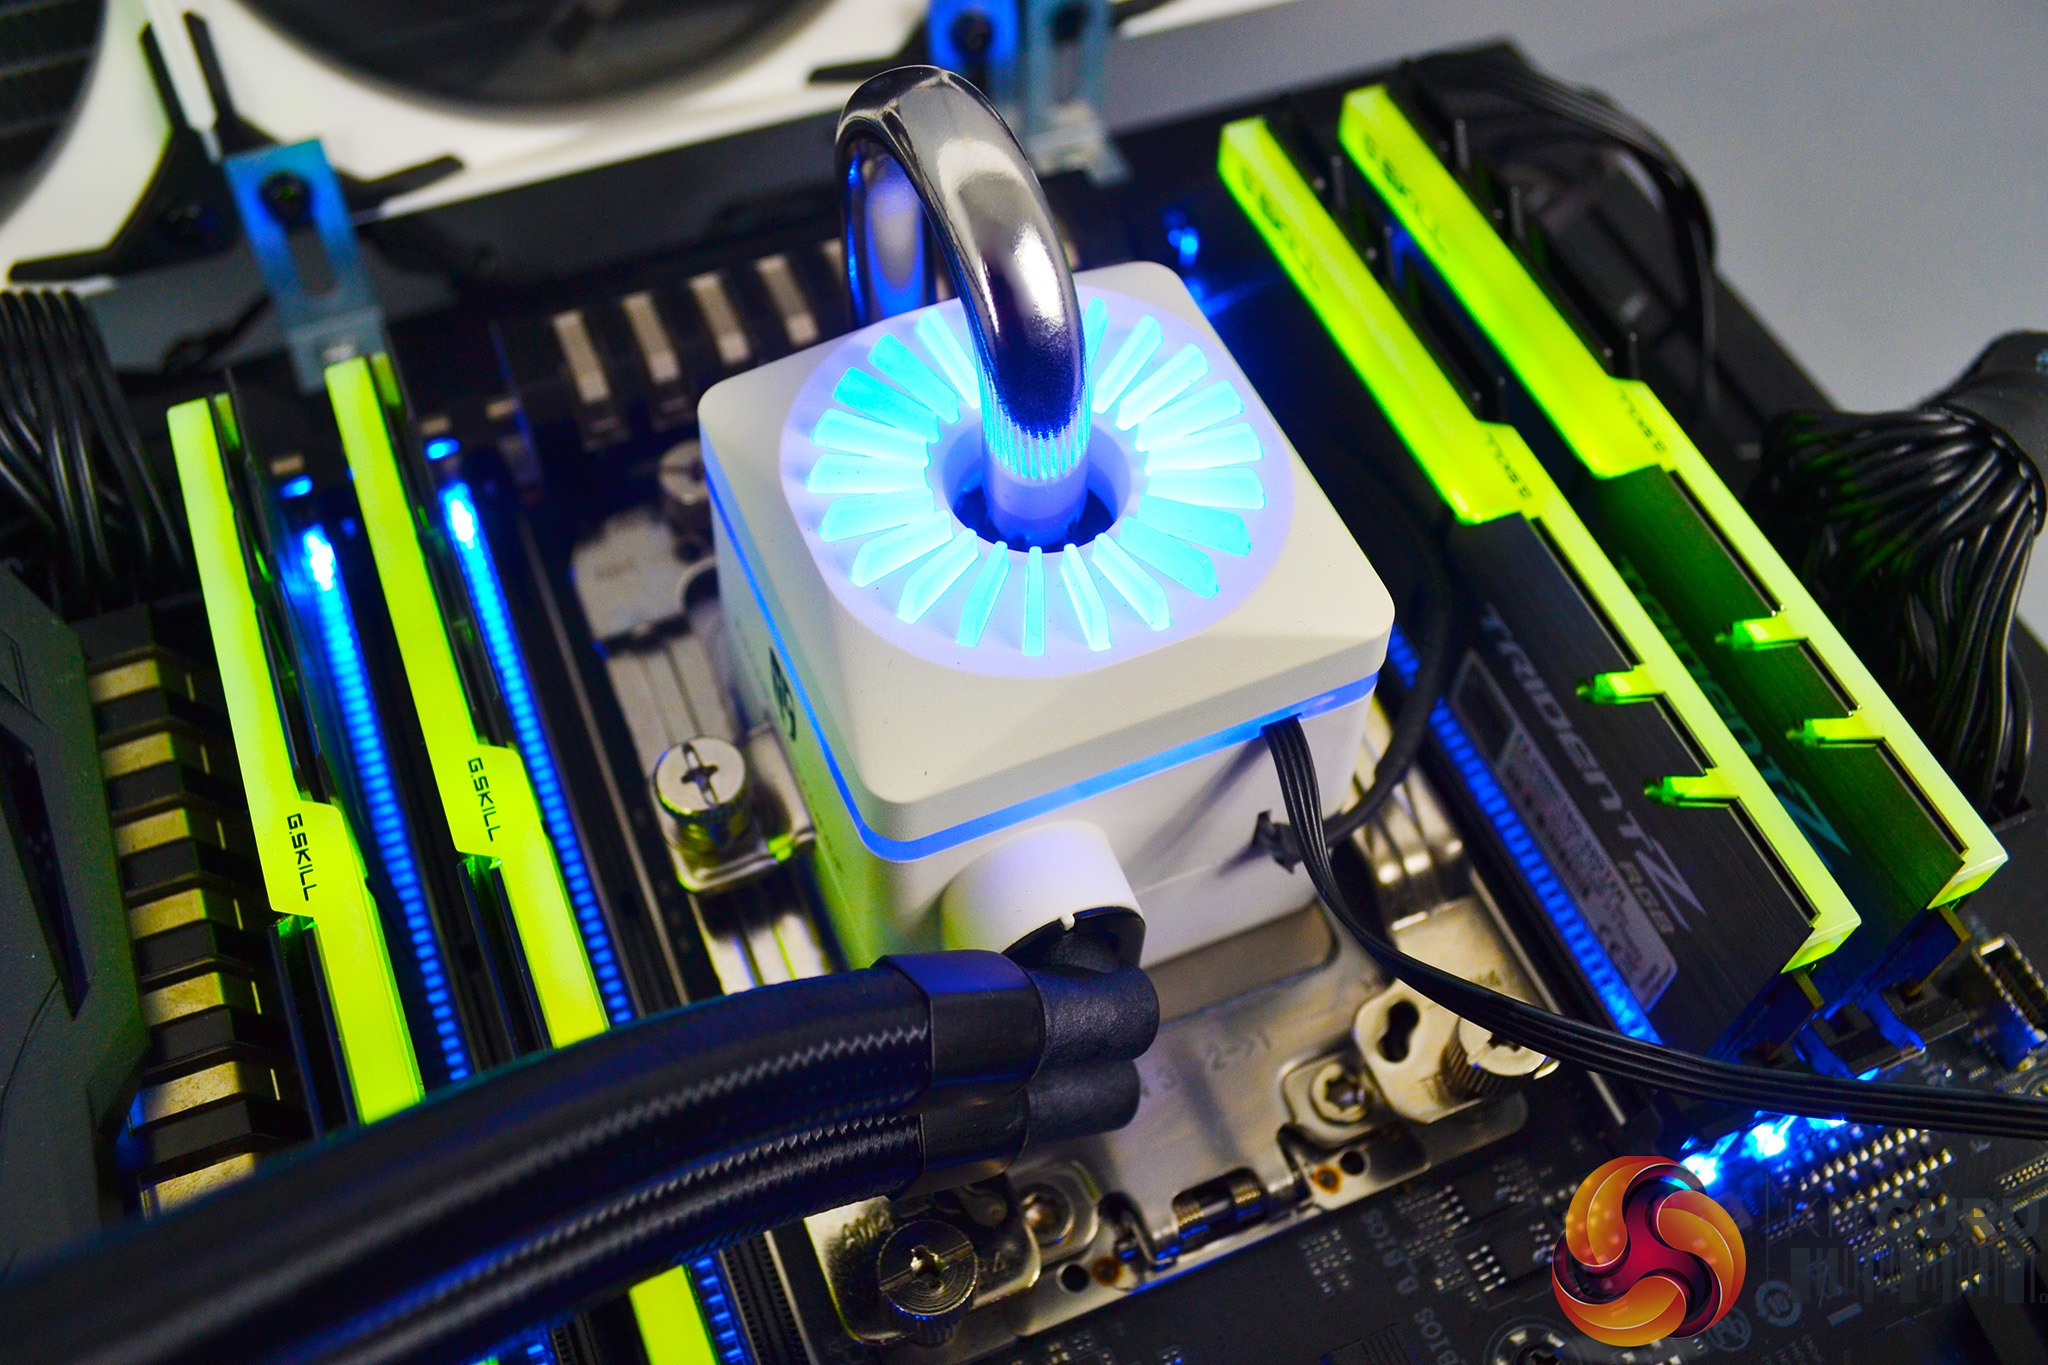
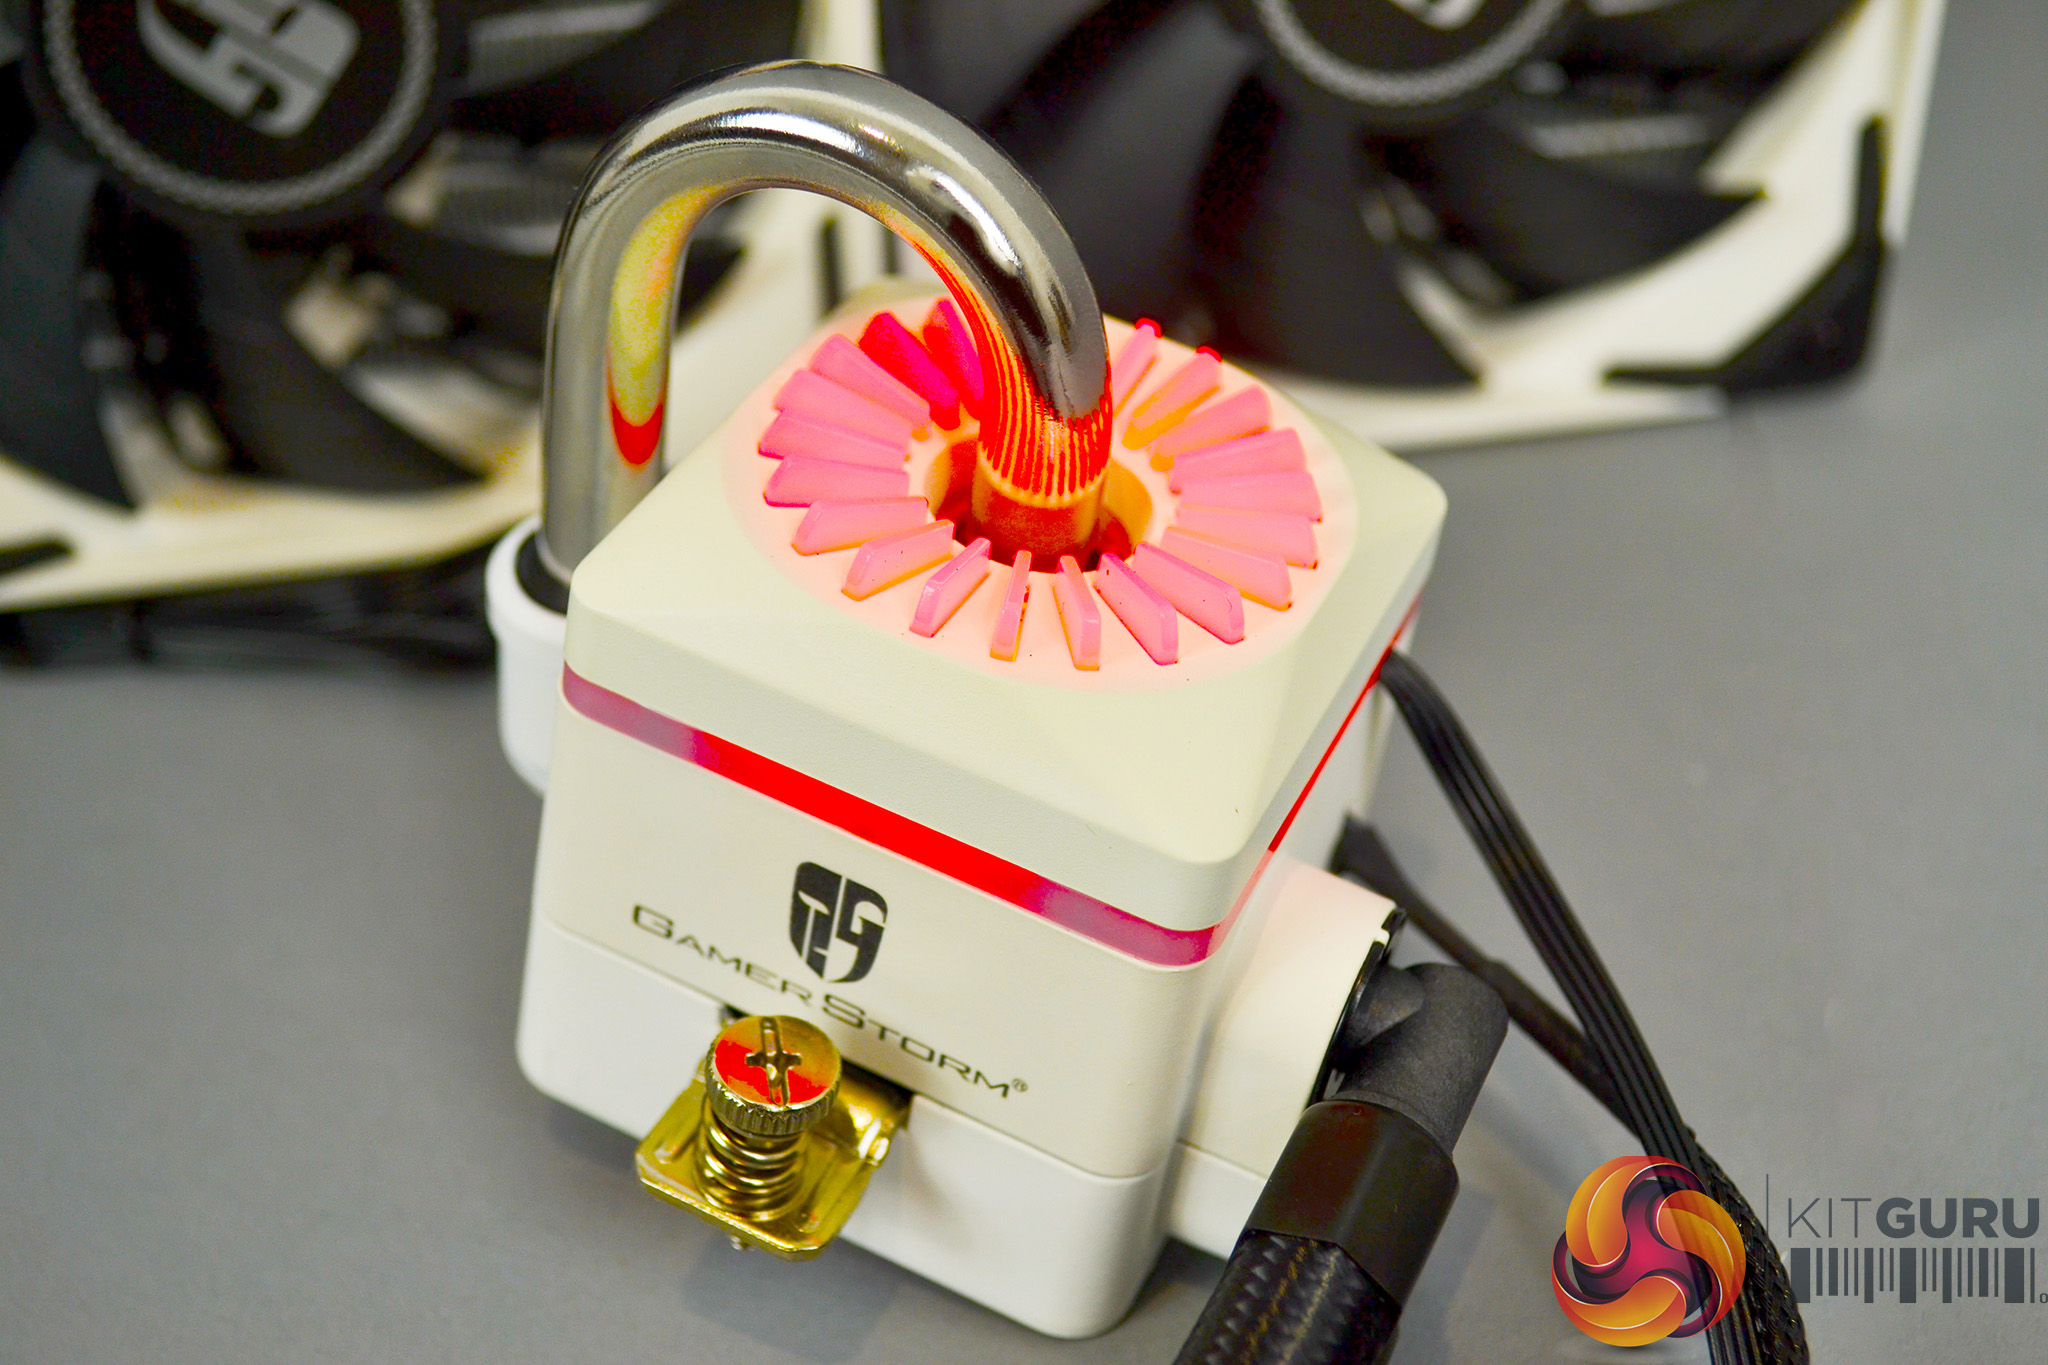
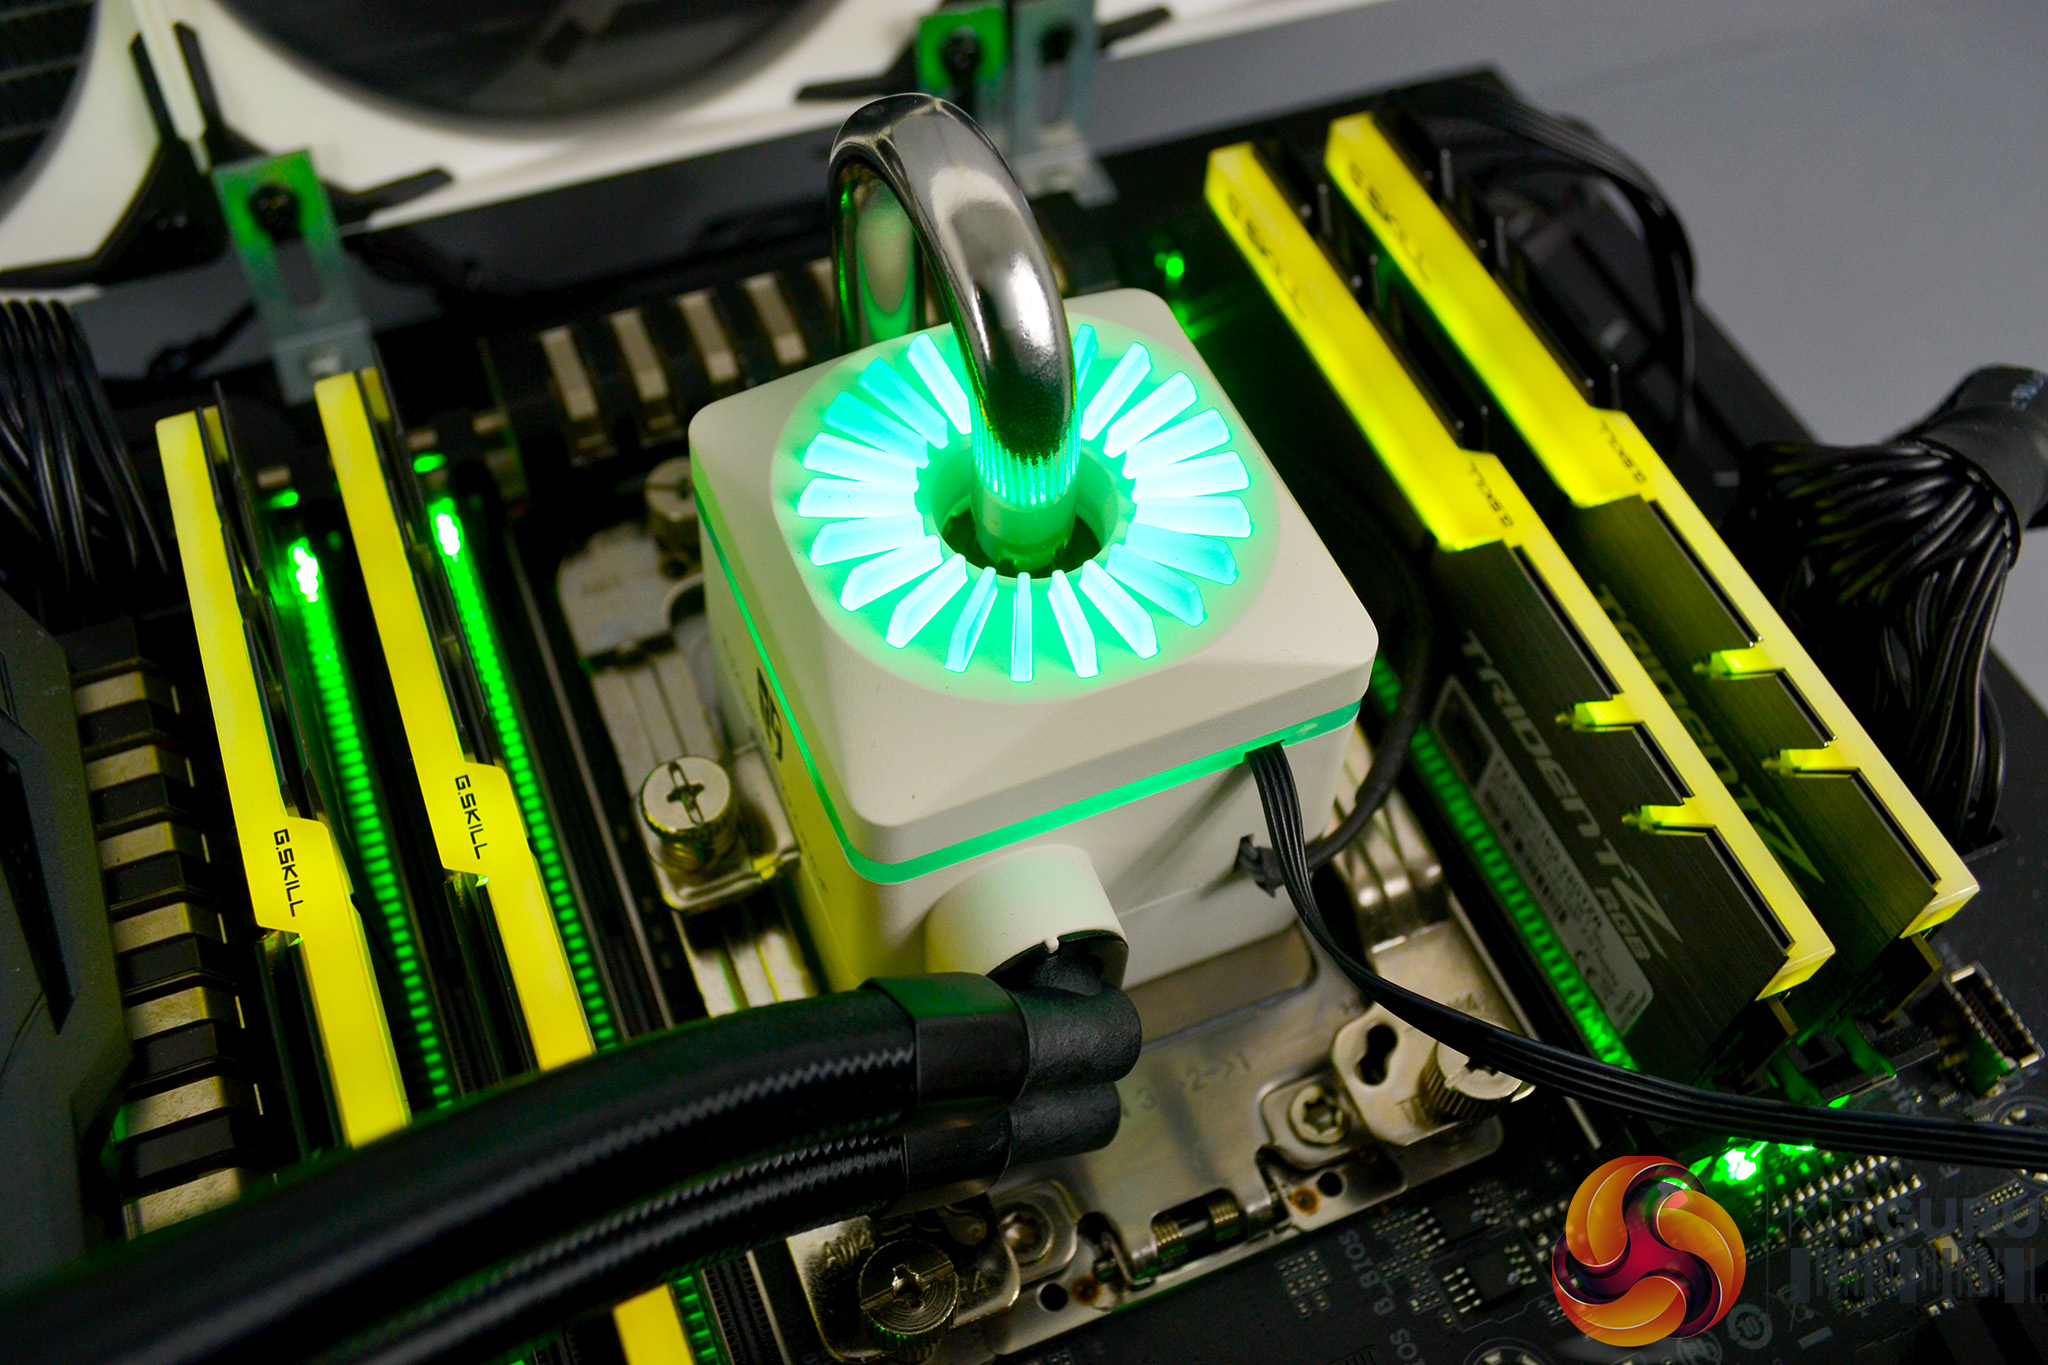
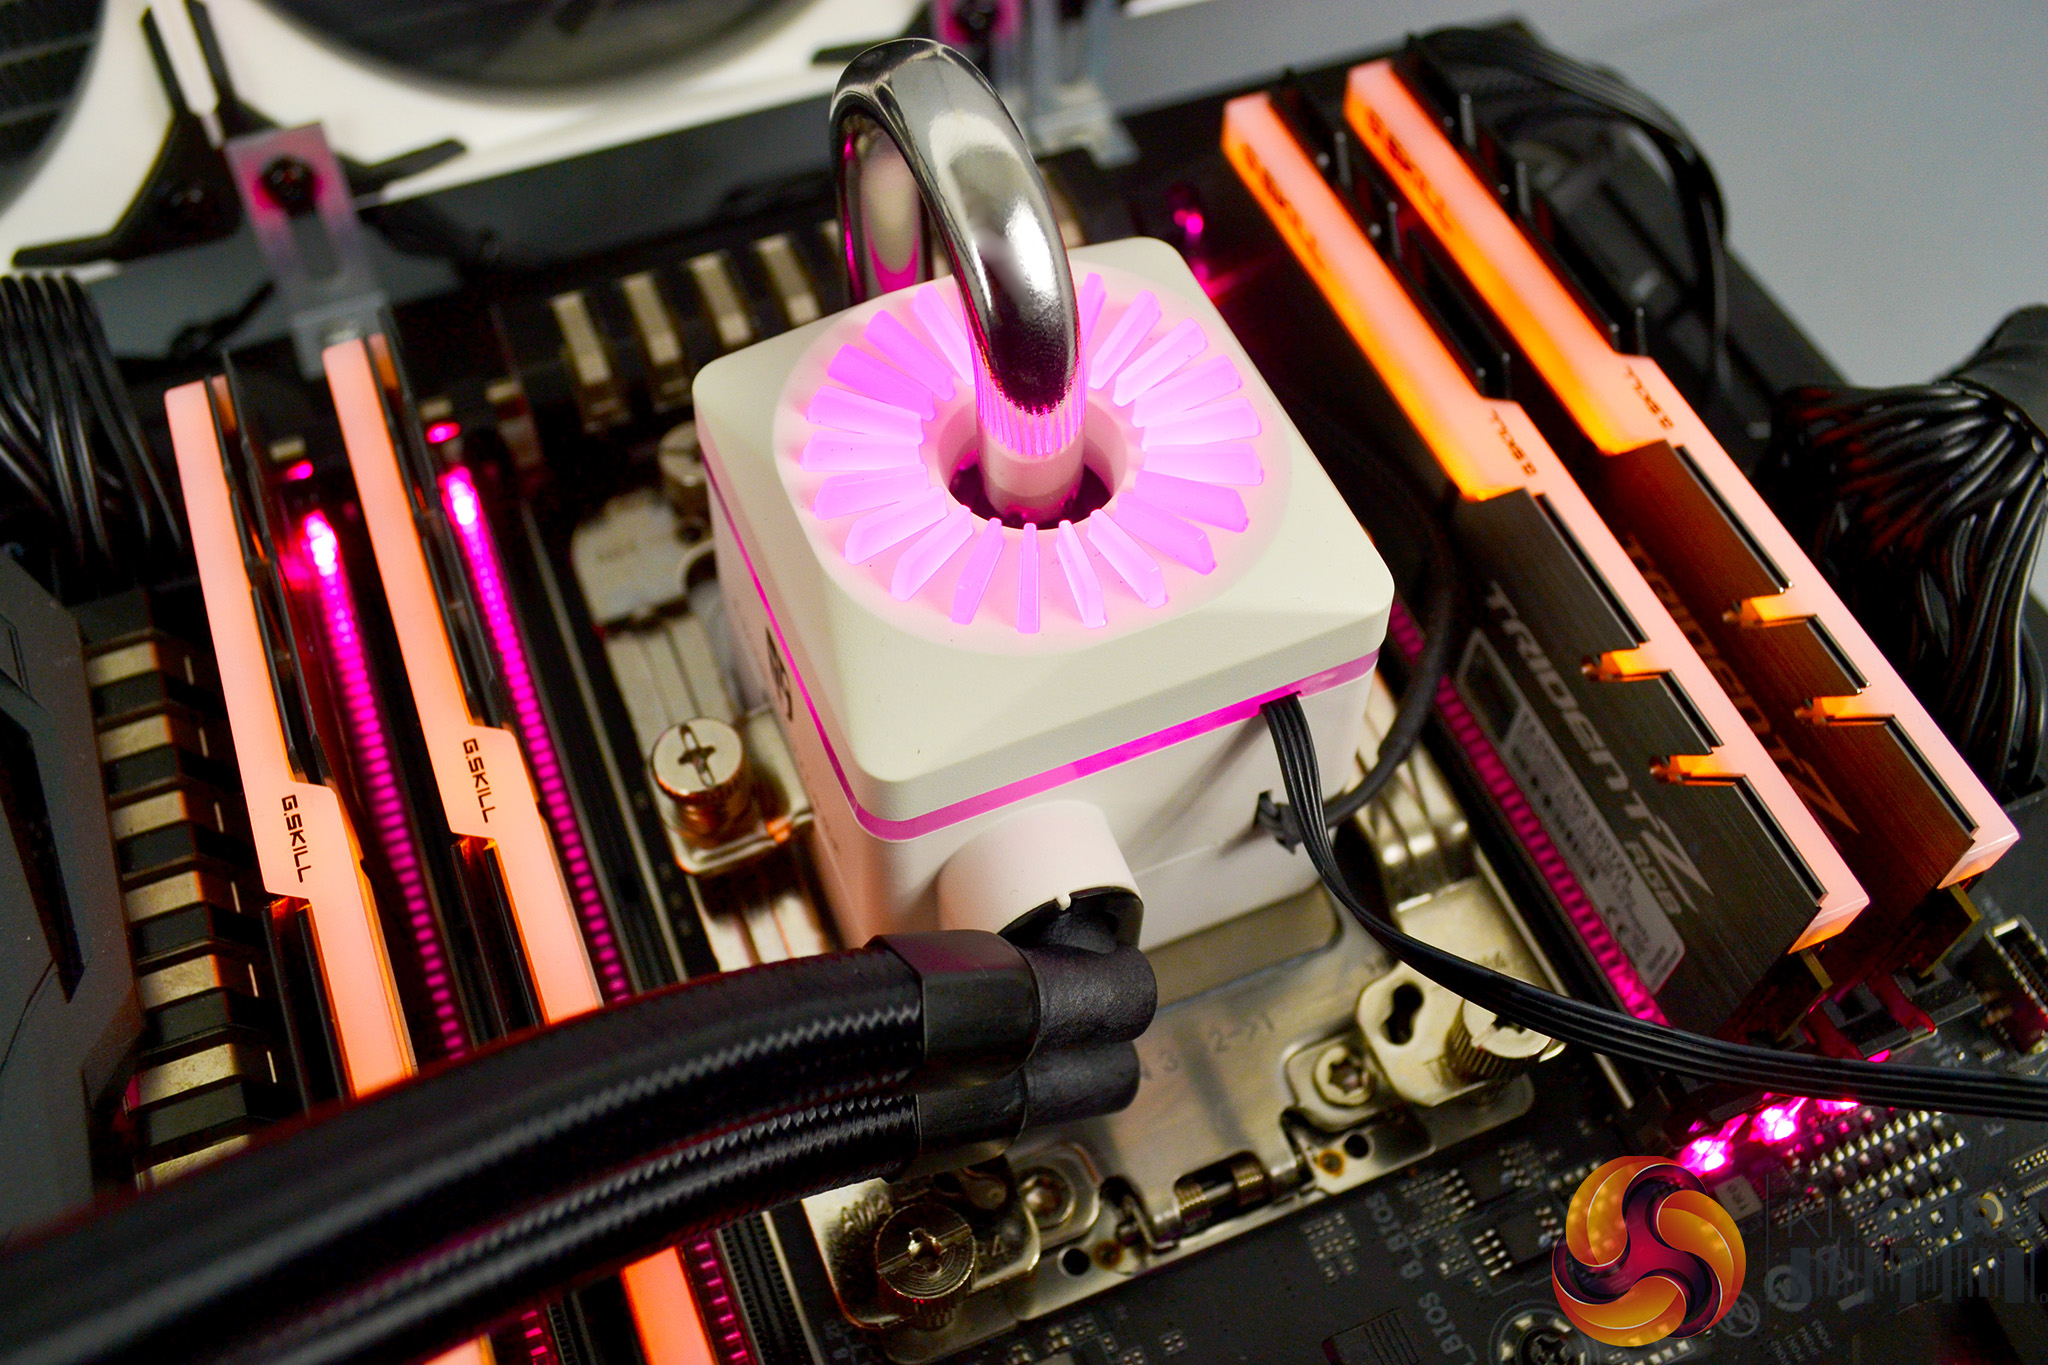
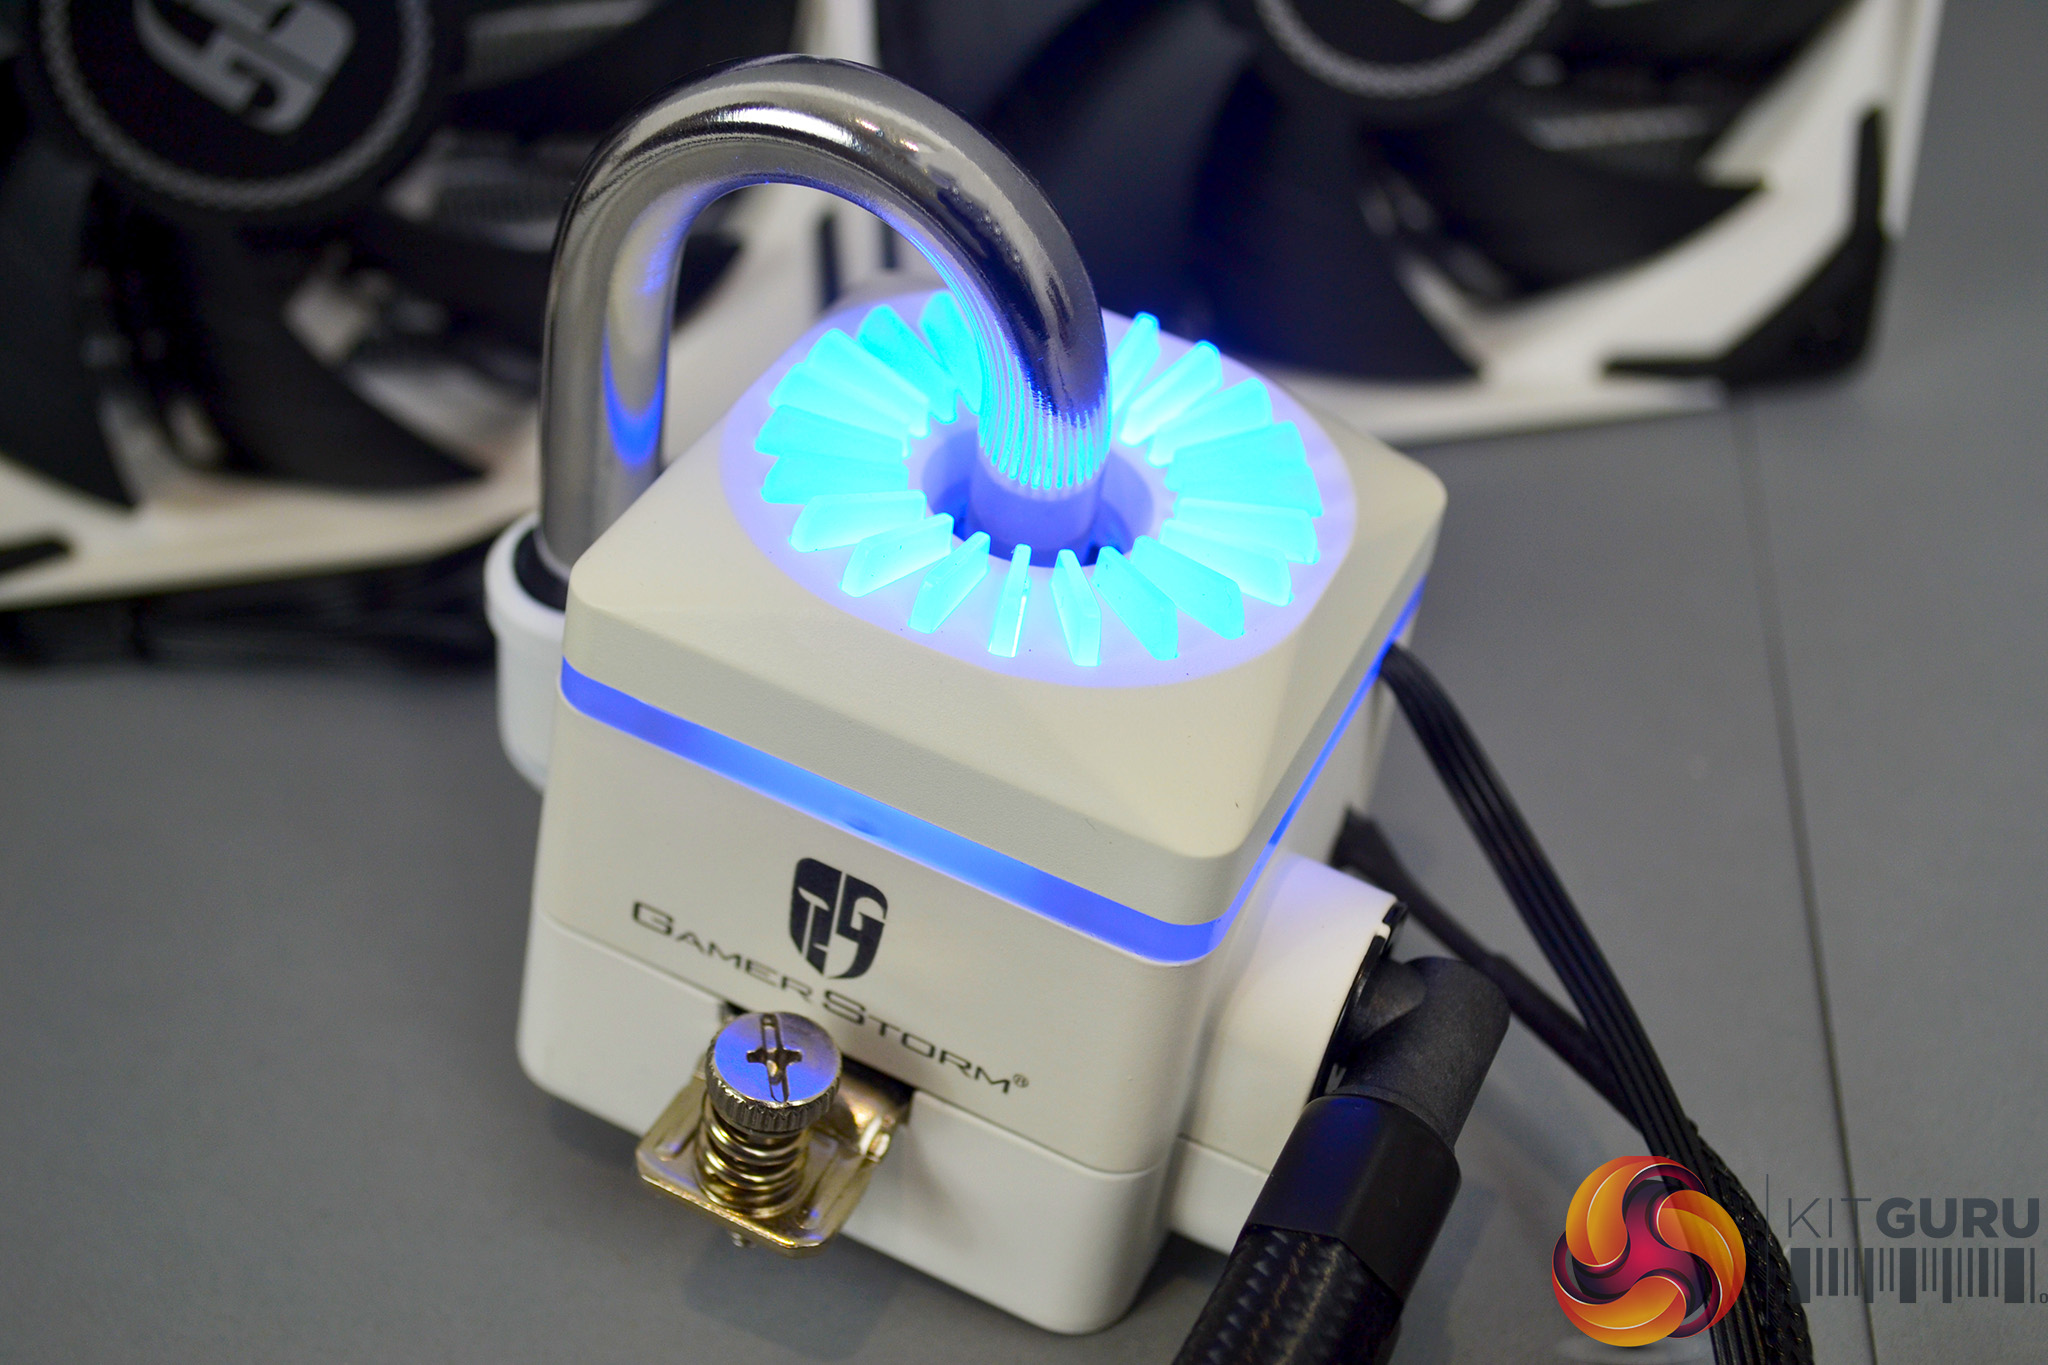
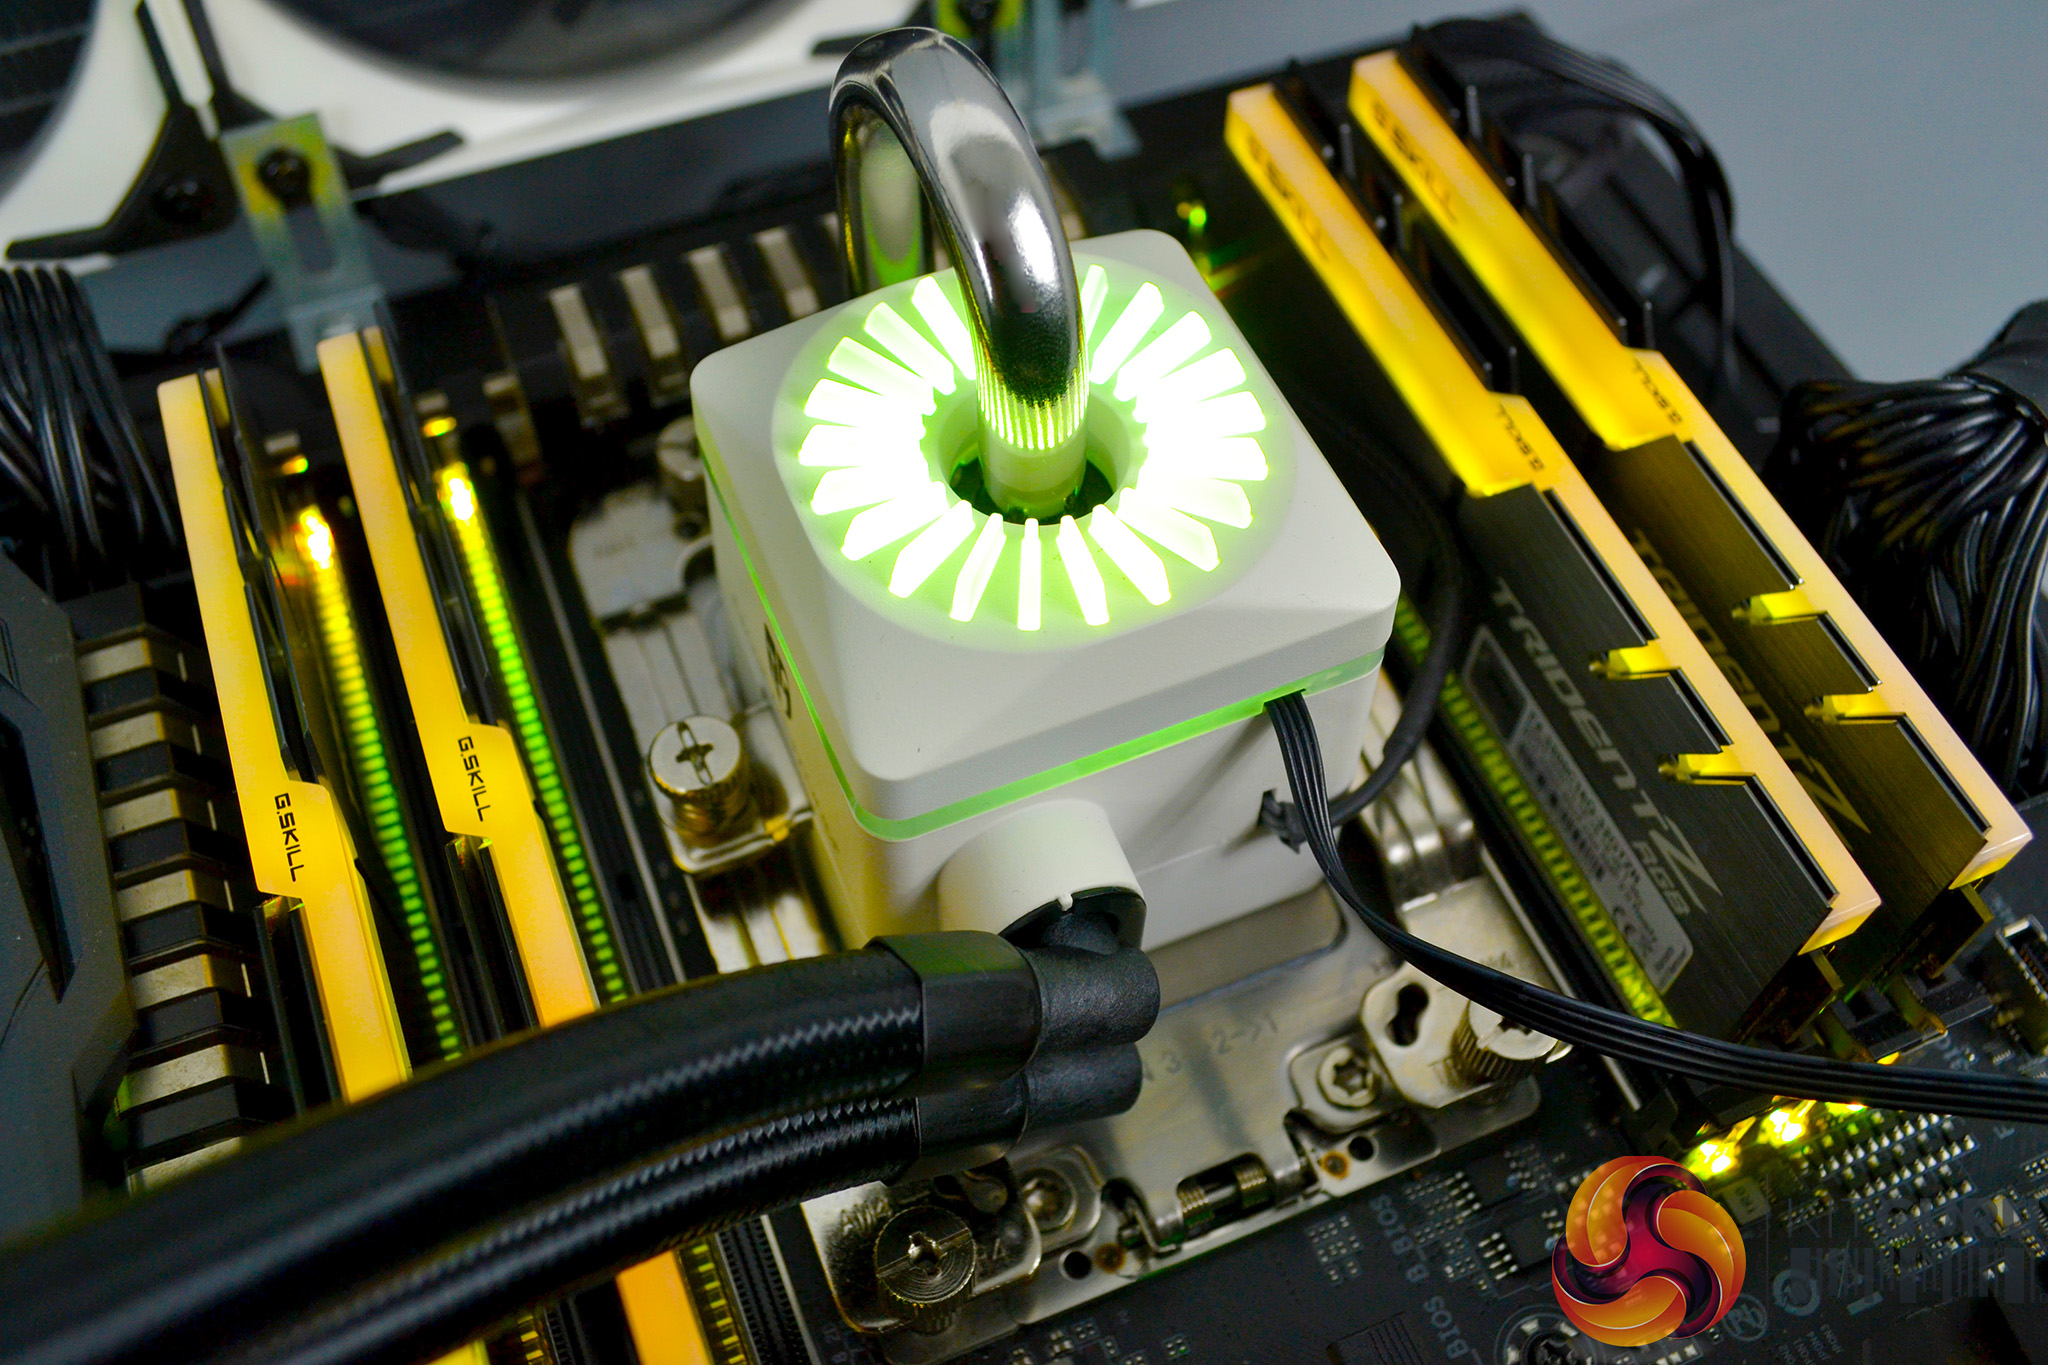
RGB Gallery