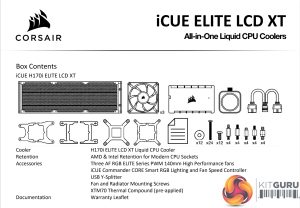
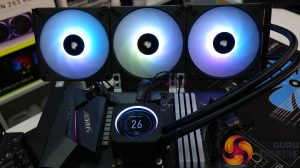
Corsair includes installation kits for all current Intel and AMD Desktop platforms as well as installation hardware for some high-end desktop CPUs. Since the current KitGuru test bench uses an AMD AM4 motherboard, the AM4/AM5 installation process is shown in this review. Installing on Intel 115x/1200/1700 is very similar but an additional backplate is required which is included in the kit.
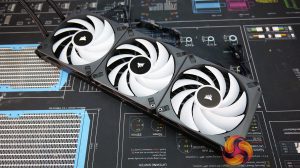
Begin the AMD installation by removing the intel upper mounting brackets from the CPU block base and sliding the AMD brackets into place. Screw the fans to the radiator using the long screws and washers provided. Corsair includes enough screws for six fans, so if you choose to run a push-pull fan configuration, you don’t need to buy extra screws.
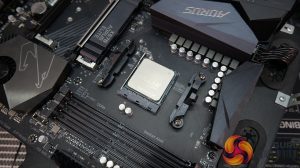
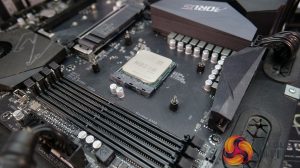
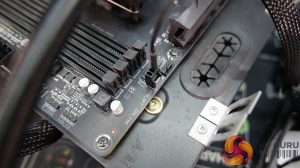
To prepare the AM4 motherboard, remove the stock upper plastic mounting brackets and retain the stock AM4 backplate, then screw the Corsair AM4/AM5 stand-offs to the original backplate.
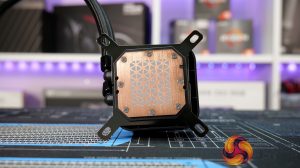
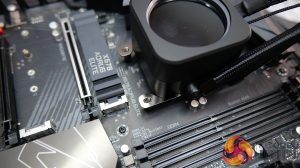
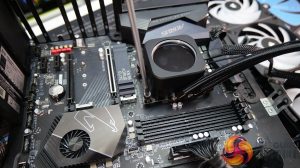
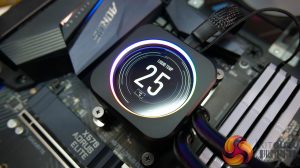
The cooler comes with some Corsair XTM70 thermal compound pre-applied to the cold plate base. Next, lower the CPU cooler block onto the CPU aligning the upper mounting bracket holes with the stand-off threads.
Now tighten the CPU block in place using the four thumbscrews provided. Start tightening the thumbscrews by hand and complete the tightening using a screwdriver. Remember to tighten the screws in an X pattern equally and progressively to ensure the best CPU to cold plate contact.
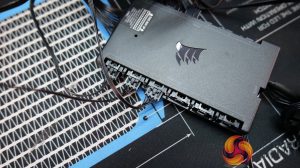
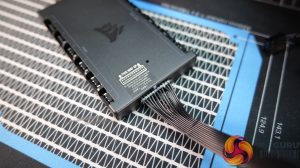
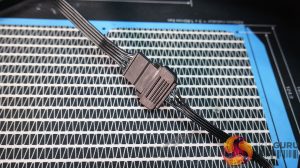
Next, the fans and pump need to be connected to the Corsair Commander Core unit. Start with the first fan connecting to port number one, connect the PWM cable on one side and the RGB cable opposite. The 24-pin connection from the pump plugs into the end of the Commander Core unit.
The Commander Core unit is powered by SATA so needs to be connected to a spare SATA Power connector from the power supply.
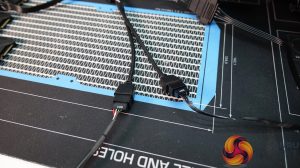
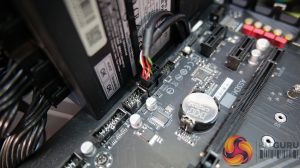
Connect the USB splitter cable to the USB cables coming from the pump and Commander Core, then connect the end of the USB splitter to an available USB 2.0 motherboard header.
Finally, connect the 3-pin cable from the pump to the motherboard CPU_FAN header. This will stop any CPU fan fail warning from coming up in the motherboard BIOS and sends a pump RPM reading that can be seen in the BIOS and other monitoring software.
Corsair has revised its AIO installation process over the years which means that the installation is as easy as possible. The Commander Core and associated wiring add some time to the installation compared with standard motherboard header connections, but overall the installation takes about 15-20 mins.
 KitGuru KitGuru.net – Tech News | Hardware News | Hardware Reviews | IOS | Mobile | Gaming | Graphics Cards


