

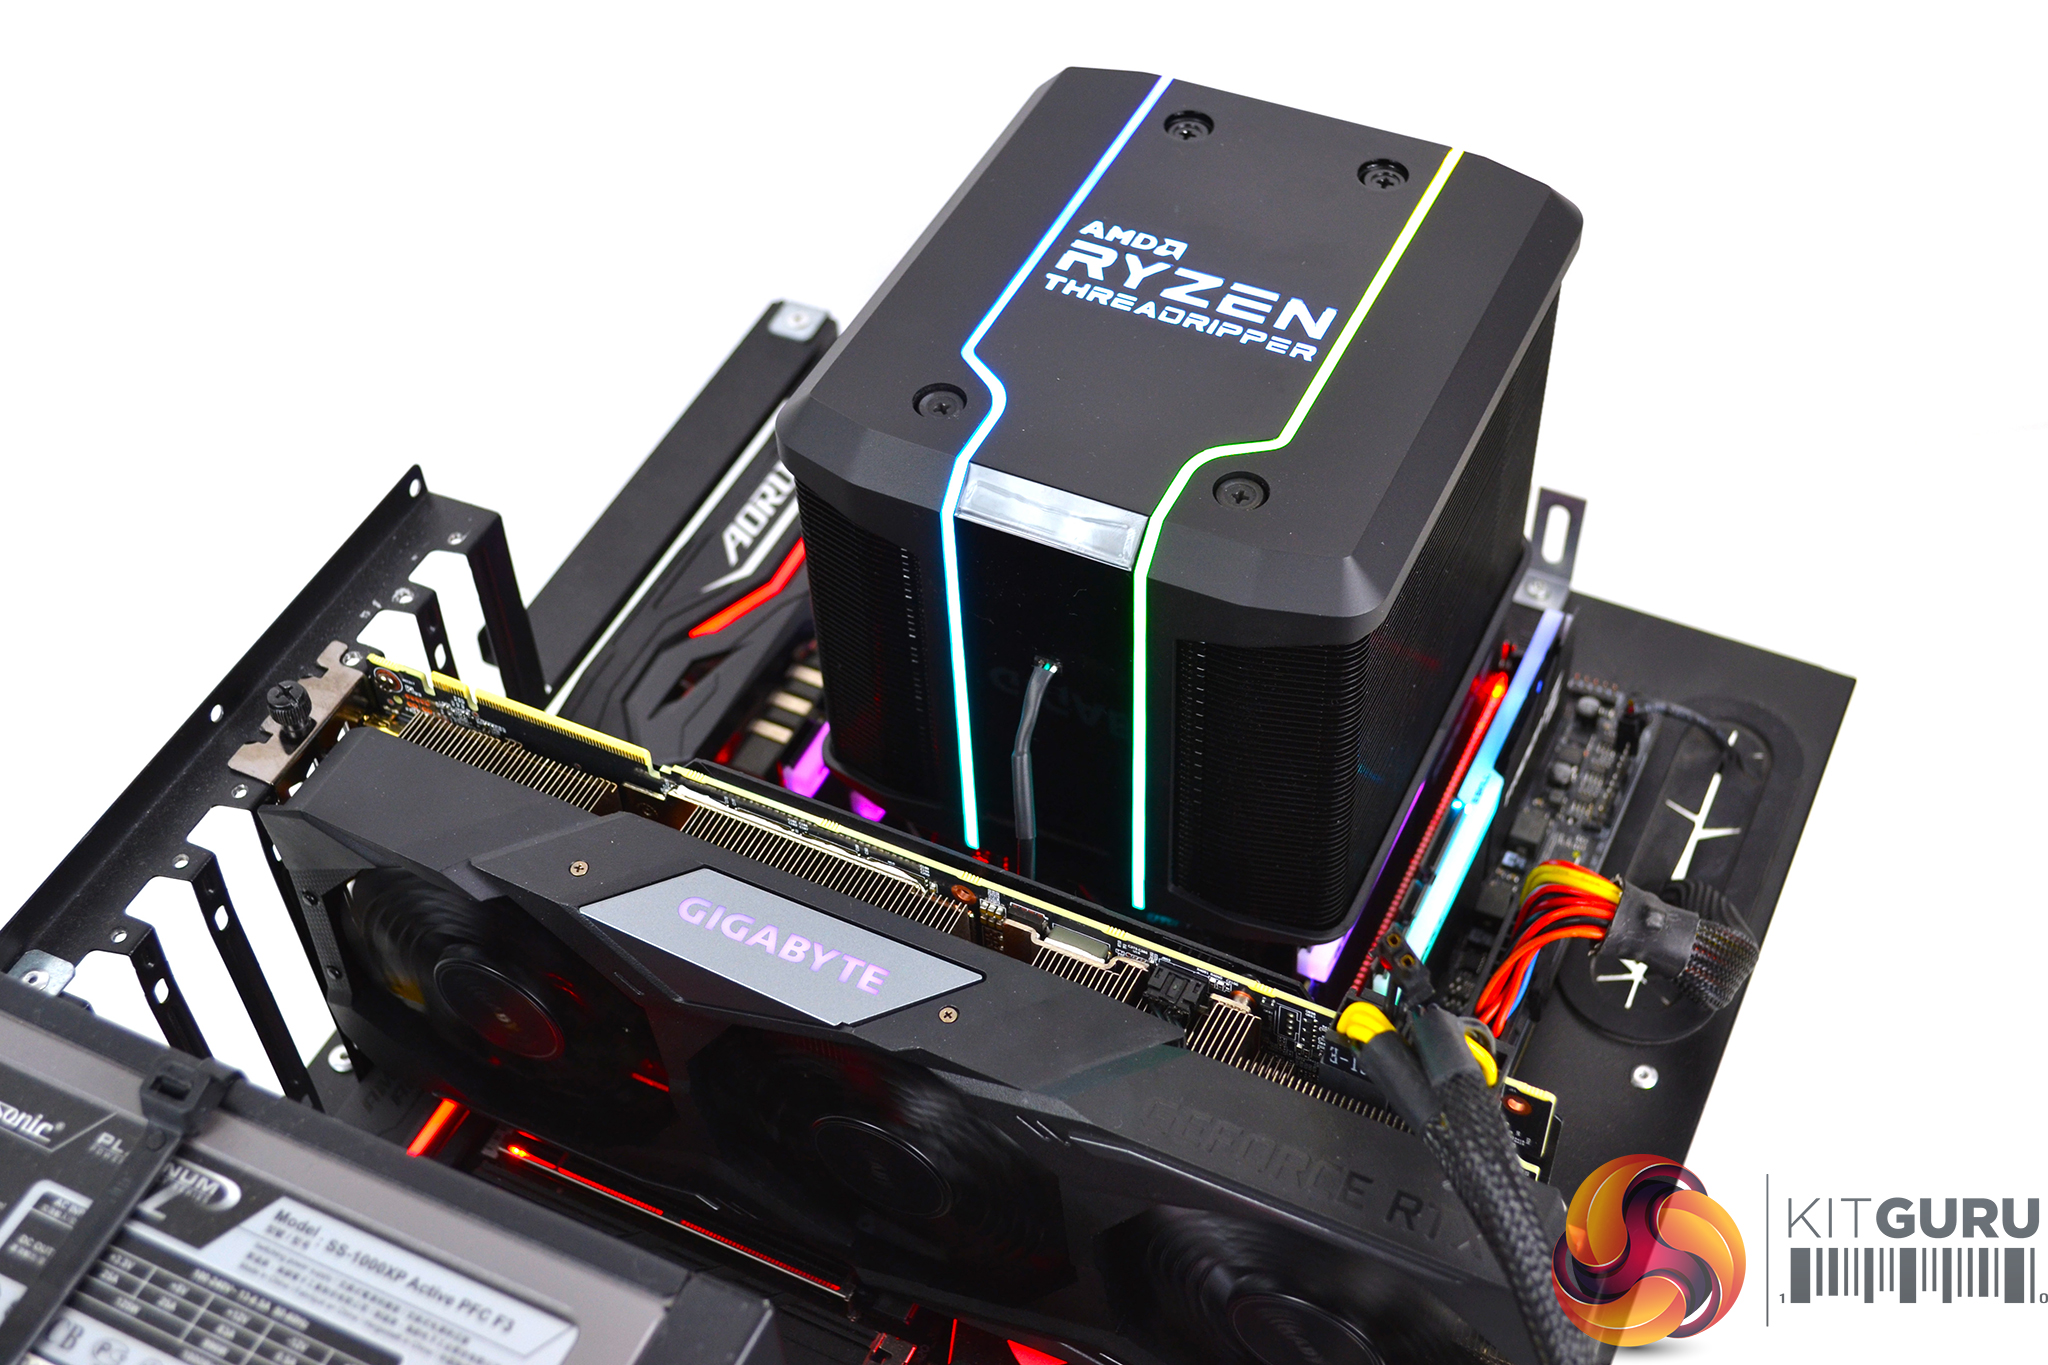
Hardware Installation
The installation process of the Wraith Ripper couldn’t have been made any simpler. There are no additional brackets to install, as it utilises the stock mounting.
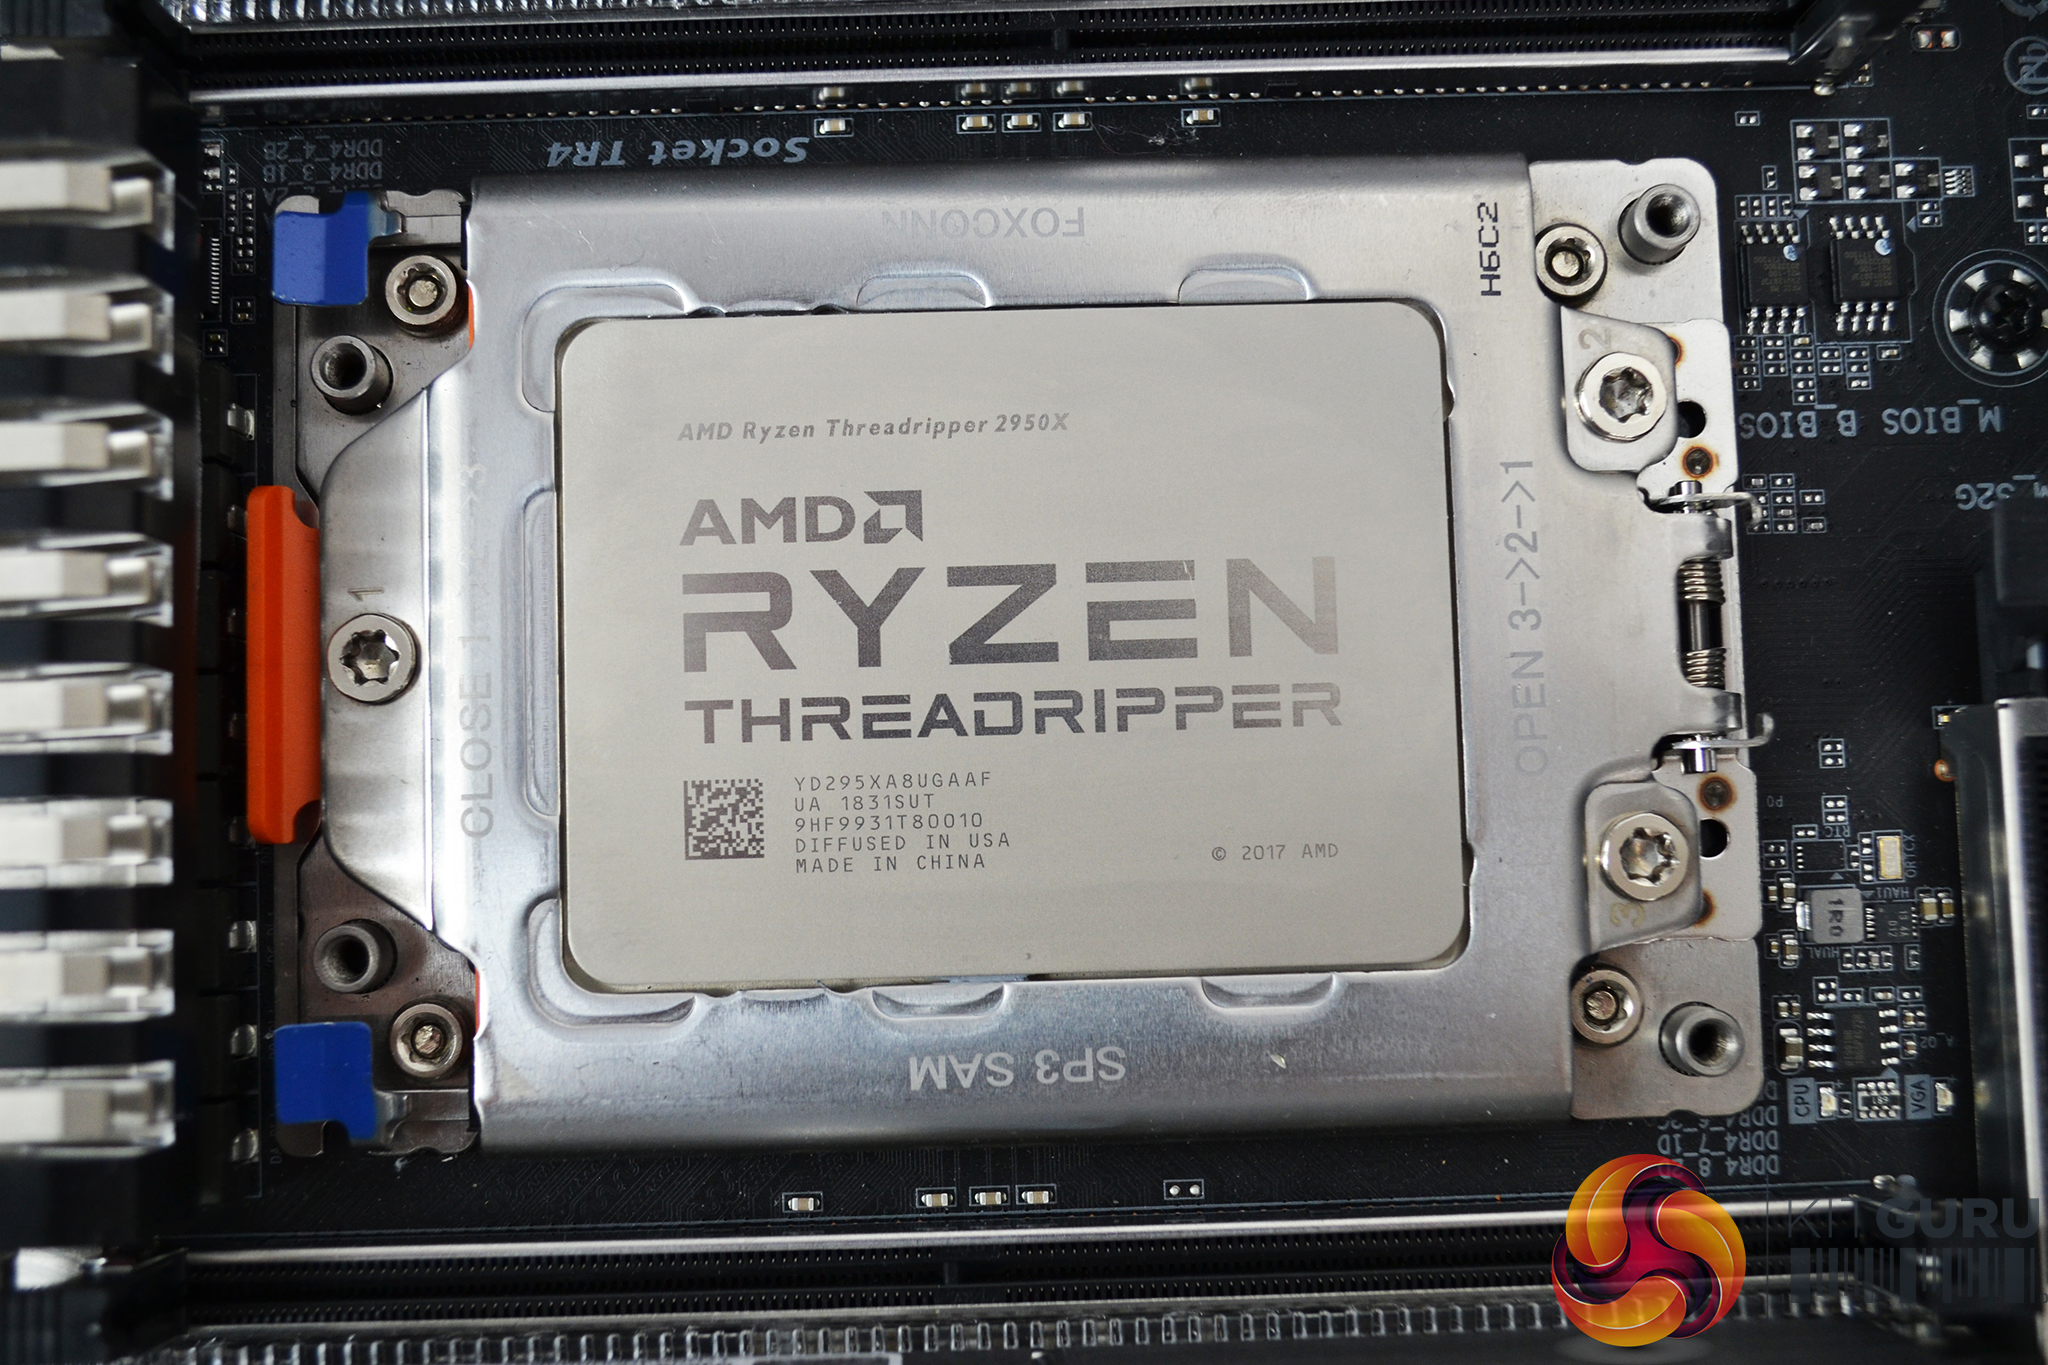
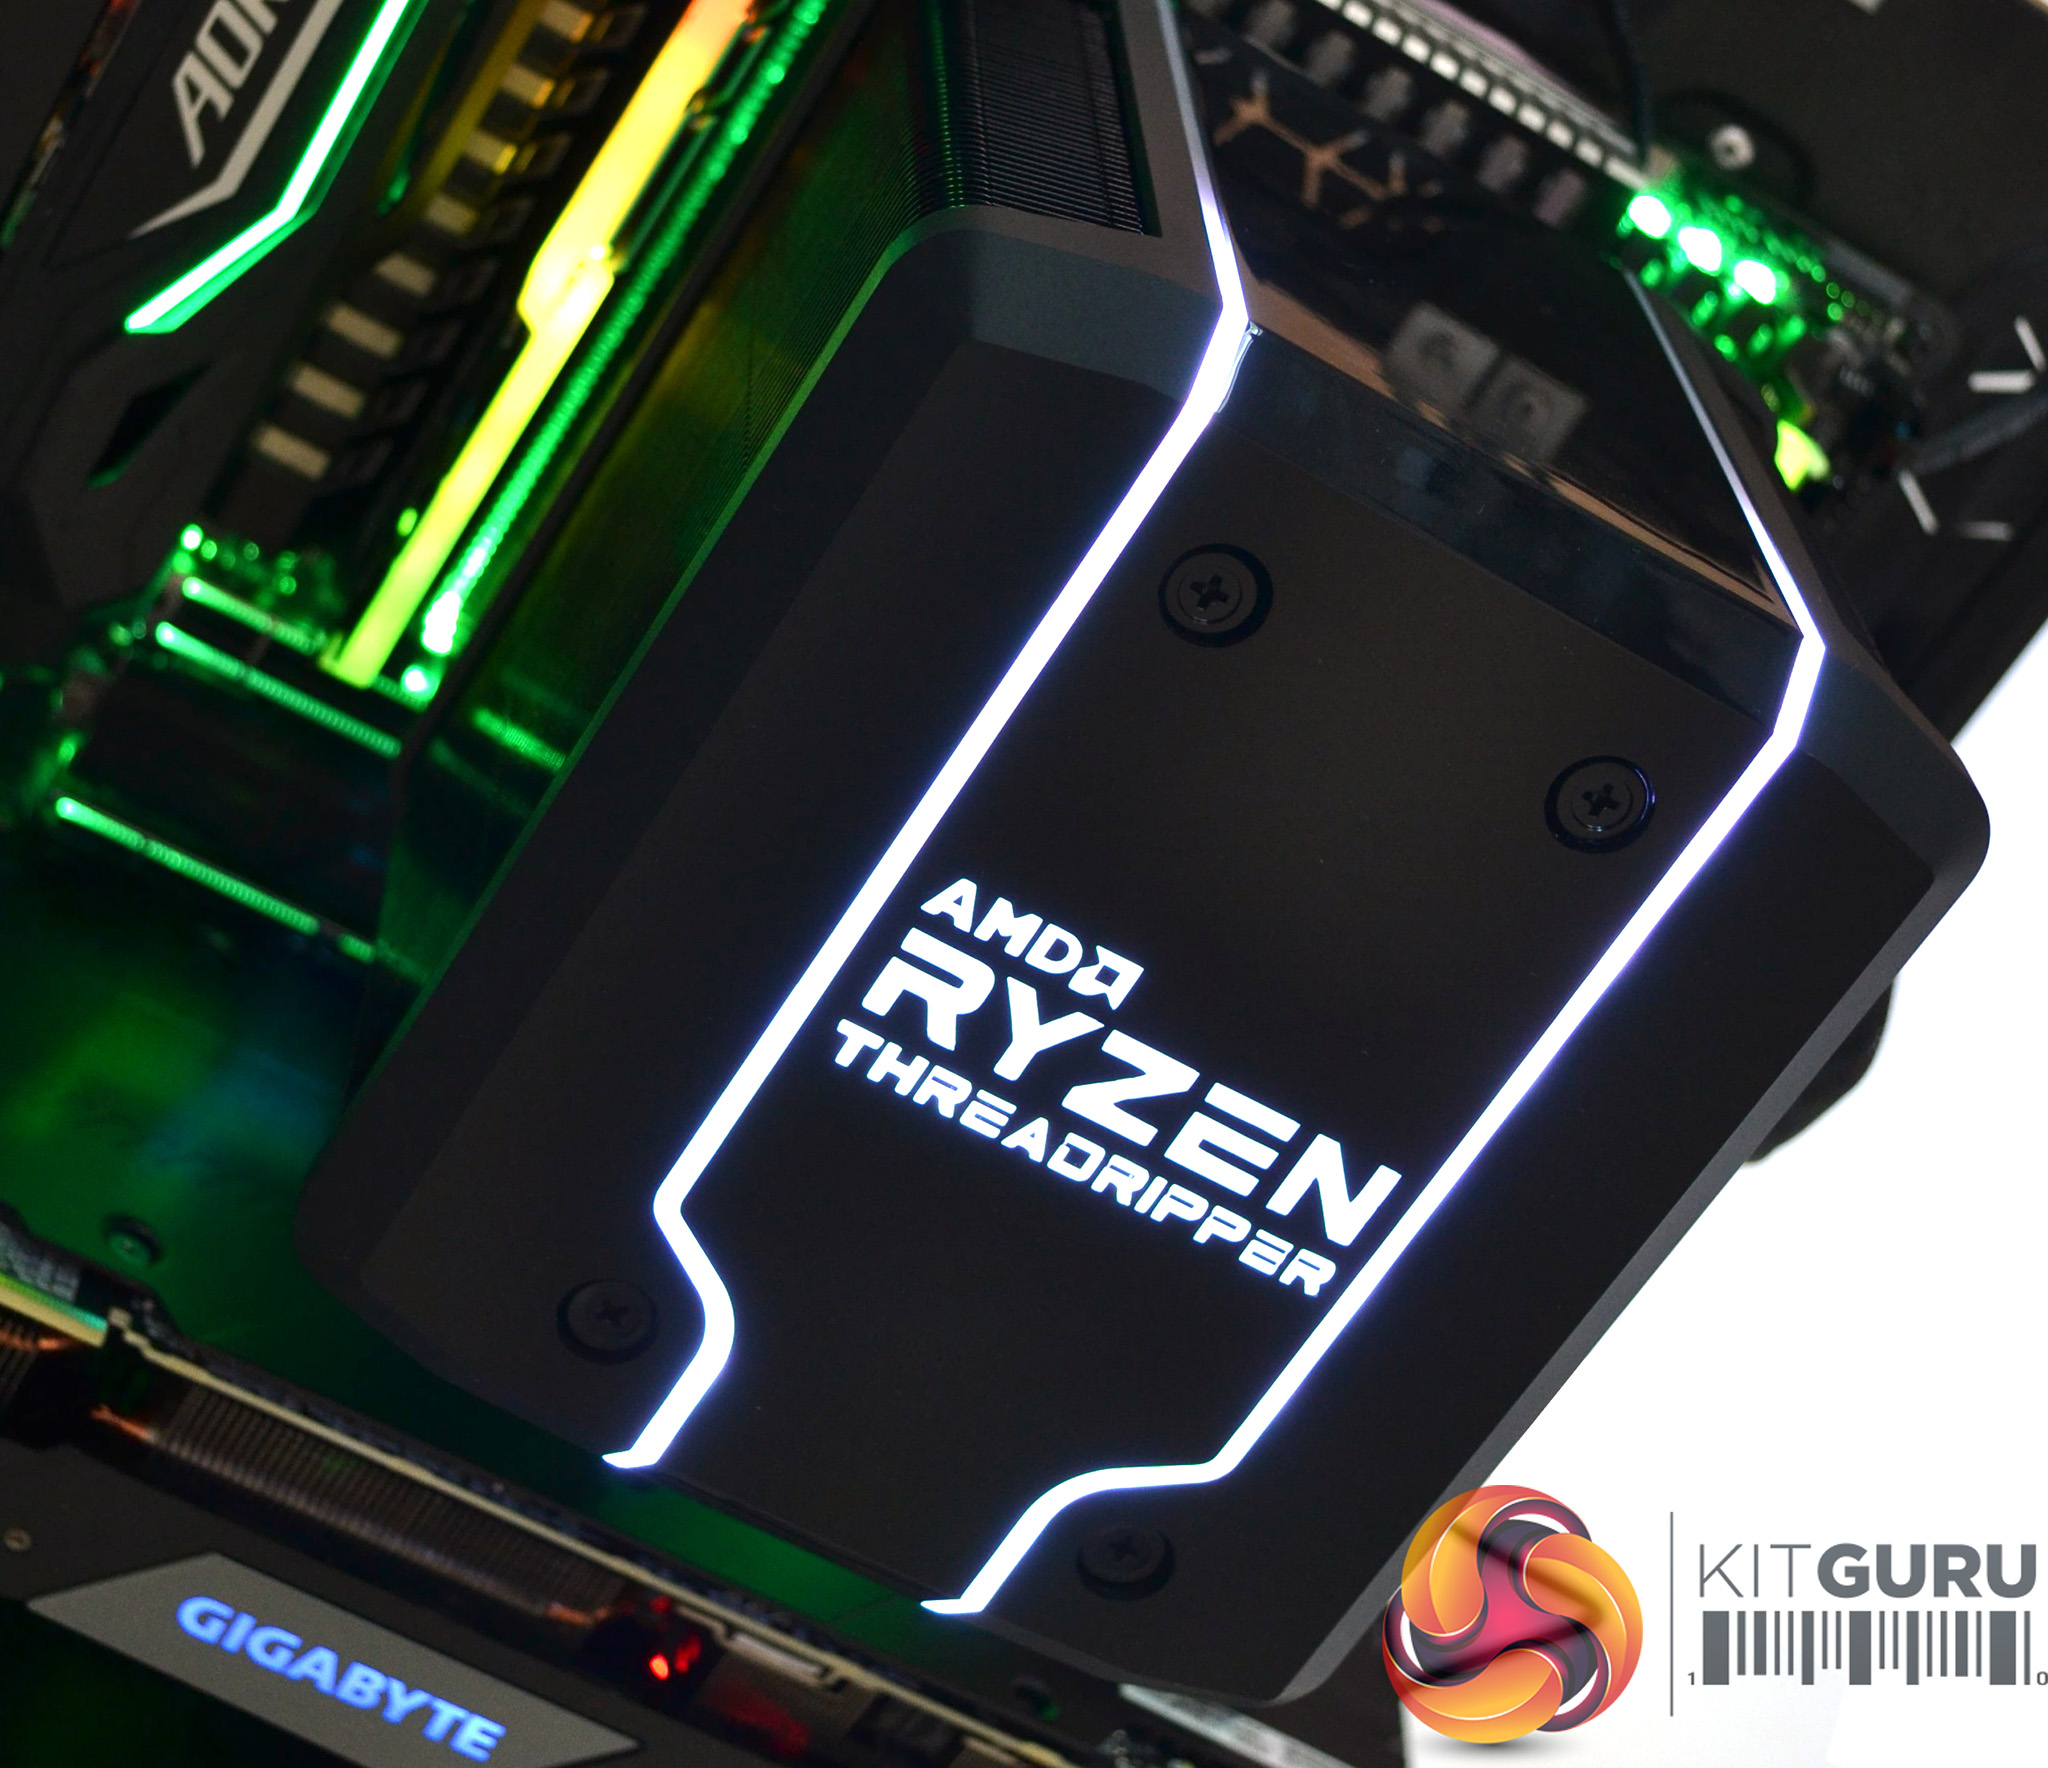
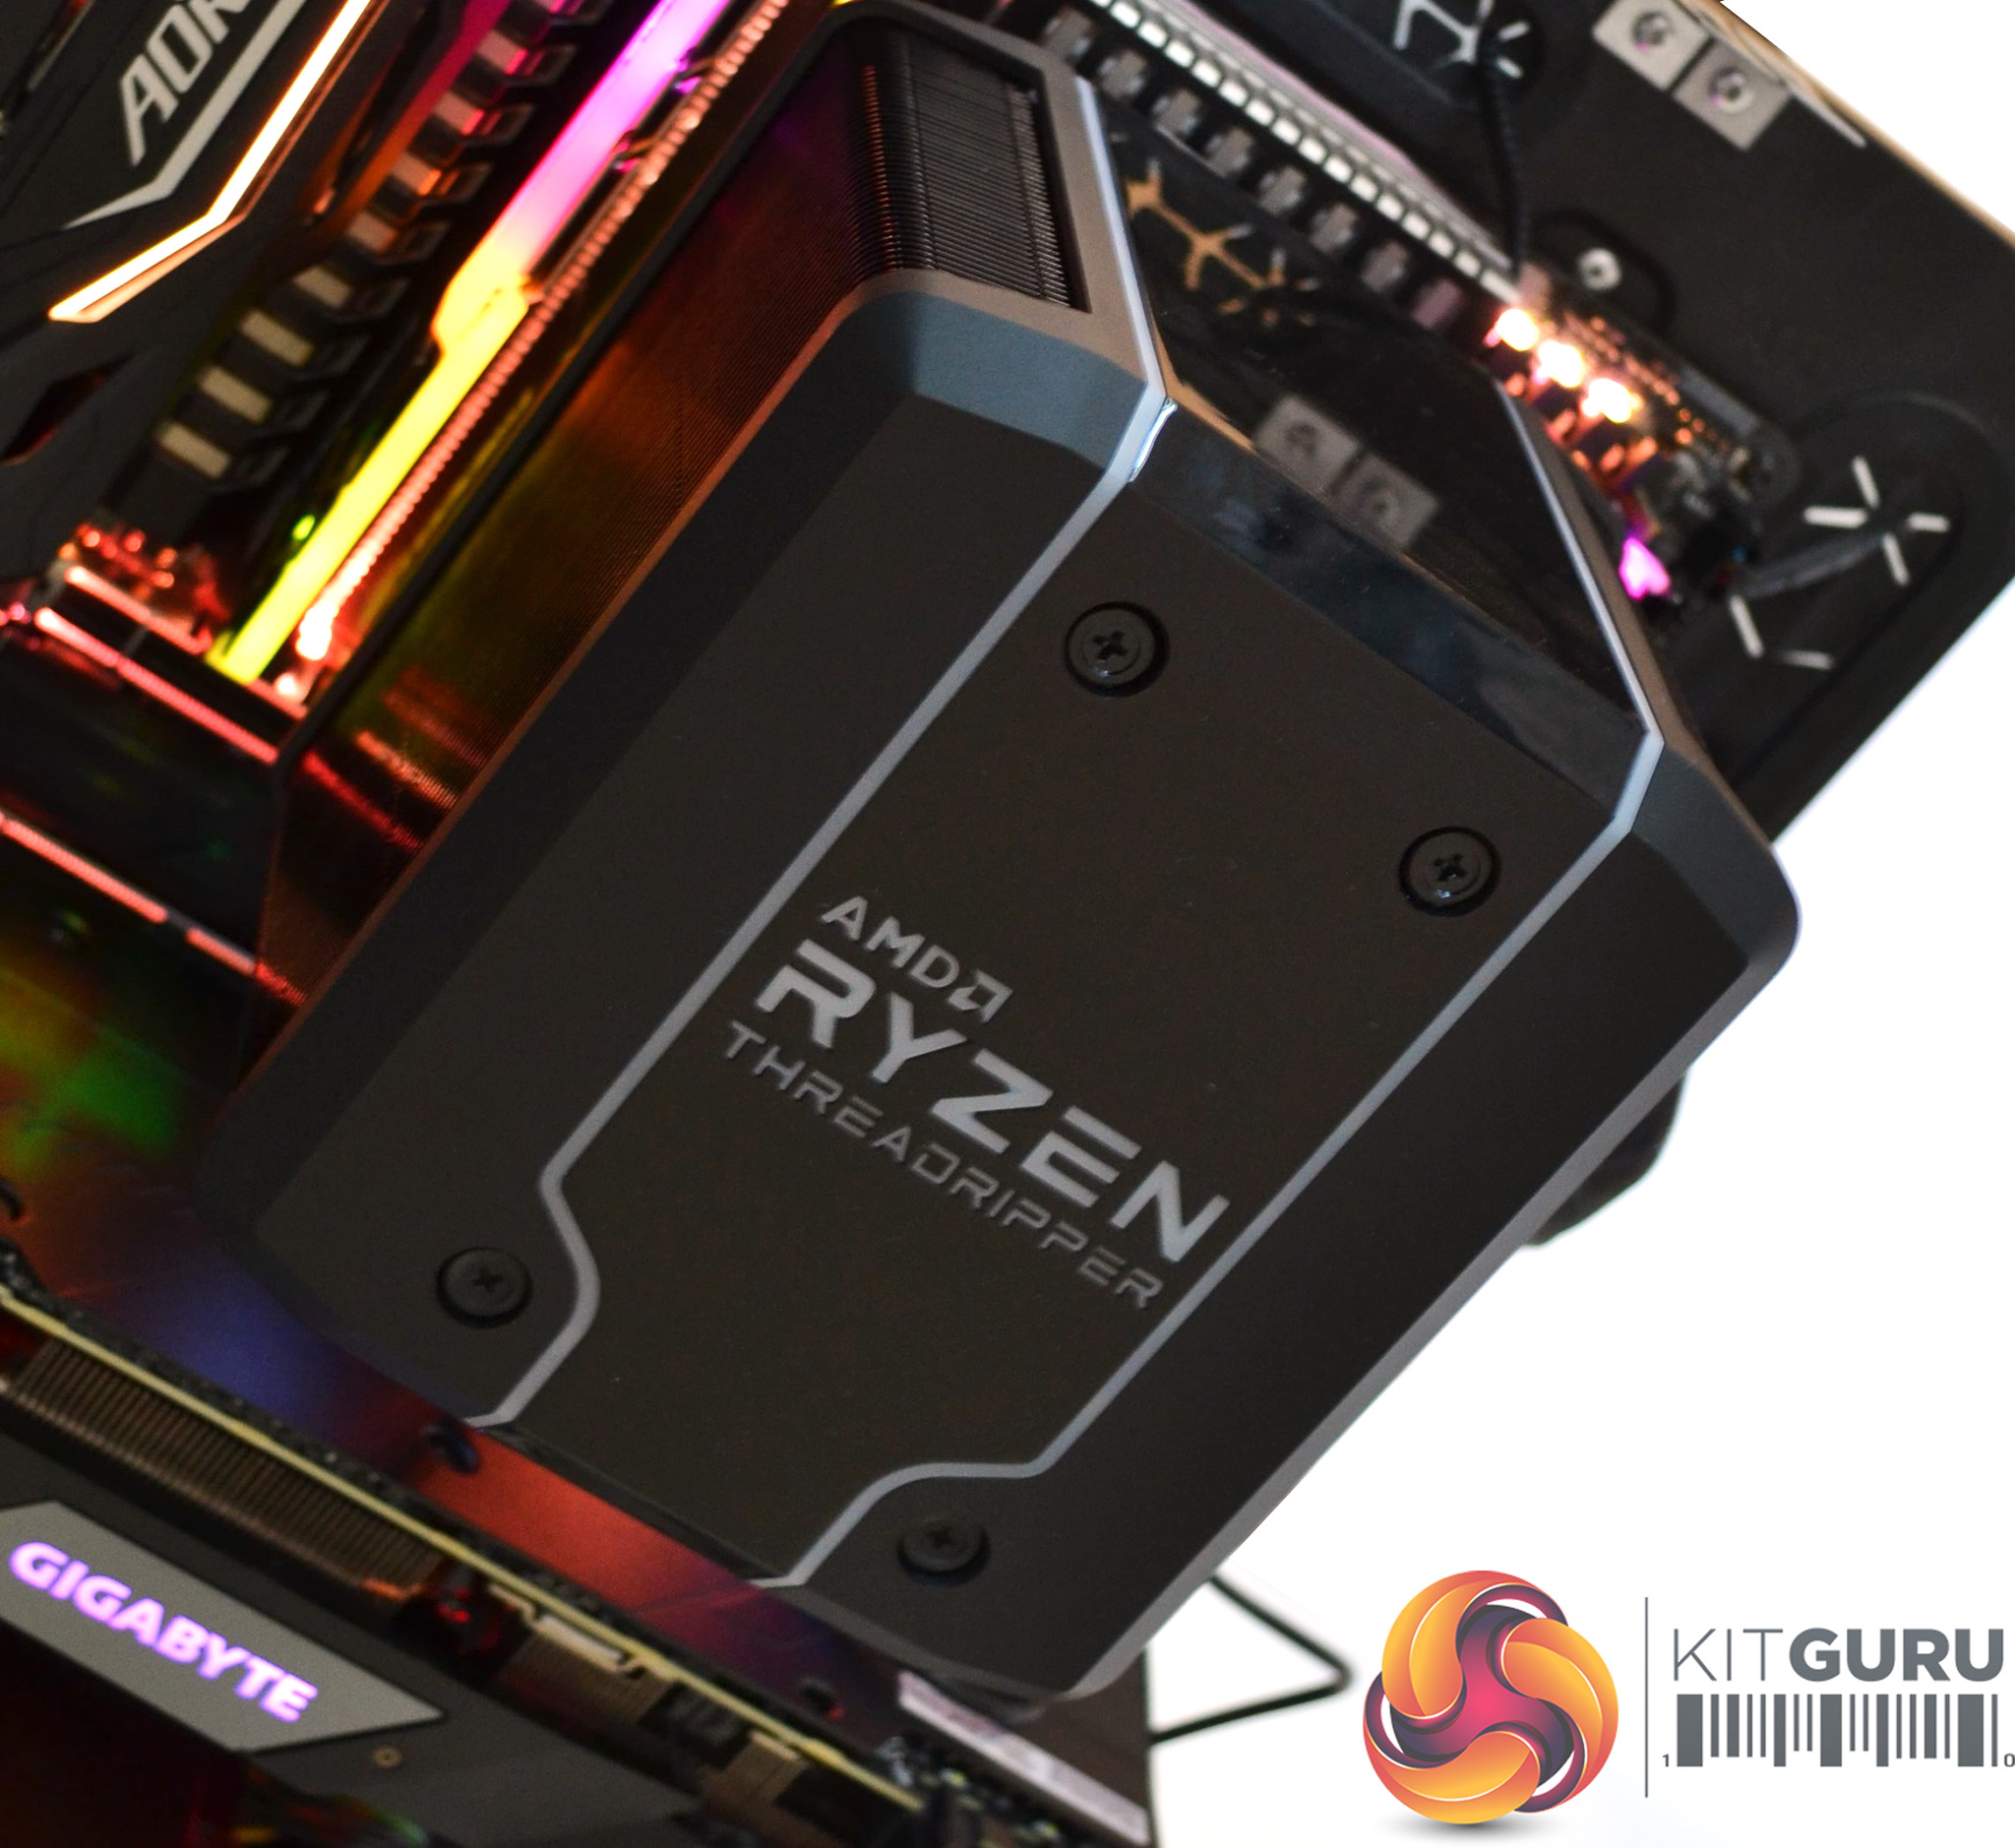
First of all, check the orientation of the mounting holes and ensure the cooler is lined up correctly. It only fits one way round so you will know if you have it positioned incorrectly.

Looking at the CPU socket with the GPU below, the AMD Ryzen Threadripper logo on the Wraith Ripper should be the correct way up. If not, rotate it 180 degrees, lower it into position and engage the four screws in the socket mounting holes.
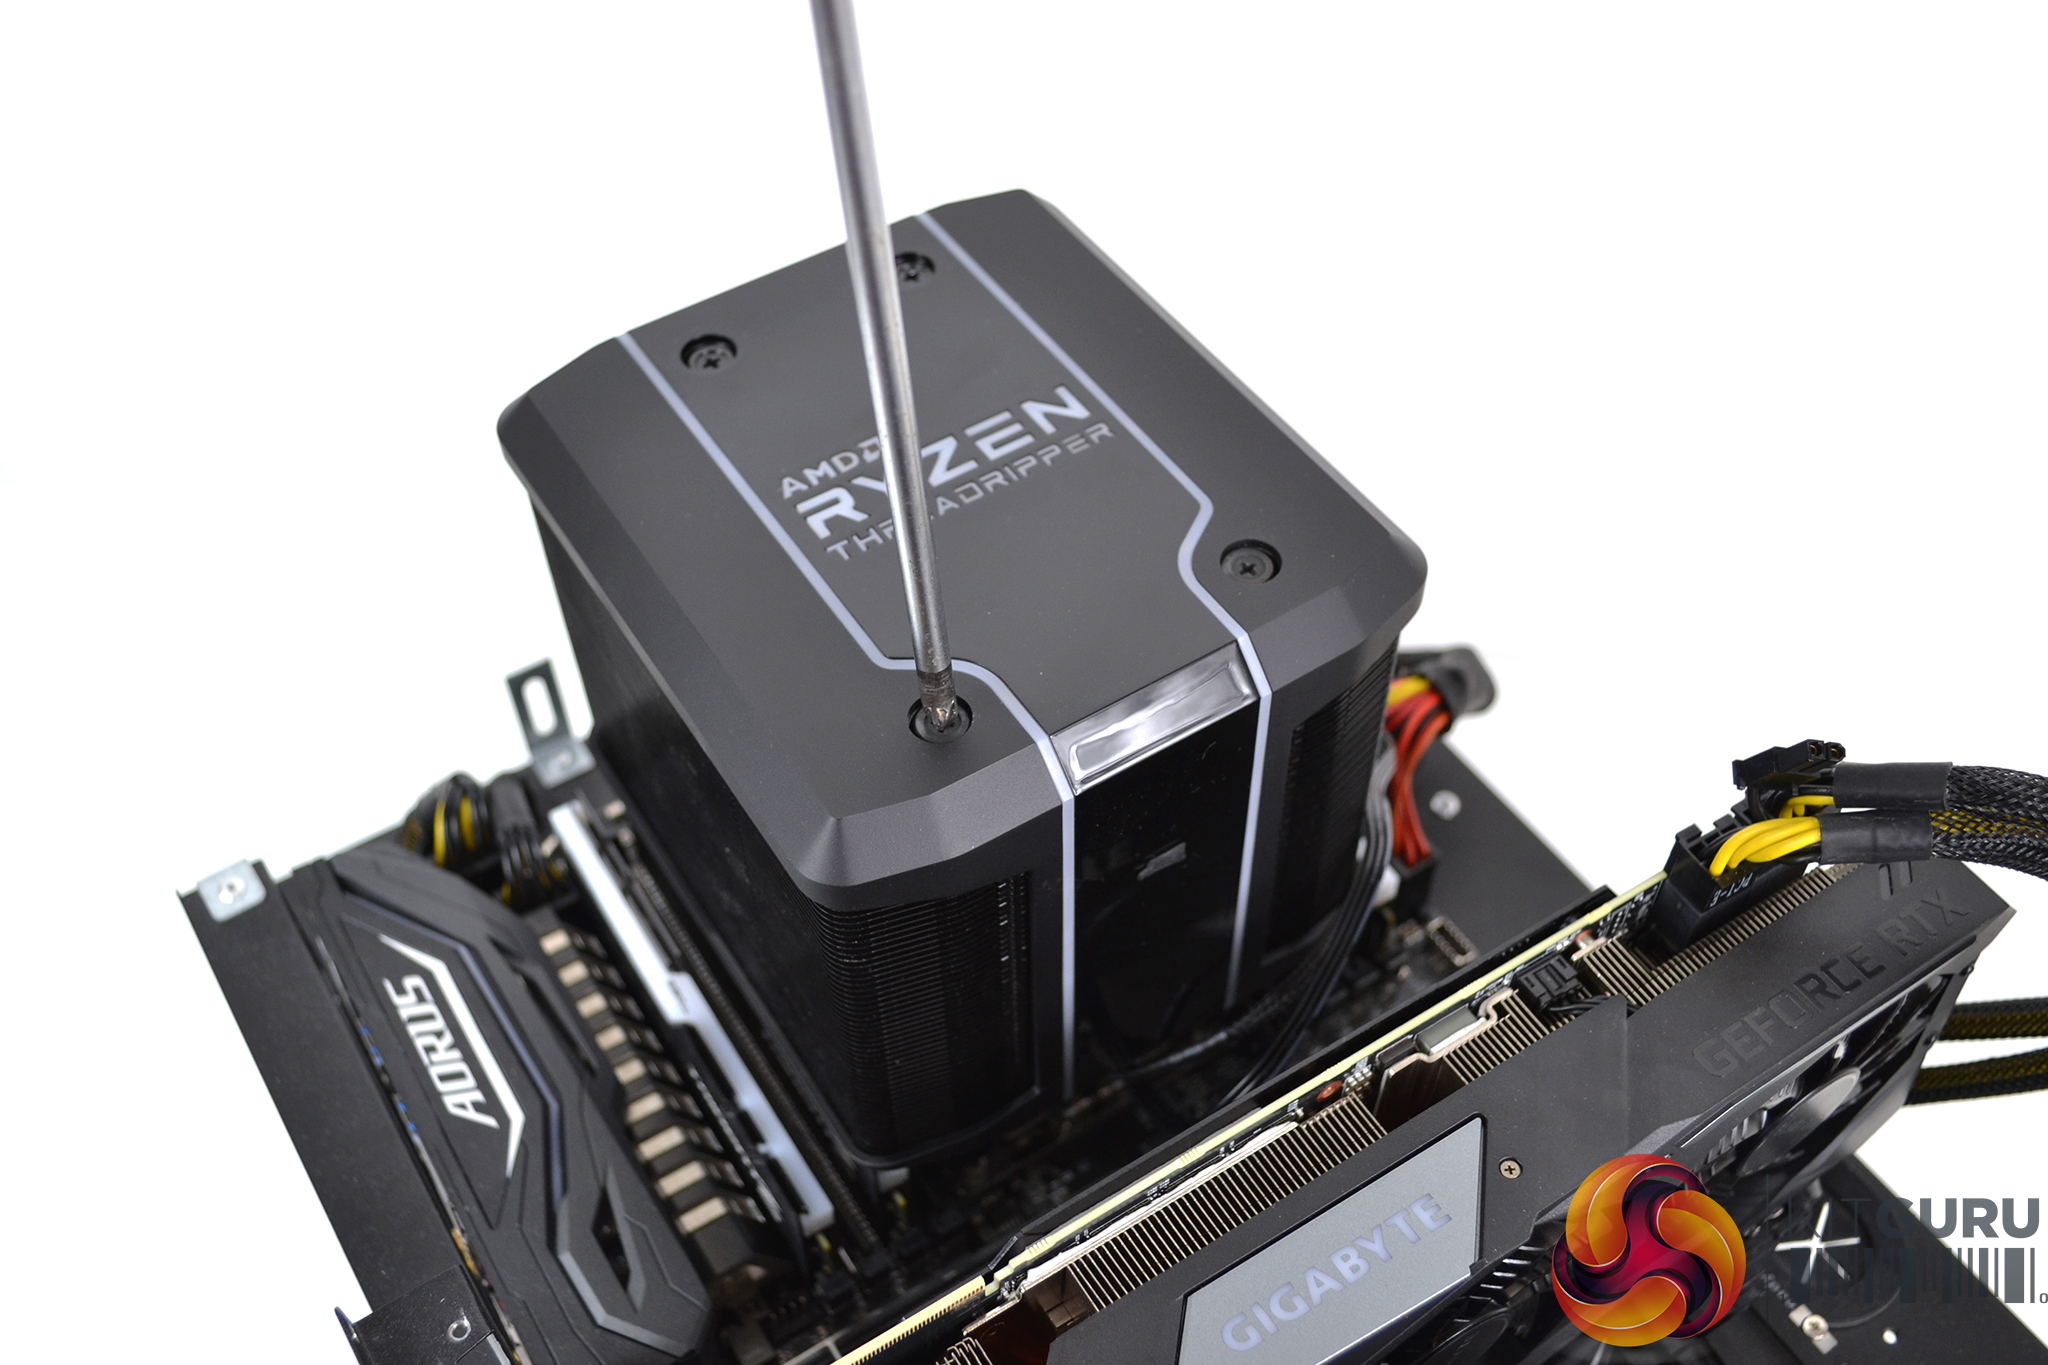
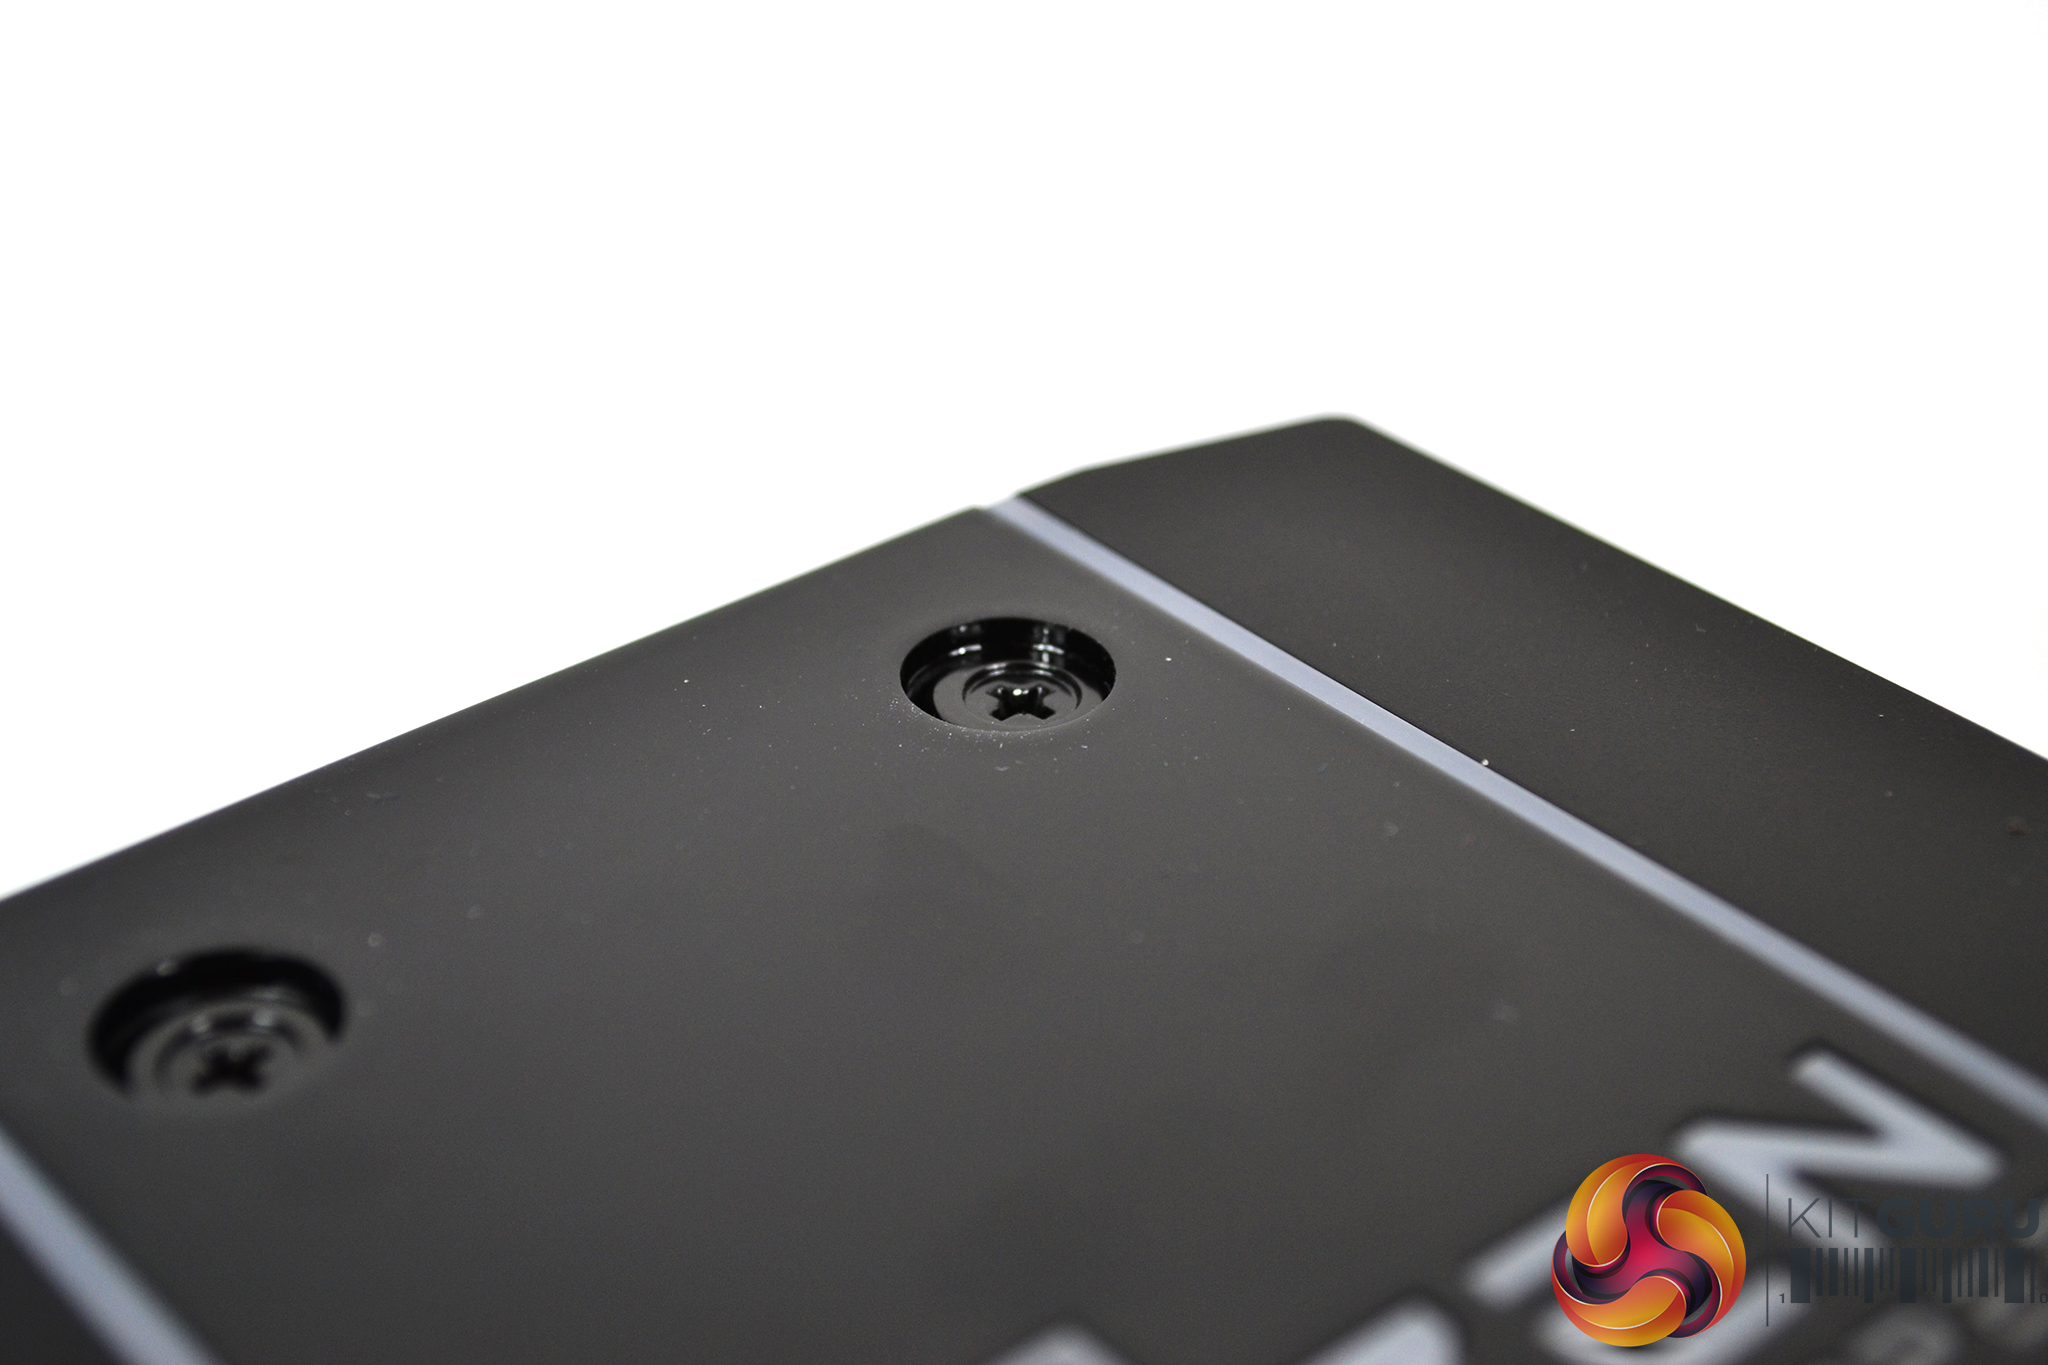
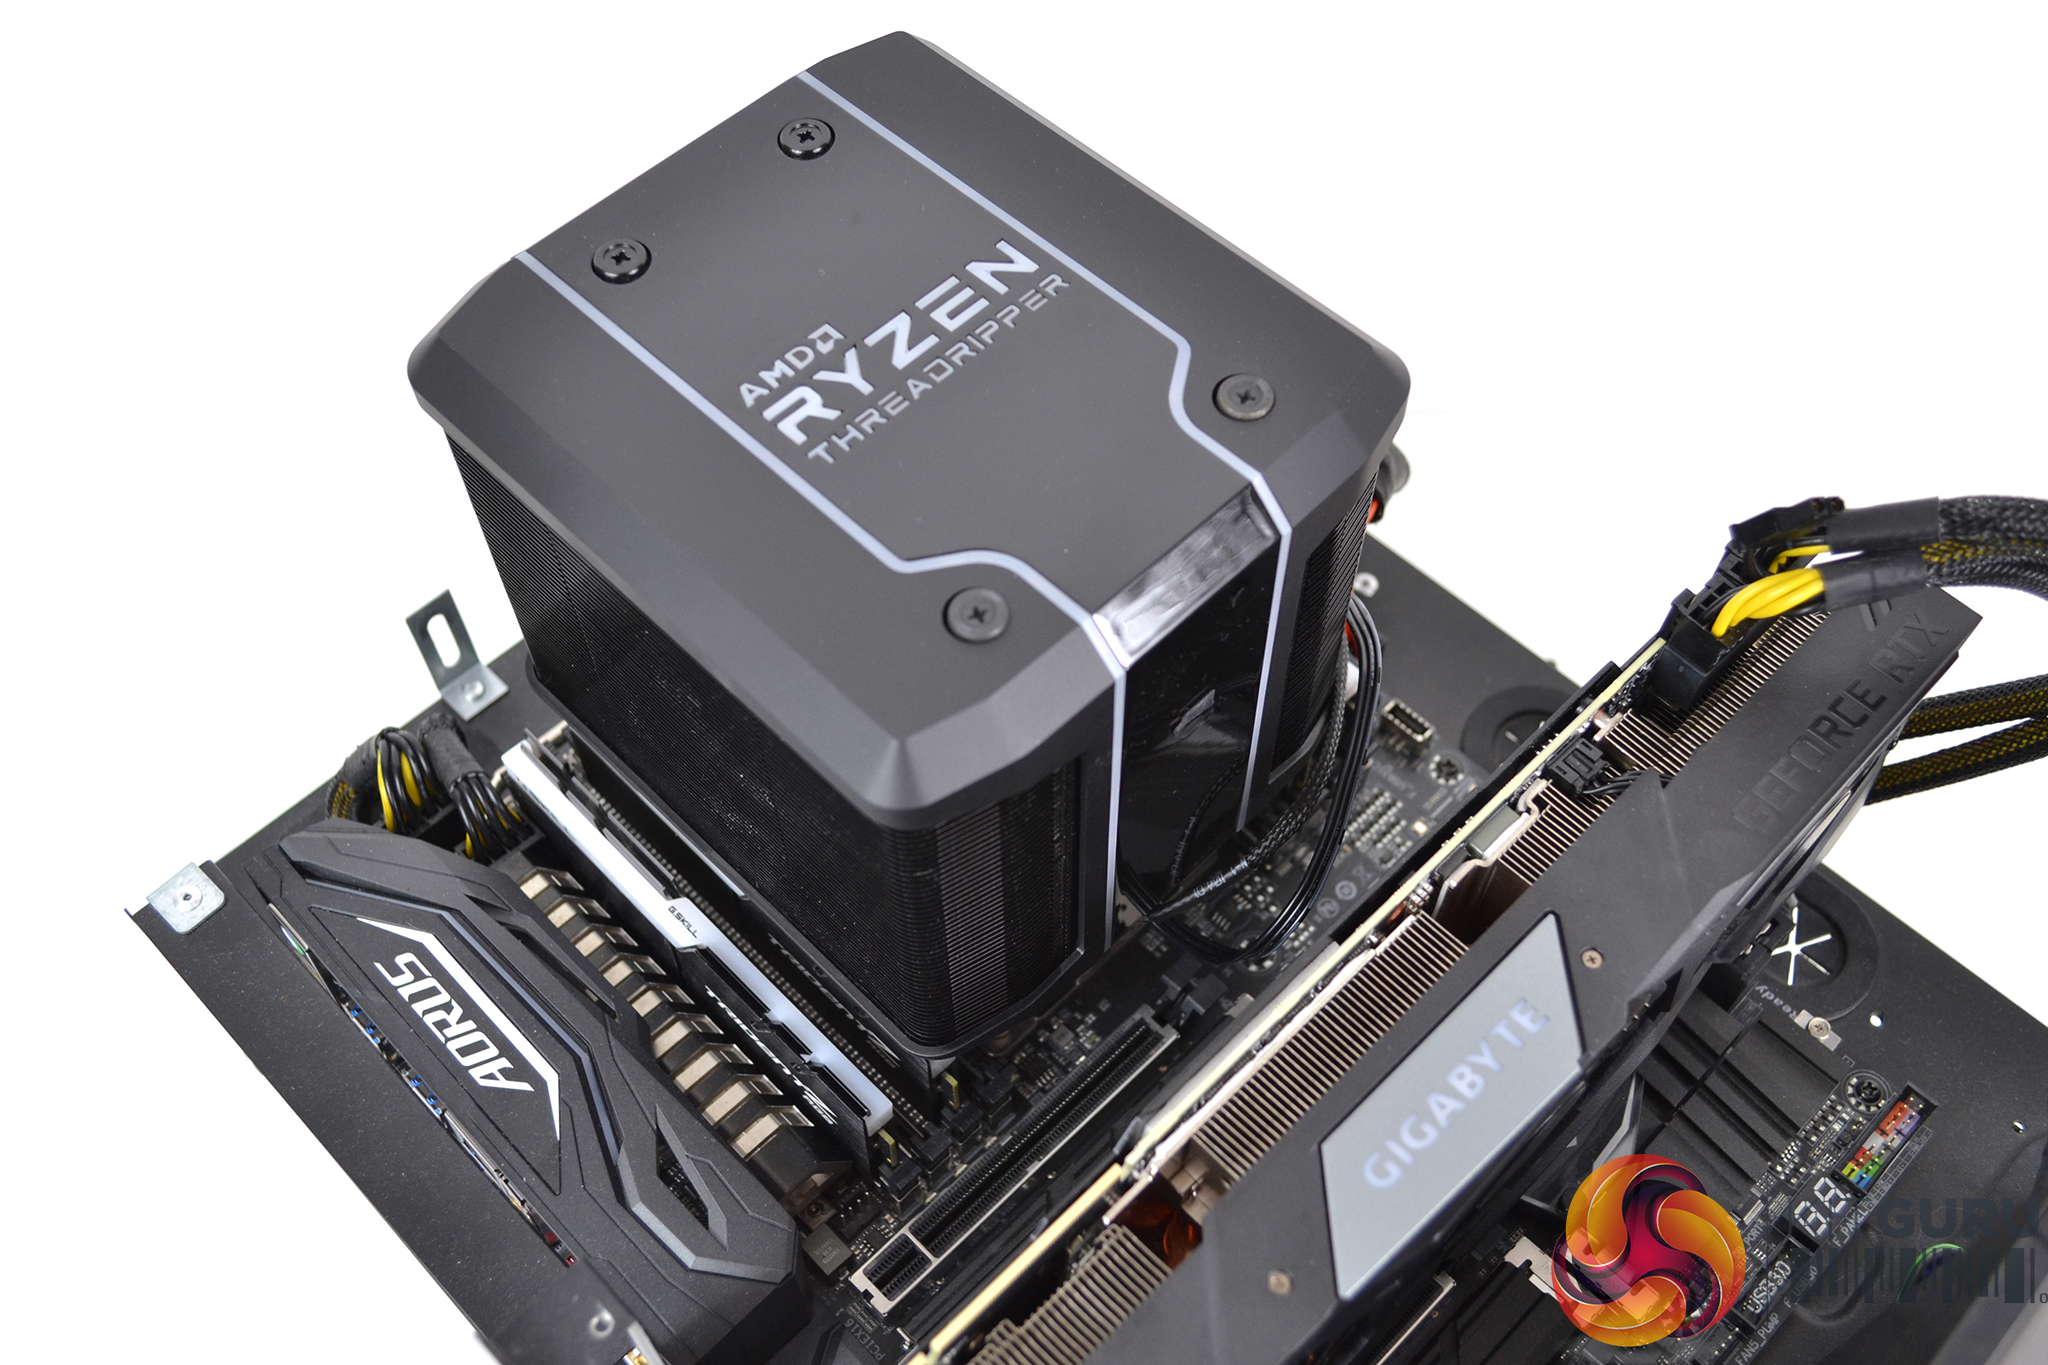
Next, simply tighten the four mounting screws on the top of the cooler evenly and in an X pattern to ensure equal pressure over the CPU HIS is applied. When you feel resistance on the screwdriver, the screws will be fully tightened. You will notice the screw heads sink below the surface when tight.
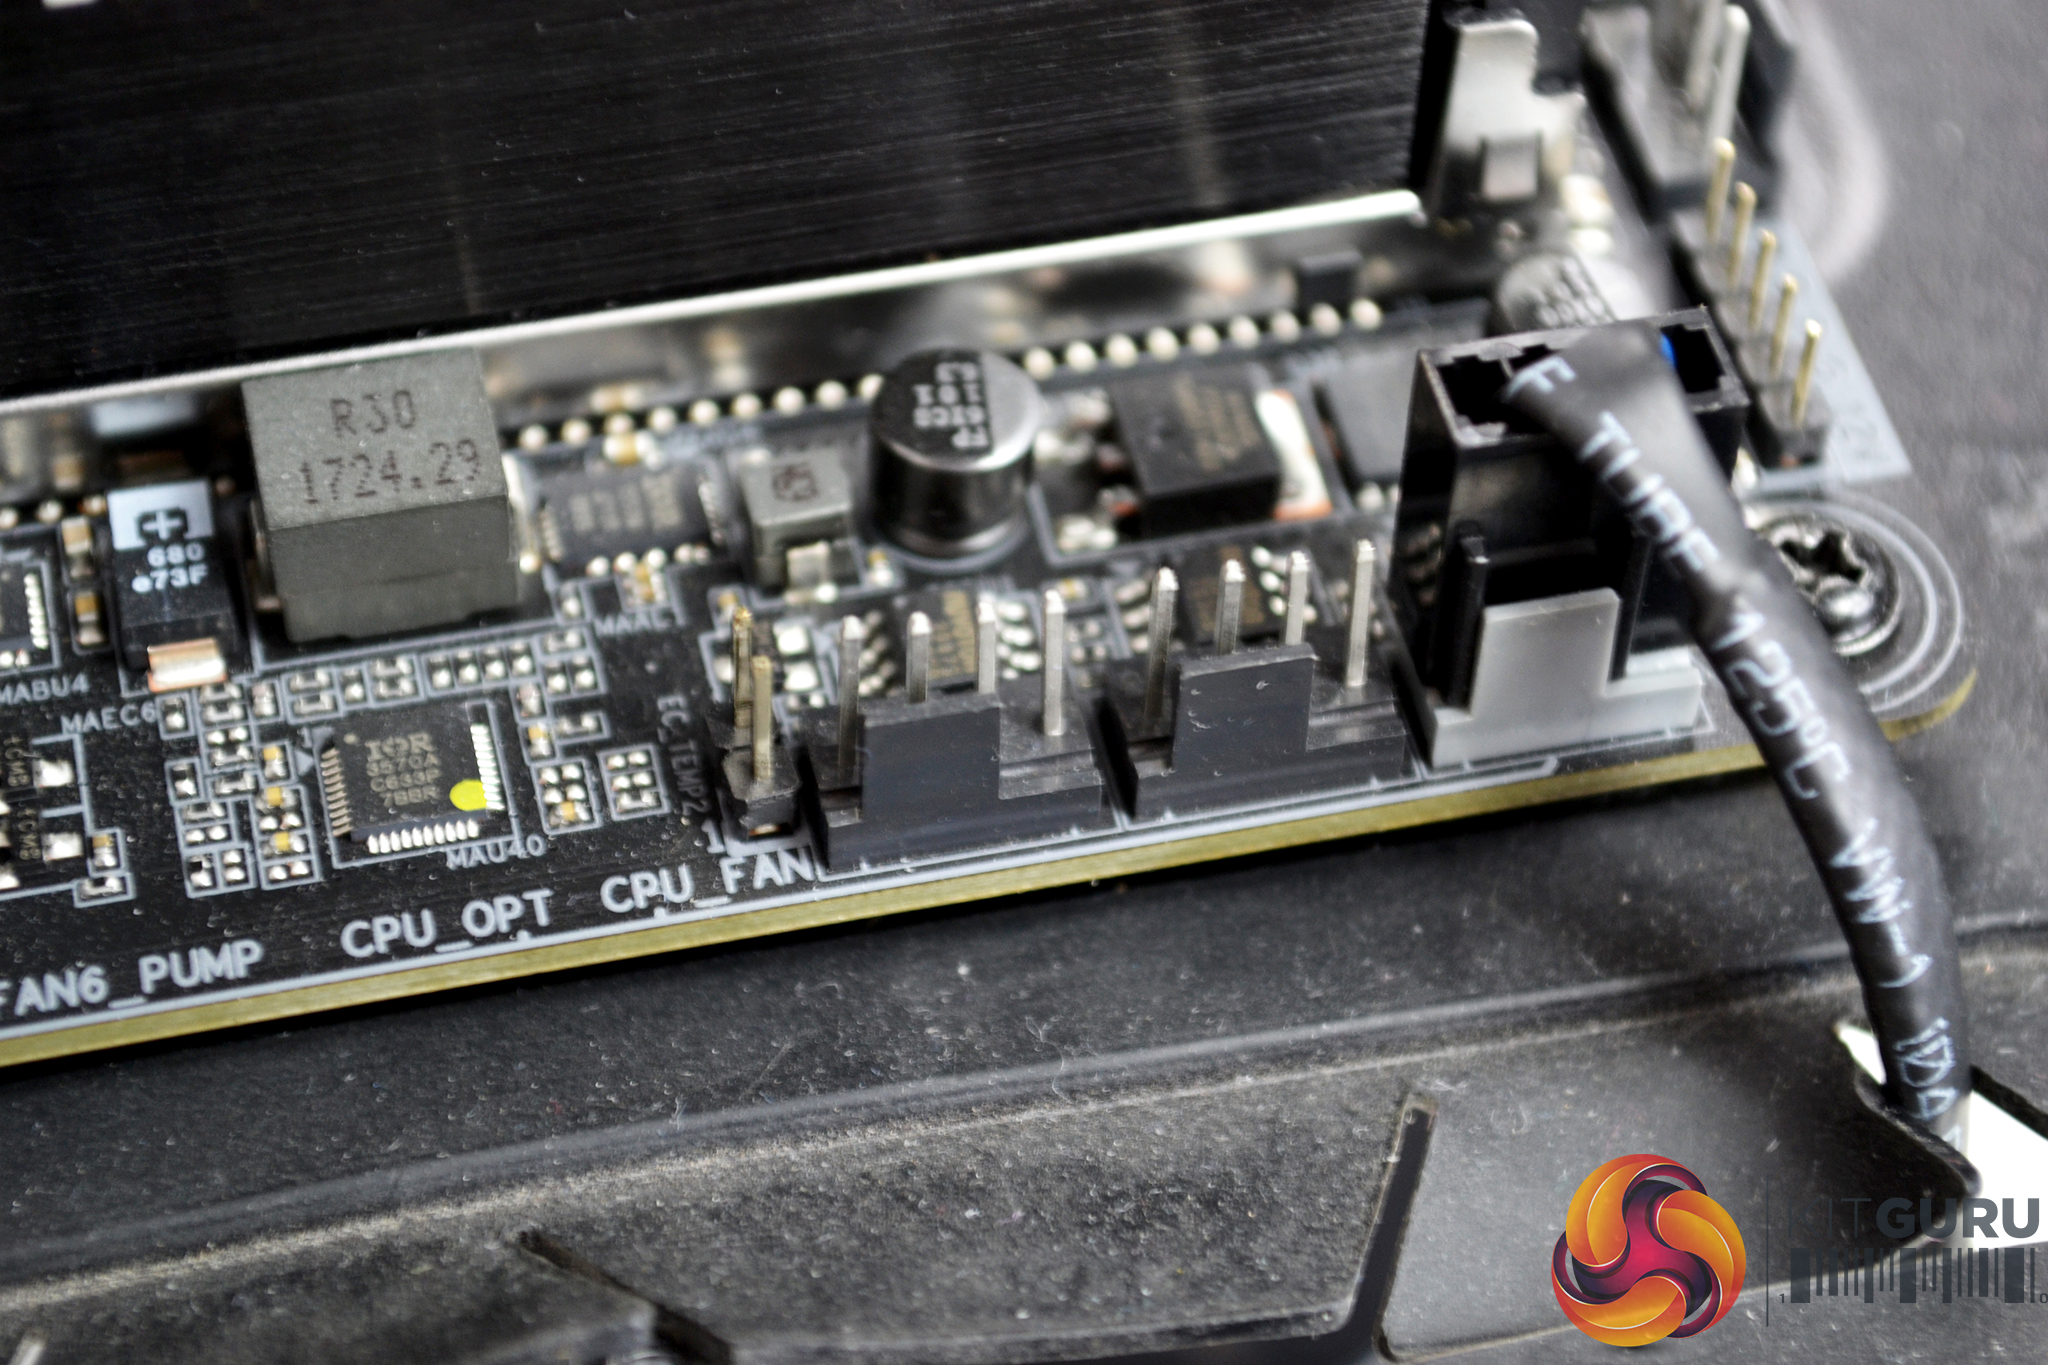
Now, locate the CPU_FAN header on the motherboard and connect the four-pin PWM fan cable to it. The best way I found to hide the fan cable to ensure it looks neat and tidy was to thread it between the underside of the cooler and the RAM slots to the nearest cable cut out.


Next, connect the SATA power cable for the RGB. Again, under the cooler and alongside the RAM was the optimal way to hide the cable. Routing the RGB USB cable was a different story – due to its length it wouldn’t reach the top cable cut out, so instead I had to route it around the GPU which looks a little untidy.

Obviously, if RGB is not to your liking, then you could leave the SATA power cable unplugged and not install the USB cable, which would therefore neaten things up a little.
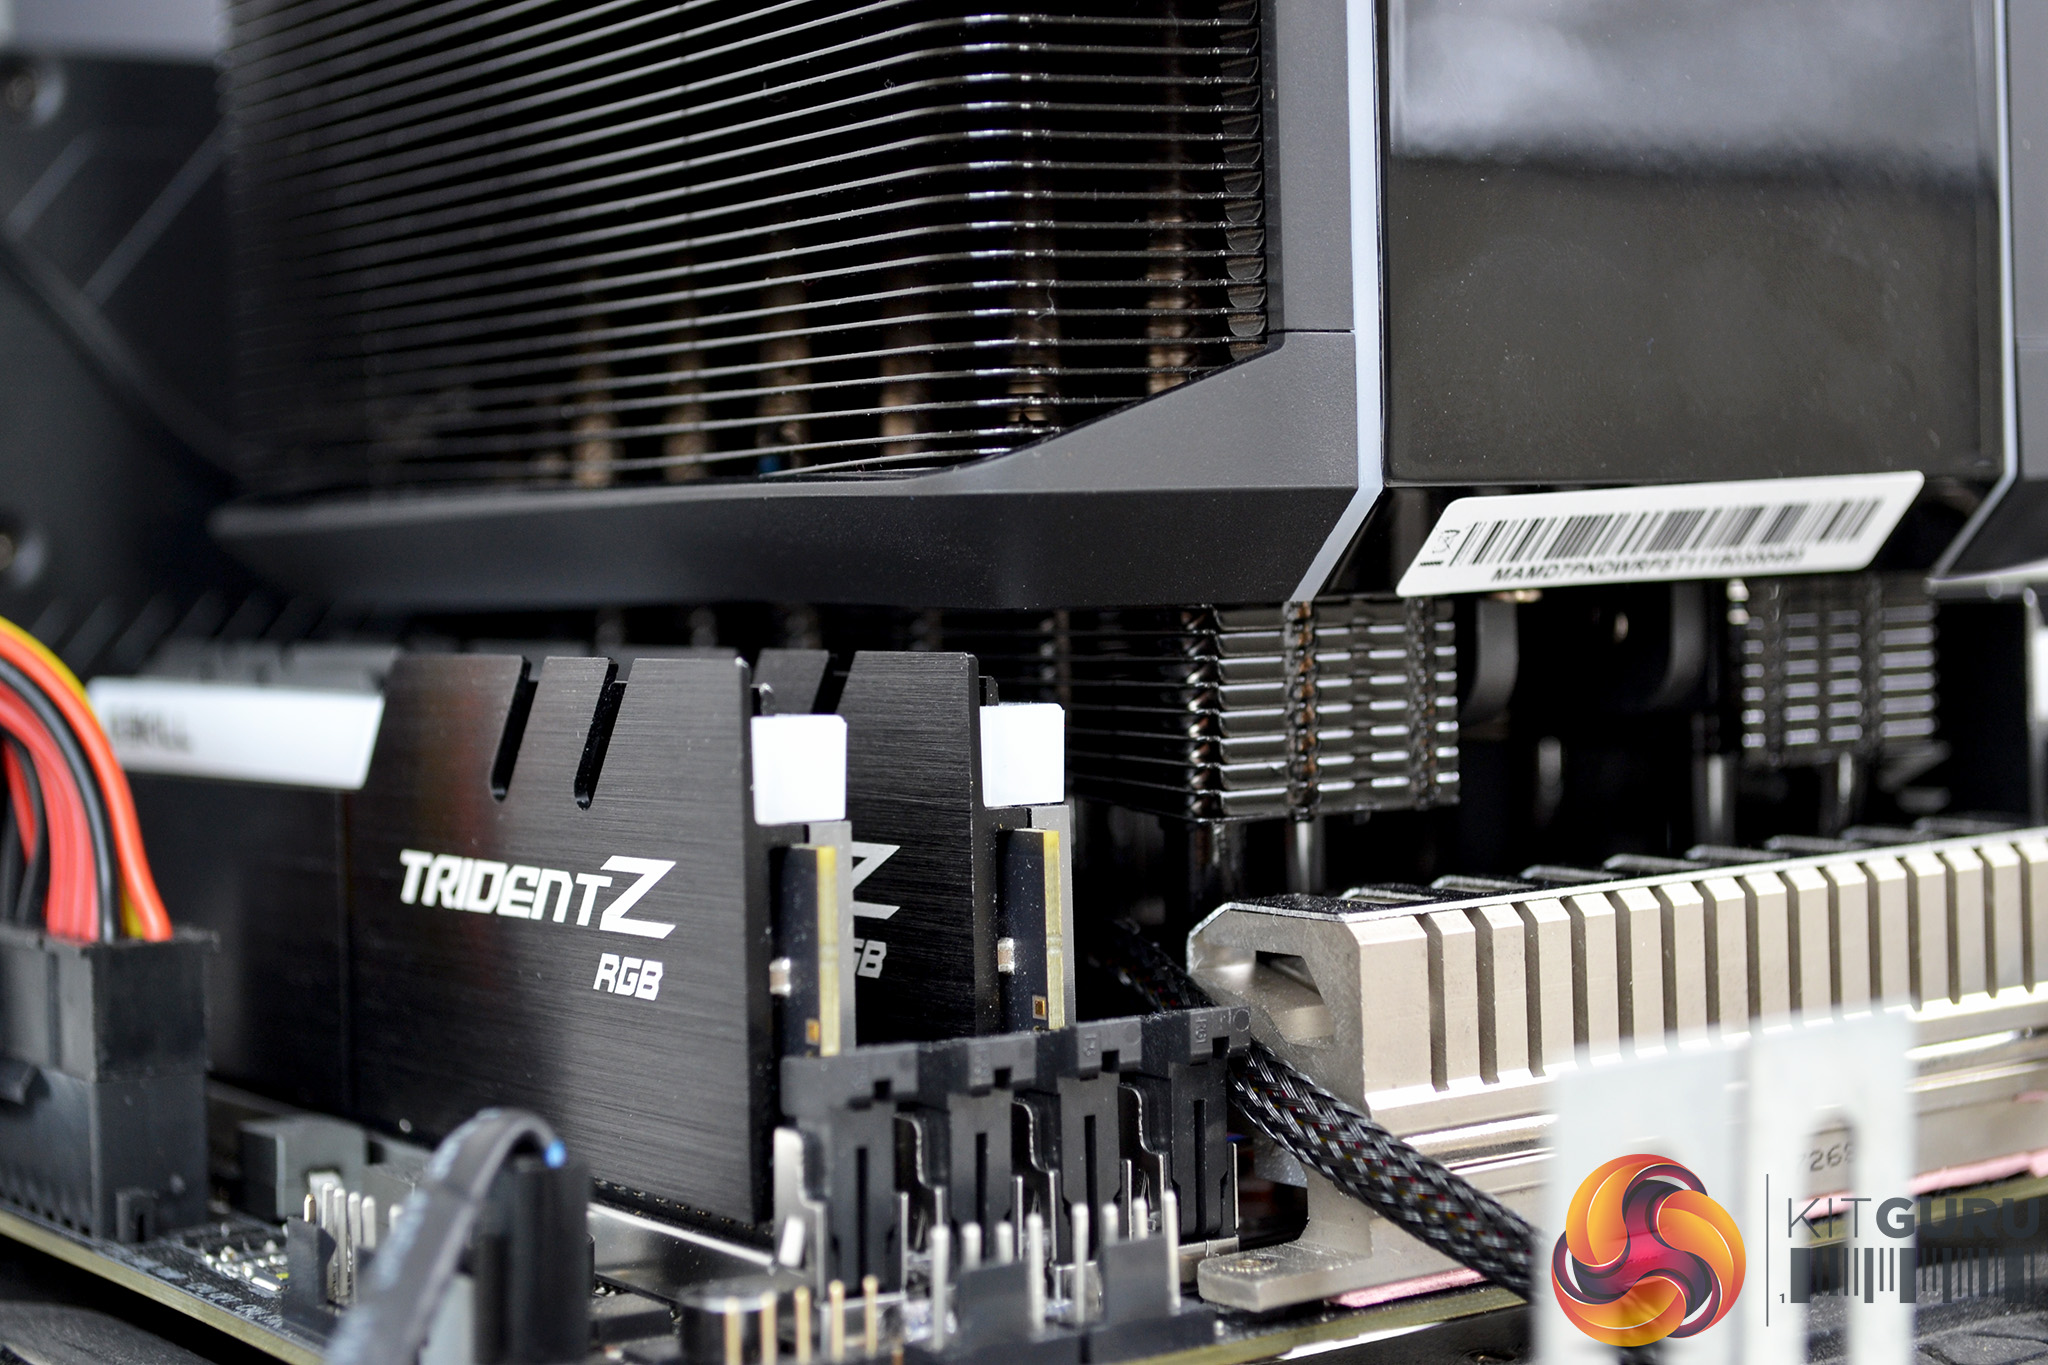
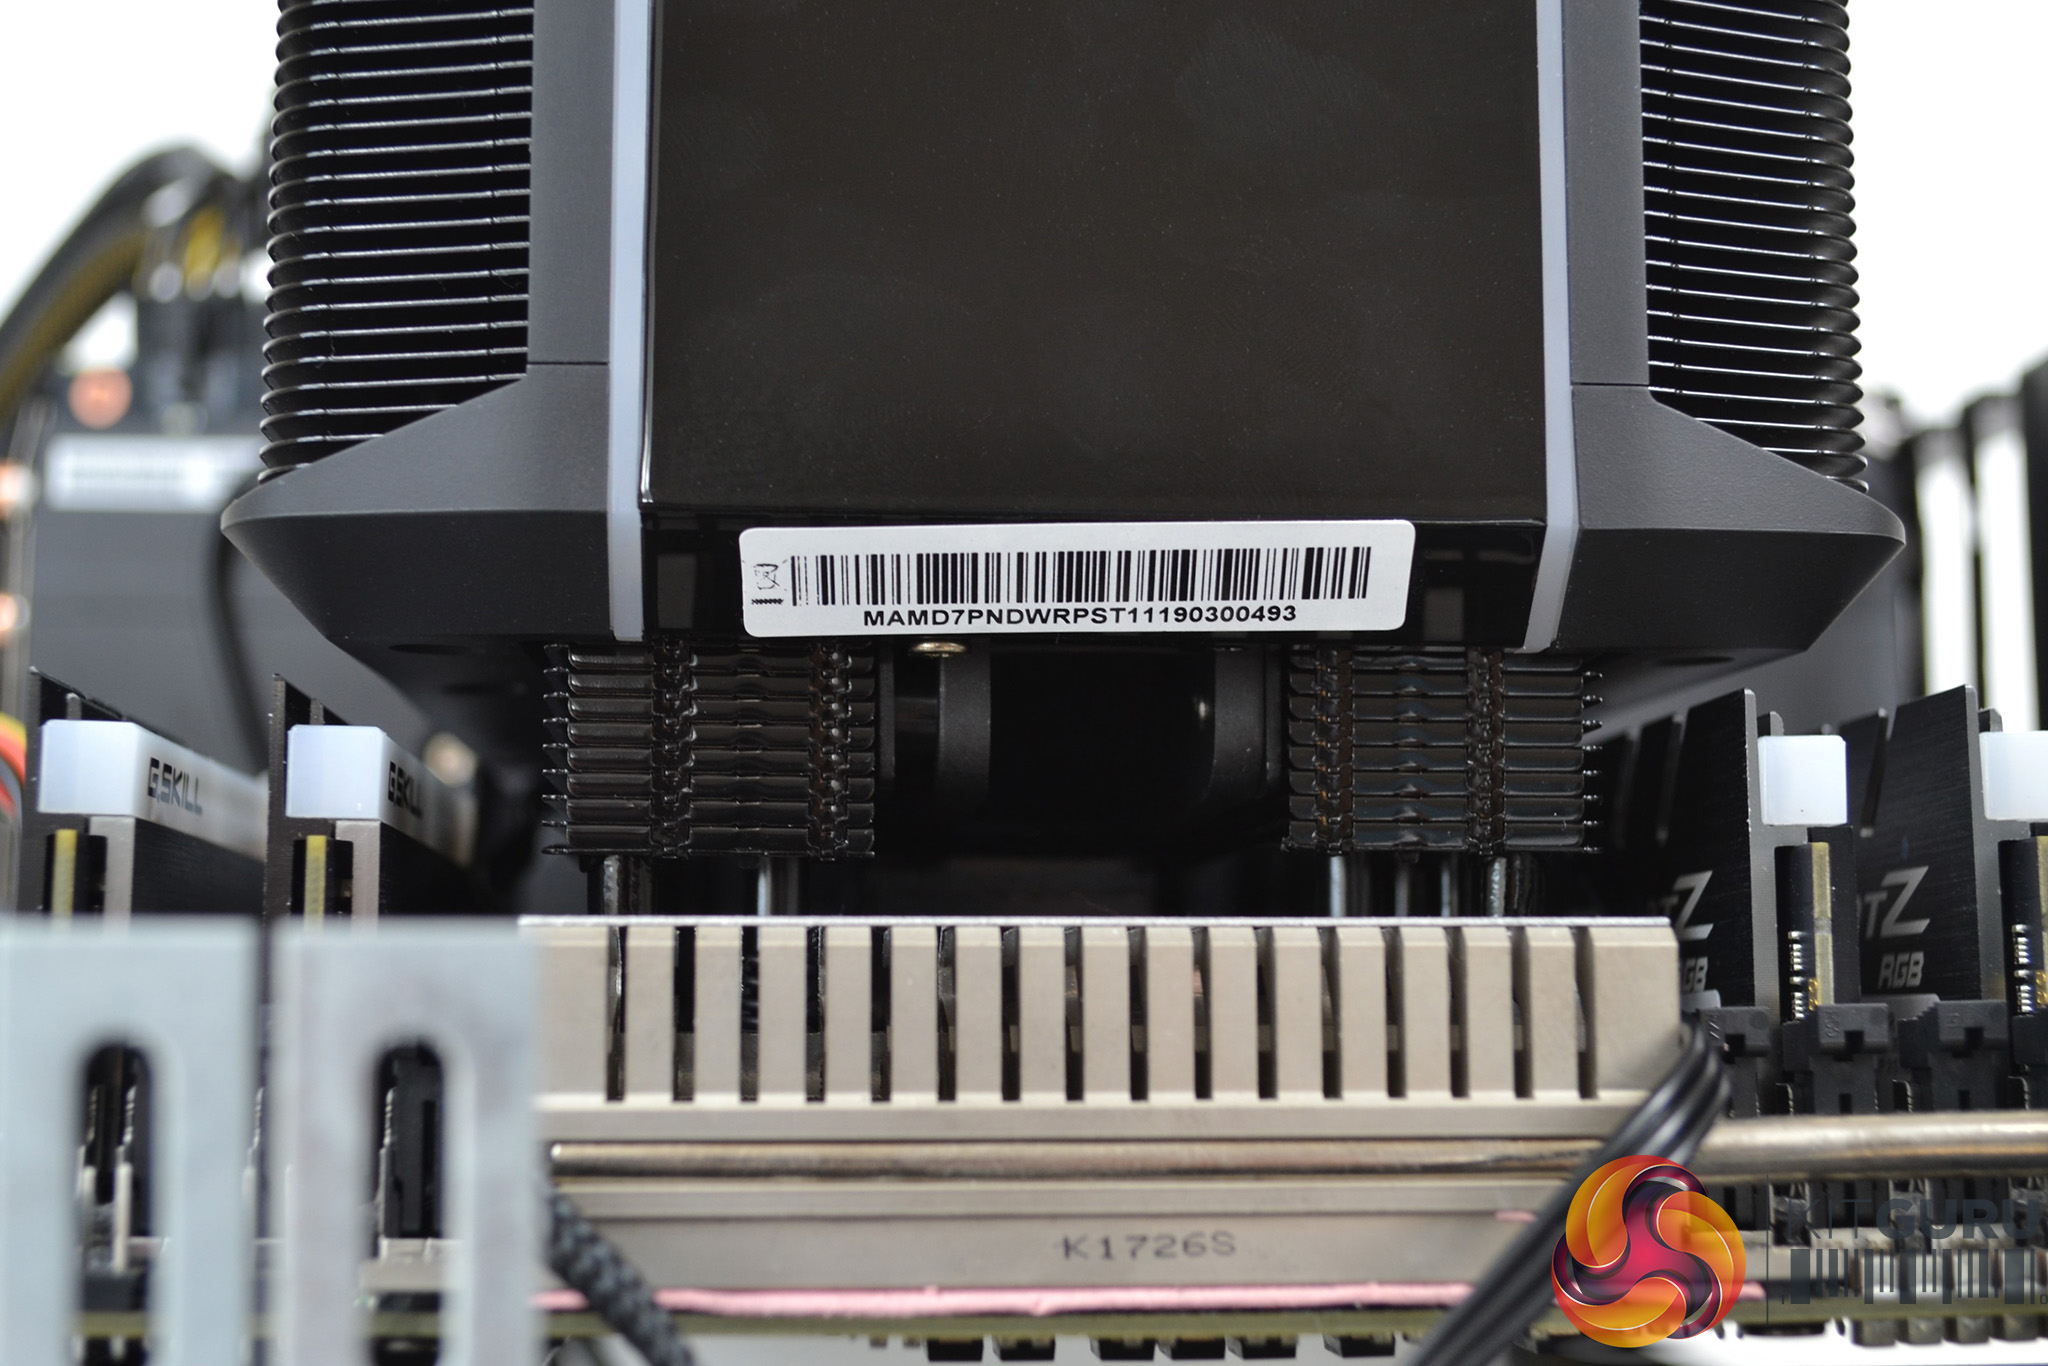
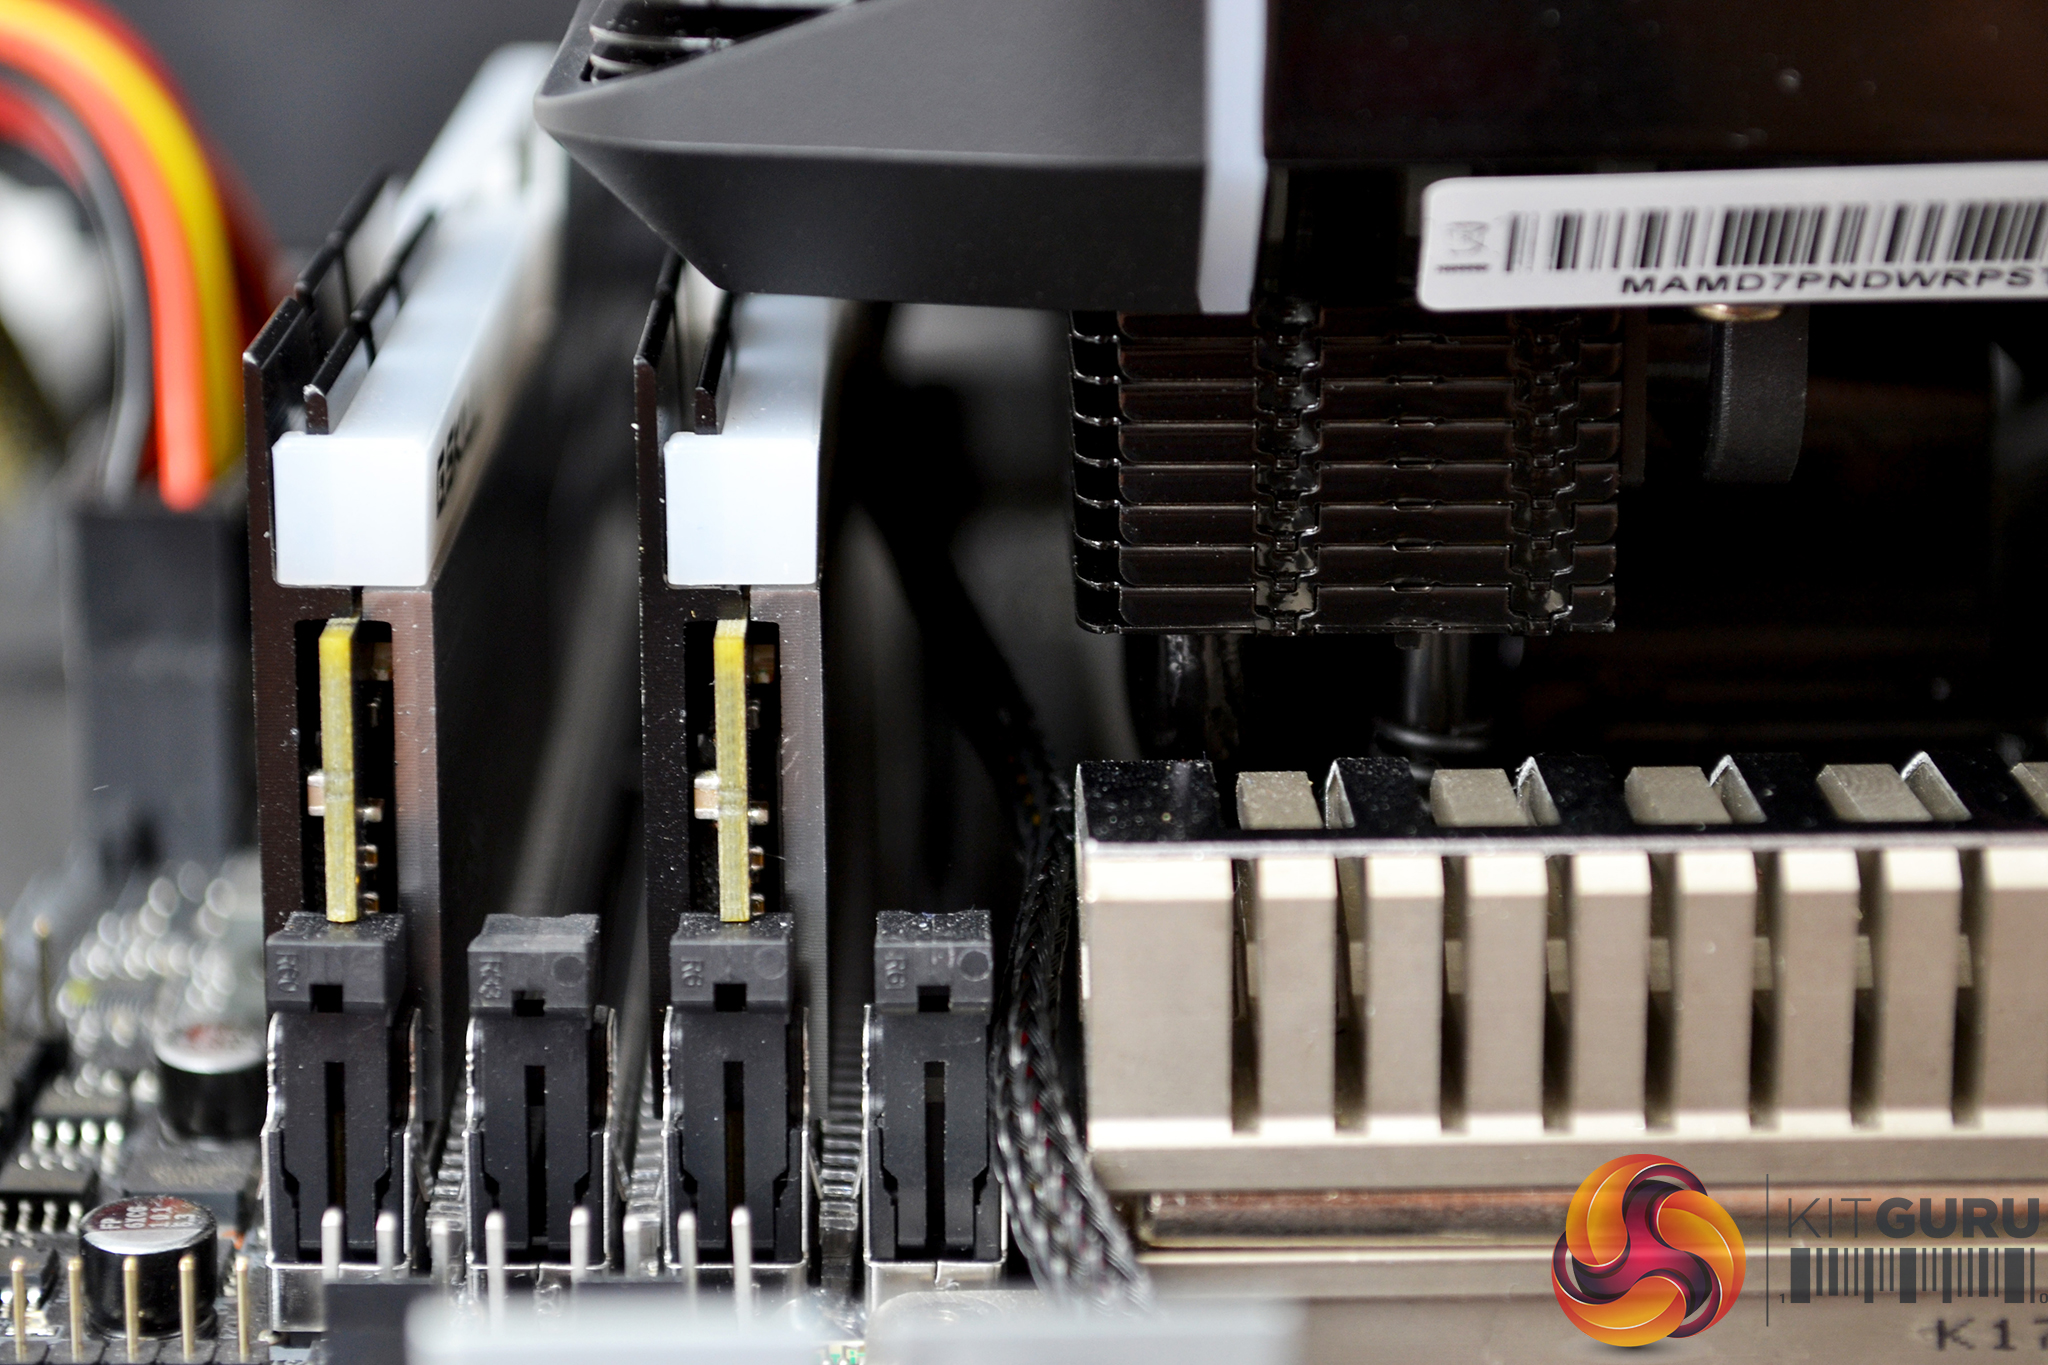
Something worth noting about the Wraith Ripper is RAM clearance. It sat quite tight to our G.SKILL Trident Z RGB modules, so clearance with tall RAM modules may be an issue and worth looking into before purchasing.
Overall, the hardware installation process is extremely simple and took about 10 minutes in total. Even a complete novice should find it an easy task.
Software Installation and Configuration
RGB lighting configuration is controlled by Cooler Master’s Wraith Ripper software, which can be downloaded from Cooler Master’s website here.
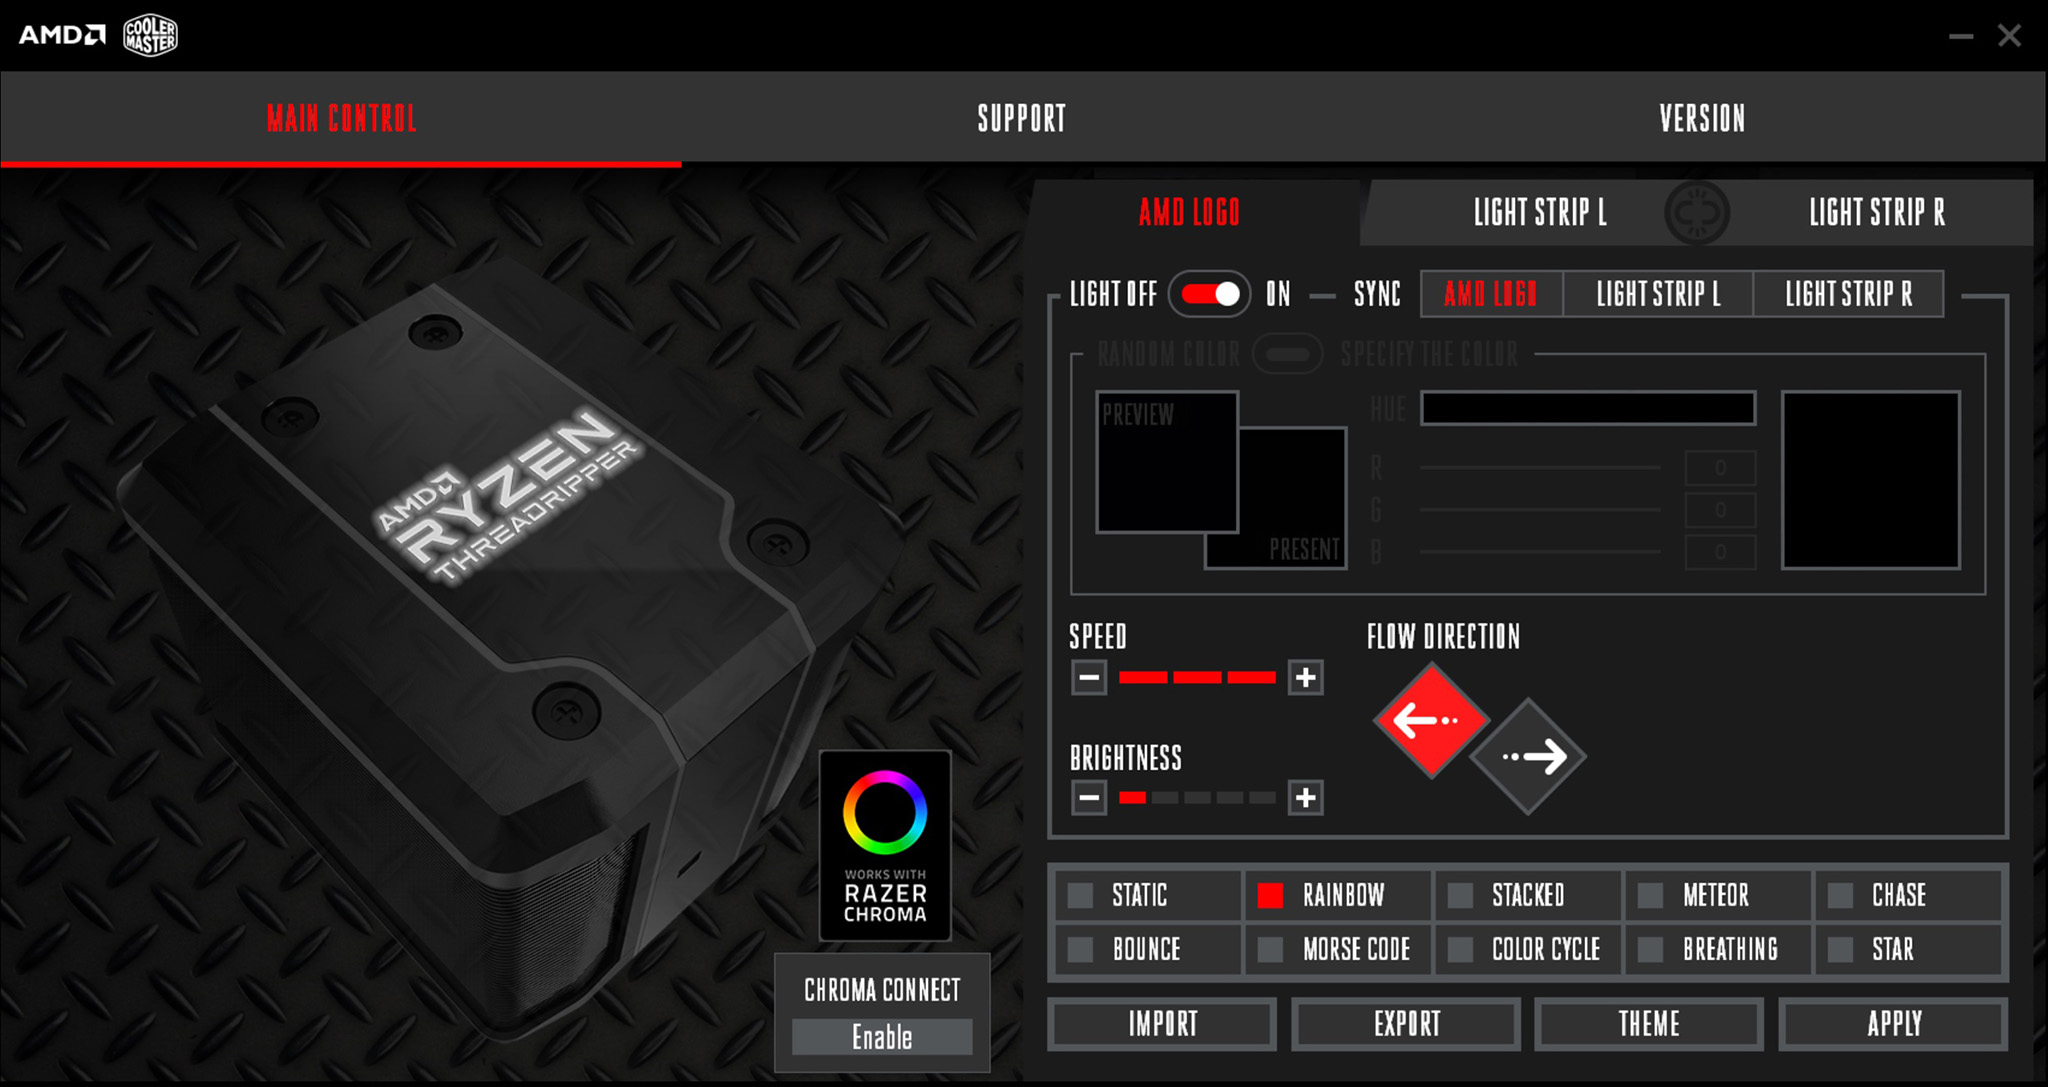
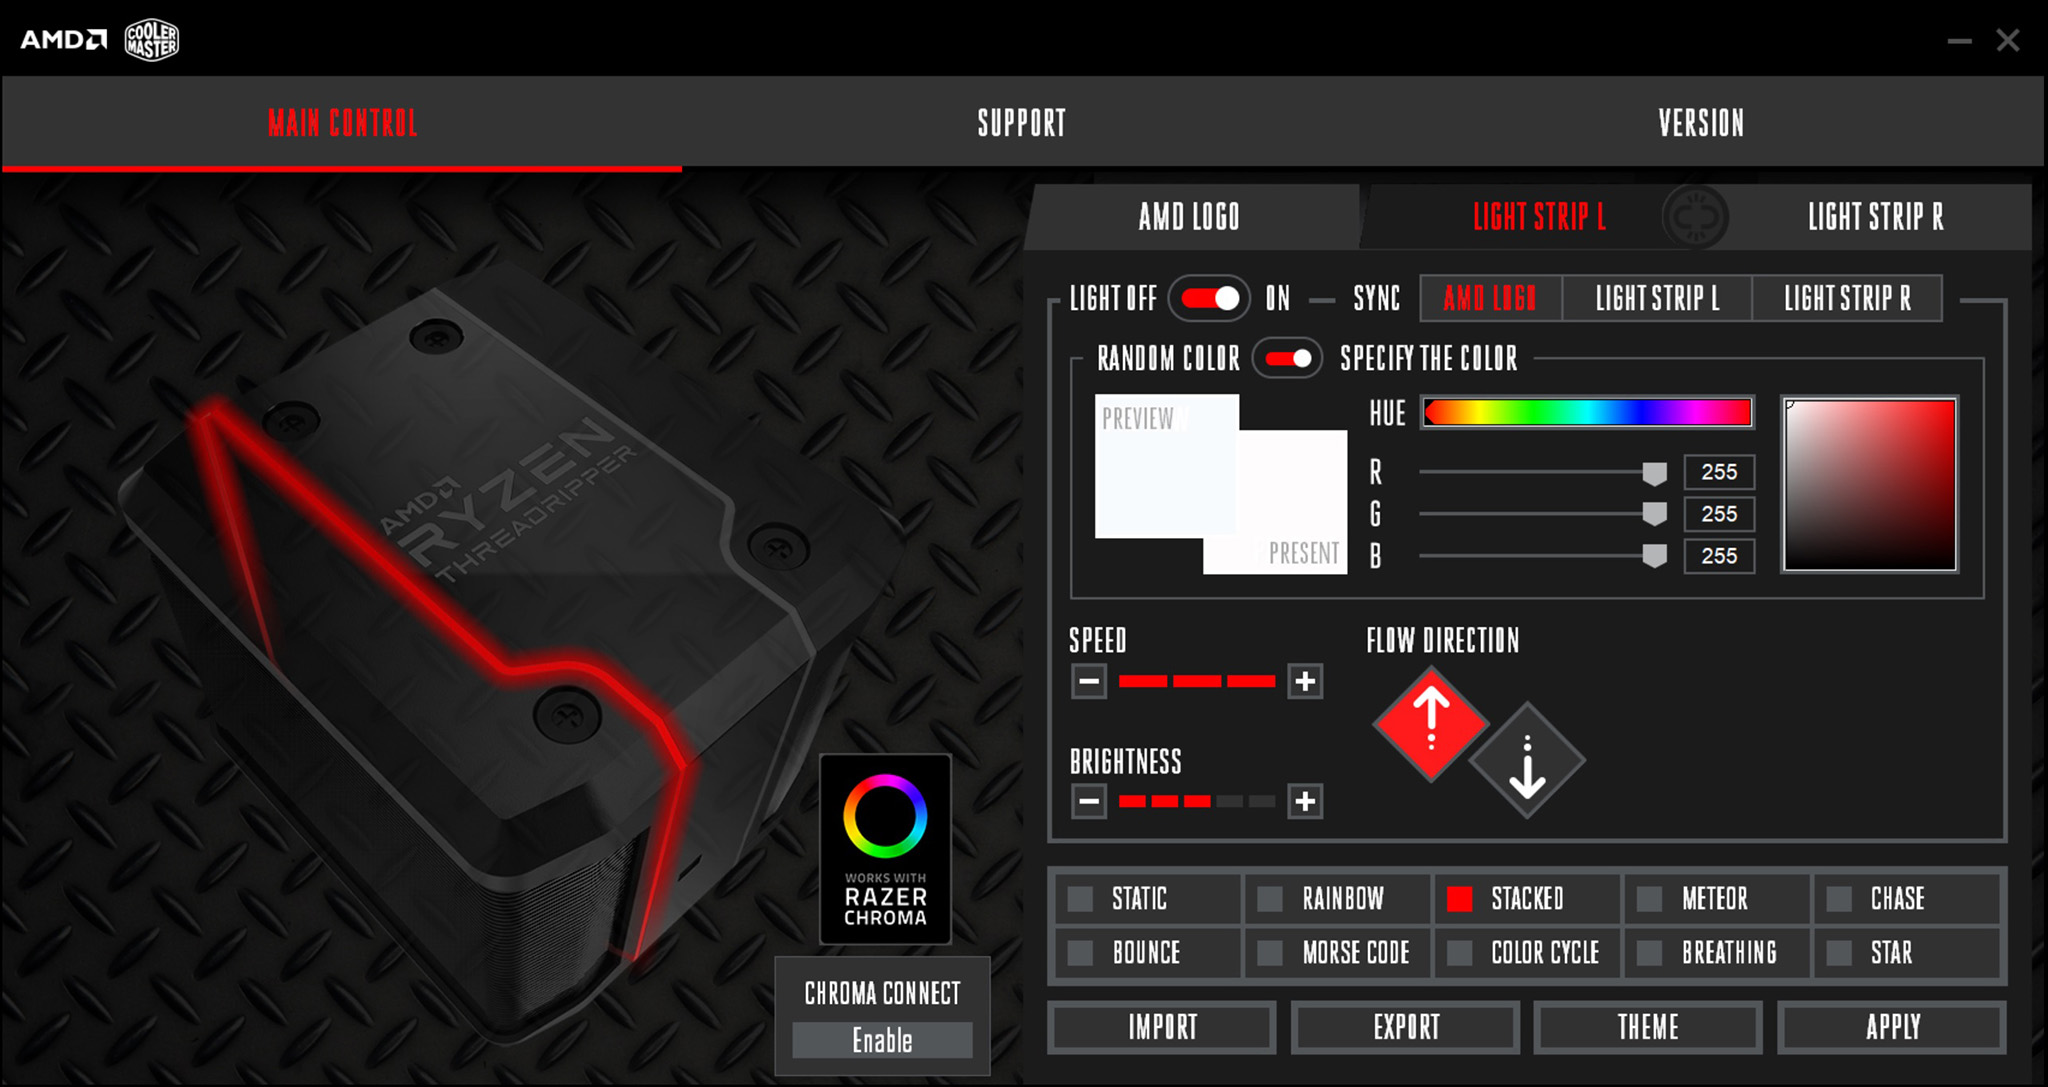
Once installed, there are multiple options. The software splits the coolers RGB lighting up into three areas – the AMD Threadripper logo, light strip L and light strip R. All three areas can be configured individually or in sync.
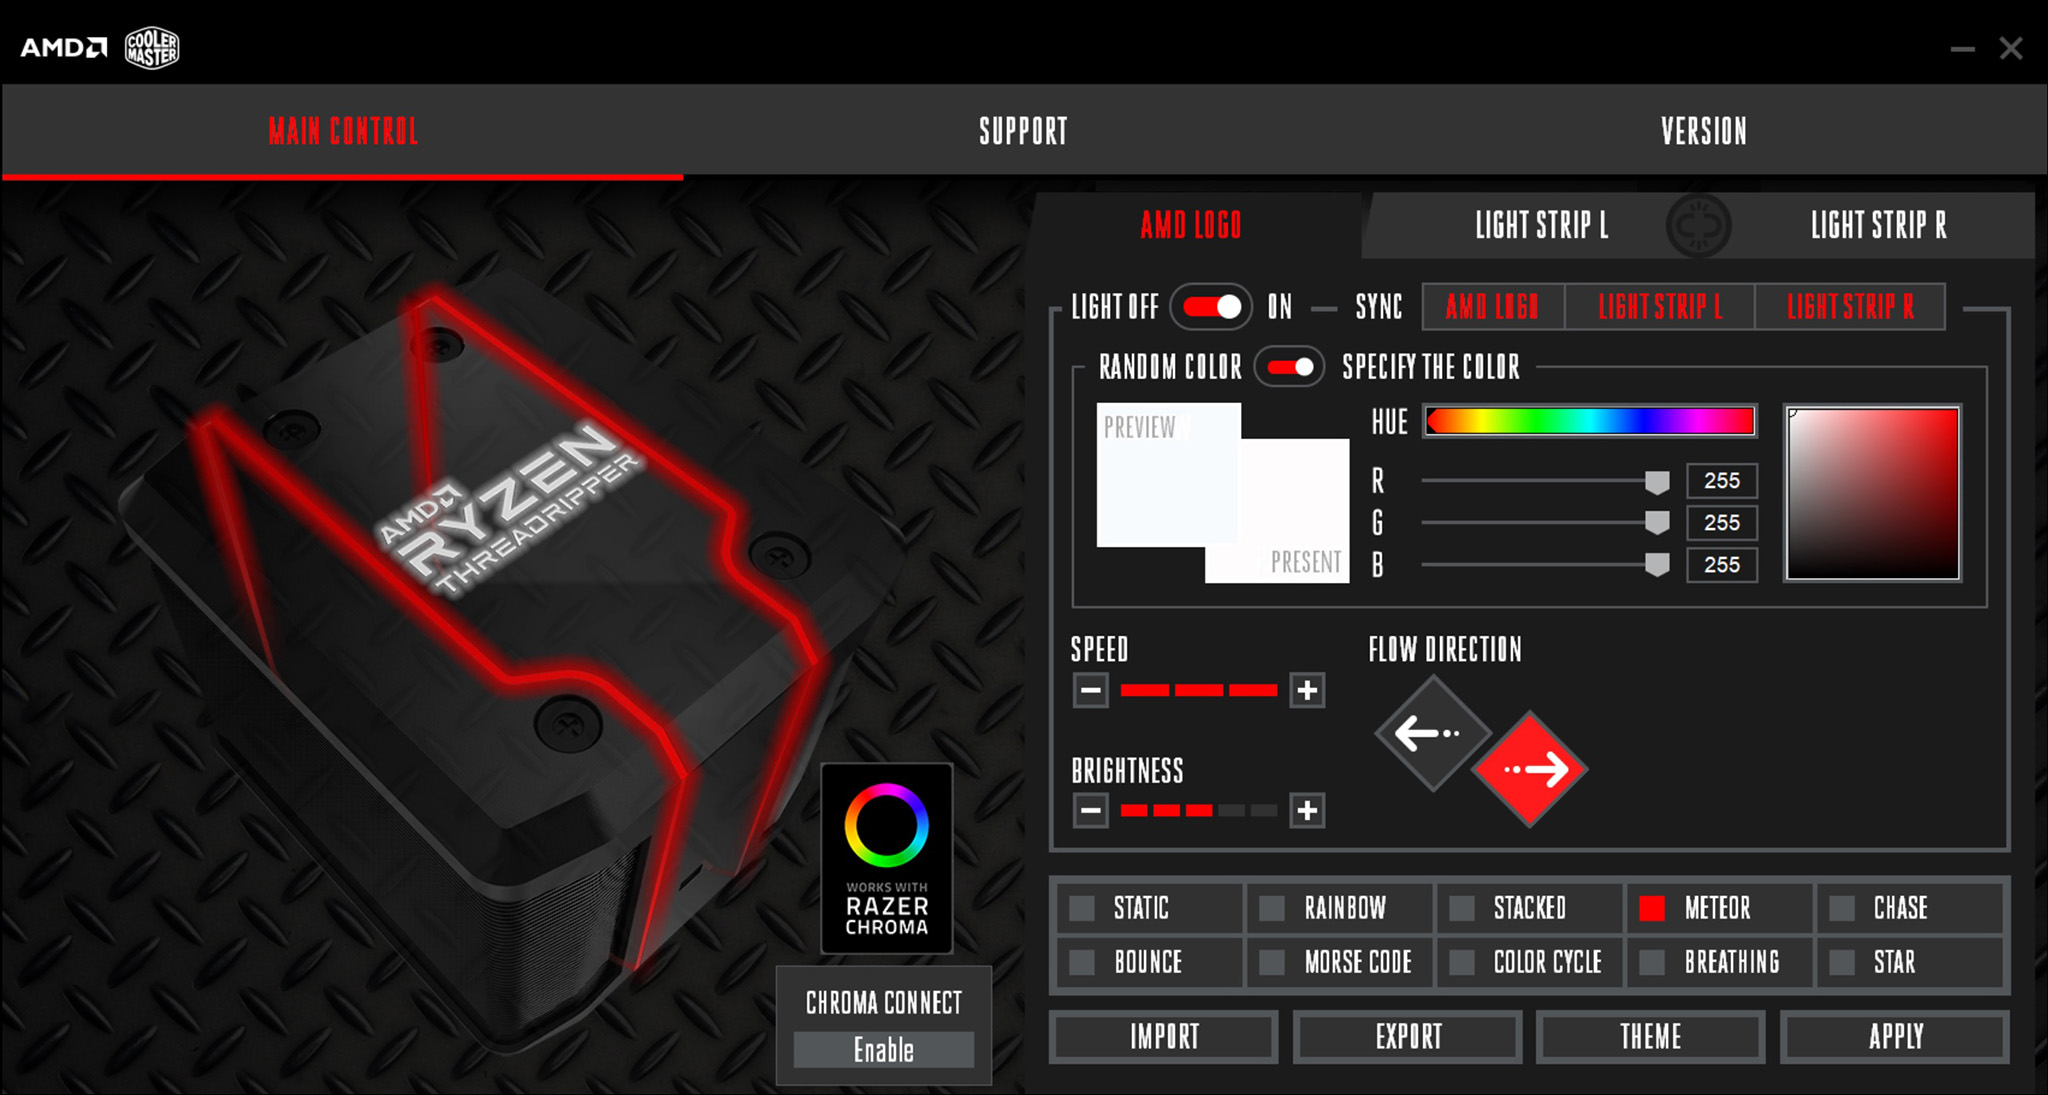
You can swap between static, rainbow, stacked, meteor, chase, bounce, Morse code, breathing and star patterns. In Morse code configuration, you type a message which is then played back in Morse code through flashes of lighting.
If you prefer not to use RGB, you can set a solid colour for each area of lighting. There is also an option to turn off all the lighting completely.
The Wraith Ripper software is compatible with Razer Chroma so can be set to sync with other Razer Chroma compatible devices. Unfortunately, the option to connect directly to a motherboard ARGB header isn’t an option, which is a shame.
