To measure the performance of CPU coolers, we devised an easily repeatable series of tests. The only variable is the coolers themselves to ensure the results can be accurately compared against one another.
Test Rig
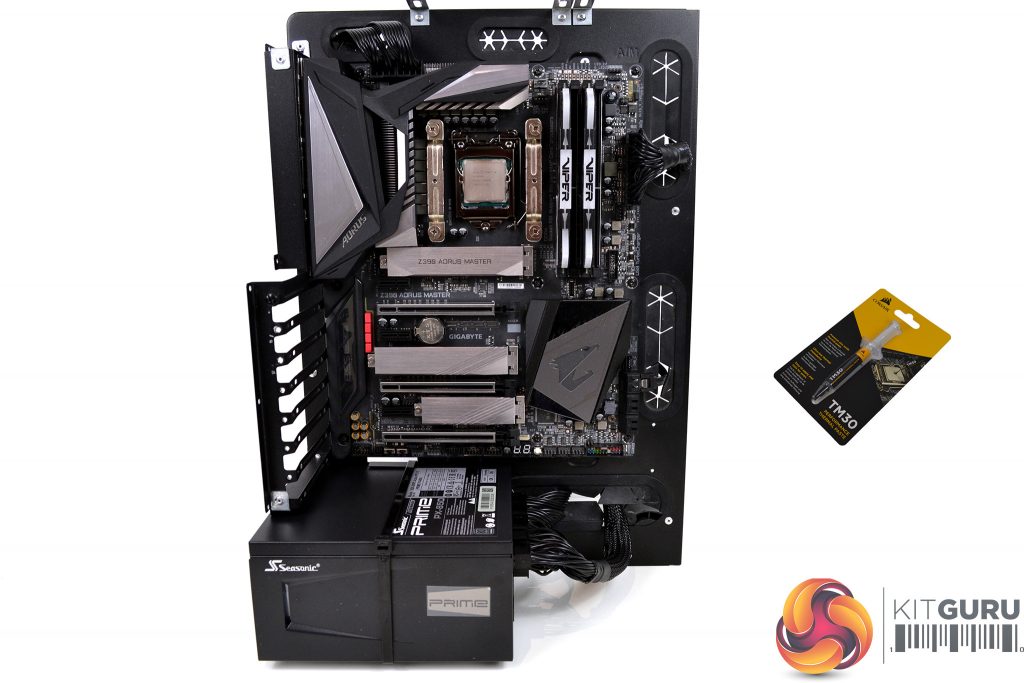
To reflect current hardware demands, the KitGuru test bench comprises of an Intel Z390 platform and included is the Intel Core i9-9900k CPU, mated with a Gigabyte Z390 Aorus Master motherboard and 16GB (2x 8GB modules) Patriot Viper RGB RAM running at 3600mhz CL16. Our storage device is a Corsair Force LE 120GB SATA SSD. Power to the test system is managed by a Seasonic Prime PX-850 PSU. Corsair TM30 thermal compound is used at all times to ensure consistency.
Thermal Testing Procedure
The procedure will consist of several tests that will produce six temperature readings for each cooler. The data can then be used to compare thermal dissipation performance.
First, we will lock the Core i9-9900k at its 3.6GHz all-core base clock speed, with a 1.15V Vcore applied in the BIOS. Then, let the system idle in windows for 15 minutes and measure temperature. At the same frequency, we will then measure the load temperature.
To simulate overclocked frequency, we will then lock the Core i9-9900k to 4.7GHz on all cores with a 1.20V Vcore and run the same idle and load test again. To measure an extreme overclocking situation, we will lock the Core i9-9900k frequency to 4.9GHz on all cores with 1.30V Vcore and run the tests one final time – this should push the limits of the cooling performance of even the very best CPU coolers.
Admittedly, the overclocked frequencies/voltage may not be the highest achievable, nevertheless, it will give us a good set of data to compare the effect frequency/voltage changes have on temperature.
The temperatures presented in the graphs will be average Delta temperatures measured over the length of the test. We will calculate the Delta temperature by deducting the ambient temperature in the test room from the measured CPU temperature, both at idle and under load.
All idle temperatures are measured by letting the system idle in Windows for 10 minutes. Load temperatures are achieved by running AIDA64 stressing CPU, FPU and cache again for 15 minutes. This should give the CPU enough time to reach its maximum temperature. Throughout testing, Load Line Calibration will be set to level 6 (turbo) in BIOS and all CPU Fans/pumps set to maximum RPM.
Noise Testing
Noise levels will be measured with our sound meter at a distance of 1 meter from the test bench. The cooler’s fans will be set to their maximum RPM rating. The ambient noise level in the room is measured at 37.5dBA and the peak noise level of the cooler will be recorded in dBA.
 KitGuru KitGuru.net – Tech News | Hardware News | Hardware Reviews | IOS | Mobile | Gaming | Graphics Cards


