Our test system is Intel Z390 based, therefore, we will be following the relevant 115X socket installation procedure.
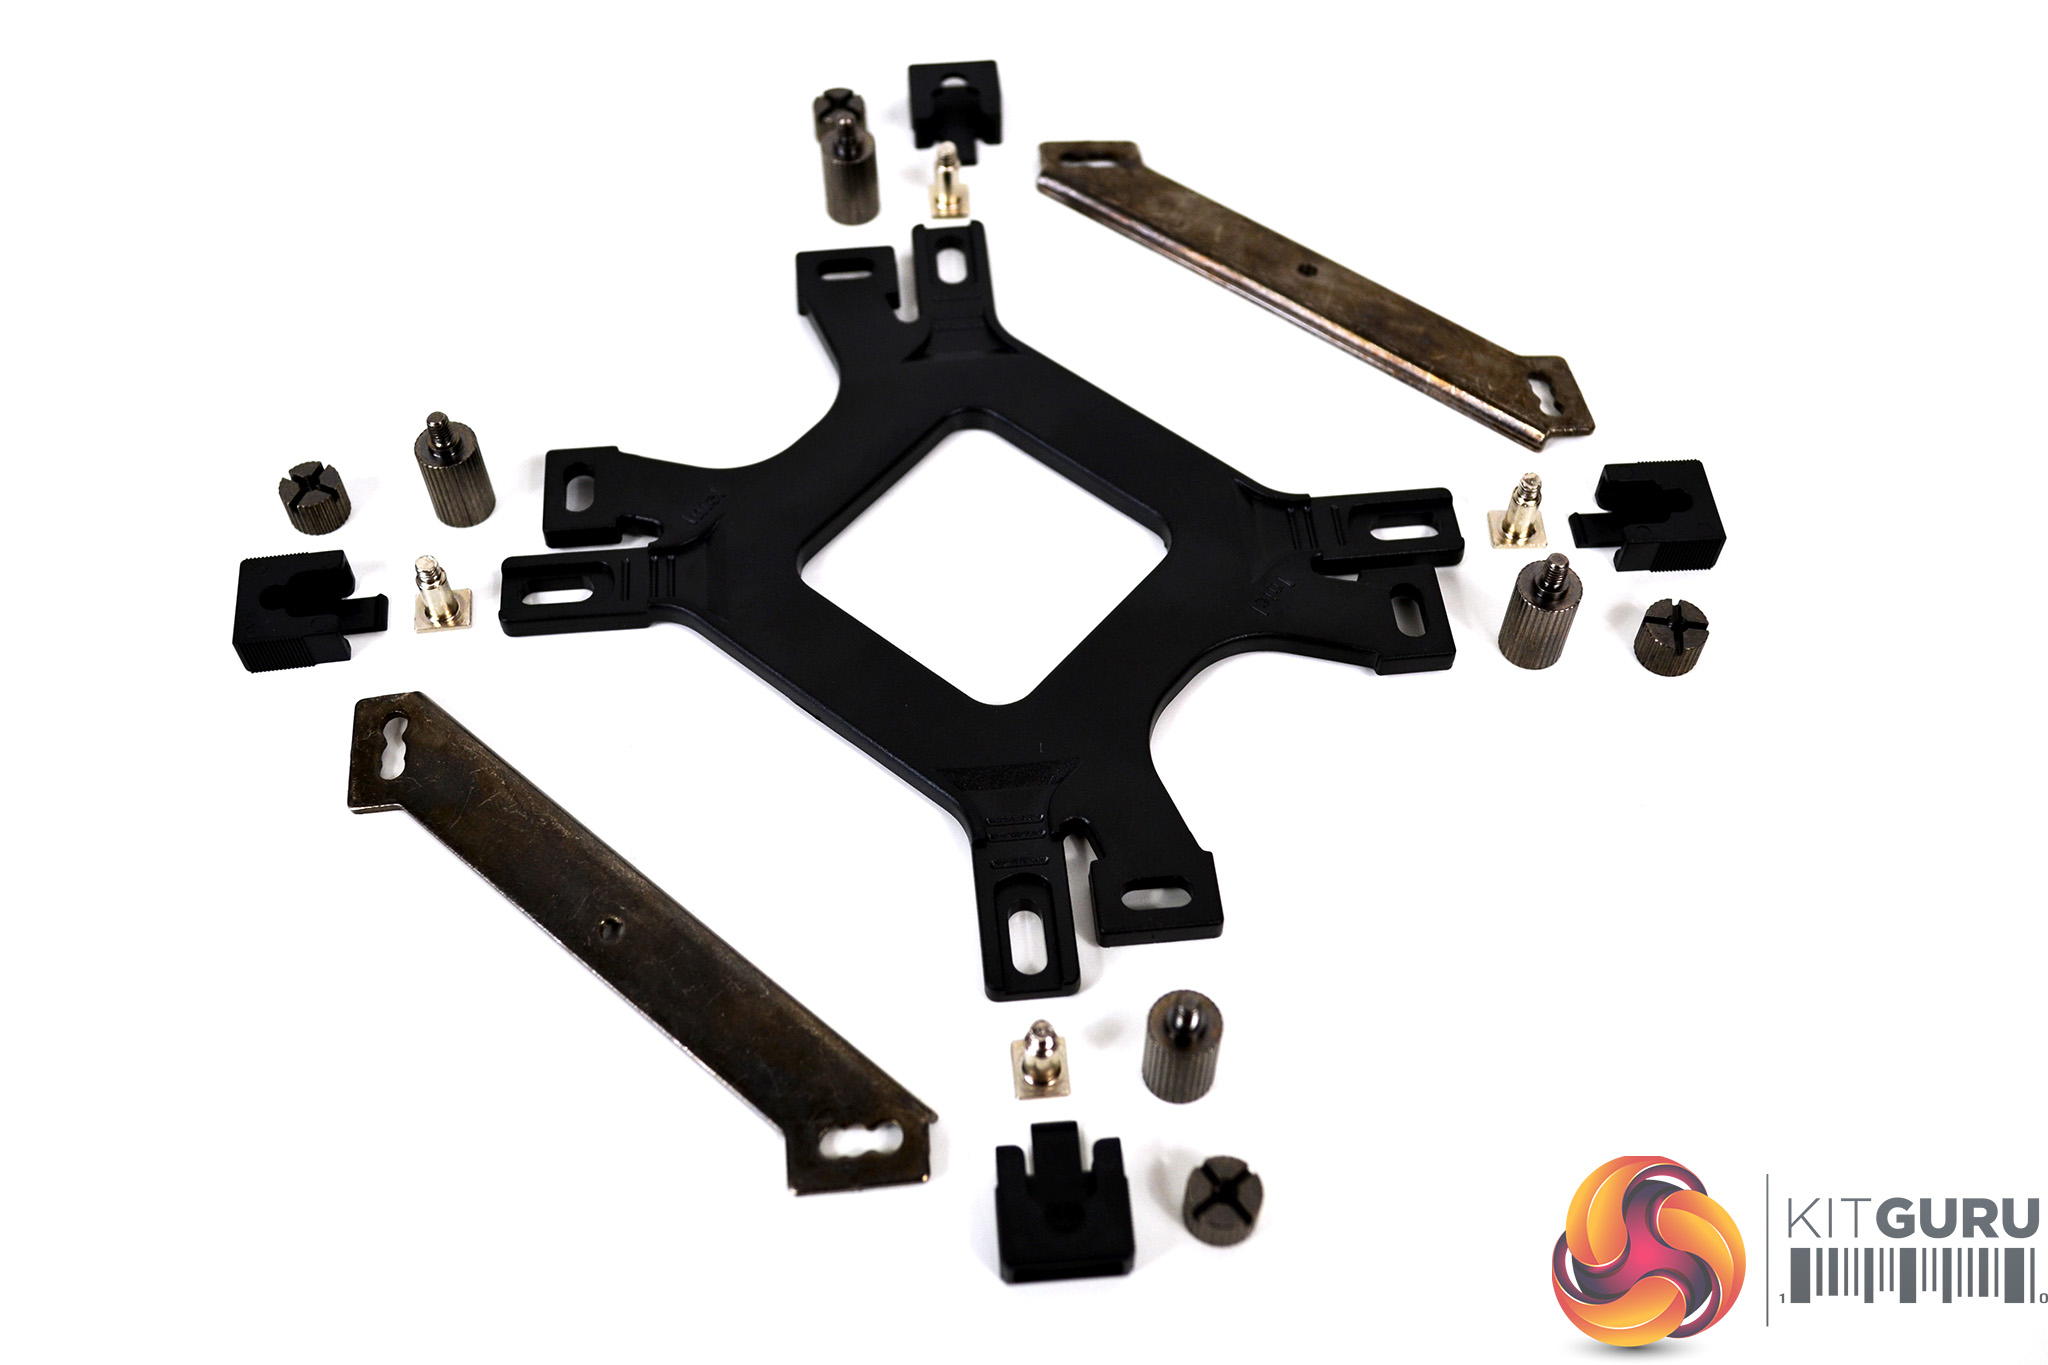
Due to the two-step installation process that Cooler Master has implemented in the MasterAir MA620M, there is no additional preparation for the cooler. All the mounting hardware, along with the fan, is pre-installed, so installation should prove straightforward and not time-consuming. With all the relevant mounting hardware for Intel 115X installation laid out on the bench, we can begin.
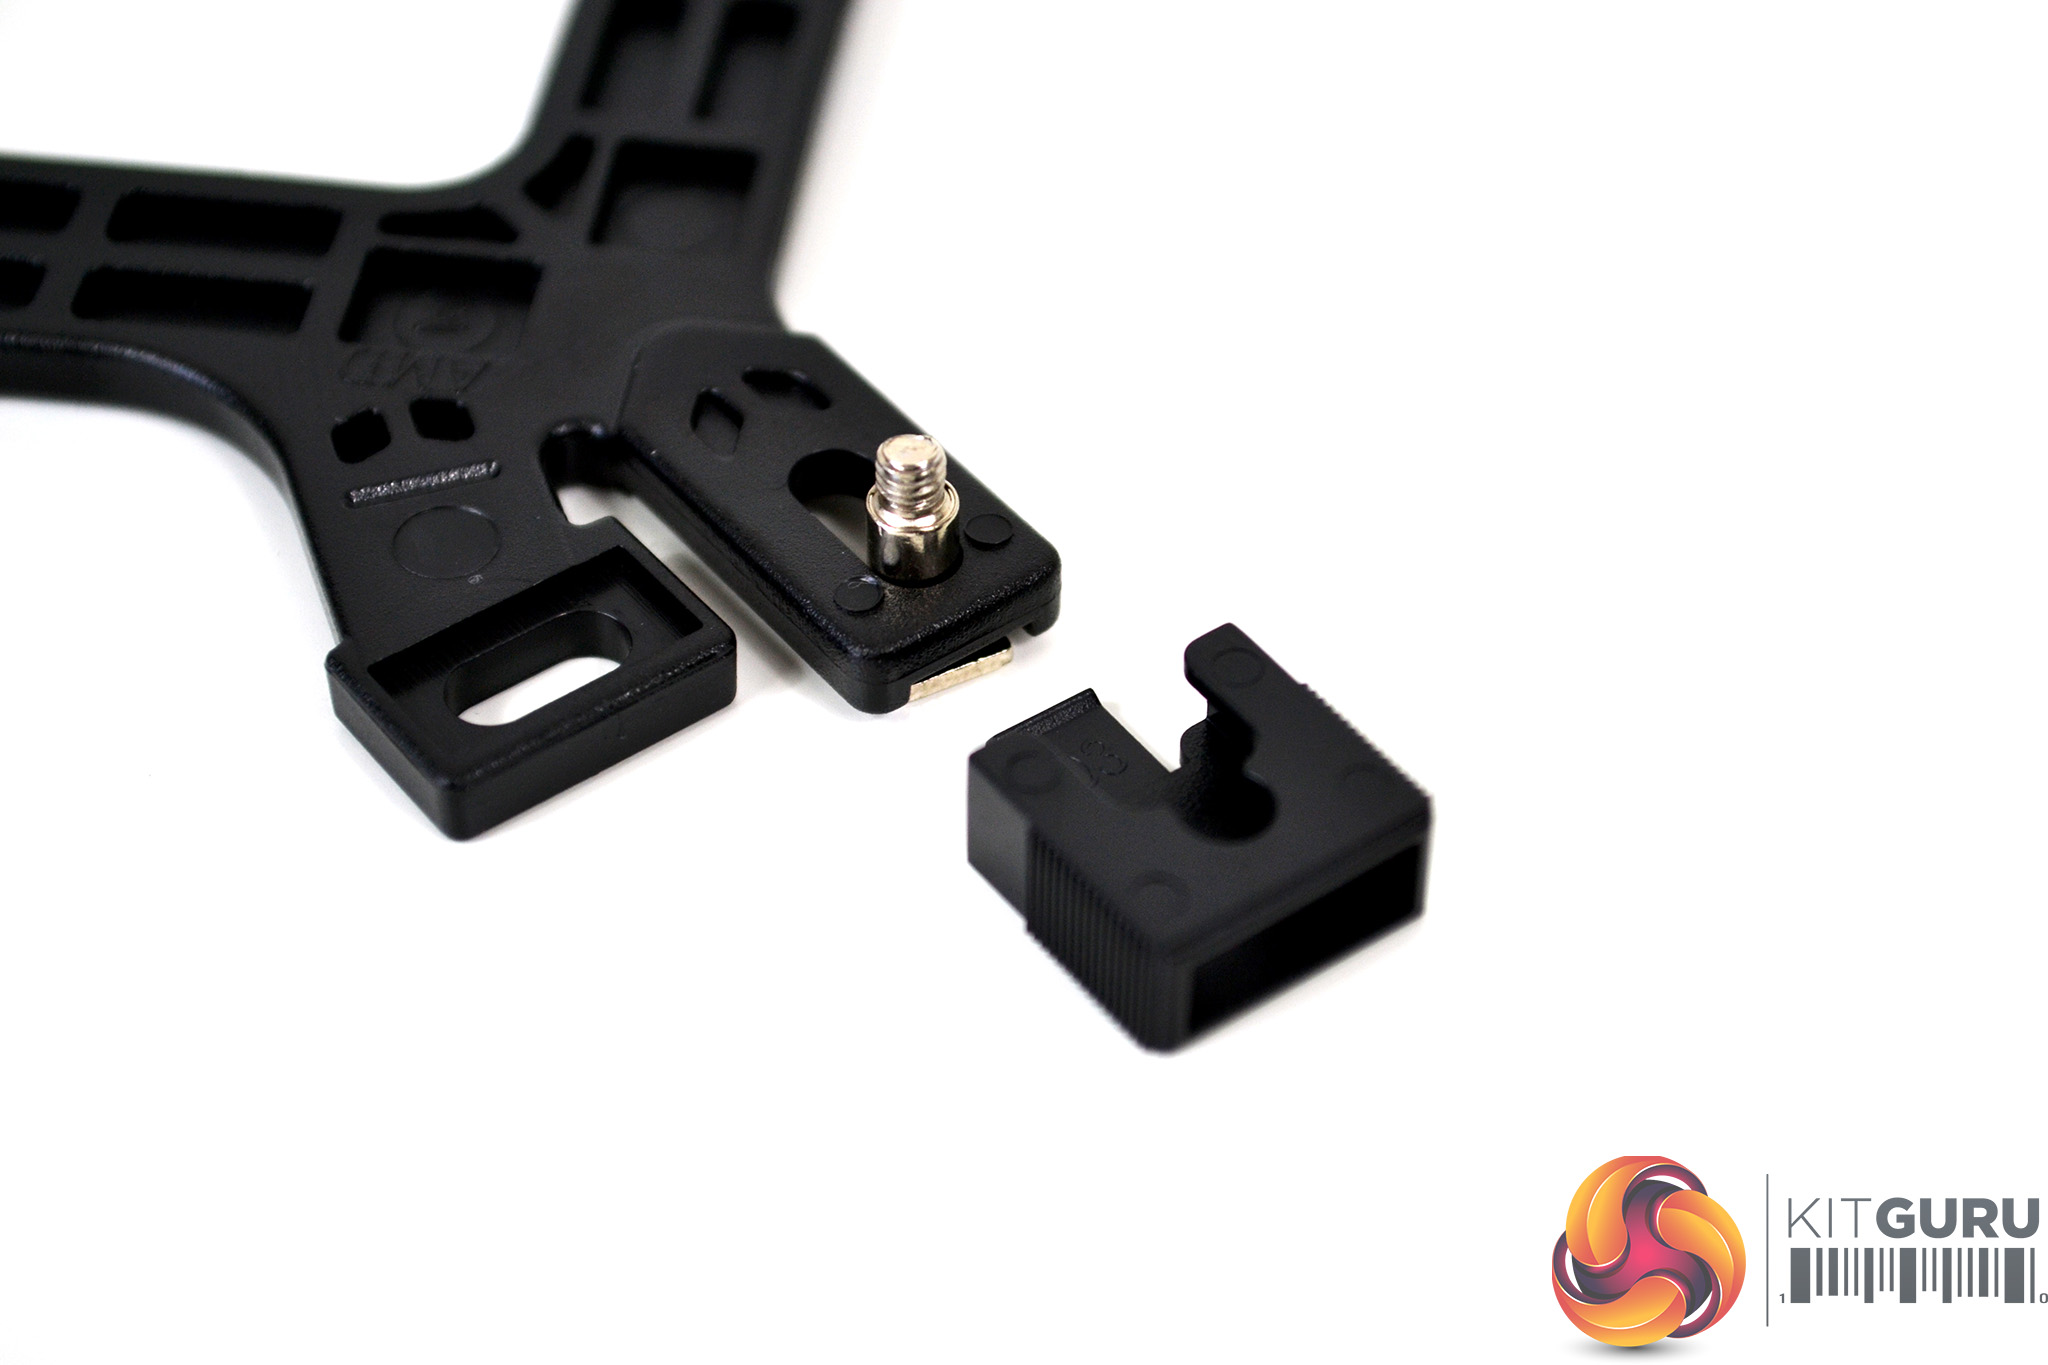
To begin with, take the universal mounting backplate and insert the retention screws in the brackets elongated holes. Using the four plastic retaining clips, push them over the legs of the bracket and on to the mounting screws. When you hear an audible click, the clips are correctly attached to the screw.
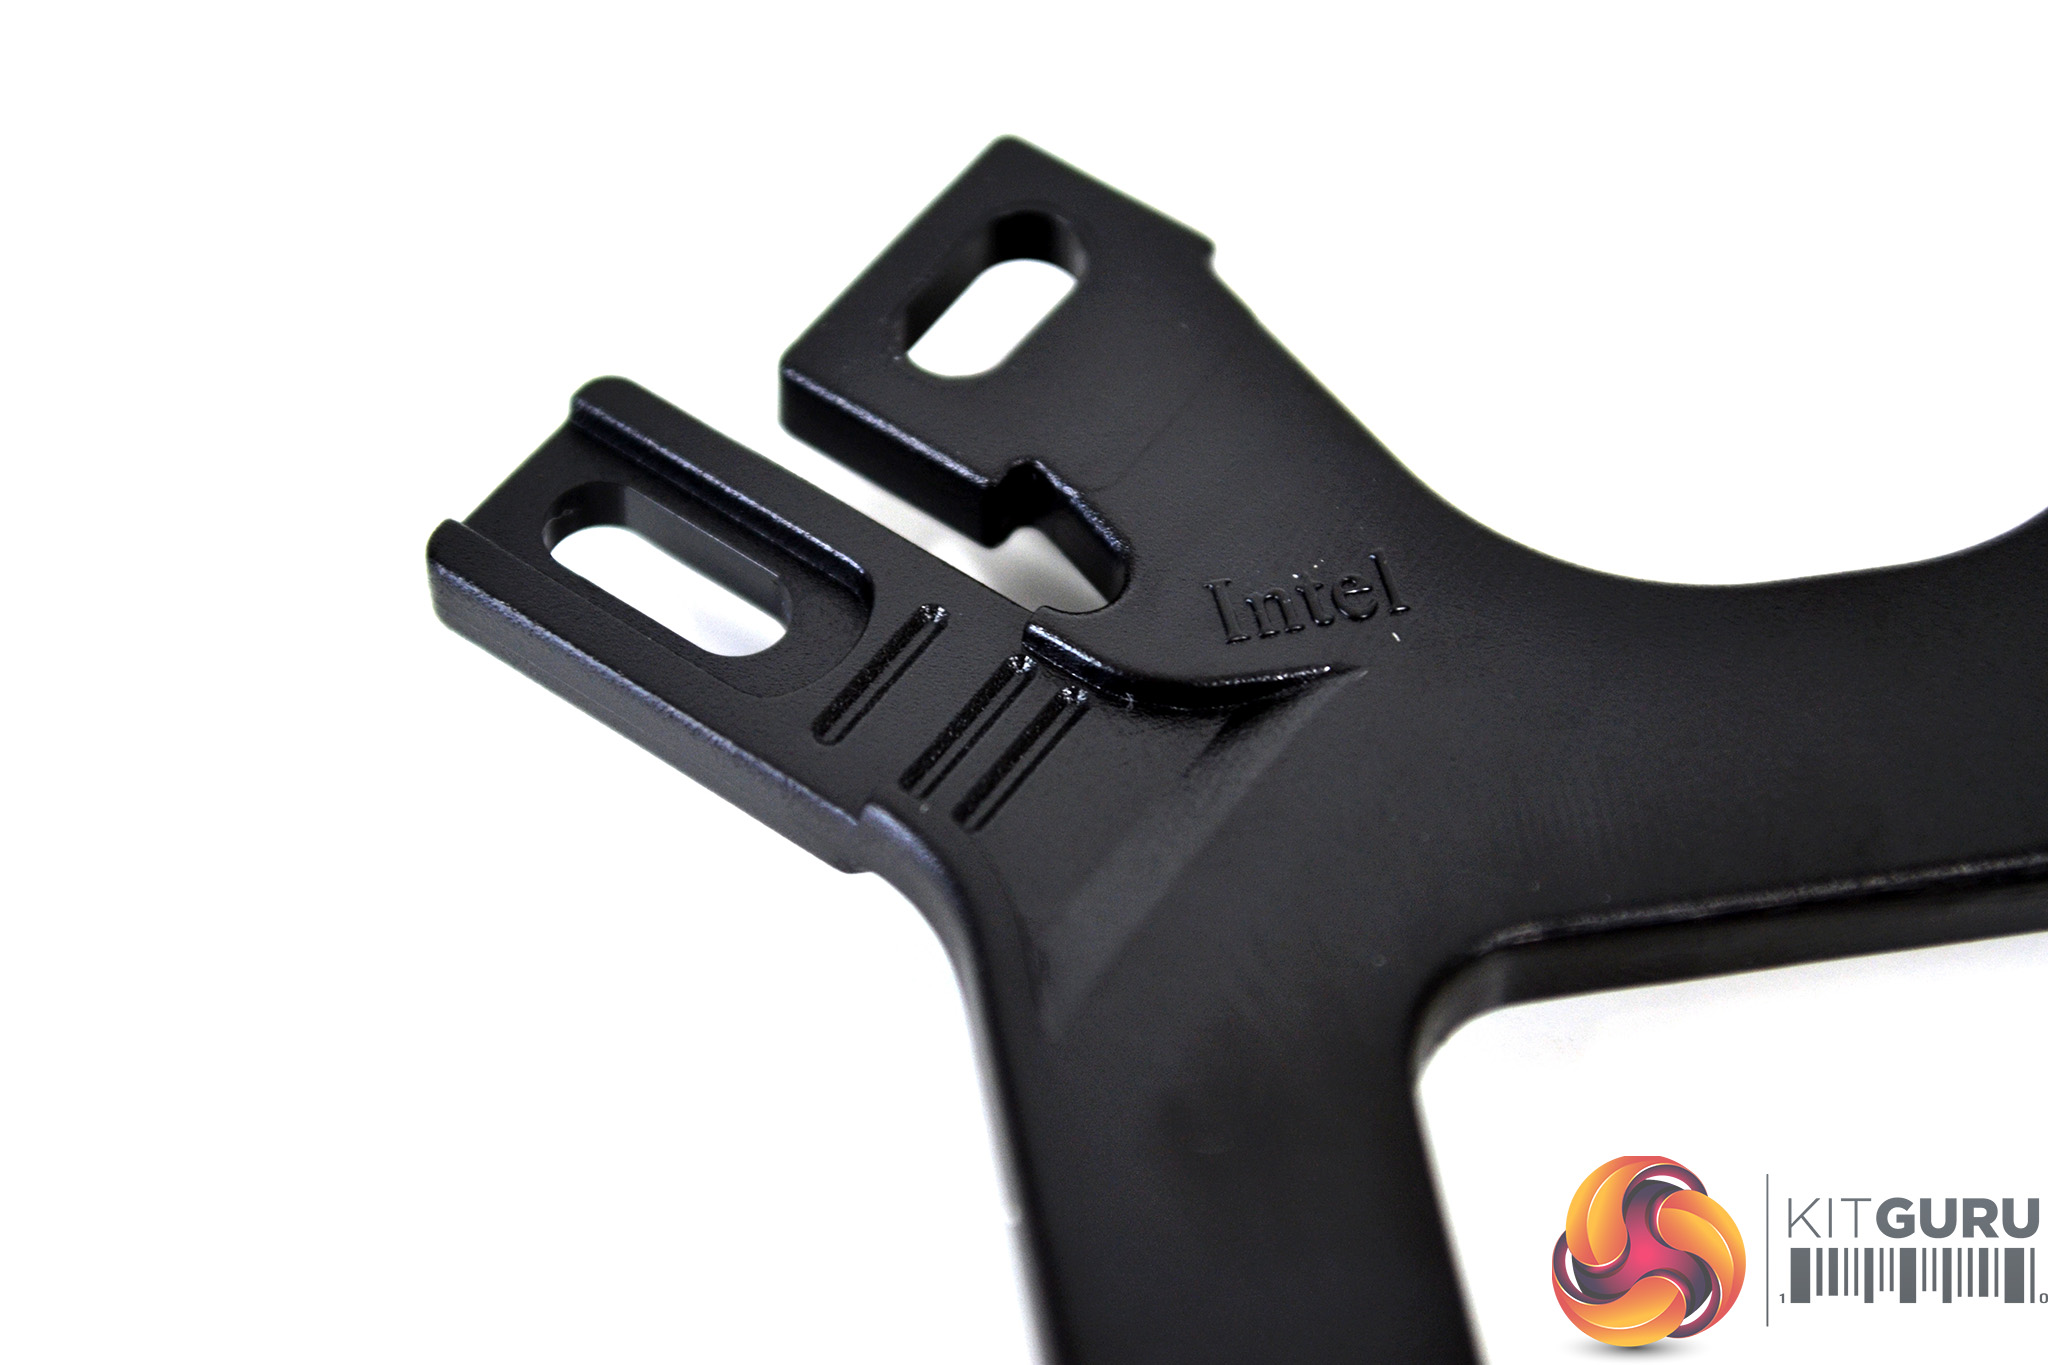
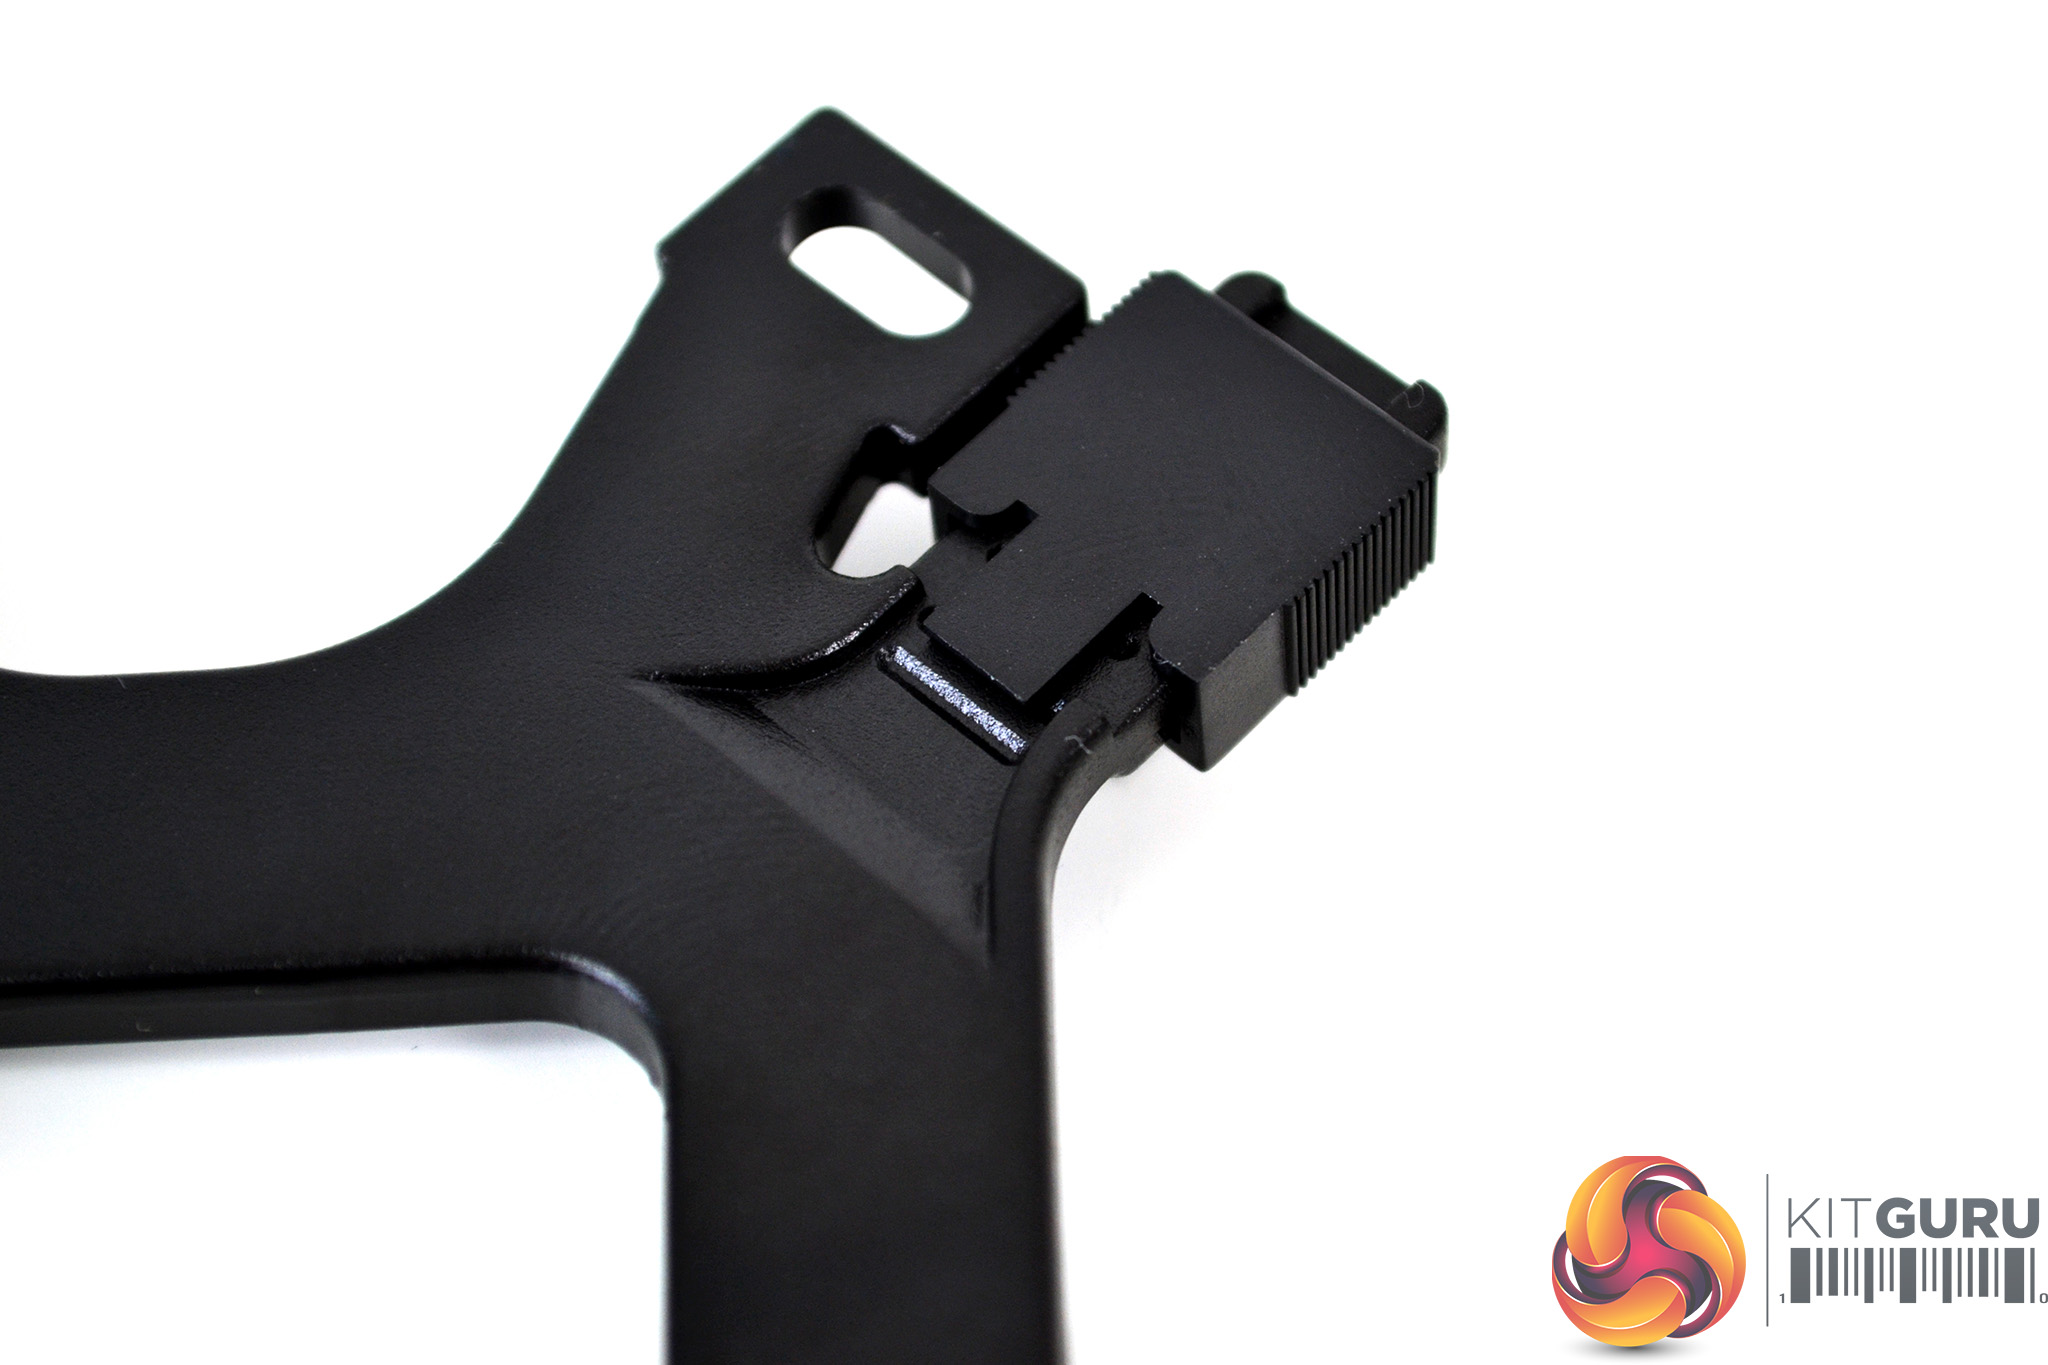
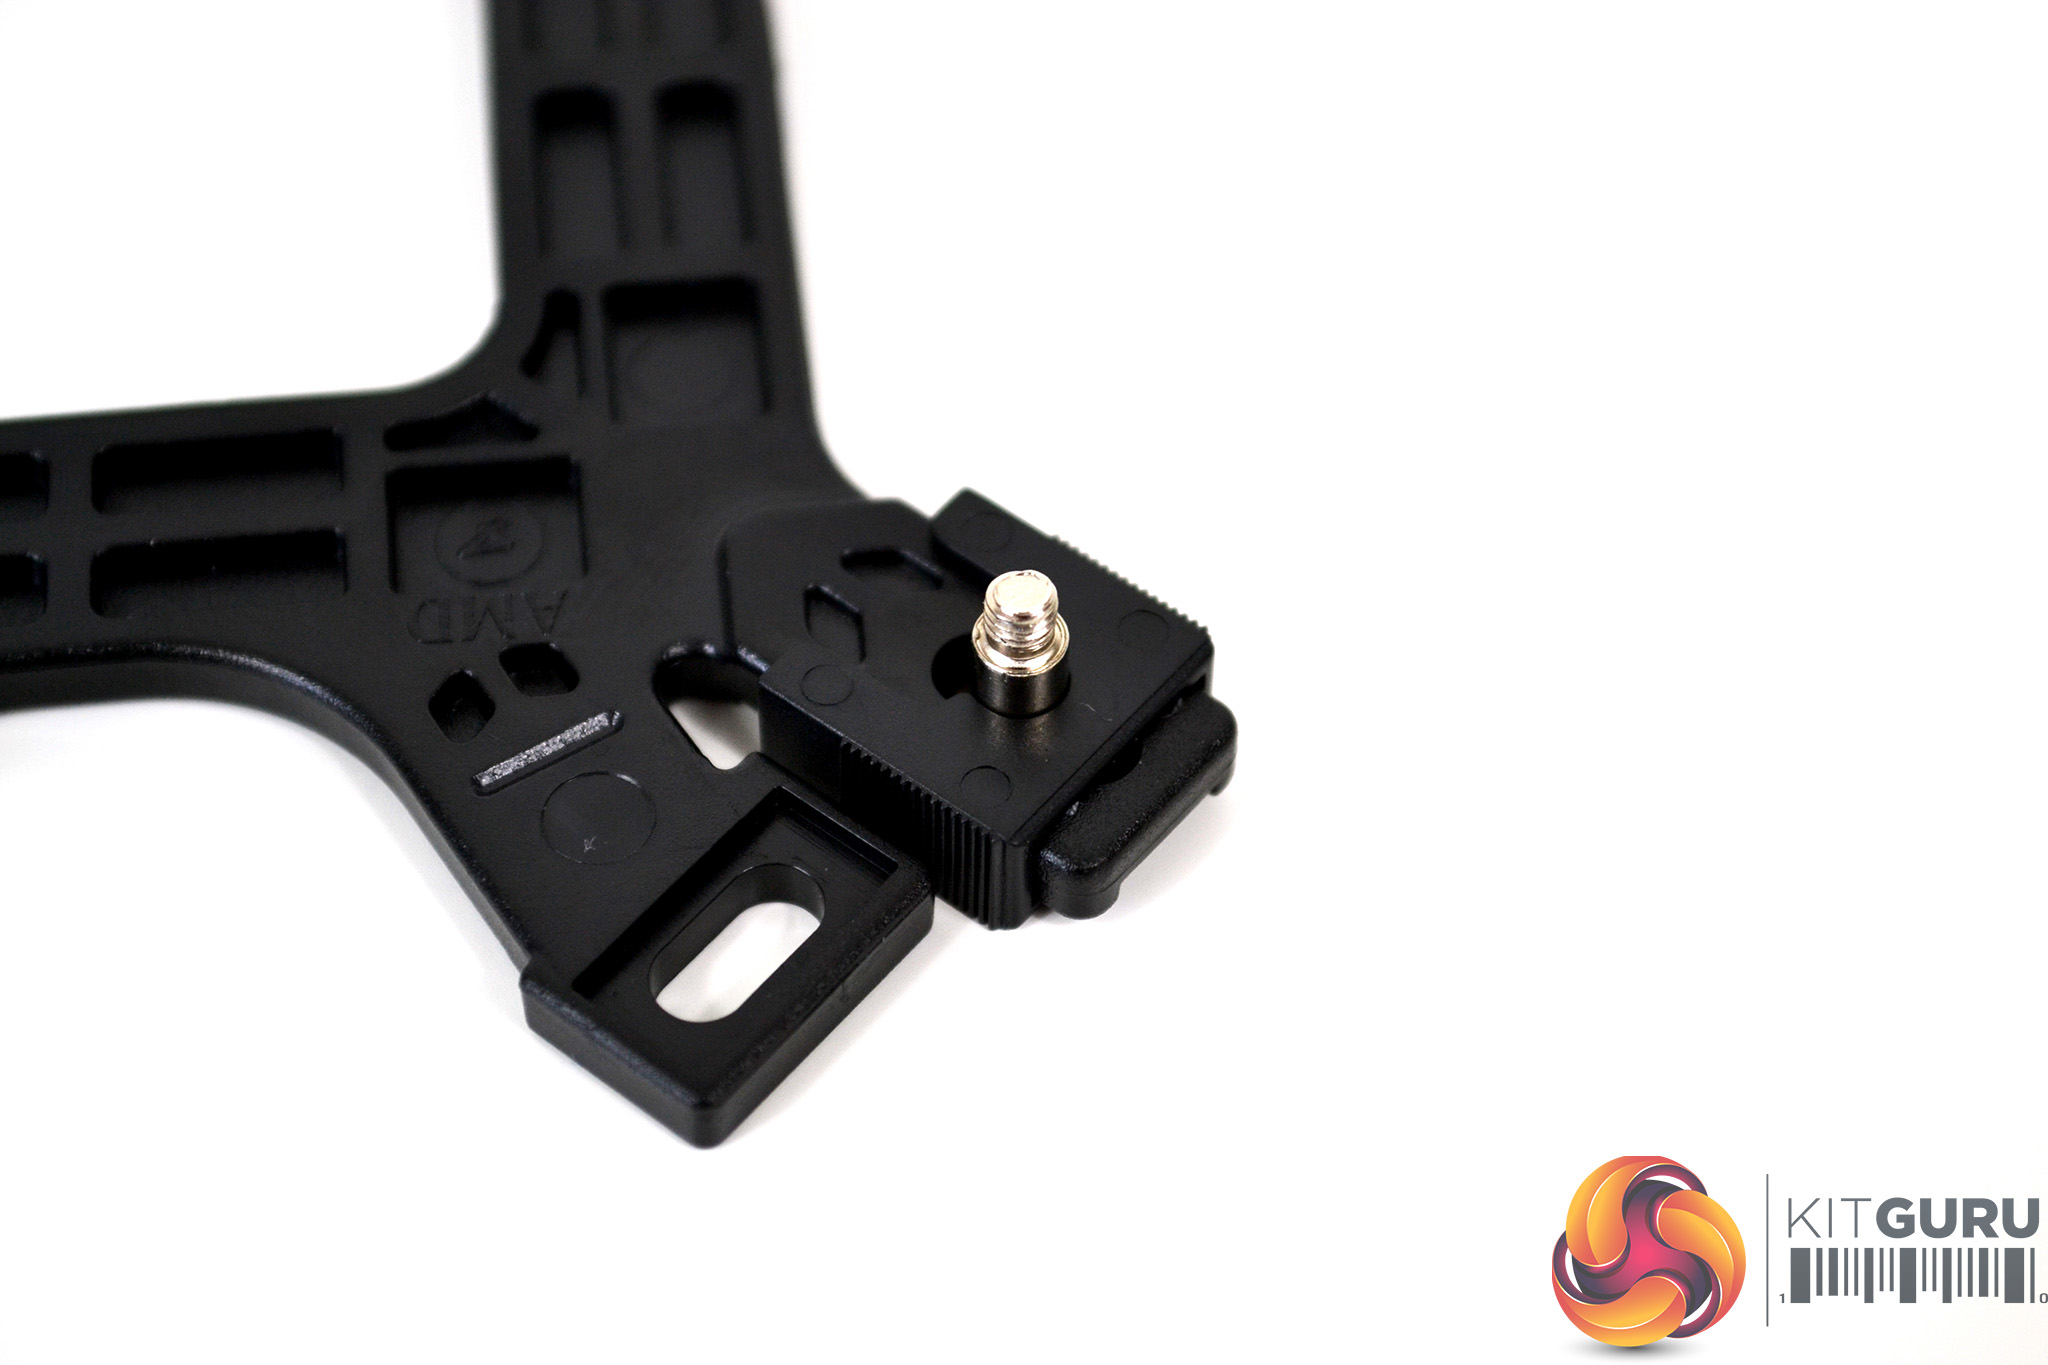
There are three notches in the retention bracket legs for the retaining clips to locate in. For Intel 115X, the tab on the plastic clips must be located in the central notch for correct mounting screw alignment.
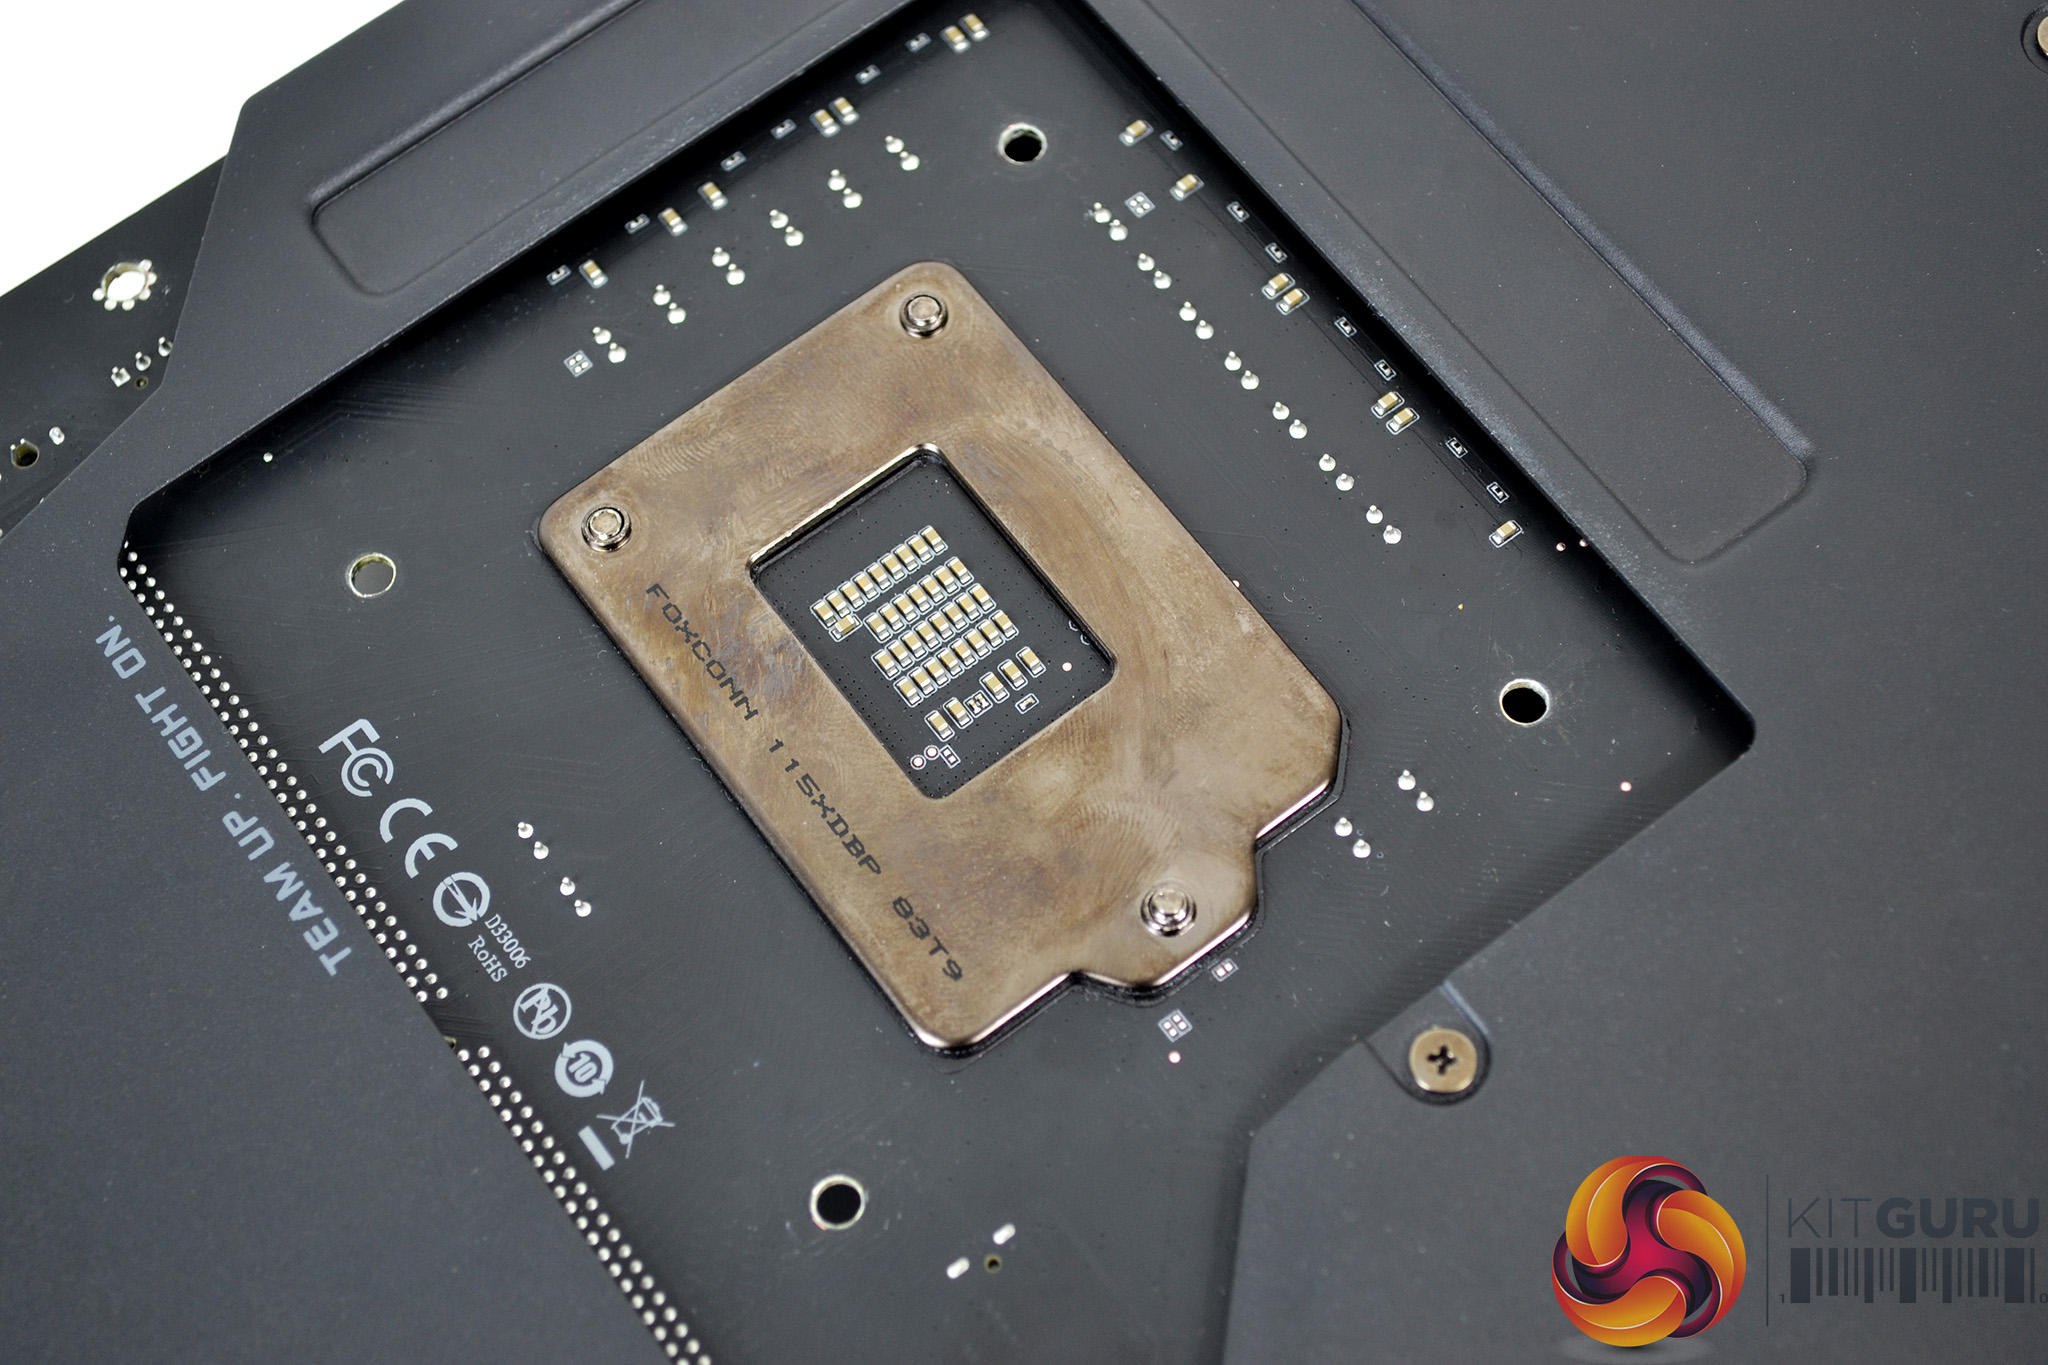
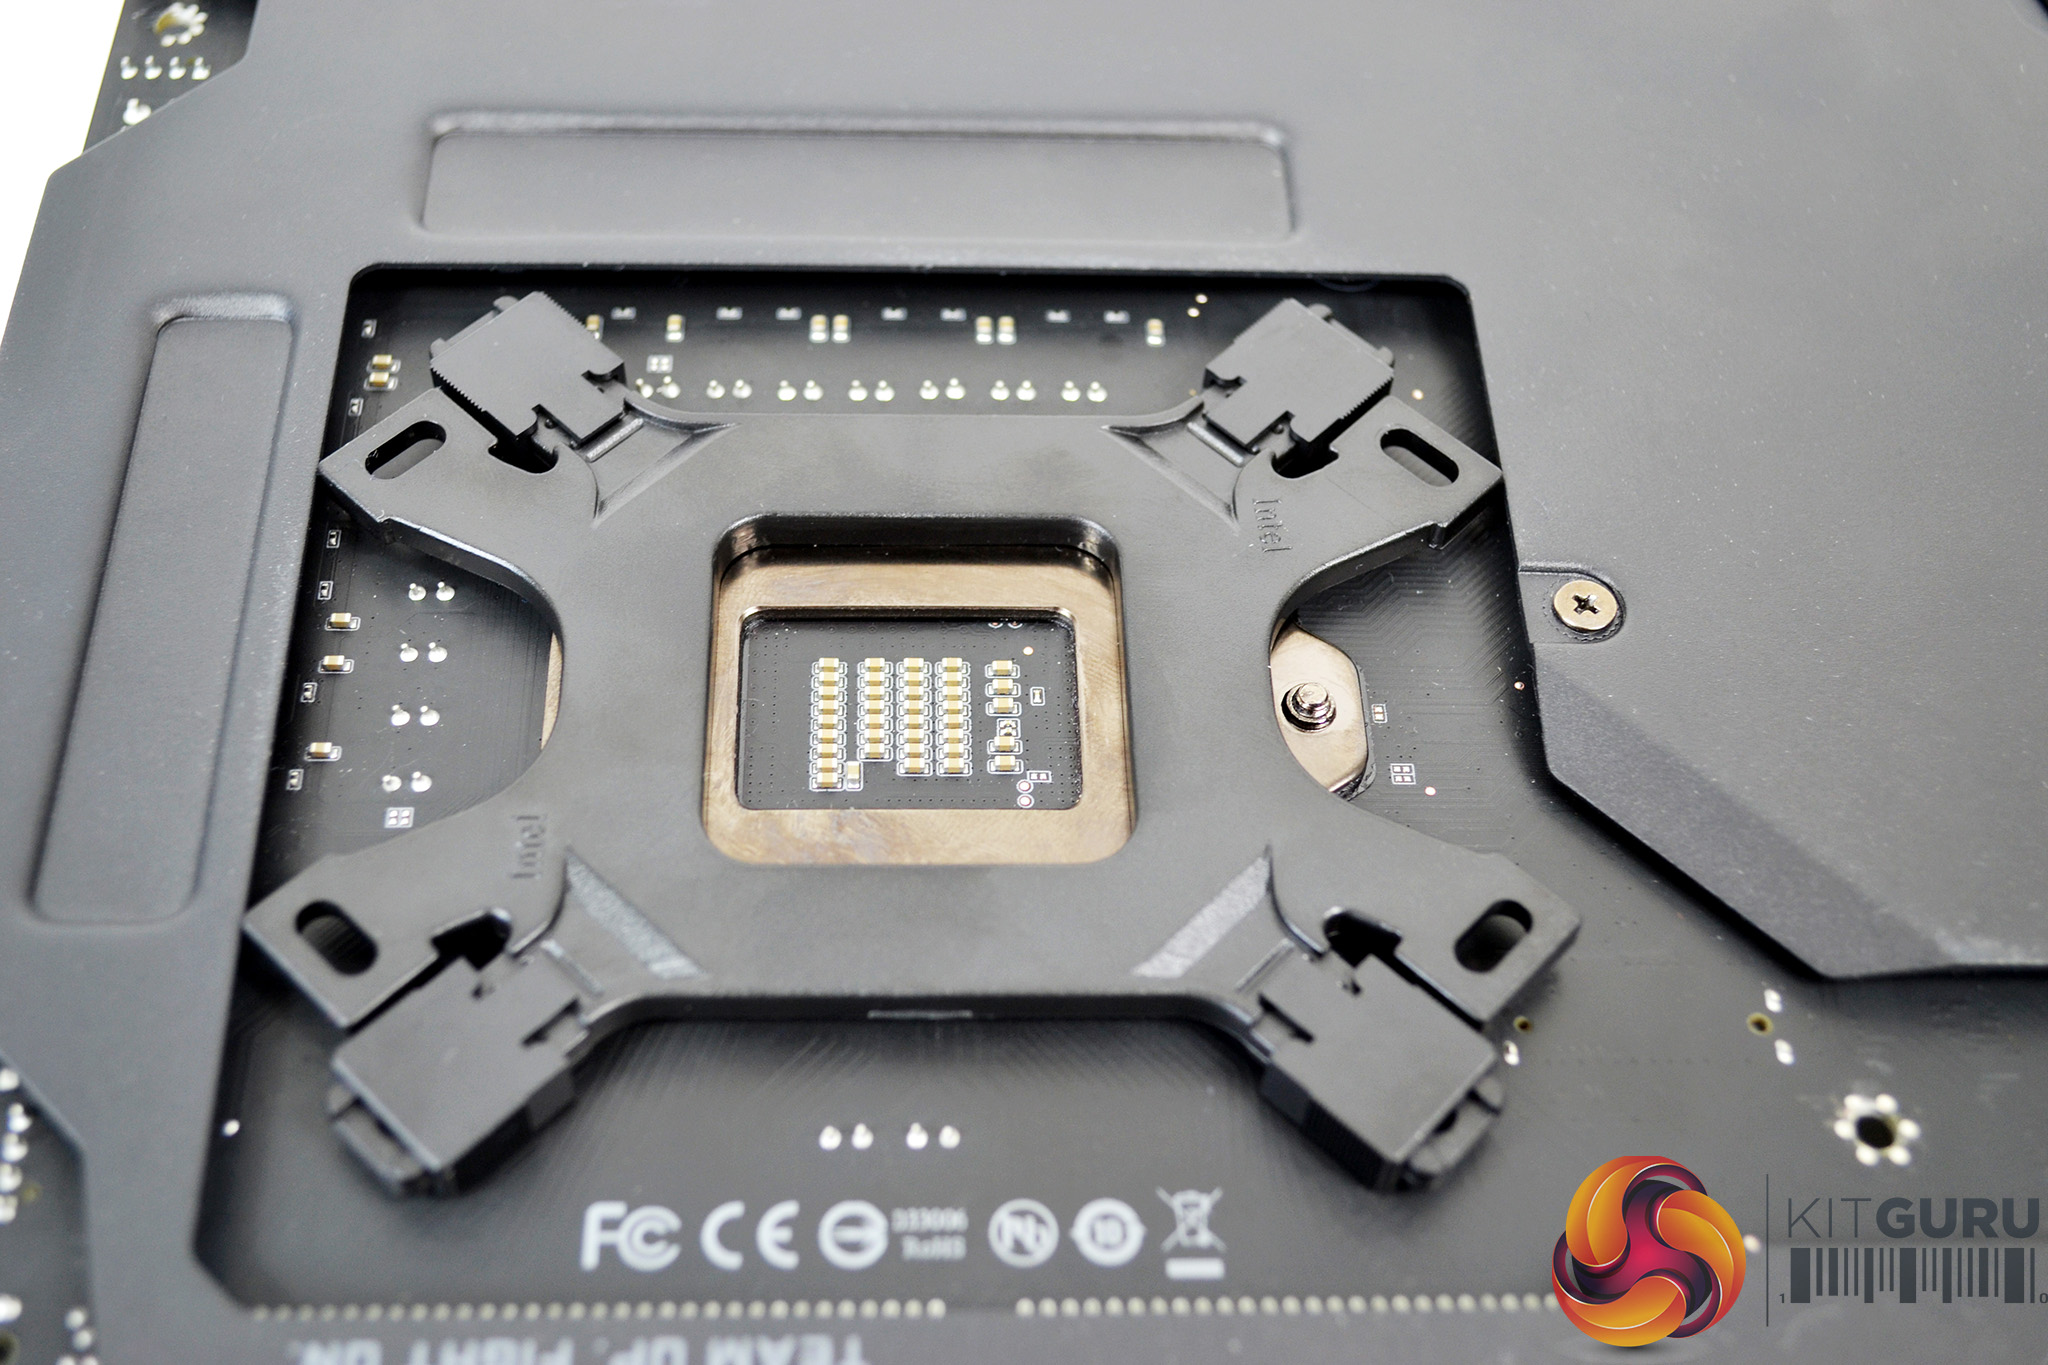
Once the retaining screws and plastic clips are installed and in the correct orientation on the backplate, place the backplate on the underside of the motherboard and align with the mounting holes around the CPU socket.
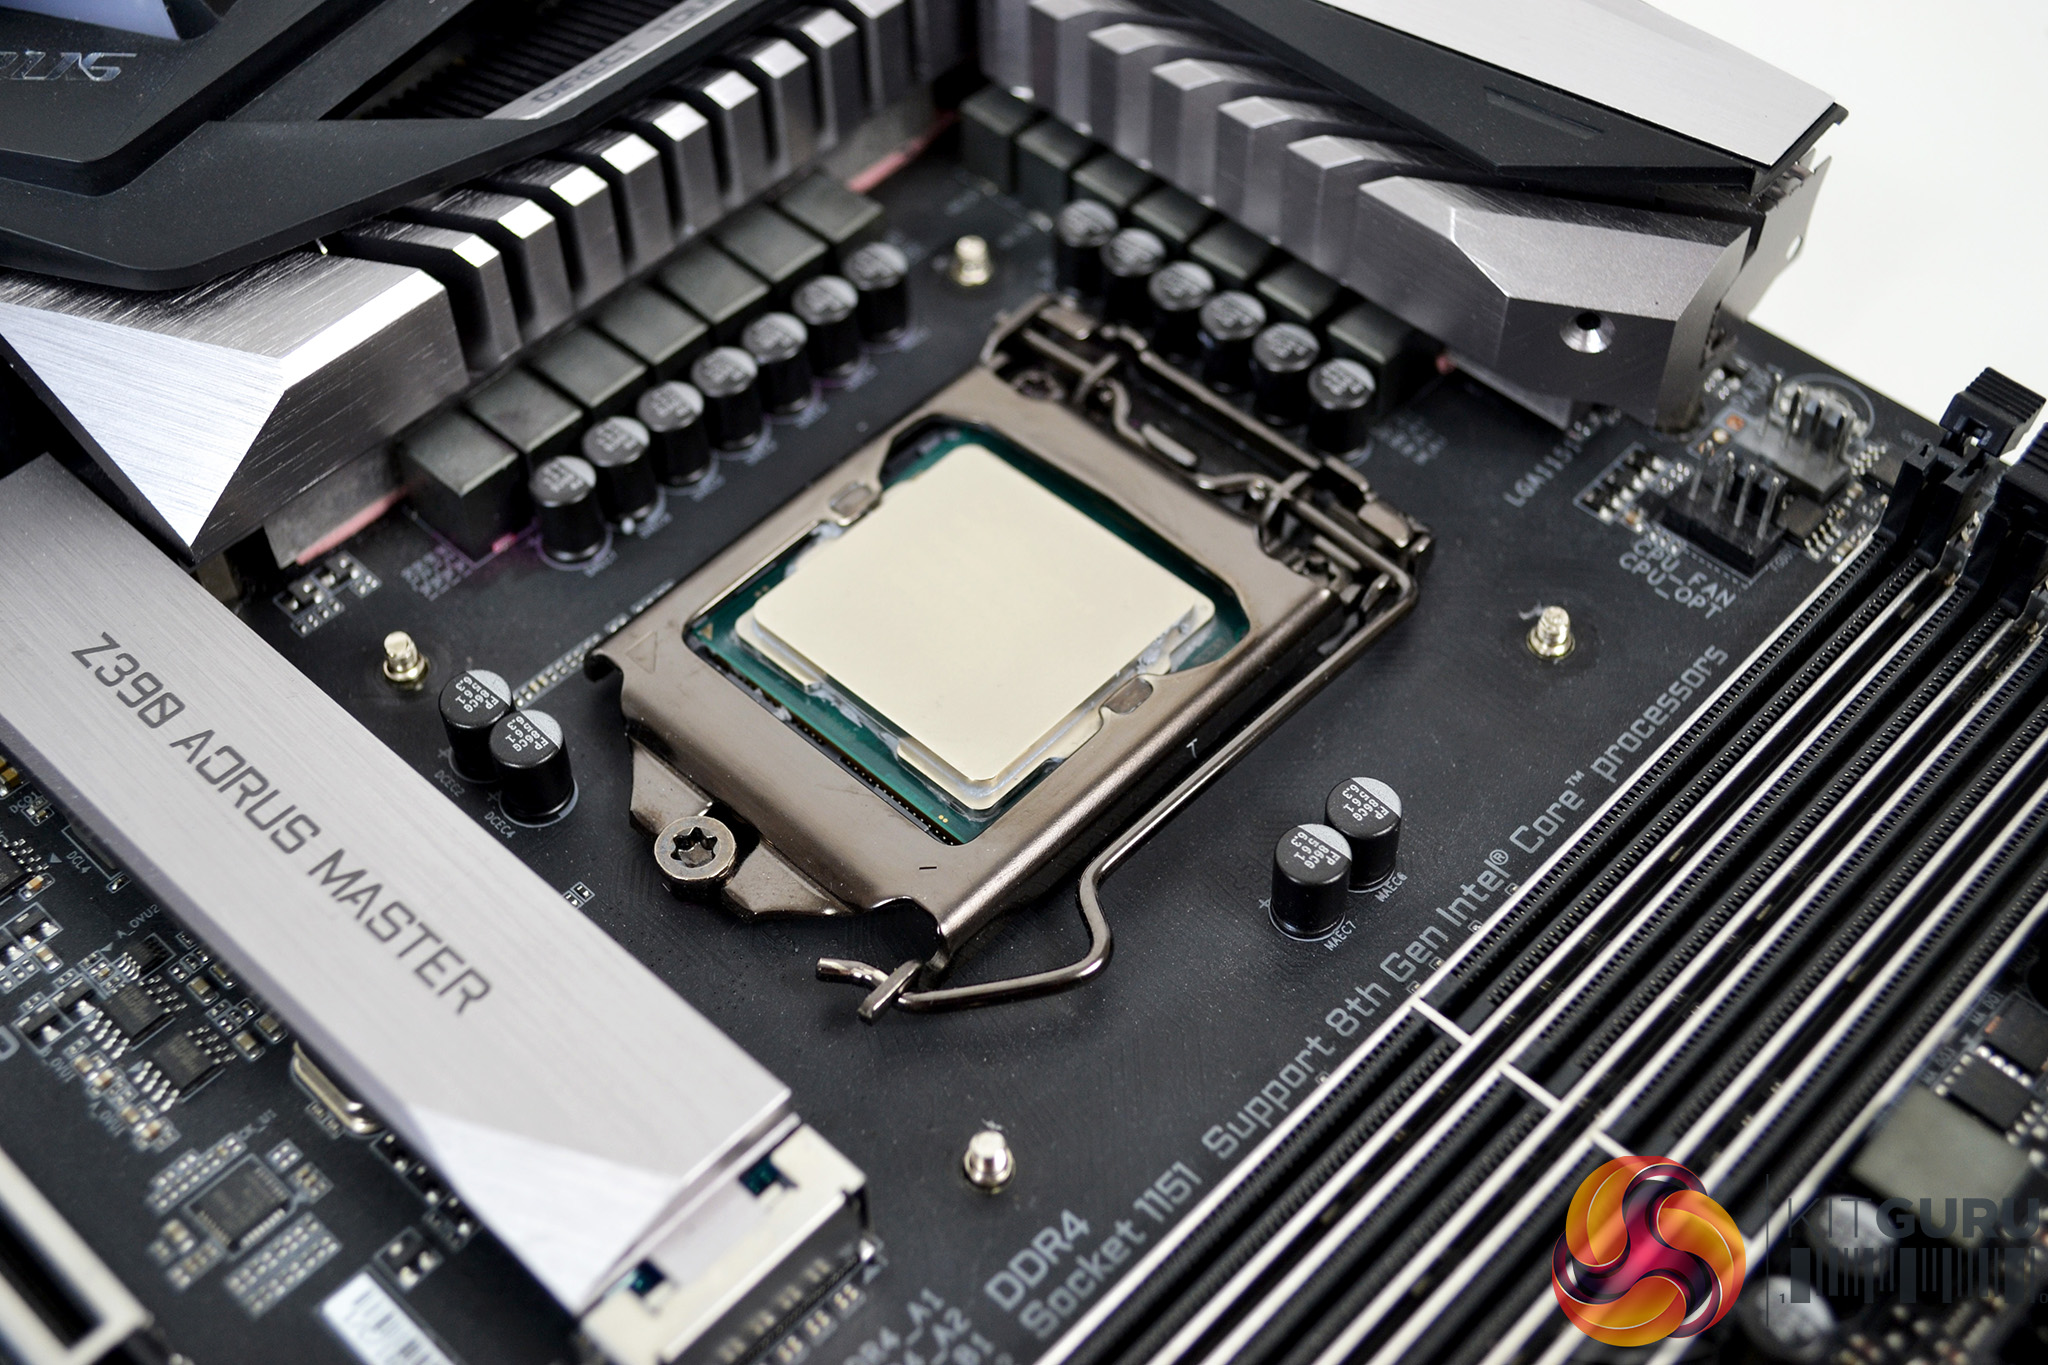

Next, flip the motherboard back over so it’s the correct way up – notice the cooler retaining screws should be slightly protruding from the PCB. Now take the four Intel mounting posts and tighten them down over the mounting screws by hand.
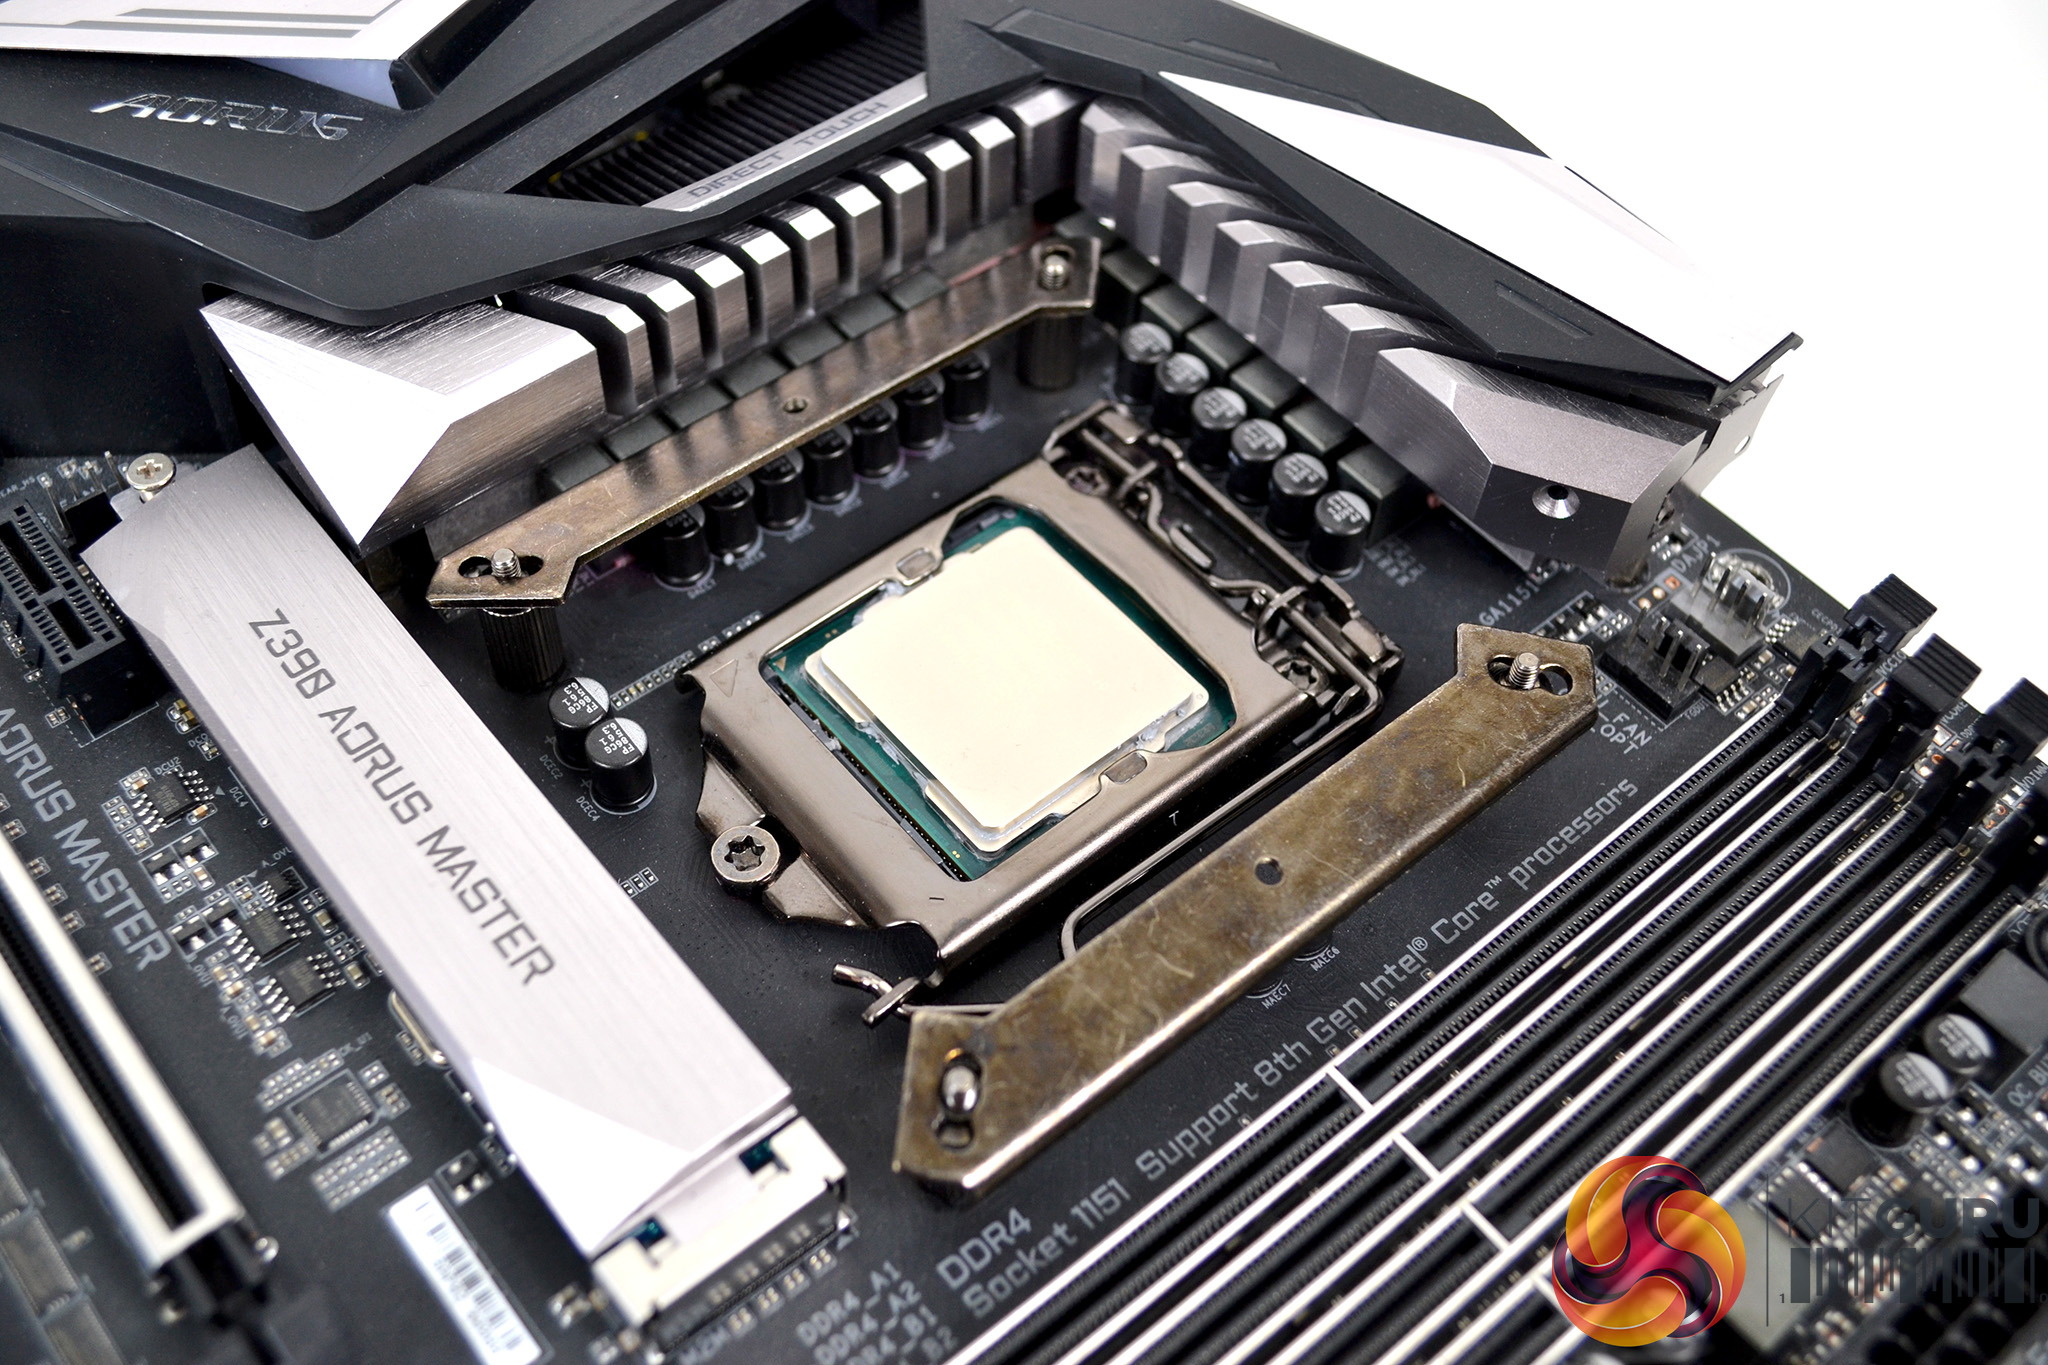
Once all the mounting posts are fitted, take two Intel upper mounting brackets and offer them on to the posts, aligned with the central holes. Using the four thumbscrews, tighten the upper brackets in place. Final tightening can be achieved by using a Philips screwdriver if required.
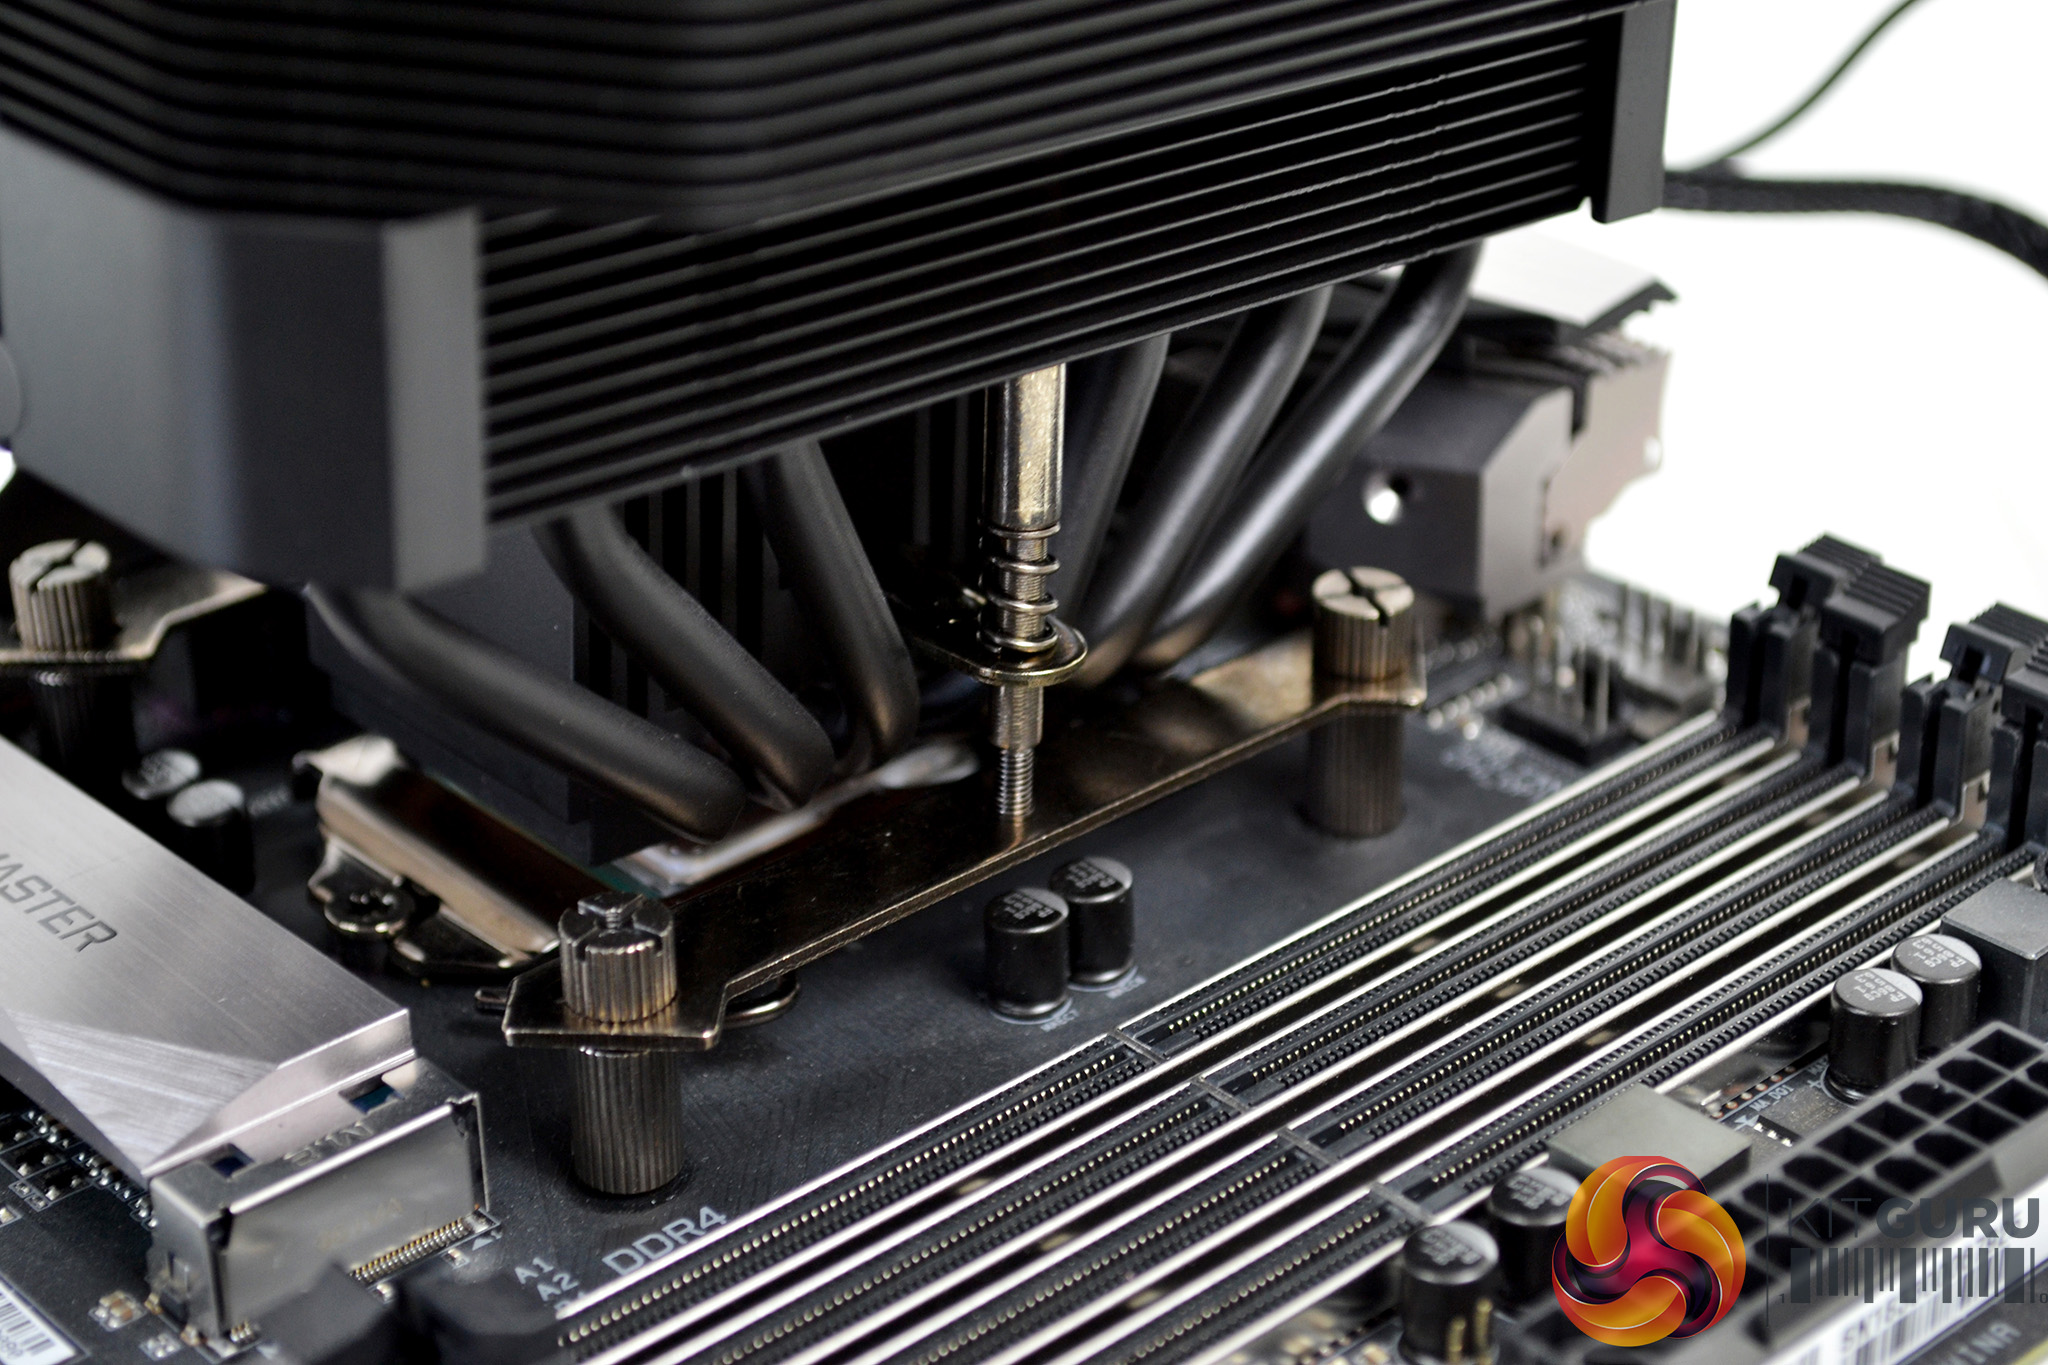
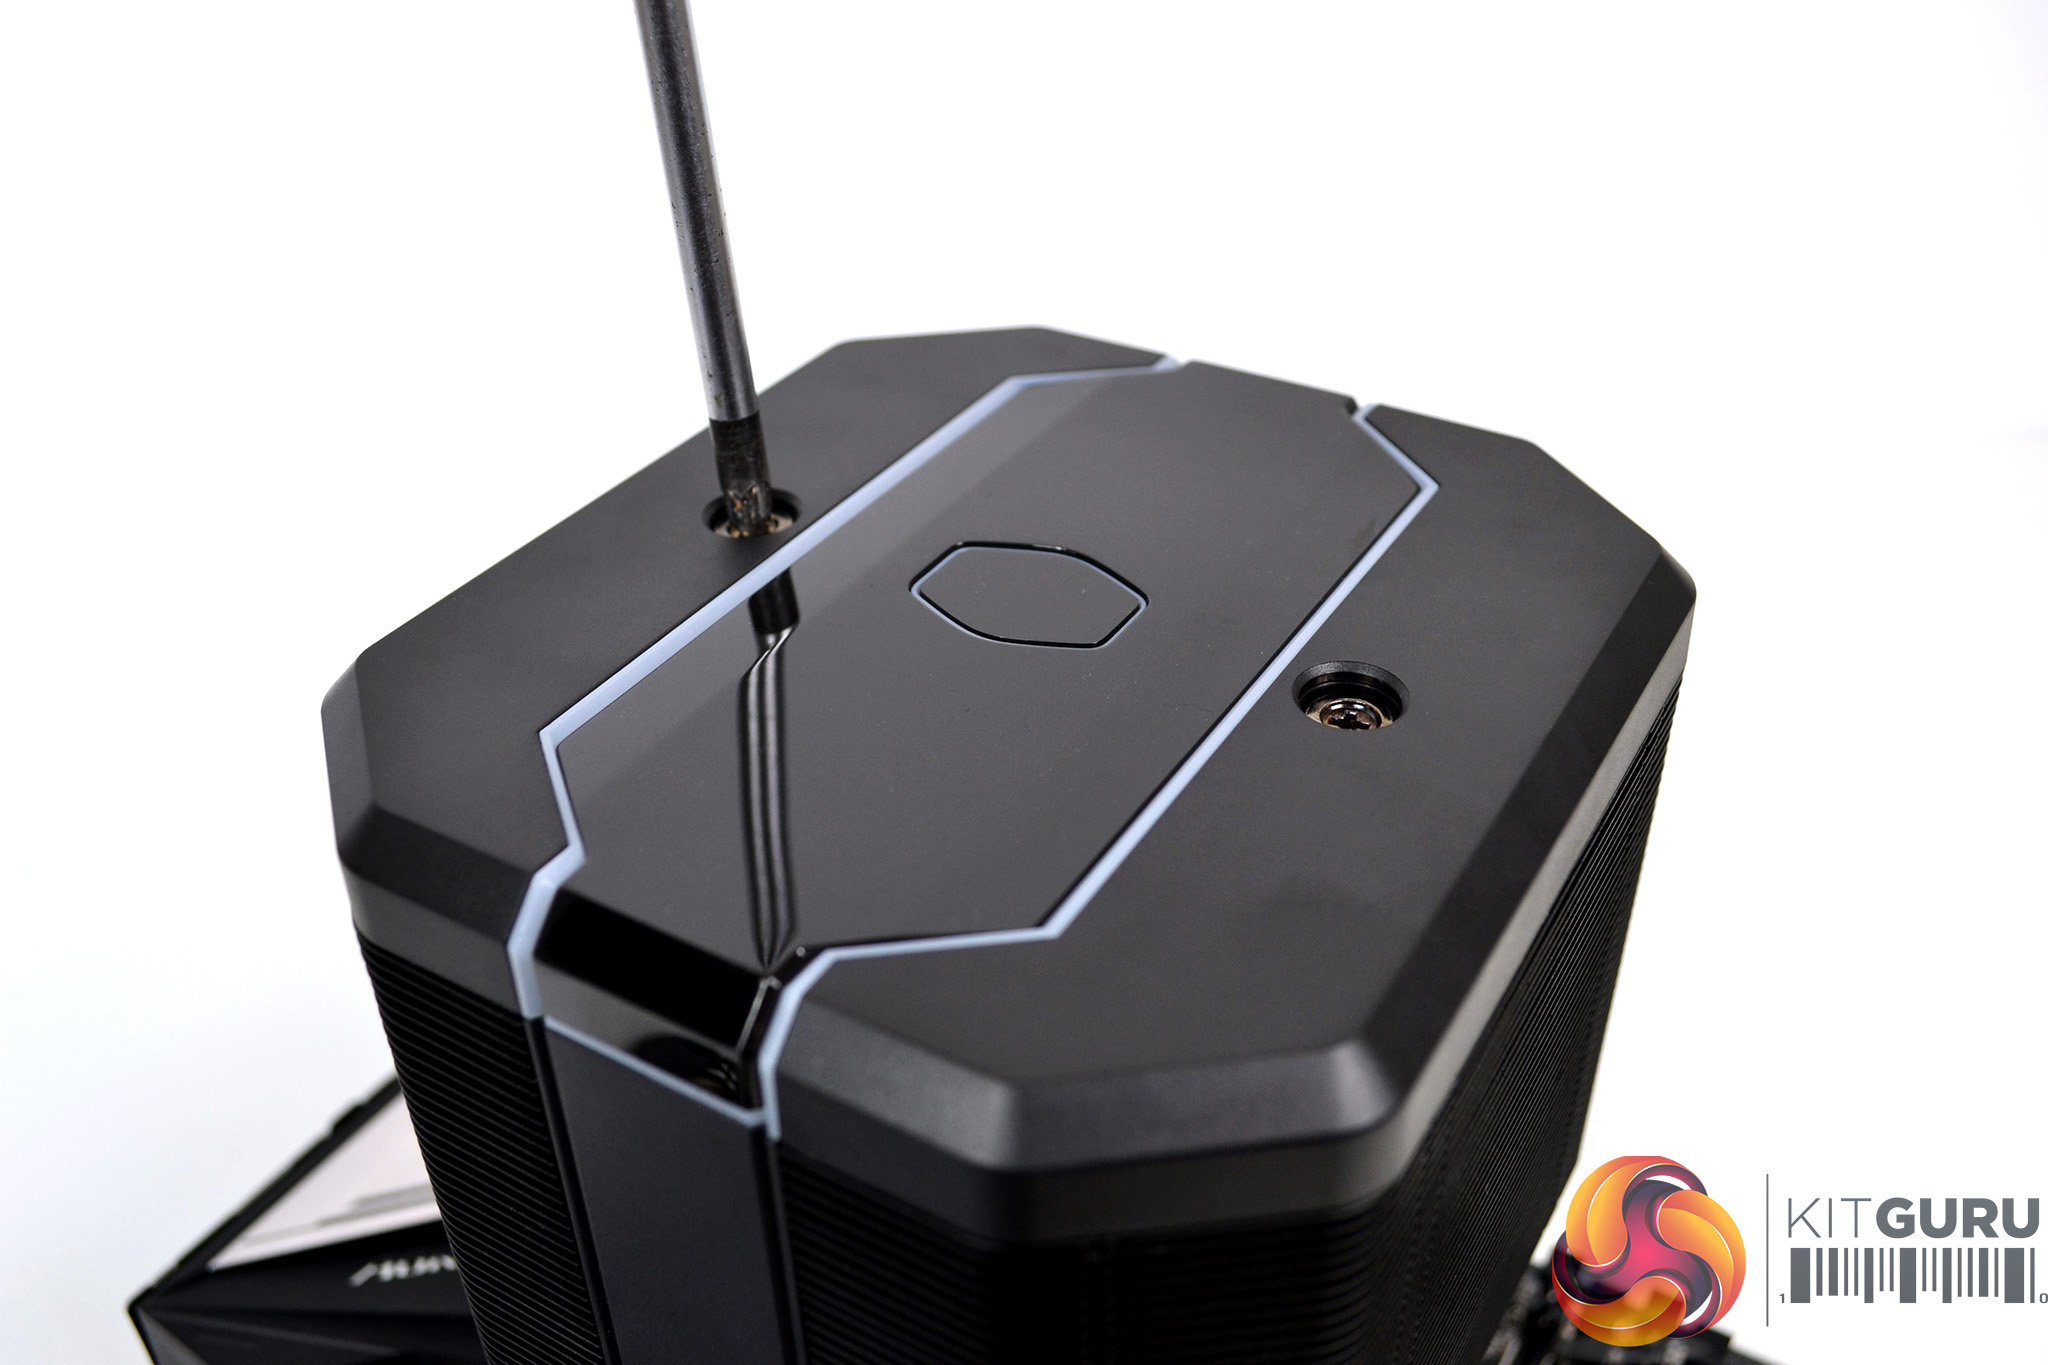
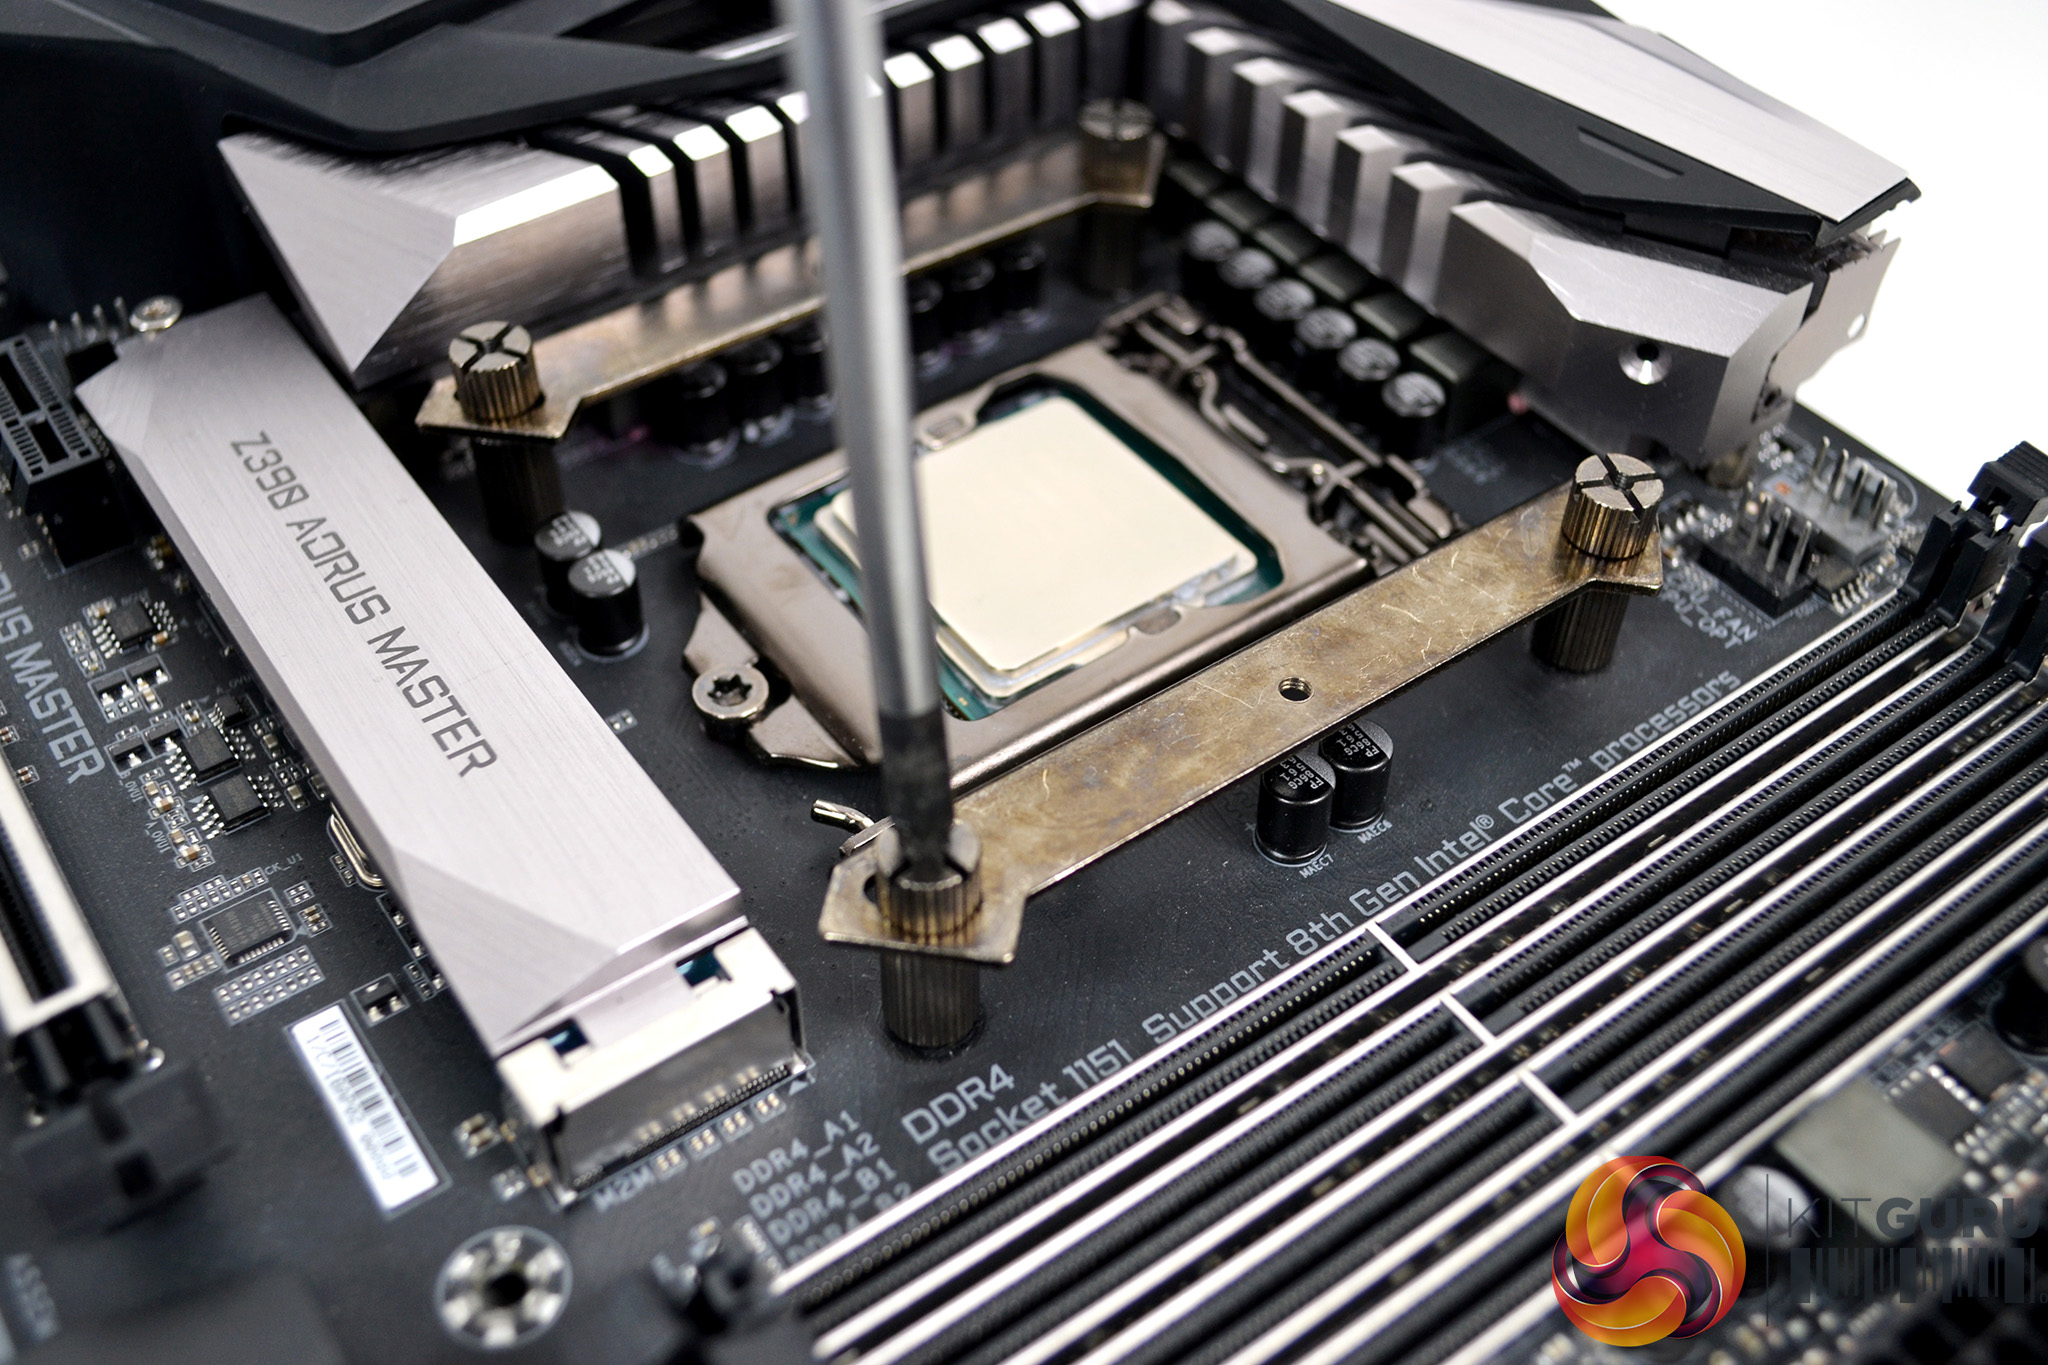
Once all the mounting hardware is correctly fitted to the CPU socket, all that’s left to do is apply thermal compound via your chosen method. Then lower the cooler into place and tighten down the two retaining screws – via holes on the top of the cooler- gradually, to ensure even spread of pressure over the CPU IHS.
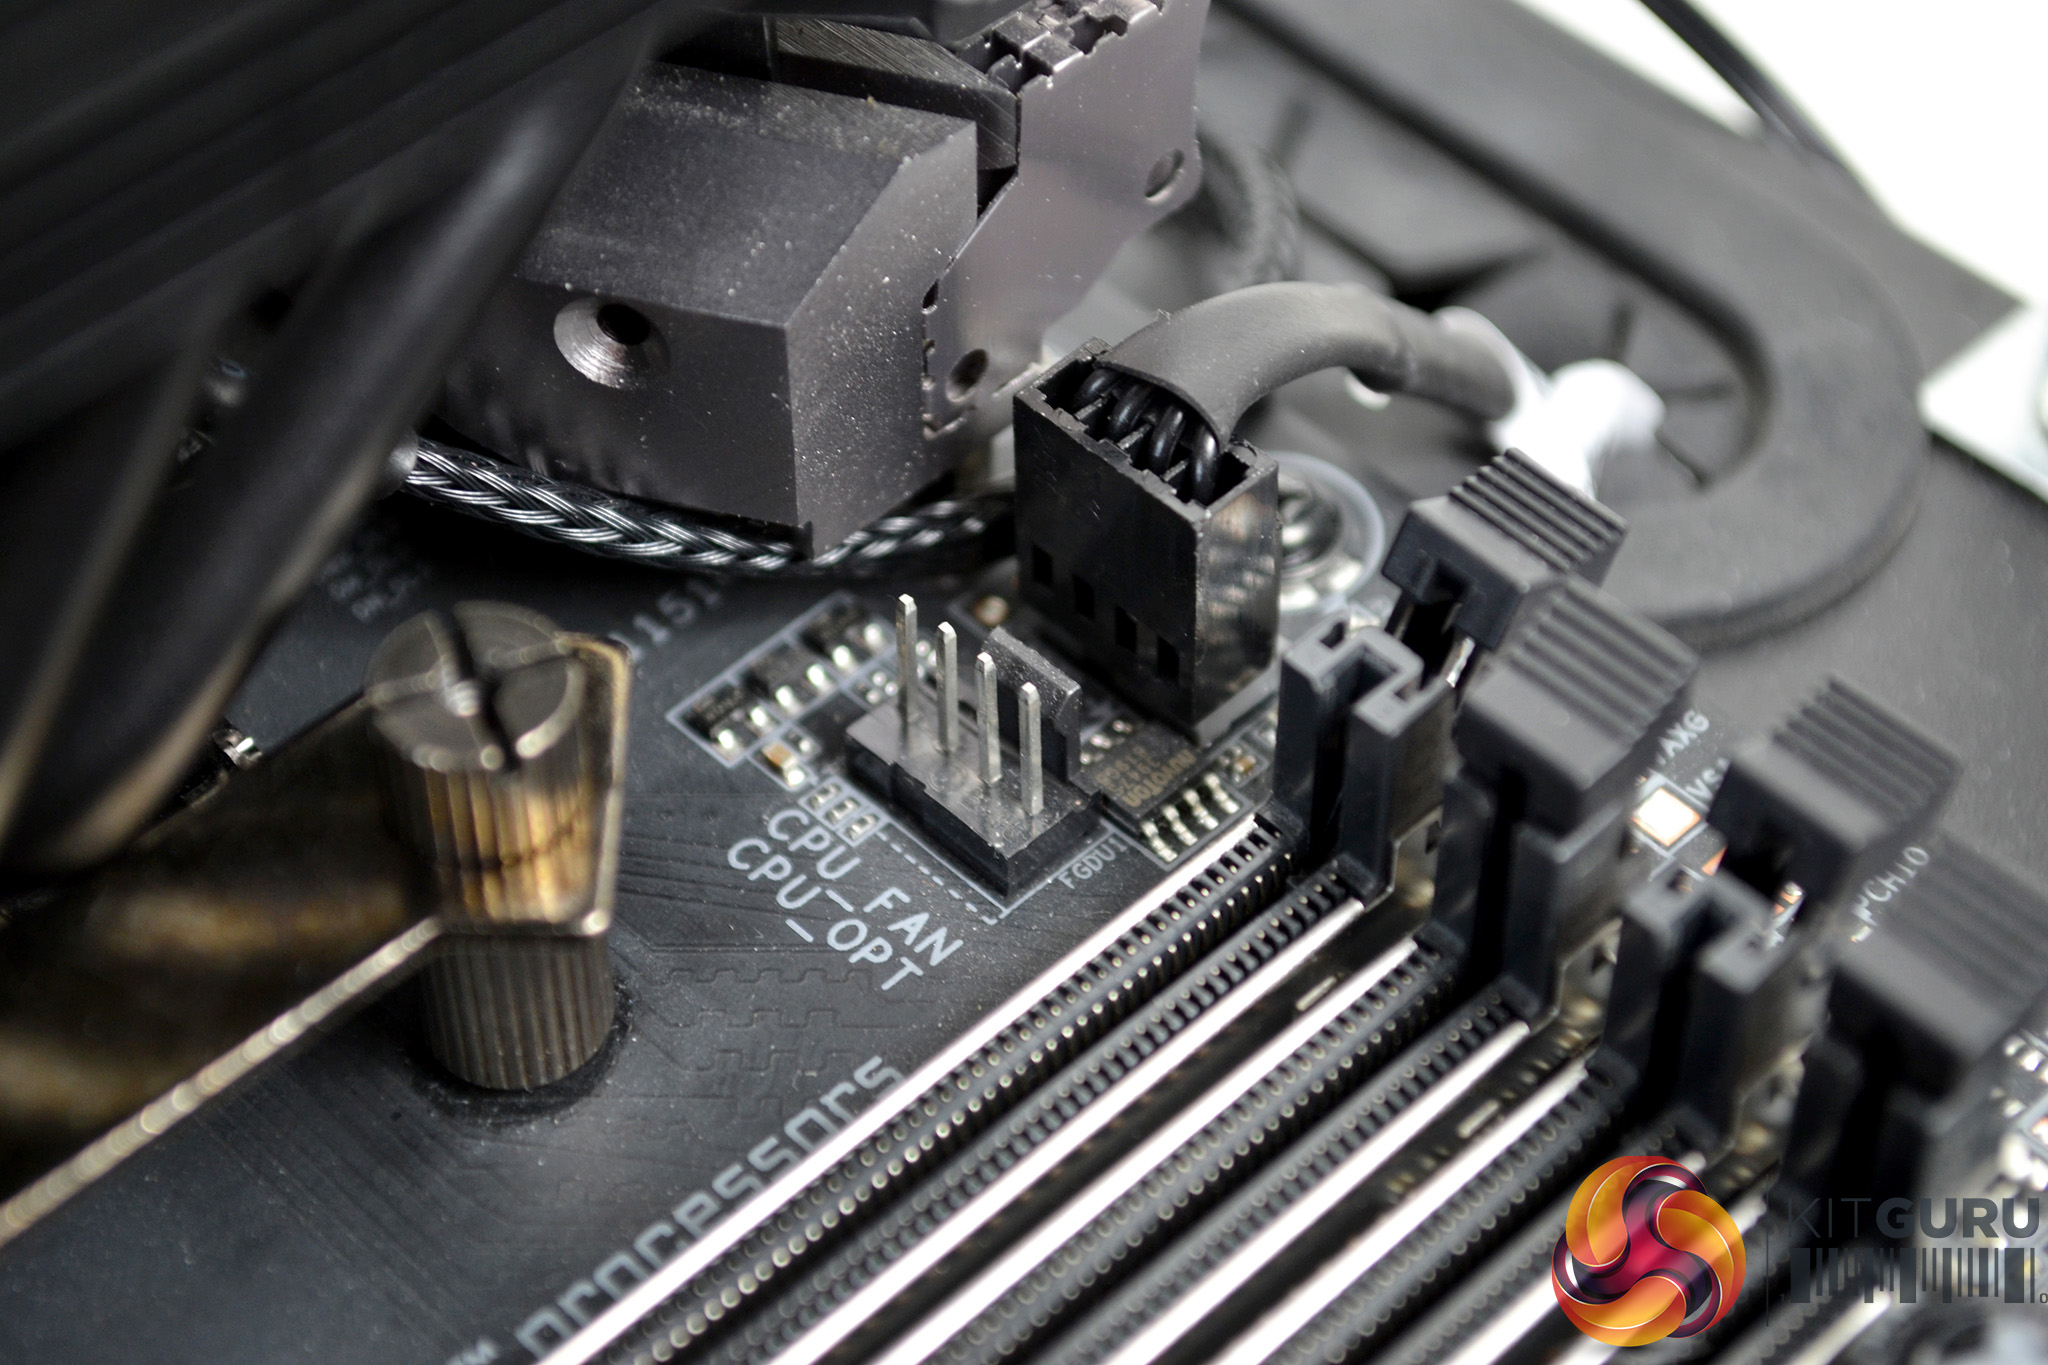
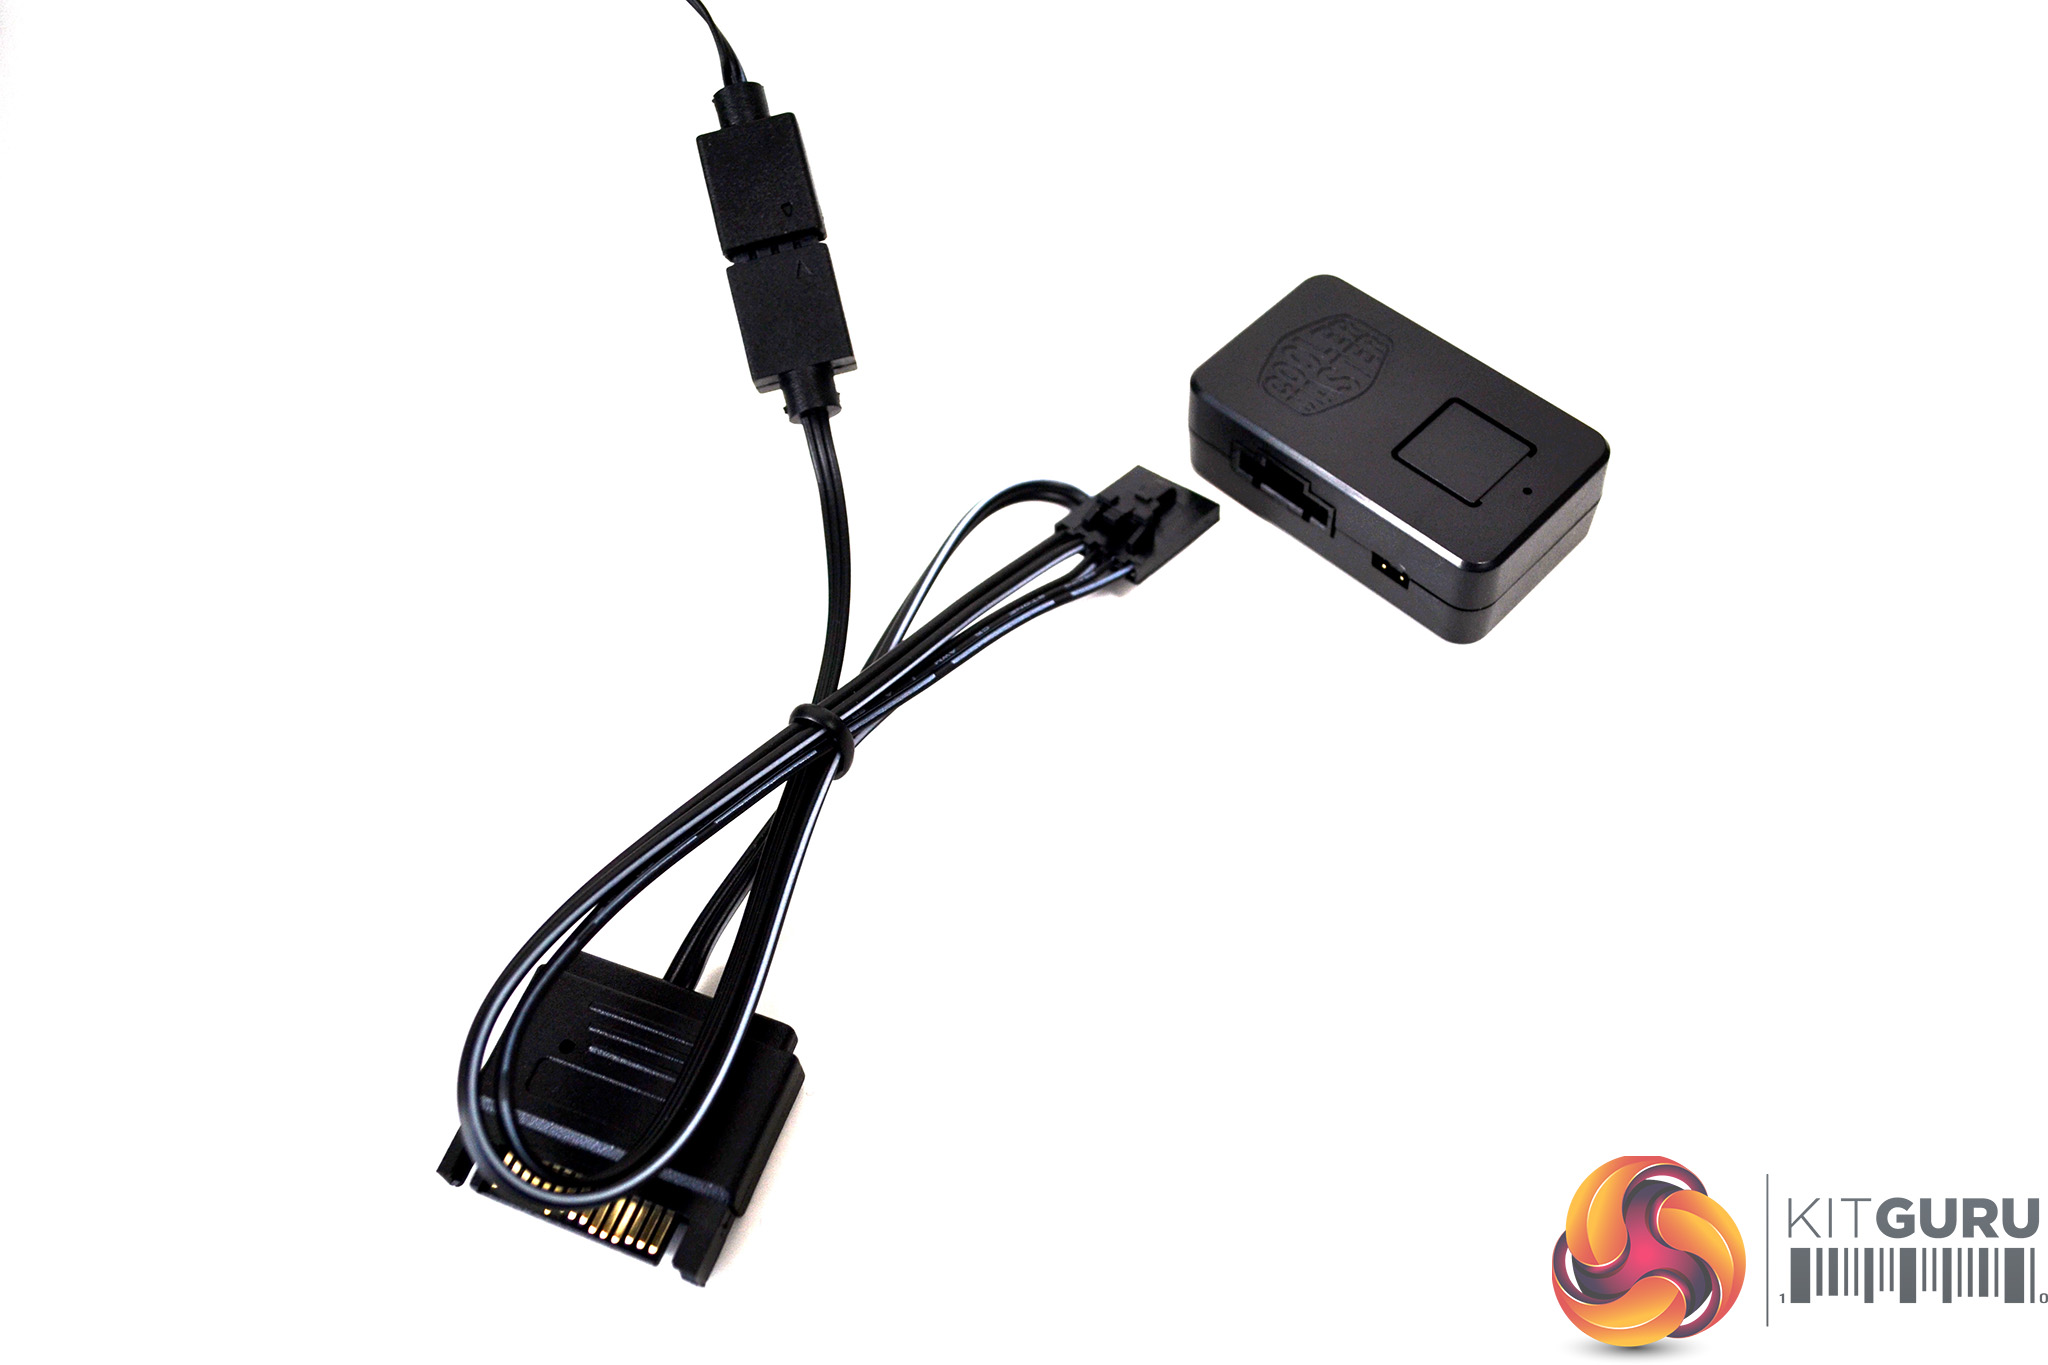
Finally, connect the 4-pin PWN fan cable to the motherboard CPU_FAN header and the 3-pin 5V ARGB cable to a motherboard LED 5V 3-pin LED header. Alternatively, use the provided adaptor cable to connect the RGB lighting to the Cooler Master RGB controller.