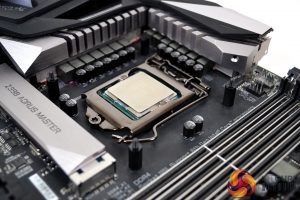
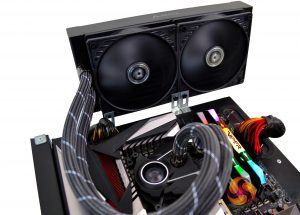
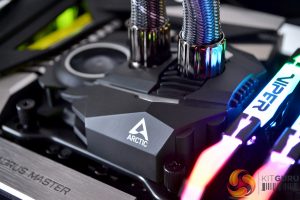
Our test system is Intel Z390 based, therefore, we will be following the relevant 115X socket installation procedure. With the fans already pre-installed and fewer cables to manage, installation time should be considerably reduced.
The first stage of installation is to locate the QR code card and scan it to see the installation manual on the Arctic site. If you don’t have a QR code scanner a web address is included. In case you misplace the QR card the installation manual can be found here.
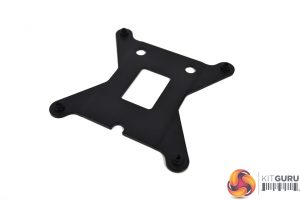
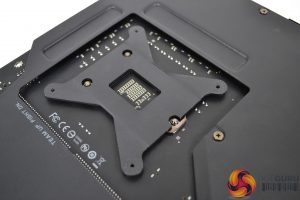
With no pre-installation preparation requirements for the radiator or fans, we will swiftly move on to installation on the motherboard. First, take the rear retention bracket and locate it on the back of the motherboard over the CPU socket retention plate. Note how the cutouts line up over the screws.
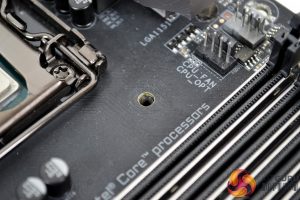
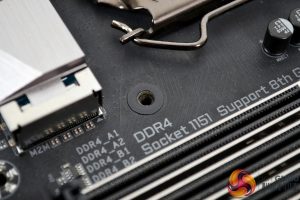
Next, flip the motherboard back over while holding the cooler’s bracket in place. Notice the bracket threads are below the motherboard surface and still lined up with the holes. To protect the motherboard, attach the self-adhesive washers over the fixing holes.
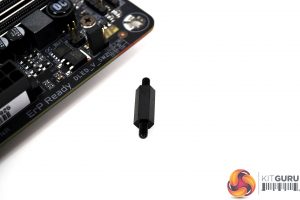
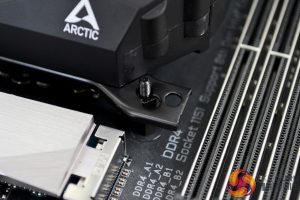
Now, take the four Intel 115X mounting posts and tighten them in place to the rear retention bracket through the holes in the motherboard. Tightening down by hand should be enough to nip them up. Make sure they are all evenly tight before moving onto the next stage.
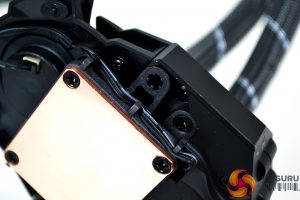
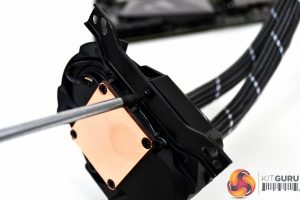
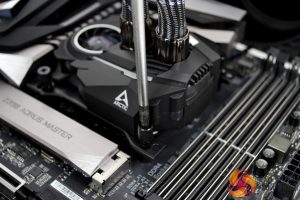
Fitting the brackets to the pump body comes next, which is a simple process. There is only one type of pump bracket to chose from to cover all socket types. Simply orientate the brackets in the correct position and using a Philips screwdriver, tighten them to the pump body with the screws provided.
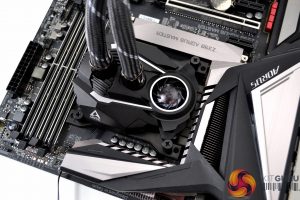
Next, apply the thermal compound to the CPU IHS in your preferred method and lower the pump down onto the CPU socket in the orientation best suited to your motherboard layout. Using the four thumbscrews, tighten the pump down in an X pattern to ensure an equal spread of pressure. Final tightening can be achieved with a Philips screwdriver.
All that’s required now is to connect the single 4-pin PWM fan cable to the motherboard CPU_FAN header for full speed control and we are done.
With Arctic’s integrated wiring and very straightforward cooler mounting system, the whole installation process takes less than 10 minutes on our test bench. Installing the radiator in the case will obviously take a little longer. However, the overall installation is quick and simple.
 KitGuru KitGuru.net – Tech News | Hardware News | Hardware Reviews | IOS | Mobile | Gaming | Graphics Cards


