Our test system is Intel Z390 based, therefore, we will be following the relevant Intel 115X socket installation procedure.
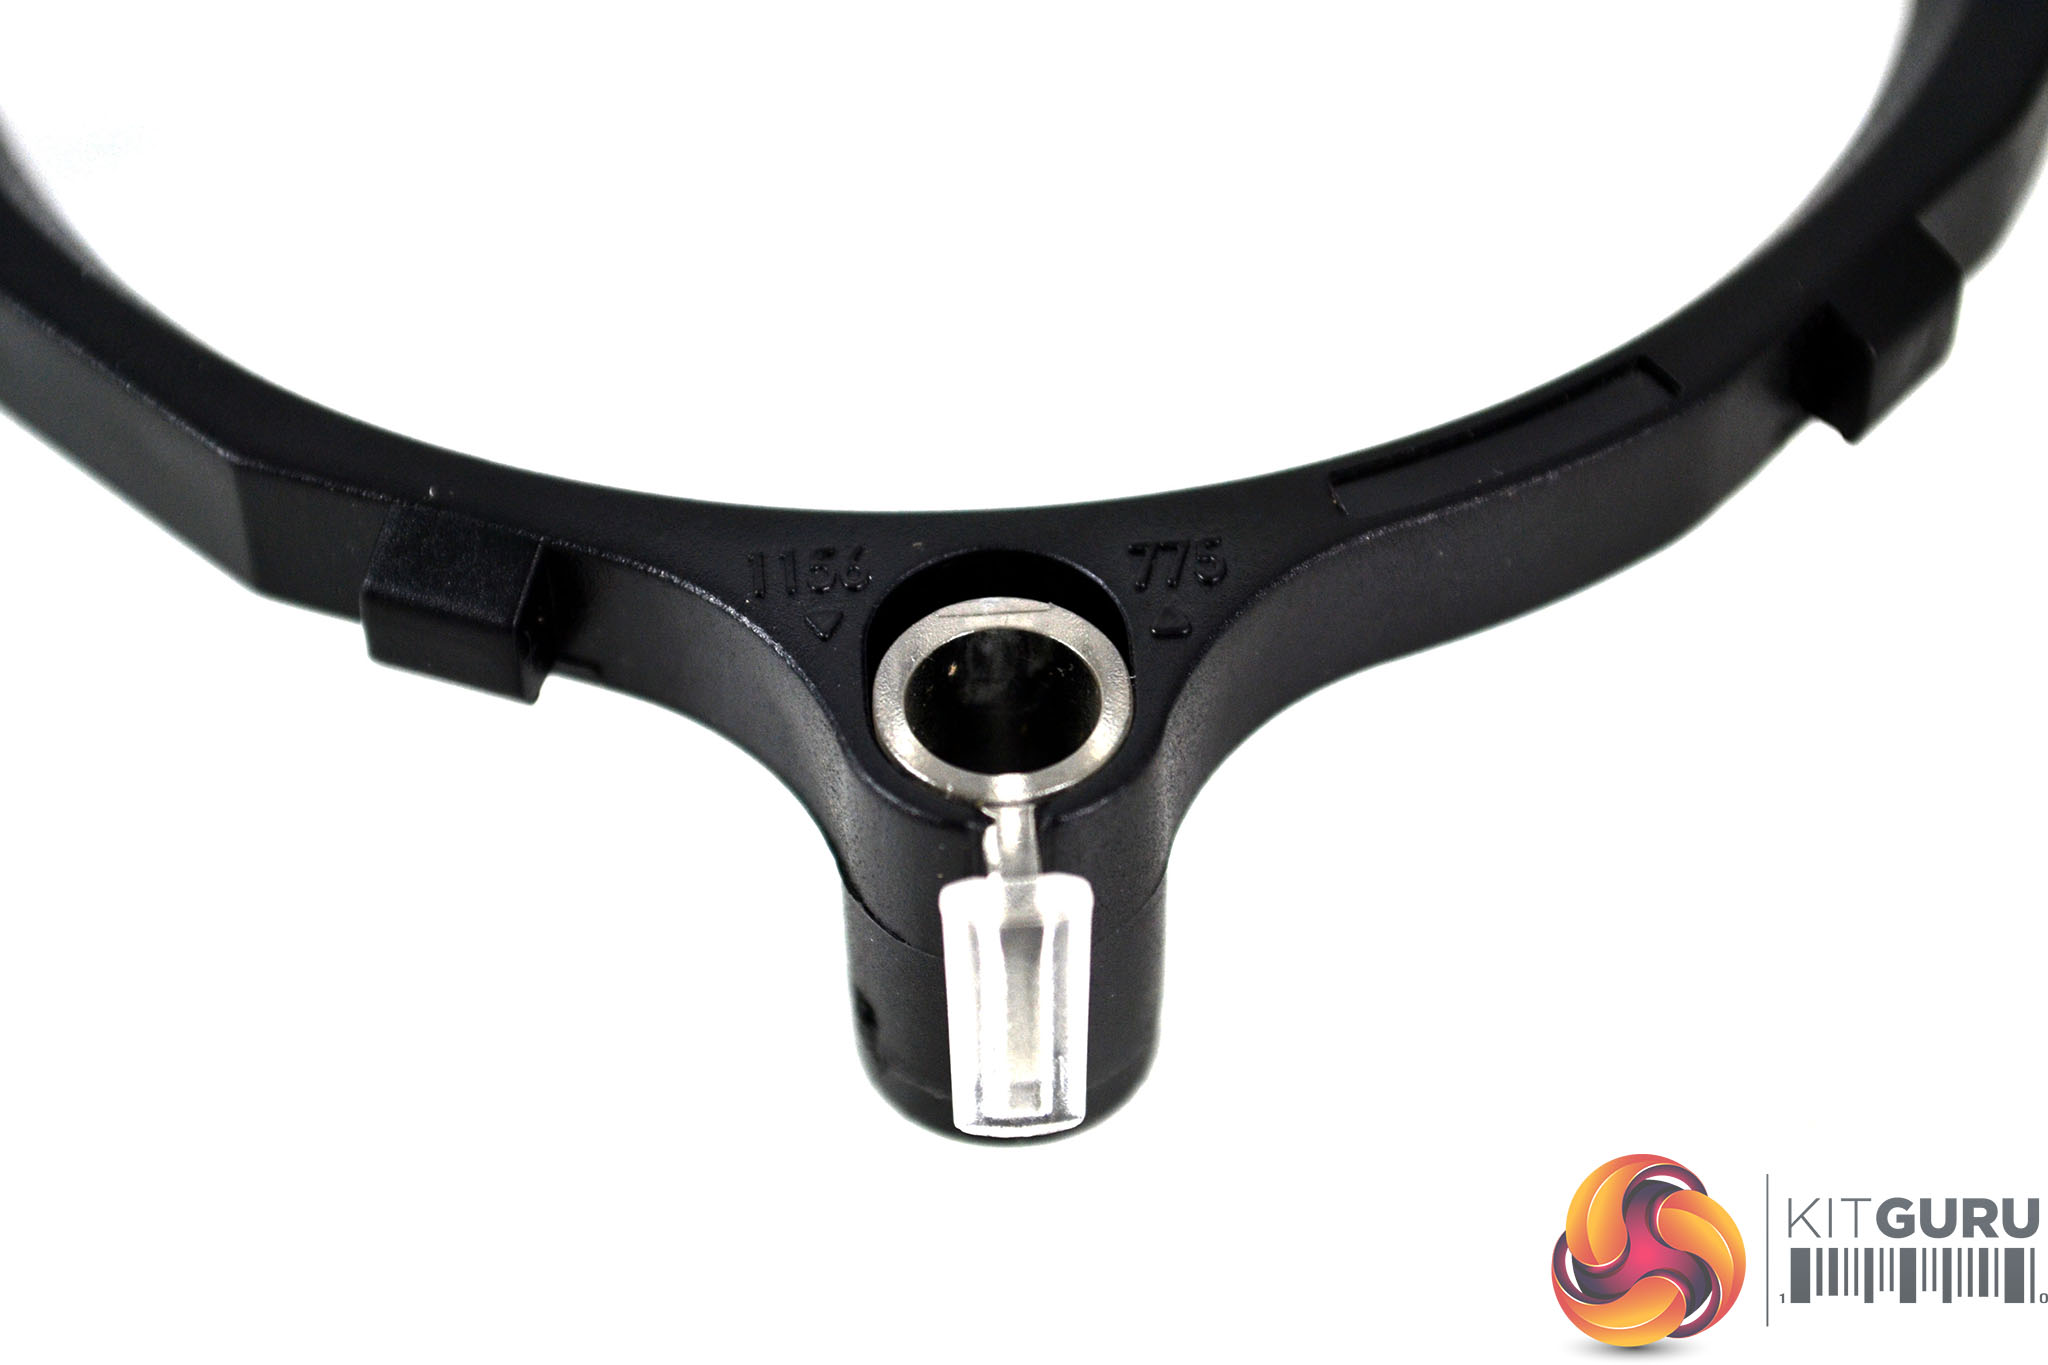
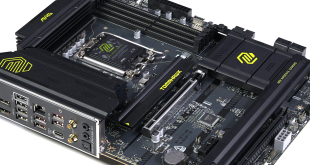
To begin installation on Intel platforms, first makes sure the mounting bracket retention mountings are set to the position that corresponds to your motherboard socket type, then place the bracket over the CPU socket aligned with the holes.
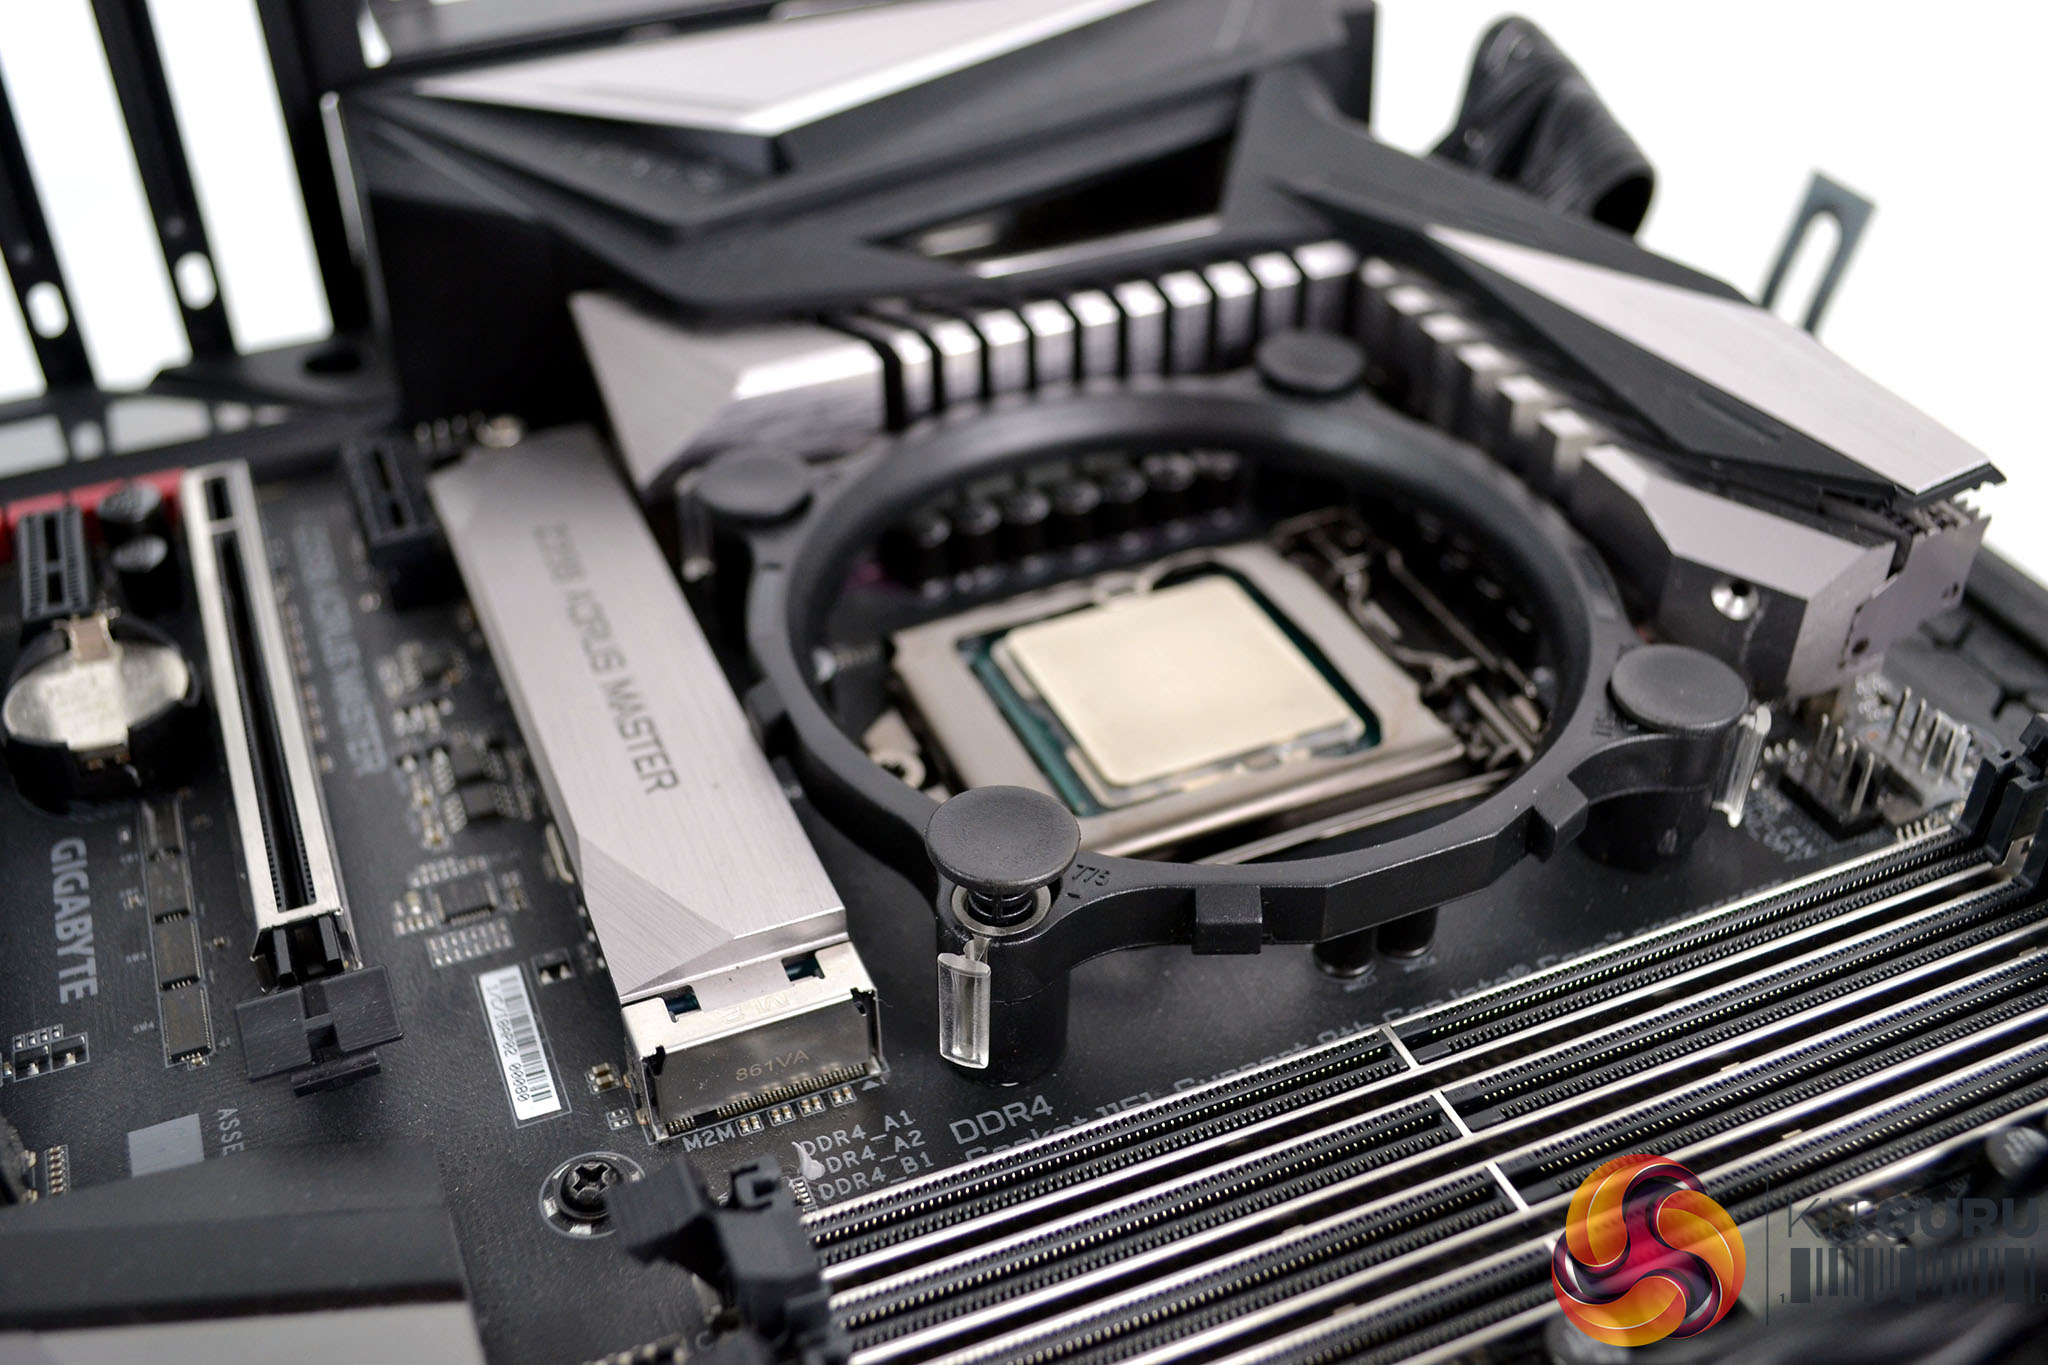
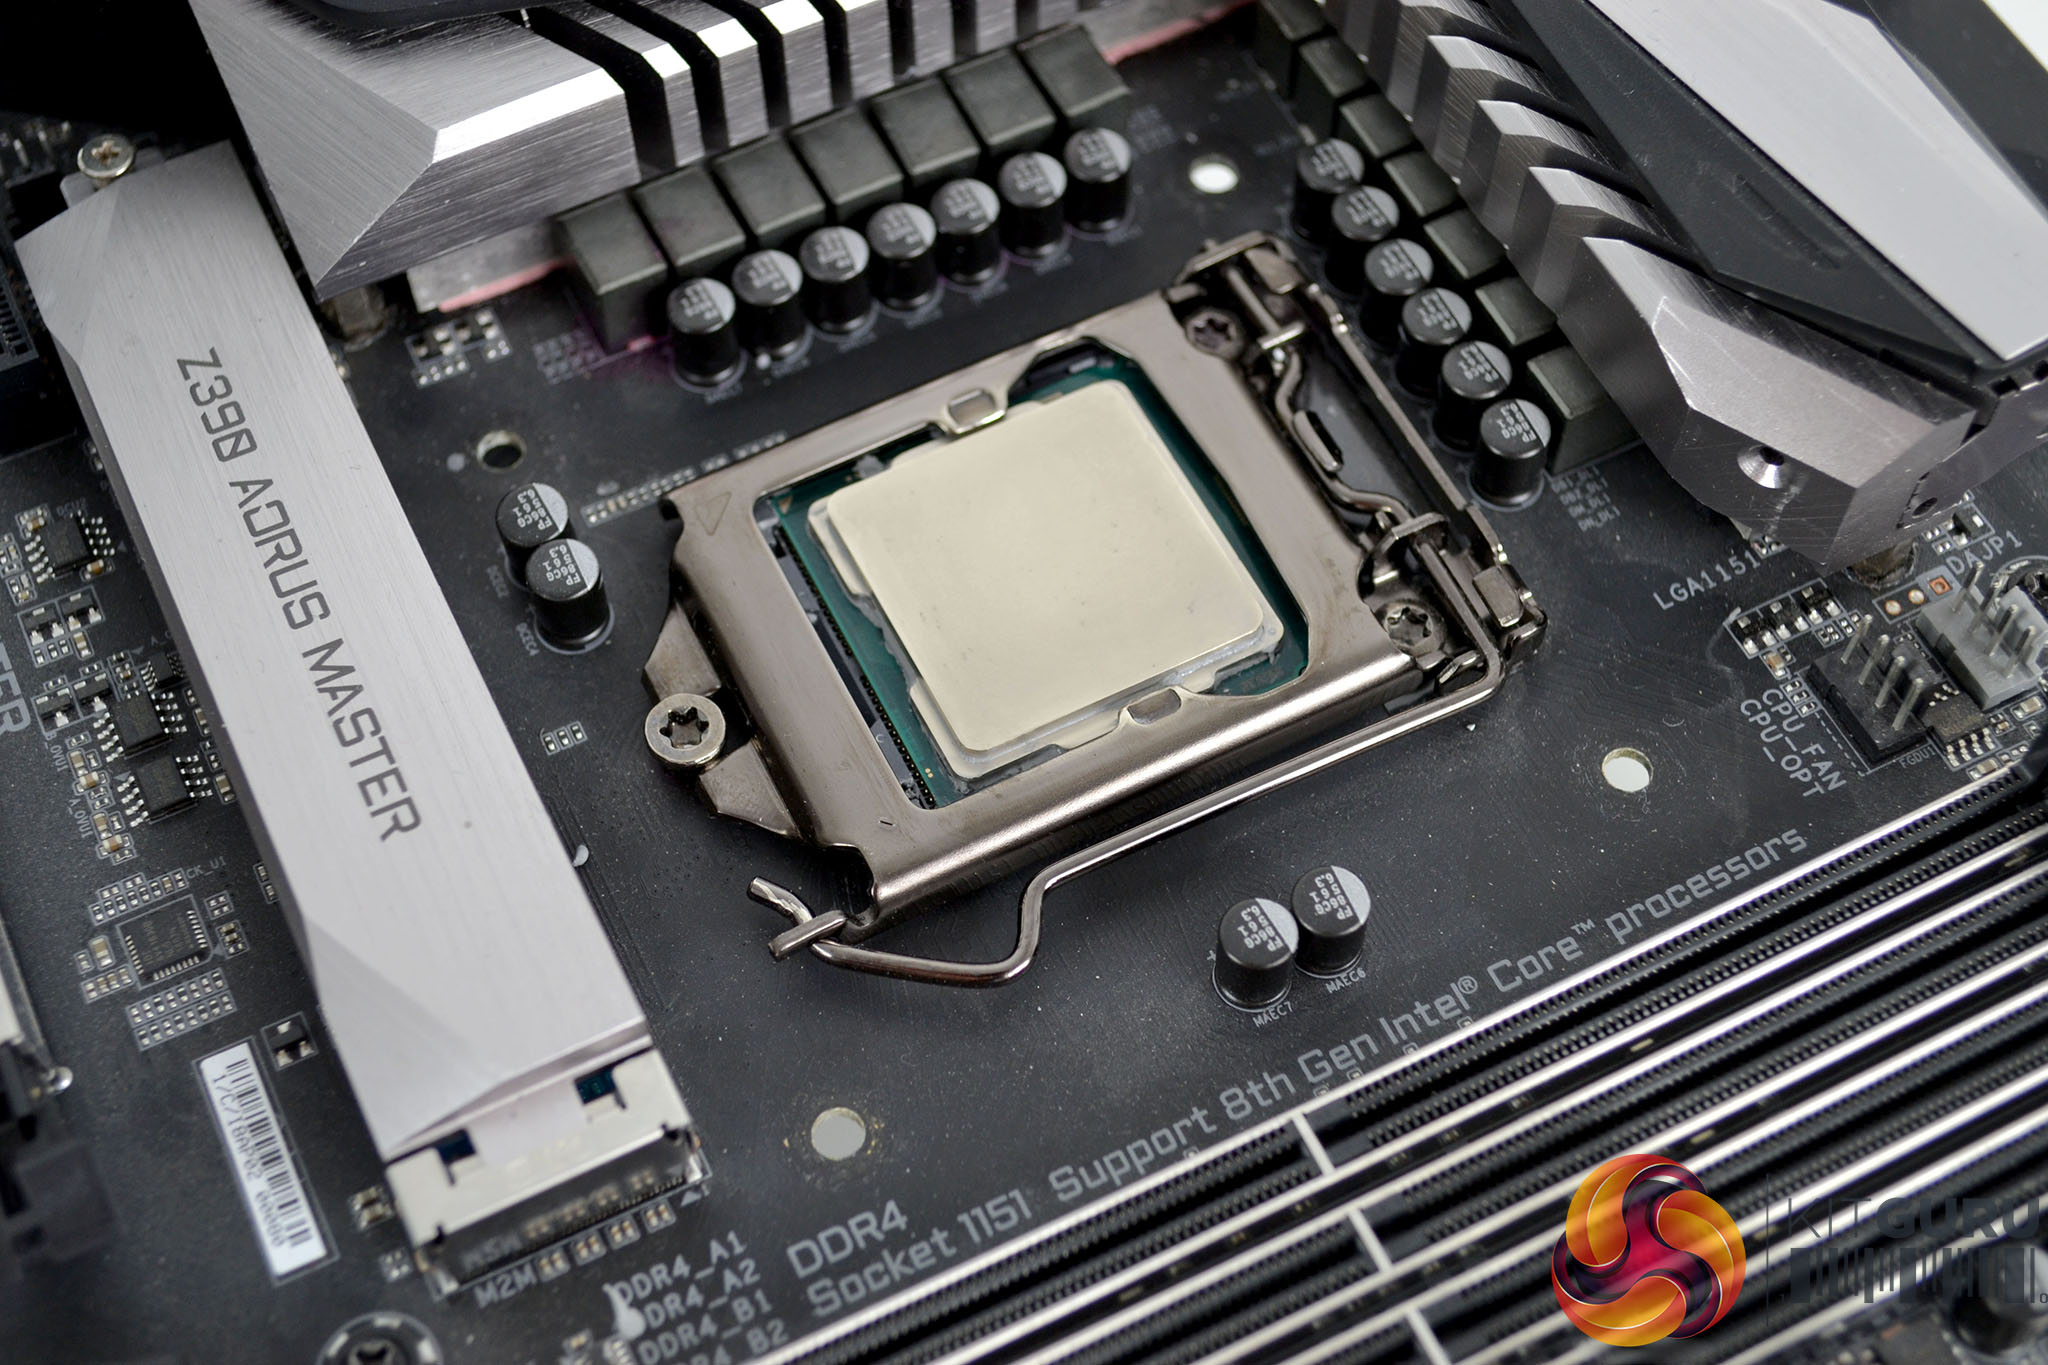
Push down on the bracket so that it clicks into position in the holes and then take the four black plastic clips and insert them into the mounting holes to lock the bracket in place.
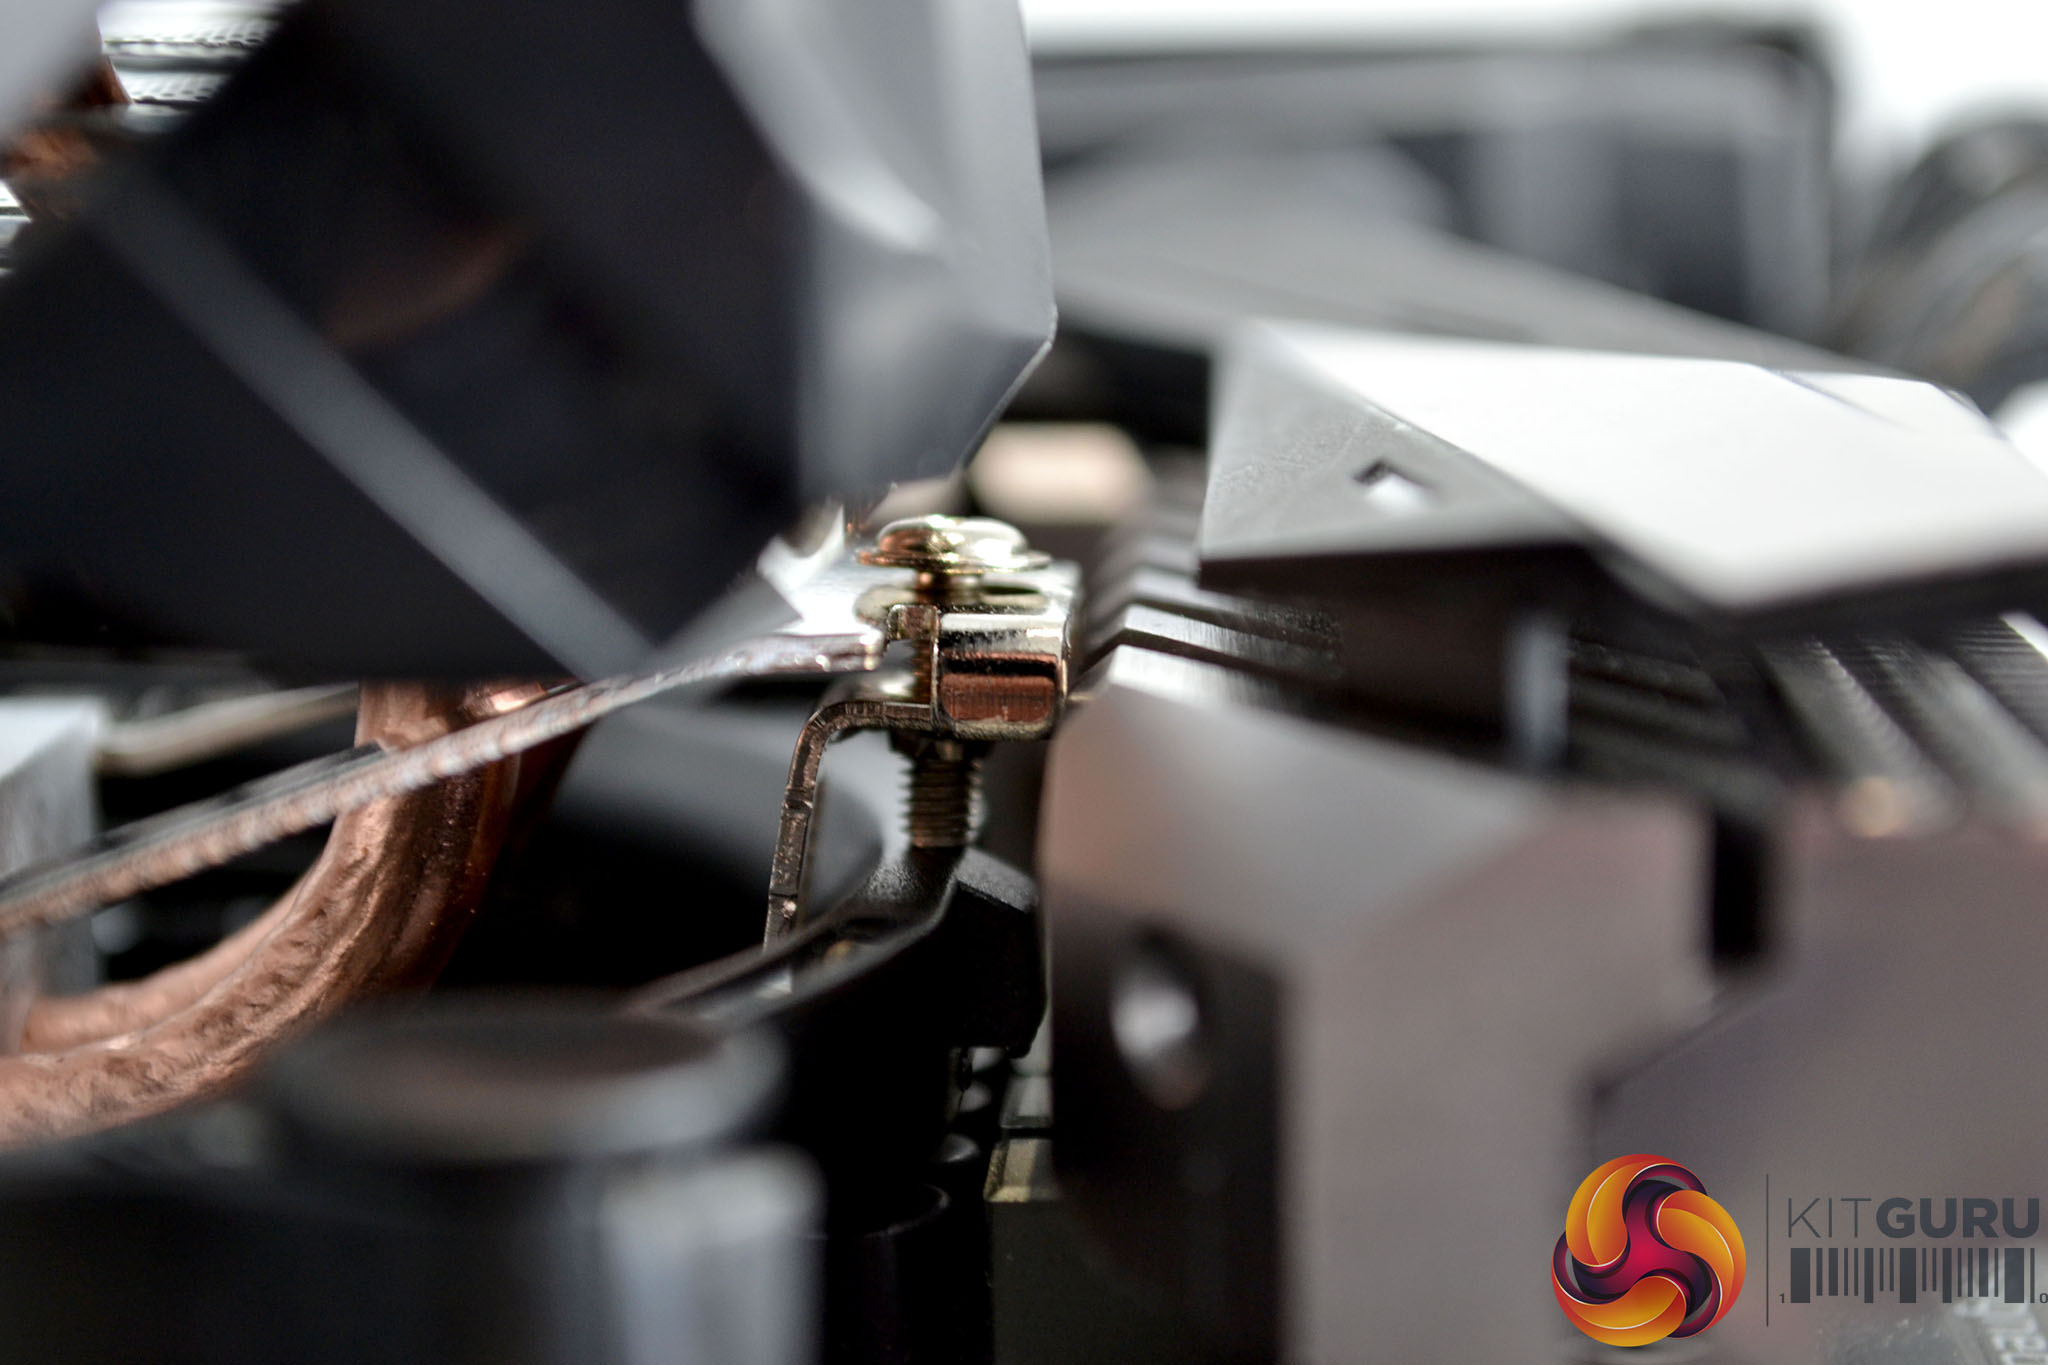
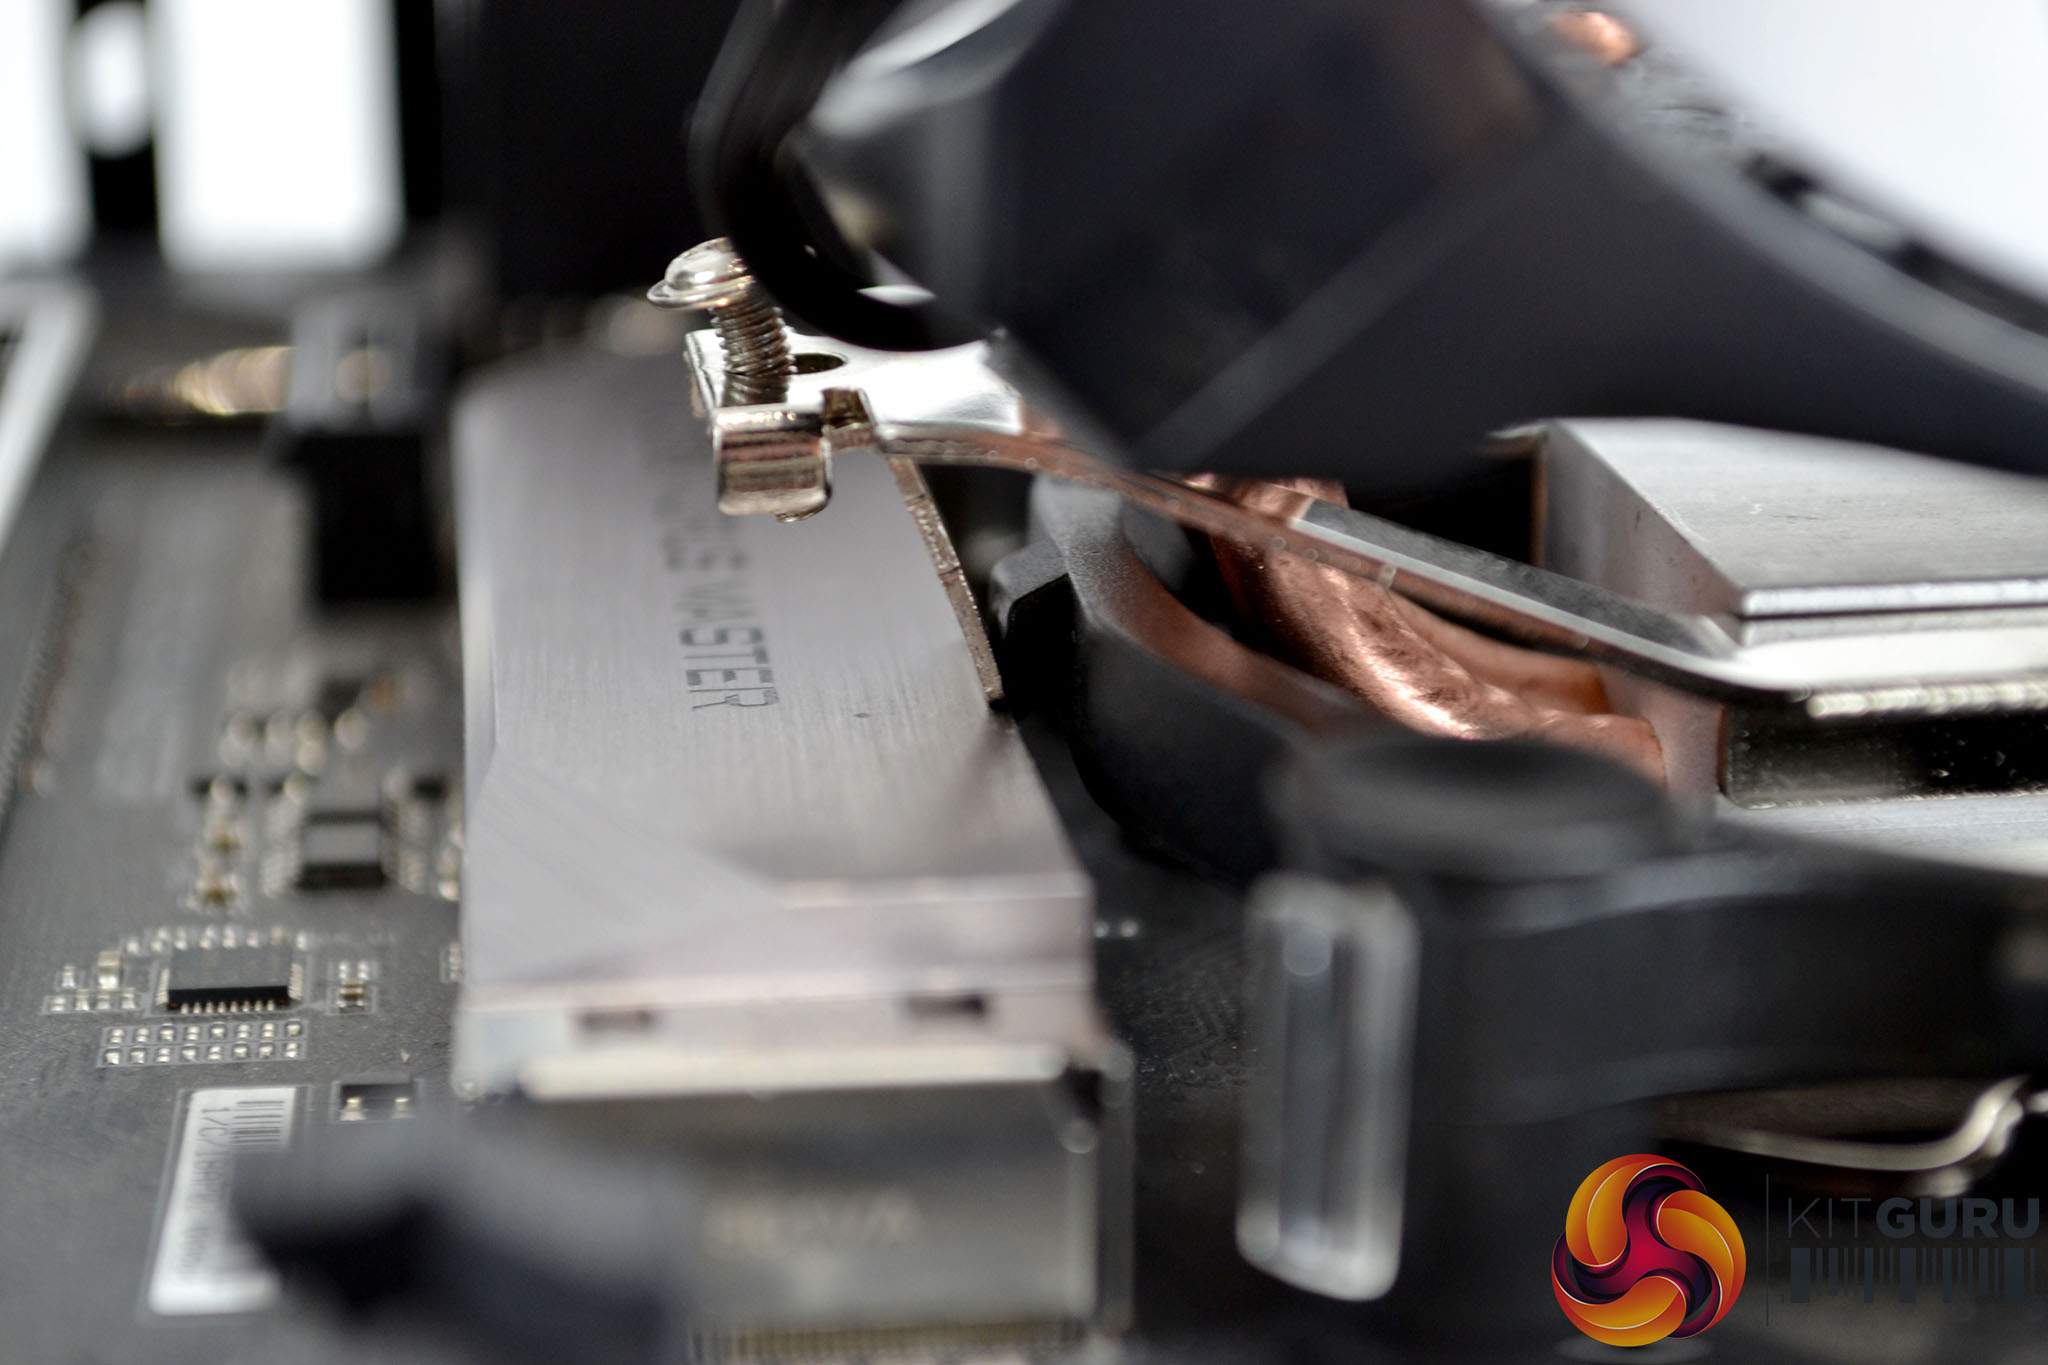
The next part of the installation process threw up an issue for us, due to the large thermal solutions of our test system's Gigabyte Z390 Aorus Master motherboard, the Freezer 7 X mounting bracket interfered with the VRM and M.2 socket heatsinks. This is no real surprise since this cooler is technically not suited to these high-end platforms after all.
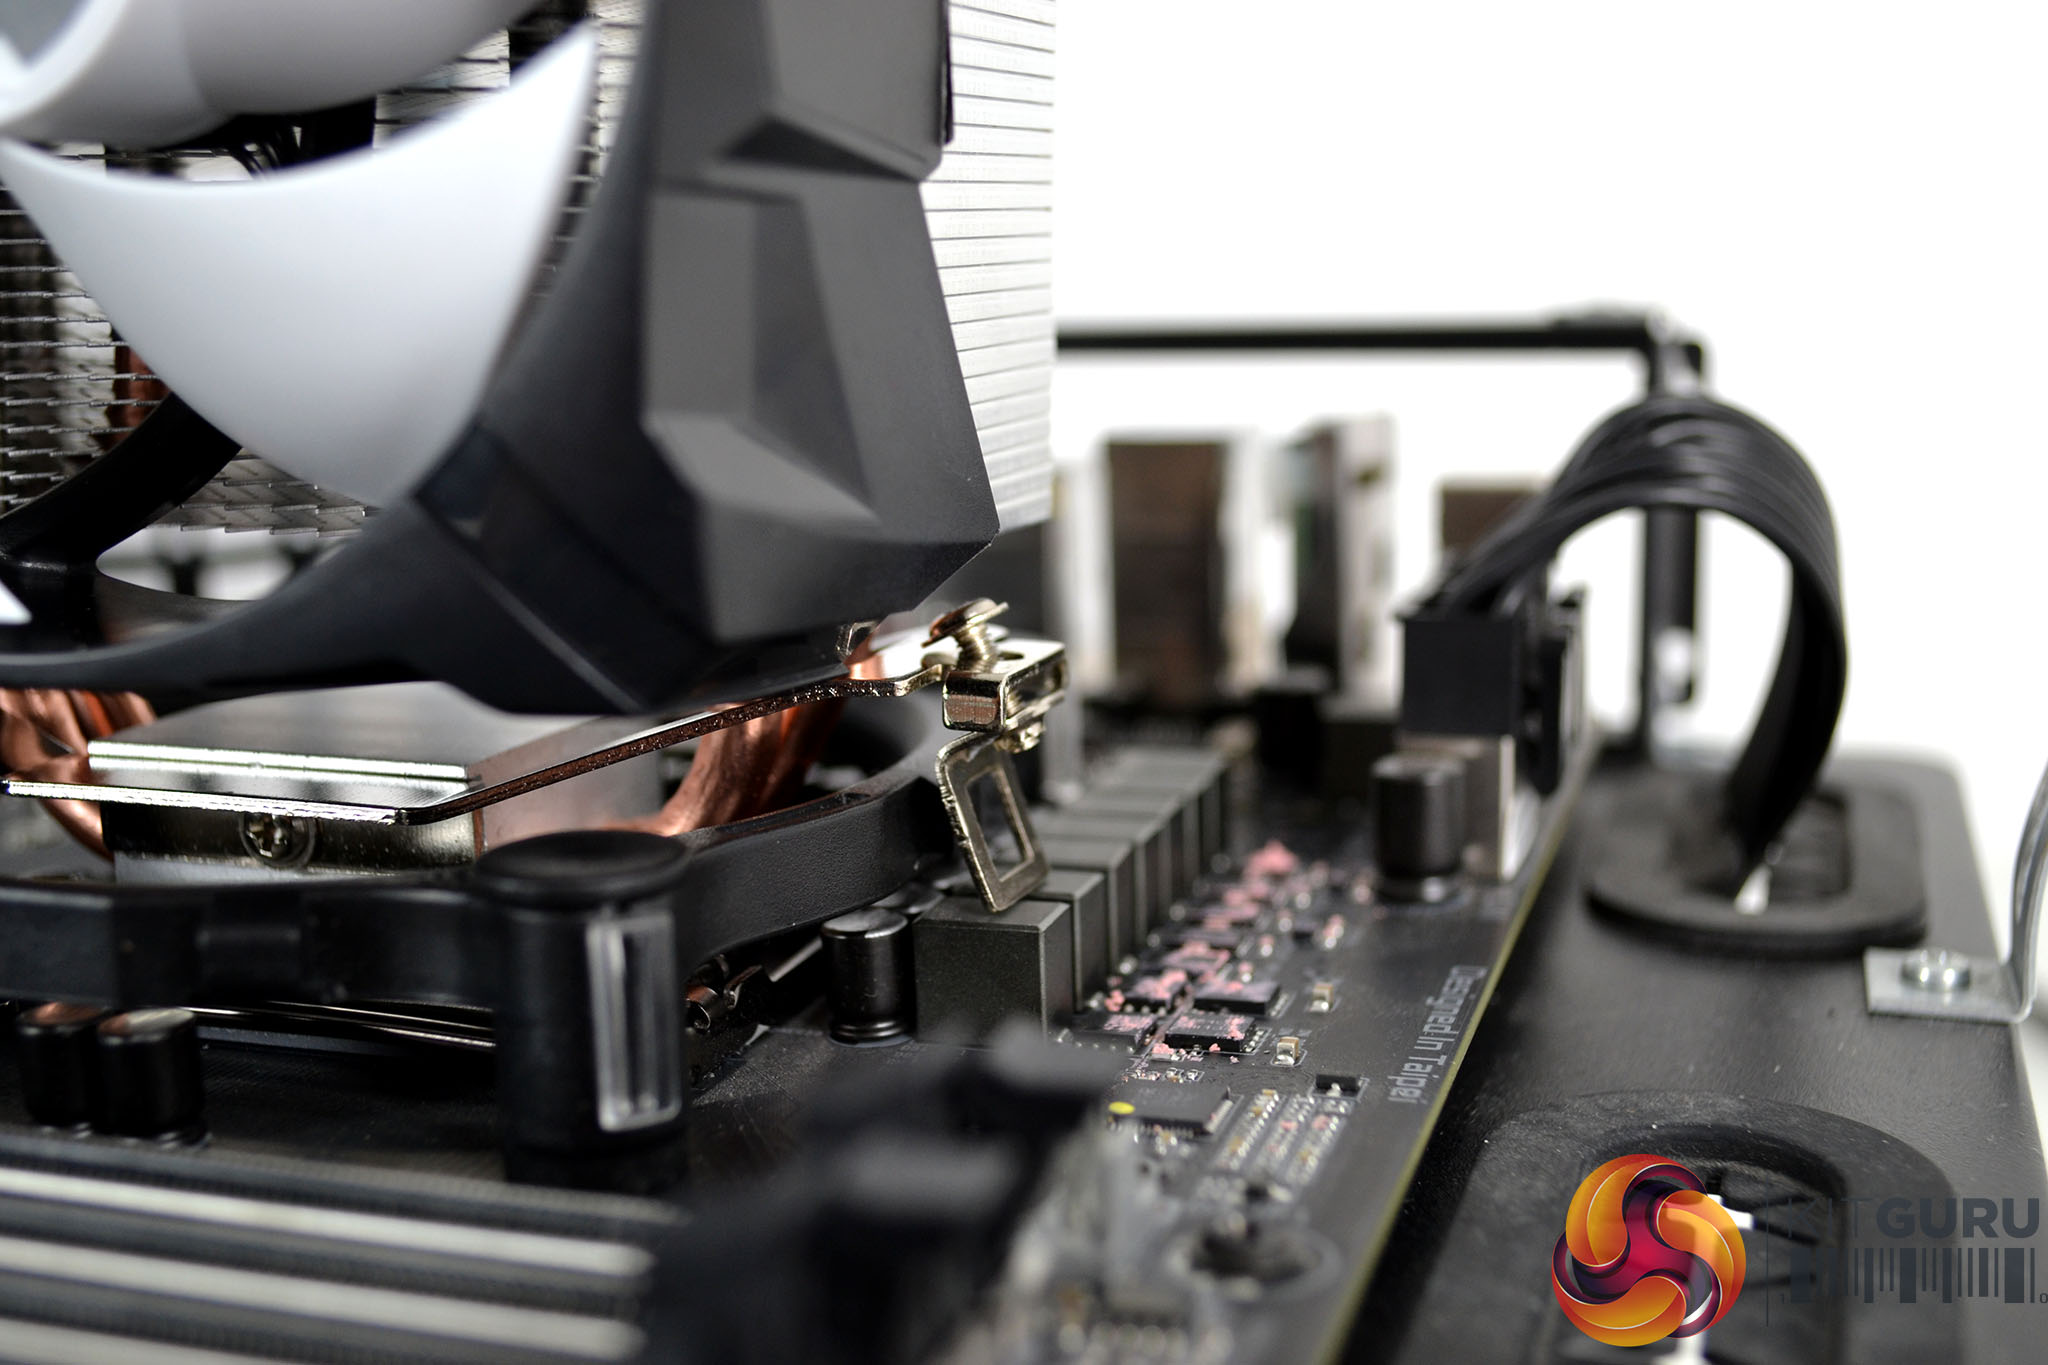
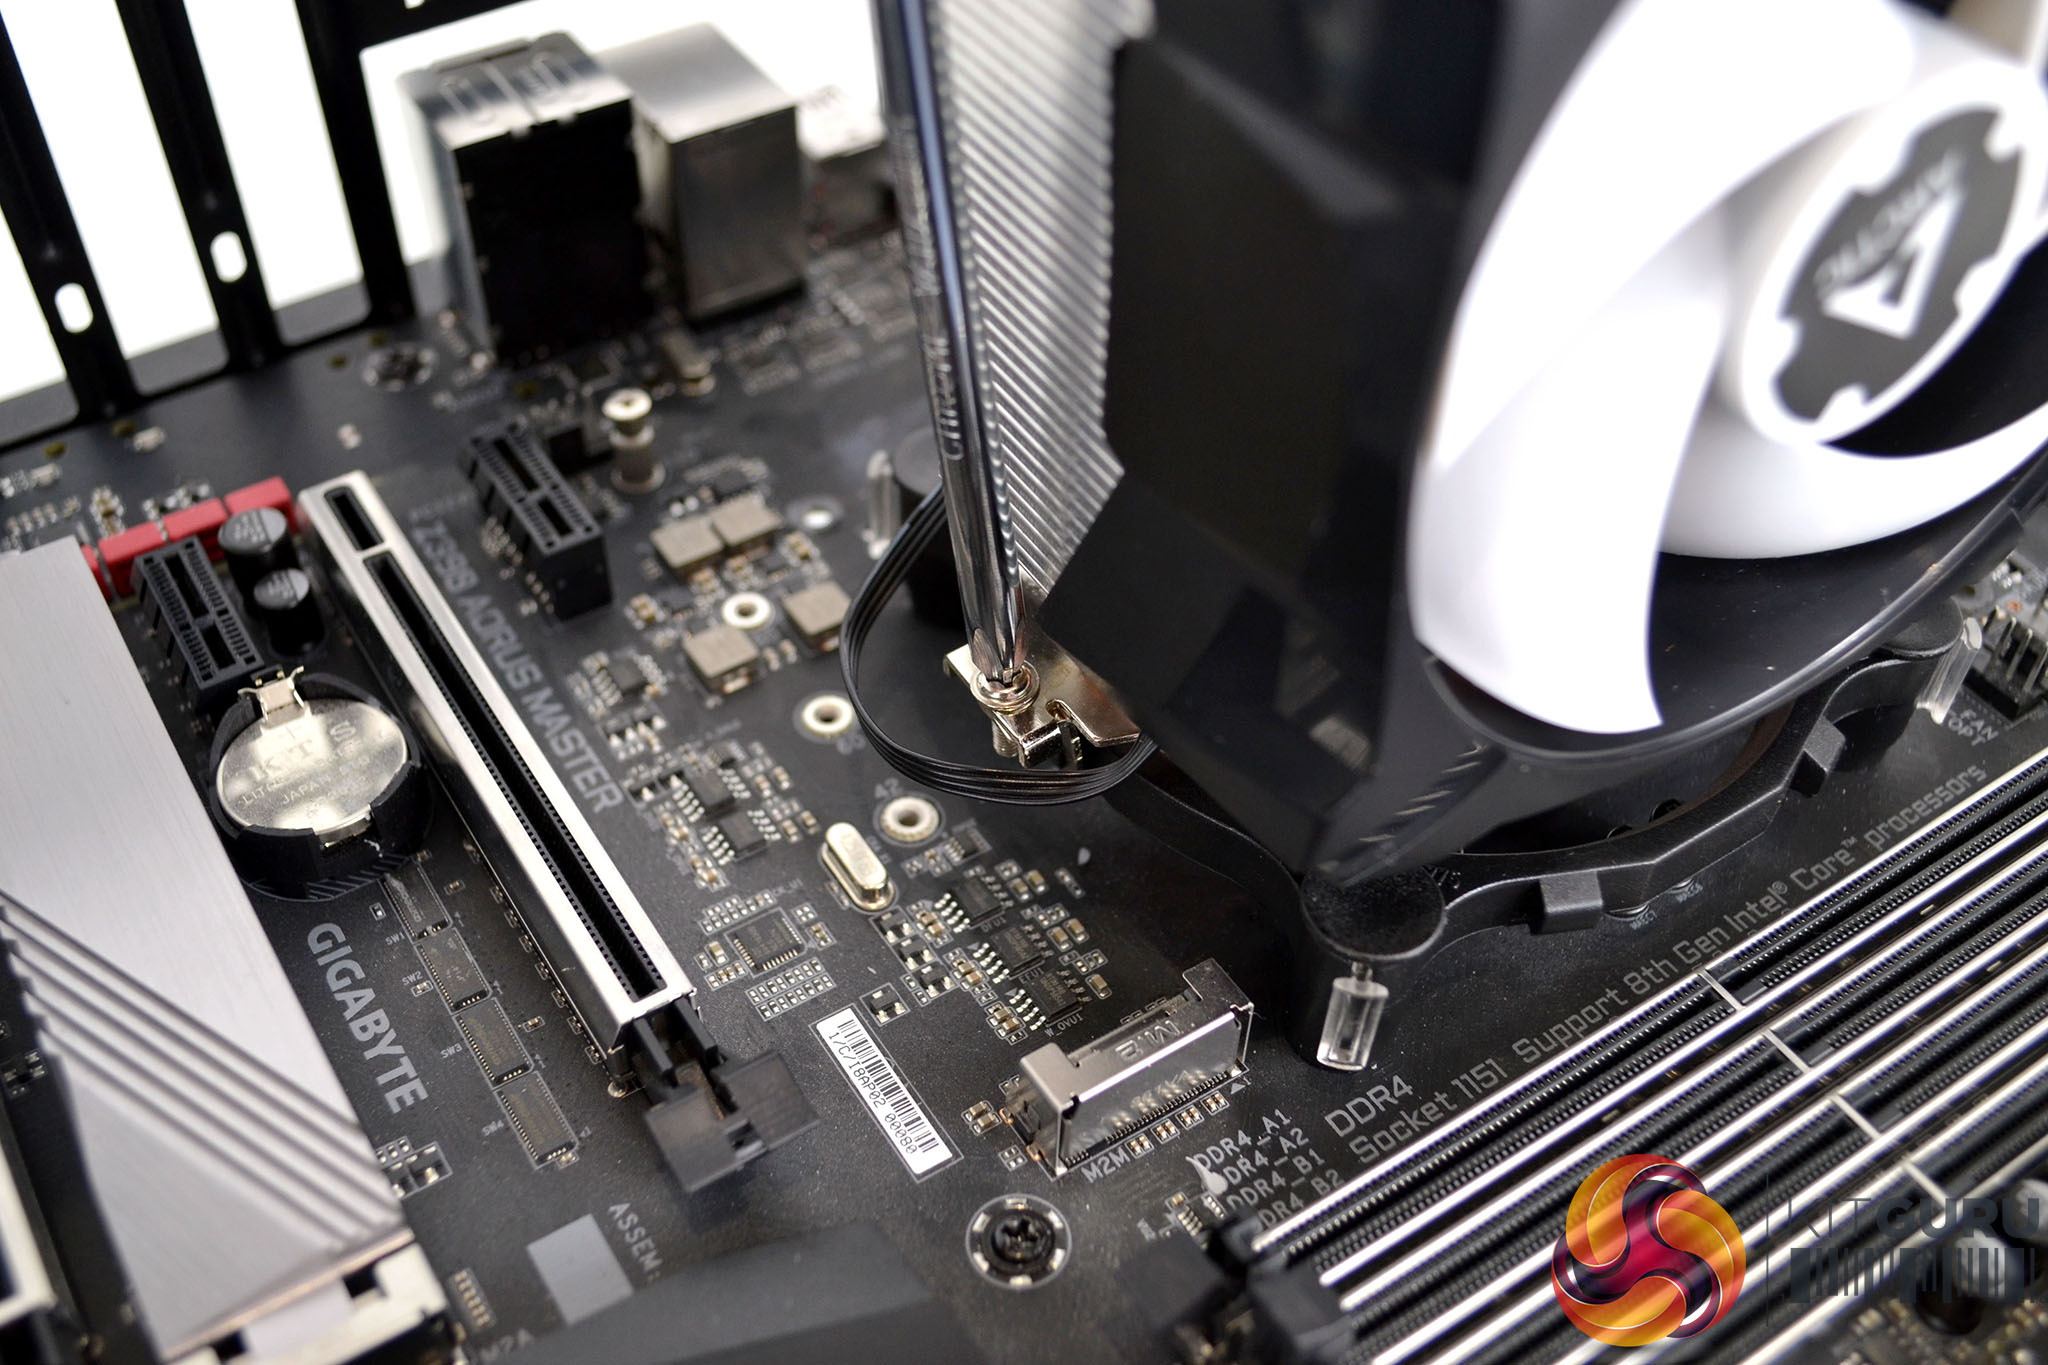
To overcome this issue, we removed the M.2 heat spreader and the VRM heatsink to complete the installation process. We were then able to lower the cooler down in position, locate the mounting hooks and screw it in position. Arctic clearly states on its website that there are compatibility issues with some motherboards and requests users to contact them for a solution. If users do encounter compatibility issues after purchase, Arctic will offer an alternative replacement cooler.
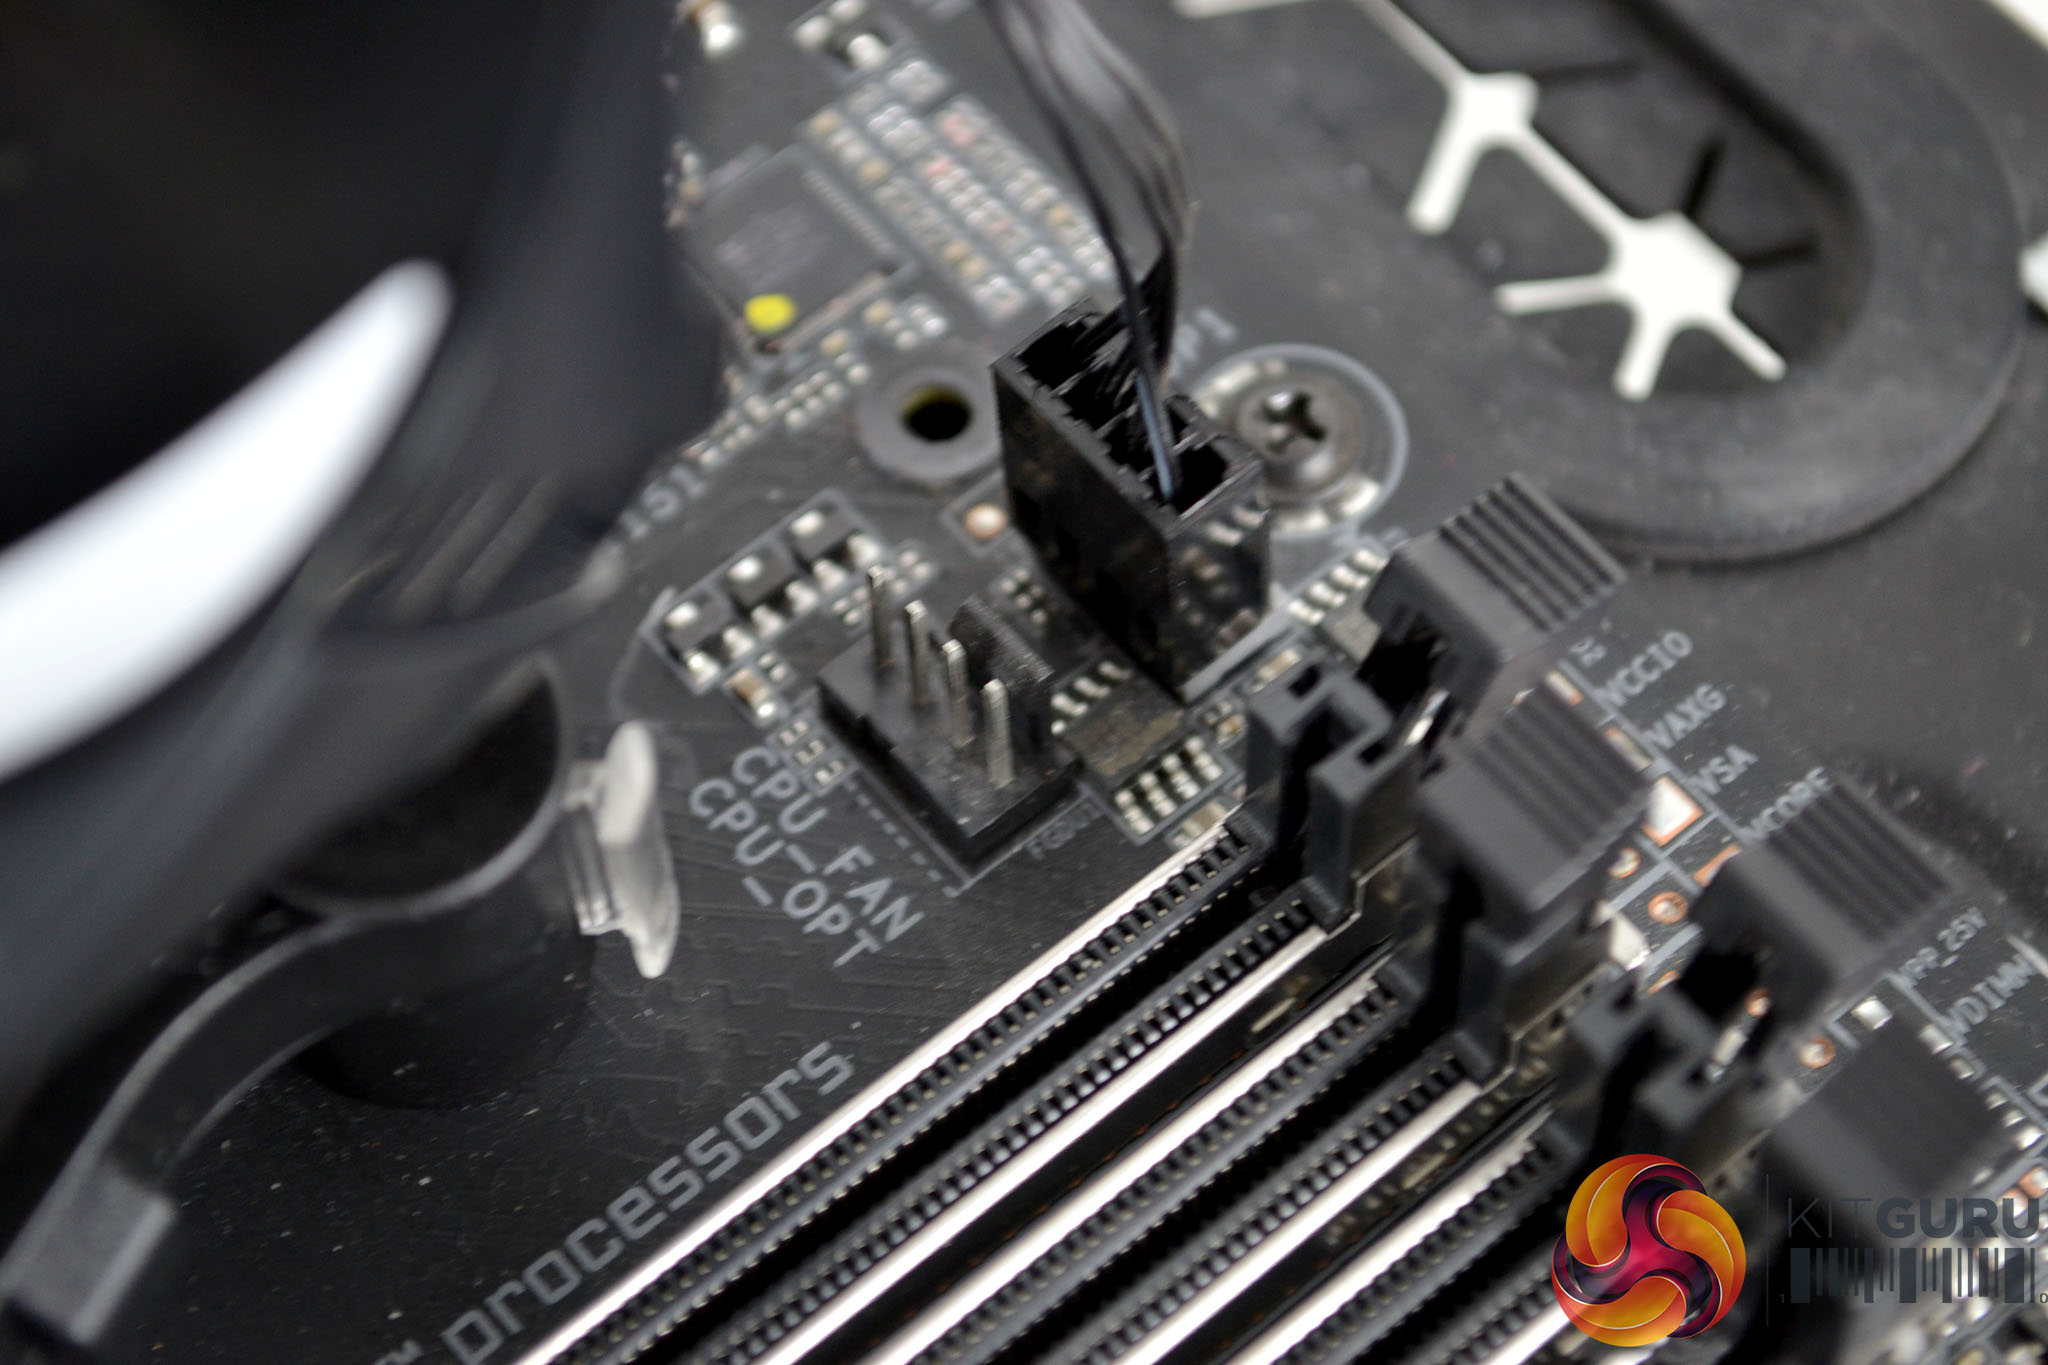
For the final step of installation on Intel platforms, connect the 4-pin fan power cable to the CPU_FAN header on the motherboard for full PWM speed control. Installation on AMD platforms is extremely simple and consists of hoking the cooler on to the stock AMD brackets, screwing into position and connecting the fan, the whole process should only take approximately 5-10 minutes on either platform.