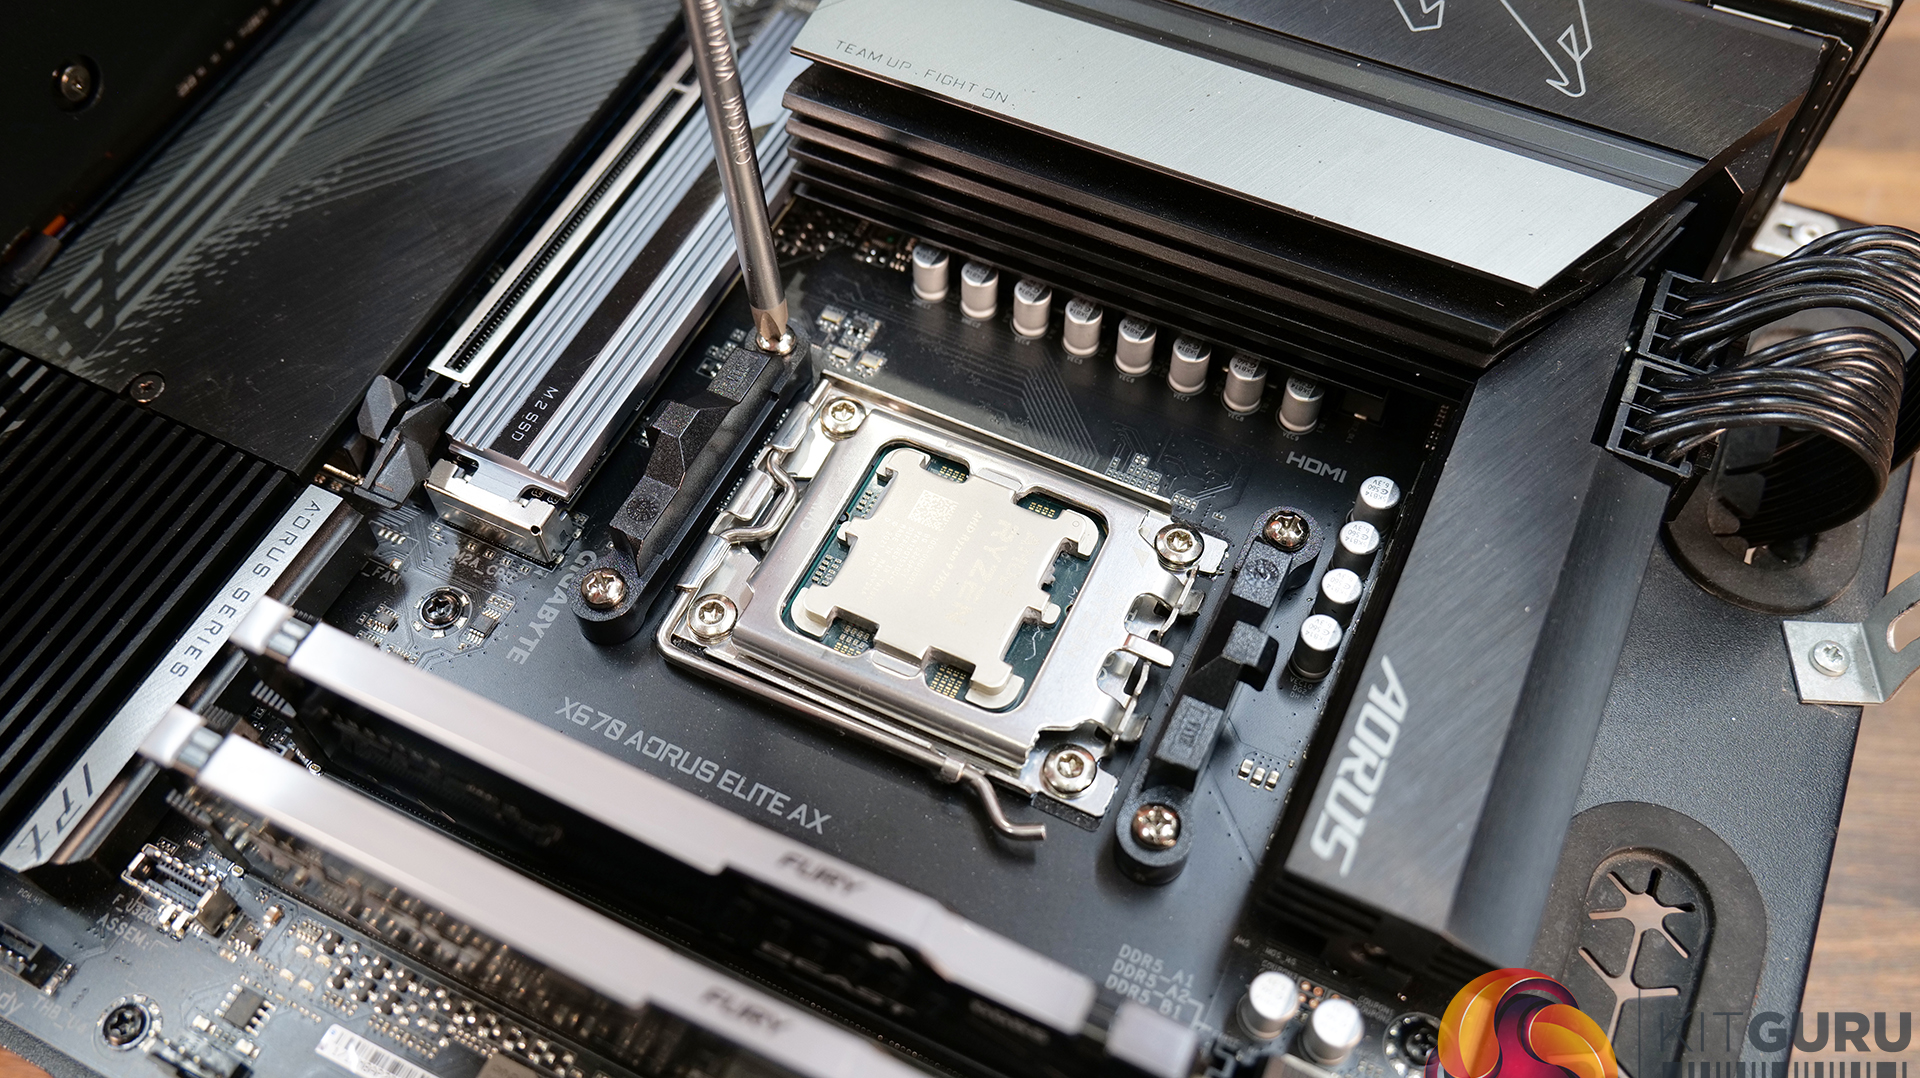
The installation process of the MasterLiquid 360 ION is quite easy but there is a fair bit of wiring, so this increases the difficulty and time to complete the process. Here we show the installation on our test bench system which is AM5-based, the installation process on other platforms is very similar and equally time-consuming.
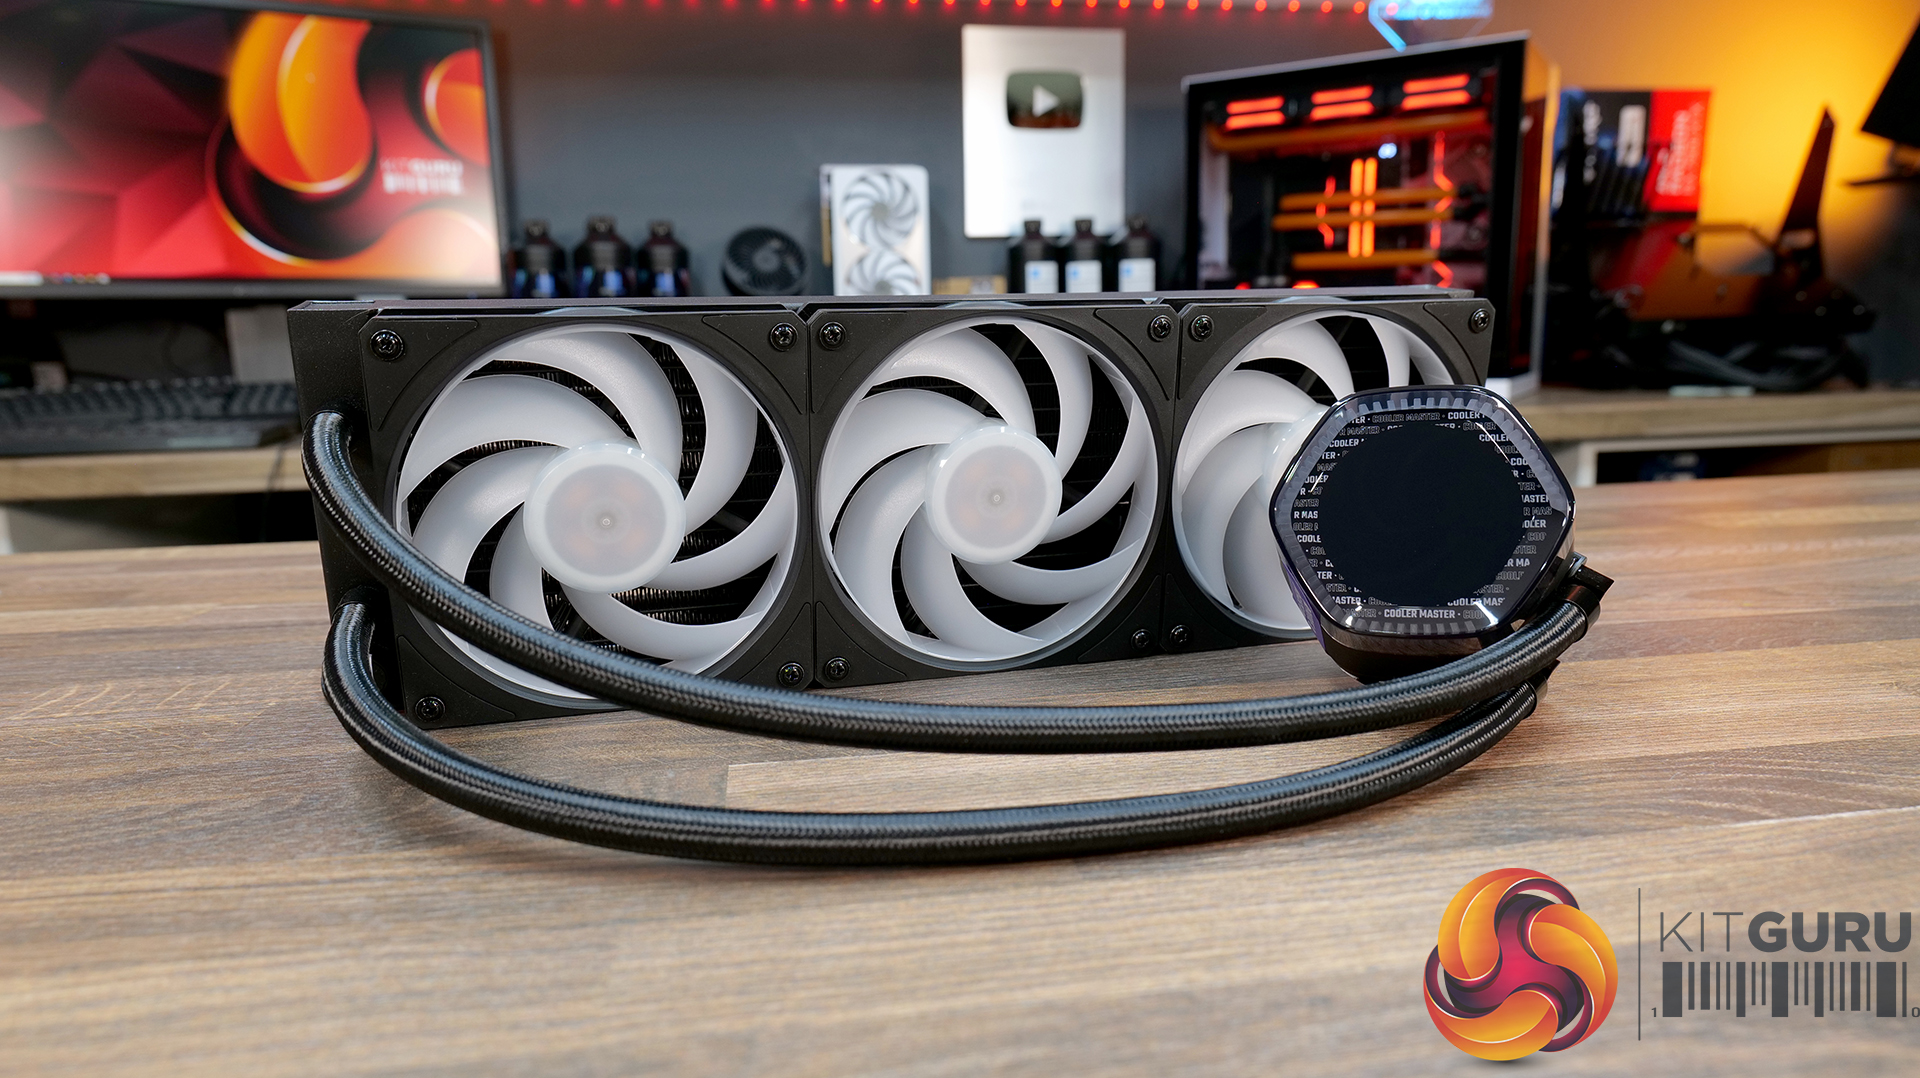
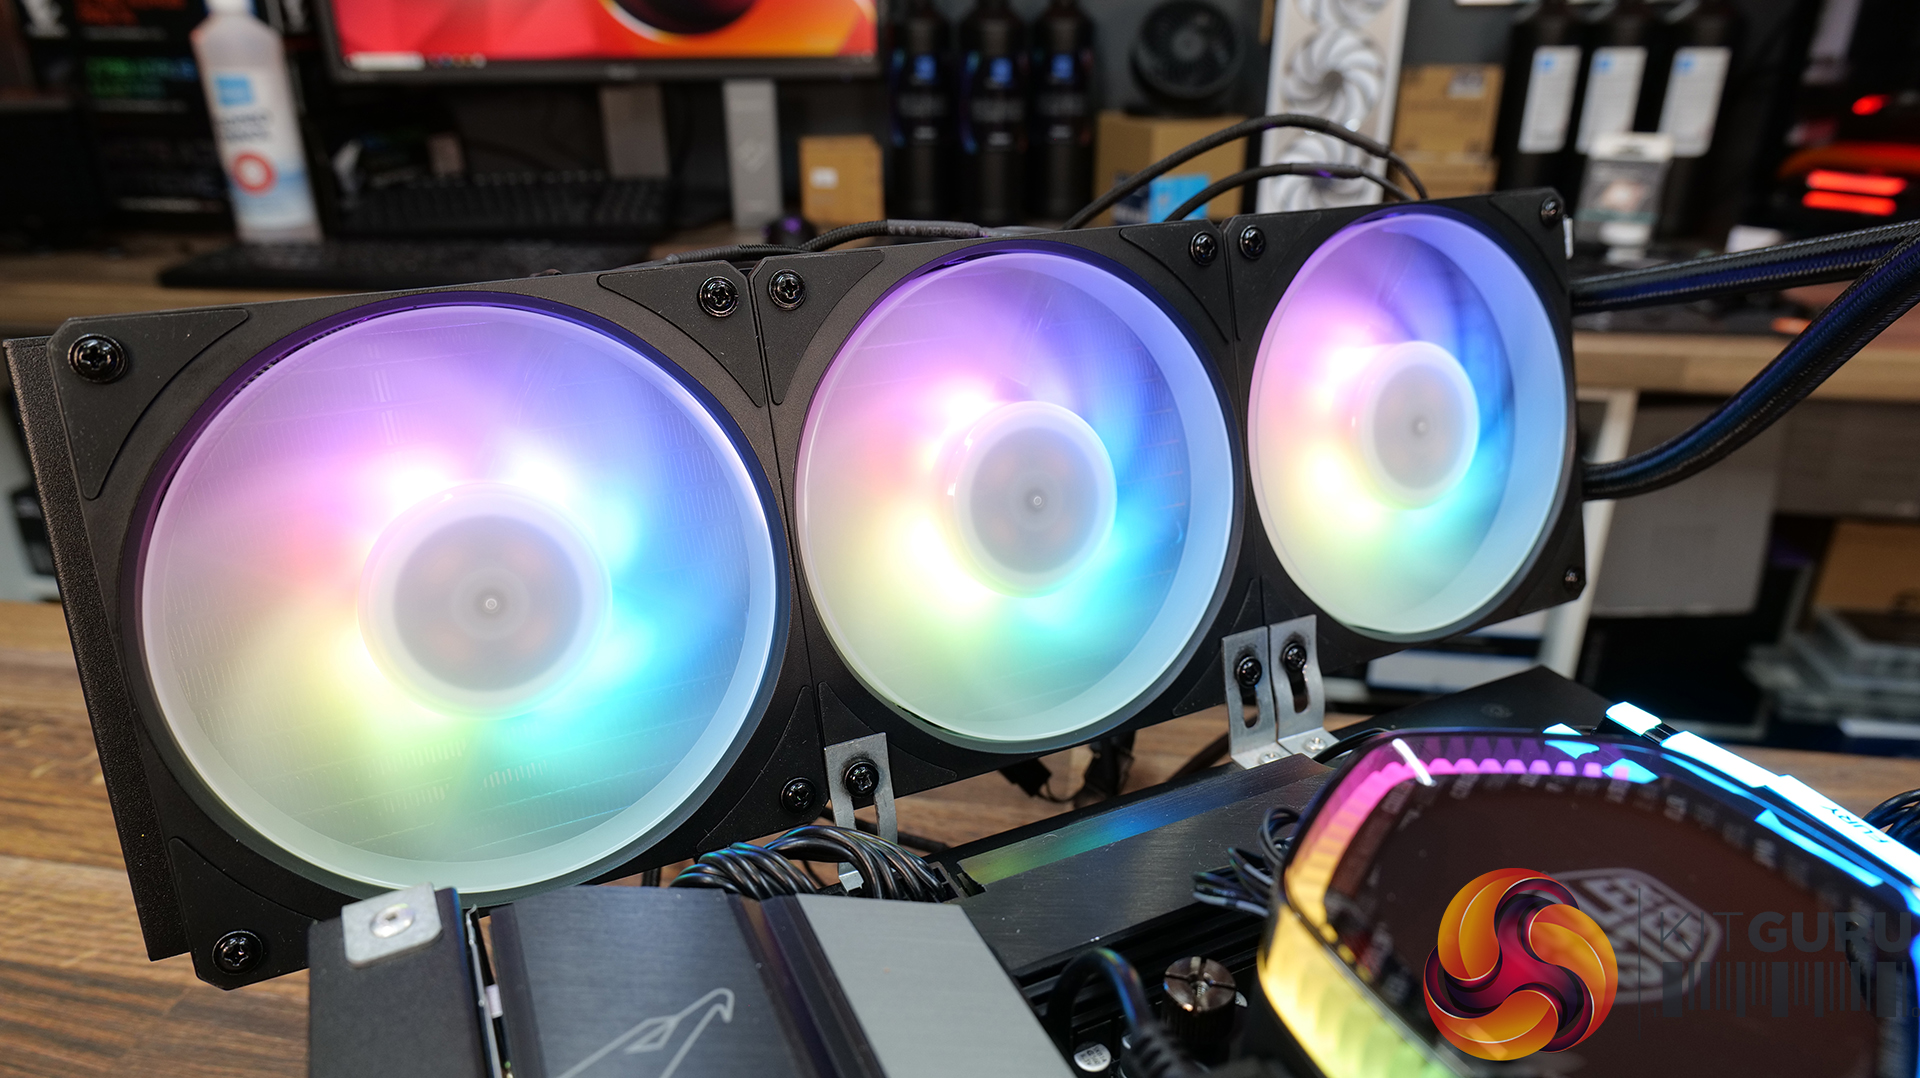
Cooler Master pre-installs the fans to the radiator so if you are running the radiator in the orientation that suits the factory fan position then time is saved by not needing to change or install the fans. But it might be a good idea at this point to connect the two cables to the CPU block.
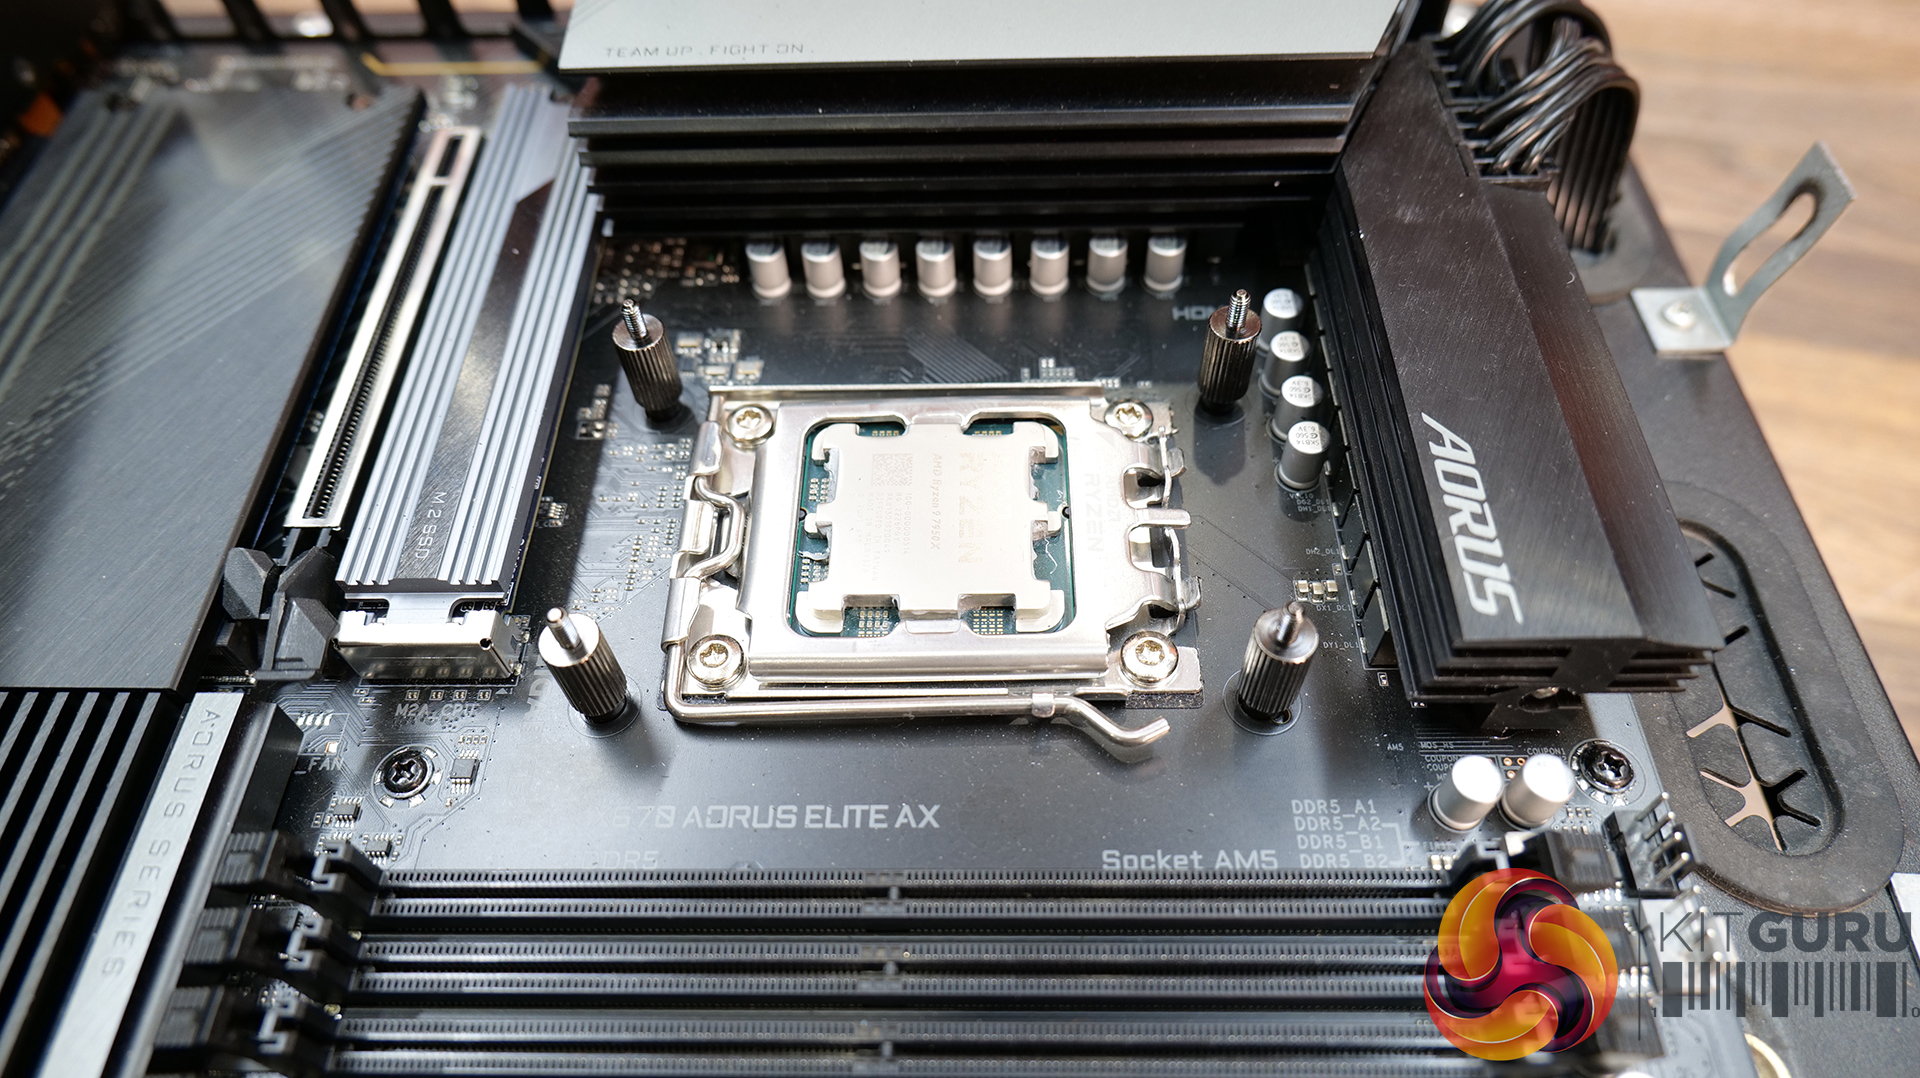
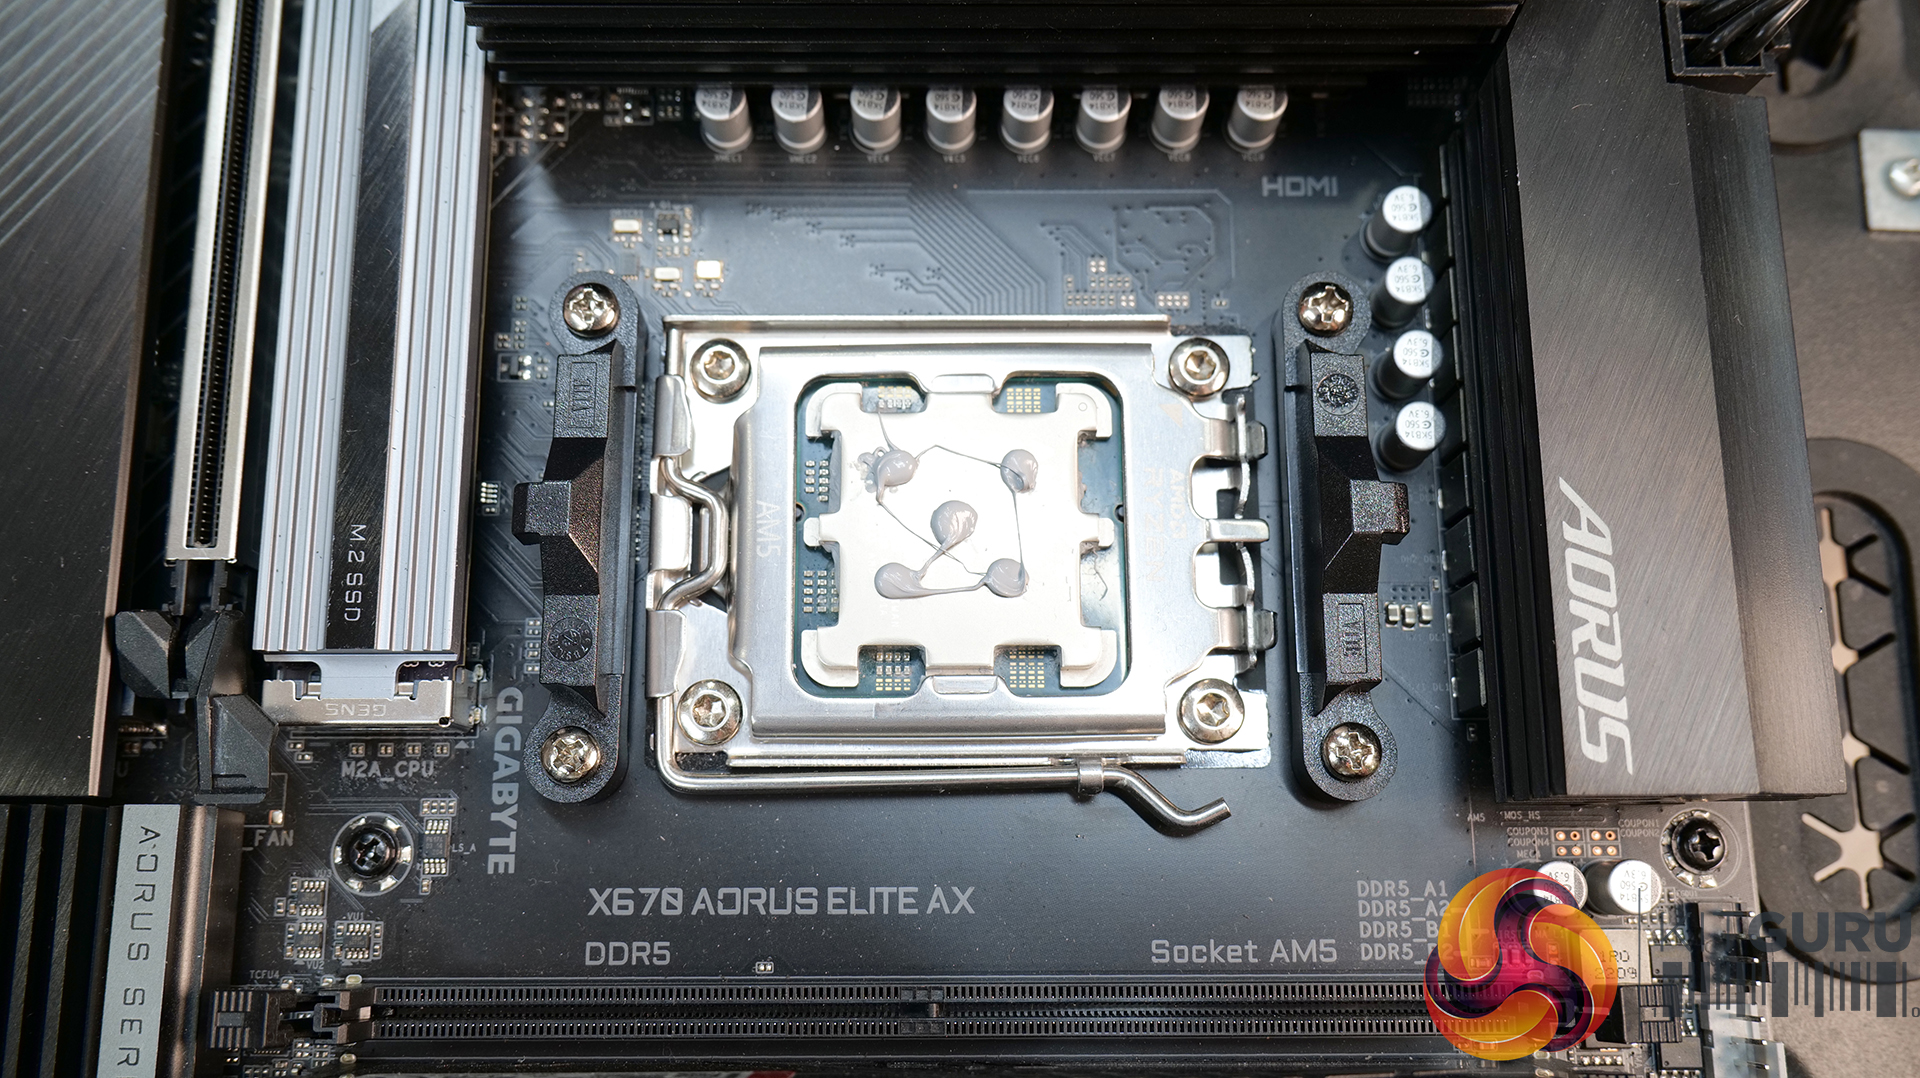
Next we can remove the stock AMD upper mounting brackets and install the Cooler Master AMD-specific standoffs, which screw in directly to the stock motherboard backplate. We apply Arctic MX-6 thermal compound using our usual method to keep things consistent in testing.
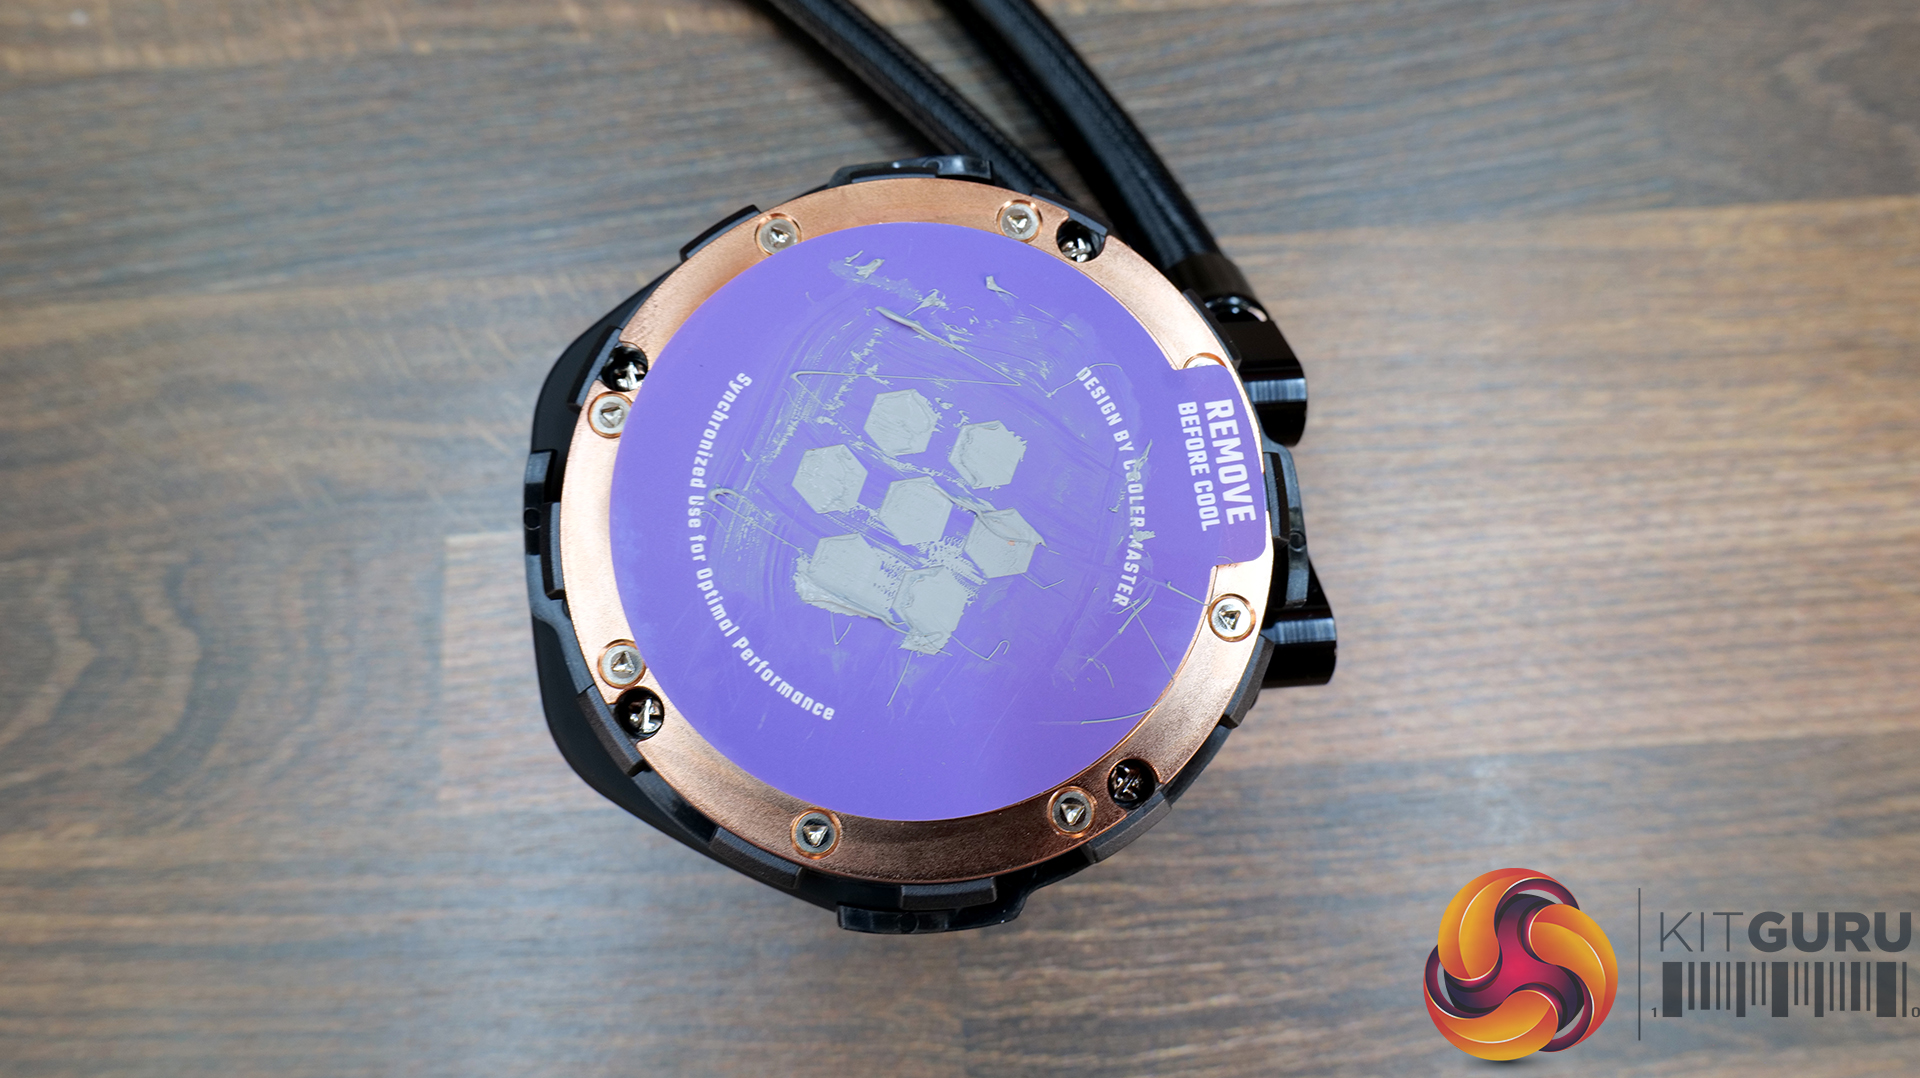
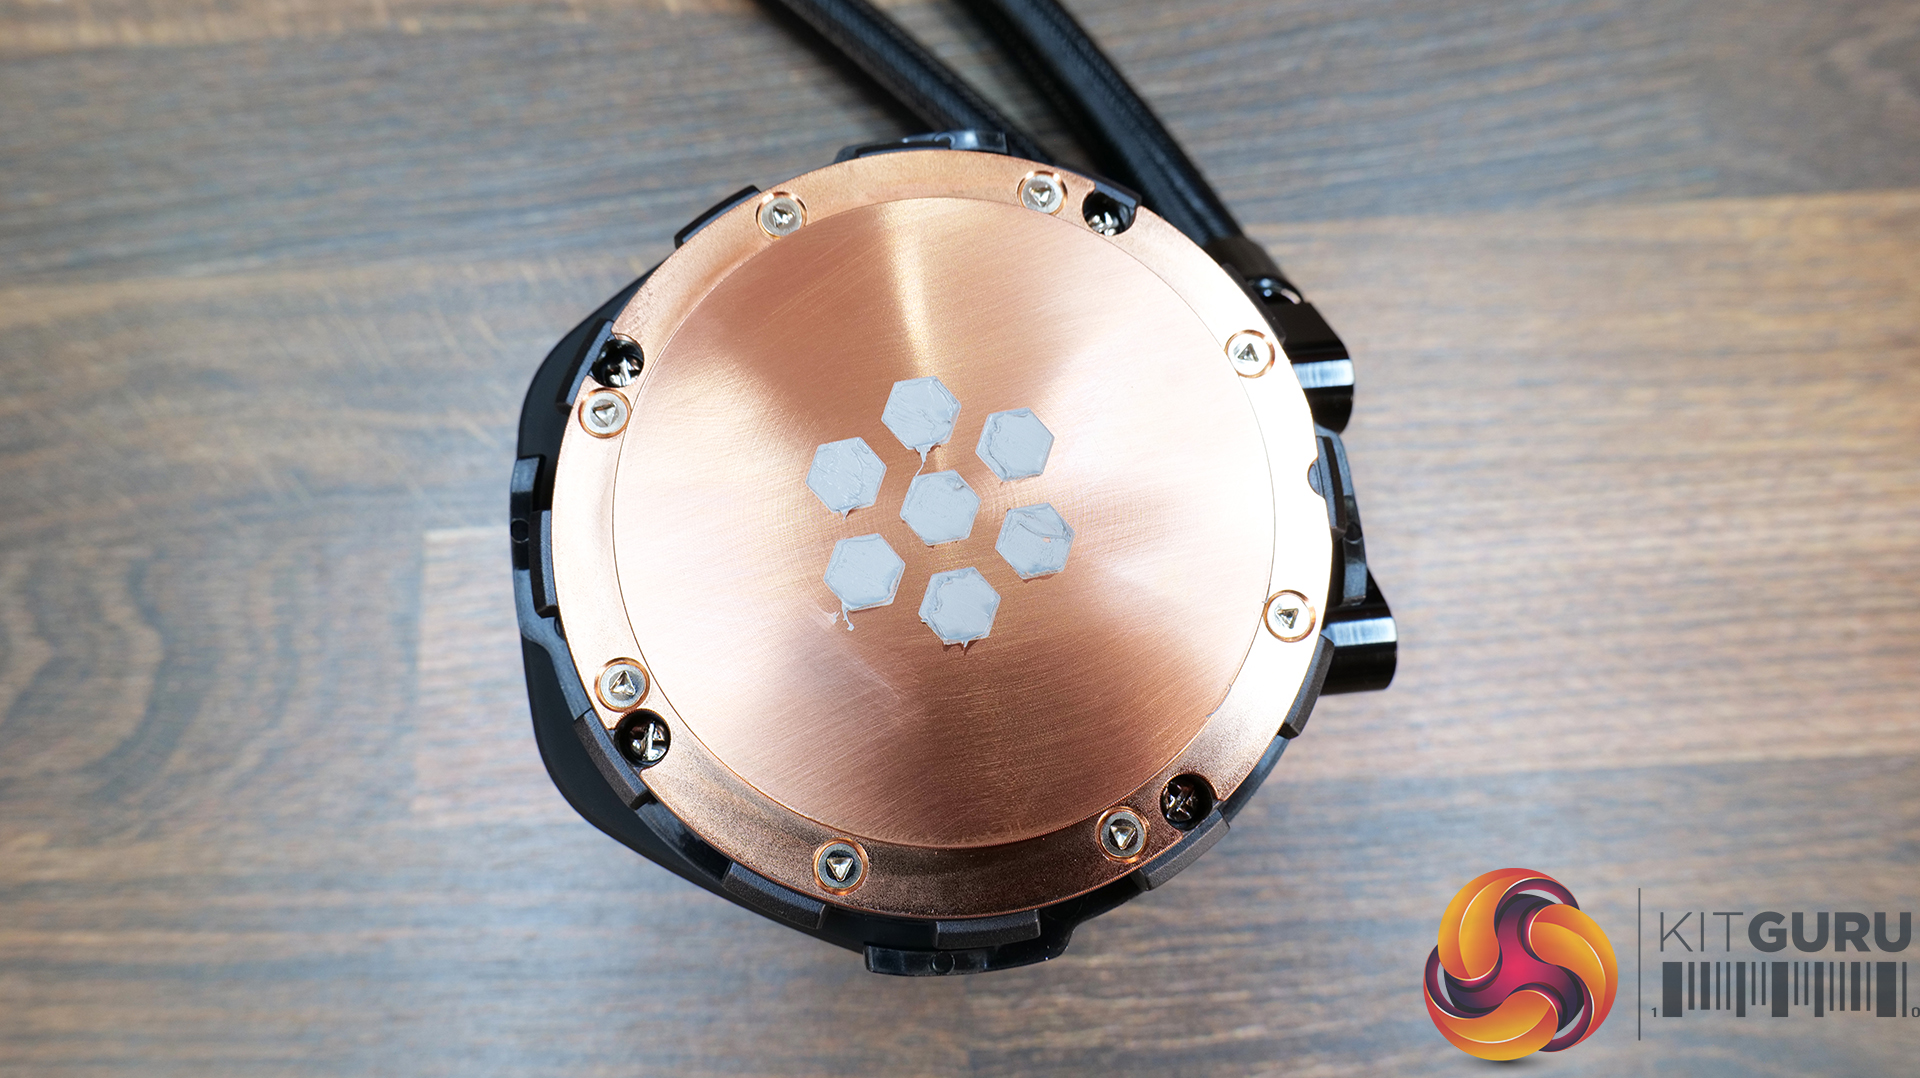
However you might want to use the Cooler Master method with the template sticker, if so apply some of the included Cooler Master CryoFuze compound over the sticker and spread evenly then remove the sticker before installing the CPU block to the socket.
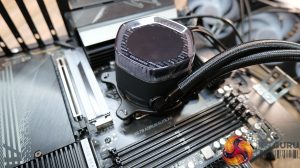
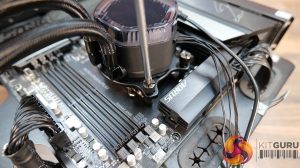
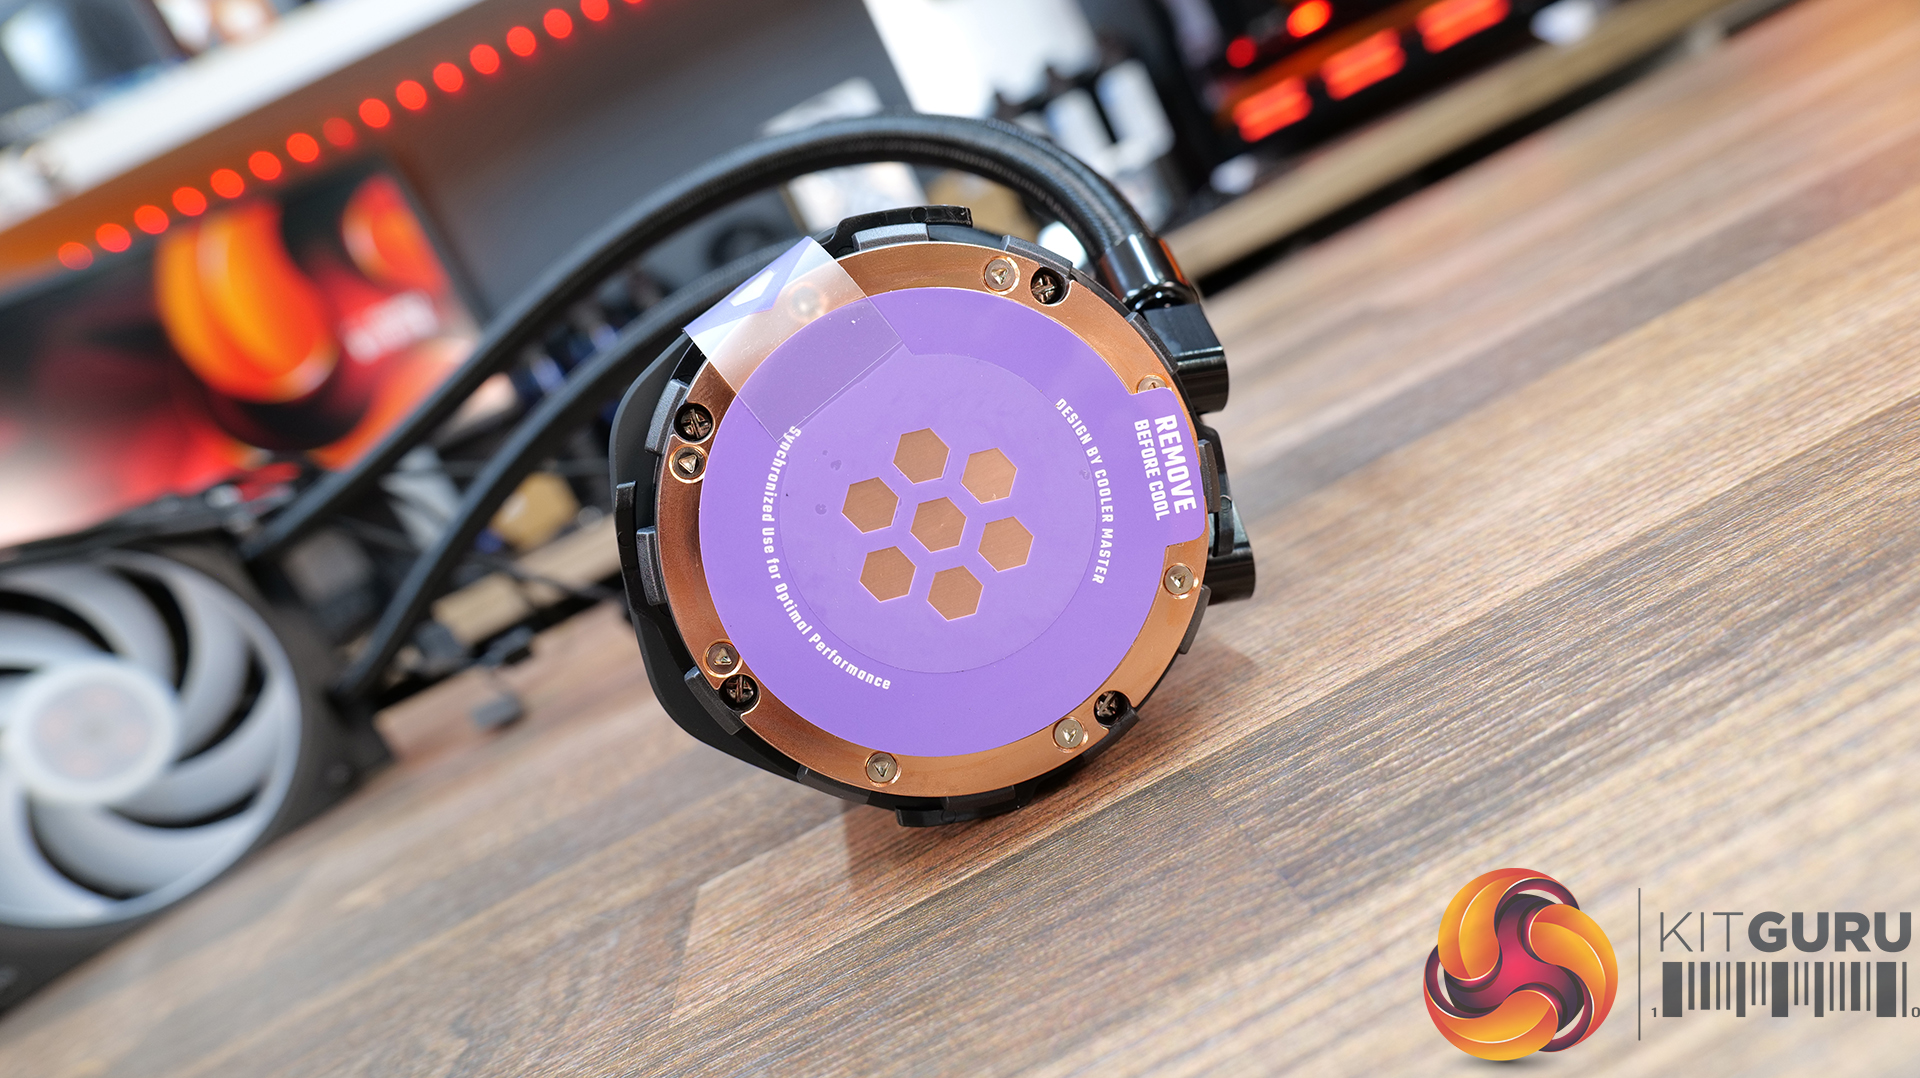
Now the CPU block can be lowered into position over the CPU, aligning the mounting holes in the bracket with the standoffs. Initially tighten the thumbscrews up by hand working evenly and progressively for best contact, then finish off tightening using a screwdriver.
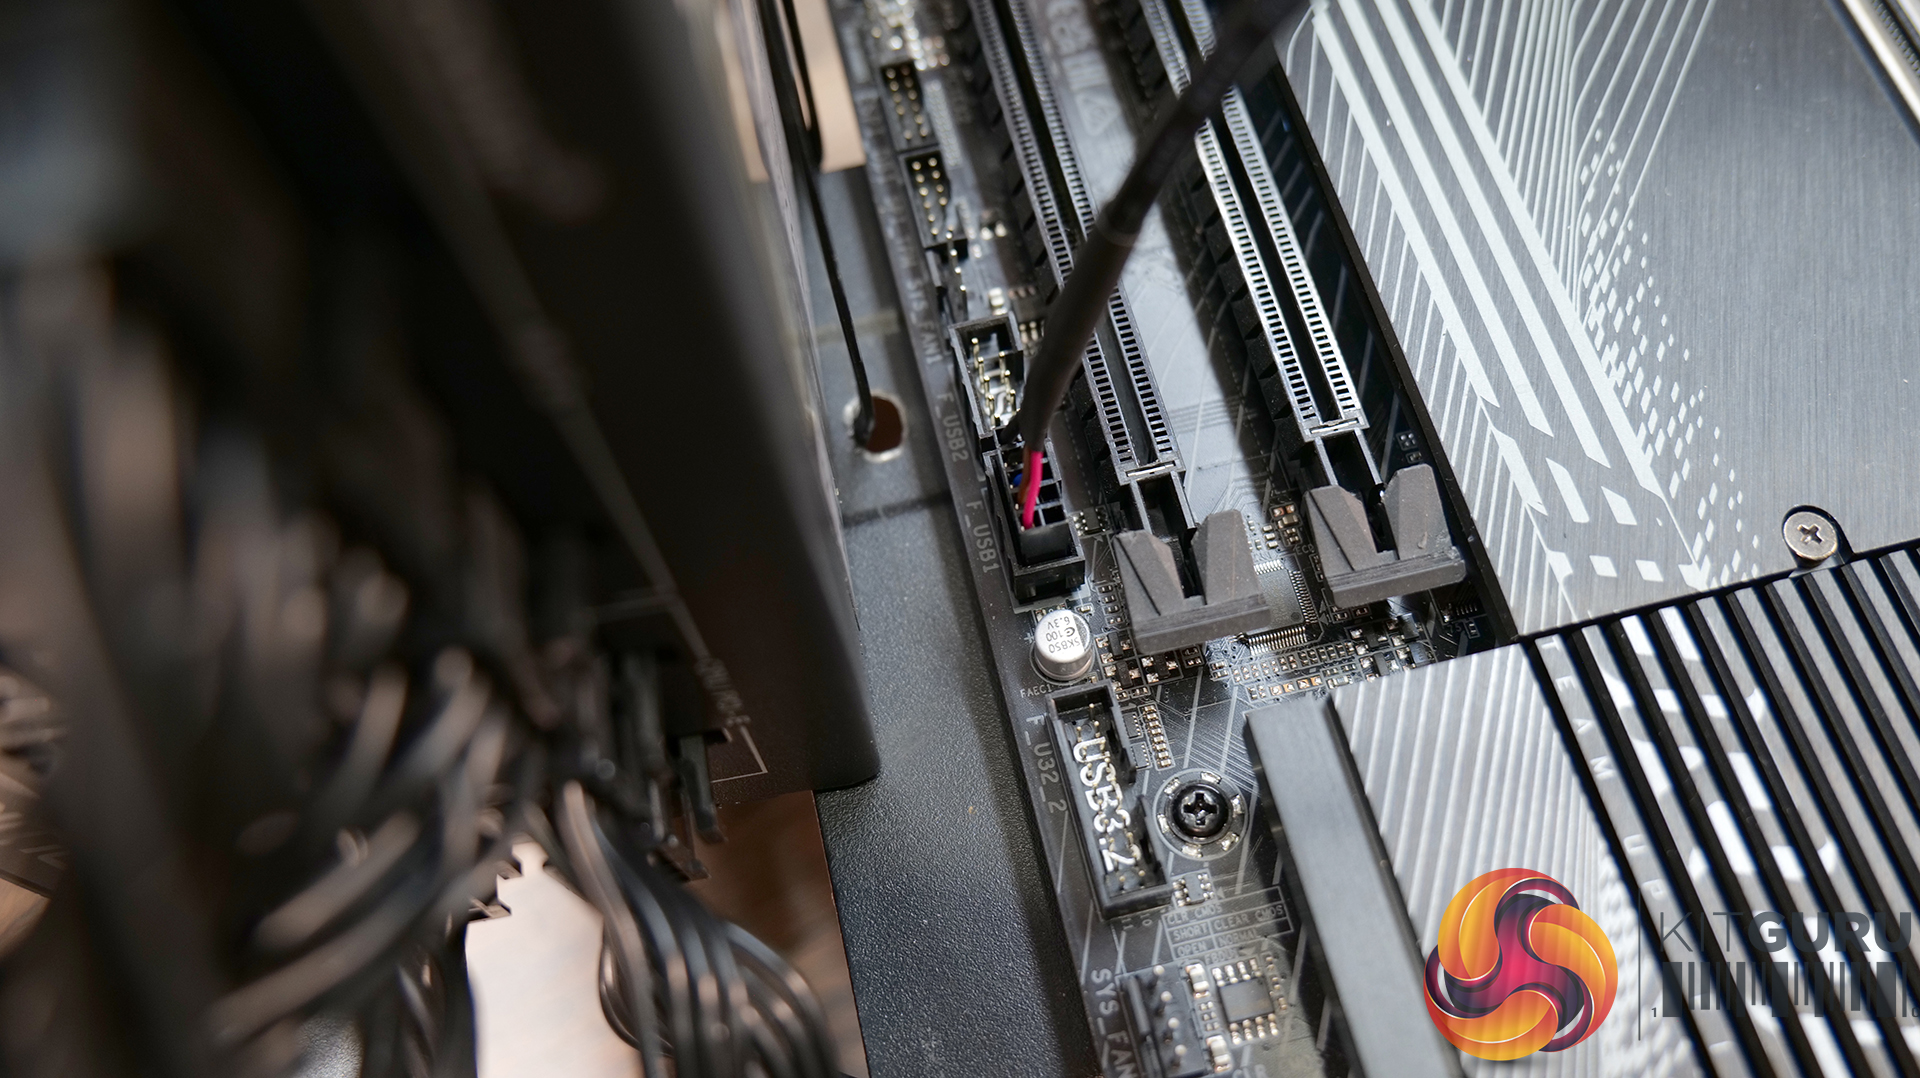
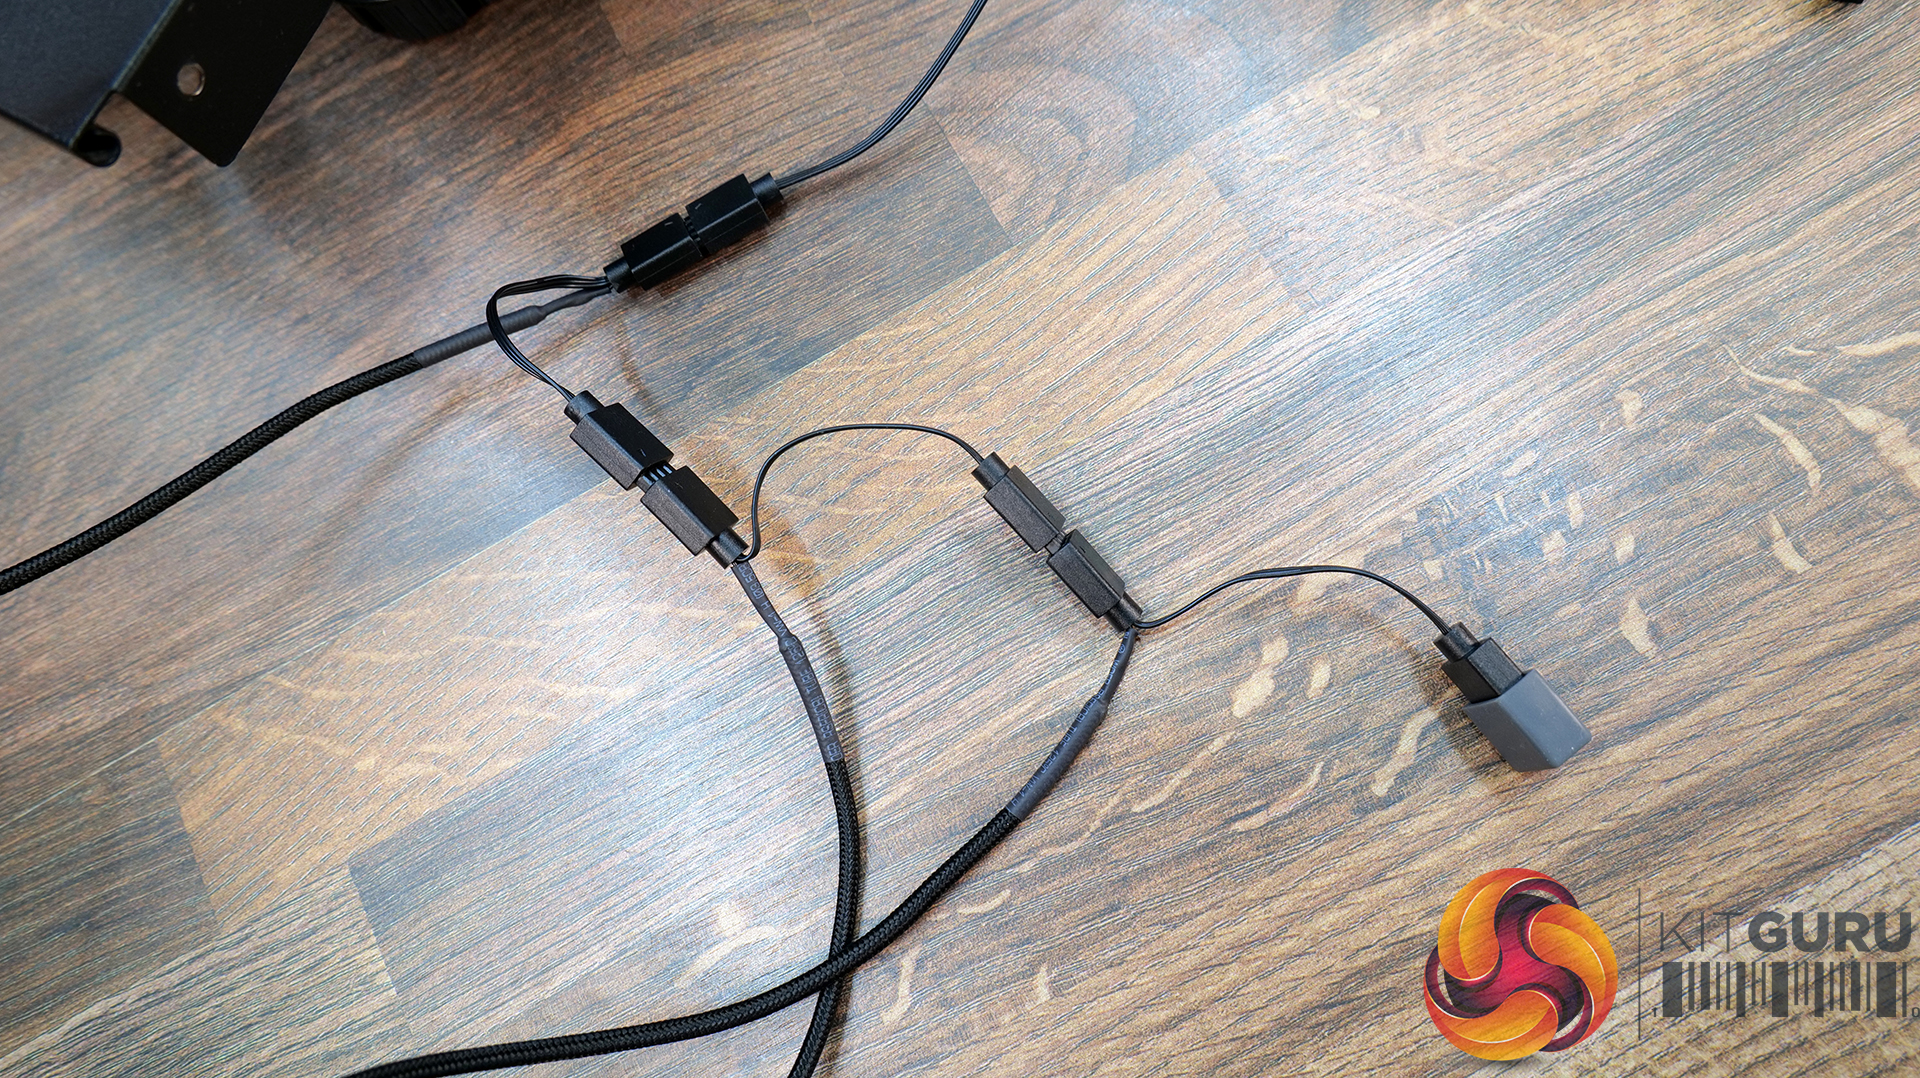
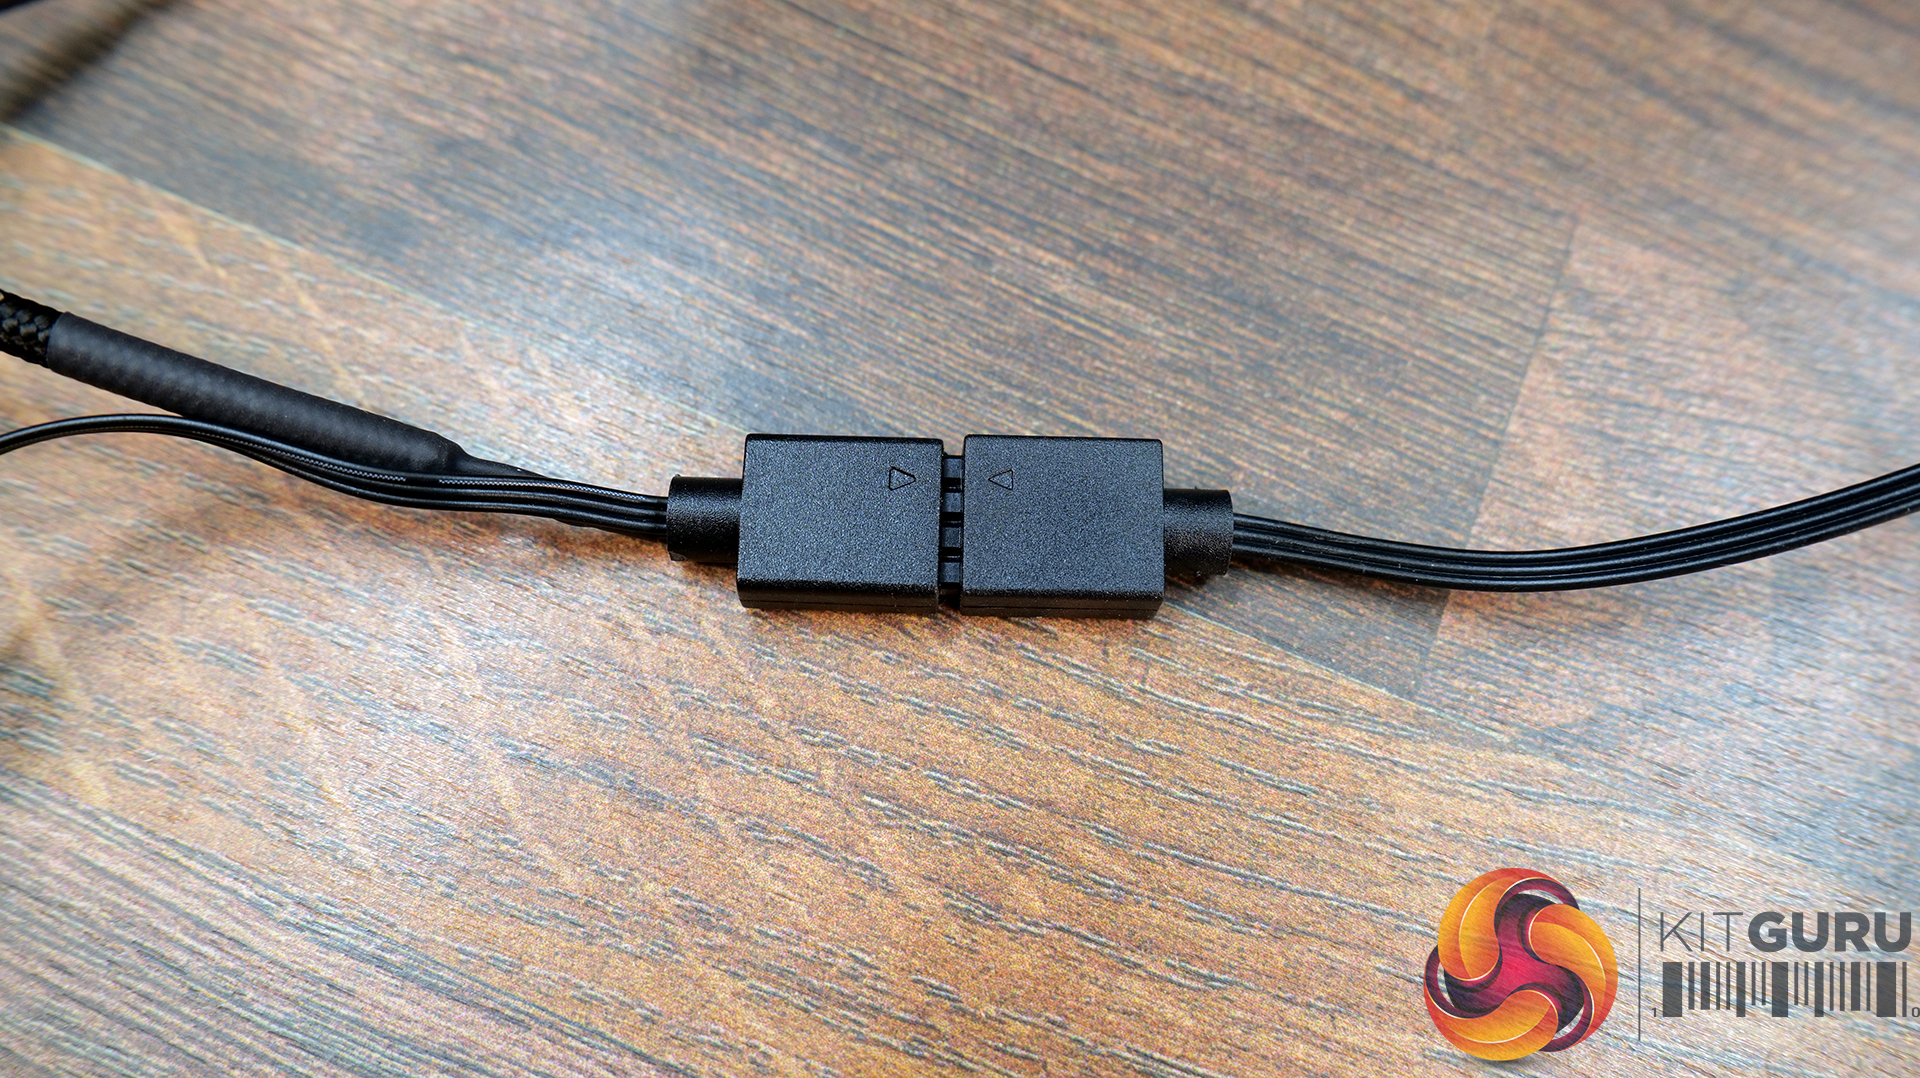
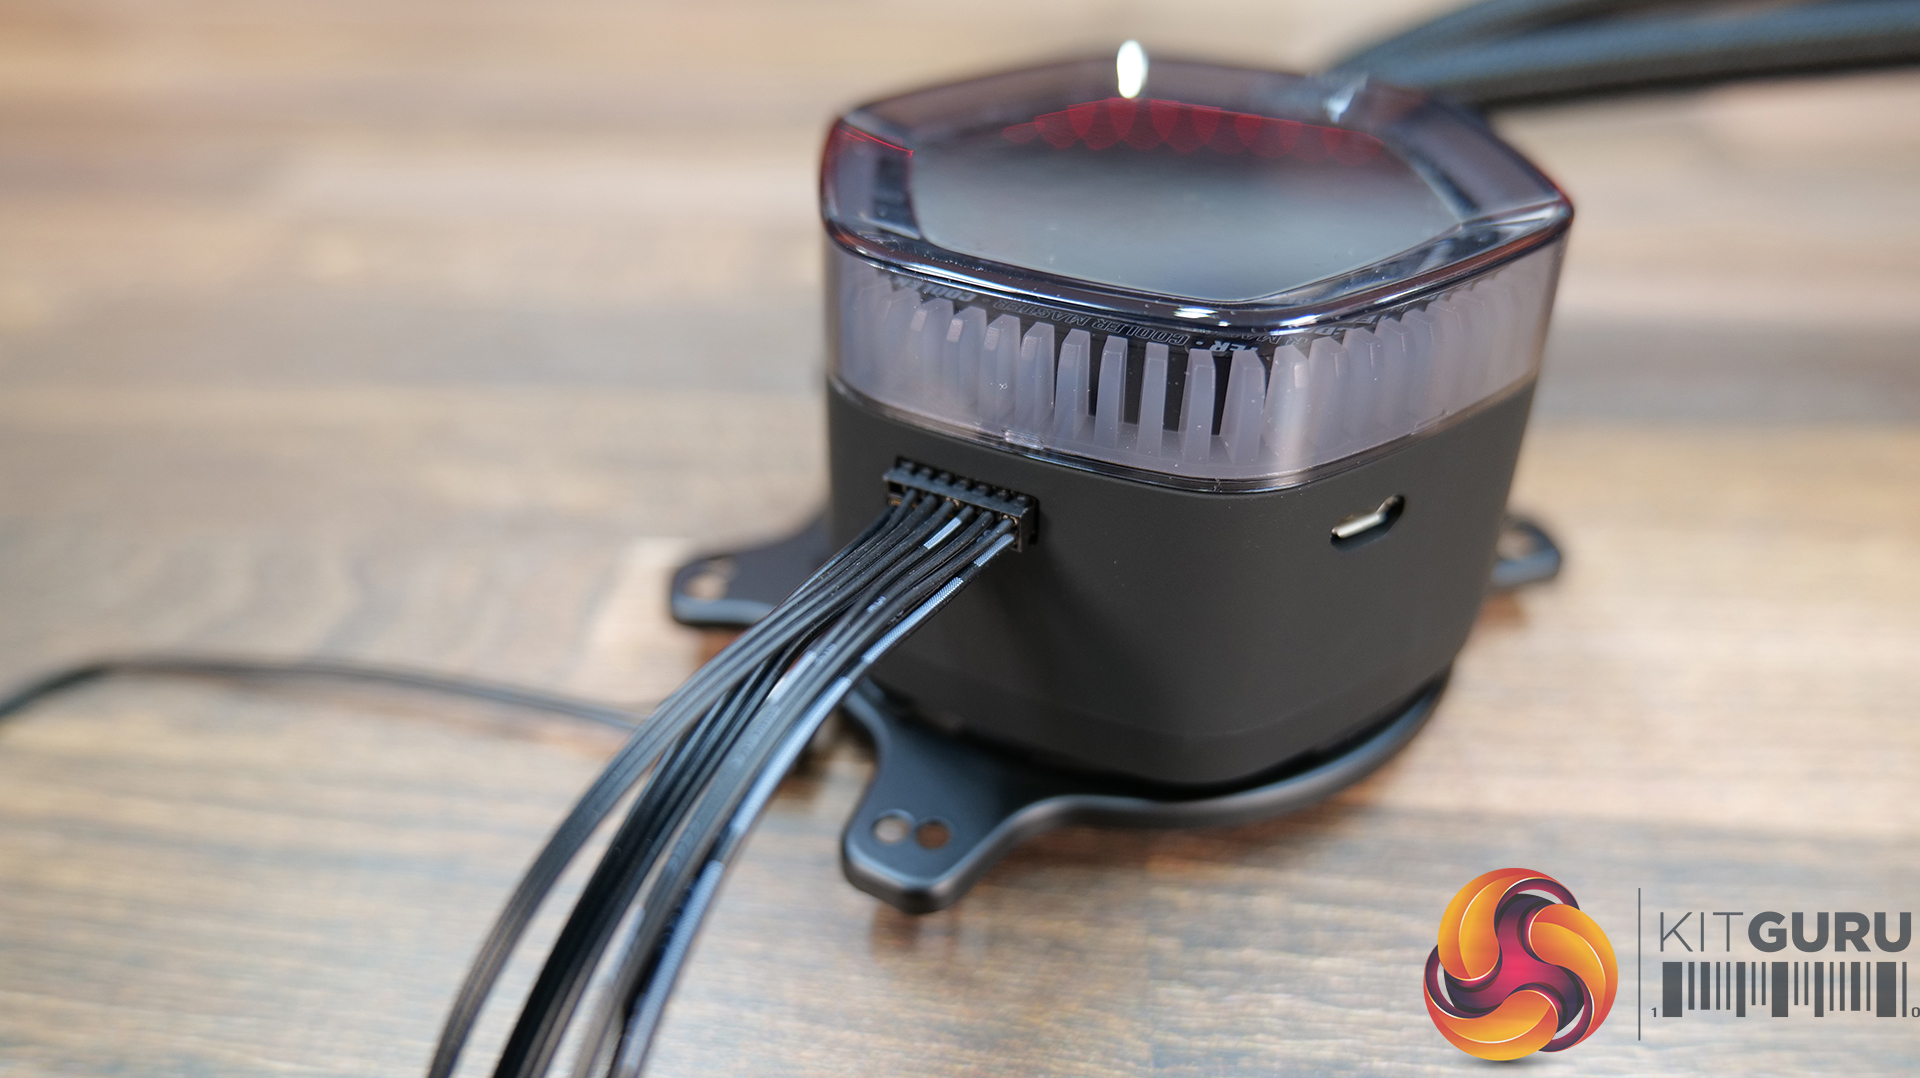
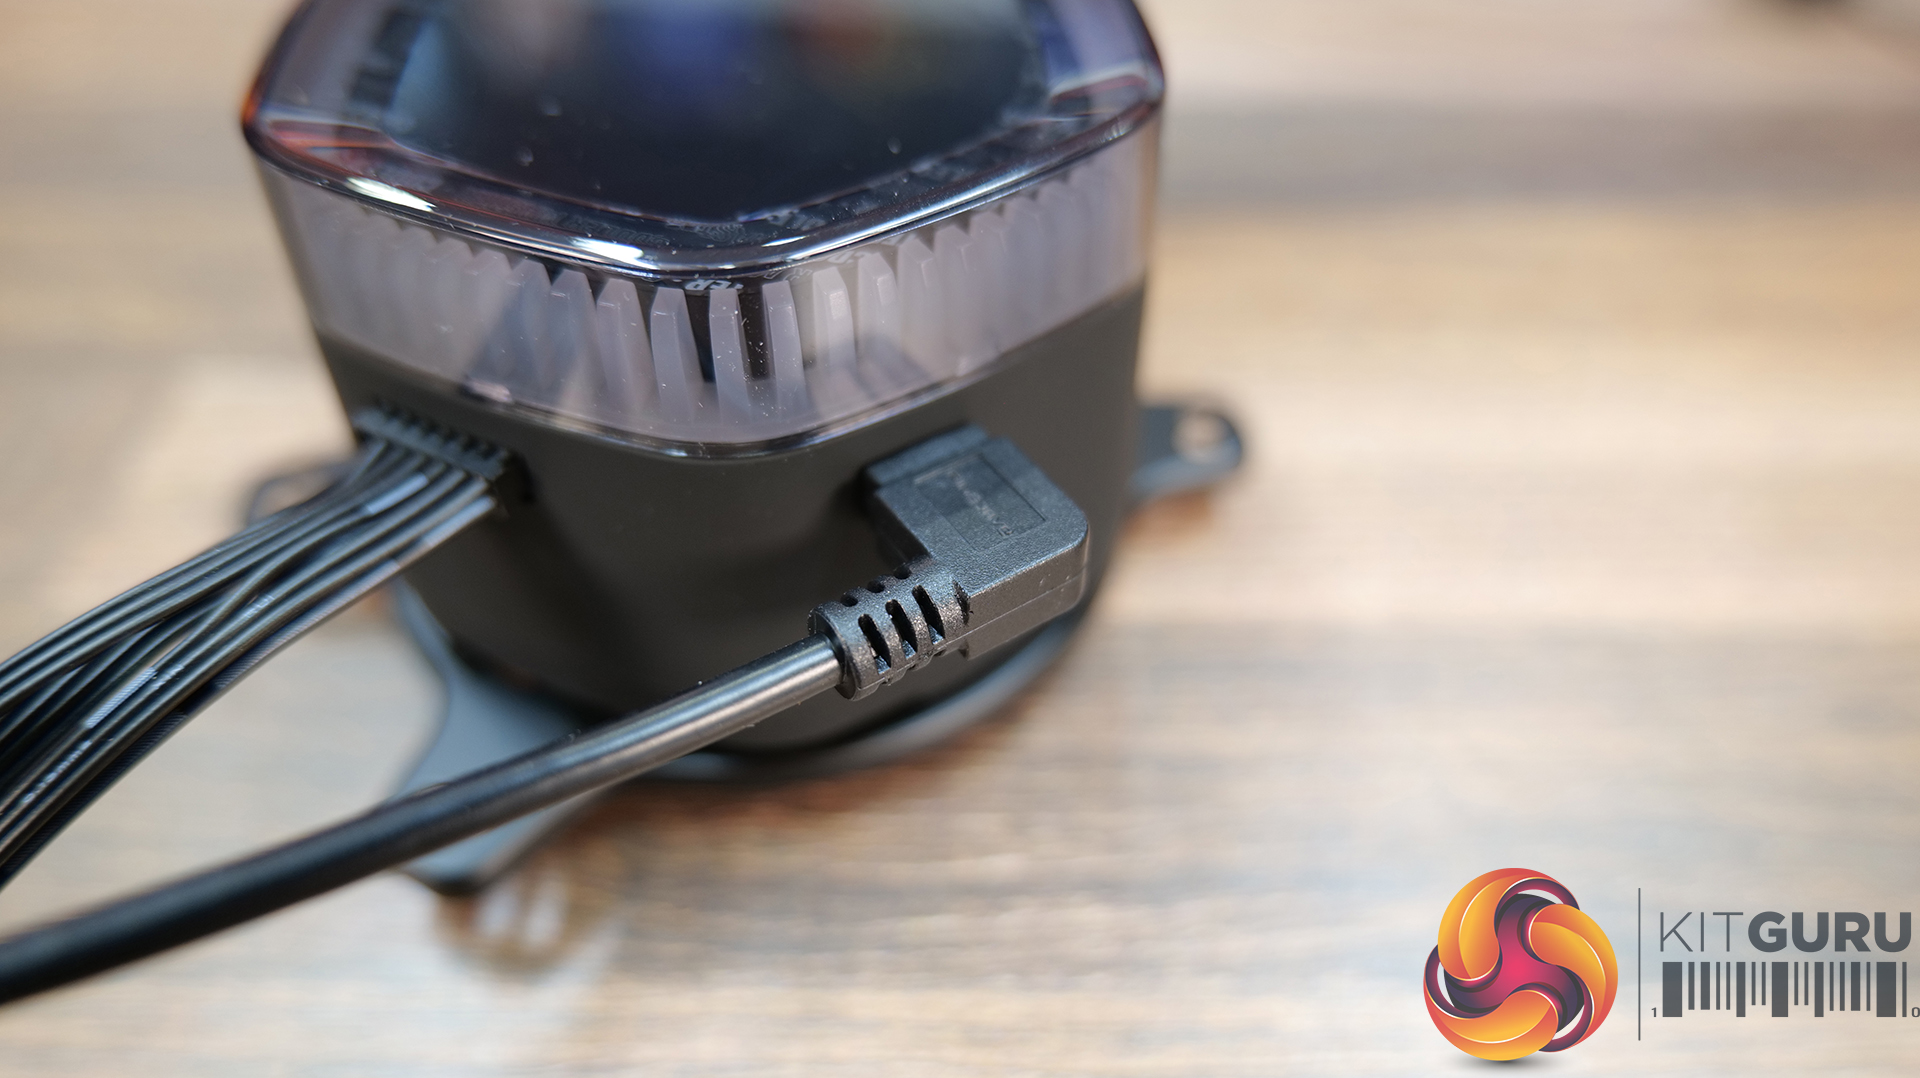
Next up is the wiring, connect the USB cable from the CPU block to a spare USB motherboard header, daisy-chain the fans RGB connections then connect the last RGB cable from the fans to the 3-pin ARGB connection coming from the CPU block.

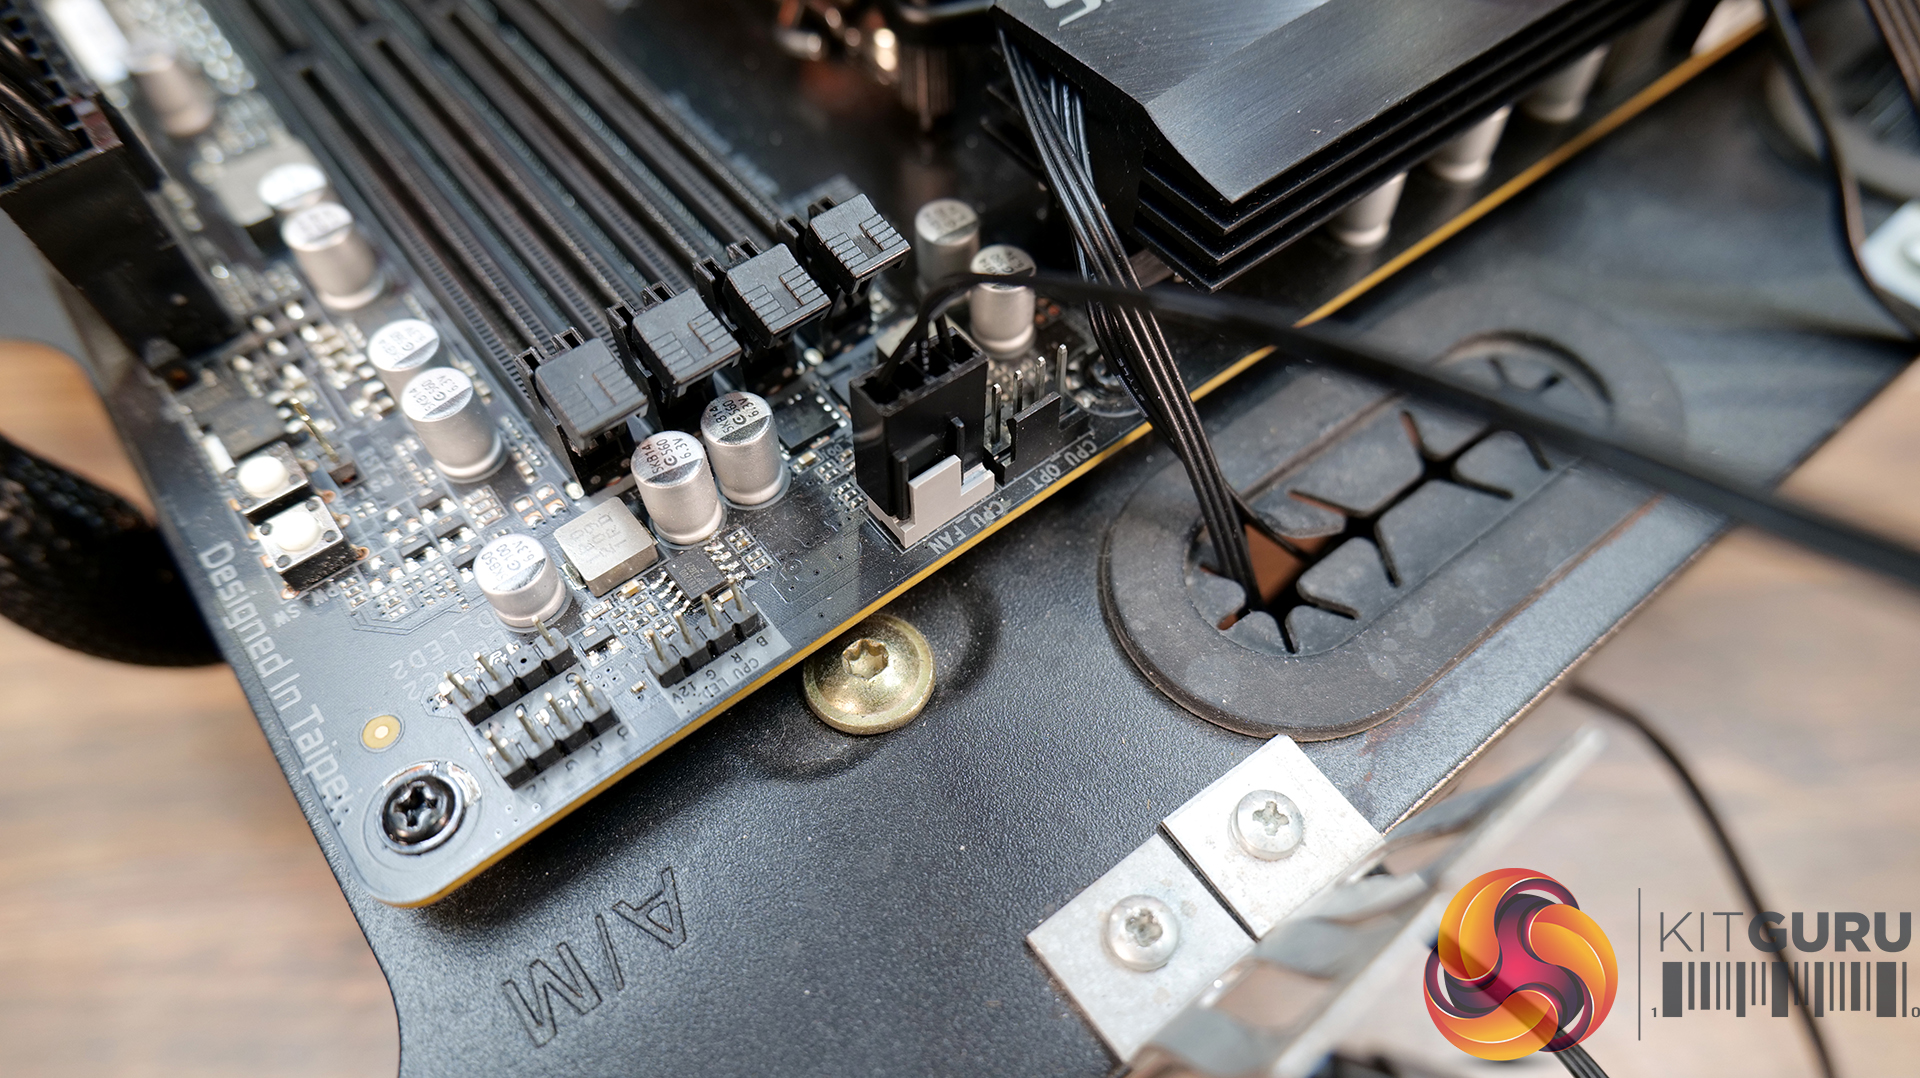
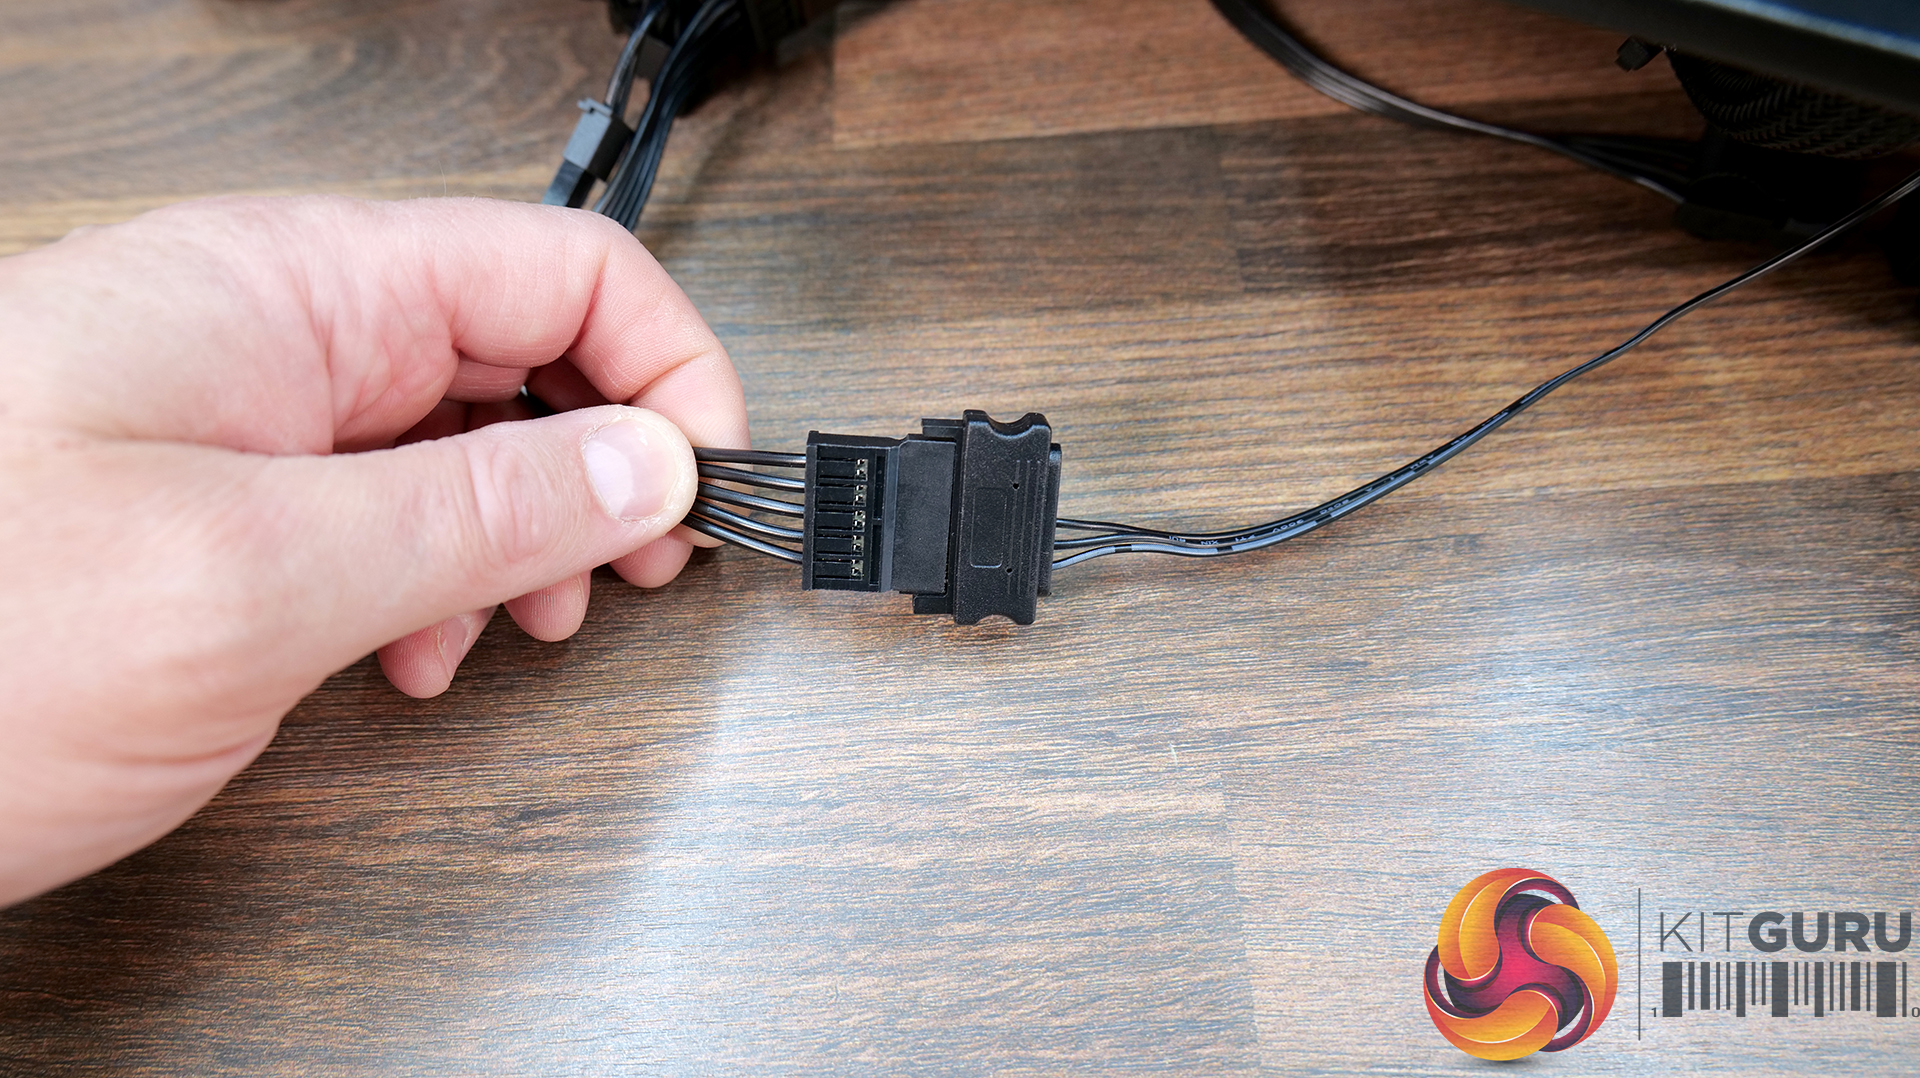
Then finally connect all three PWM cables from the fans to the female 4-pin PWM splitter coming from the CPU block. Connect the 4-pin PWM header connection from the CPU block to the CPU_FAN header on the motherboard and connect the SATA power from the CPU block to a spare SATA power connection on your power supply.
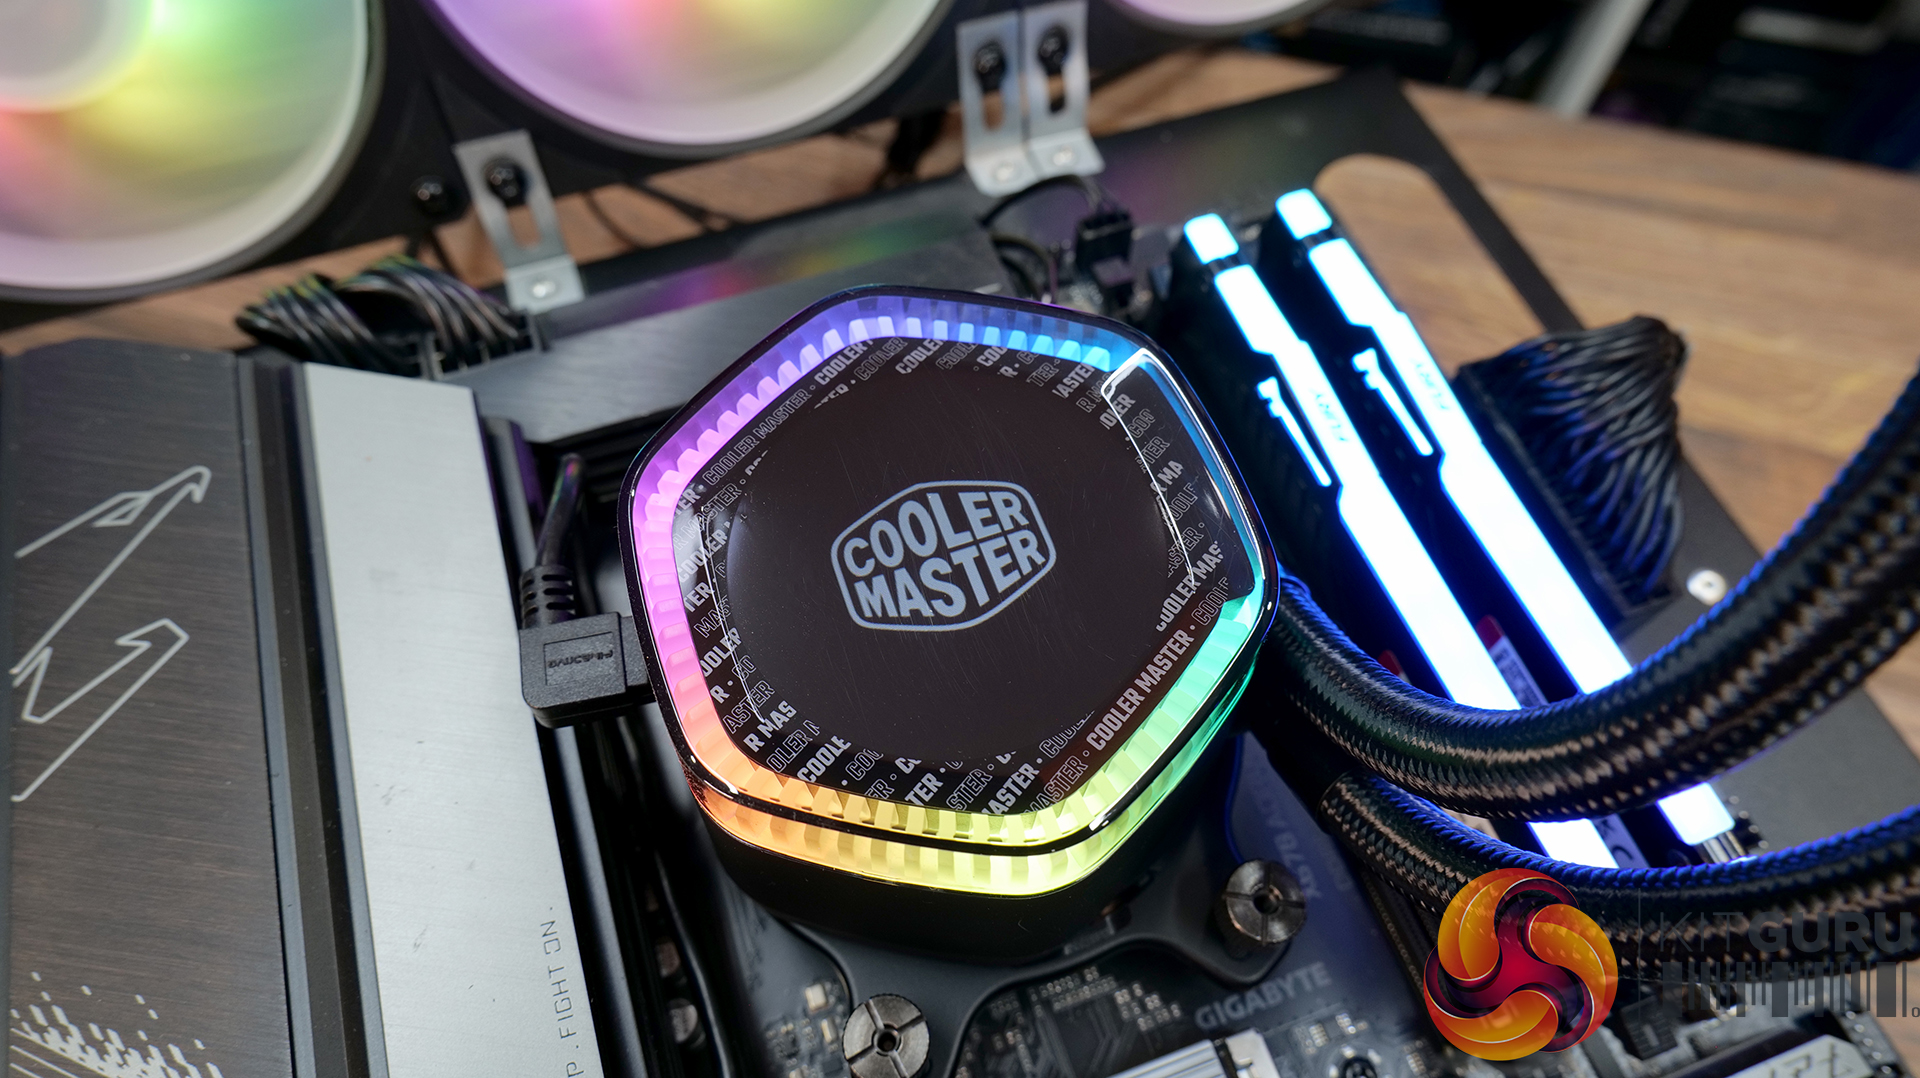
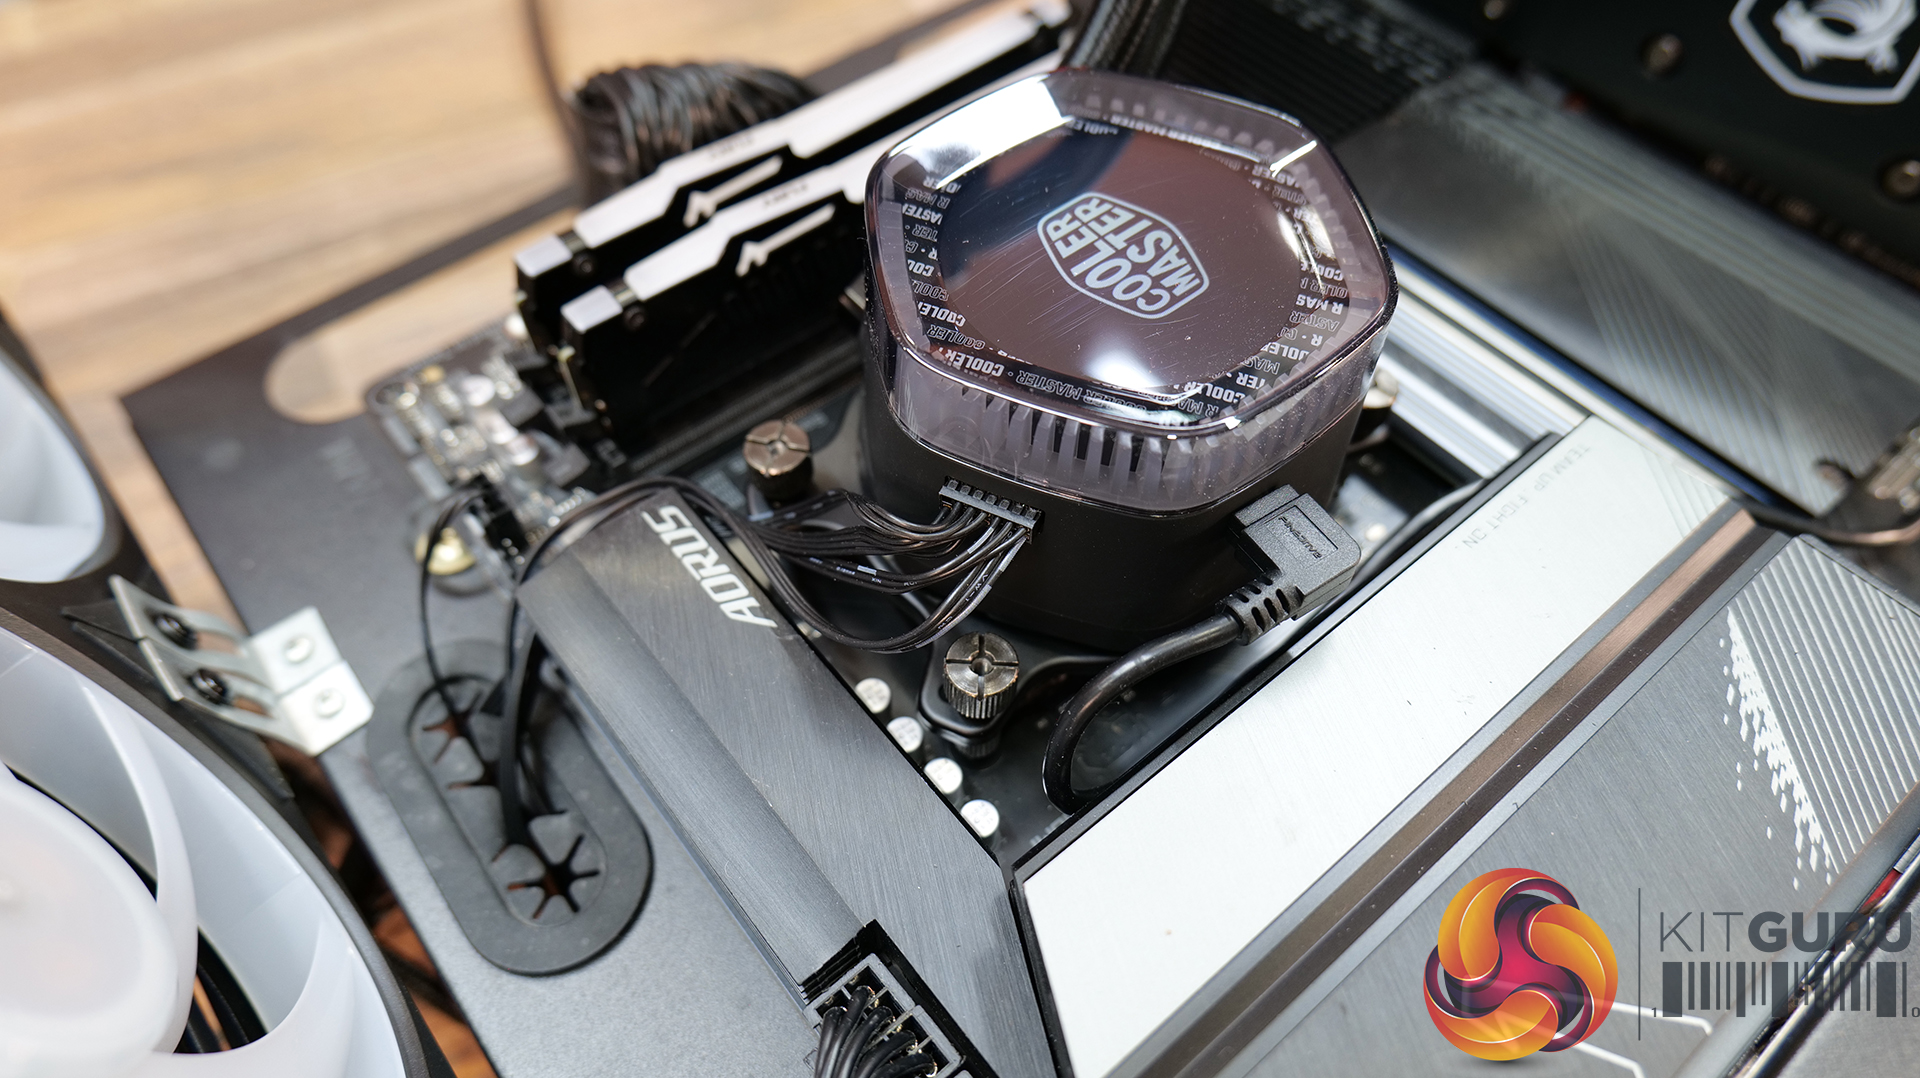
That is all the hardware and wiring installed, there is quite a chunk of wiring at the CPU block which looks a bit messy and the USB header cable at the CPU block can be a little short depending on the orientation of the CPU block, which makes it difficult to route the cable down the back of the motherboard tray to the motherboard UBS headers.
Cooler Master MasterCTRL Software:
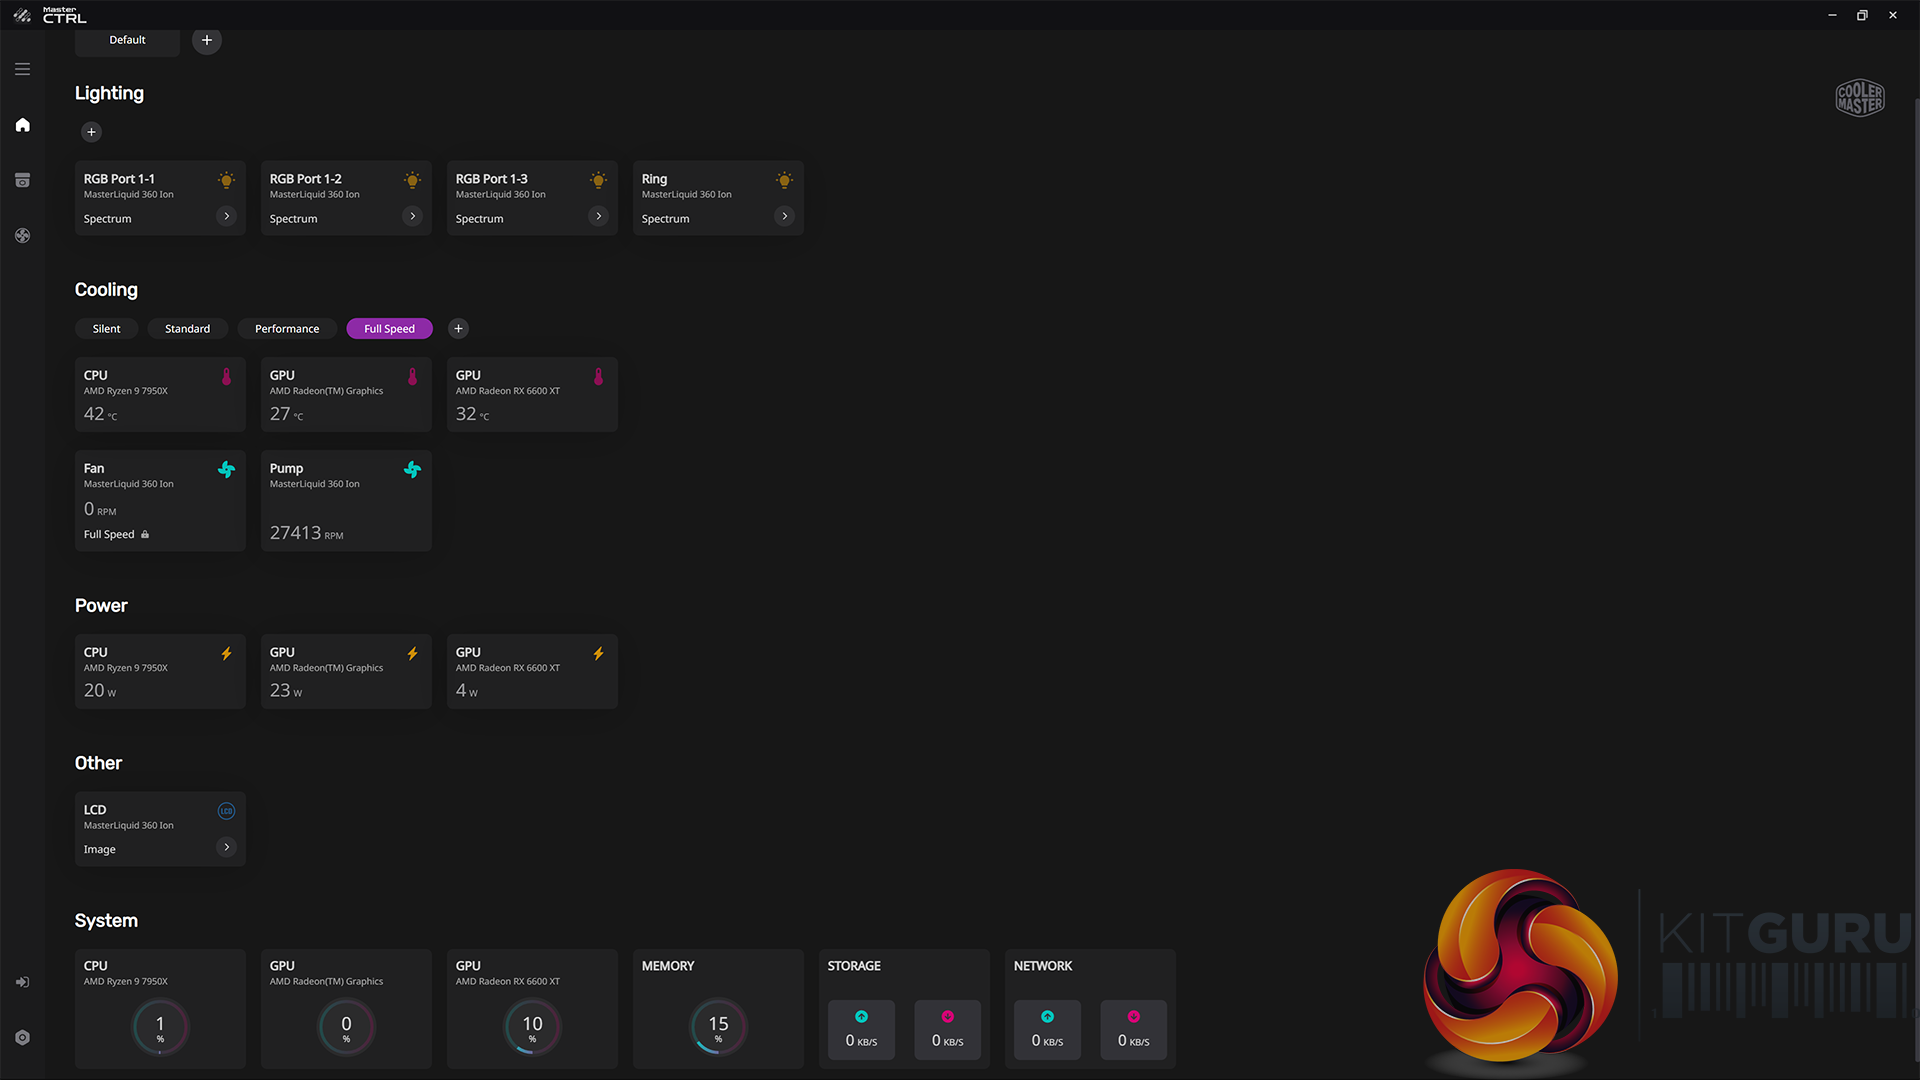
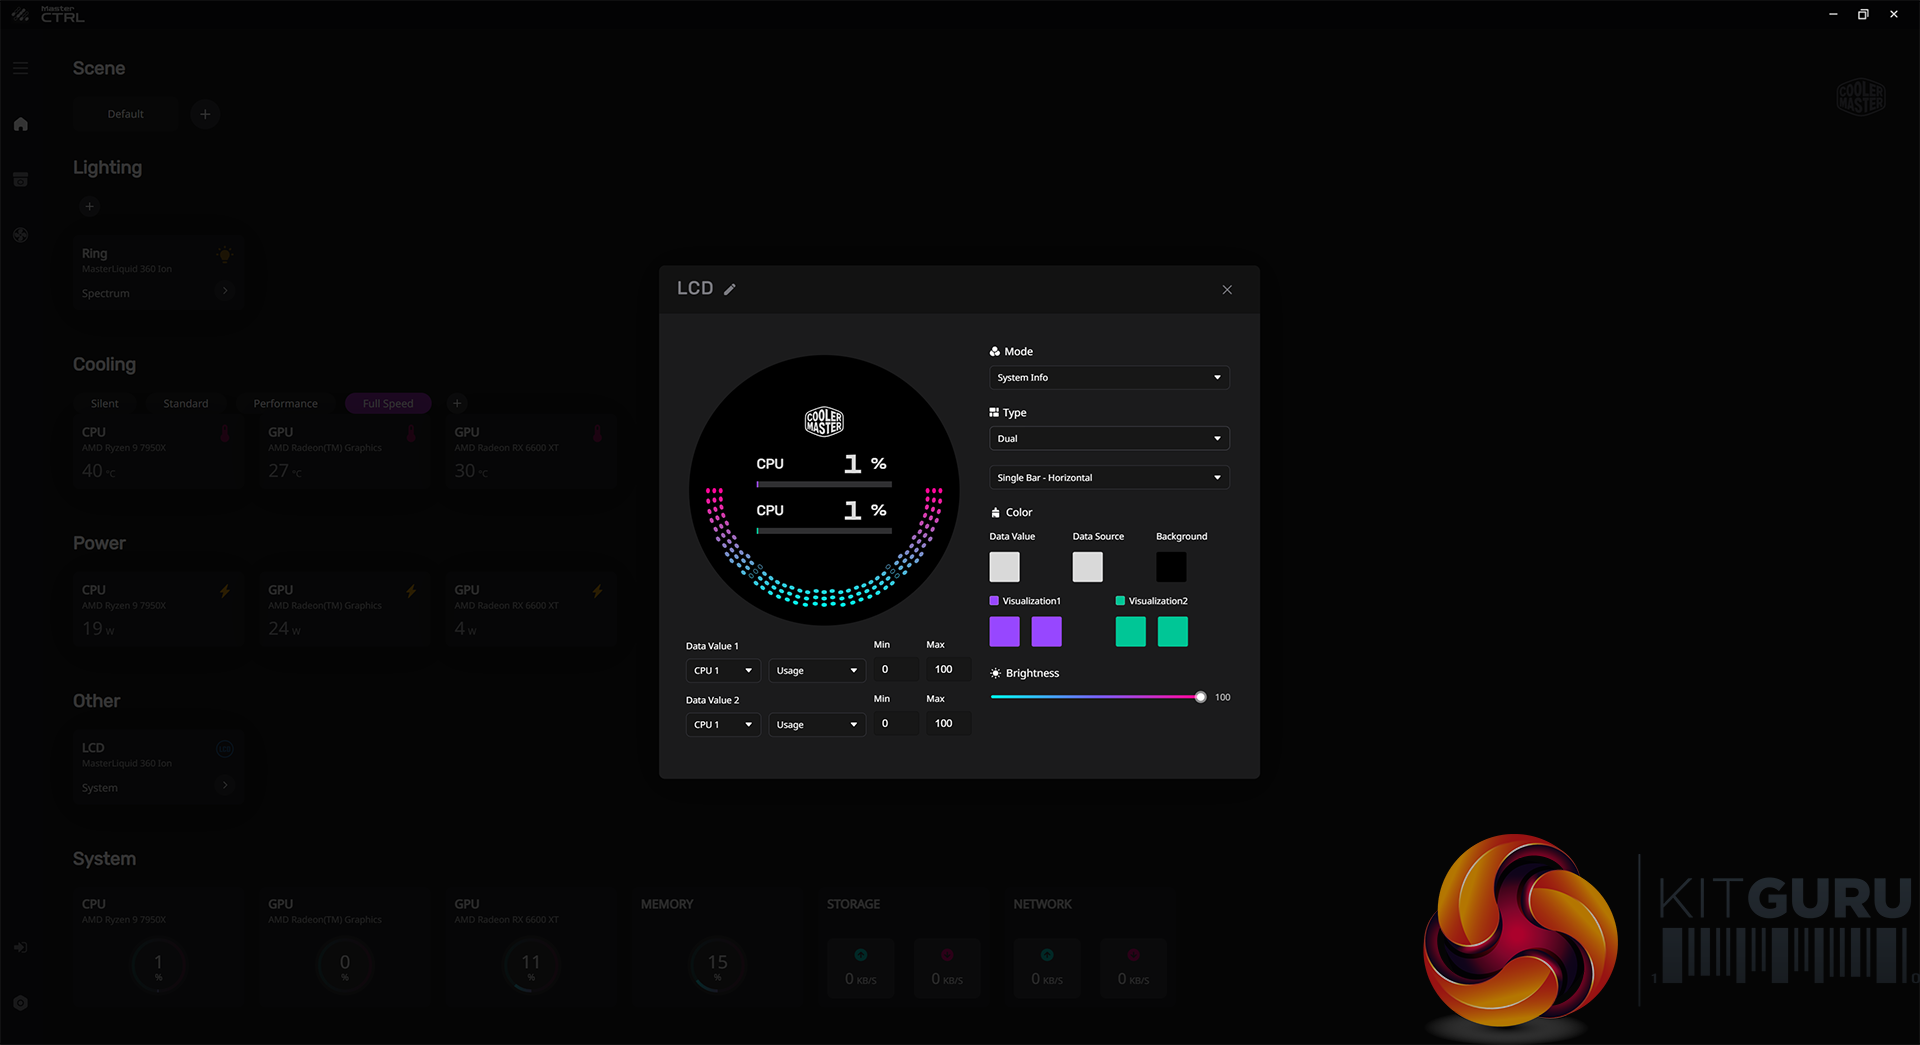

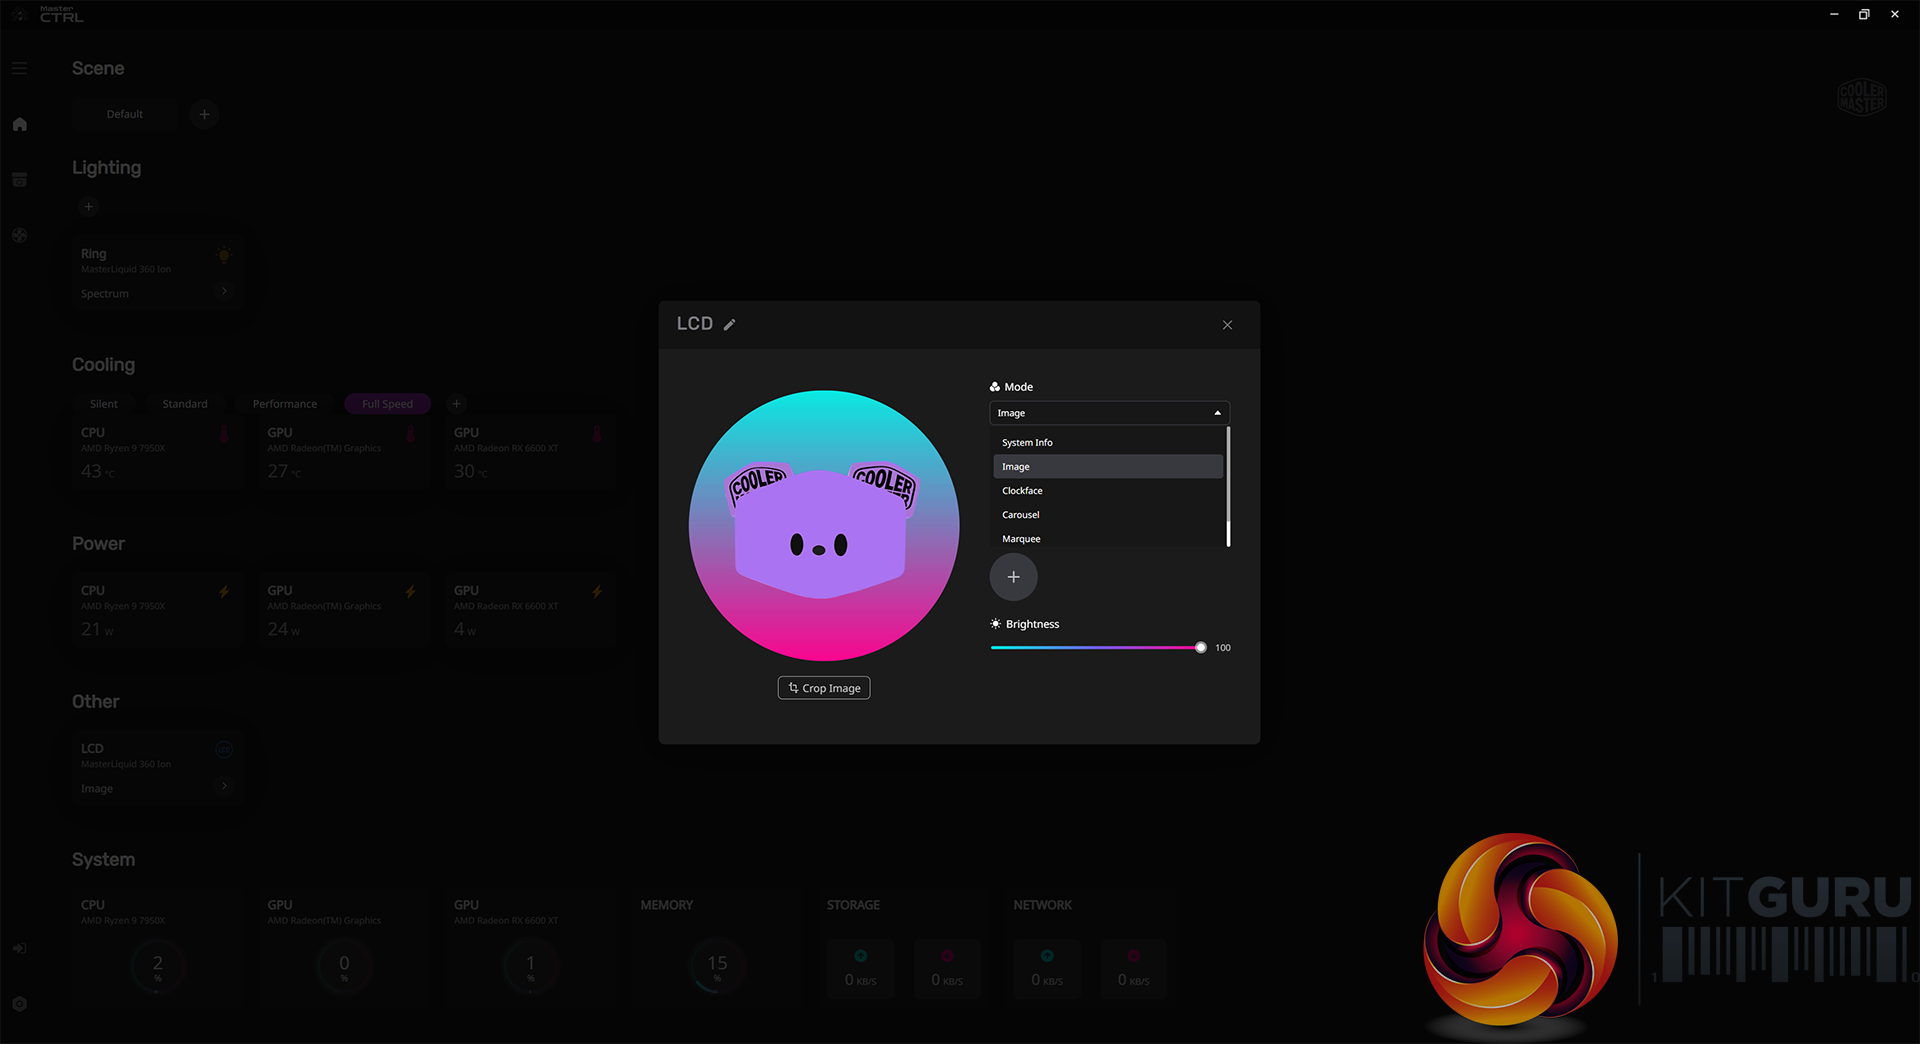
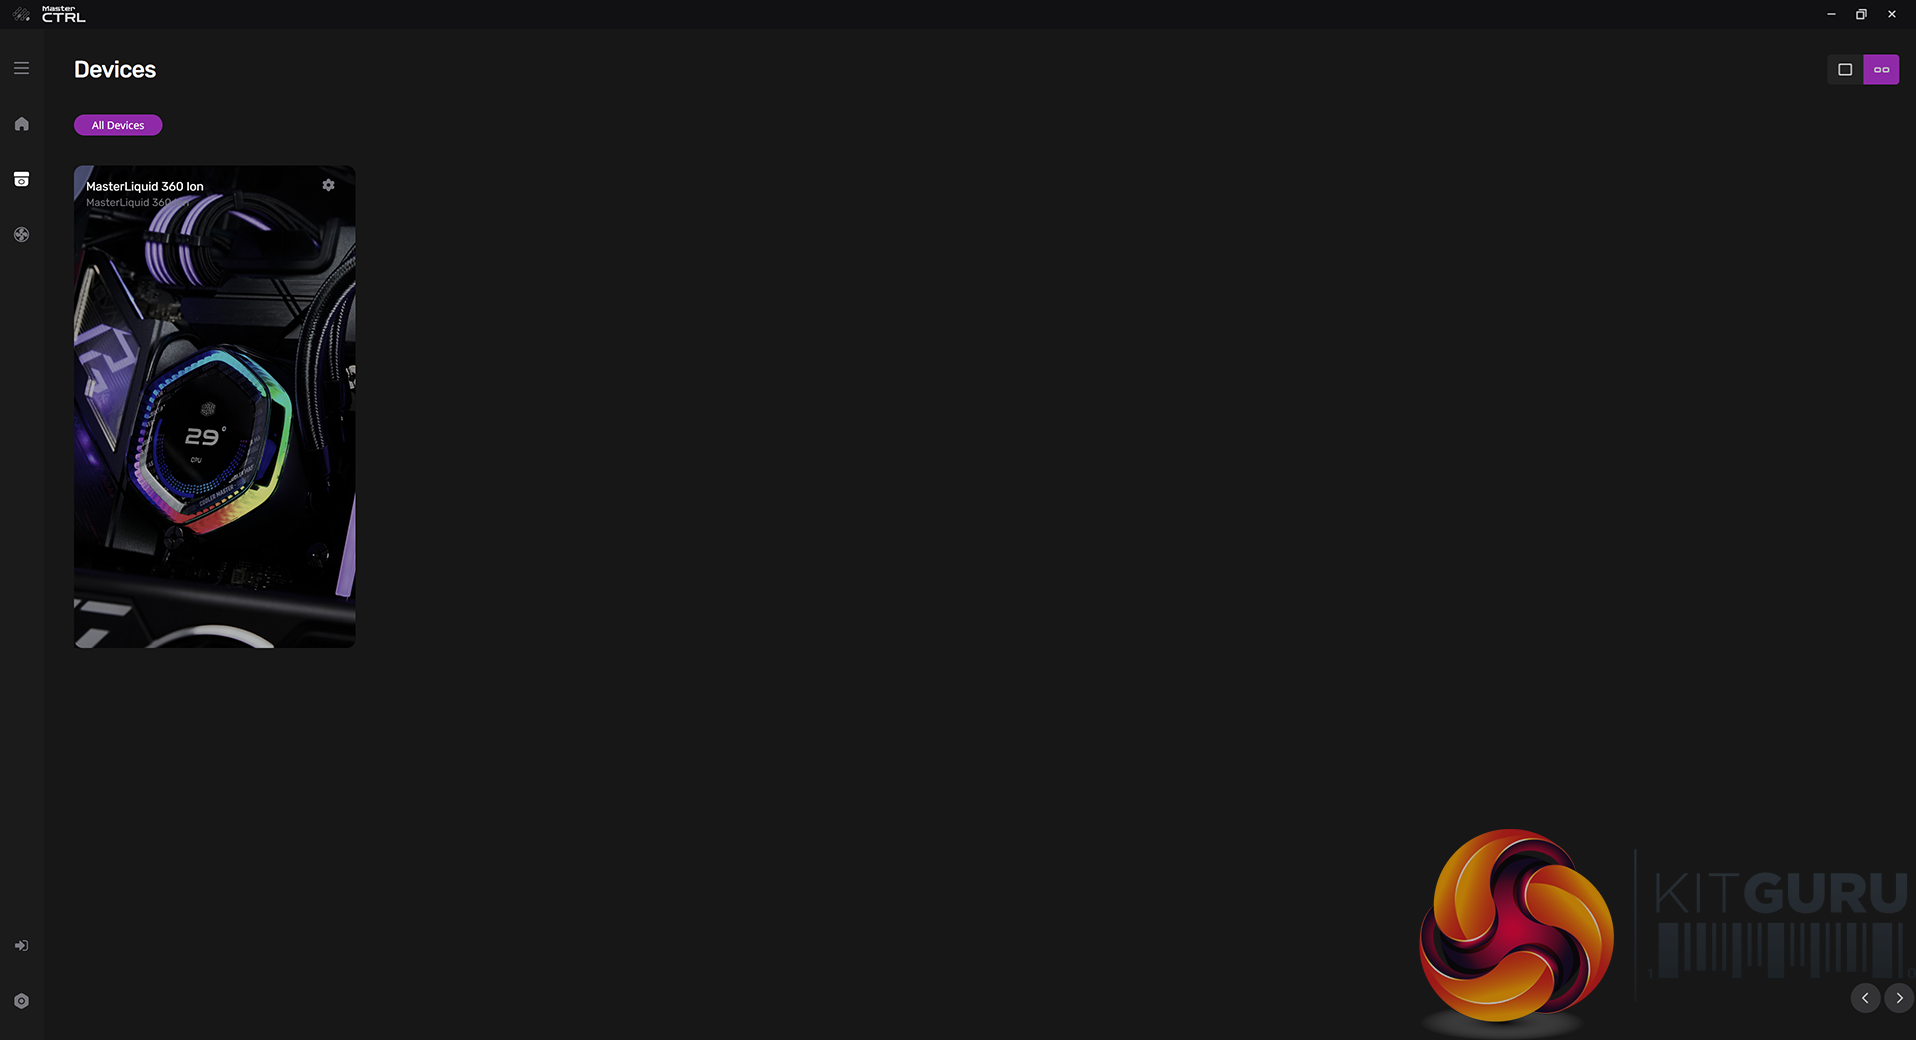
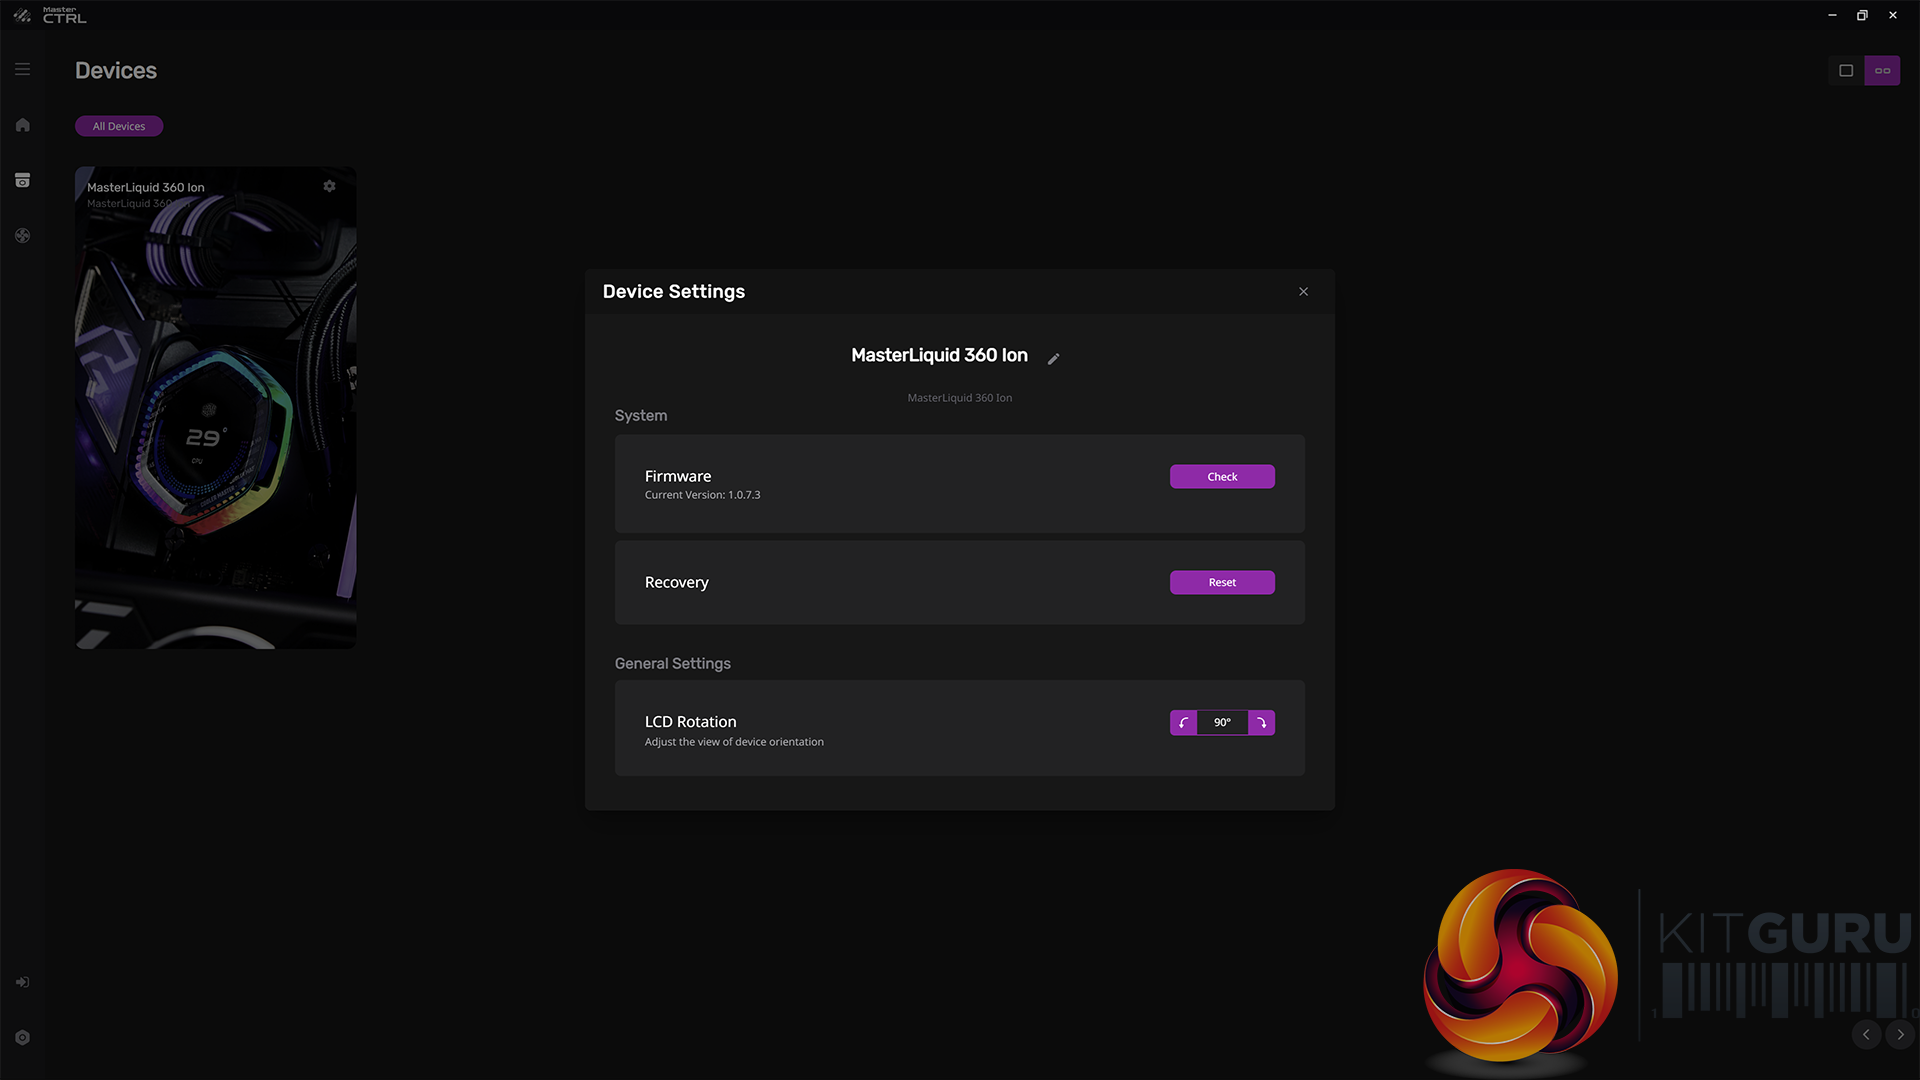
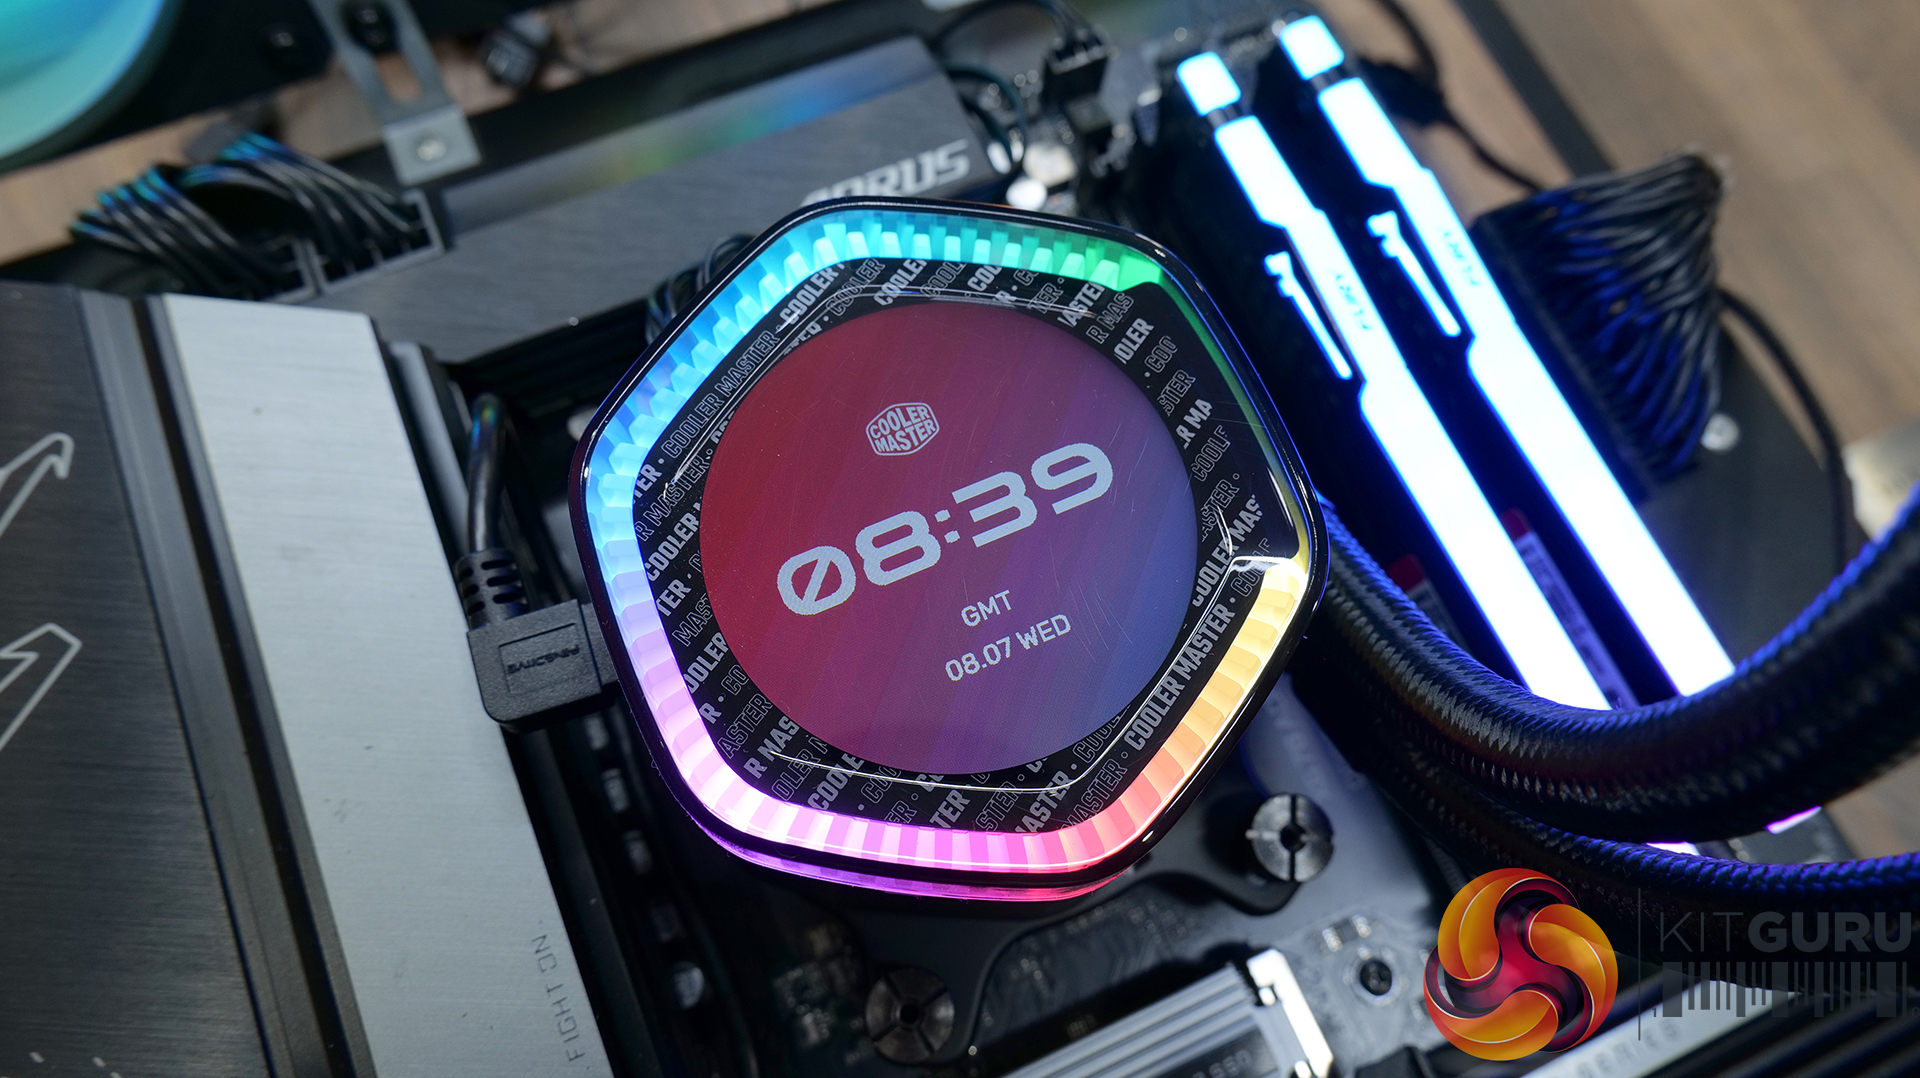
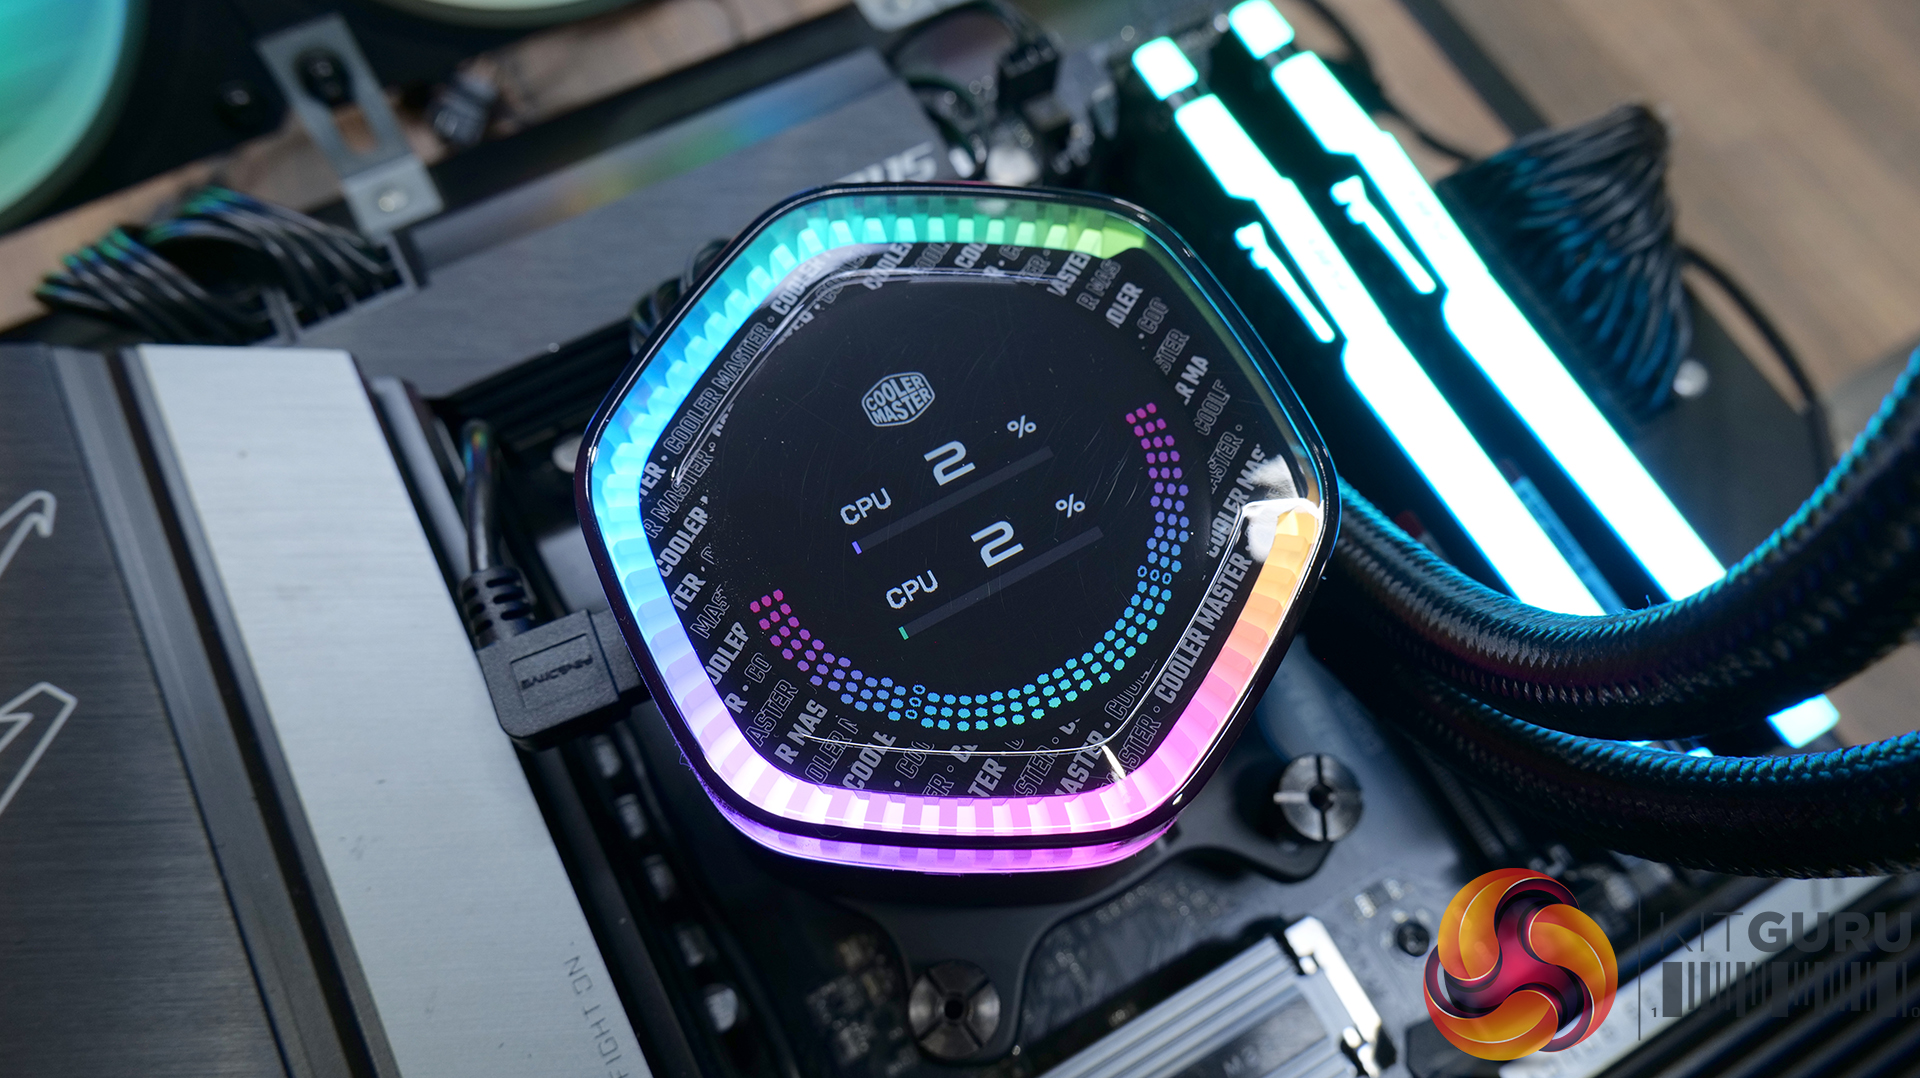
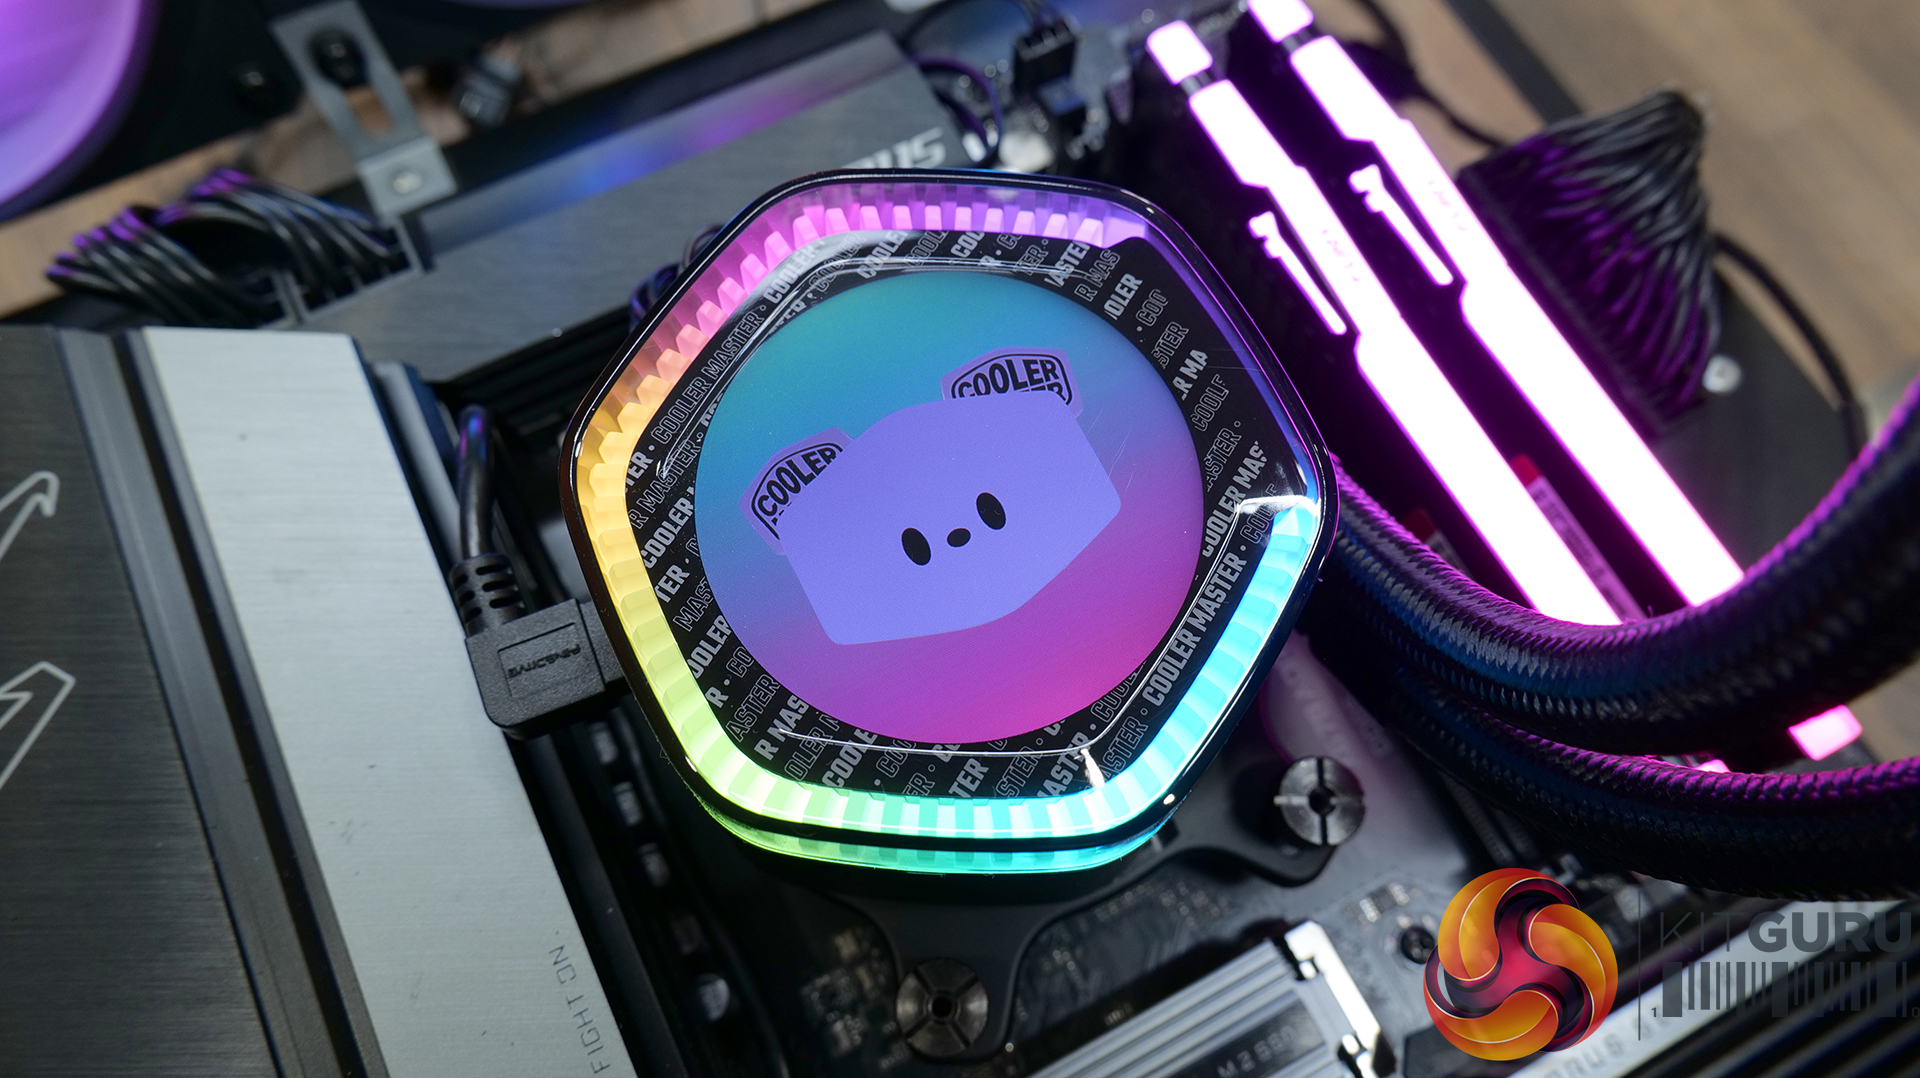
Inside the Cooler Master MasterCTRL software, you can adjust the settings of the cooler such as RGB lighting effects, what's displayed on the LCD and even the rotation of the screen. Other system information such as system temperatures, CPU/GPU load and other useful stuff can be displayed on the screen. It's easy to download and use and it seems to be quite stable, unlike some other RGB/hardware control software that can be quite fussy at times.