Installing the Corsair iCUE Link Titan RX is quite easy but there are several cables to connect to the iCUE Link hub which increases the difficulty and time to complete the process. Here we show the installation on our test bench system which is AM5-based, the installation process on other platforms is very similar and equally time-consuming.
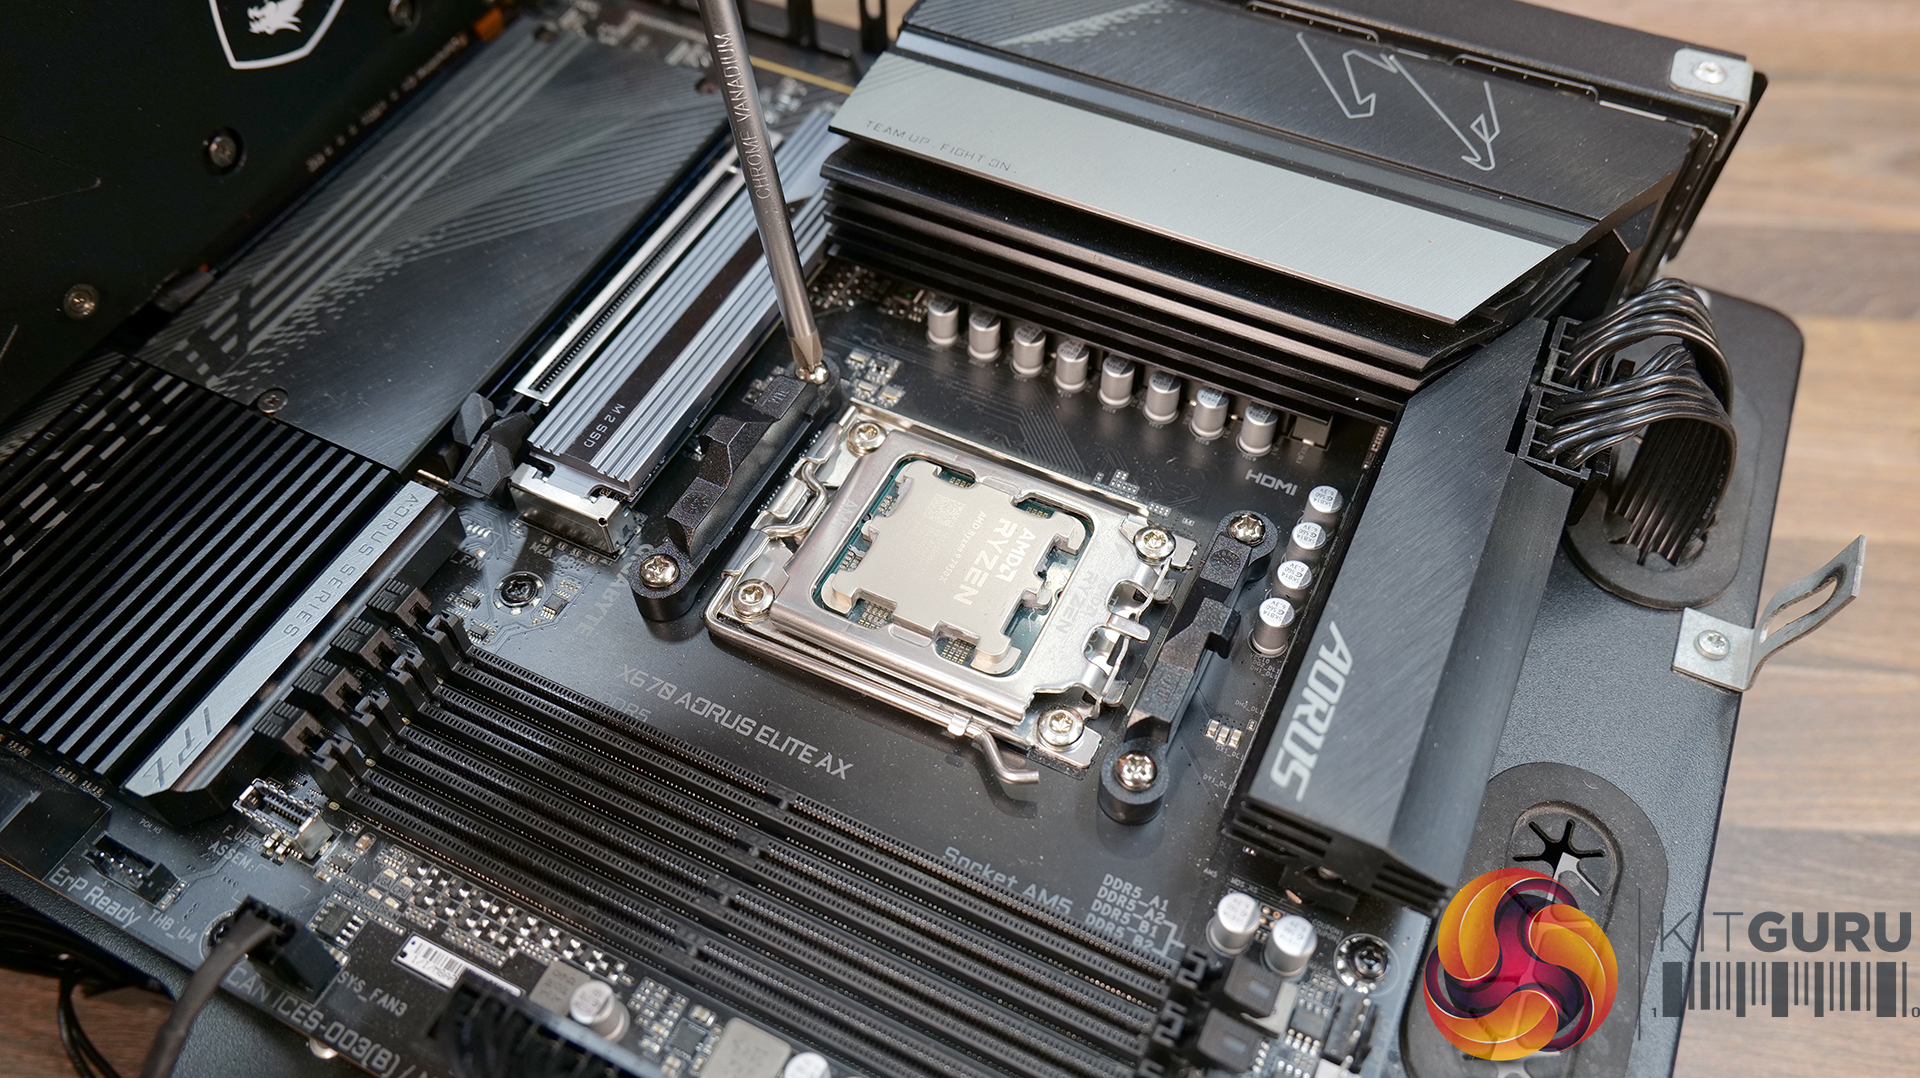

First remove the stock AMD upper mounting brackets from the motherboard. If it’s the first time installing there's no need to apply thermal paste to the CPU as Corsair ships the cooler with thermal compound pre-applied. However, we use Arctic MX-6 for testing so the stock thermal compound is removed and we apply it directly to the CPU heat spreader.
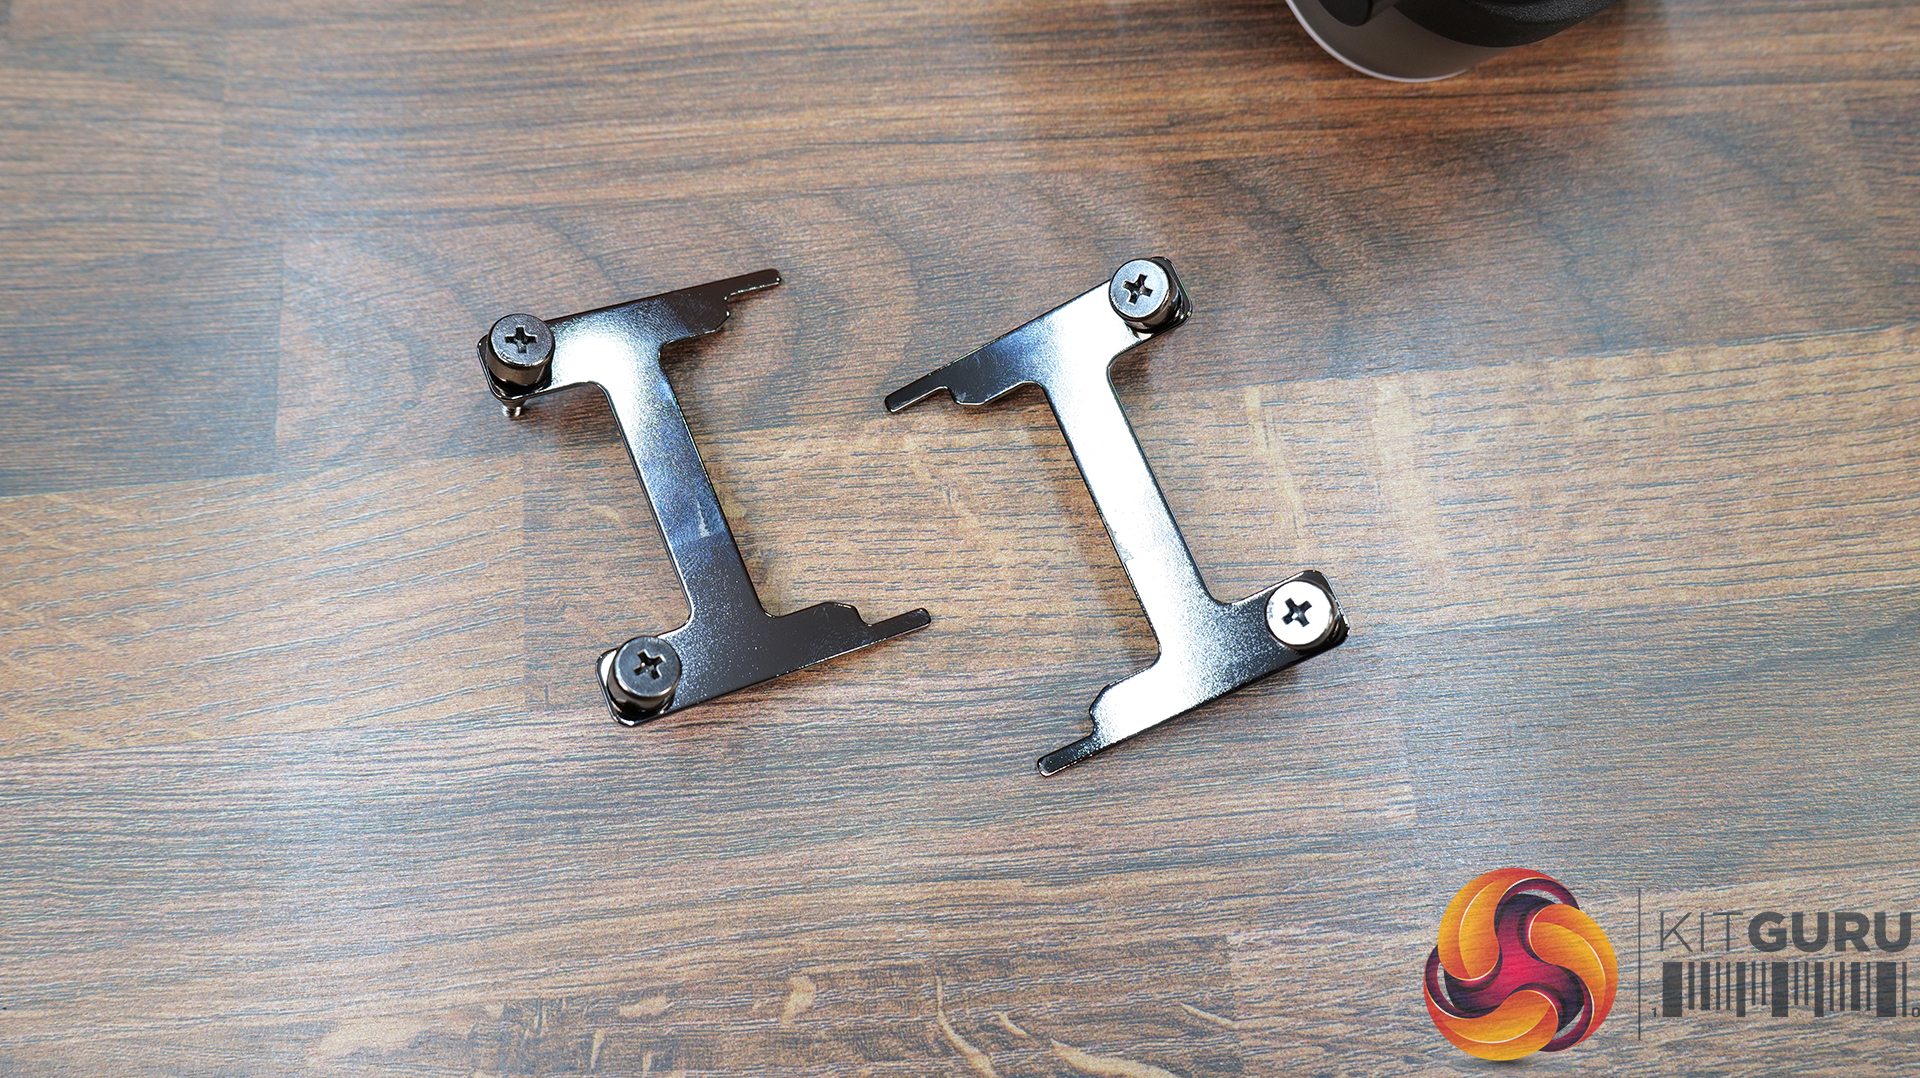
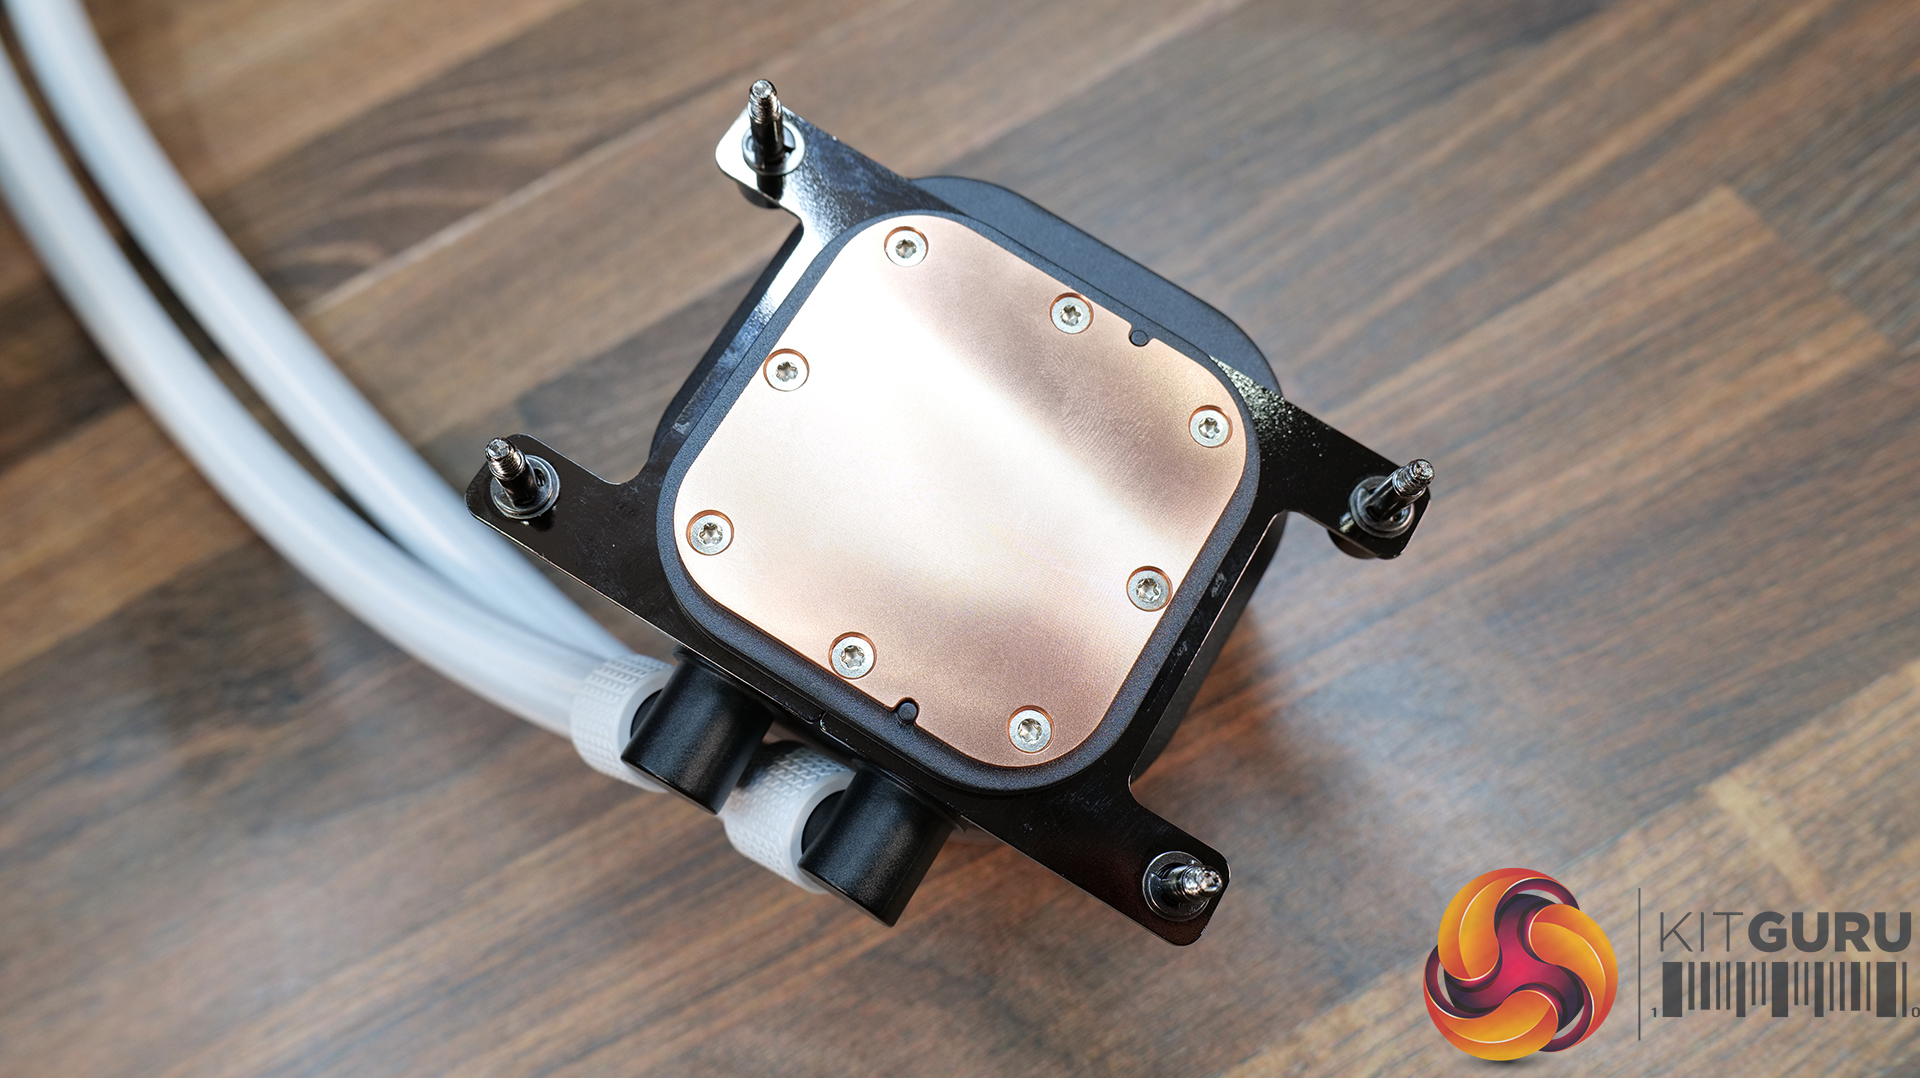
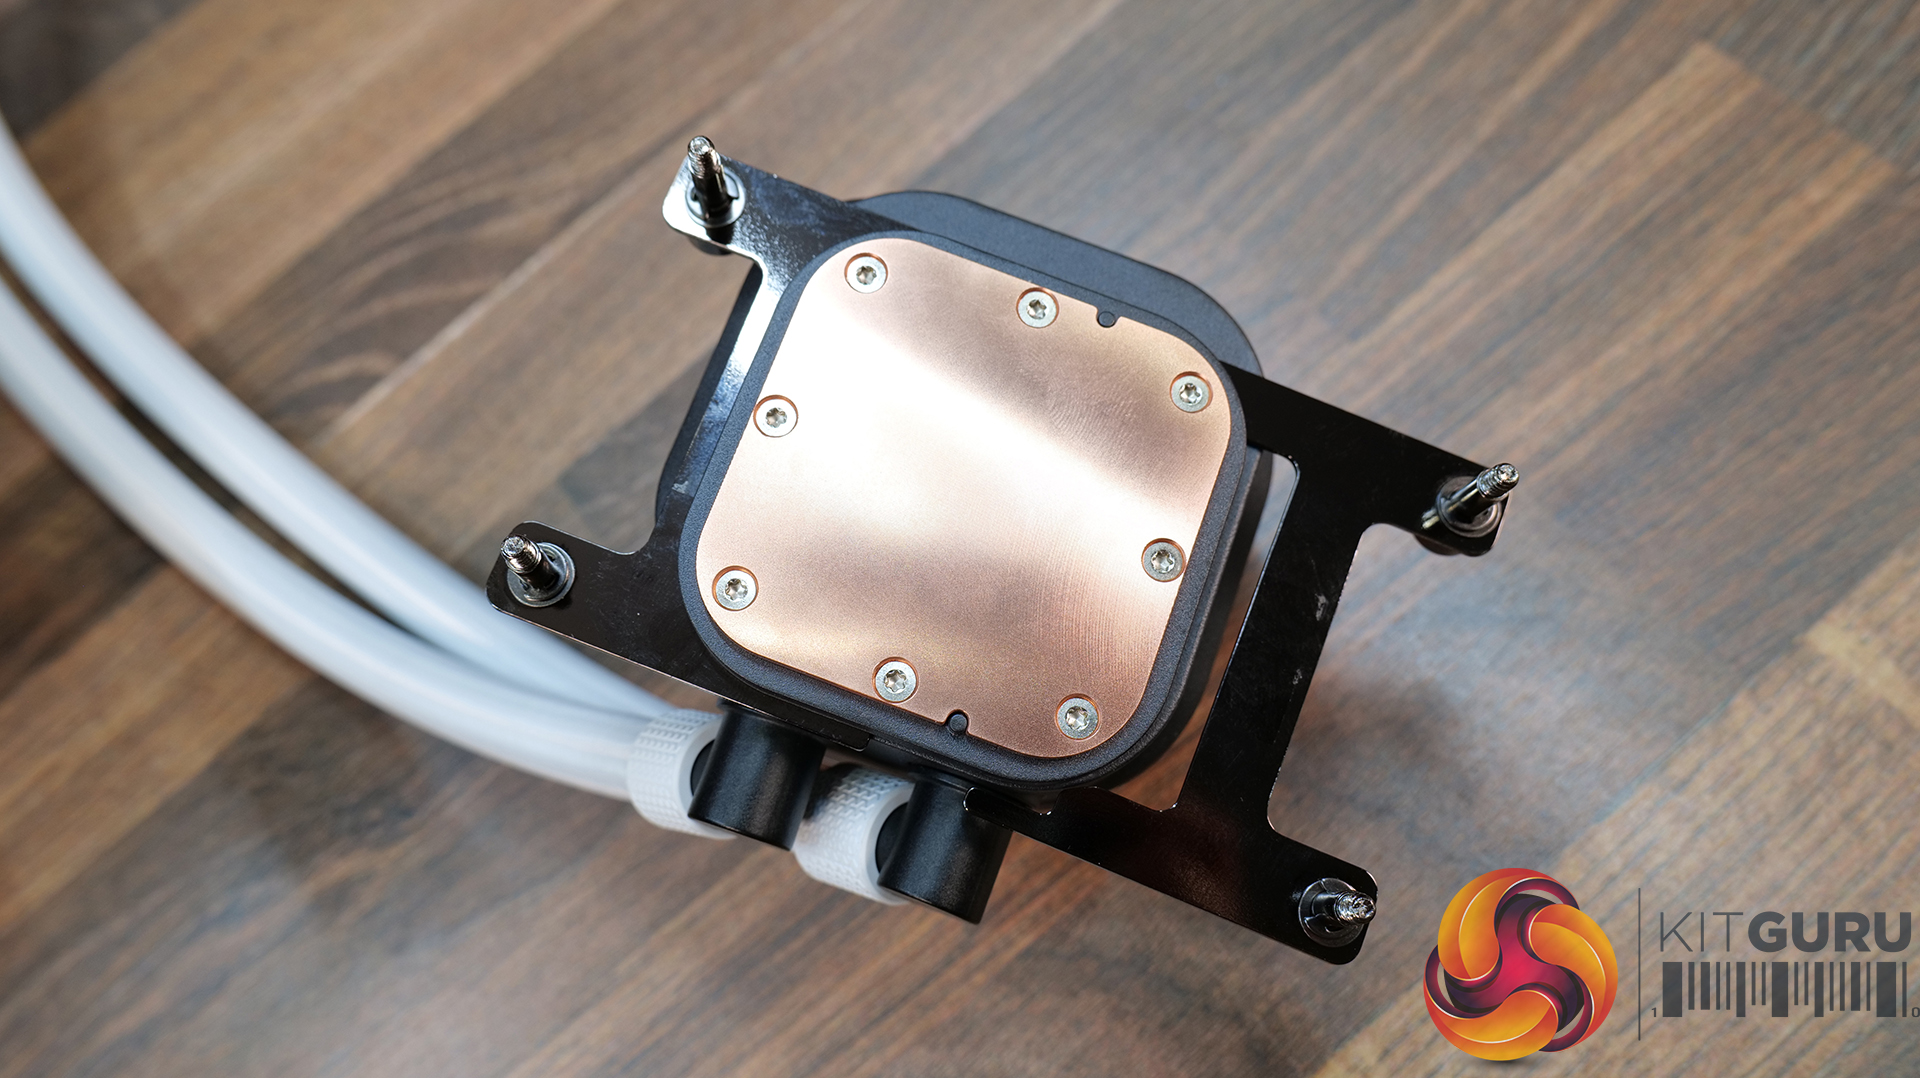
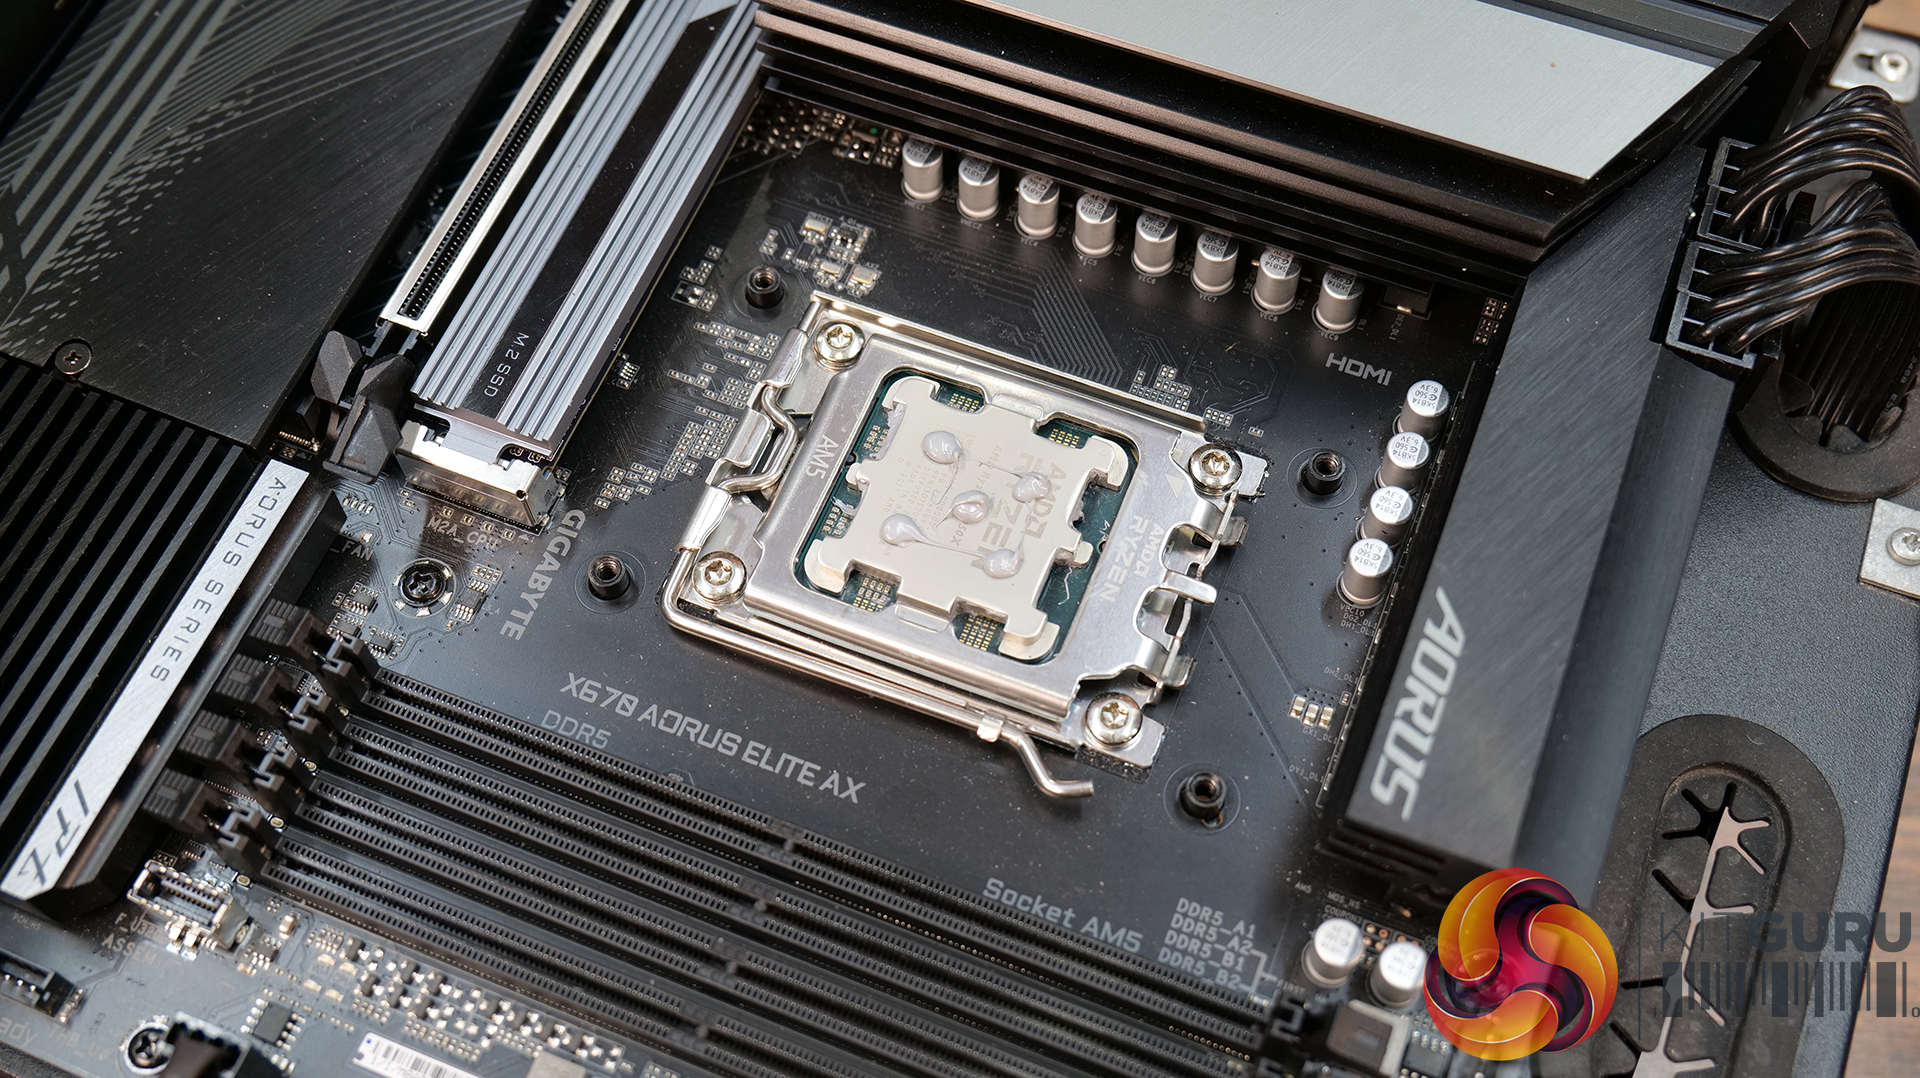
Next, locate the AMD upper mounting brackets from the accessories pack and slide them into grooves on the CPU block. They slot in place very easily and come with spring-loaded screws pre-installed which is a useful time saver.
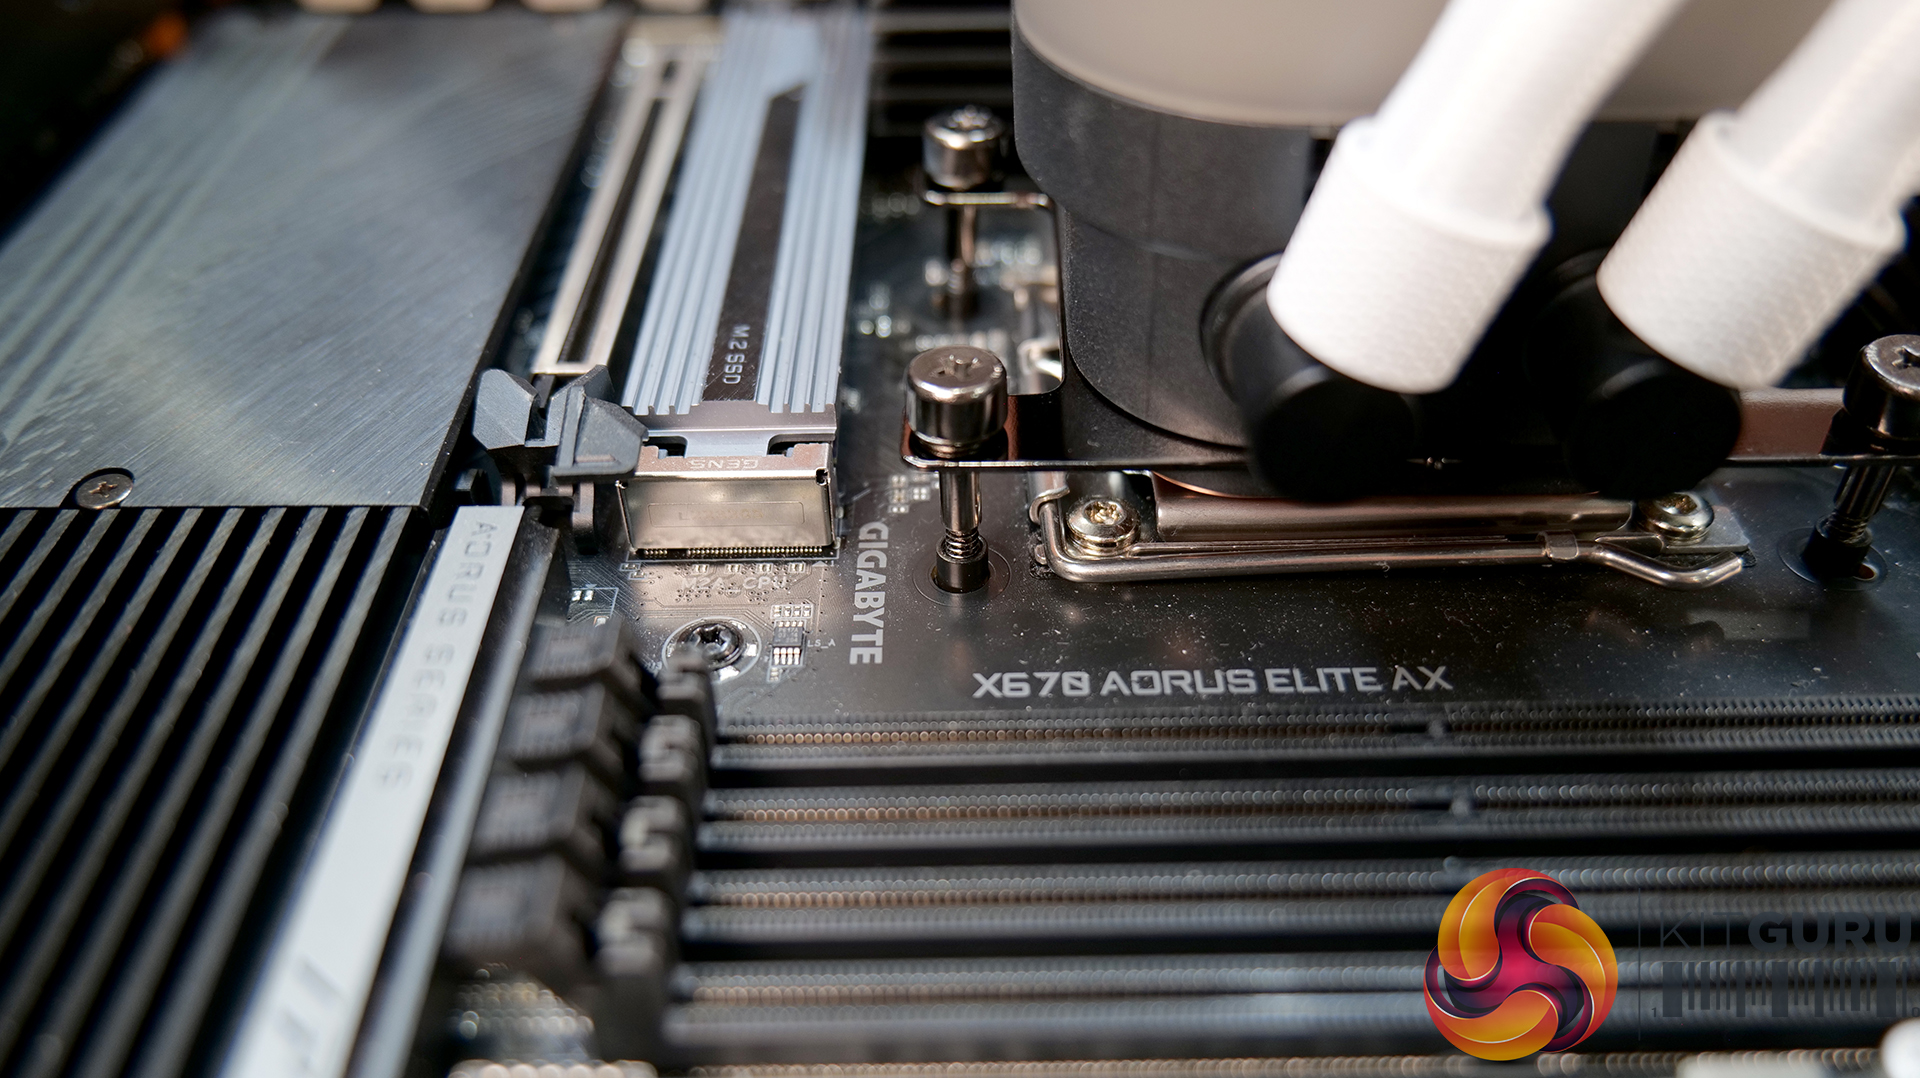
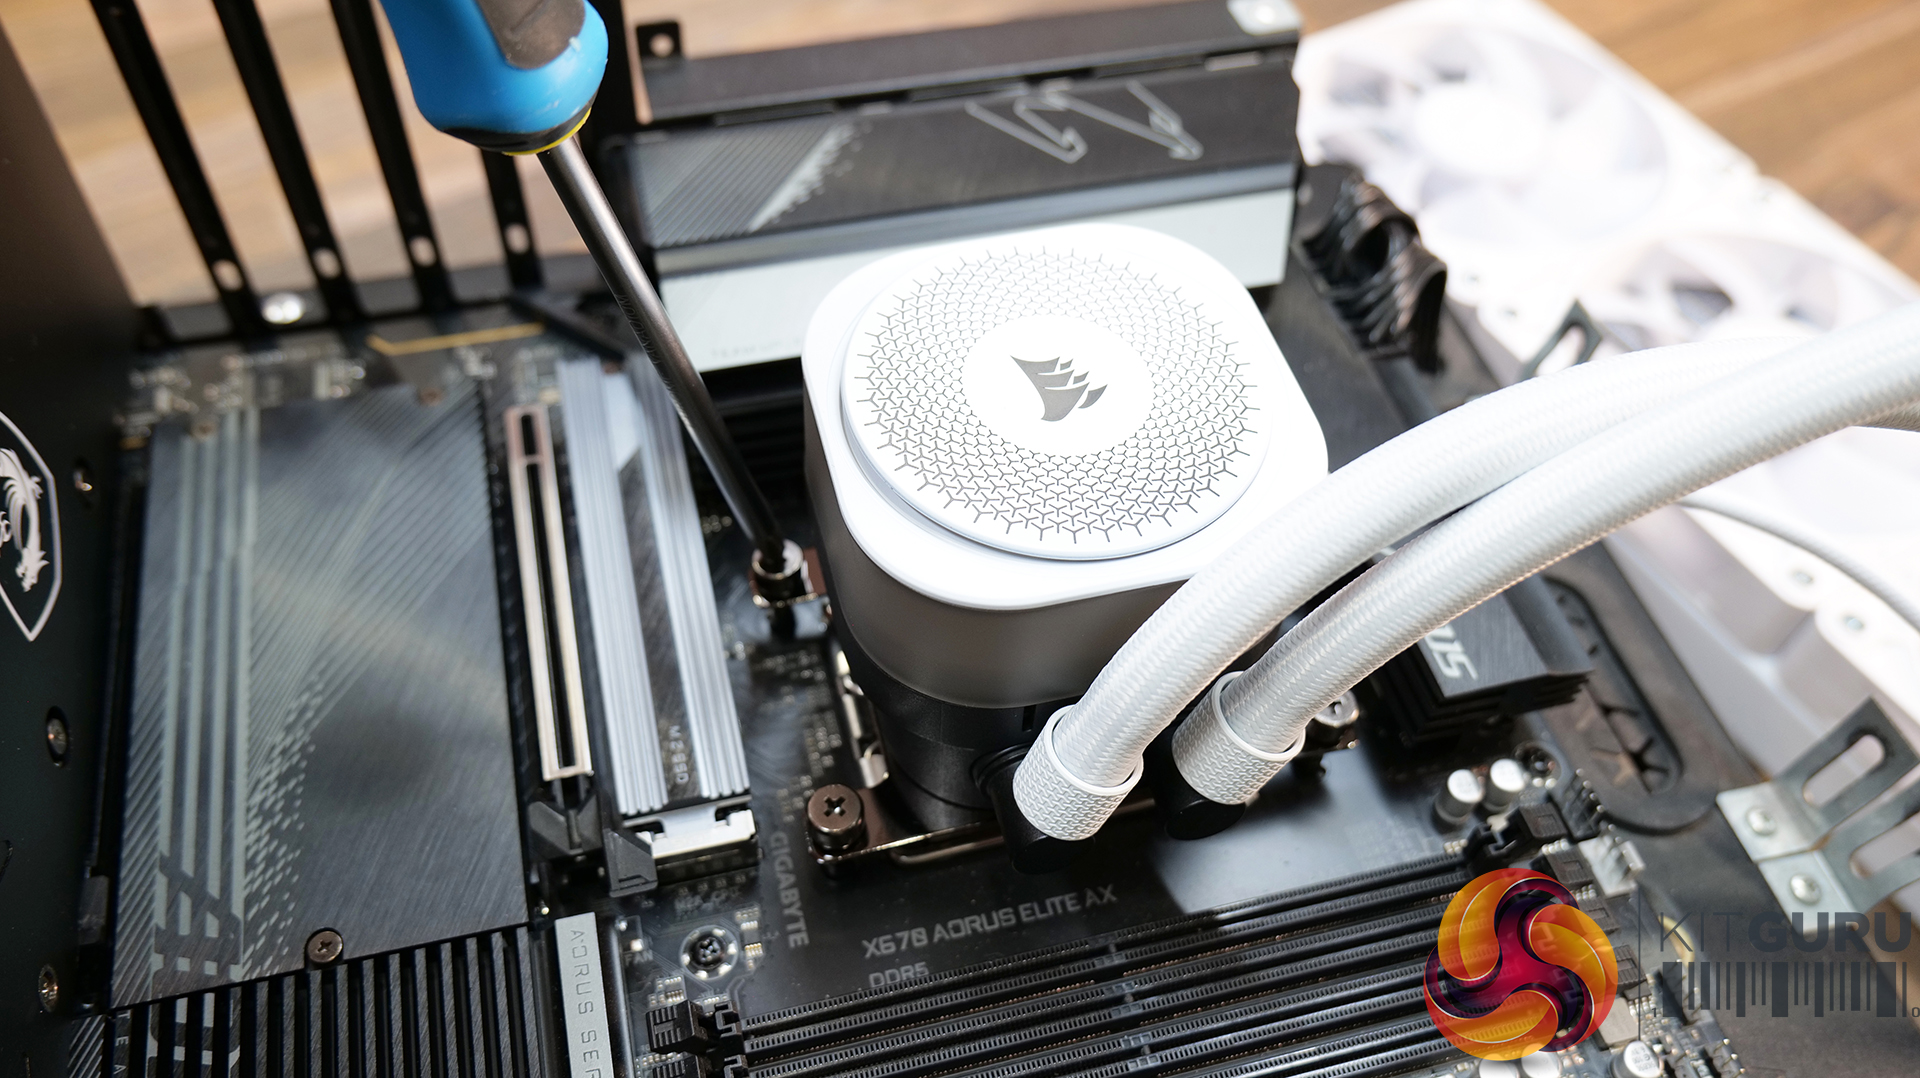
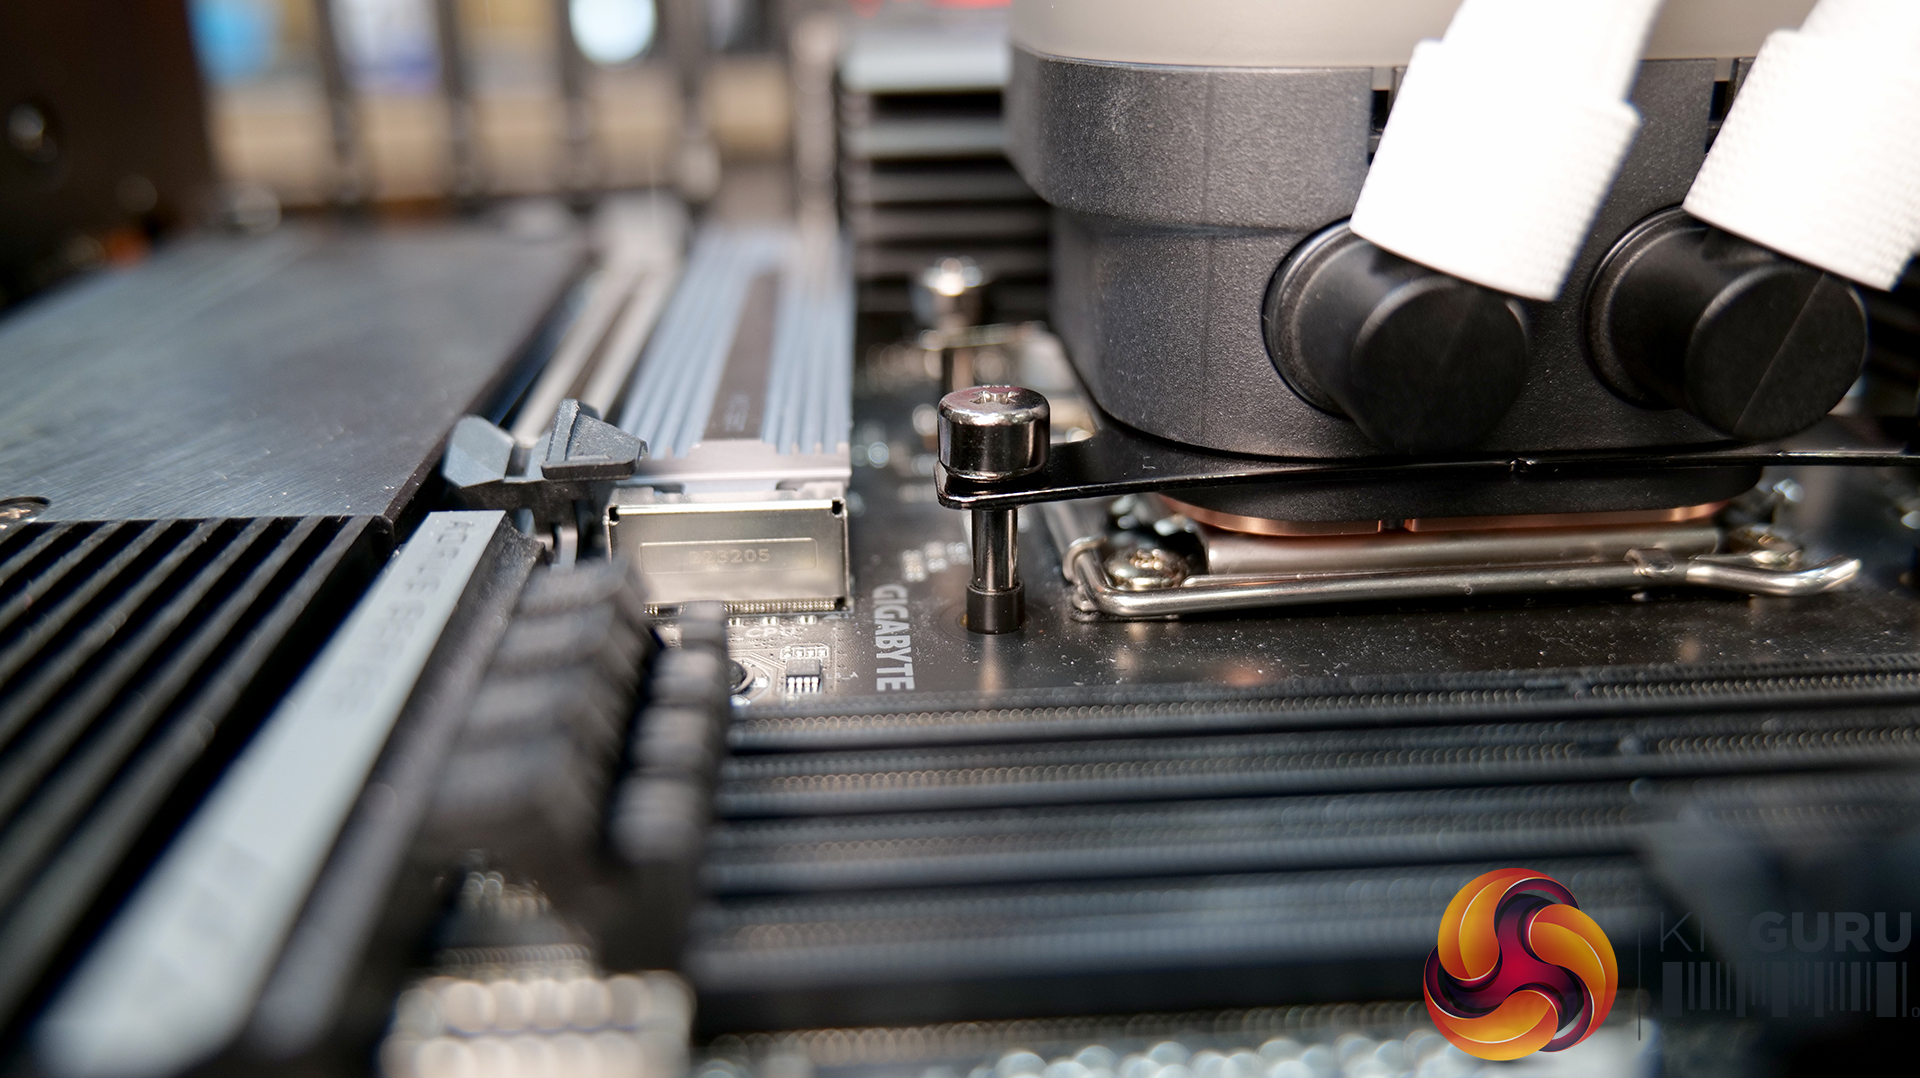
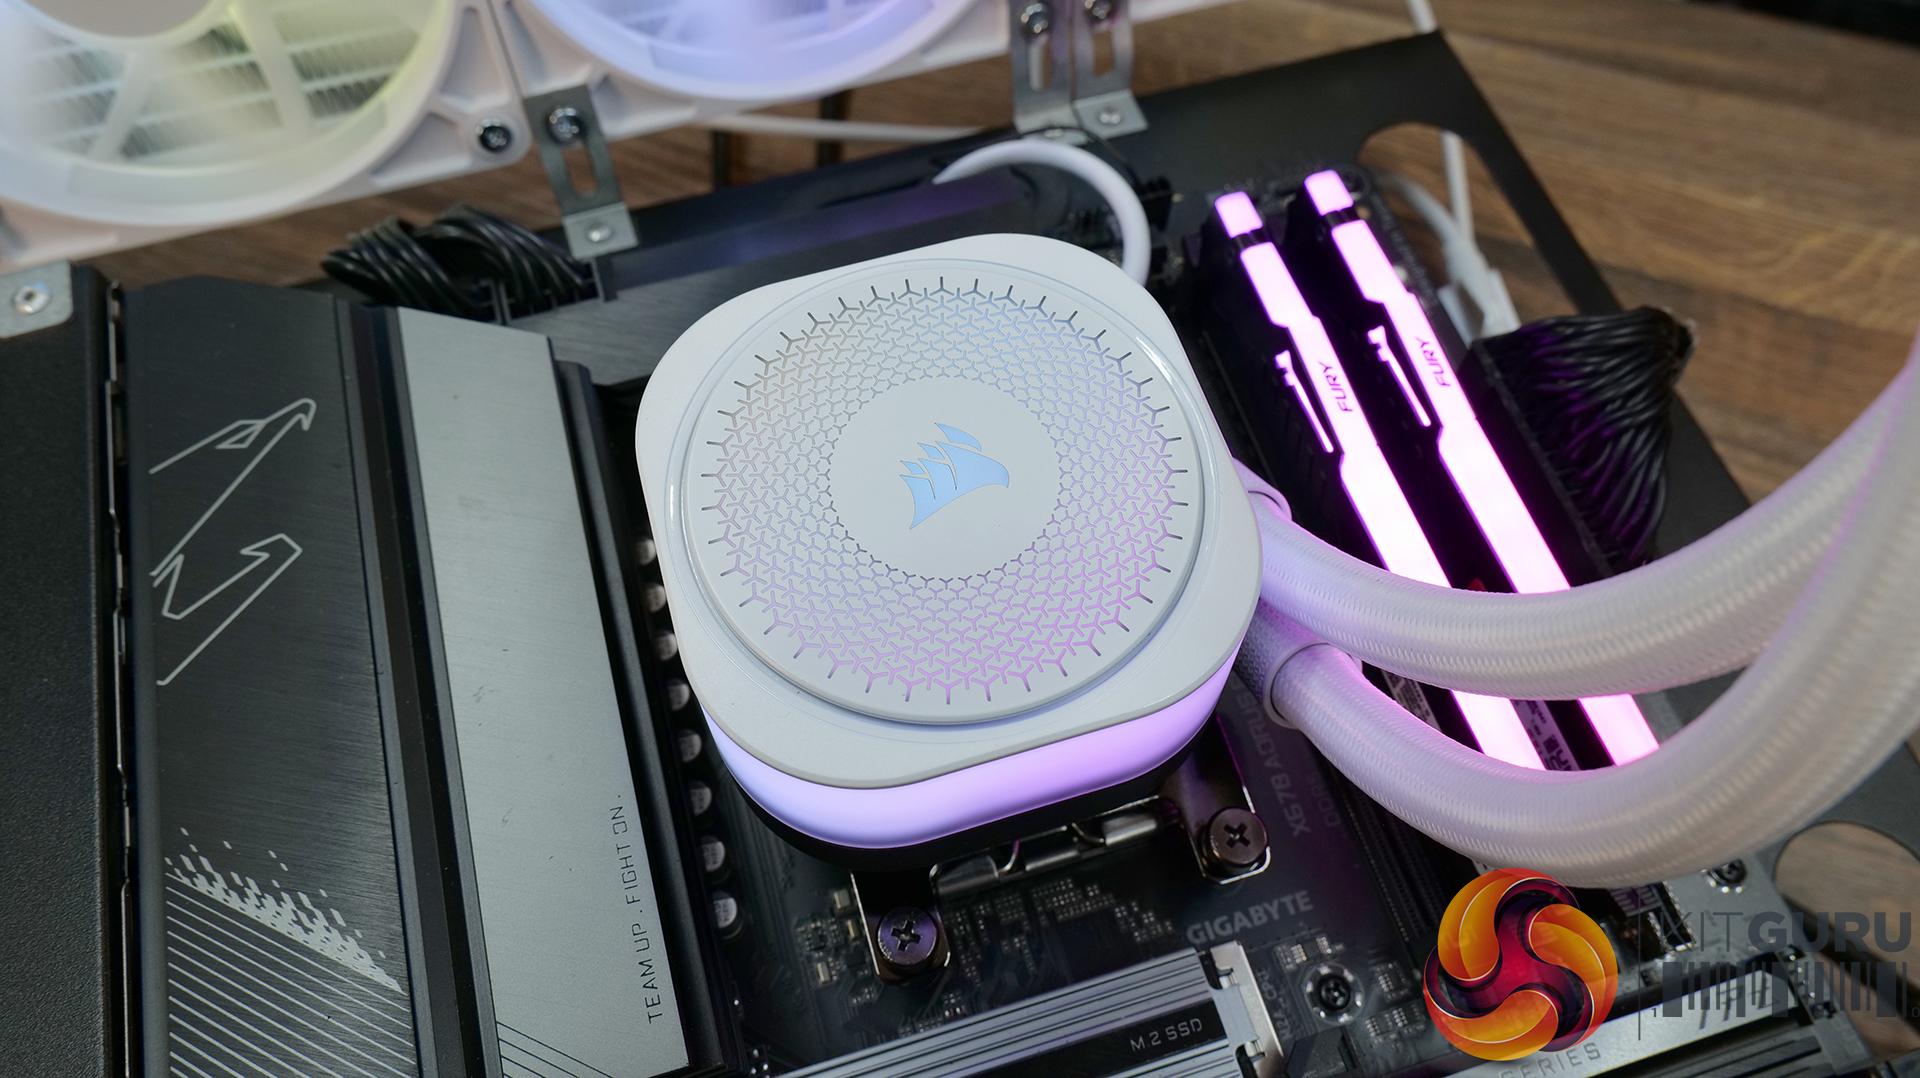
Now lower the CPU block into position over the CPU socket and align the bracket screws with the threaded boss on the corners of the stock AMD motherboard backplate. Tighten down the screws evenly and progressively for best contact. Note that the screw thread will bottom out on the backplate when fully tightened.
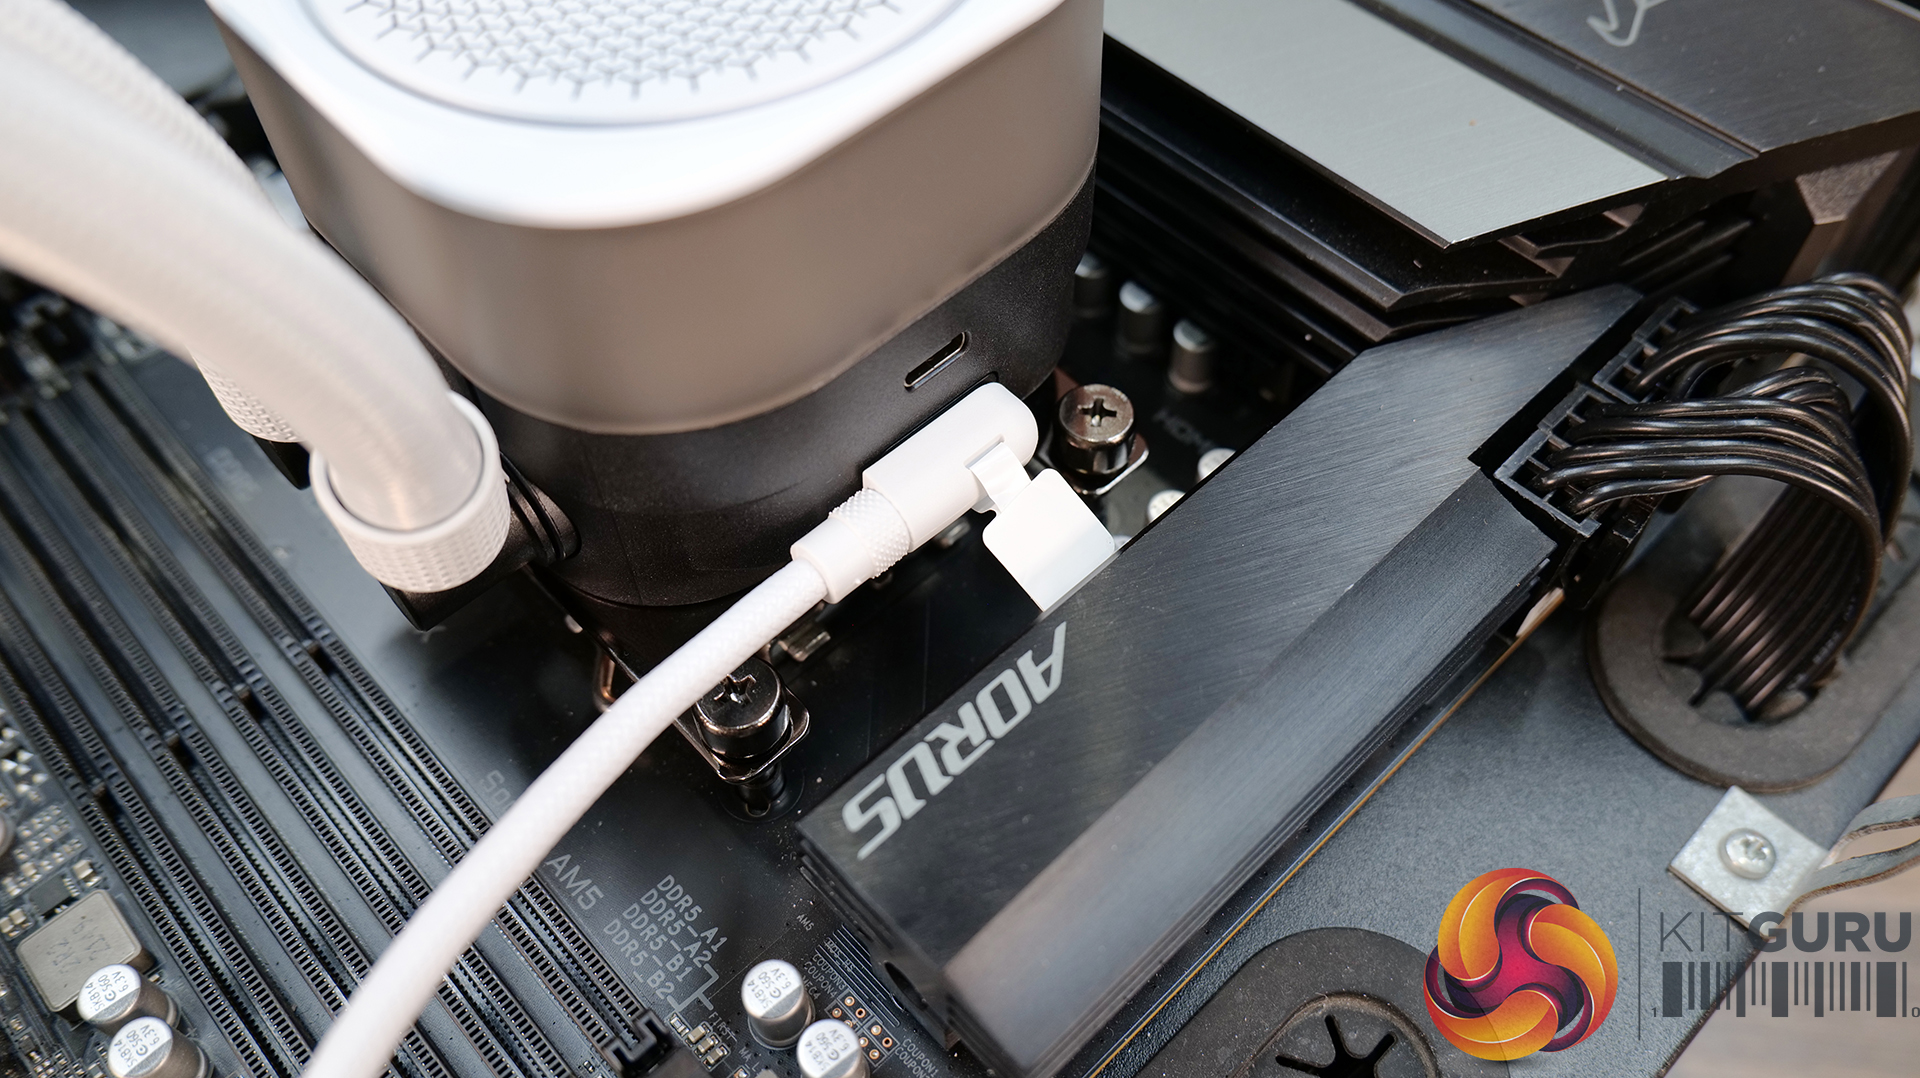
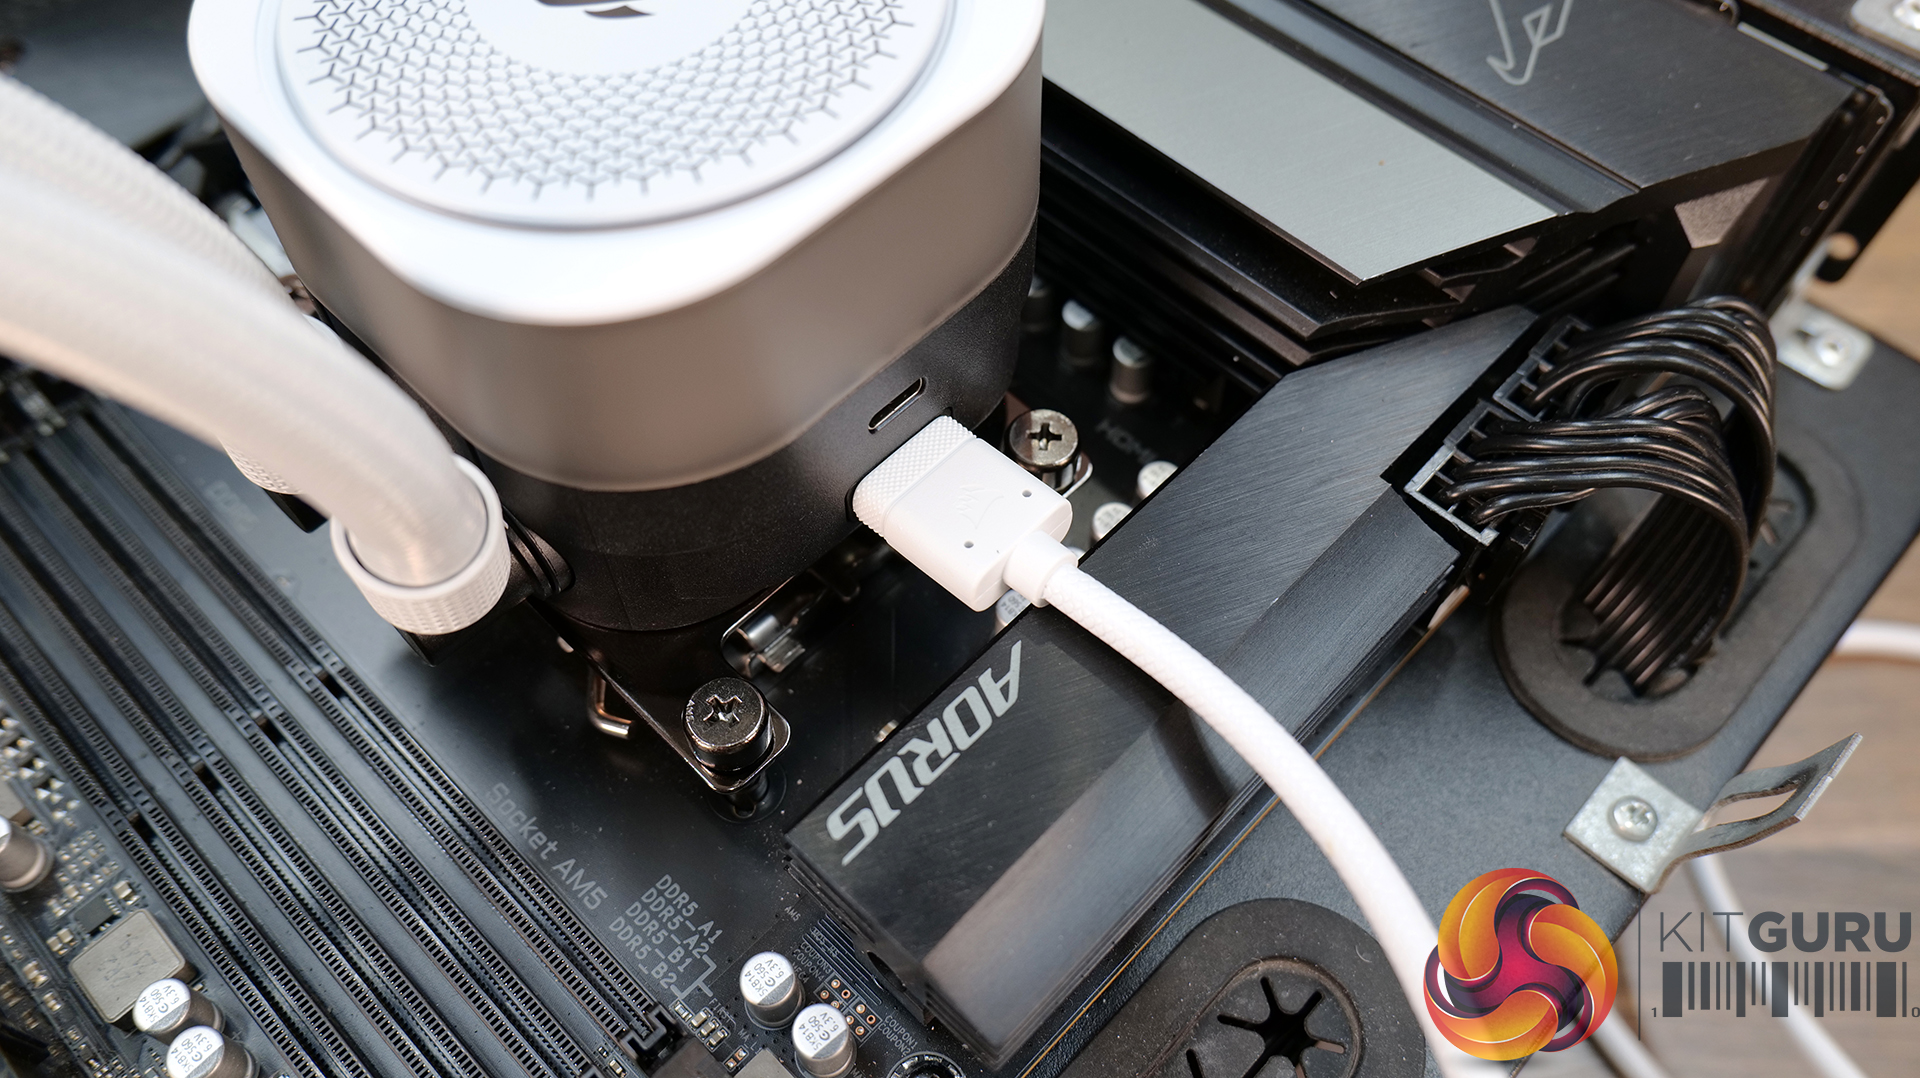
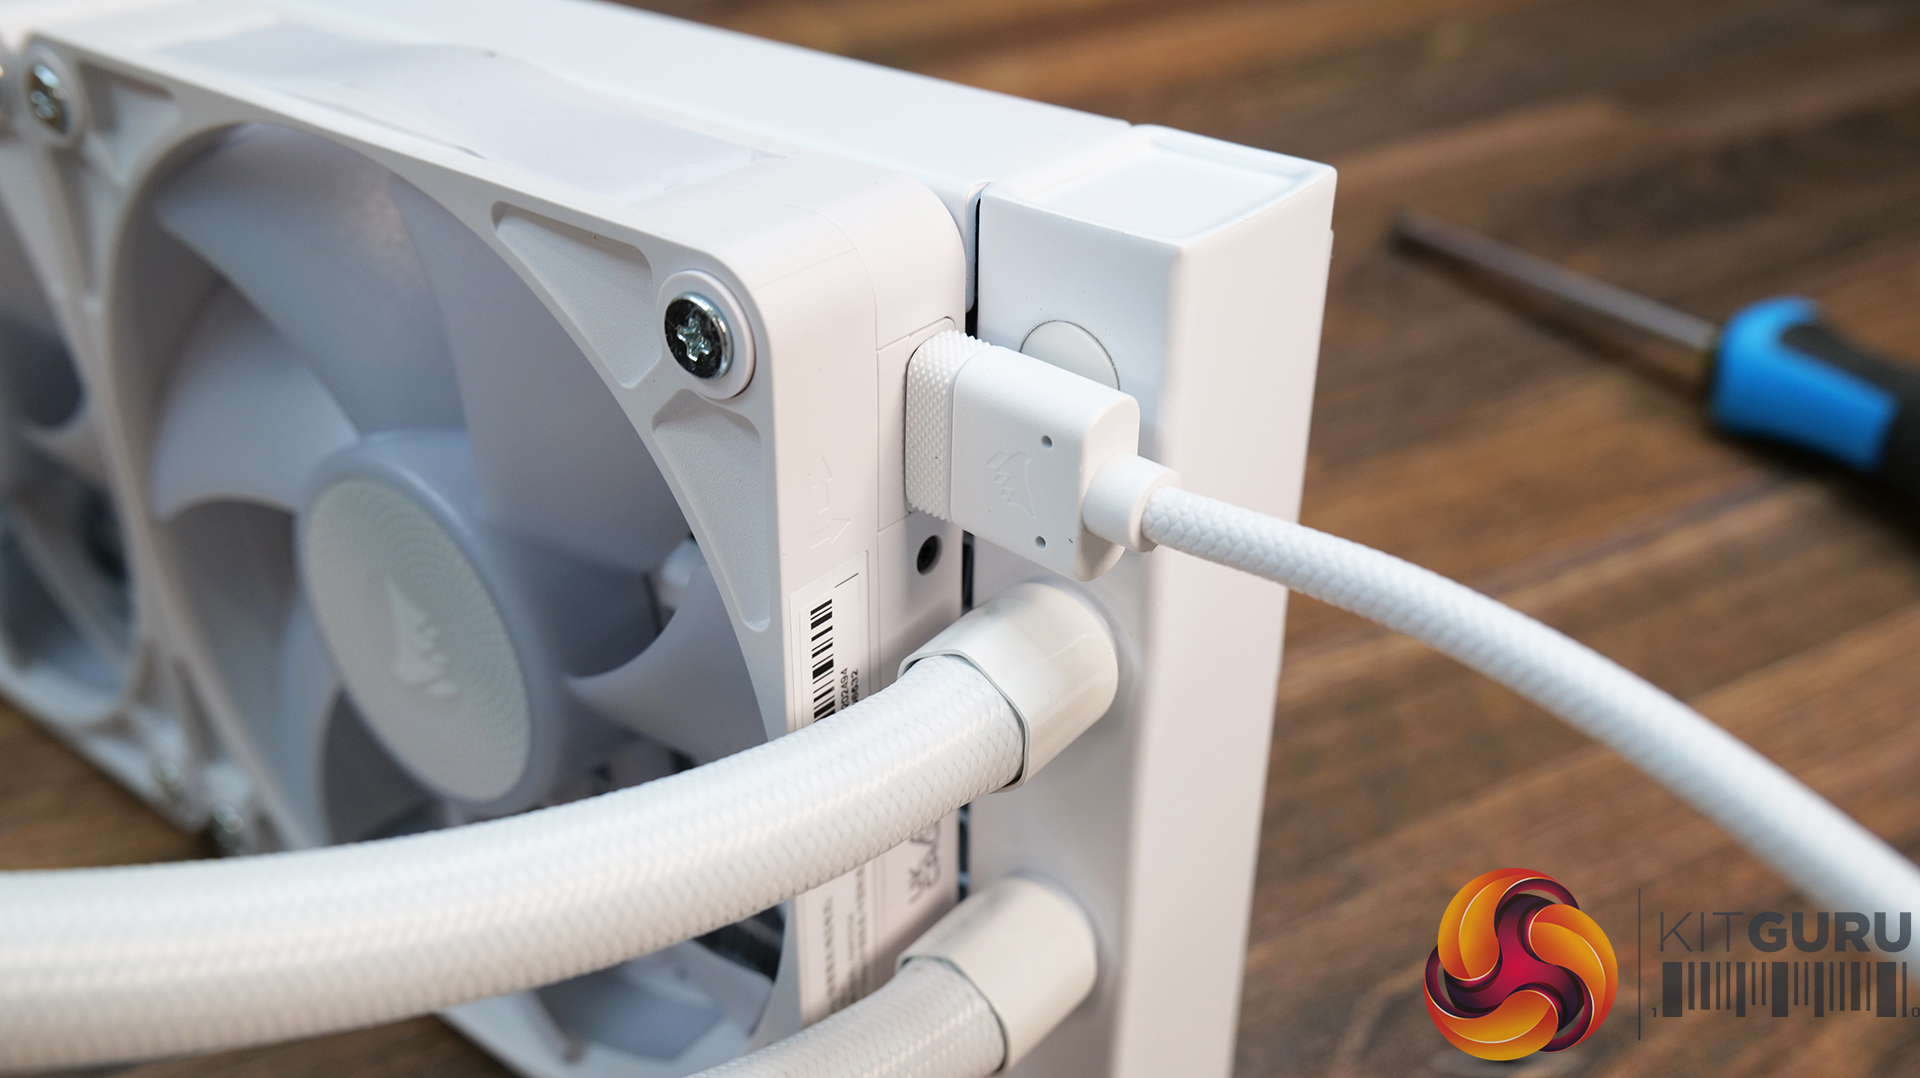
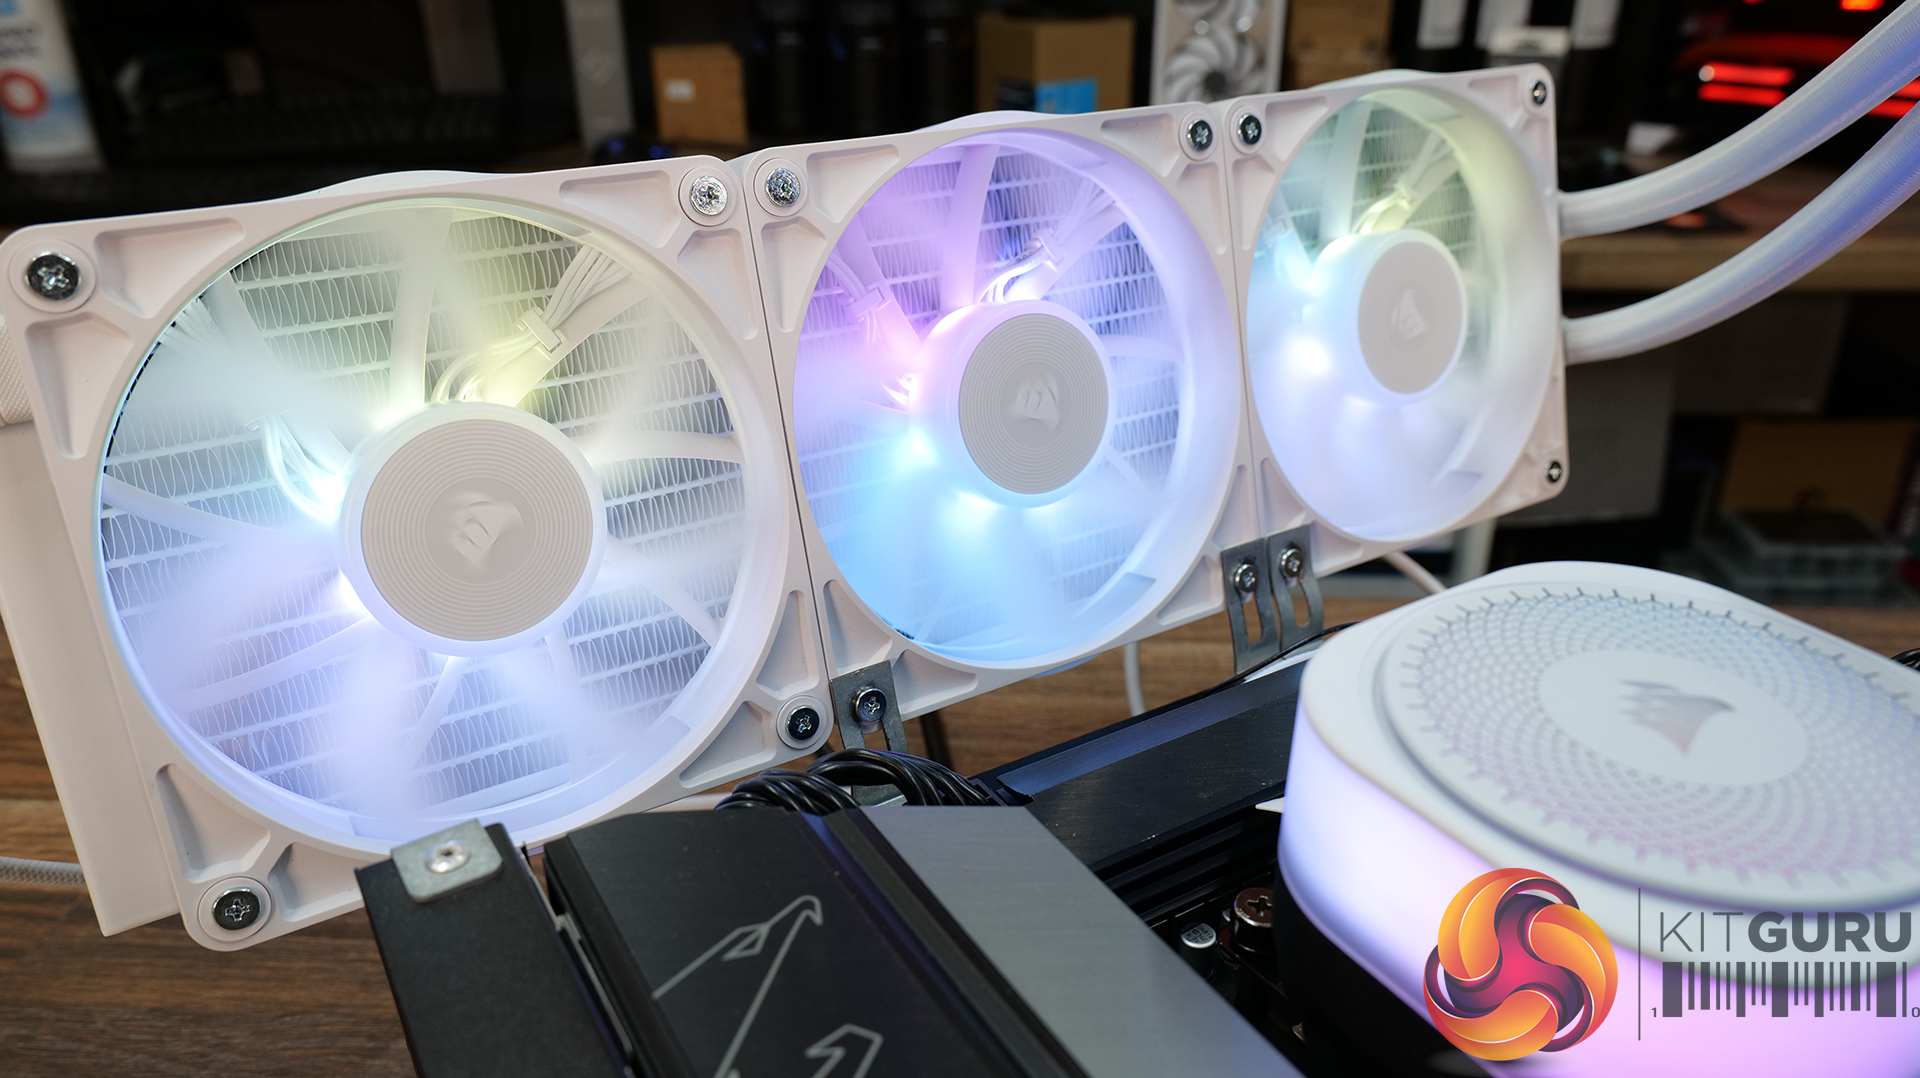
There are a couple of different types of iCUE Link cables supplied with the cooler, choose which type you prefer to connect to the CPU block. We found the angled one to be the best fit and also the best visually. Connect the other end of the cable either directly to the iCUE Link hub or to the iCUE Link connector on the fans, either way is fine, just choose whatever works best for your installation.
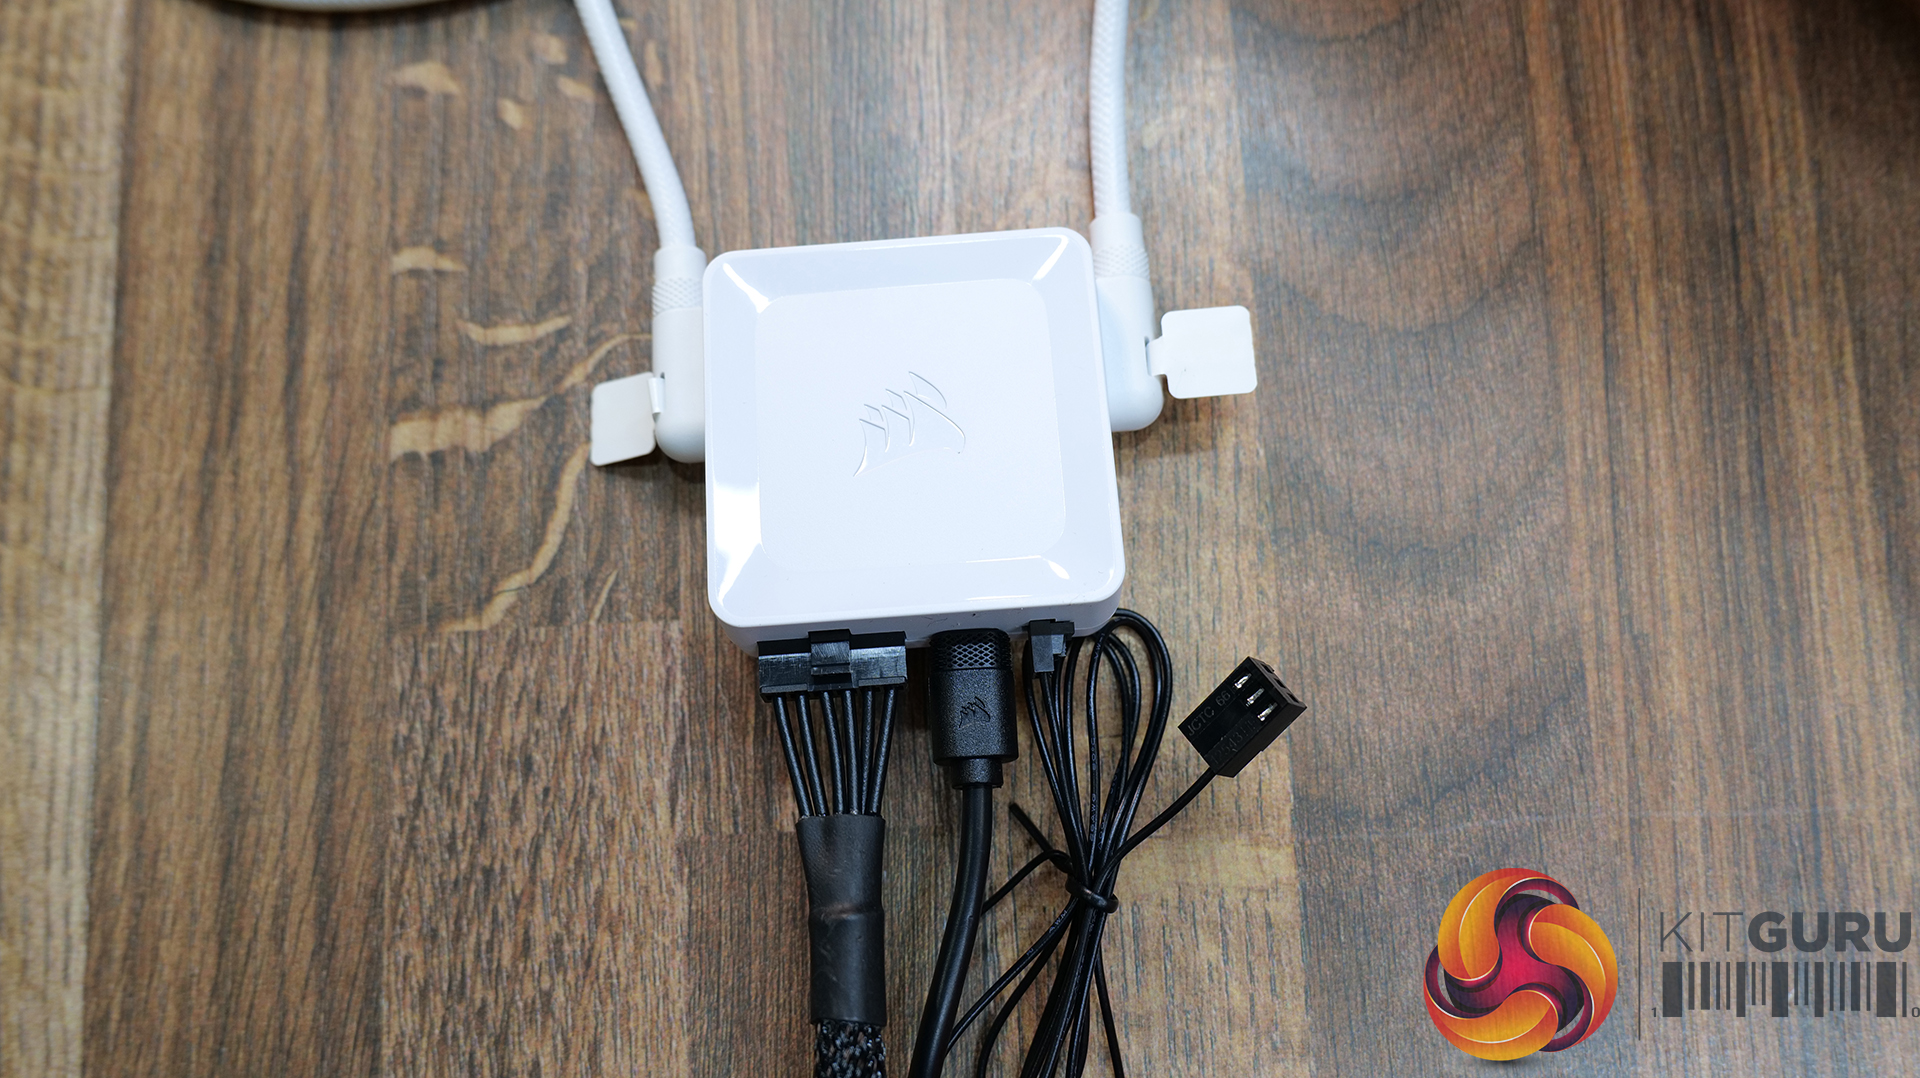
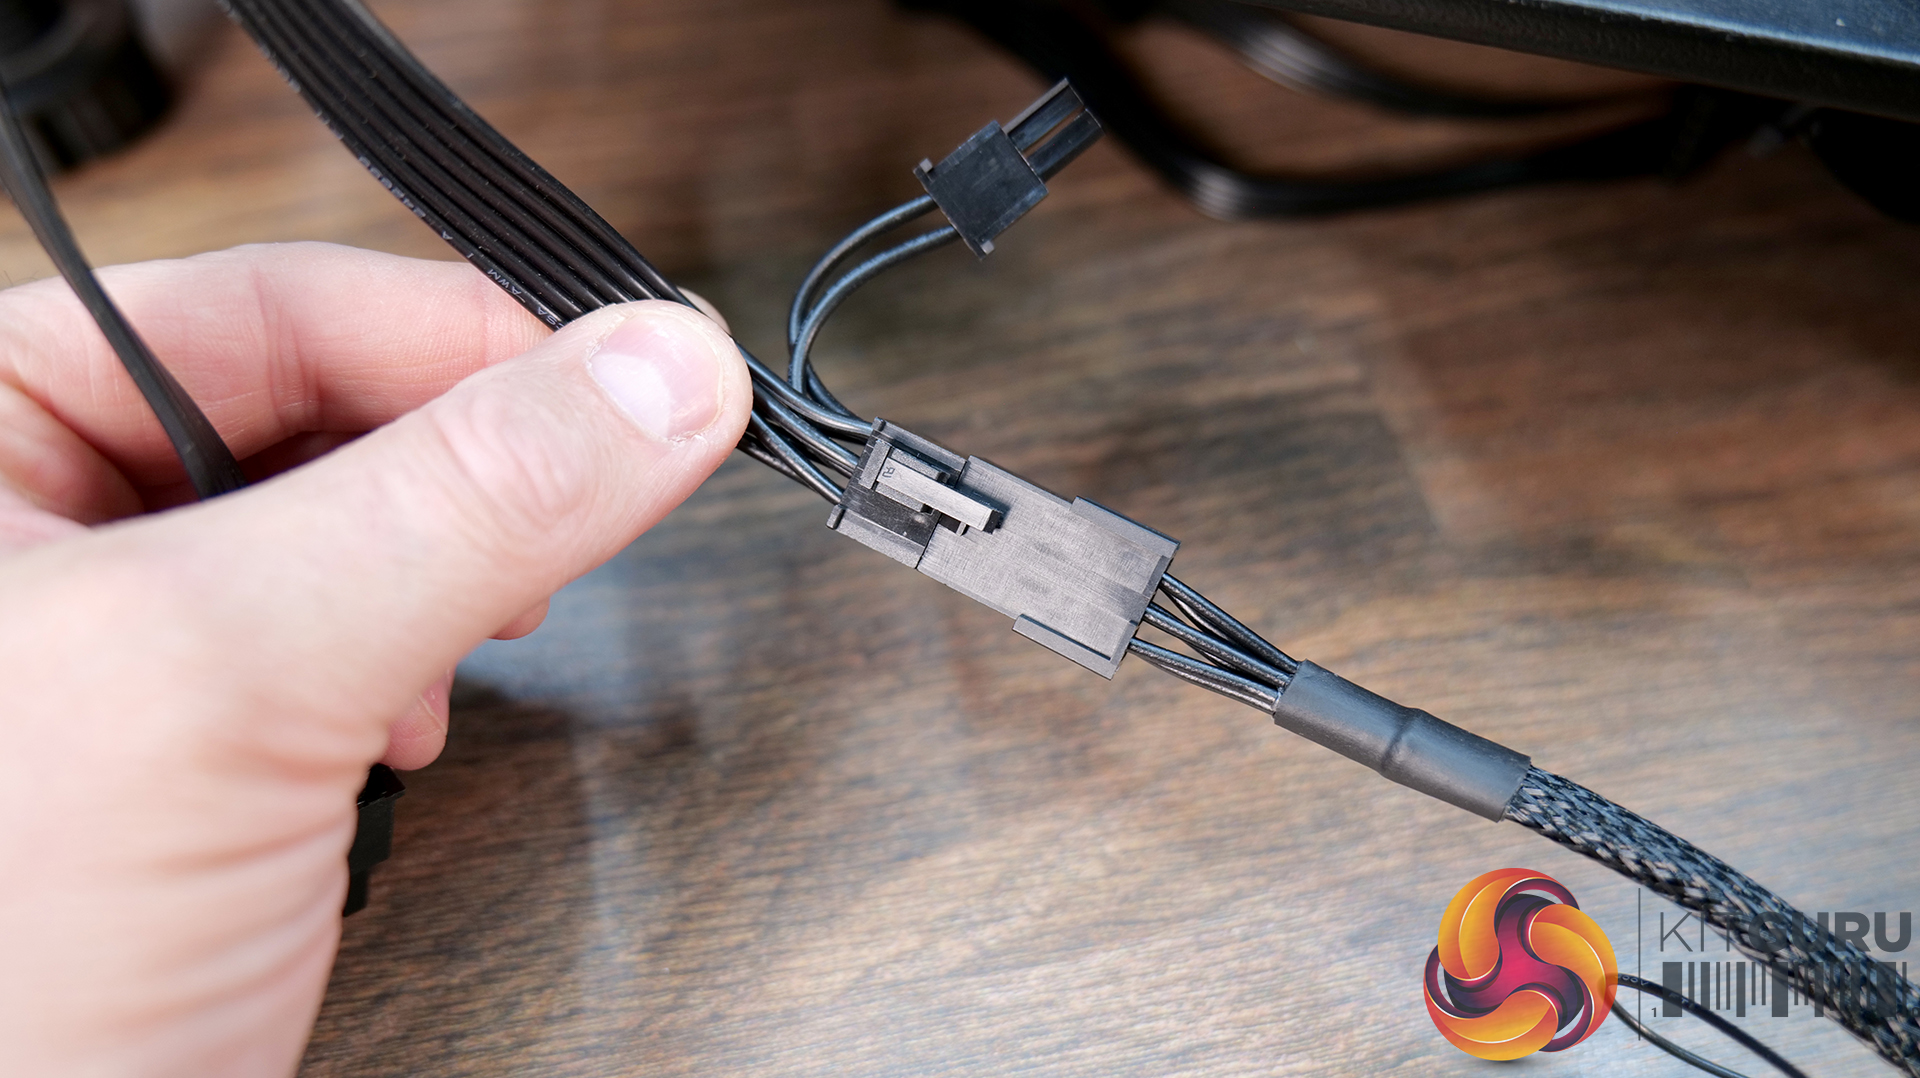
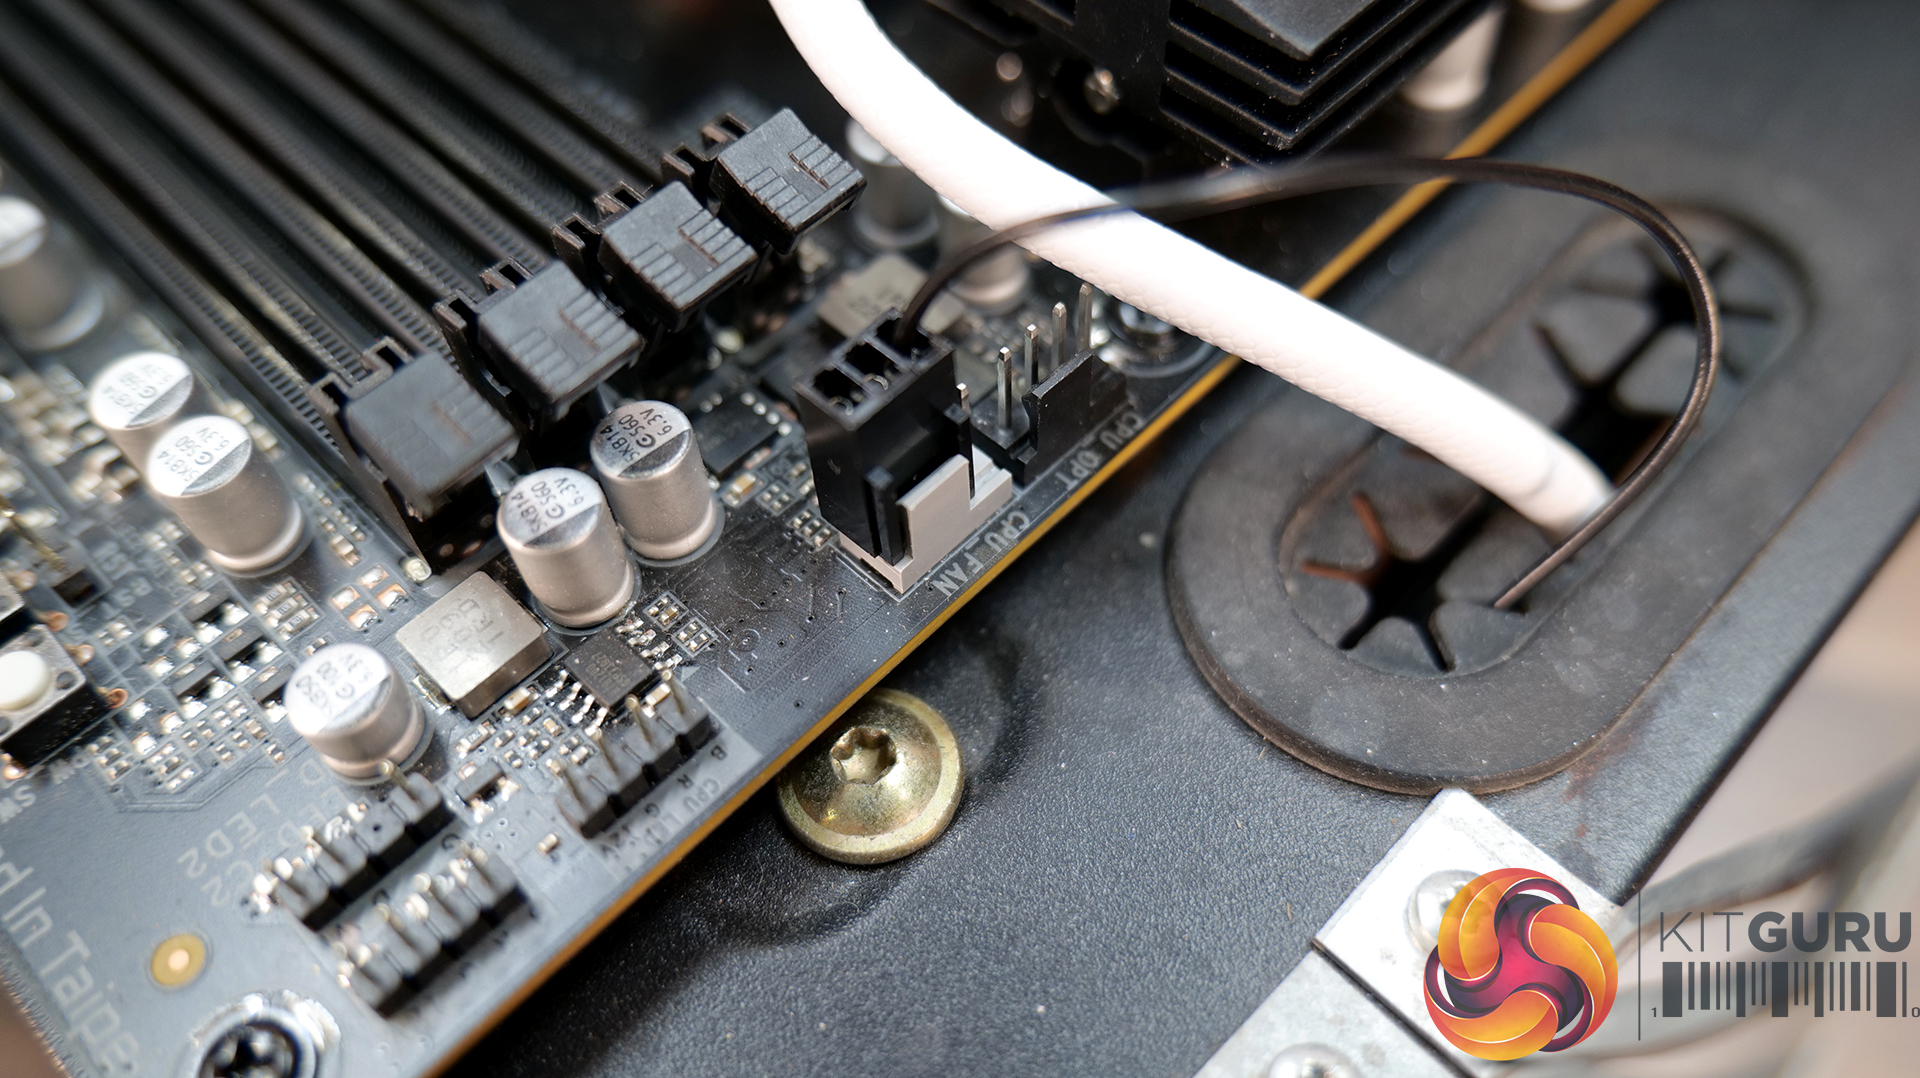
Now connect the iCUE link cables from the CPU and the fans to the hub, also connect the PCIe power cable, USB cable and fan signal cable to the iCUE Link Hub. Then connect the power cable from the hub to a spare PCIe power cable at your power supply and connect the fan speed cable to the motherboard CPU_FAN header.
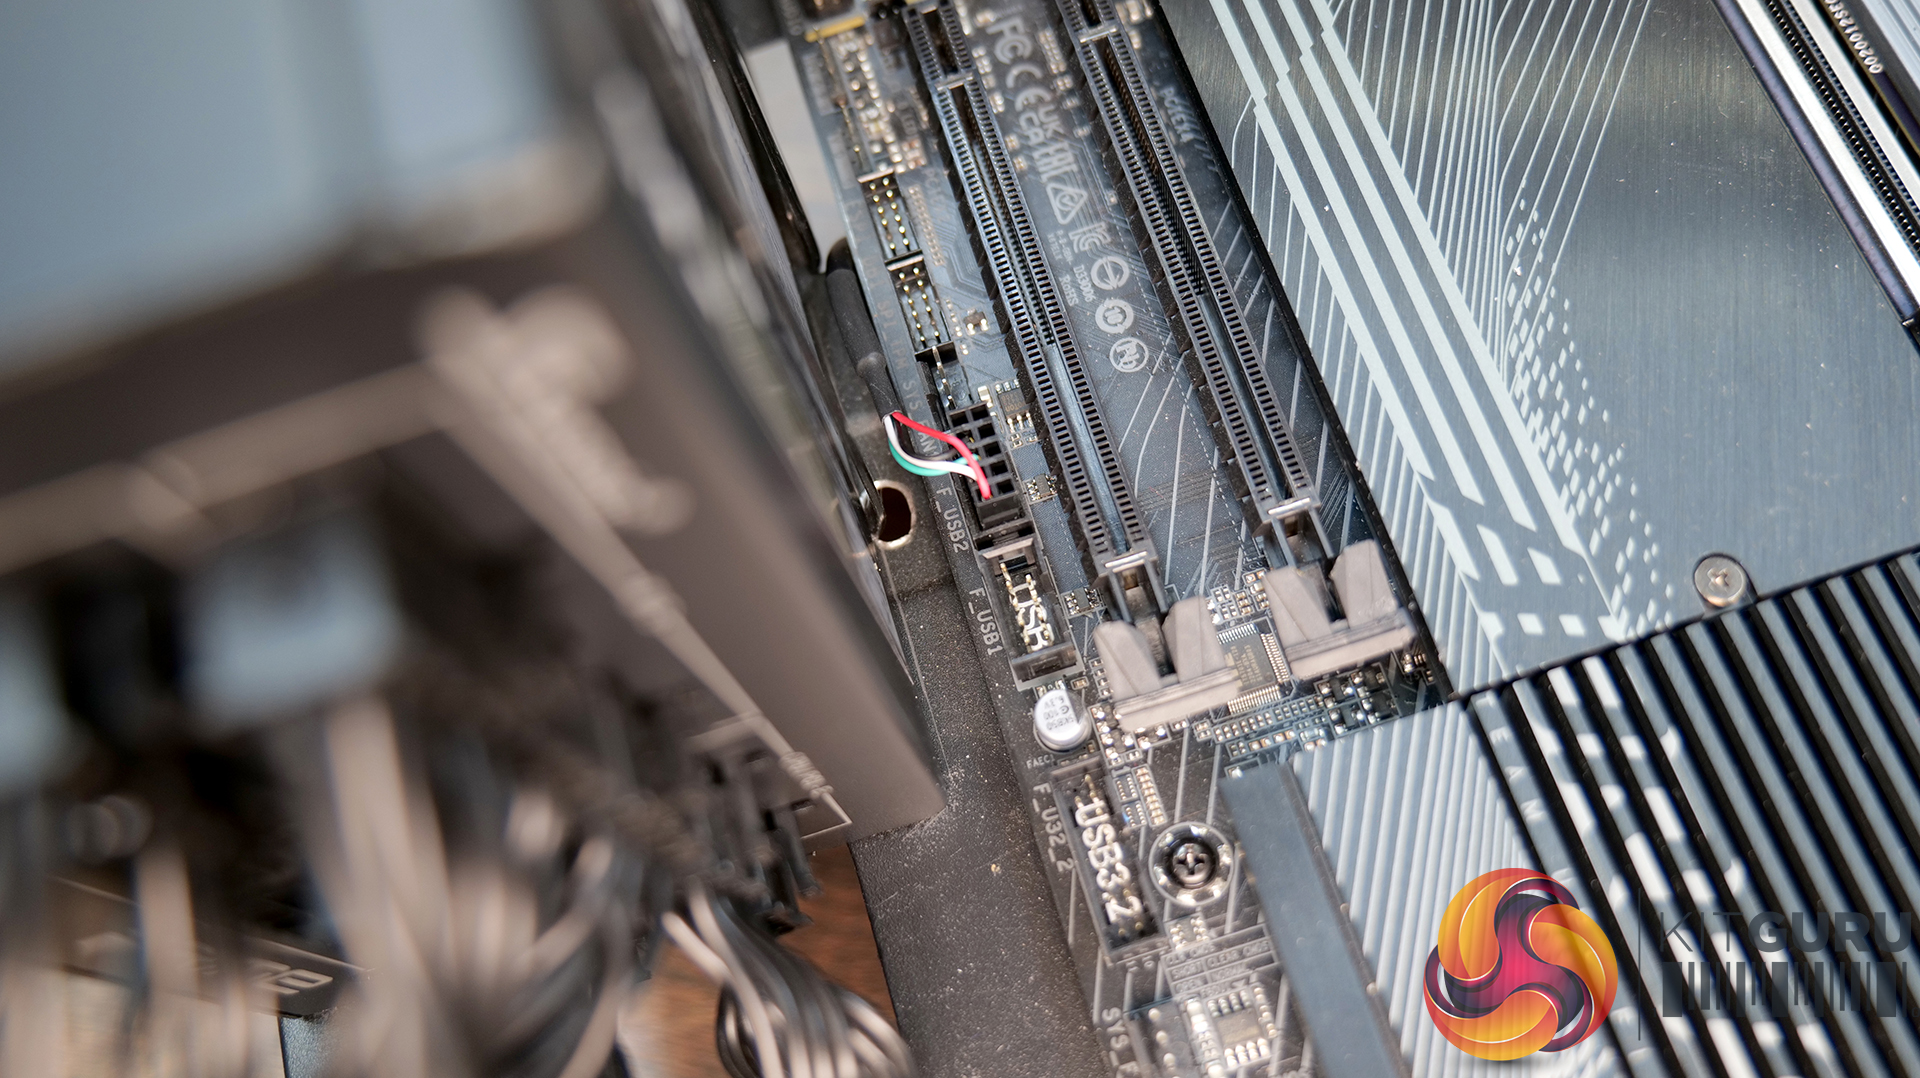
Finally, connect the USB cable from the iCUE Link Hub to a spare USB header on your motherboard, and then it's all good to power up the system. If everything is connected up correctly the fans and pump will power up and RGB will illuminate, then it's on to installing Corsair iCUE software.
Corsair iCUE Software:
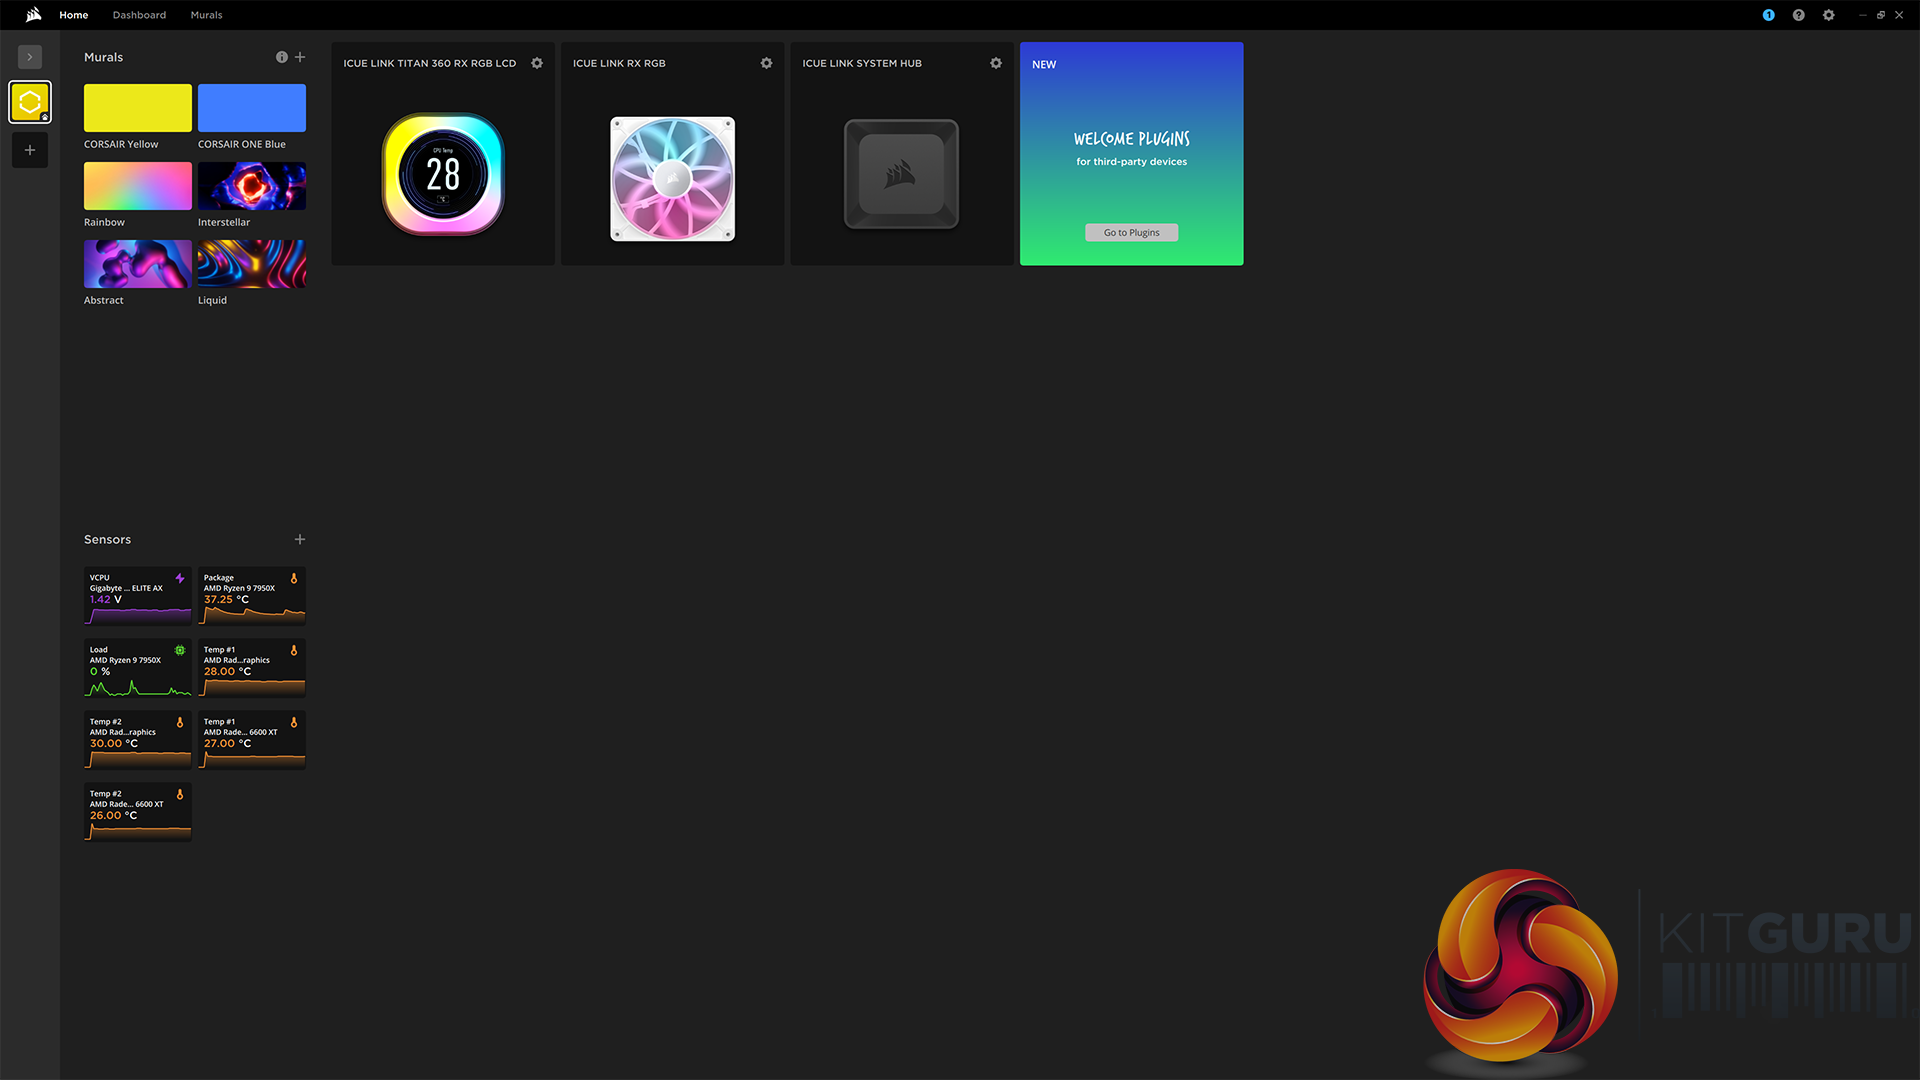
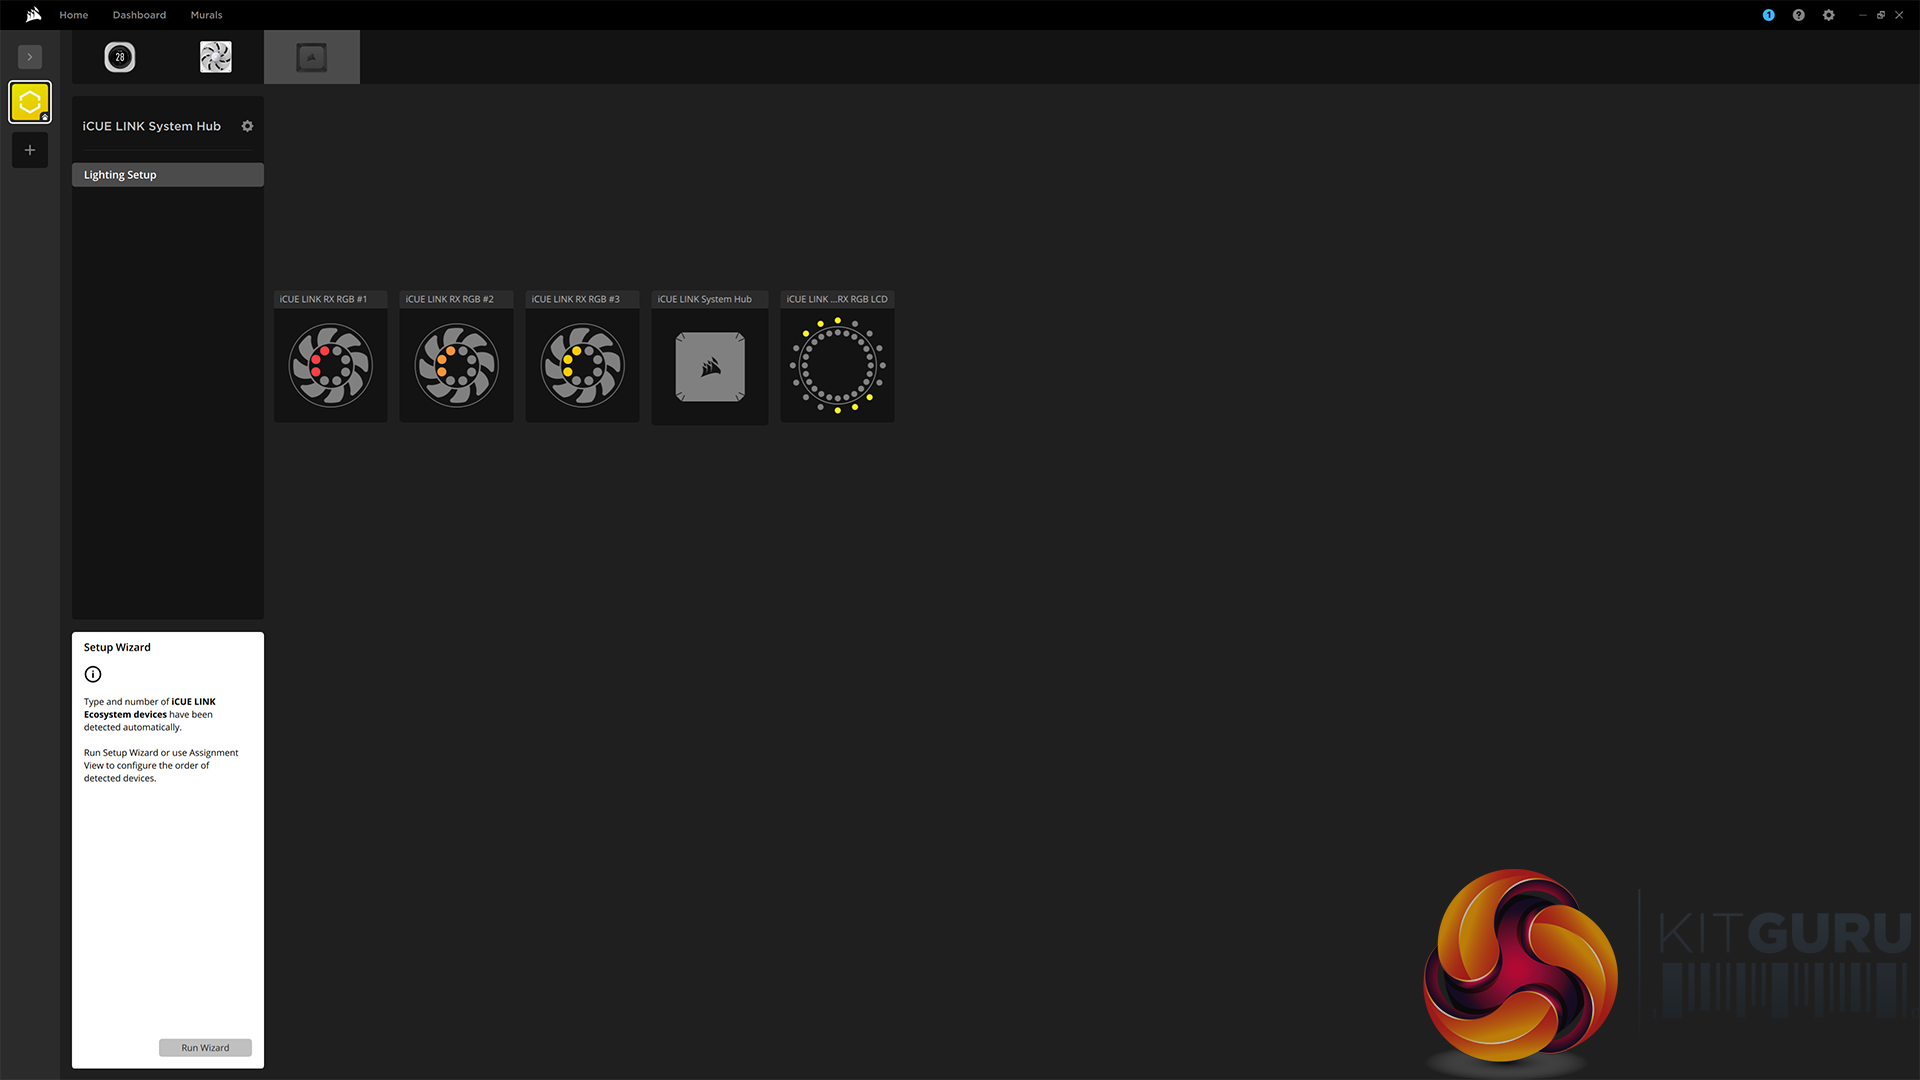
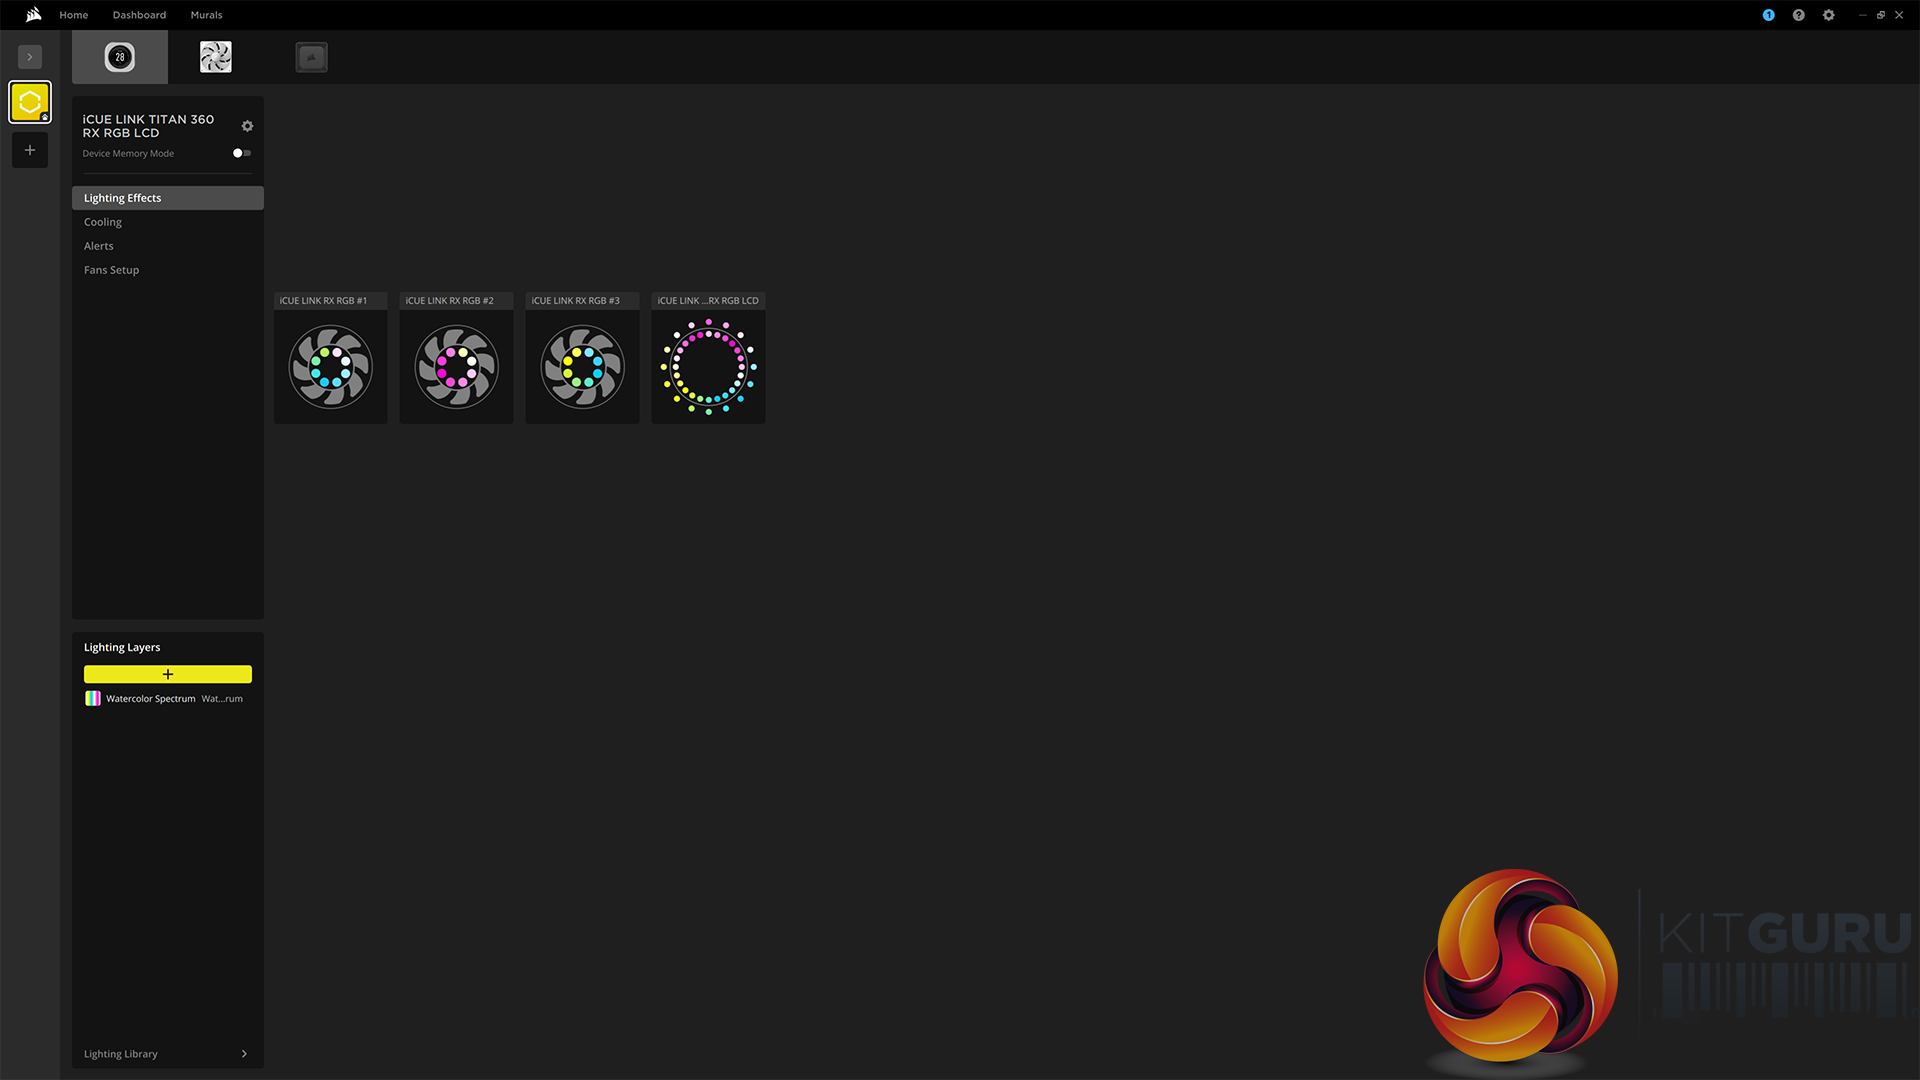
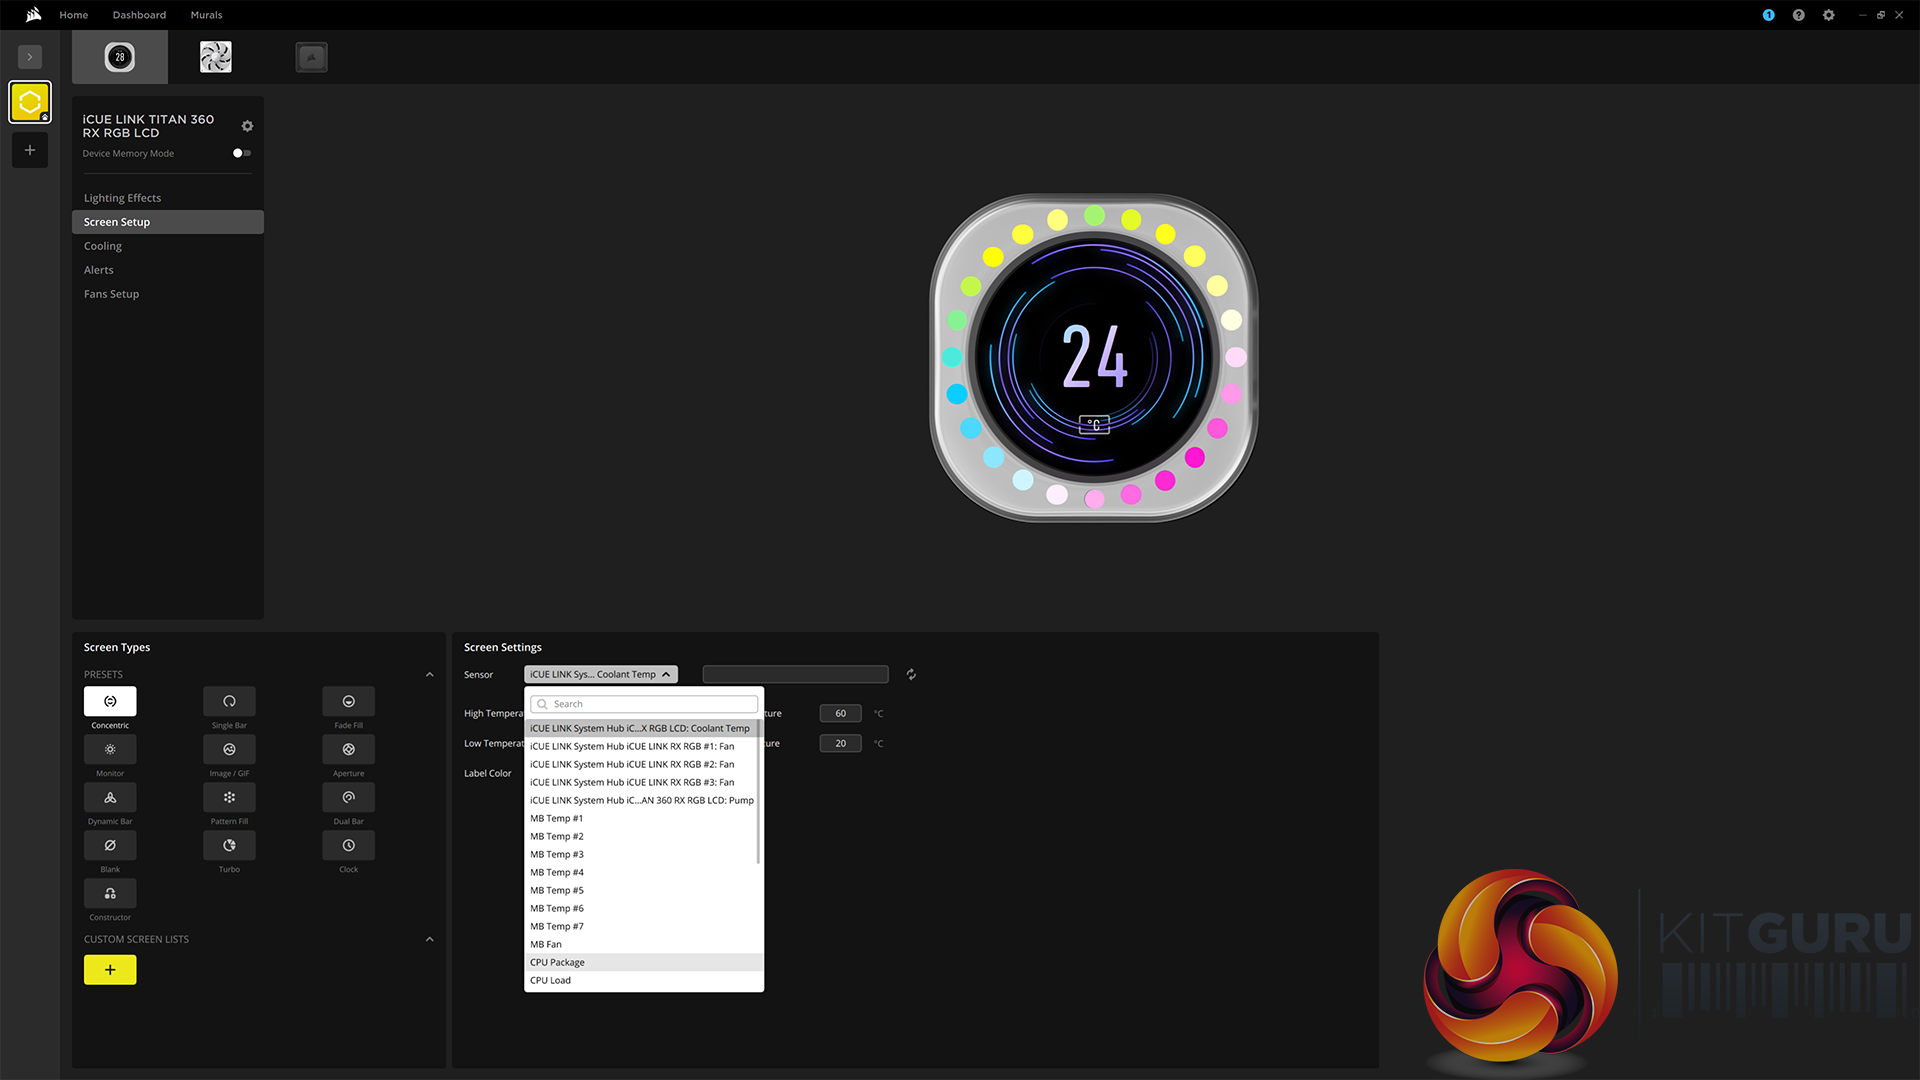
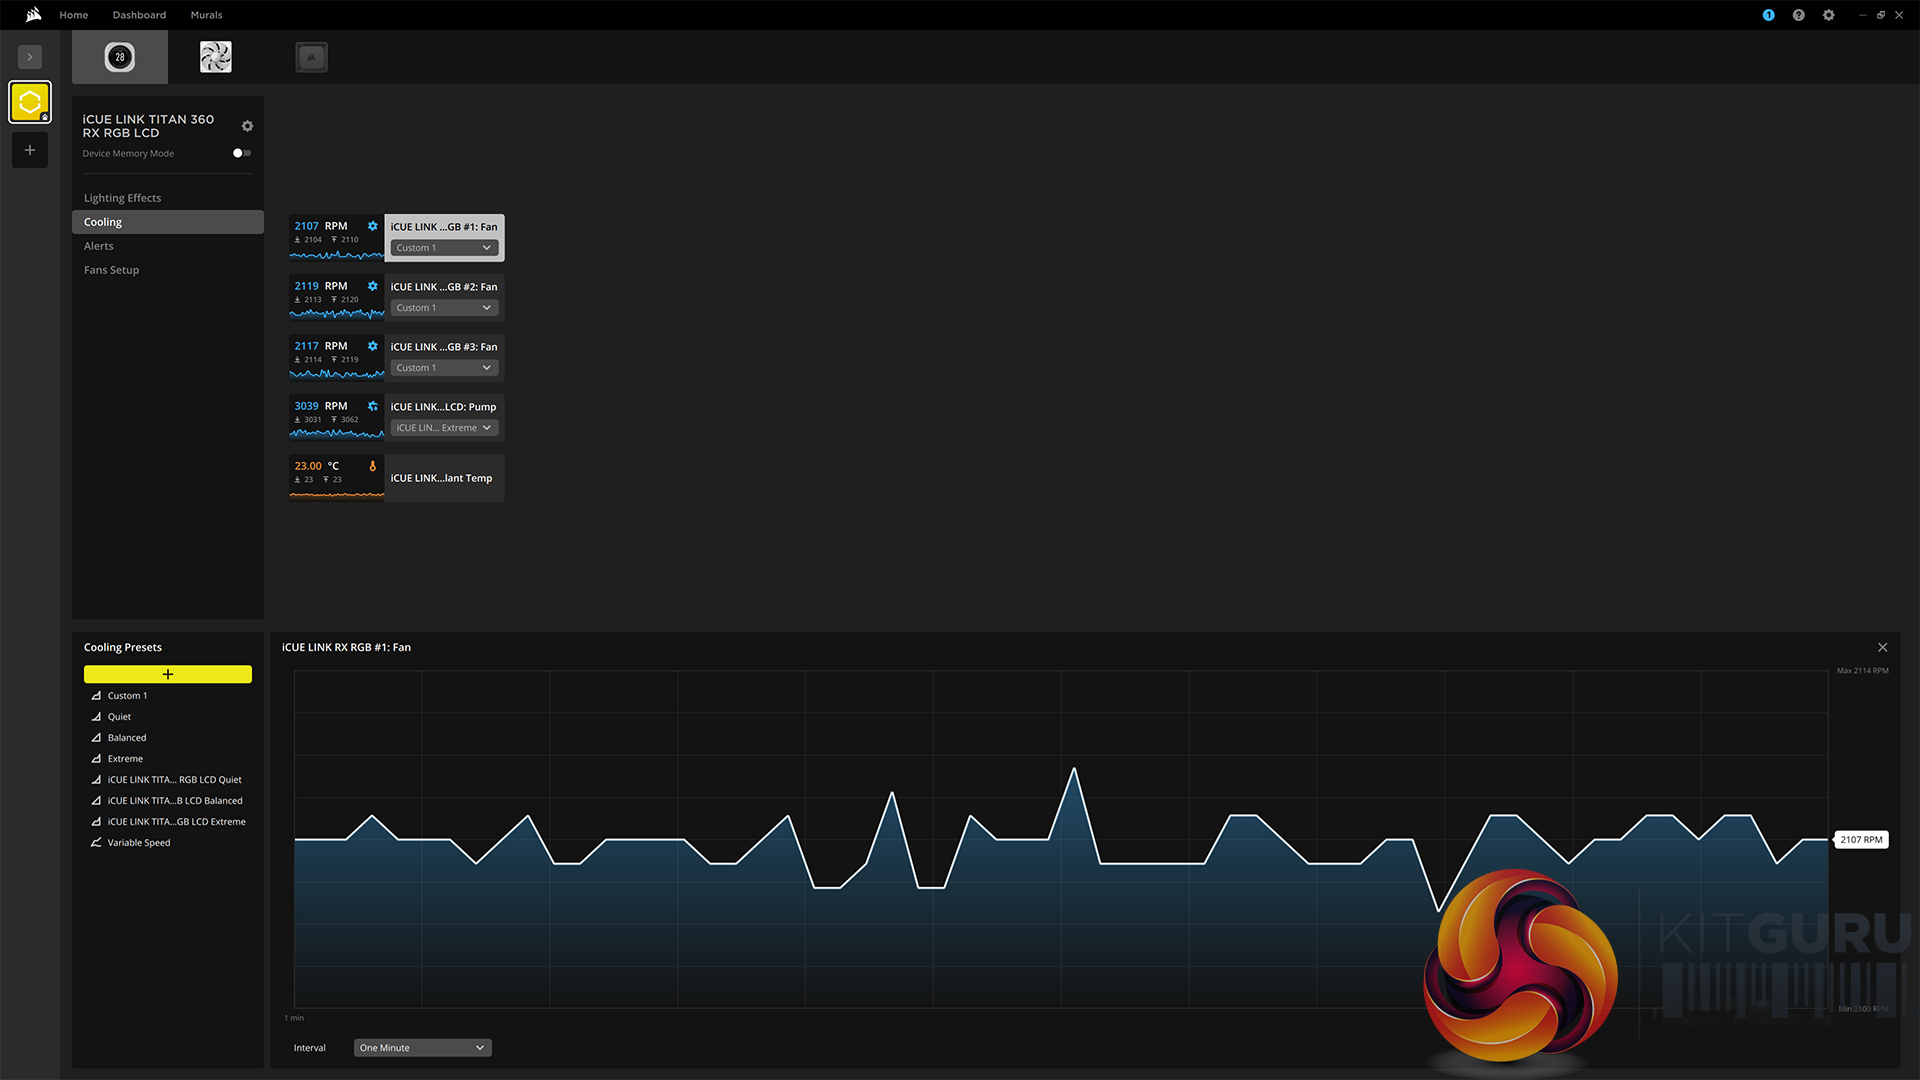
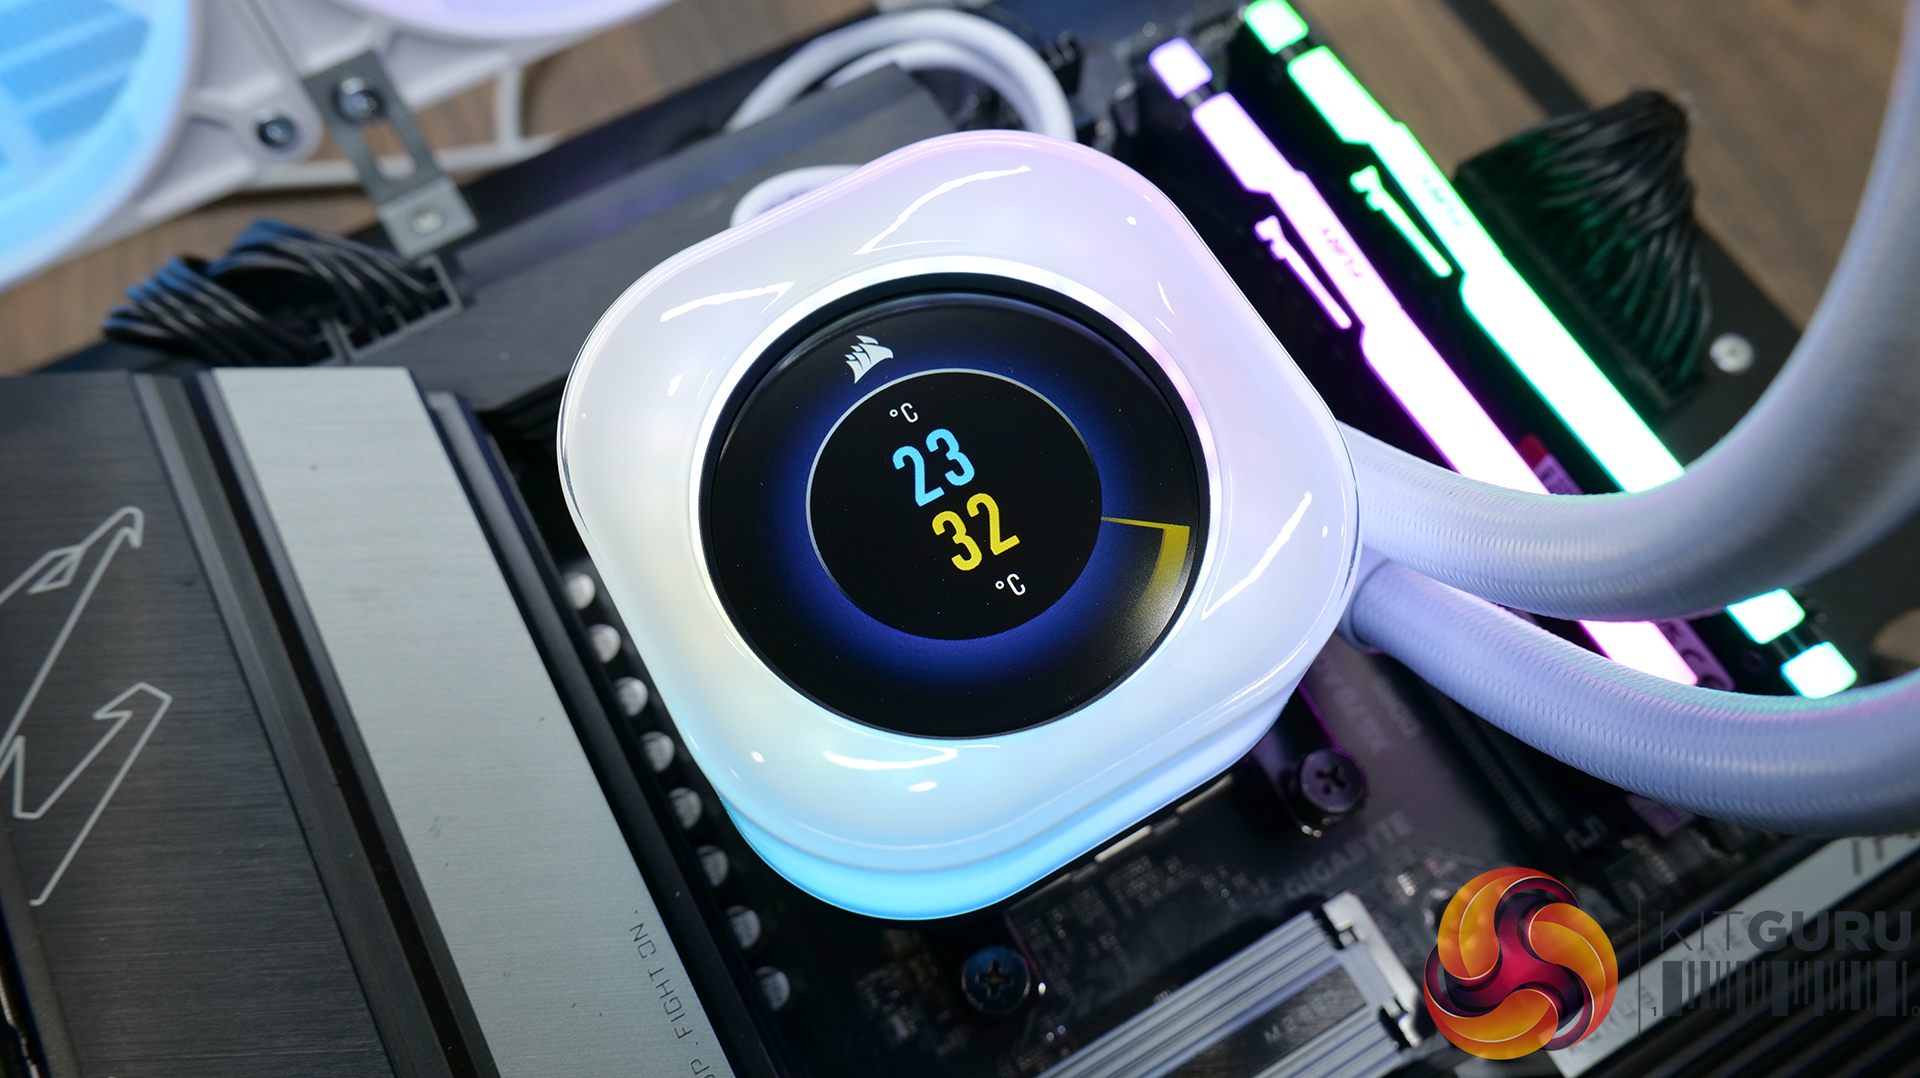
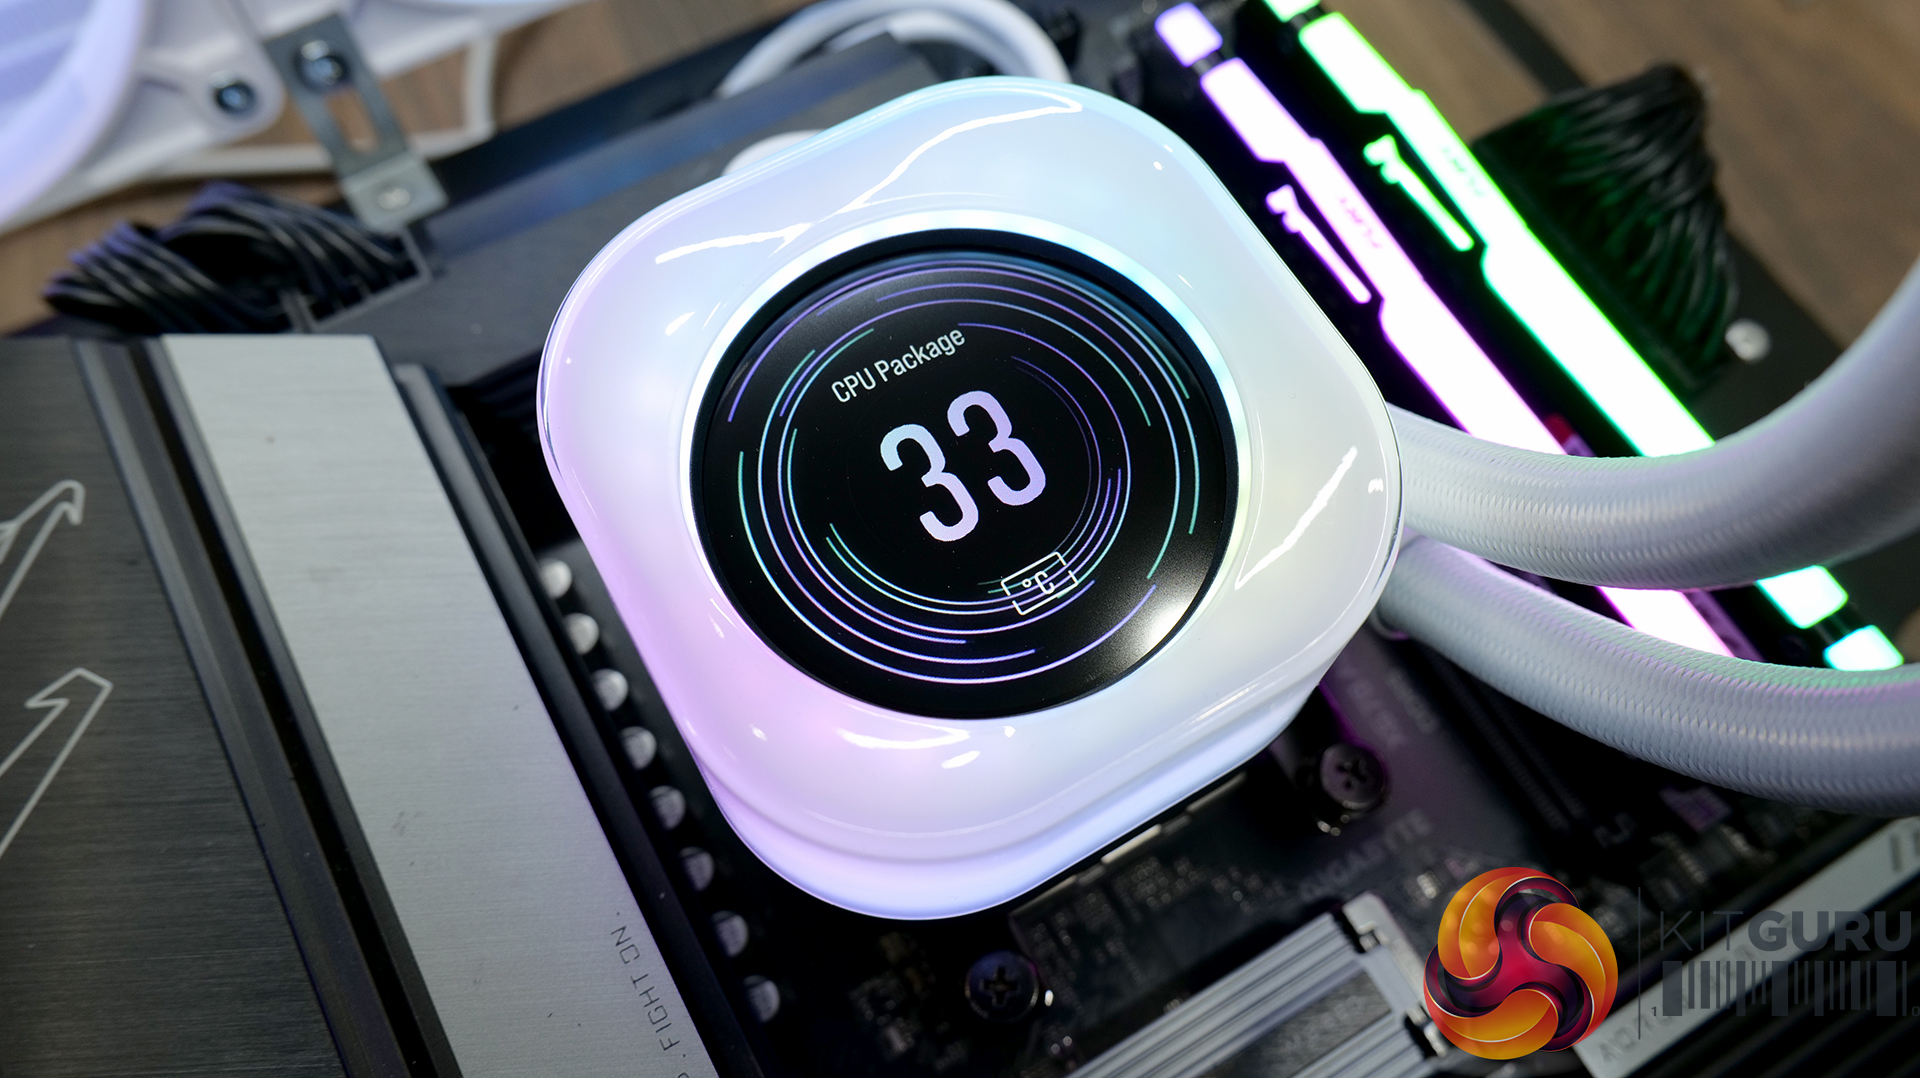
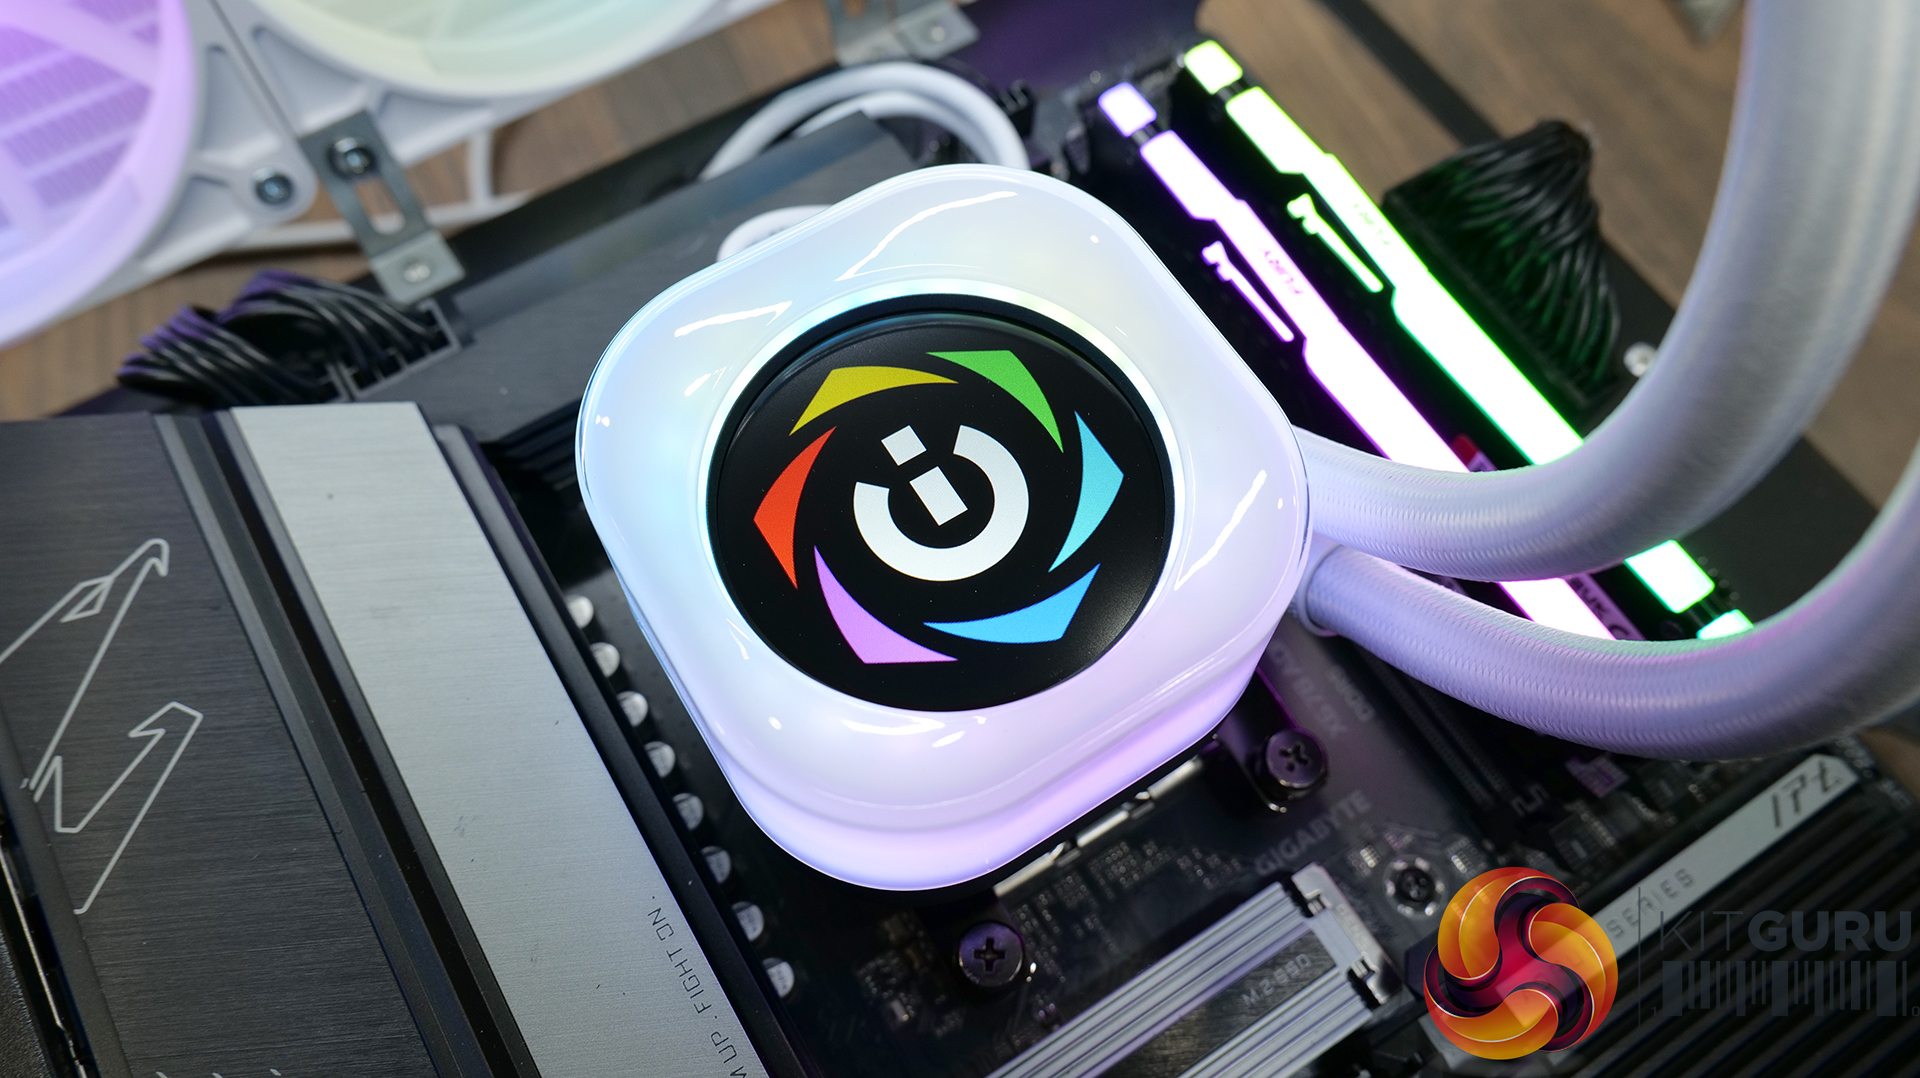
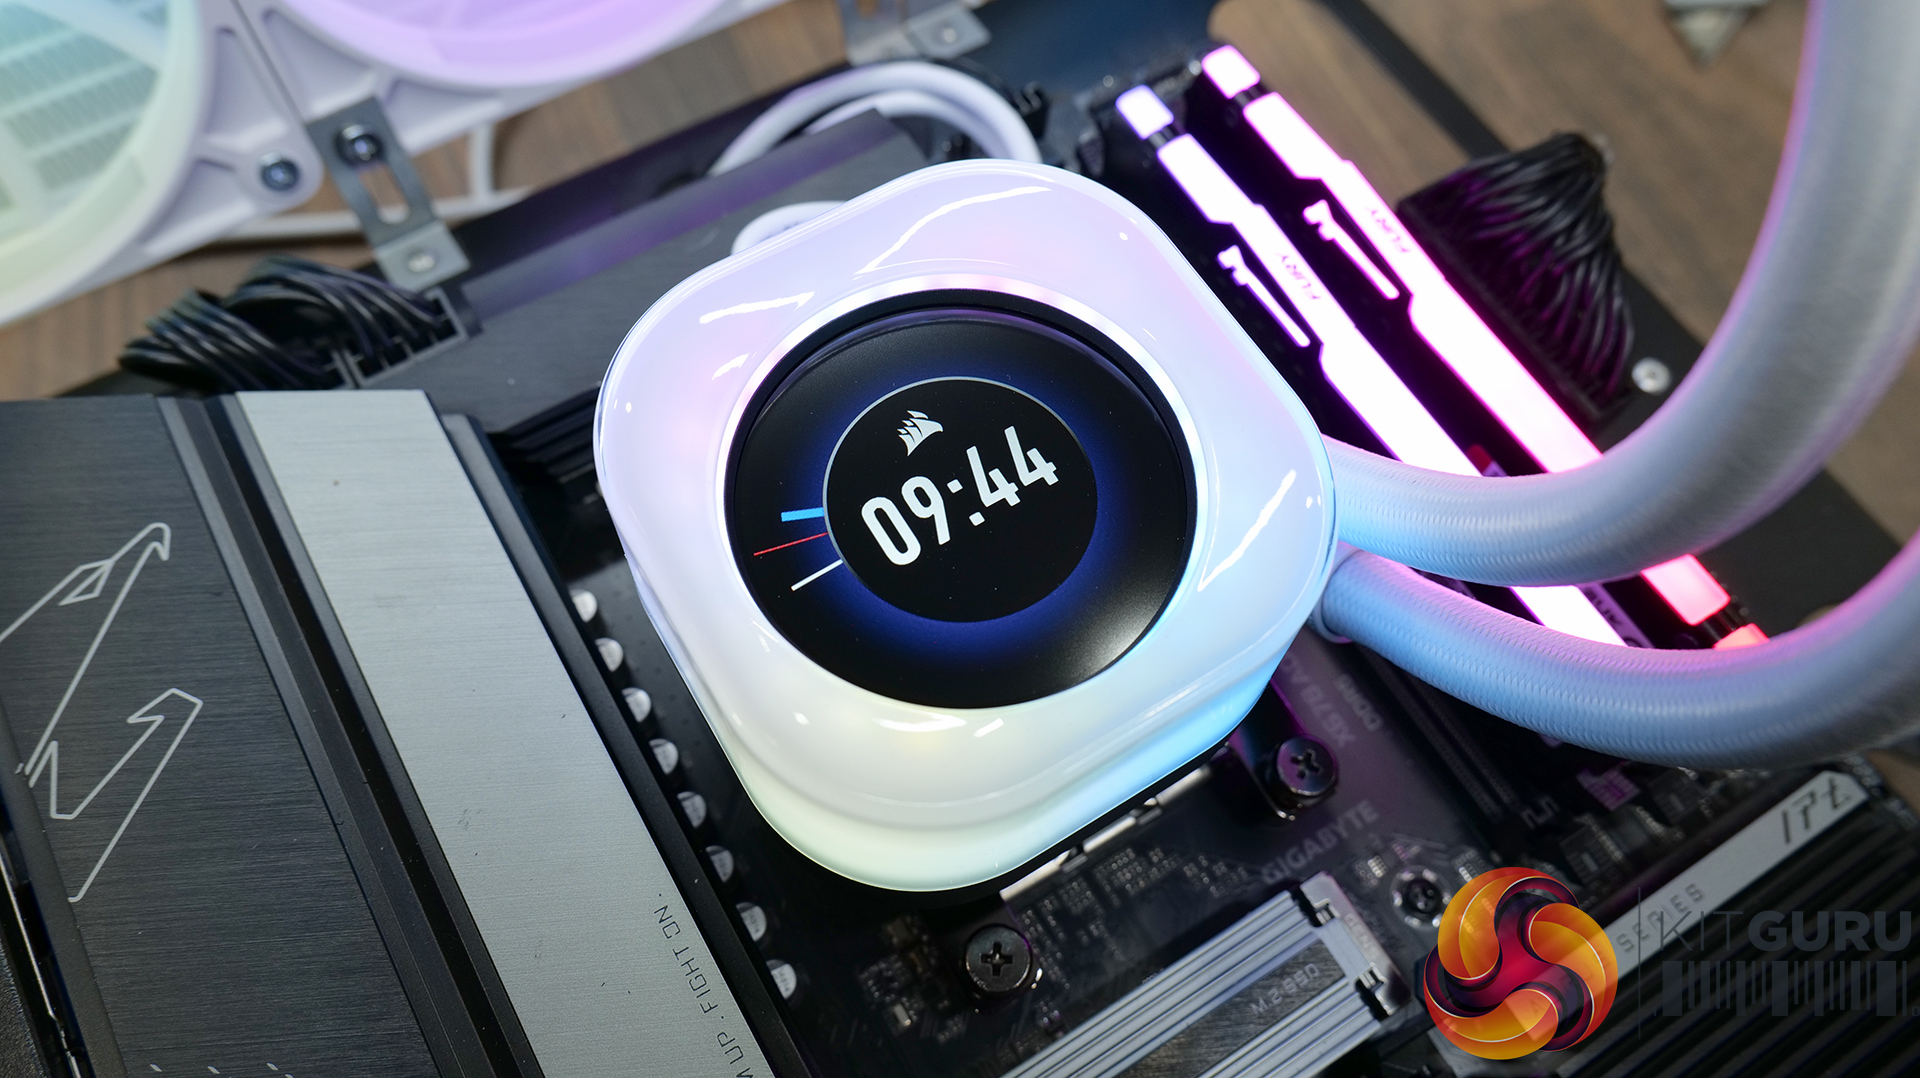
Corsair iCUE is easily the best RGB/hardware configuration software currently available. It's easy to download and install, it will automatically detect most, if not all Corsair iCUE compatible hardware and the user can customise RGB, LCD screen, set fan curves and more using iCUE. It’s a very user-friendly interface and it is very stable. The LCD screen can display hardware information, real-time system stats, images, GIFs and more using iCUE.