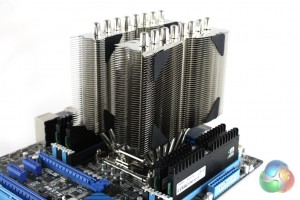
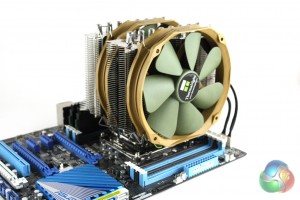
It is clear that Thermalright have not spent as much time developing their mounting mechanism as Noctua, however it is not the most complicated we have come across. The installation guide is fairly comprehensive, though, and guides us through the installation process well.
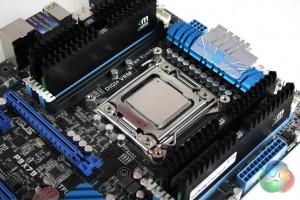
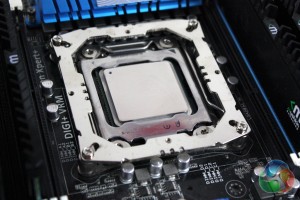
We are documenting the installation on the Socket 2011 platform meaning that we are not required to install a backplate as a first step. Instead, we are instructed to screw down the four ‘screw pillars’ into the CPU socket.
The square retention bracket can then be screwed down on top of these, providing us a base to which the cooler can be installed.
Then the cooler can be secured down into place by securing the mounting plate across the CPU block. Remember to apply the thermal paste before securing the cooler down, though.
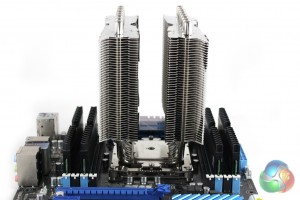
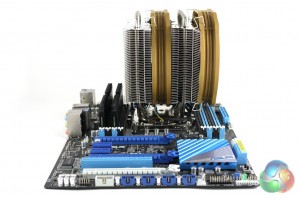
We had a few different compatibility issues with this cooler, especially with our Socket 2011 motherboard which features four ram slots on either side of the socket. Even though our Mushkin memory is fairly short, we couldn’t install the fan into position with RAM in the first two slots.
We also tried installing the cooler vertically, but the heatsink also fouled our memory on one side.
Finally the fans can be attached to the cooler, although we are instructed to attach some rubber pads to the heatsink first to prevent vibrations.
 KitGuru KitGuru.net – Tech News | Hardware News | Hardware Reviews | IOS | Mobile | Gaming | Graphics Cards


