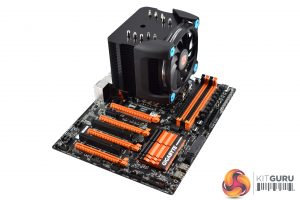
Here I will walk you through the installation process. It is worth noting we test using a Z97 motherboard – socket LGA 1150. The process below reflects that.
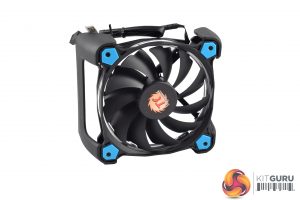
The first thing to do is attach the fan to the two brackets – the fan simply screws in-place, as above.
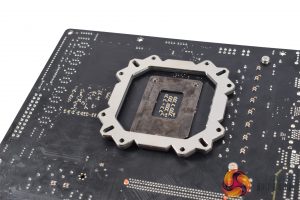
Next, go ahead and place the backplate on the underside of the motherboard's socket area.
After that, slide 4 screws through the mounting holes, so they come out through to the other side of the motherboard.
With the four screws sticking out through the motherboard's socket holes, you then need to mount four standoffs/ nuts to those screws.
Another mounting plate then sits on-top of these standoffs, and is secured with four black screws.
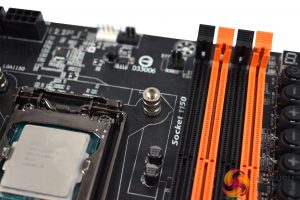
You can also see in the images above that the mounting plate has two raised screw holes, one on either side – this is where the heatsink will be mounted to the plate.
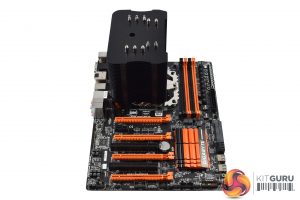
You can then mount the cooler on-top of the CPU. To secure it to the supporting plate, two small screws are needed. One is easy to access as it is to the right of the heatsink and is thus unobstructed by the heatsink.
The other screw requires you to thread your screwdriver through a cut-out in the heatsink itself. In practice, I found my screwdriver was actually too large to fit as the cut-out is quite slim. If ThermalTake provided a thin screwdriver to help with this task, that would be ideal.
After that, though, installation is complete, and you can clip the fan in-place. The overall process is slightly on the time-consuming side – when compared with other coolers like the Hyper 212 LED and Cryorig H7, for example – but it is not overly complicated.
I also think the end result looks very good thanks to the black heatsink, nickel-plated heatpipes and blue LED fan.
 KitGuru KitGuru.net – Tech News | Hardware News | Hardware Reviews | IOS | Mobile | Gaming | Graphics Cards


