Here I will walk you through the installation process. It is worth noting we test using a Z97 motherboard – socket LGA 1150. The process below reflects that.
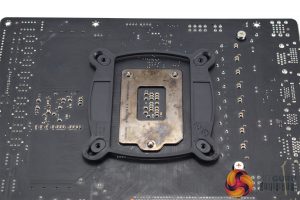
First of all, position the backplate behind the motherboard's socket area.
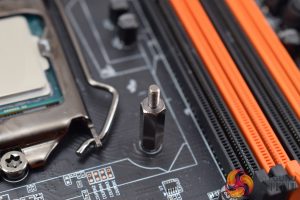
With that done, four standoffs screw into the backplate – the pump/waterblock will sit over these standoffs. It is also worth noting that, at this stage, the backplate may be slightly loose – that is normal, so don't worry. Everything will get nice and tight once the cooler has been mounted and secured.
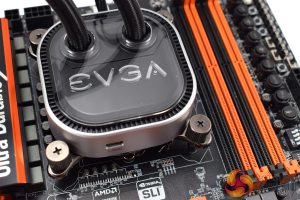
Speaking of mounting, you can now place the pump/waterblock over the standoffs and onto the CPU. The block is secured with four thumbscrews.
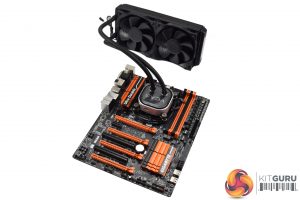
And that's it – job done! The Asetek installation method is dead easy, and considering EVGA installed the fans for you, the whole process shouldn't take more than two minutes. Perfect.
Taking a look at the RGB lighting, it is just the EVGA logo on the waterblock that is illuminated by RGB LEDs. Compared to something like the NZXT Kraken X62, the CLC 240's lighting is very subtle and minimalistic. Personally, I quite like that as it still gives you the choice of whatever colour you like, without being too gaudy or in-your-face.
 KitGuru KitGuru.net – Tech News | Hardware News | Hardware Reviews | IOS | Mobile | Gaming | Graphics Cards




One comment