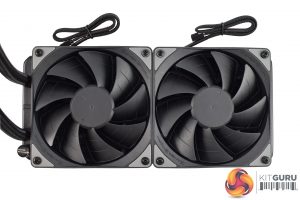
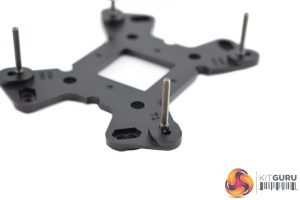
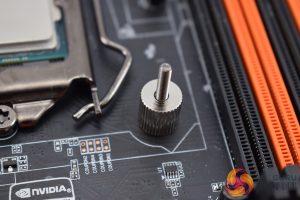
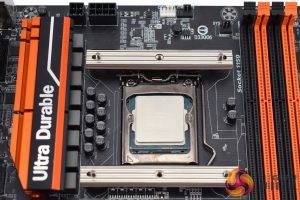
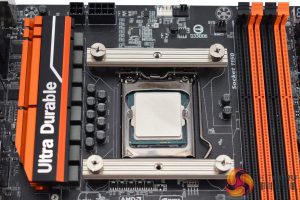
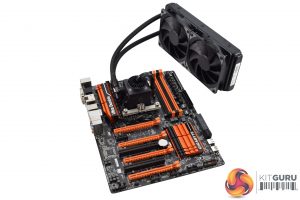
Here I will walk you through the installation process. It is worth noting we test using a Z97 motherboard – socket LGA 1150. The process below reflects that.
All three coolers share the same installation method.
First of all, get the fans out of the way by screwing them onto the radiator.
After that, we can prepare the backplate – four long screws need to be attached and these clip onto the backplate to prevent them falling out.
With the backplate ready, go ahead and place its screws through the motherboard's socket holes.
Four spacers are then used to keep the backplate and screws in place.
Now we are ready to place the two rails on-top of the screws and spacers. It is important they are placed horizontally to prevent any clearance issues when mounting the cooler itself.
The rails are then secured with four small thumbscrews/nuts.
After that, the pump is ready to be mounted – its pre-attached bracket simply screws into the rails, and that is job done!
The process is identical to the previous 240 EX coolers and it is pretty simple and straightforward so we have no complaints.
If the above gallery is not displaying, please whitelist us via your ad blocker as they are known to interfere with our website code.
Before moving on, we should look at the RGB lighting – it is, after all, a key feature of the new series. The lighting can be controlled one of two ways – either via a 4-pin RGB header on your motherboard, or using the small bundled controller. I had to use the hardwired controller as our test motherboard does not have a 4-pin RGB header.
Overall, this controller is pretty basic – it lets you change the brightness, mode and speed (for the colour cycle mode) and that is it. It is not as sophisticated as, say, EVGA's CLC series which connects via USB but it does the job. Still, for the best experience, it would be ideal to use the cooler with a RGB-capable motherboard.
 KitGuru KitGuru.net – Tech News | Hardware News | Hardware Reviews | IOS | Mobile | Gaming | Graphics Cards


