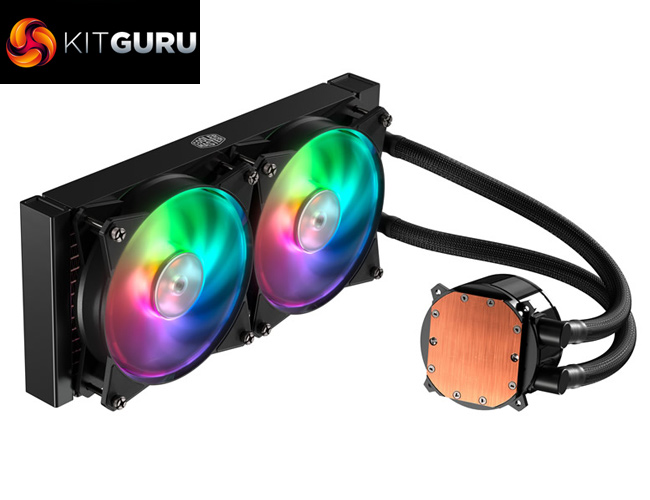
It has been a fair while since we last reviewed a CPU cooler from Cooler Master. Well, that changes today as we are looking at the ML240R RGB liquid cooler, with addressable RGB lighting on both the pump and the fans. Priced at just under £110, can this strike a balance between good looks and impressive performance? Let's find out.
As the name suggests, the ML240R is a 240mm liquid cooler from Cooler Master. The ‘ML' stands for ‘Master Liquid' and is nothing to do with magnetic levitation fans, while the ‘R' stands for ‘regular' as Cooler Master products are now split into three tiers – lite, regular and pro.
Specification
- Model: MLX-D24M-A20PC-R1
- CPU Support: Intel: LGA 2066/ 2011-v3 / 2011 / 1151 / 1150 / 1155 / 1156 / 1366 / 775. AMD: AM4 / AM3+ / AM3 / AM2+/ AM2 / FM2+ / FM2 / FM1
Radiator:
- Material: Aluminium
- Dimensions: 277 x 119.6 x 27 mm
Fan:
- Dimensions: 120 x 120 x 25 mm
- Quantity: 2 PCS
- Speed: 650 ~ 2000 RPM (PWM) ± 10%
- Air Flow: 66.7 CFM (Max)
- Air Pressure: 2.34 mmH2O (Max)
- MTTF: 160,000 hours
- Noise Level: 6 ~ 30 dBA
- Connector: 4-Pin (PWM)
- Rated Voltage: 12 VDC
Pump:
- Dimensions: 83.6 x 71.8 x 52.7 mm
- MTTF: 70,000 hours
- Noise Level: < 15 dBA
- Connector: 3-Pin
- Rated Voltage: 12 VDC
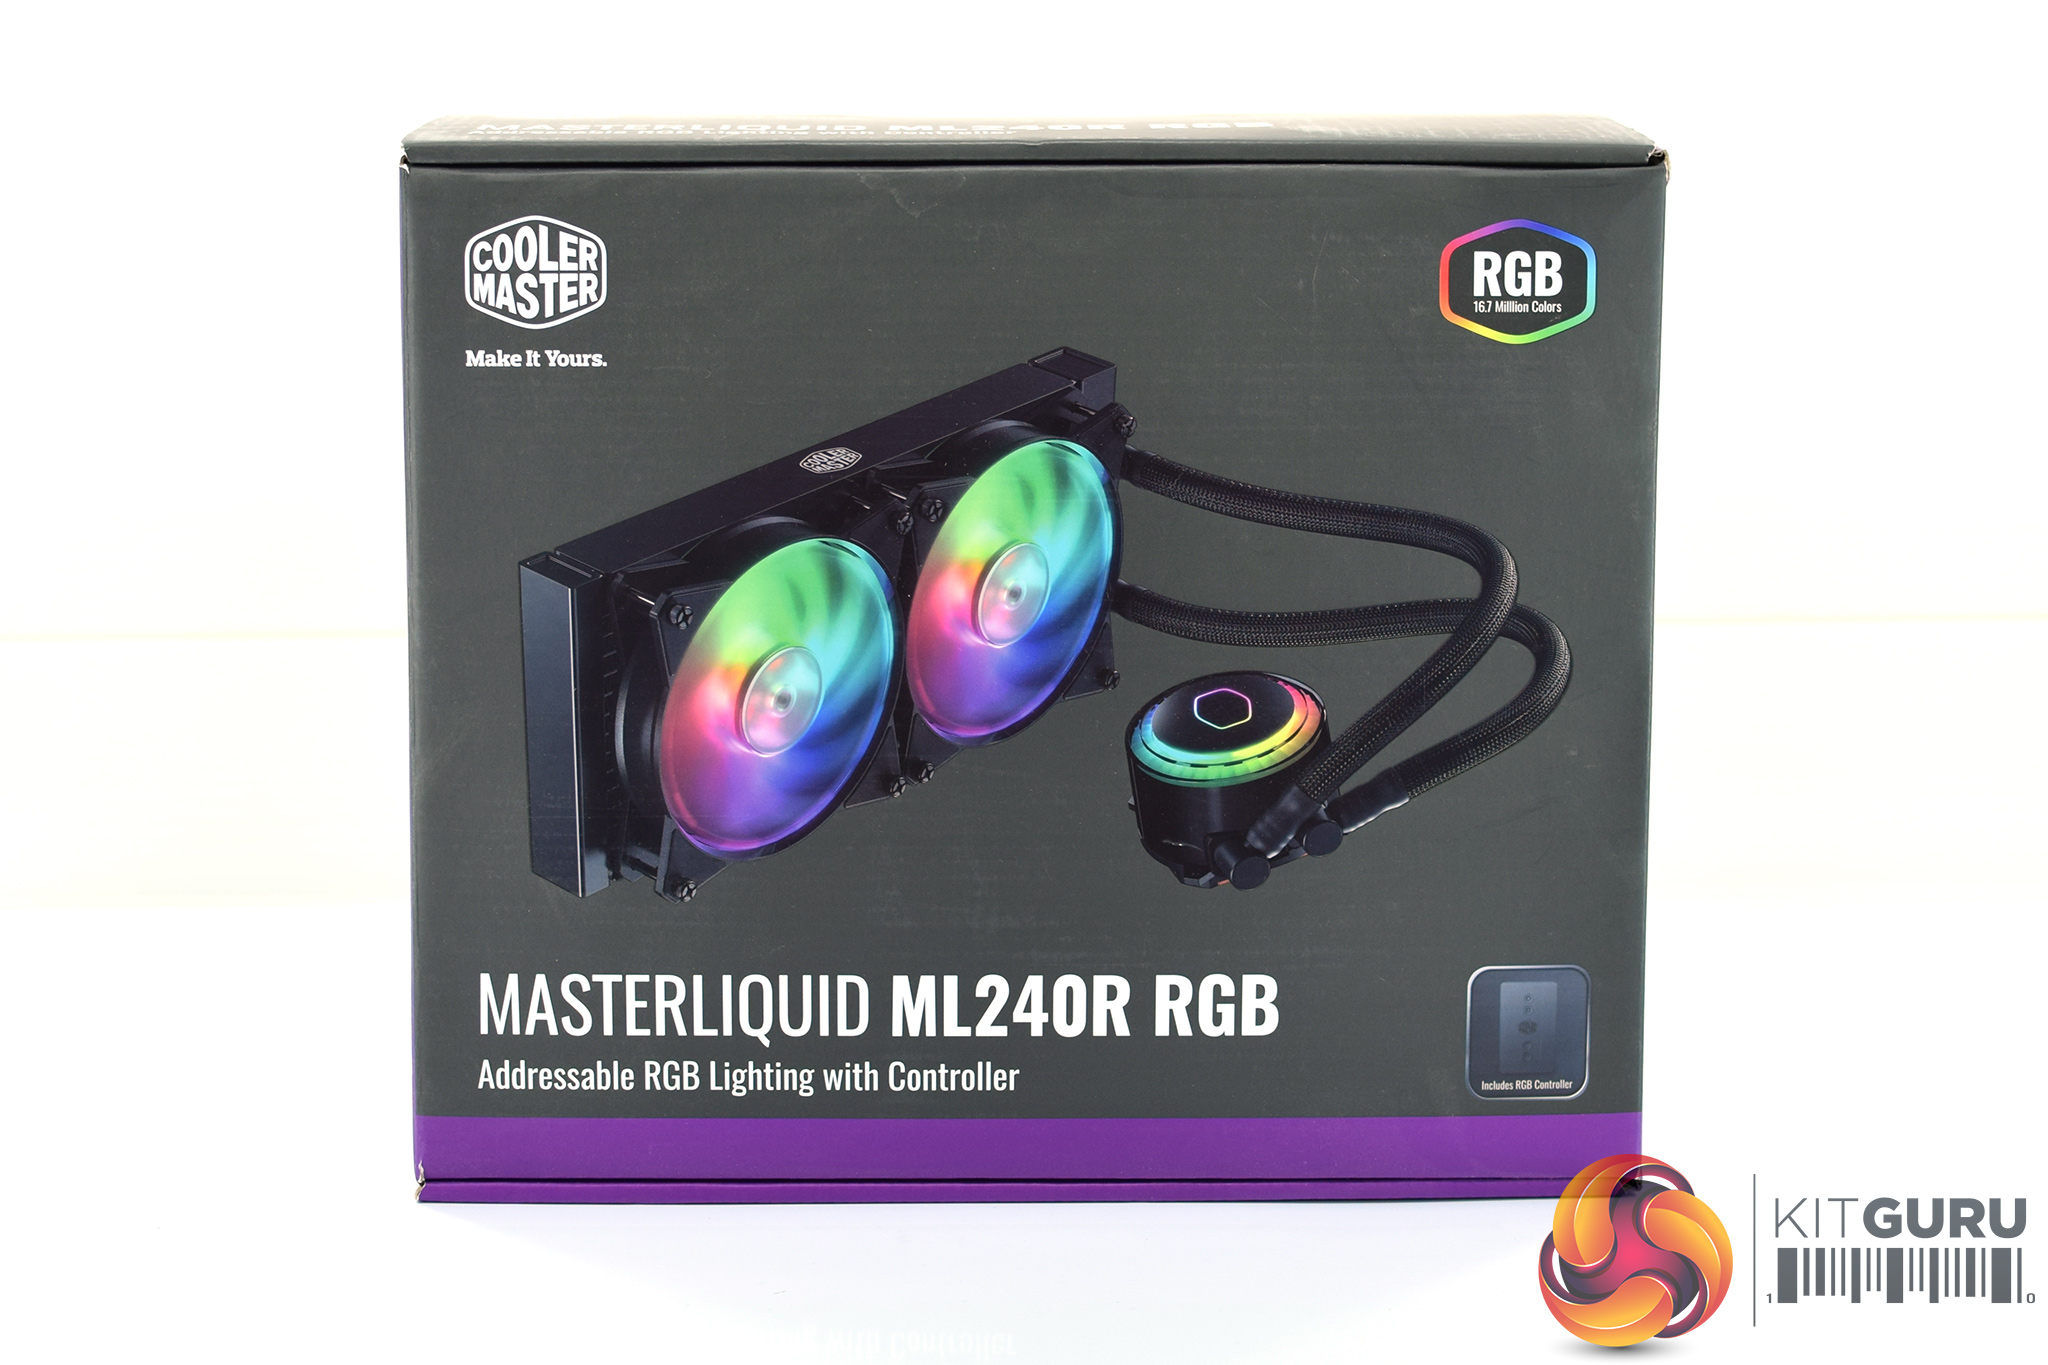
The ML240R RGB ships in a dark grey box with purple accenting. A large image of the cooler itself is visible from the front.
Inside, two manuals are included – one for the installation process, and one detailing warranty information.
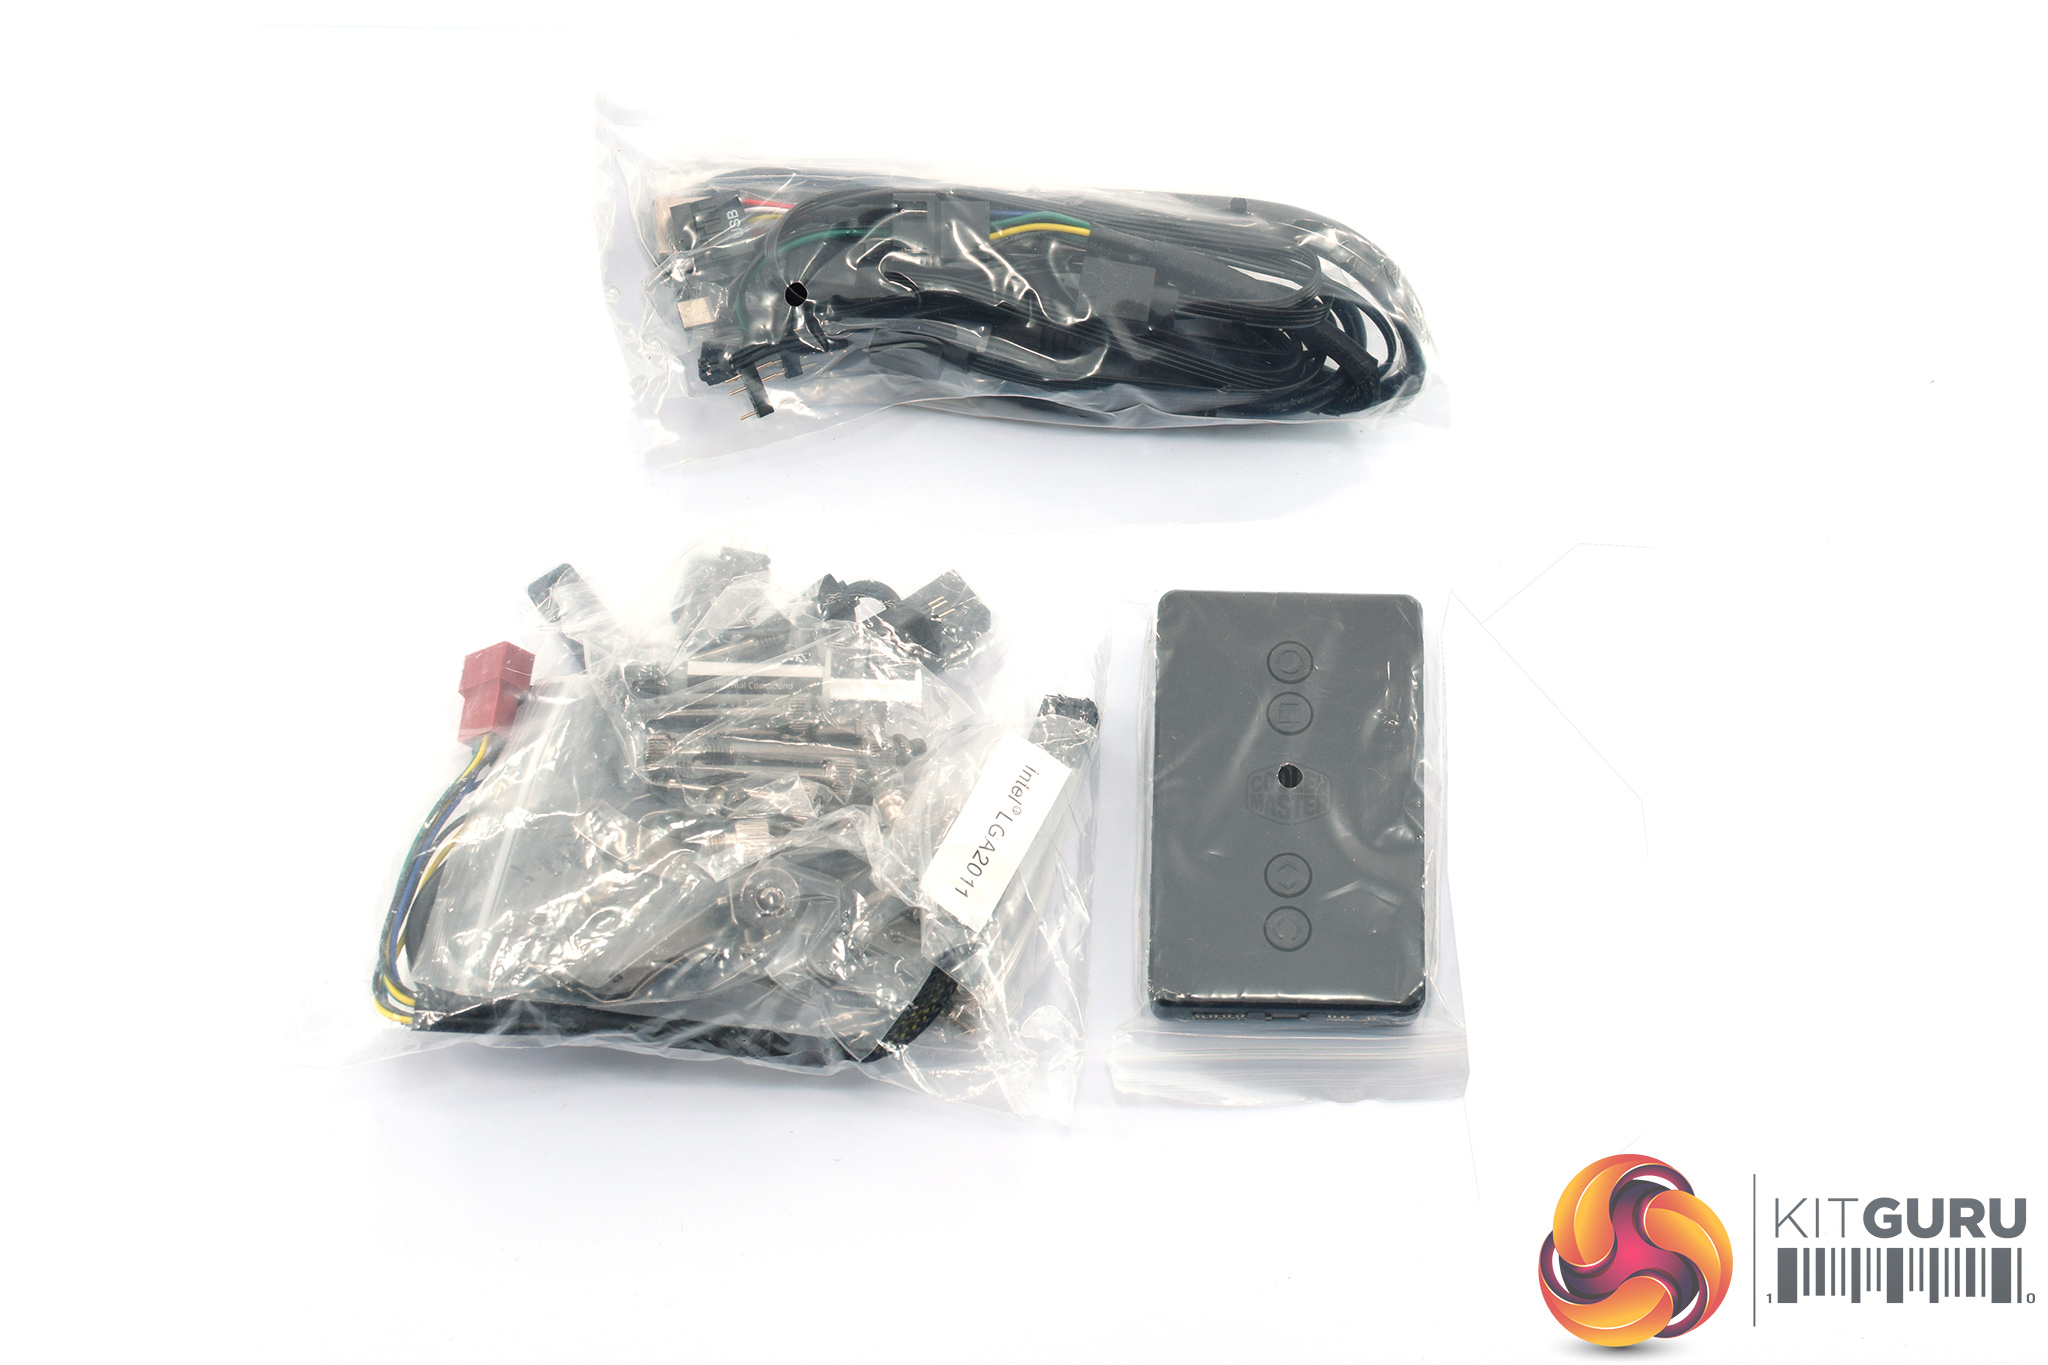
The necessary installation hardware and added extras come in three separate bags. One contains all of the mounting screws and fixings, while the other contains various cables and connectors to use with the RGB controller, which is in the third bag. This controller allows you to utilise the addressable RGB nature of the ML240R without the need for a dedicated ARGB header on your motherboard.
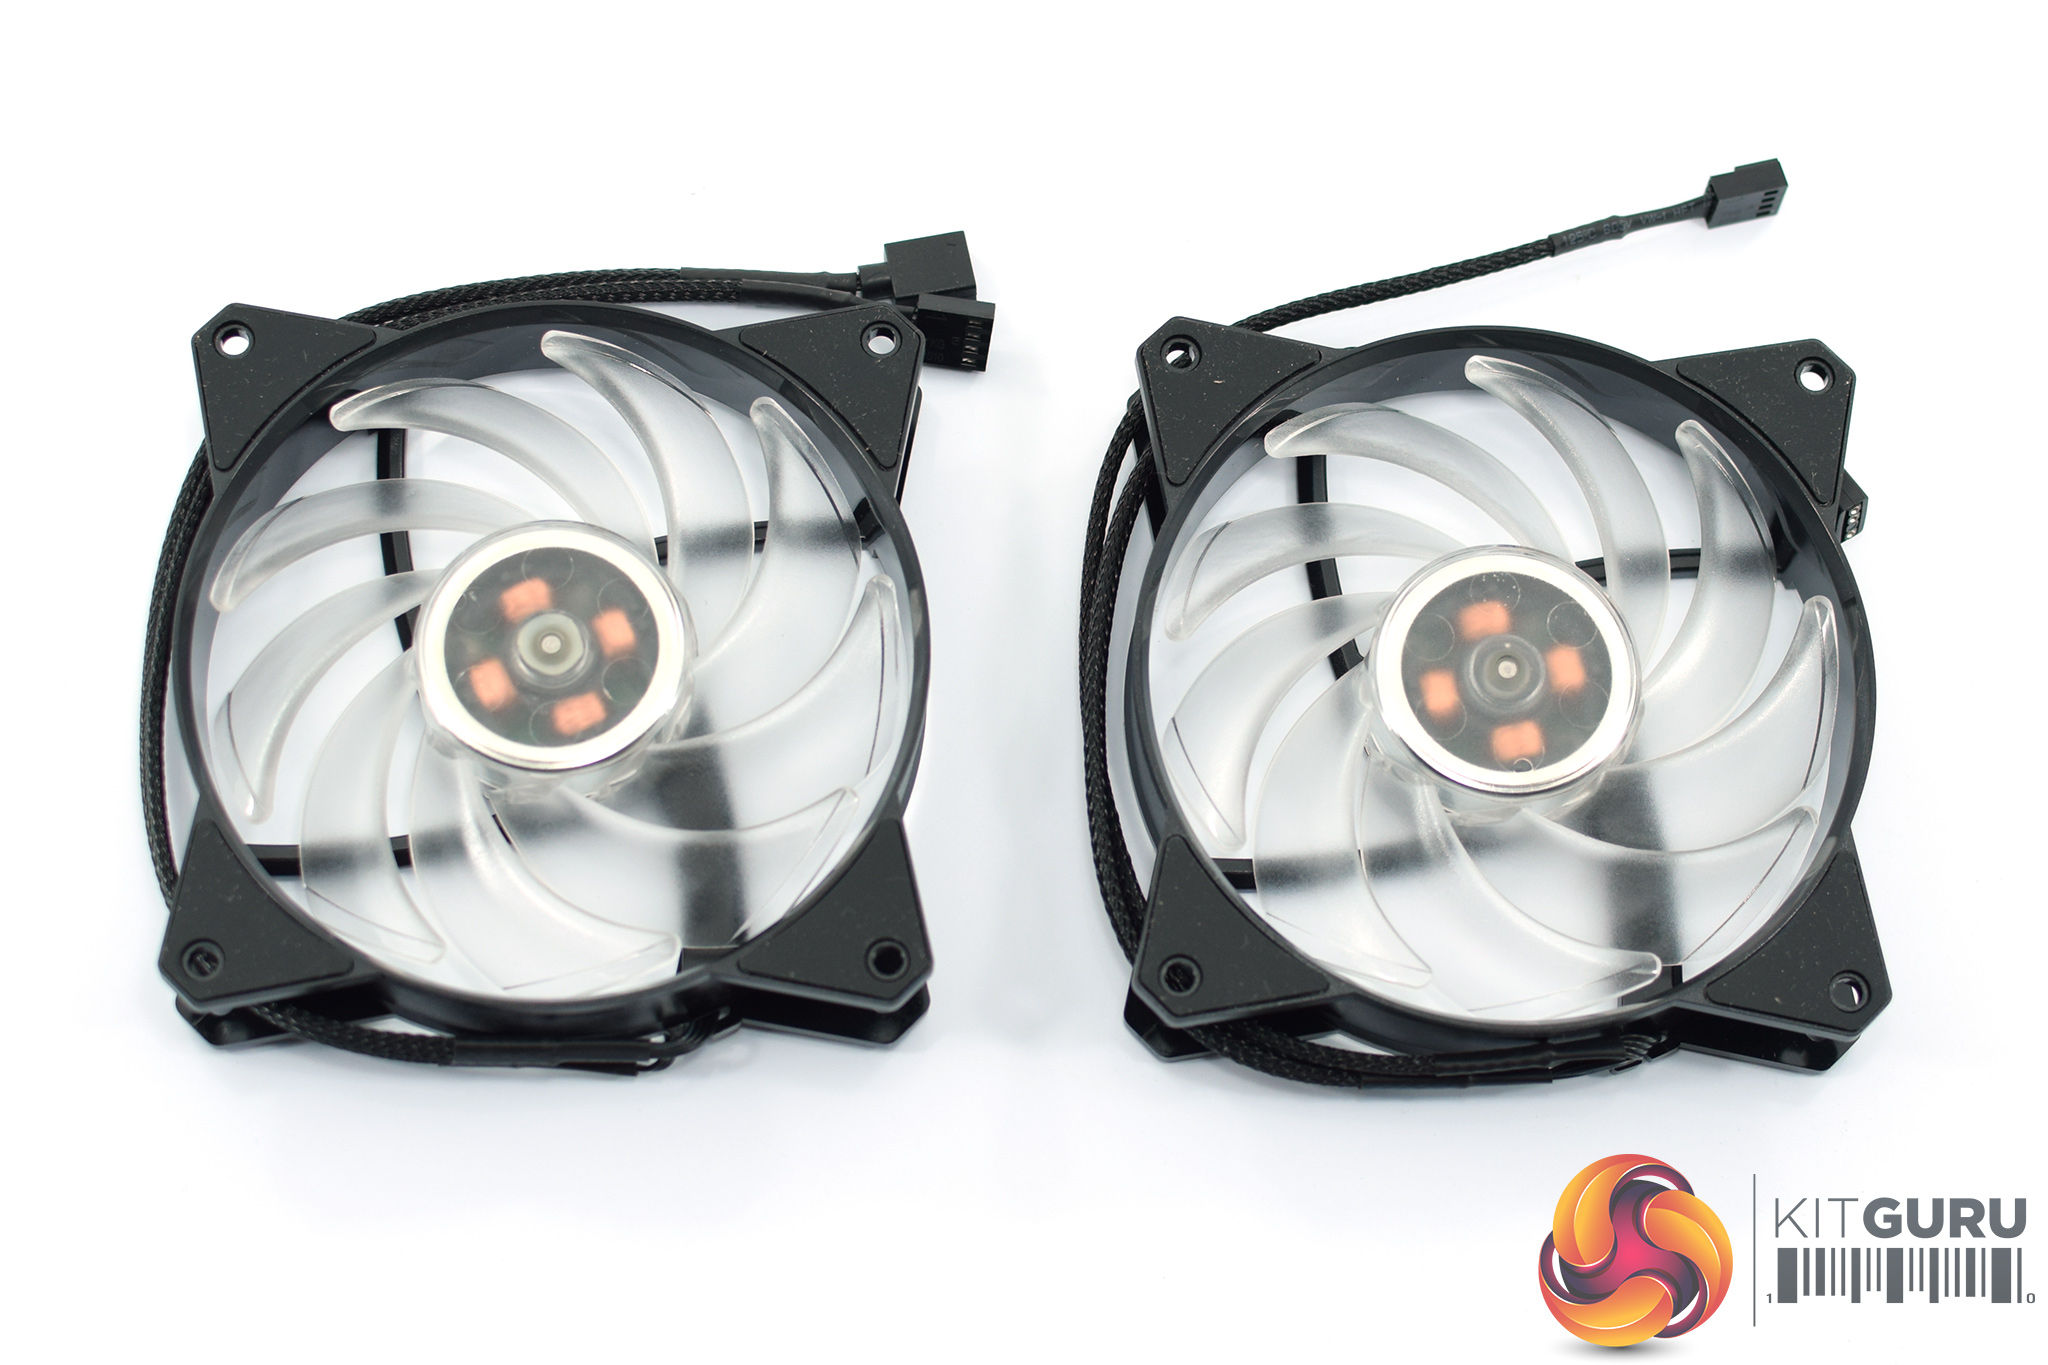
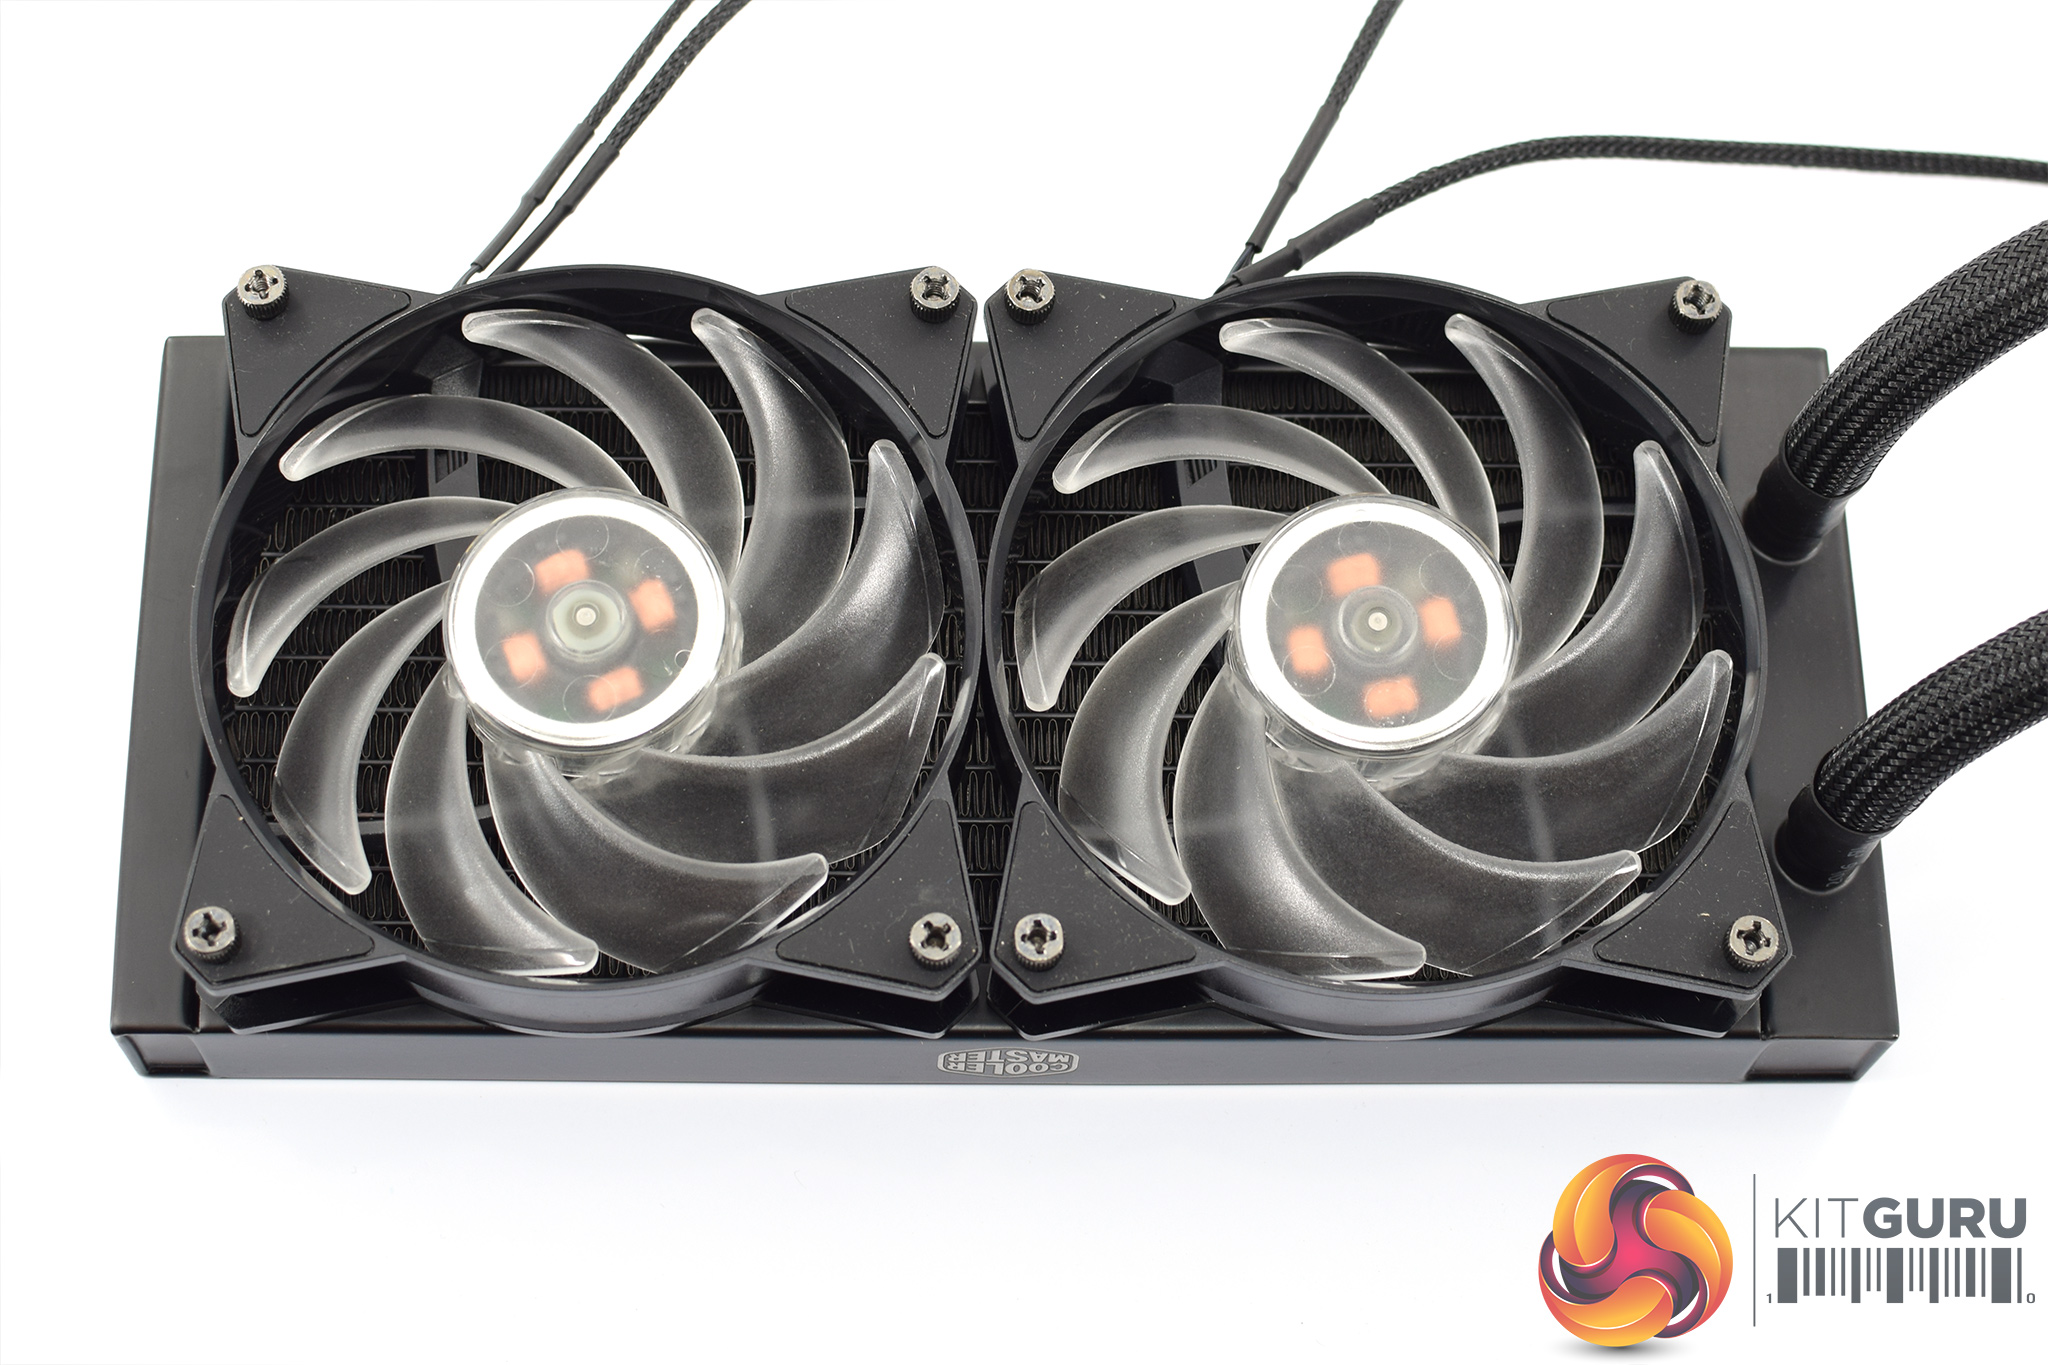
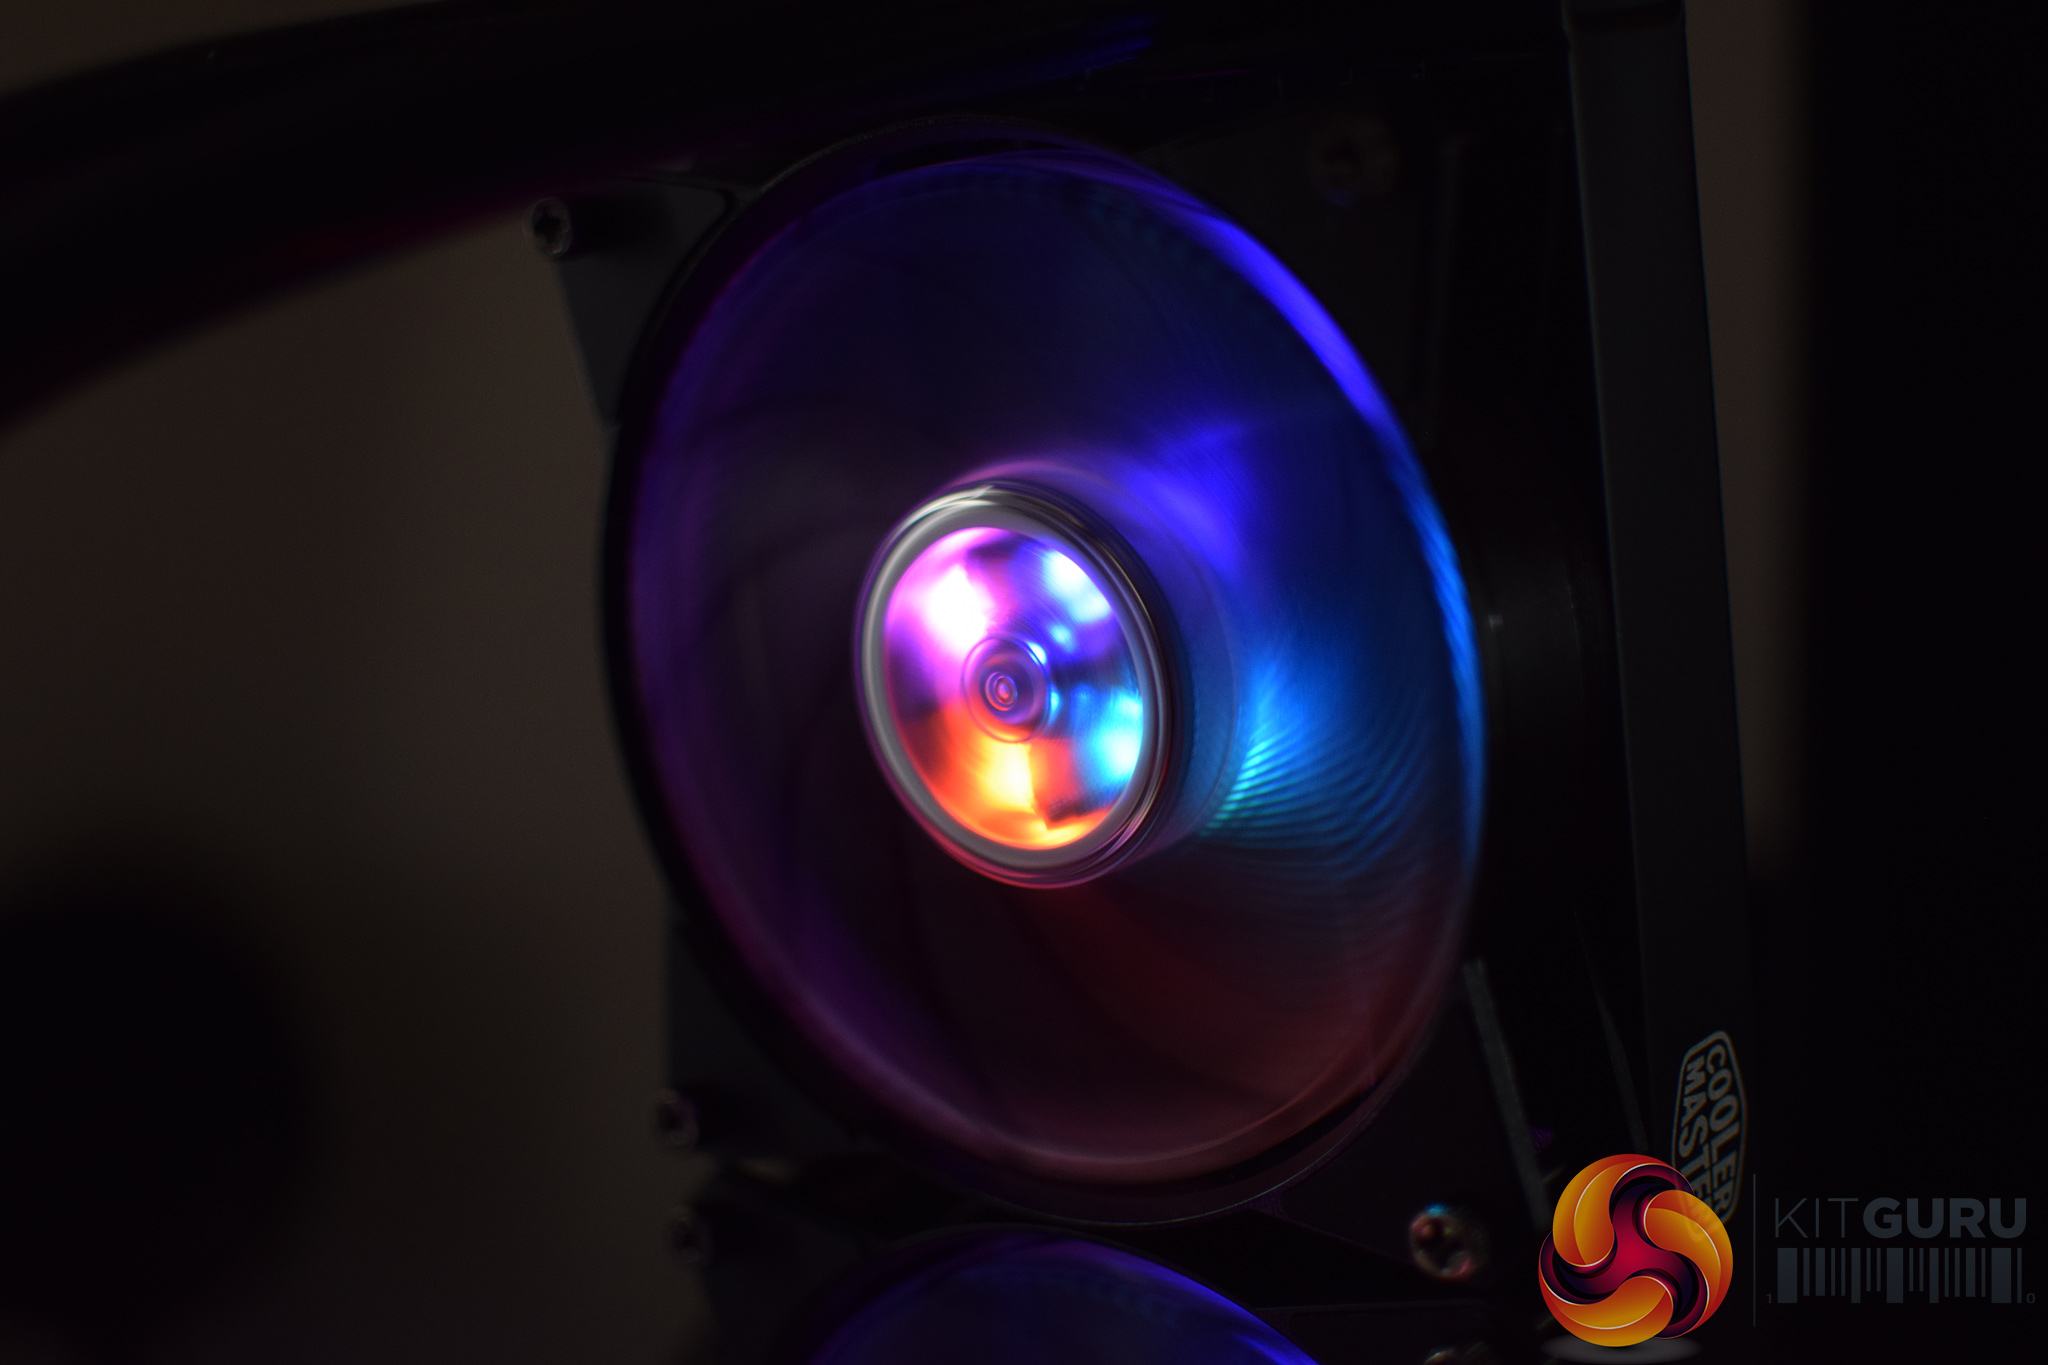
Alongside that, two of Cooler Master's MF120R fans come included, which are specifically designed for use with radiators. Each fan uses two cables – one for the 4-pin PWM header, and one for the 3-pin ARGB header.

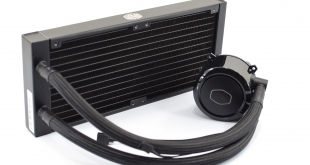
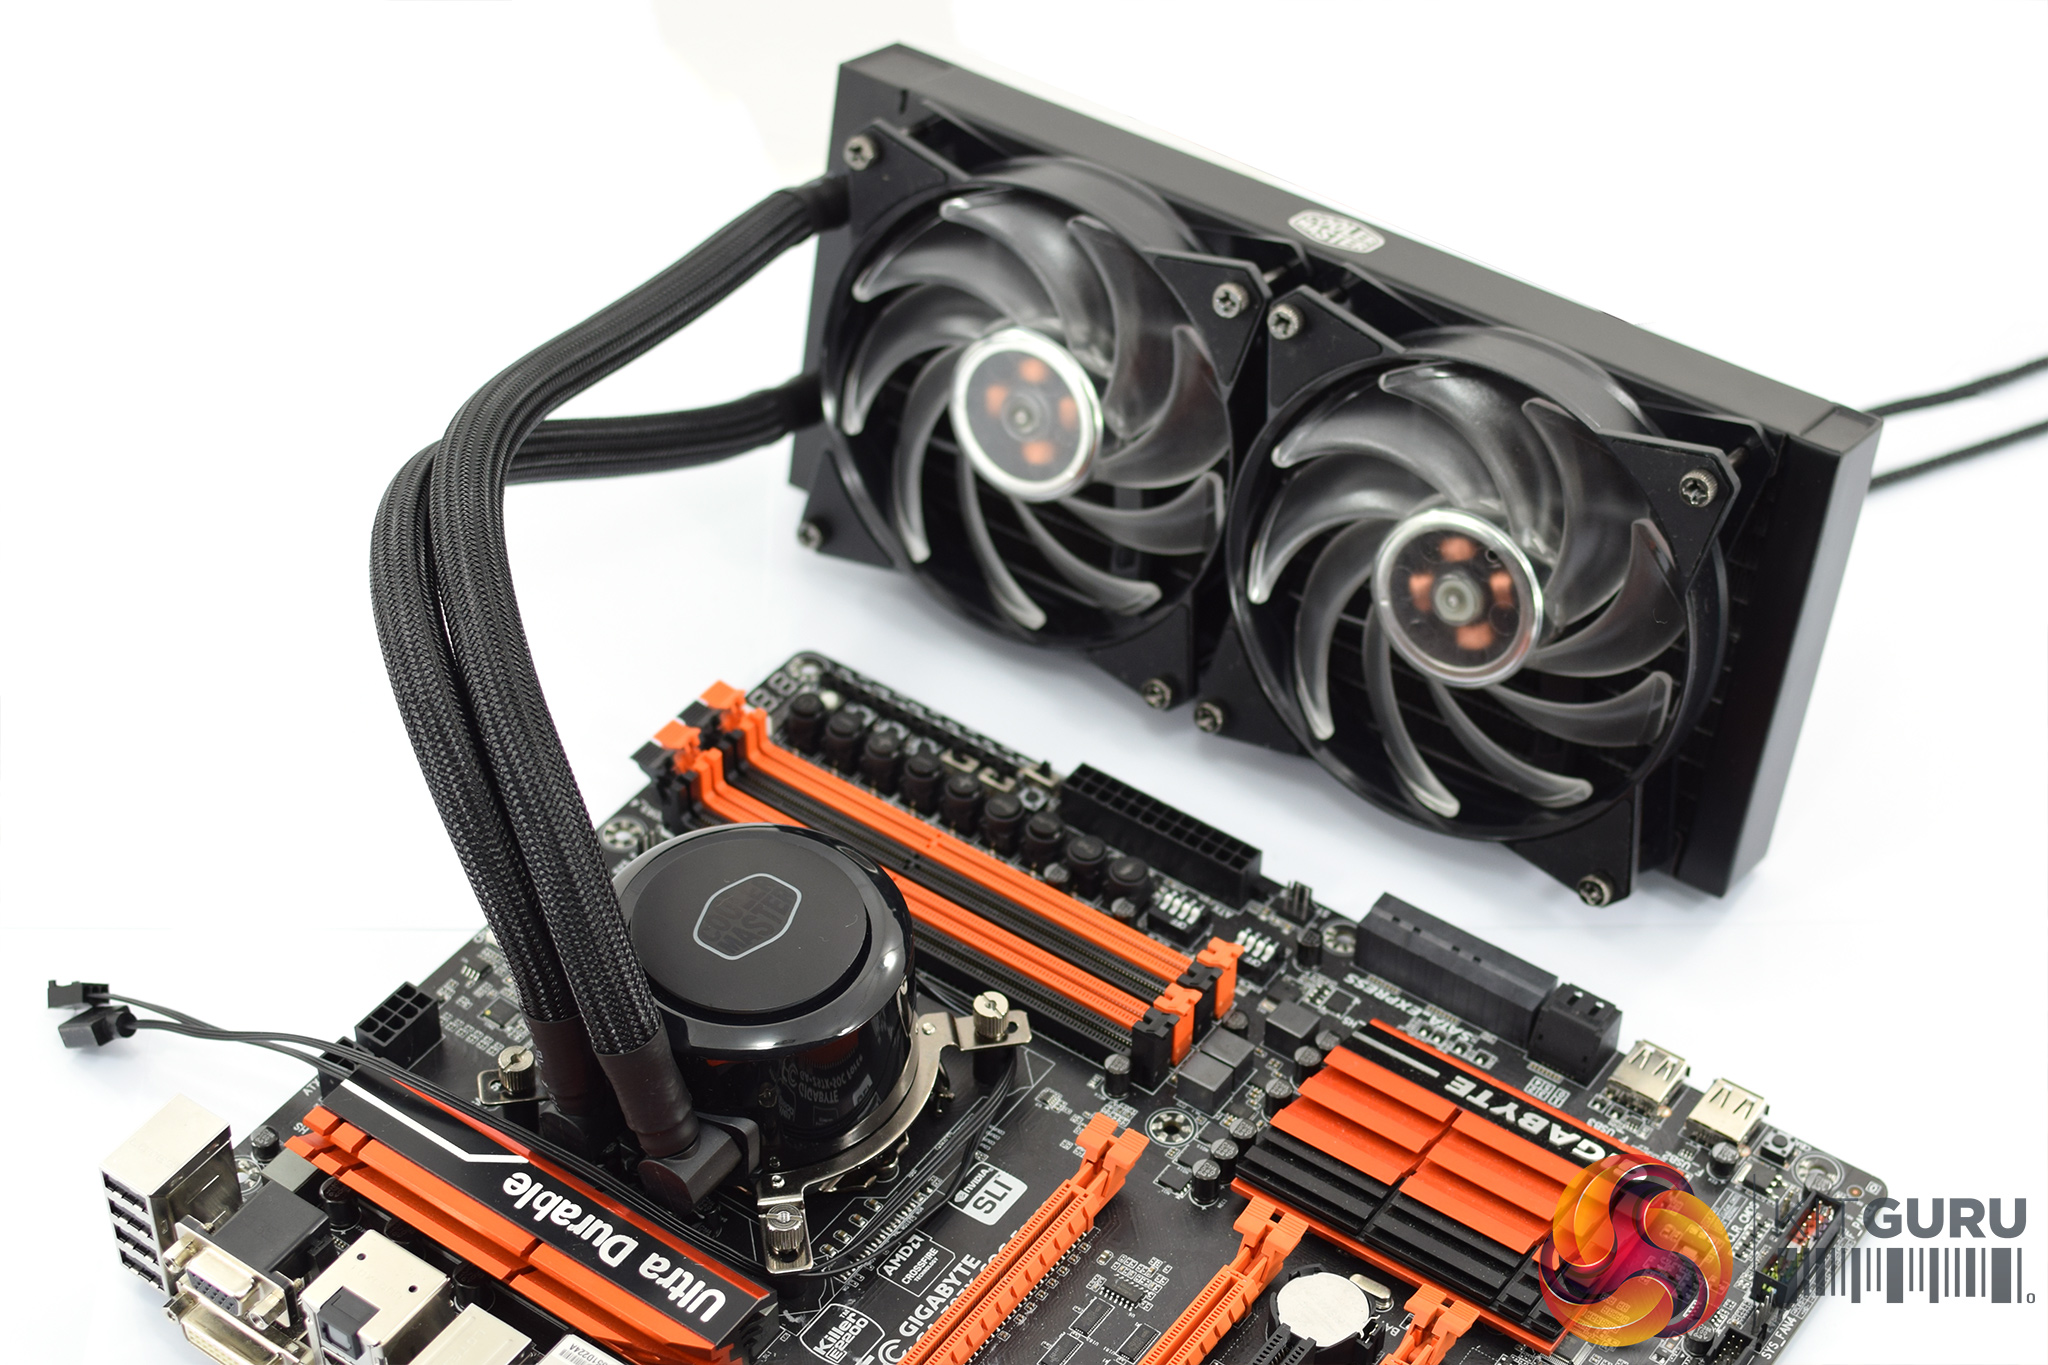
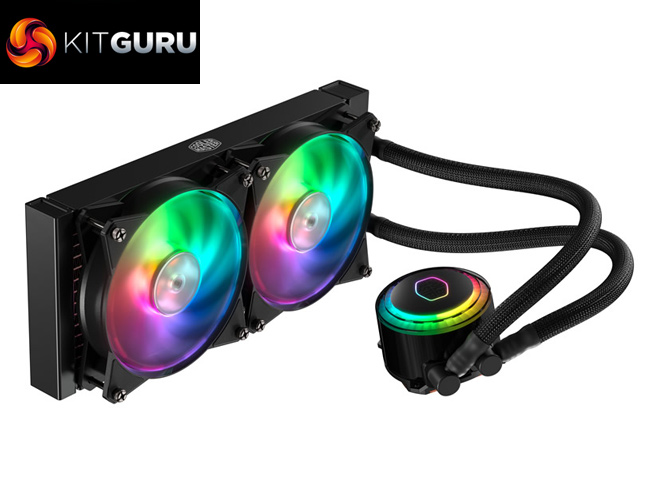
Now we come to the liquid cooler itself, and I have to say I am quite taken with the overall design. The radiator is quite square in shape and looks quite smart if you ask me, while the braided tubing also looks nice and stealthy. For those interested, the radiator measures 277 x 119.6 x 27 mm.
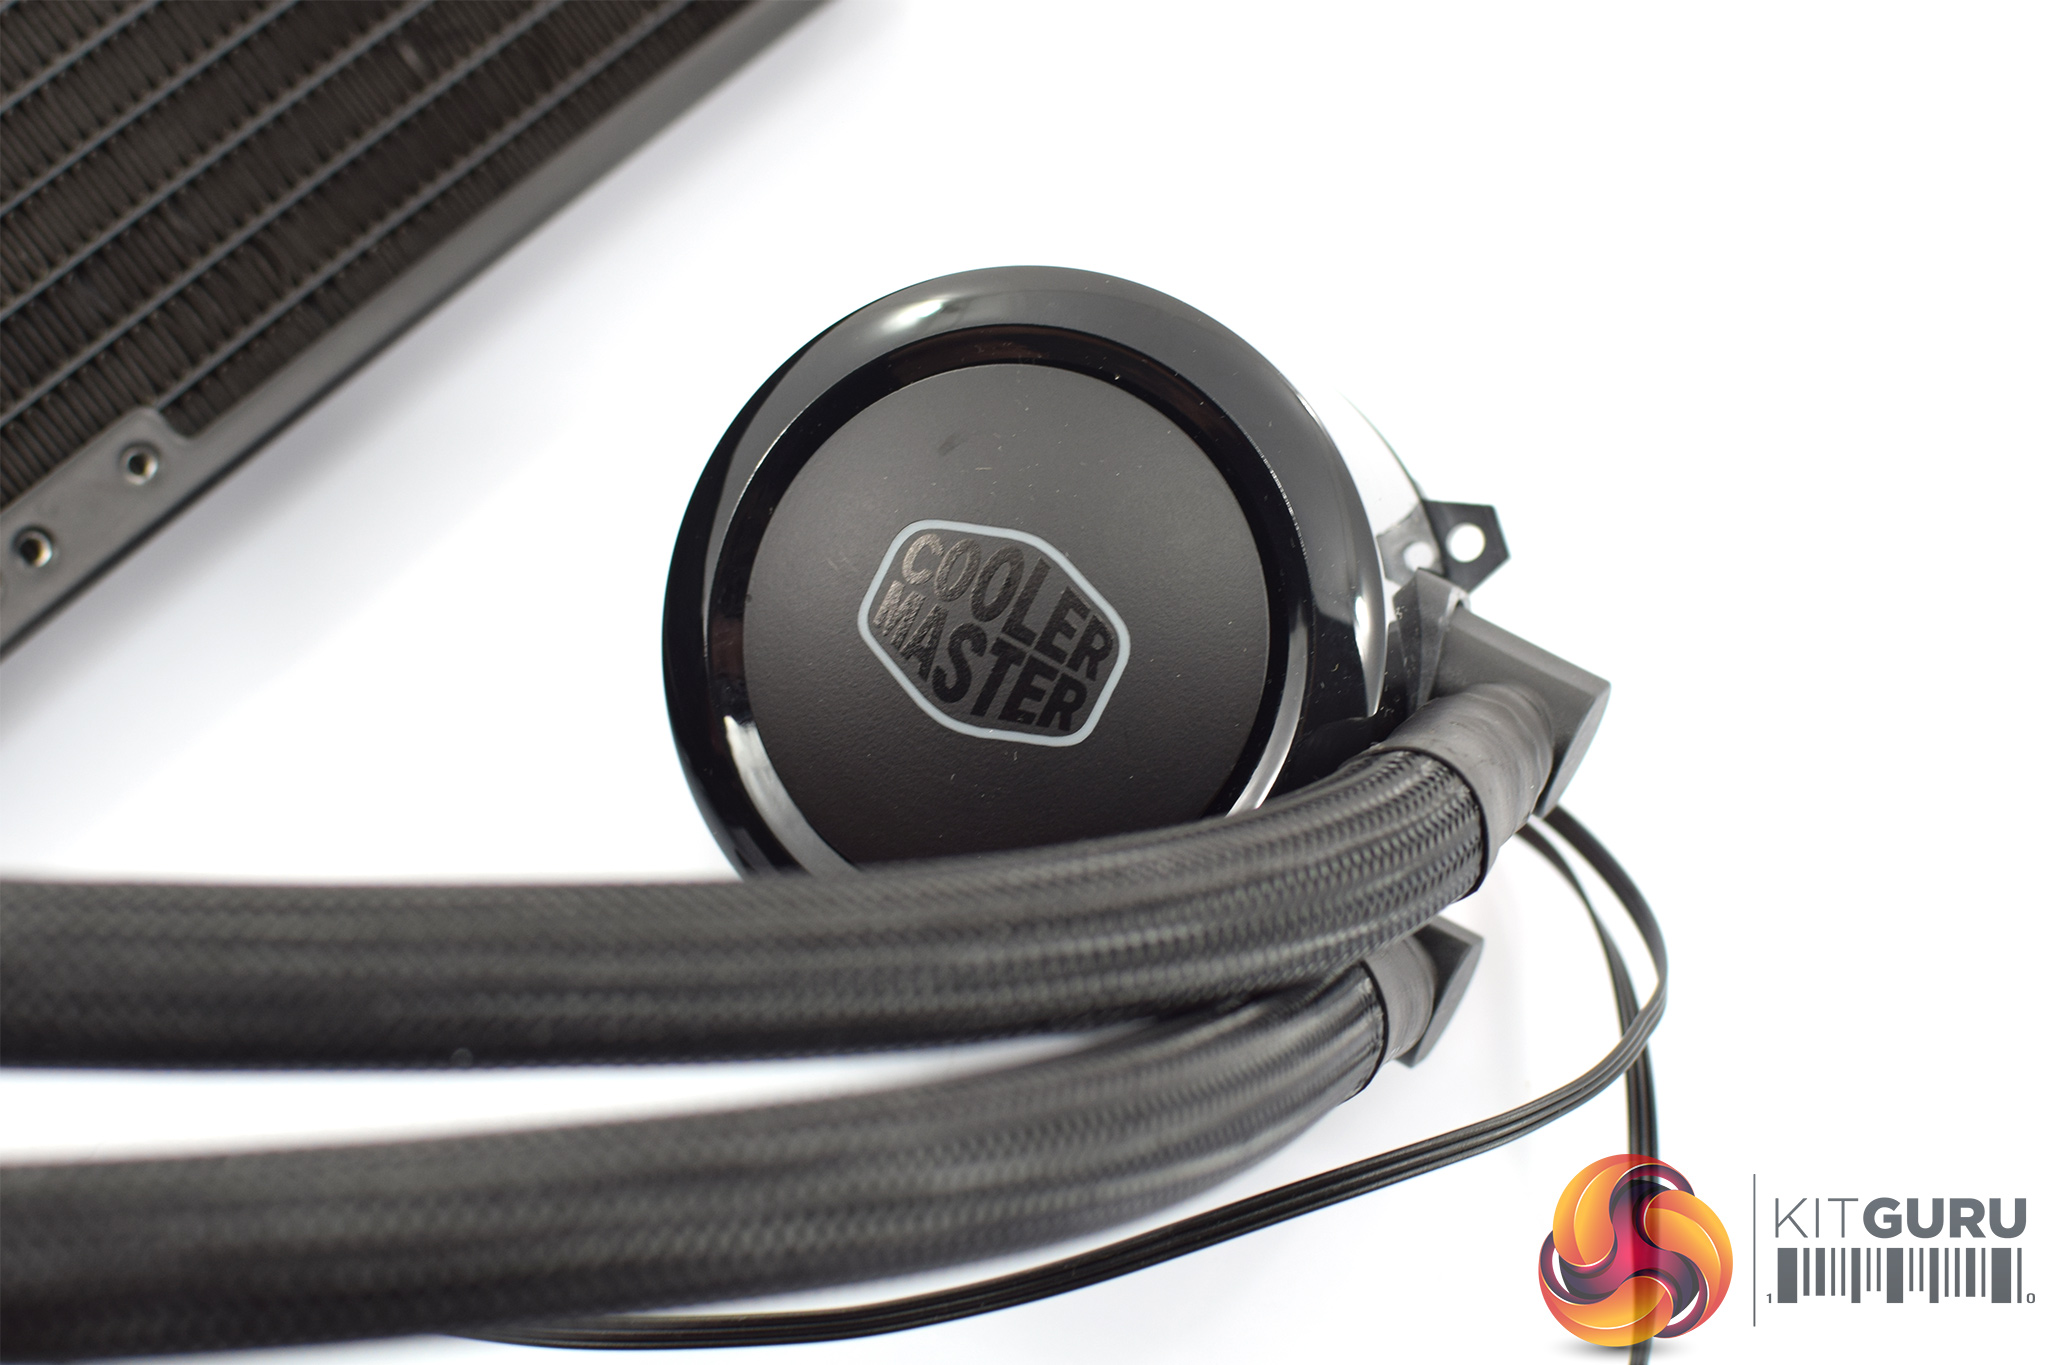
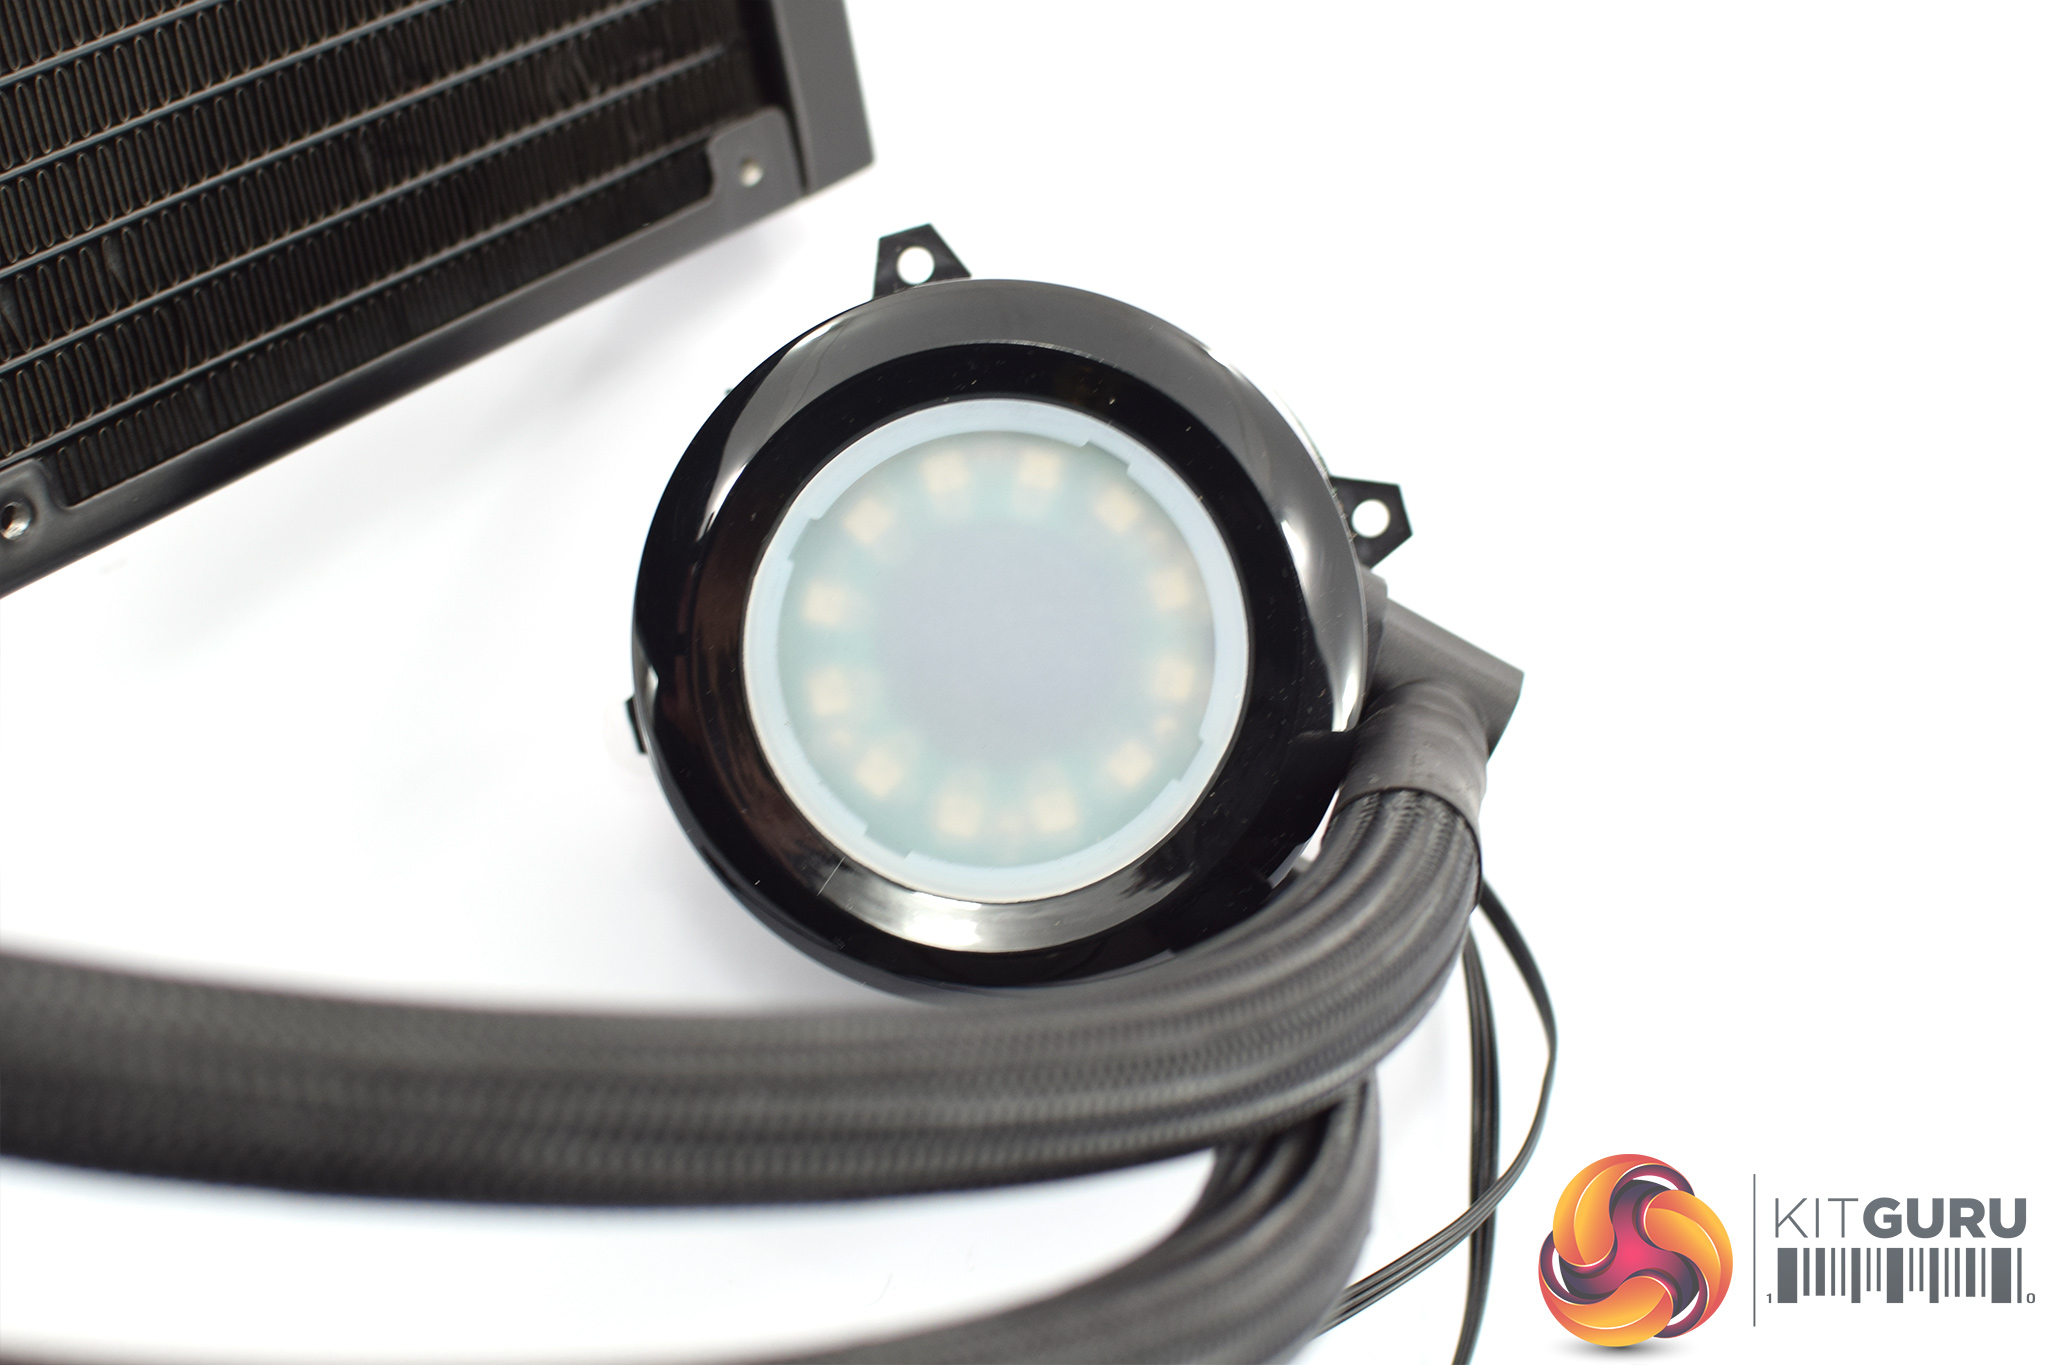
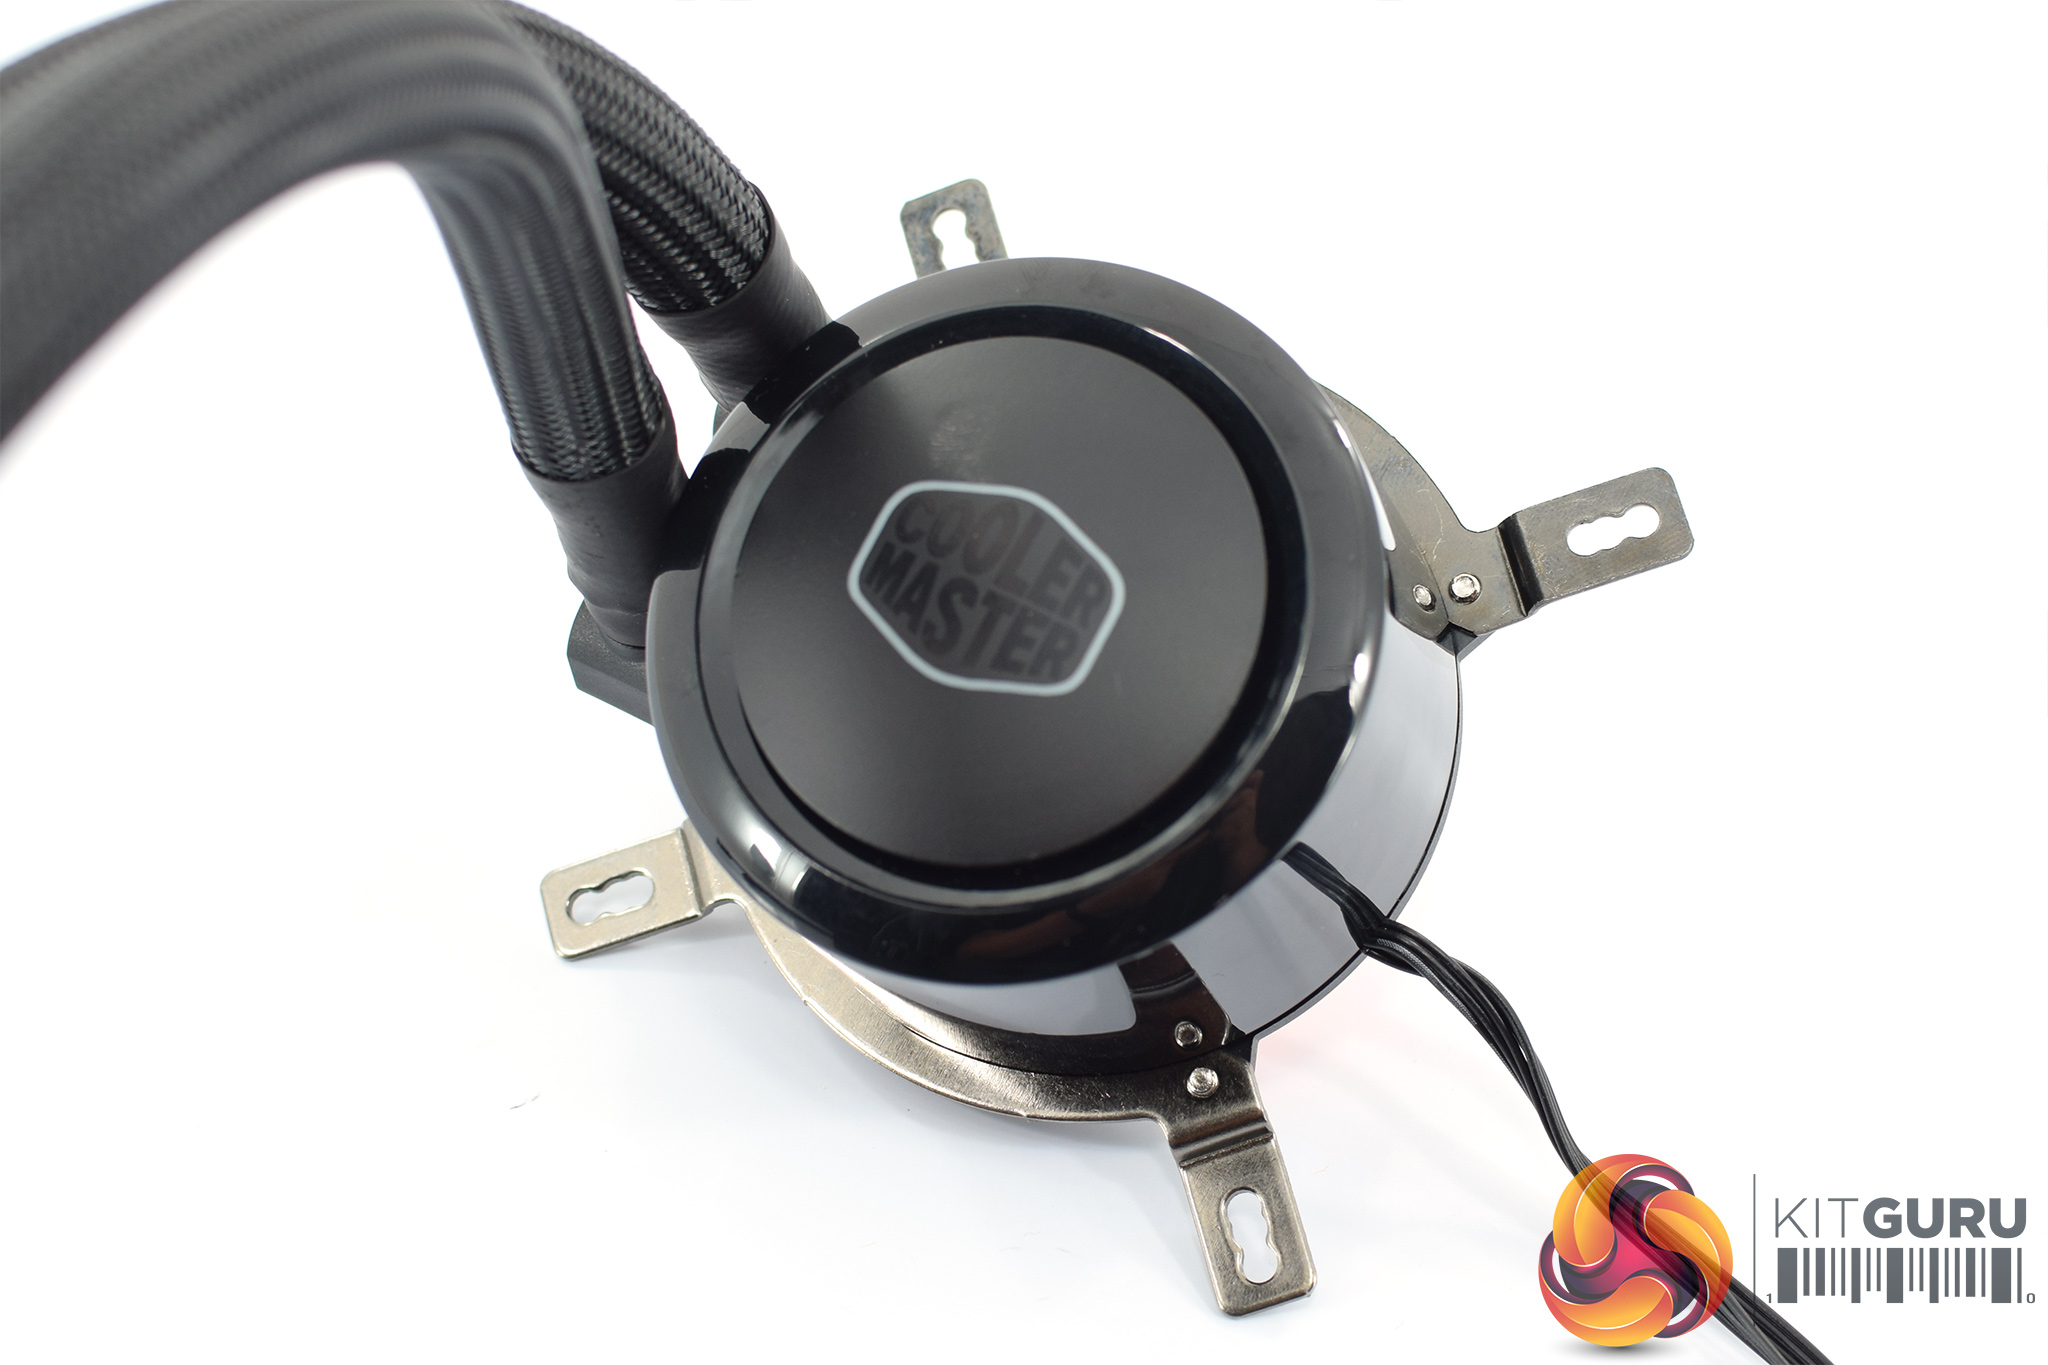
The pump/coldplate is also noteworthy for two separate reasons. The first is because the pump uses a dual-chamber design, which Cooler Master says makes it ‘impervious to oxidation and corrosion'.
Secondly, the top plate on the pump (where you can see the Cooler Master logo) is removable. This serves two purposes – you can either remove the plate entirely if you want a full-on RGB experience (as the plate covers the LEDs), but most useful is the fact that the removable plate allows you to re-orient the logo regardless of how the waterblock is installed, meaning you can always have the logo the right way up.Here I will walk you through the installation process. It is worth noting we test using a Z97 motherboard – socket LGA 1150. The process below reflects that.
First of all, get the fans out of the way by screwing them onto the radiator.
While you have the cooler in front of you, two mounting arms also need to be screwed onto the pump unit – these are secured with two screws each.
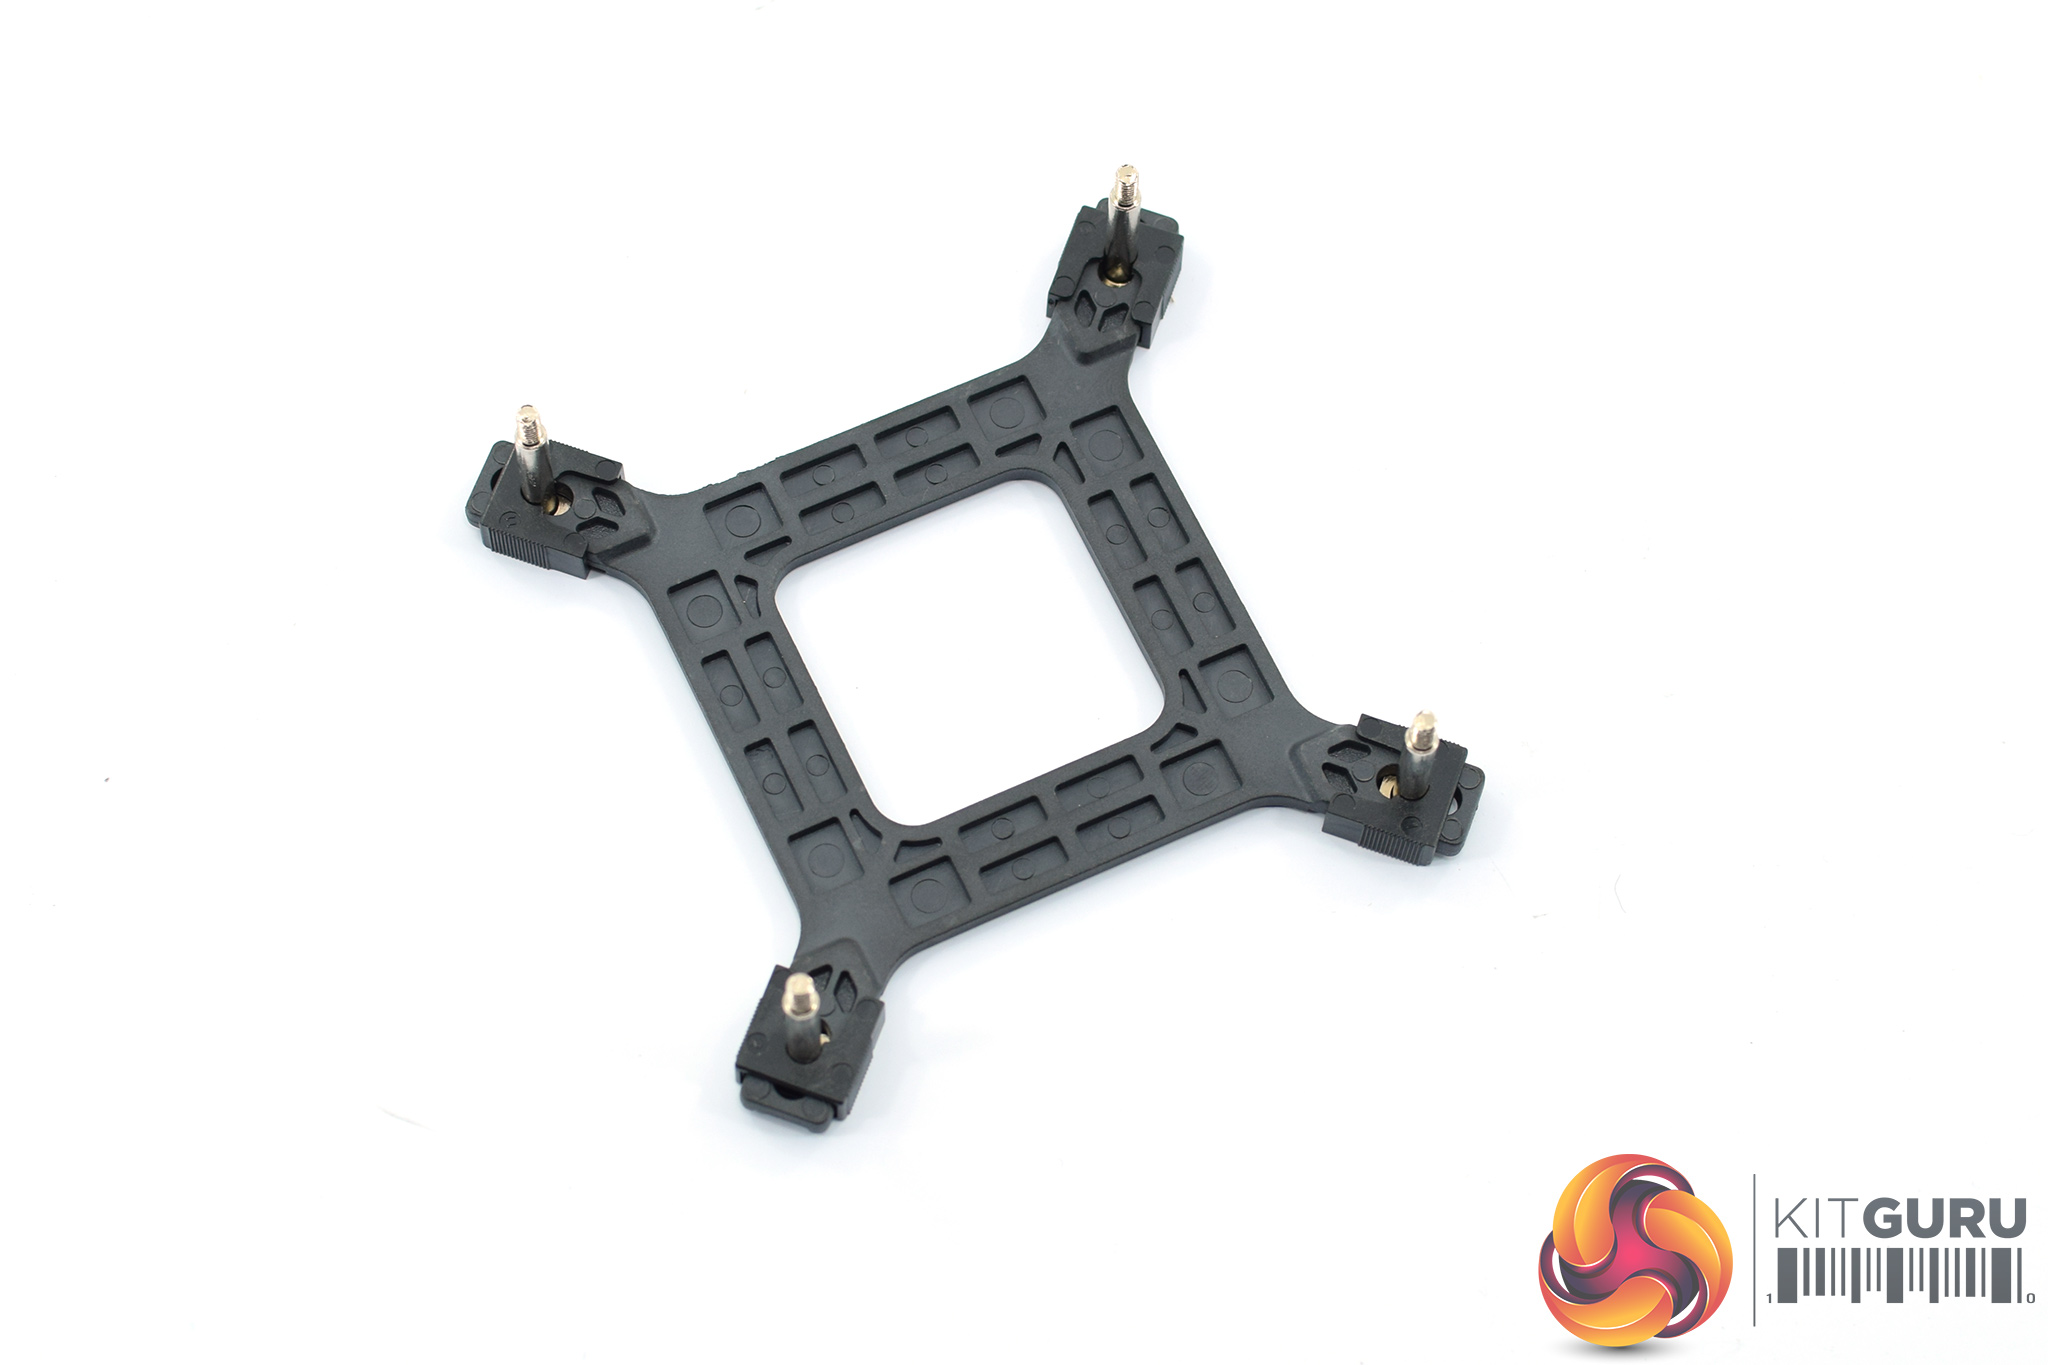
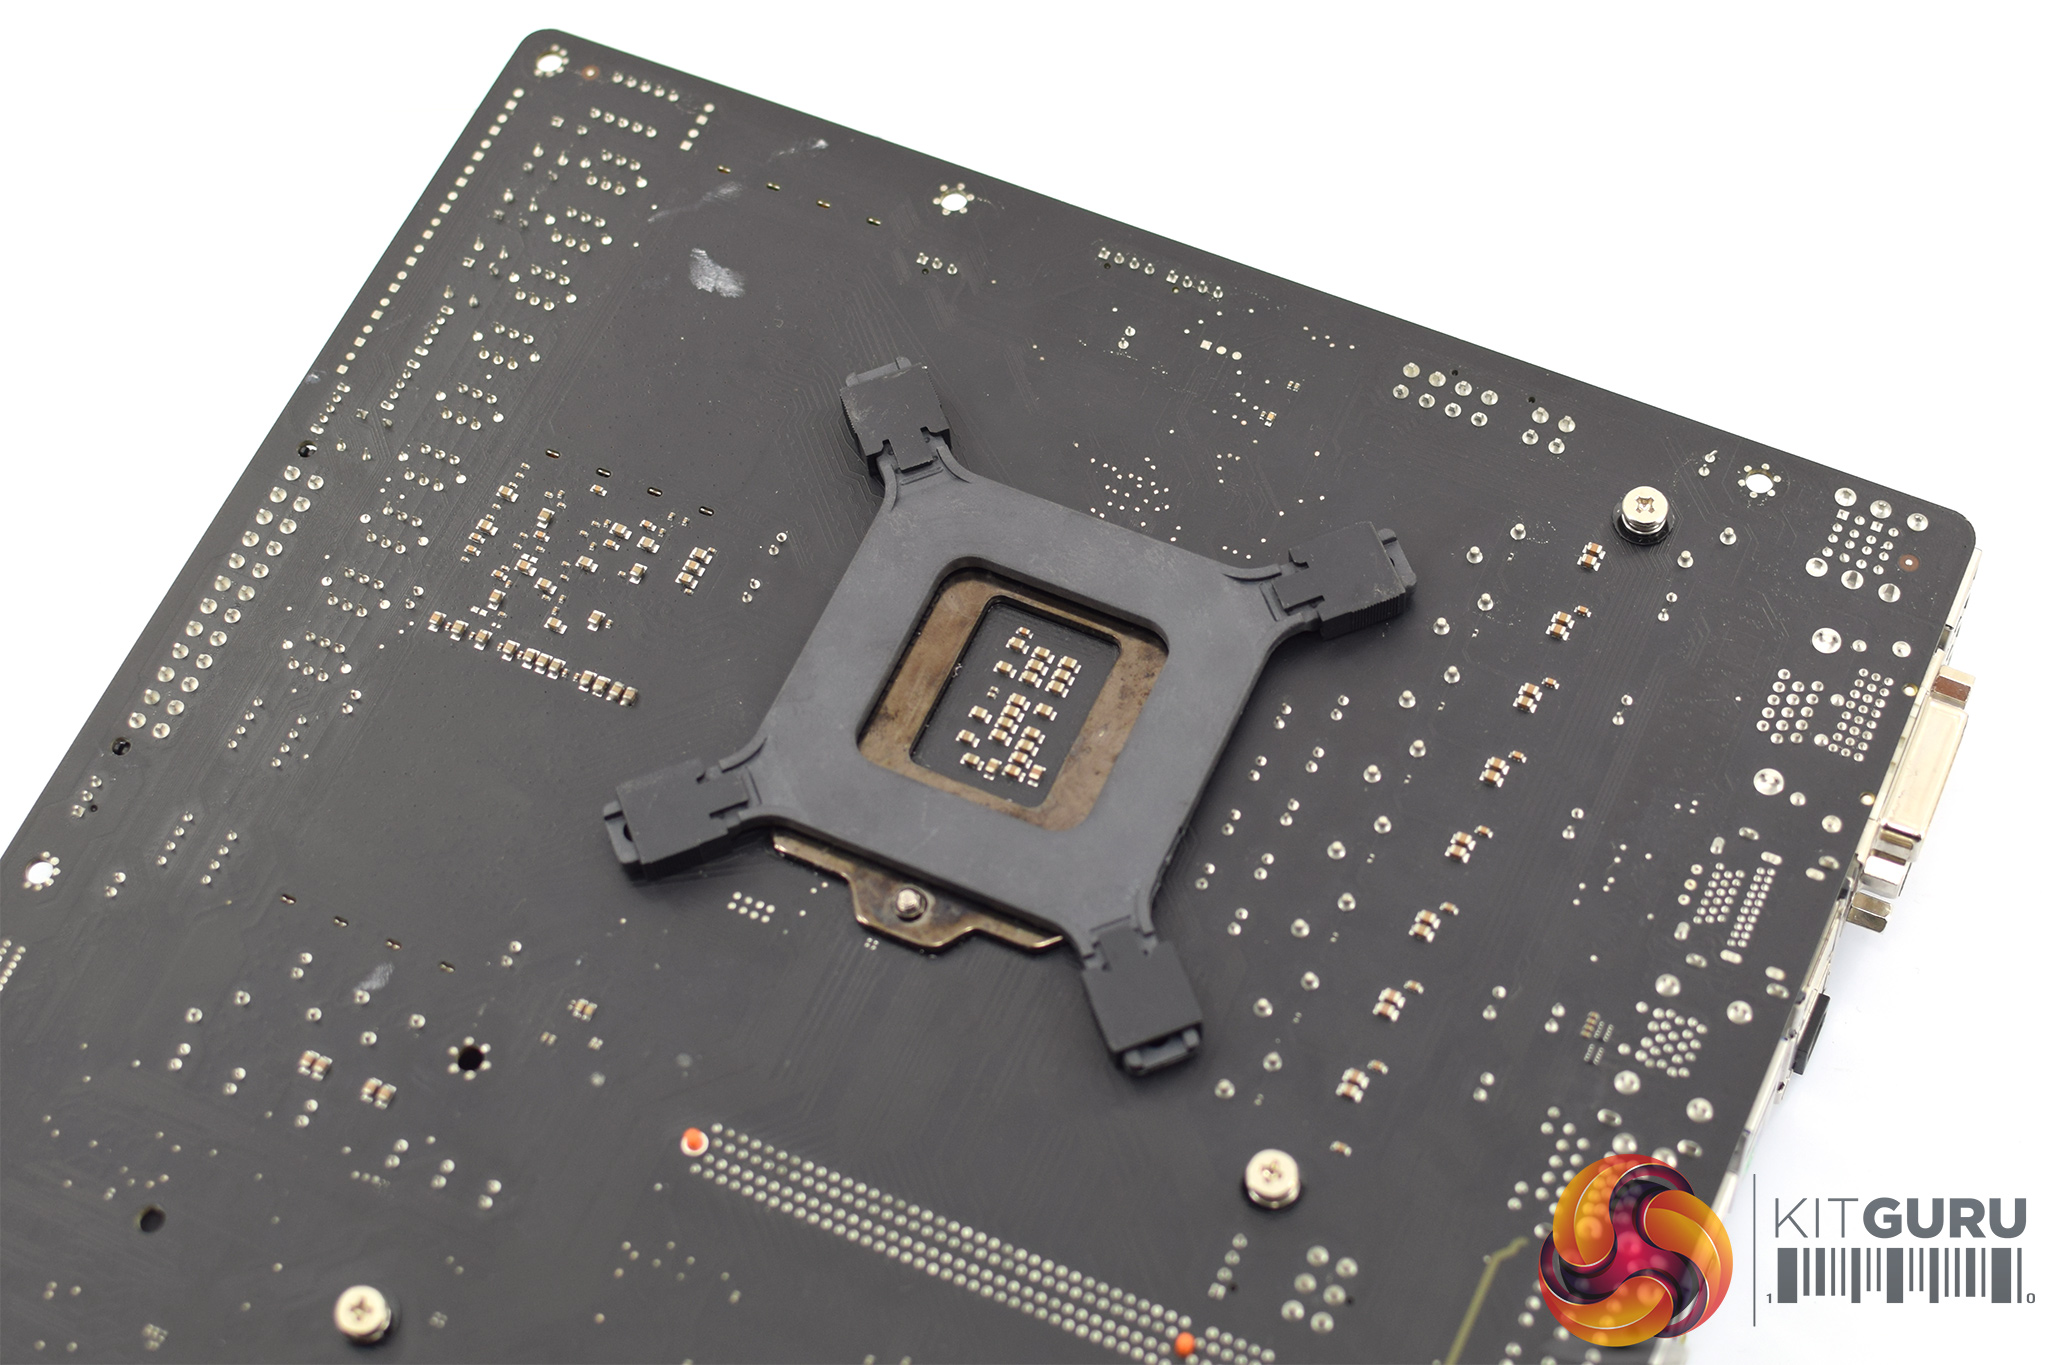
Next, our attention can turn to the backplate. This uses the same four screws and four clips as previous designs, so you just need to drop the screws through the holes in the corner of the backplate, and then use the clips to prevent the screws from falling out. It is simple and works well, but I have previously had issues with these clips breaking after 4 or 5 installations. However, I am a reviewer and perhaps install and uninstall coolers more than most, so if you are just going to install the cooler once and forget about it, there is nothing to worry about.
So, with the backplate prepared, go ahead and drop it behind the CPU socket area on the underside of the motherboard.
![]()
Once the screws are poking through to the topside of the motherboard, four spacers need to be placed over the screws.
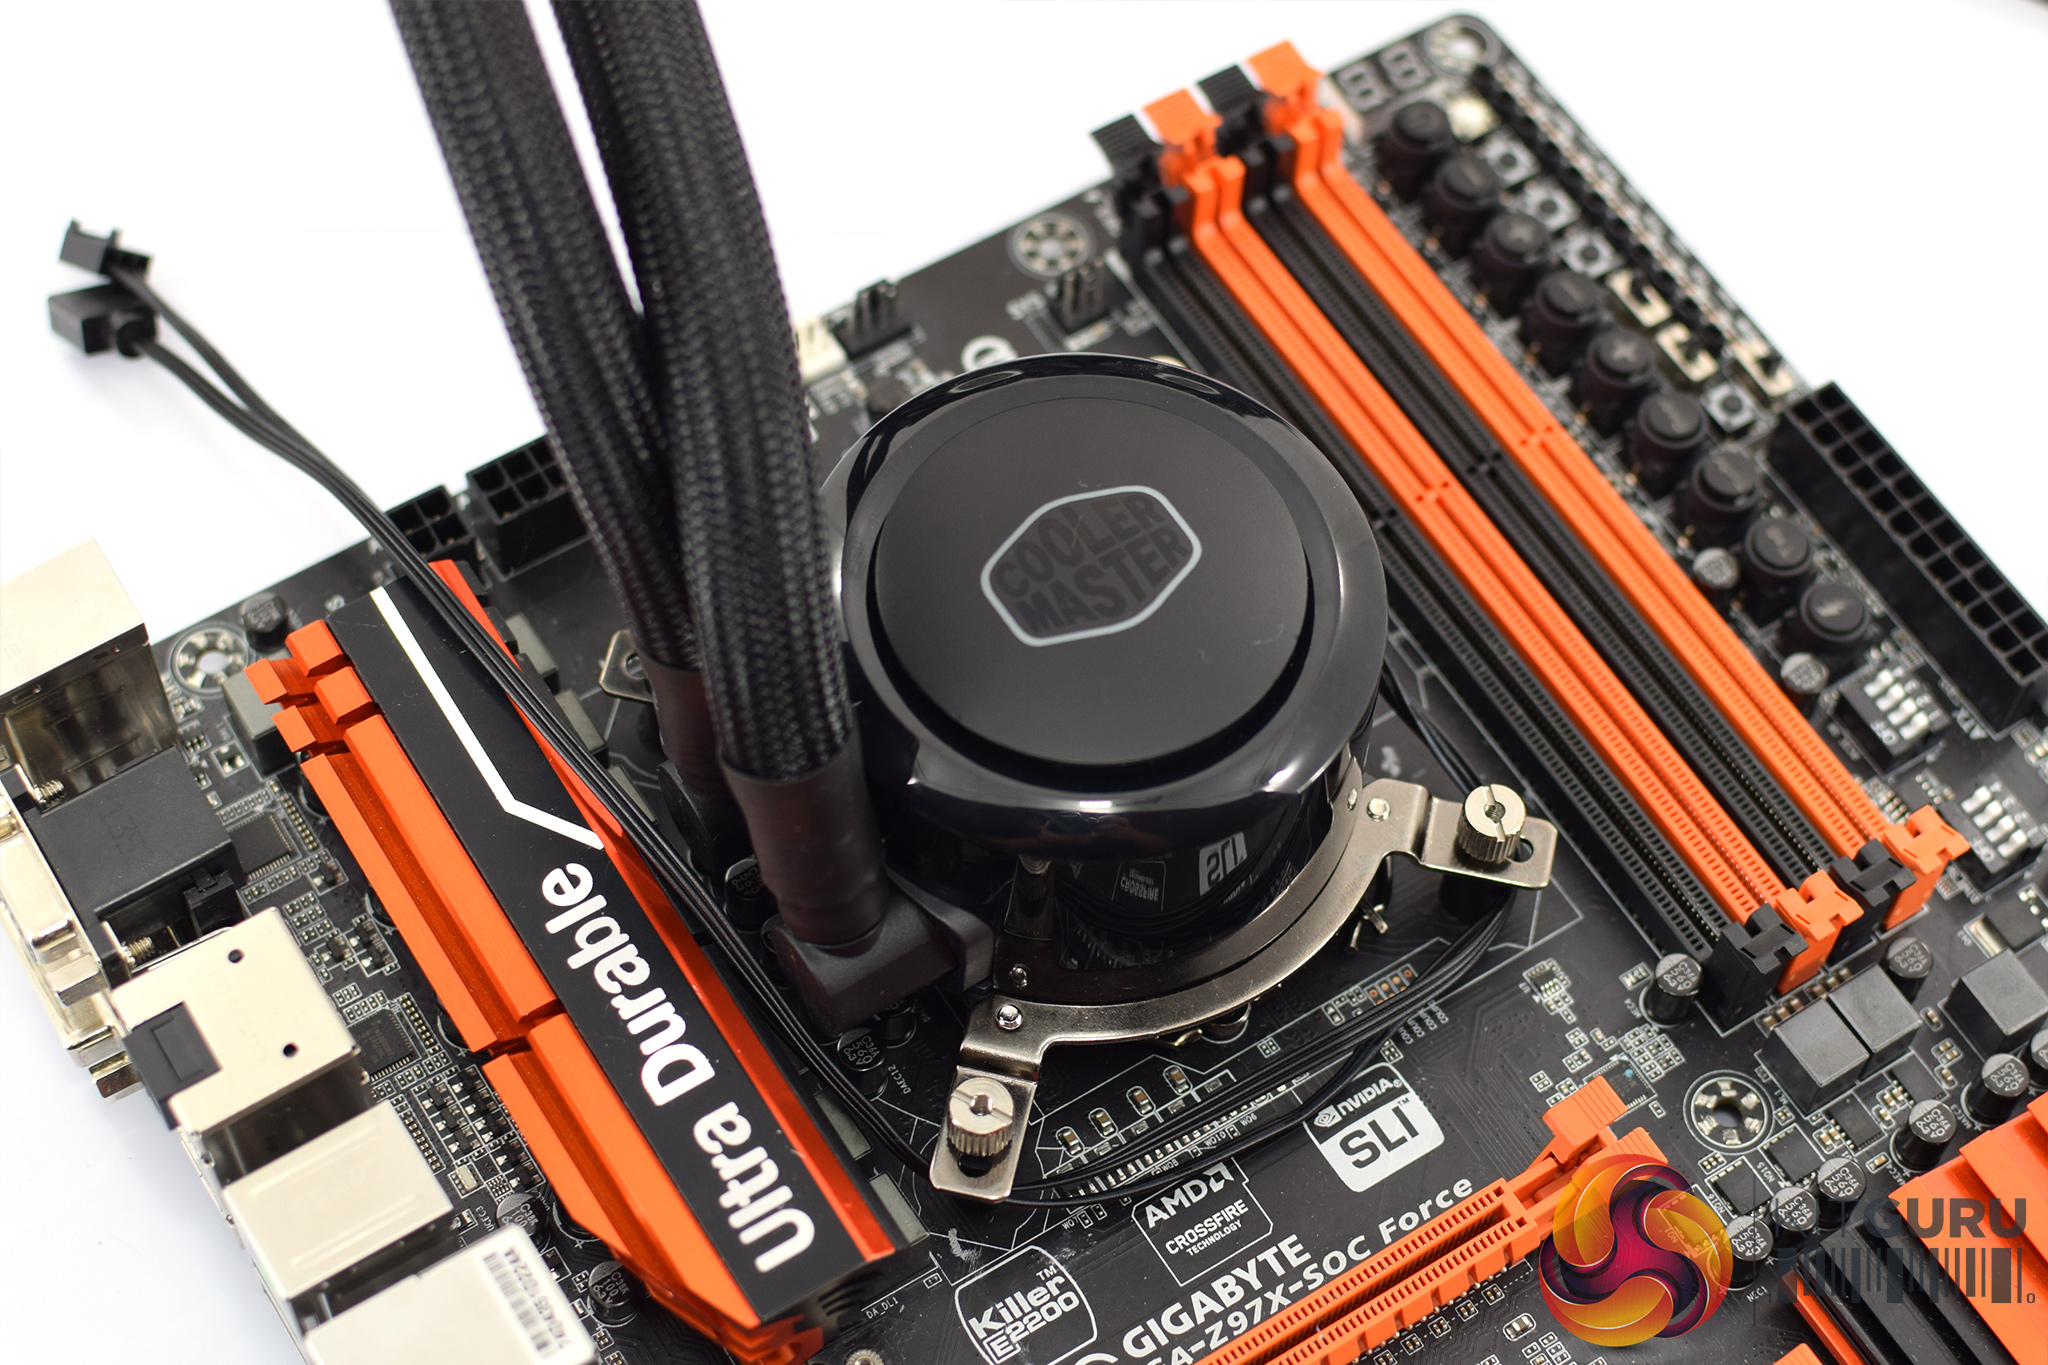
Now, you can go ahead and mount the pump on top of the CPU, and it is secured in place with four small thumbscrews.
That is it for installation – it is nice and simple and won't take long at all. Screwing on the mounting arms is the only slightly fiddly part, as the screws are quite small and you have to hold the pump upside down as well, but it is still very doable – perhaps a way for the brackets to lock in place without screws, similar to Asetek's brackets, would be the icing on the cake.
Lighting
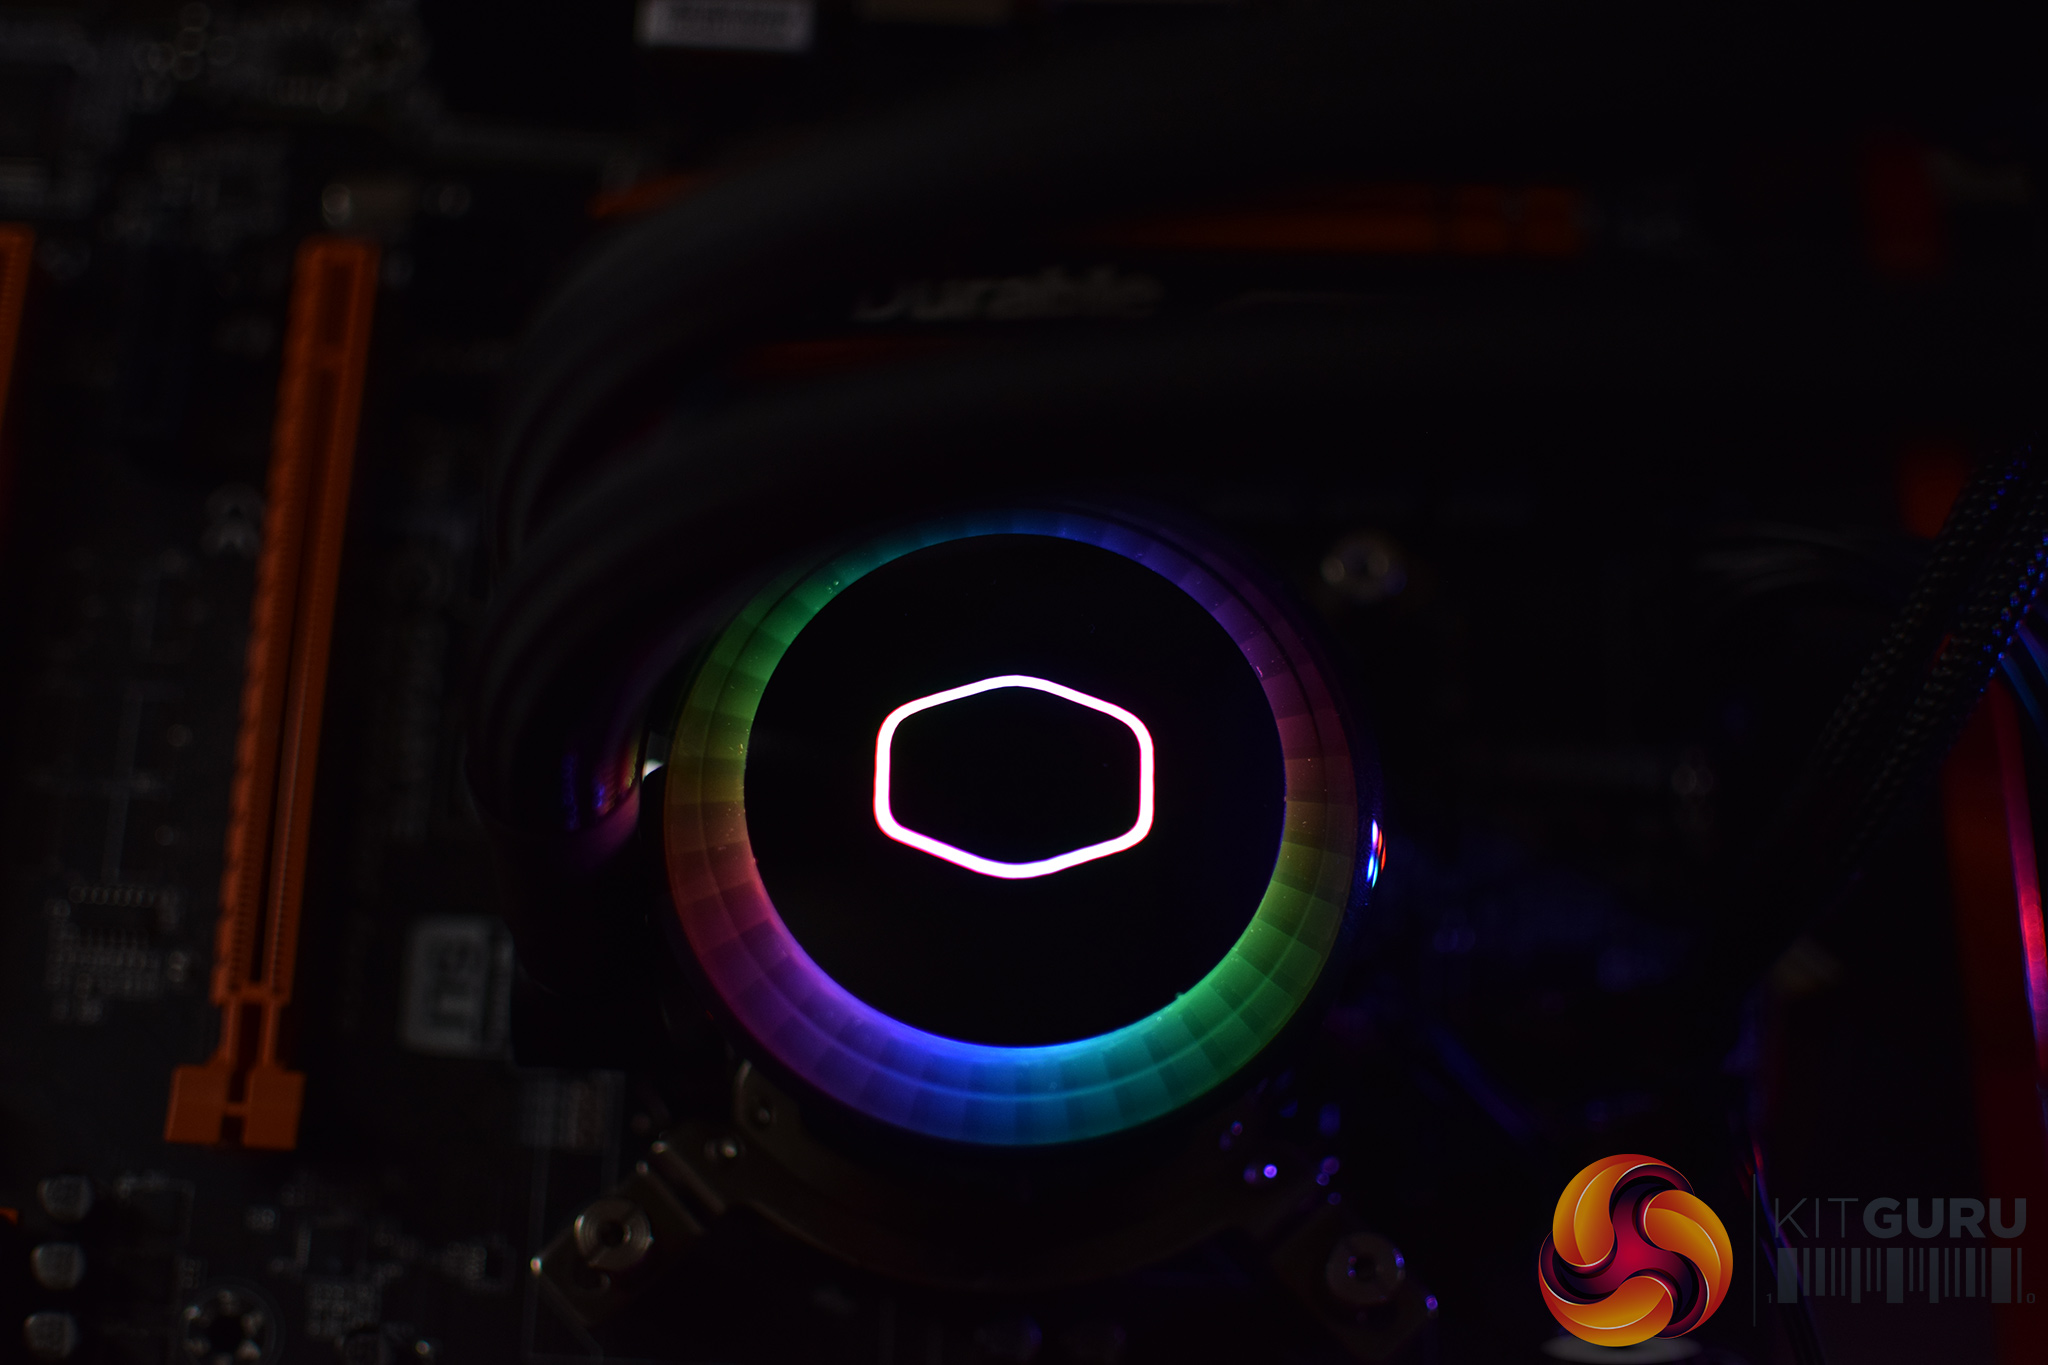
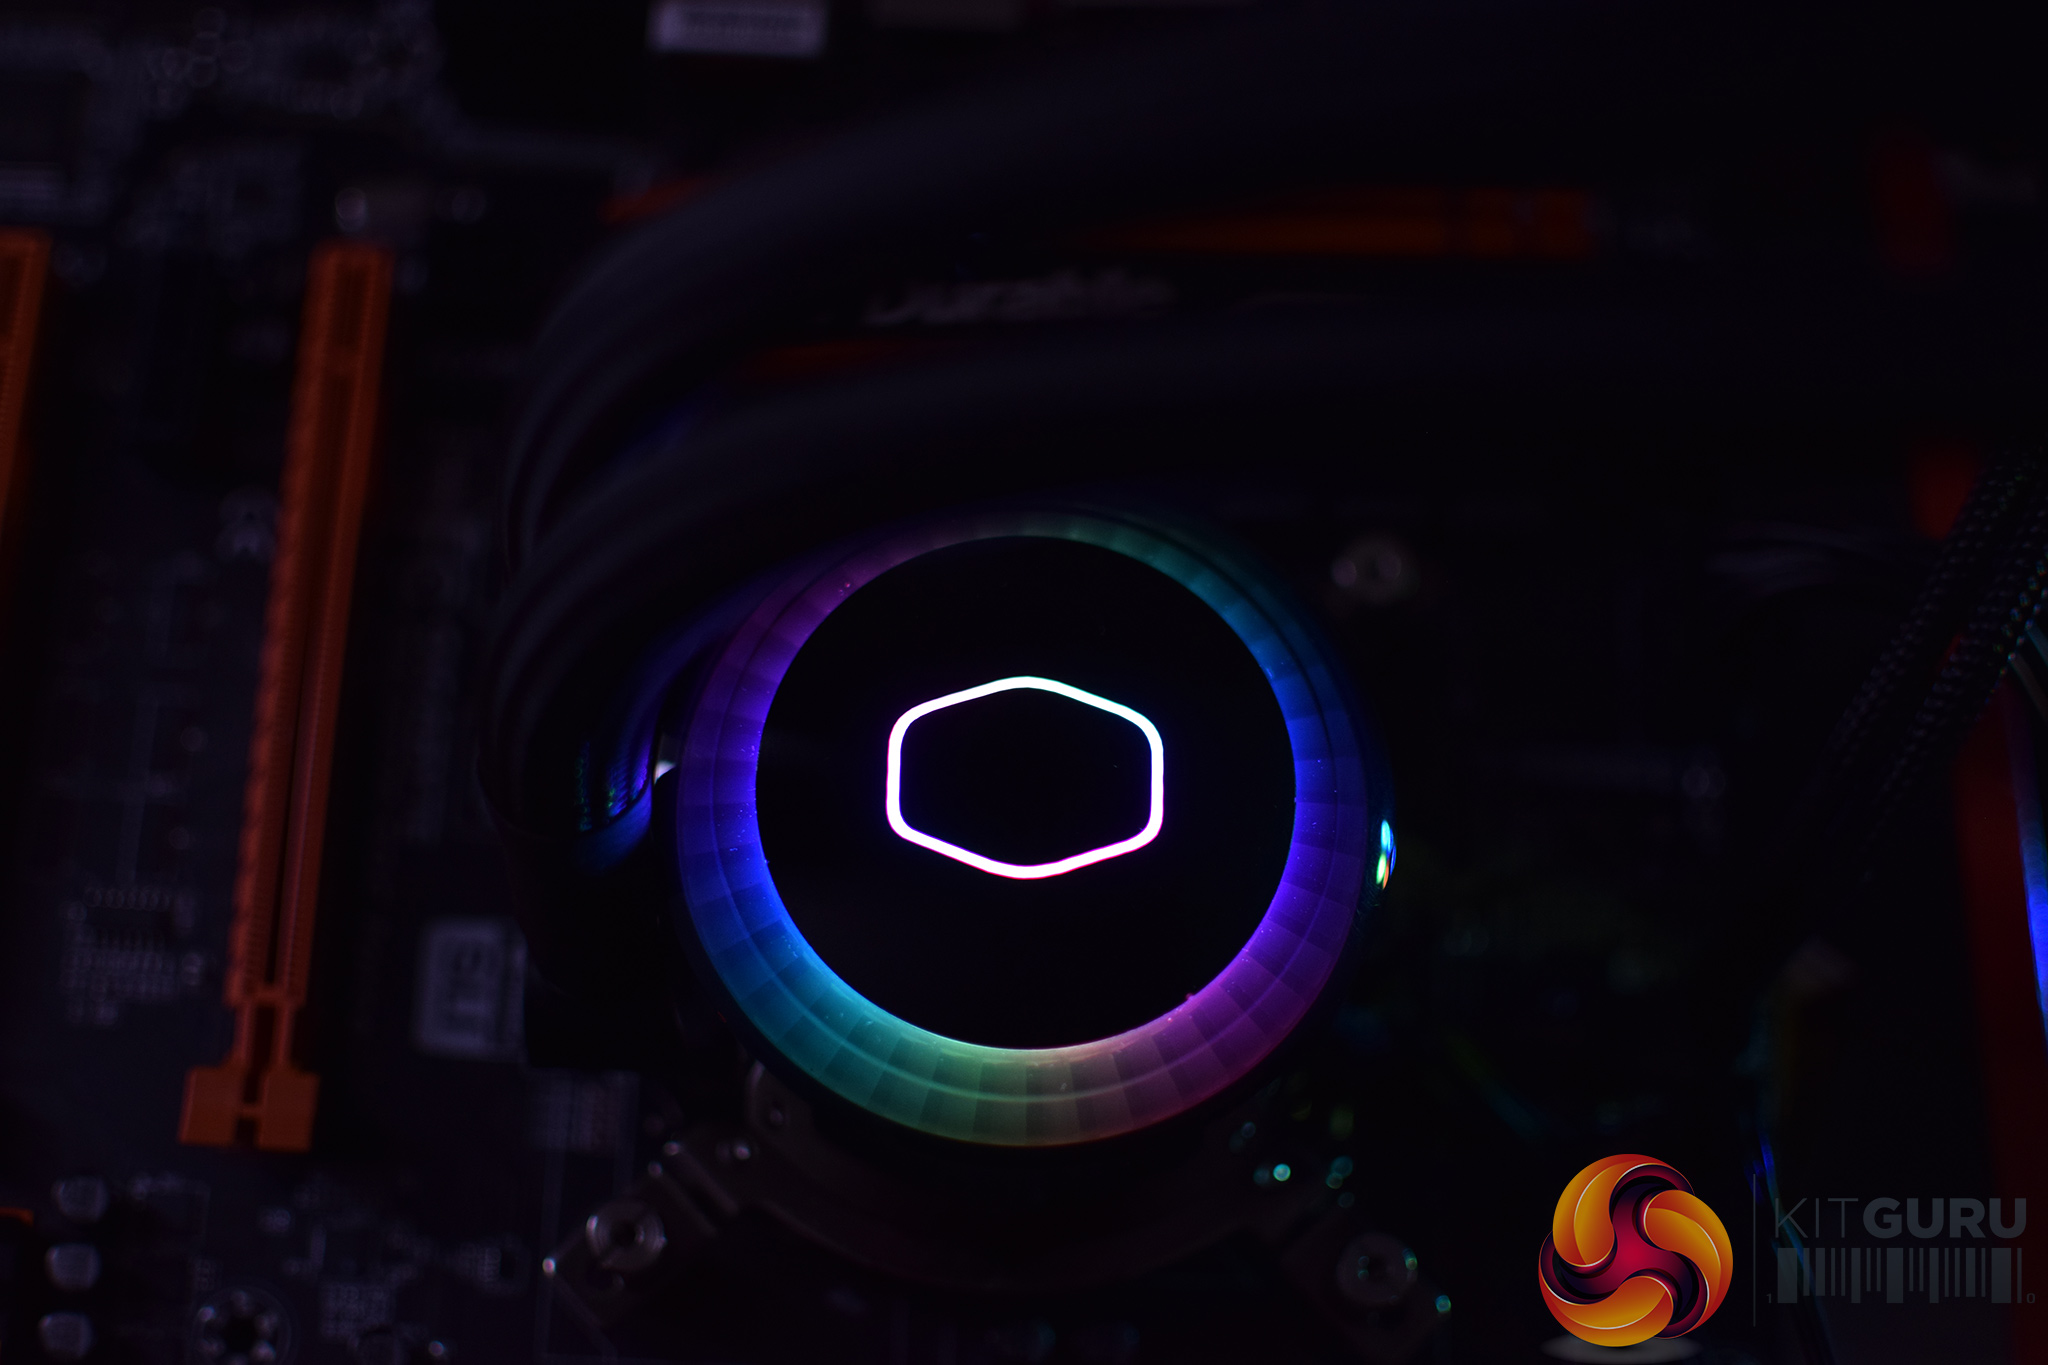
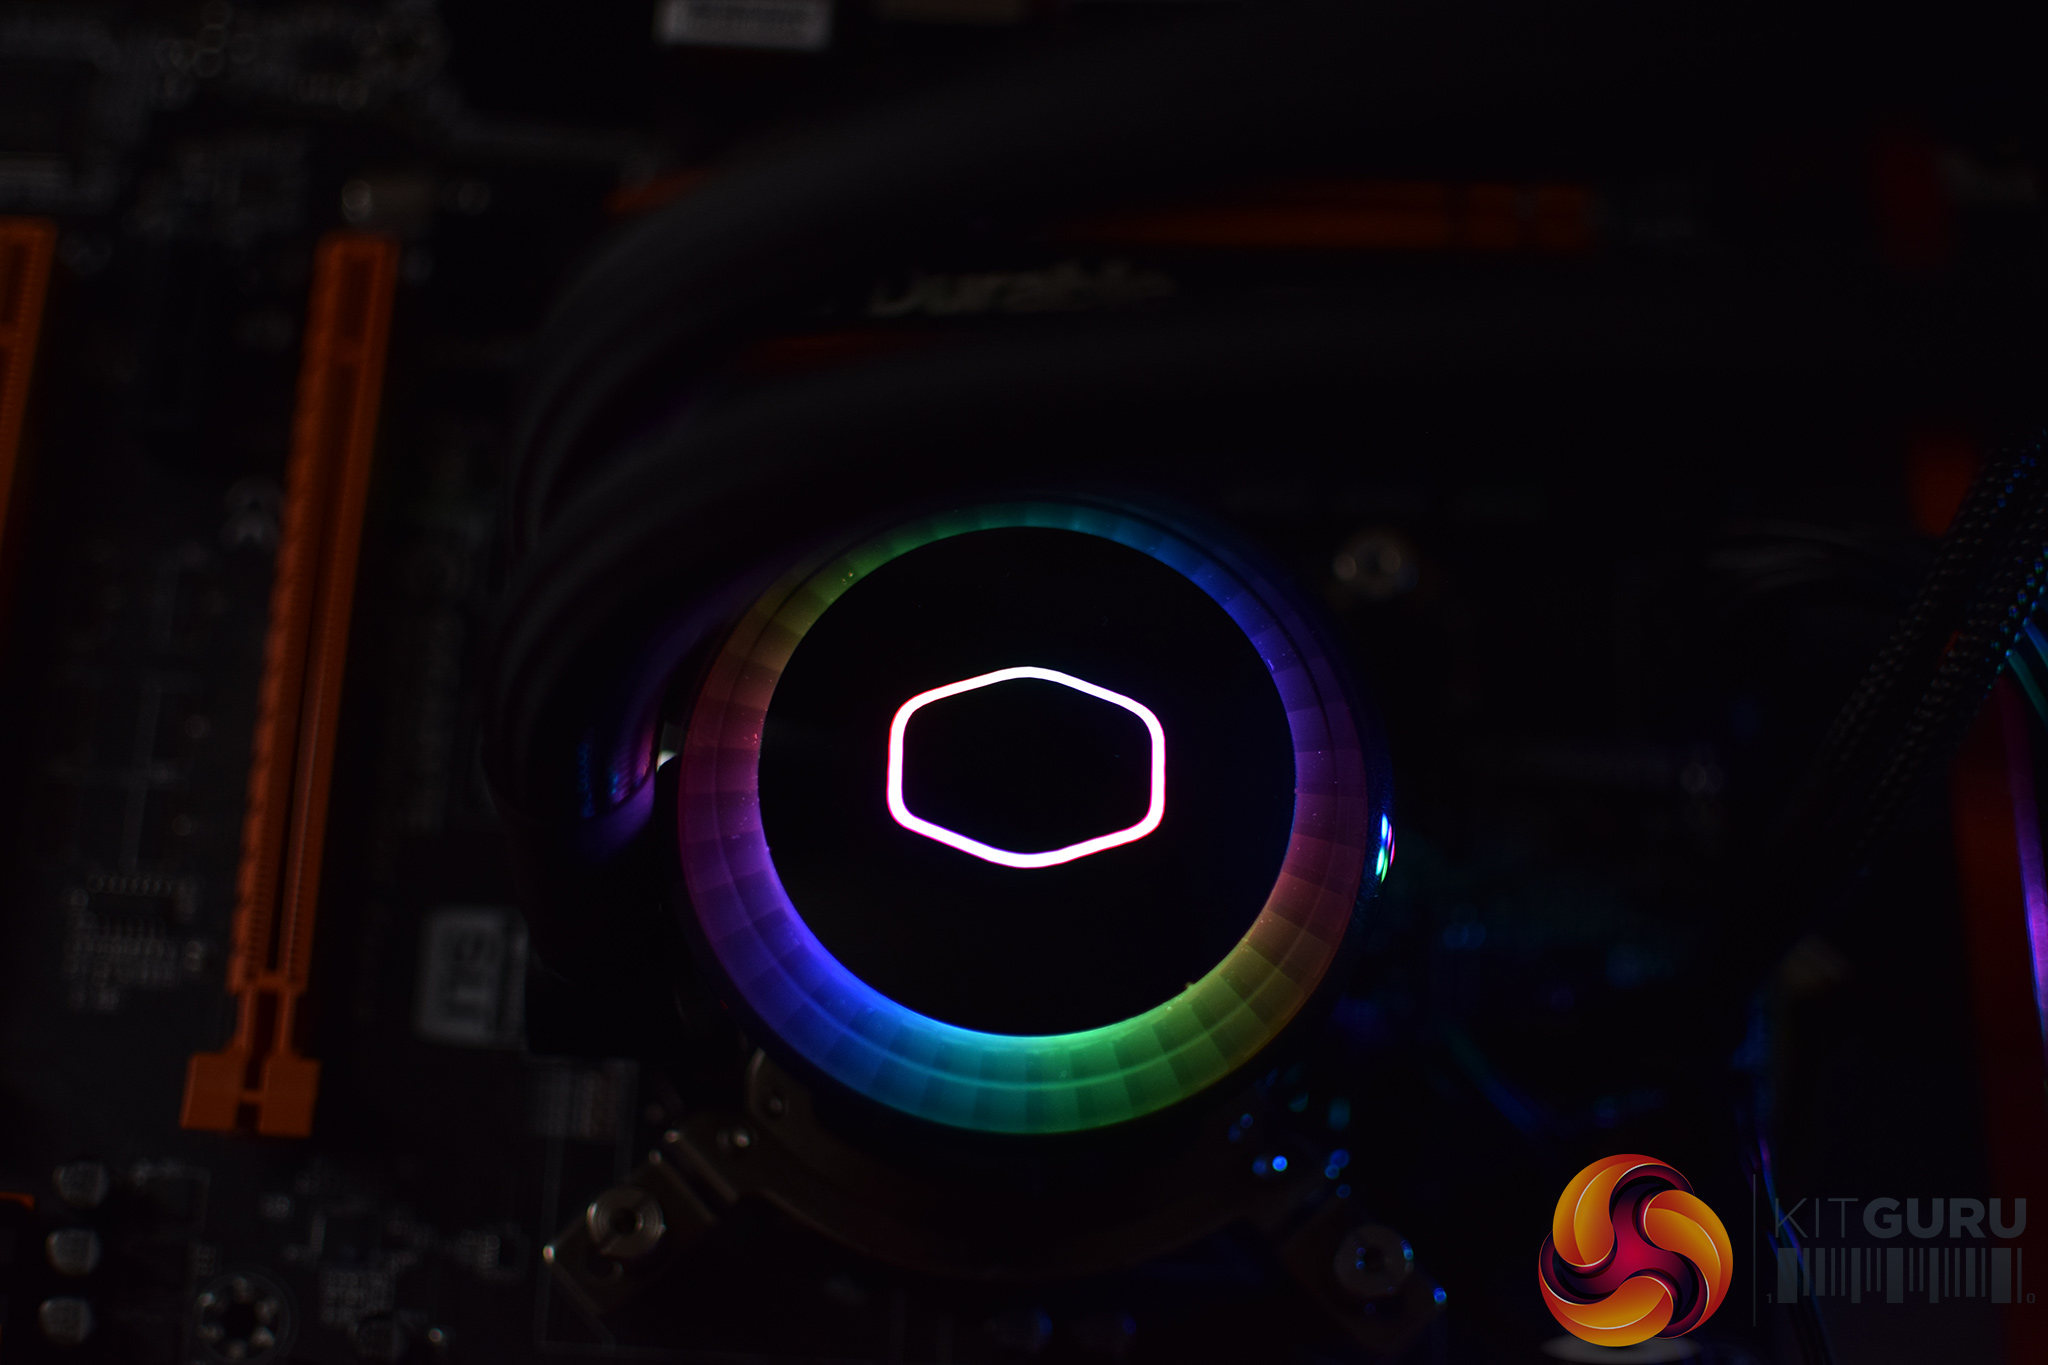
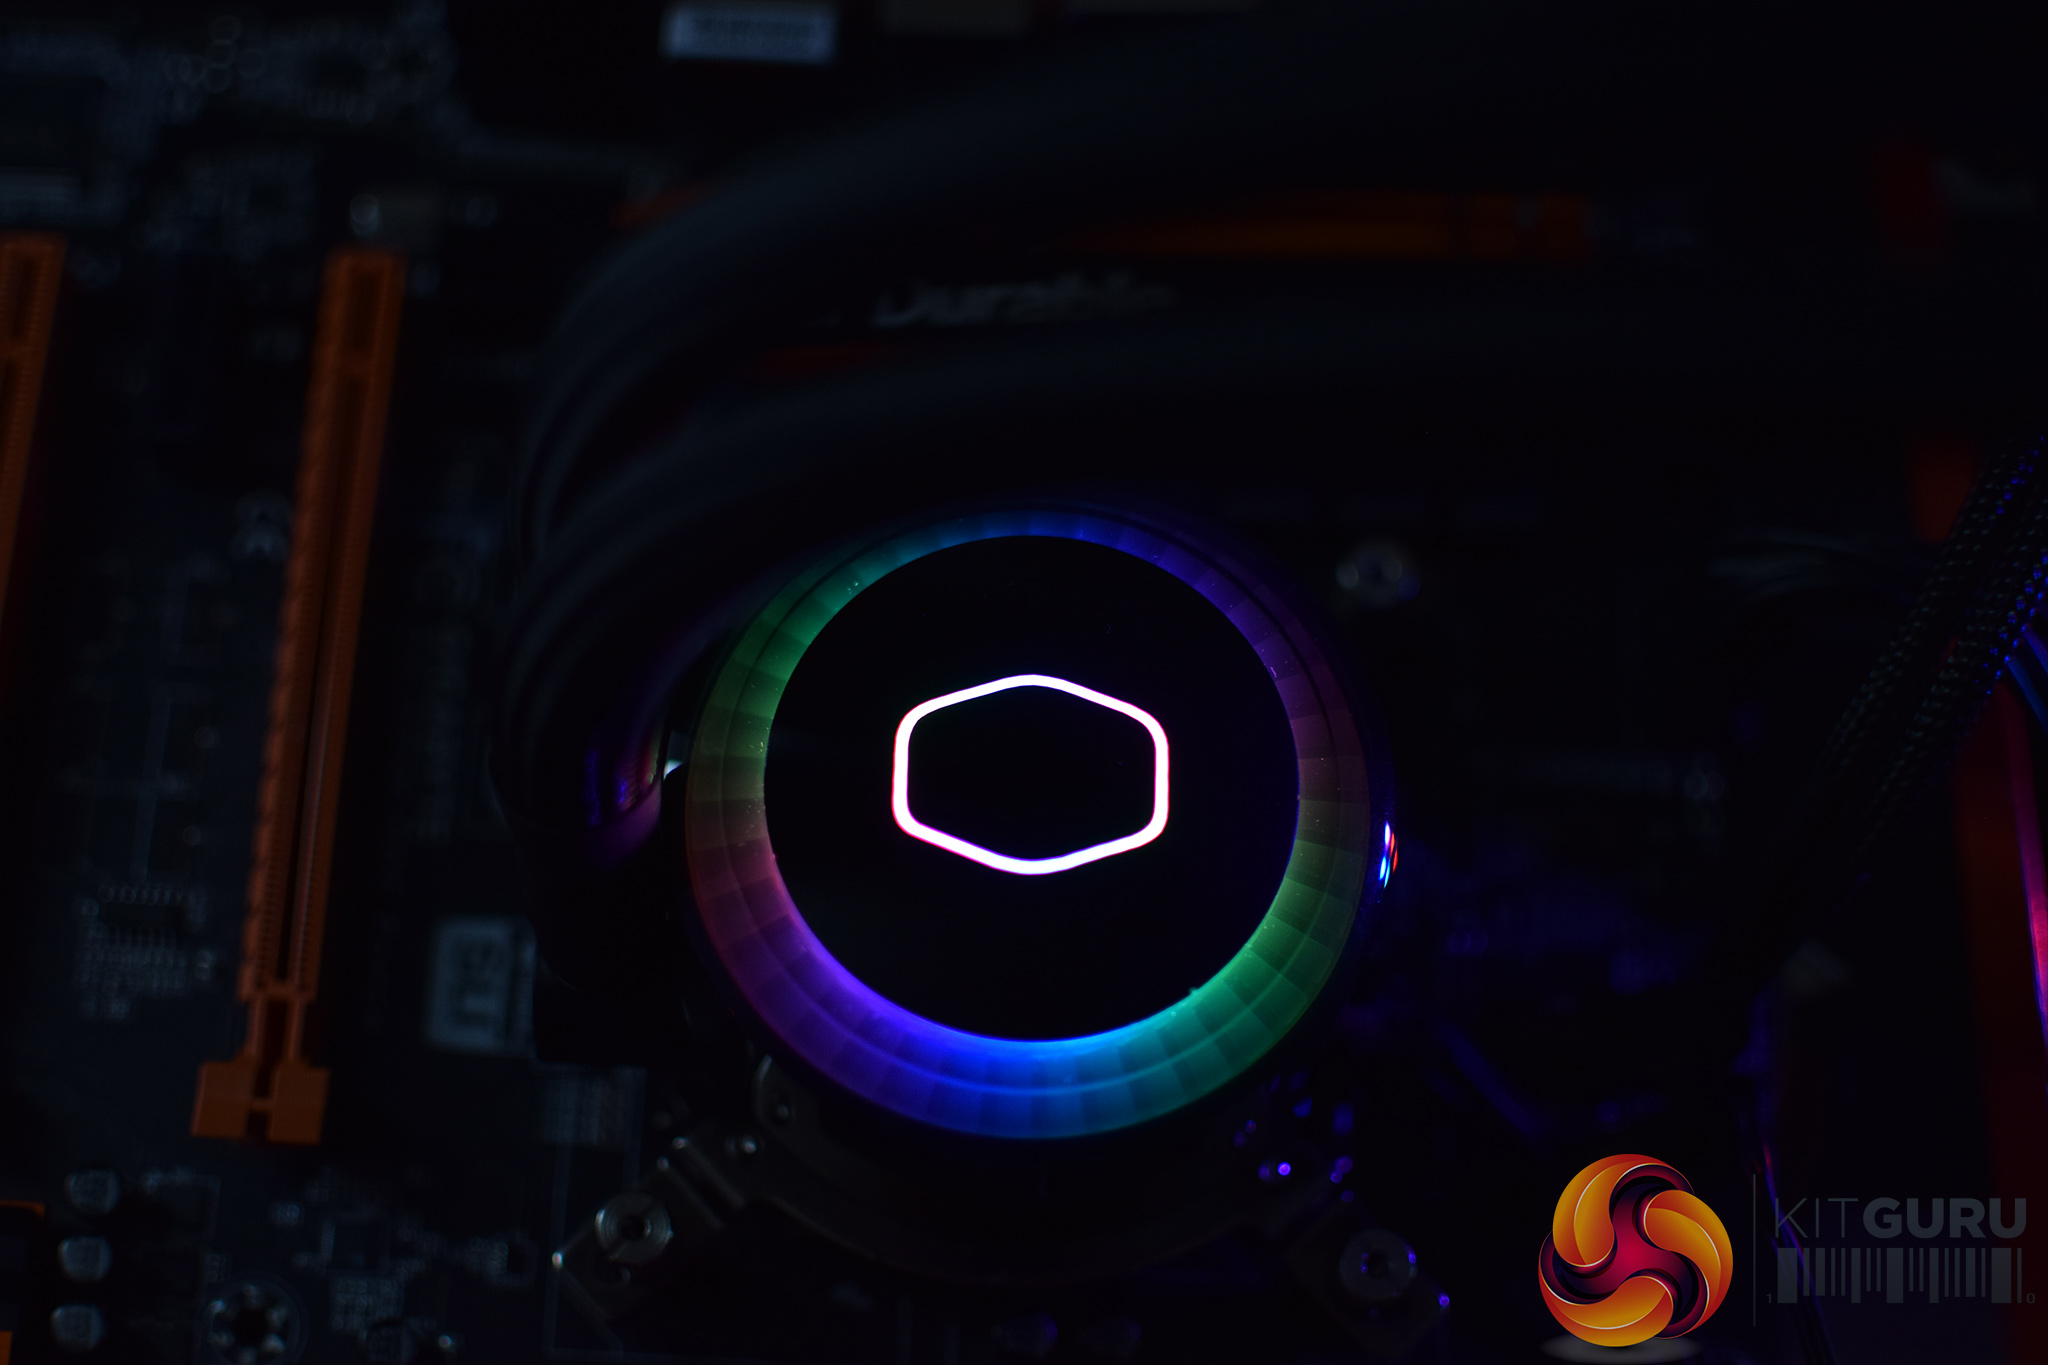
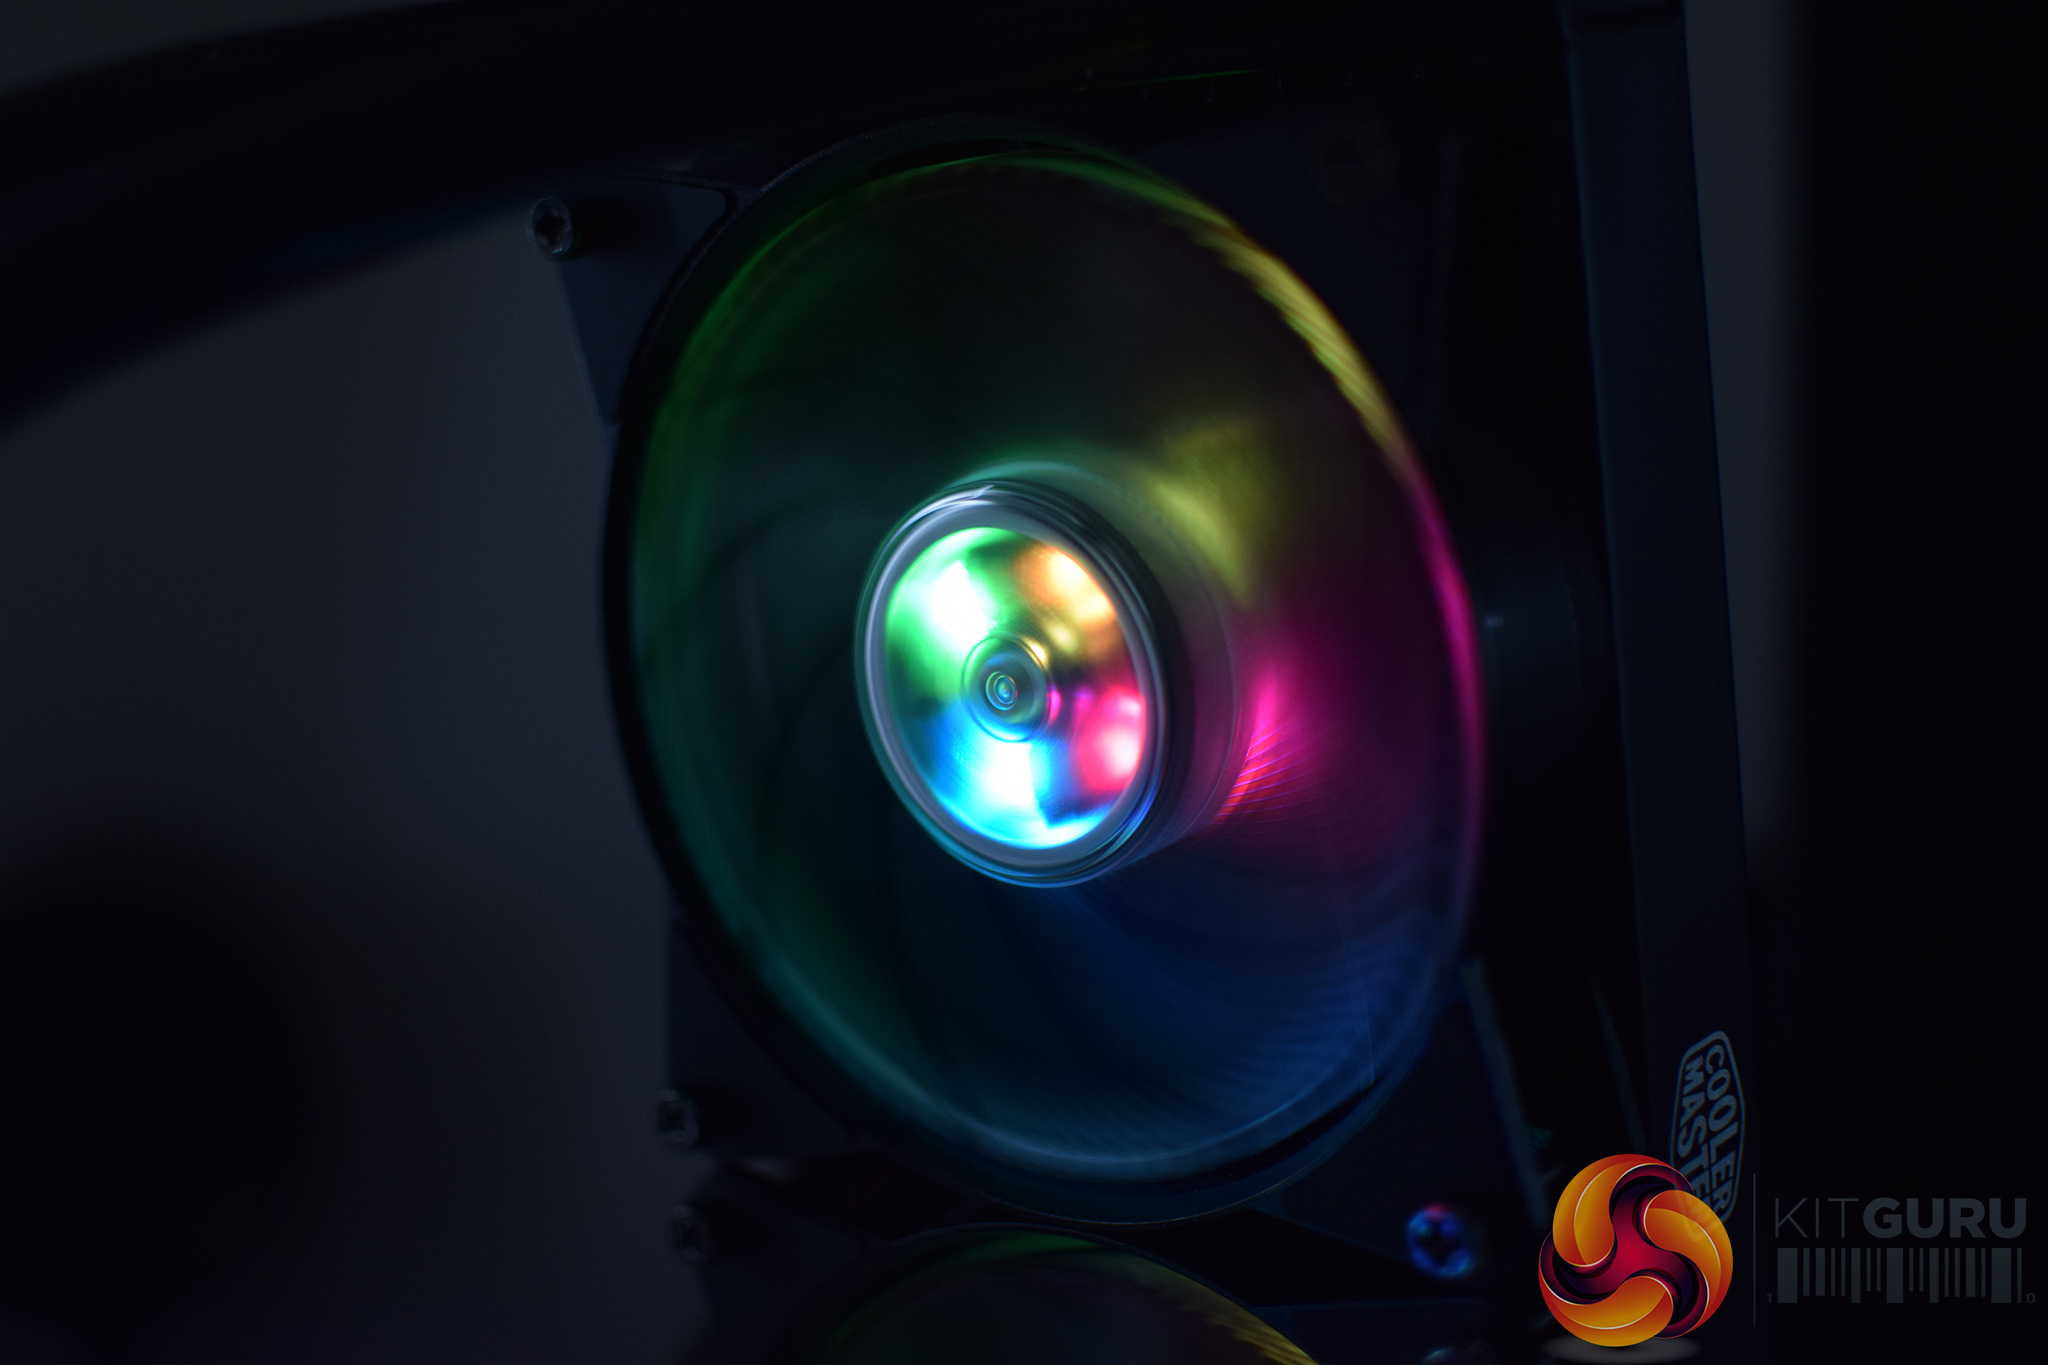
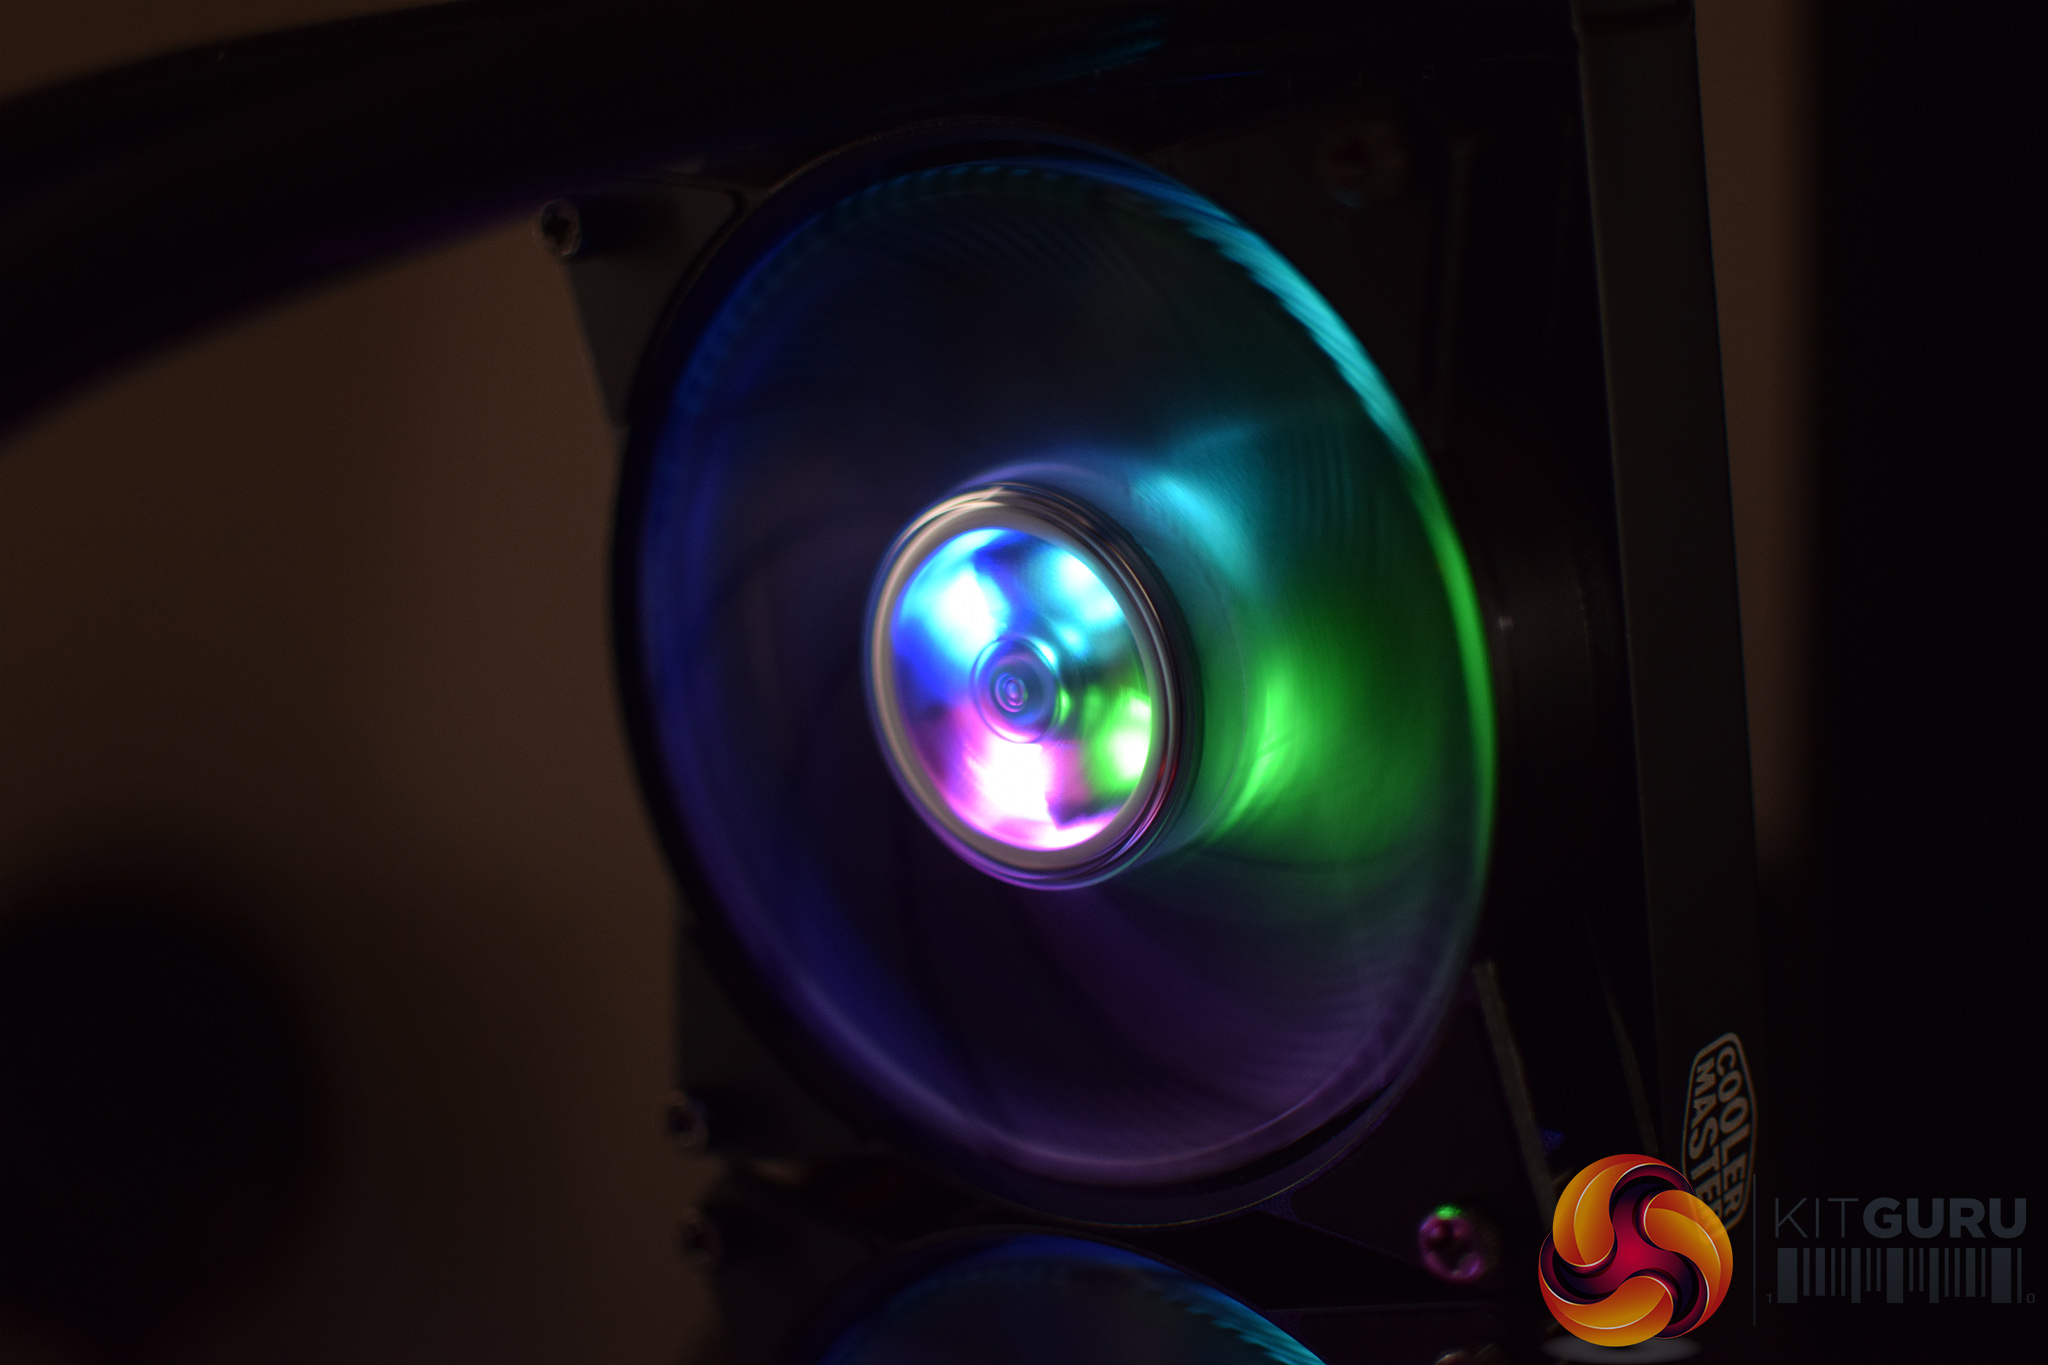
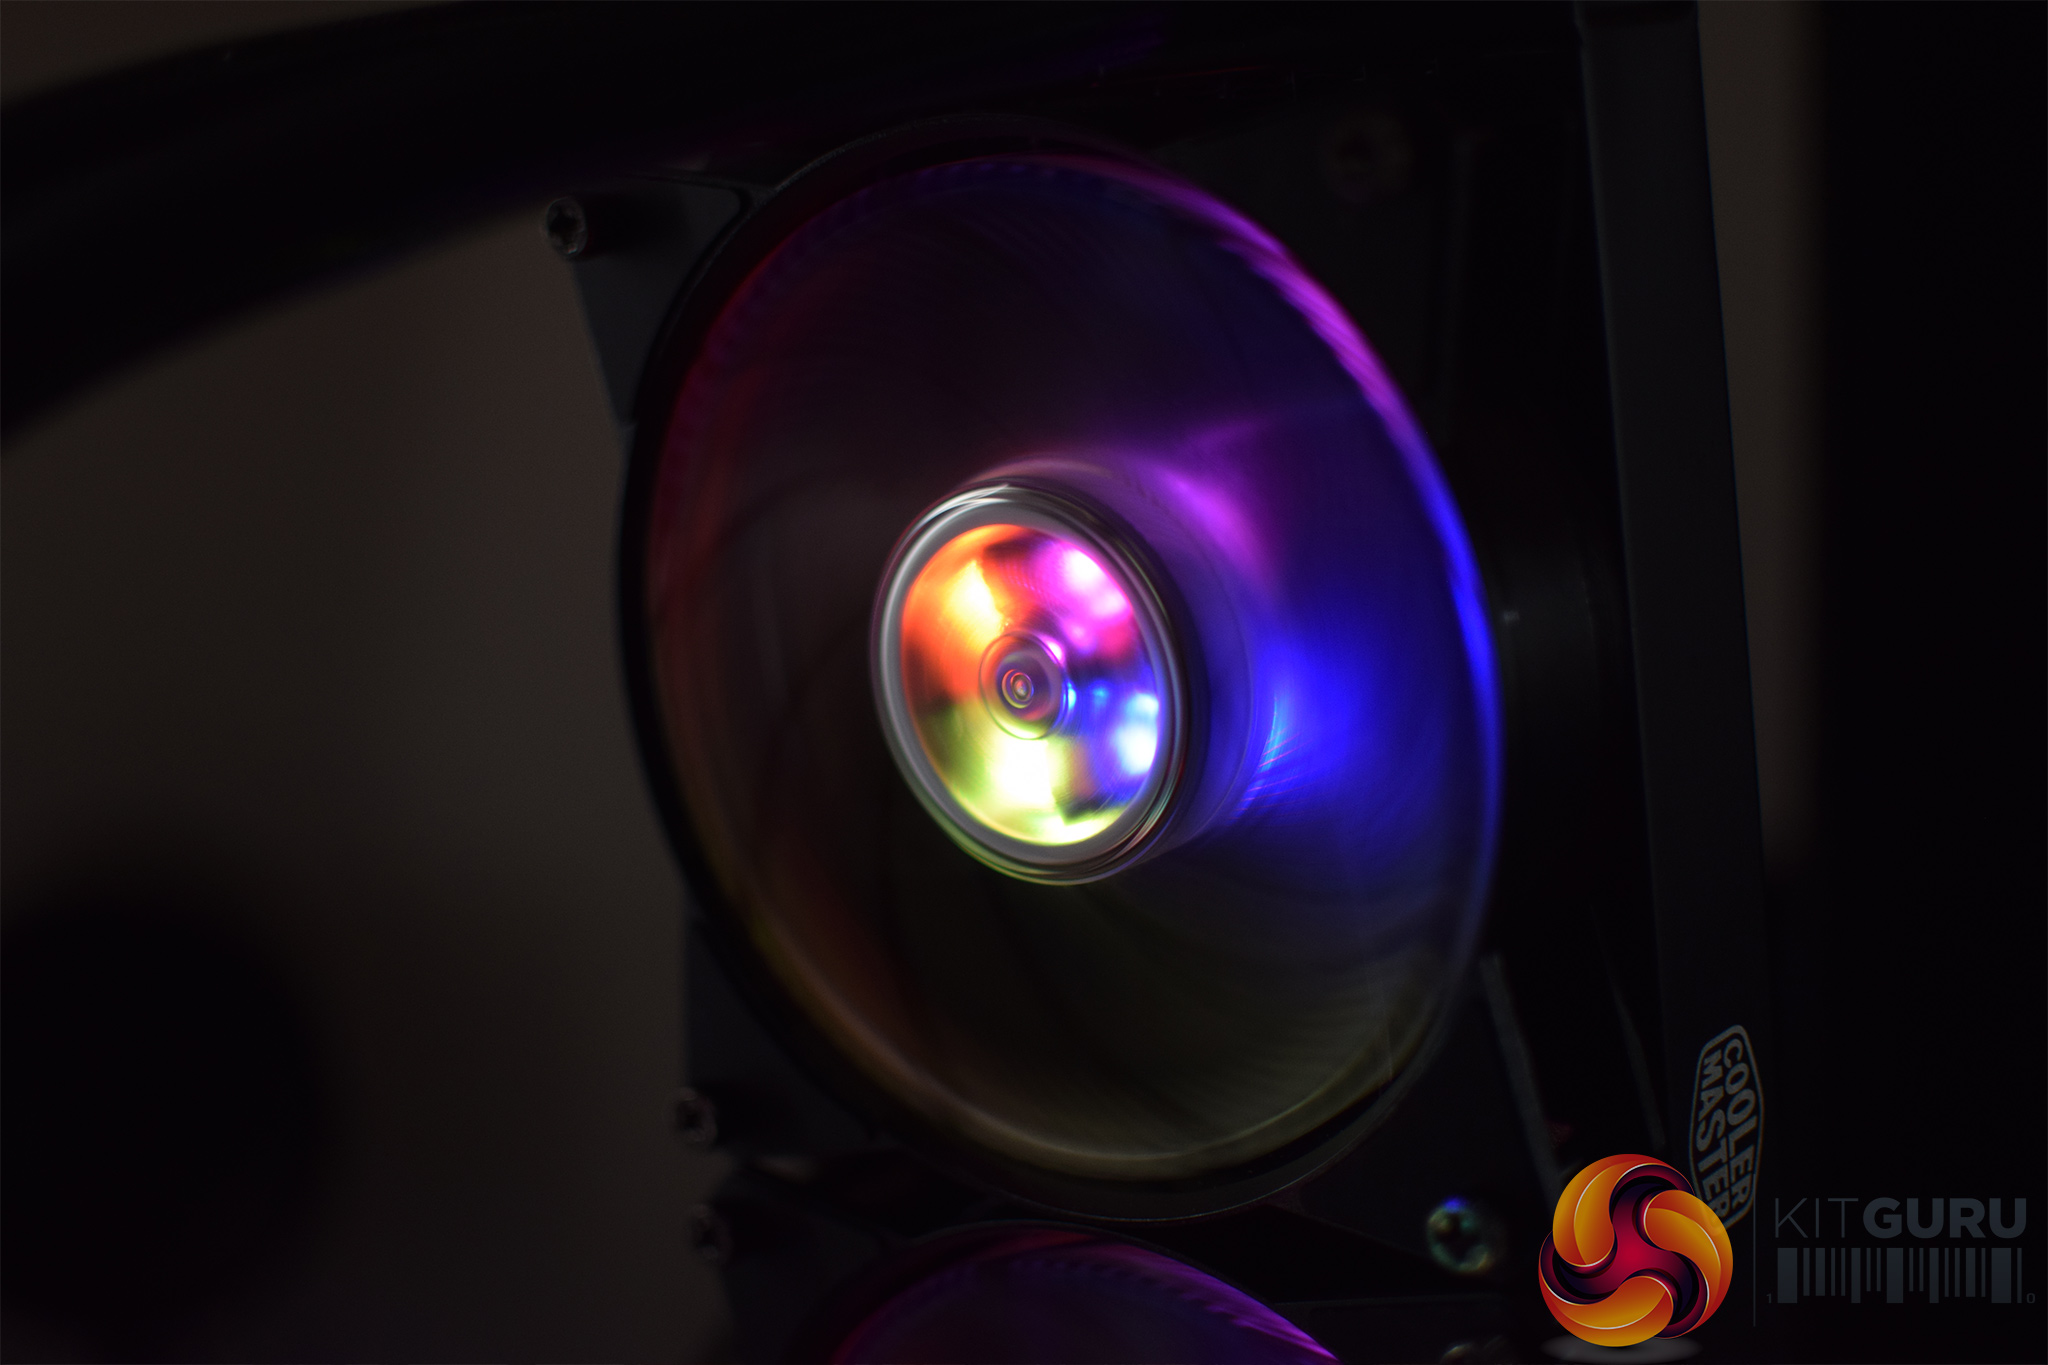
A big part of this cooler is the addressable RGB lighting, so of course we are looking at that as well. Some RGB liquid coolers require a compatible motherboard, but thankfully Cooler Master has included a wired controller for the ML240R. This lets you choose between several easy access presets (including breathing, spectrum, ‘single slide' mode) or you can use the proper addressable mode and create your own custom look.
Personally, I was very taken with the spectrum mode as this really highlights the addressable nature of the cooler – each LED is doing something different at any given time, which I think looks very funky. However, you obviously can choose how you want your own lighting.
All in all, though, I think the RGB illumination looks good, the included controller is pretty simple to use and you can of course turn the lighting off if you are a ‘RGB heathen.'To test all CPU coolers, we devised an easily repeatable test with no variables other than the coolers themselves. This ensures that figures from every cooler we test are comparable with each other.
Test rig
Using an open-air test bench, we deploy an Intel Core i7-4790K plugged into a Gigabyte Z97X-SOC Force motherboard. Alongside this is 16GB of 2400MHz Corsair Vengeance DDR3, as well as a 120GB OCZ Trion 150 SSD. Powering everything is a Corsair AX1500i PSU.
The test process
Testing coolers involves taking a total of 4 temperature readings per cooler. First, we measure the idle temperature of the i7-4790K at stock speeds (turbo boost disabled), before measuring its temperature under load at stock speeds. Next, we overclock the CPU to 4.5GHz using a 1.3 Vcore, ensuring greater heat output. In its overclocked state we then measure the idle and load temperatures of the CPU again. The figures we present are temperature deltas – meaning we take each temperature reading and minus the ambient temperature from it. This allows us to test in an environment that is not temperature-controlled.
To ward off potential comments or questions, we know 4.5GHz using a 1.3 Vcore is not the ‘best’ overclock – this particular CPU could reach that frequency at closer to 1.25 on the Vcore, which is more efficient. That is not the point, however. We are trying to stress the coolers to see how they deal with excess heat … hence the higher than necessary Vcore.
Where possible, each cooler’s fans are plugged directly into the motherboard using the CPU_Fan or CPU_Opt headers. Some AIOs, however, ship with their own fan controllers or PWM hubs. If we are unable to plug the fans directly into the motherboard, it is specified in the performance section of the review.
An idle reading comes from leaving Windows on the desktop for 15 minutes. A load reading comes from running Prime95’s (version 26.6) Small FFTs test for 15 minutes – enough time for temperatures to plateau. We use HWInfo64 v5.82 to measure temperatures.
Noise output
We measure noise levels with our sound meter positioned 1 foot away from the test bench. The peak noise level is presented. We have measured the noise floor (i.e. ambient noise levels of the room) to be 34 dBa, and when tested at stock clocks, the vast majority of coolers do not emit noise levels above this figure. Thus, we present one chart with noise levels taken during our overclocked CPU test run.Temperatures
All temperature charts are sorted with lowest load temperatures at the top.
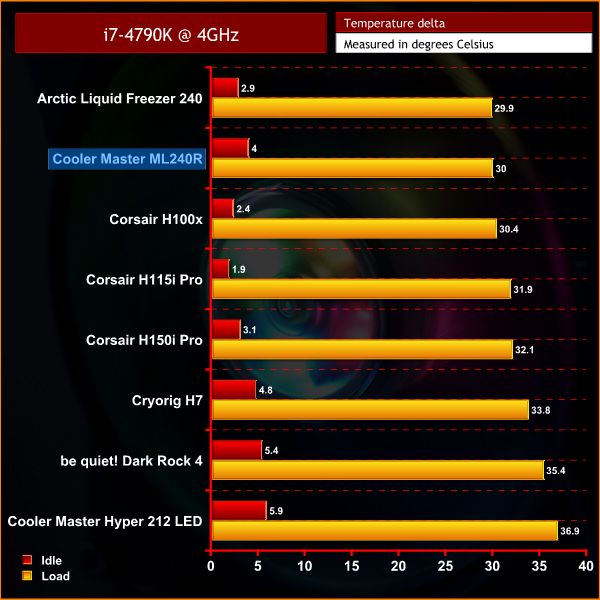
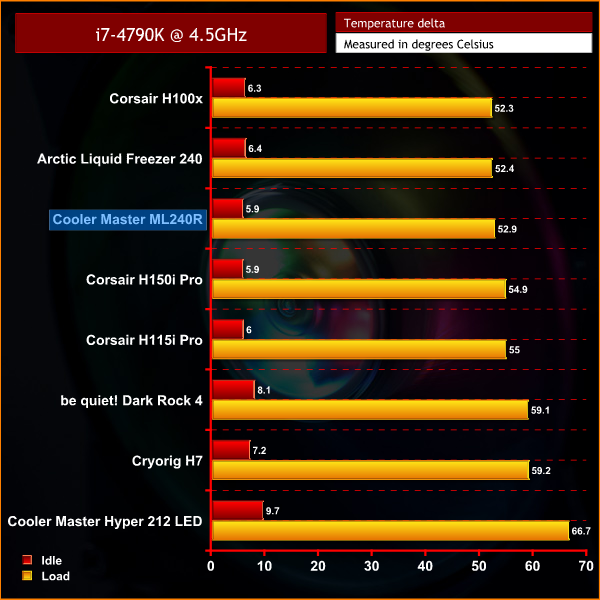
As you can see, the ML204R is a very capable 240mm liquid cooler. It doesn't claim the outright top spot in either of our two charts but it is very close, with the margin being just 0.1C in our stock-clocks test, and 0.6C once we overclocked the CPU.
Noise levels
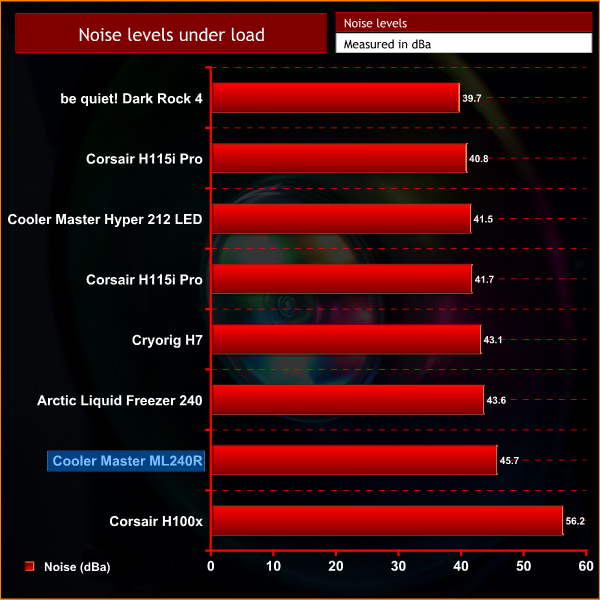
As for noise, the ML240R is not very loud. It does come second from bottom according to our sound meter, but the gap between the ML240R and our quietest cooler (the Dark Rock 4) is only 6 dBa. The H100x is considerably louder at 56.2 dBa. So while it can't be considered a dead silent liquid cooler, the overall noise levels of the ML240R are still very acceptable.Cooler Master's ML240R RGB liquid cooler is a very solid all-round product.
Things start well as it is a good-looking piece of kit – I am quite taken with the square-looking radiator, while the braided tubing is also easy on the eye.
In terms of installation, things are straightforward and nothing is too big of an issue. Installing the mounting bracket to the pump can be a little fiddly, but it will only take a couple of minutes.
As for overall performance, the ML240R is very impressive. It doesn't quite take top spot in either of our tests, but it does come very, very close making this a very capable cooler.
Noise levels are also impressive but not quite the best – though the ML240R is far from loud and in a case, it would be practically silent.
We couldn't sum up the cooler without mentioning the addressable RGB lighting either, which looks very good and is easy to control thanks to the bundled controller which removes the need for a compatible motherboard.
All-in-all, it is very easy to recommend the Cooler Master ML240R RGB liquid cooler. It is a very capable all-rounder, with good looks, very impressive thermal performance and low noise levels. It isn't quite a must have as there are both better performing and quieter coolers out there, but it does everything to a very high standard regardless.
![]()
You can buy one from Overclockers UK for £109.99 HERE.
Pros
- Very good thermal performance.
- Low noise levels.
- Pretty easy to install.
- Addressable RGB lighting comes with own controller.
- Overall very good looking.
Cons
- Neither the outright quietest or best performing cooler, even if it is still impressive in those areas.
- Attaching the mounting brackets to the pump is fiddly.
KitGuru says: The Cooler Master ML240R RGB is an impressive all-rounder which will appeal to the RGB crowd.