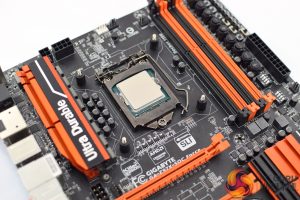
Here I will walk you through the installation process. It is worth noting we test using a Z97 motherboard – socket LGA 1150. The process below reflects that.
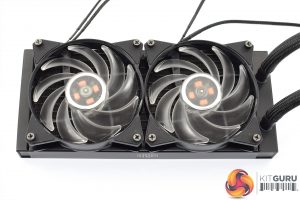
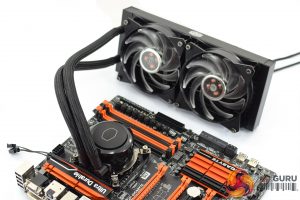
First of all, get the fans out of the way by screwing them onto the radiator.
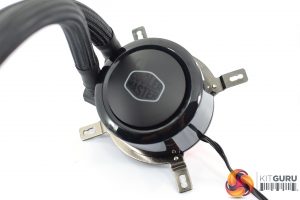
While you have the cooler in front of you, two mounting arms also need to be screwed onto the pump unit – these are secured with two screws each.
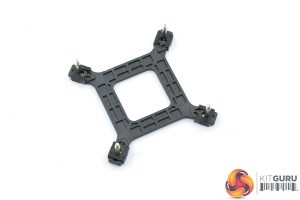
Next, our attention can turn to the backplate. This uses the same four screws and four clips as previous designs, so you just need to drop the screws through the holes in the corner of the backplate, and then use the clips to prevent the screws from falling out. It is simple and works well, but I have previously had issues with these clips breaking after 4 or 5 installations. However, I am a reviewer and perhaps install and uninstall coolers more than most, so if you are just going to install the cooler once and forget about it, there is nothing to worry about.
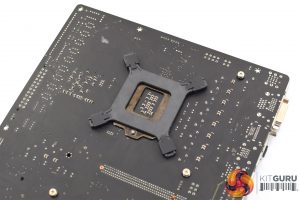
So, with the backplate prepared, go ahead and drop it behind the CPU socket area on the underside of the motherboard.
Once the screws are poking through to the topside of the motherboard, four spacers need to be placed over the screws.
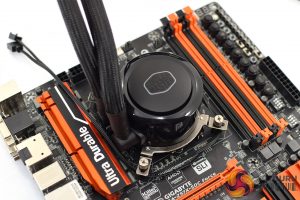
Now, you can go ahead and mount the pump on top of the CPU, and it is secured in place with four small thumbscrews.
That is it for installation – it is nice and simple and won't take long at all. Screwing on the mounting arms is the only slightly fiddly part, as the screws are quite small and you have to hold the pump upside down as well, but it is still very doable – perhaps a way for the brackets to lock in place without screws, similar to Asetek's brackets, would be the icing on the cake.
Lighting
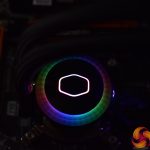
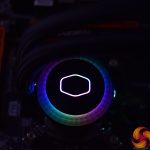
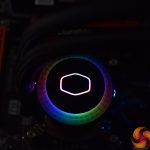
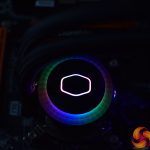
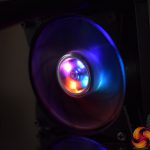
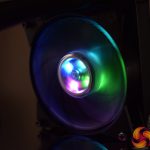
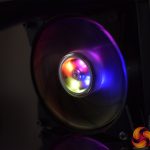
A big part of this cooler is the addressable RGB lighting, so of course we are looking at that as well. Some RGB liquid coolers require a compatible motherboard, but thankfully Cooler Master has included a wired controller for the ML240R. This lets you choose between several easy access presets (including breathing, spectrum, ‘single slide' mode) or you can use the proper addressable mode and create your own custom look.
Personally, I was very taken with the spectrum mode as this really highlights the addressable nature of the cooler – each LED is doing something different at any given time, which I think looks very funky. However, you obviously can choose how you want your own lighting.
All in all, though, I think the RGB illumination looks good, the included controller is pretty simple to use and you can of course turn the lighting off if you are a ‘RGB heathen.'
 KitGuru KitGuru.net – Tech News | Hardware News | Hardware Reviews | IOS | Mobile | Gaming | Graphics Cards


