

Ever since the release of the legendary Hyper 212 EVO, Cooler Master has been trying to build on its success. Today we can see how far they've come by looking at two new air coolers in the MasterAir family – the MasterAir Pro 3 and the MasterAir Pro 4. Given the former costs £33.95 while the latter is £41.99, both these coolers are up against some serious competition.
The £30-£40 air cooling market is ferociously competitive, so it will be very interesting to see how the Cooler Master MasterAir Pro 3 and MasterAir Pro 4 fare against competing coolers. Read on for our full review, including a look at the coolers' features, installation process and performance.
MasterAir Pro 3 Specification
- Dimensions (LxWxH): 78x117x140mm
- Heat Sink Dimensions (LxWxH): 61.5x108x140mm
- Heat Sink Material: 3 Heat Pipes / CDC 2.0 / Aluminum Fins
- Heat Sink Weight: 390g
- Heat Pipe Dimensions: Ø6 mm
- Fan Dimensions: 92 x 92 x 25 mm
- Fan Speed: 650 – 3,000 RPM (PWM) ± 10%
- Fan Air Flow: 28 CFM (Max) ± 10%
- Fan Air Pressure: 2.5 mmH2O (Max)
- Fan Life Expectancy: 350,000 hours
- Noise Level: 6~30 dBA (Max)
- Bearing Type: POM Bearing-CM 4th Gen. Bearing
- Connector: 4-pin PWM
- Rated Voltage: 12 VDC
- Rated Current: 0.1 A
- Power Consumption: 1.2 W
- Warranty: 5 years
MasterAir Pro 4 Specification
- Dimensions (LxWxH): 84x129x158mm
- Heat Sink Dimensions (LxWxH): 60x116x158mm
- Heat Sink Material: 4 Heat Pipes / CDC 2.0 / Aluminum Fins
- Heat Sink Weight: 472g
- Heat Pipe Dimensions: Ø6 mm
- Fan Dimensions: 120 x 120 x 25 mm
- Fan Speed: 650 – 2,000 RPM (PWM) ± 10%
- Fan Air Flow: 66.7 CFM (Max) ± 10%
- Fan Air Pressure: 2.34 mmH2O (Max)
- Fan Life Expectancy: 490,000 hours
- Noise Level: 6~30 dBA (Max)
- Bearing Type: POM Bearing-CM 4th Gen. Bearing
- Connector: 4-pin PWM
- Rated Voltage: 12 VDC
- Rated Current: 0.15 A
- Power Consumption: 1.8 W
- Warranty: 5 years

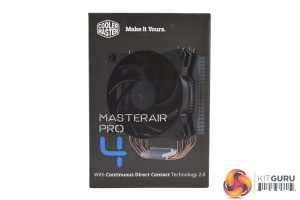
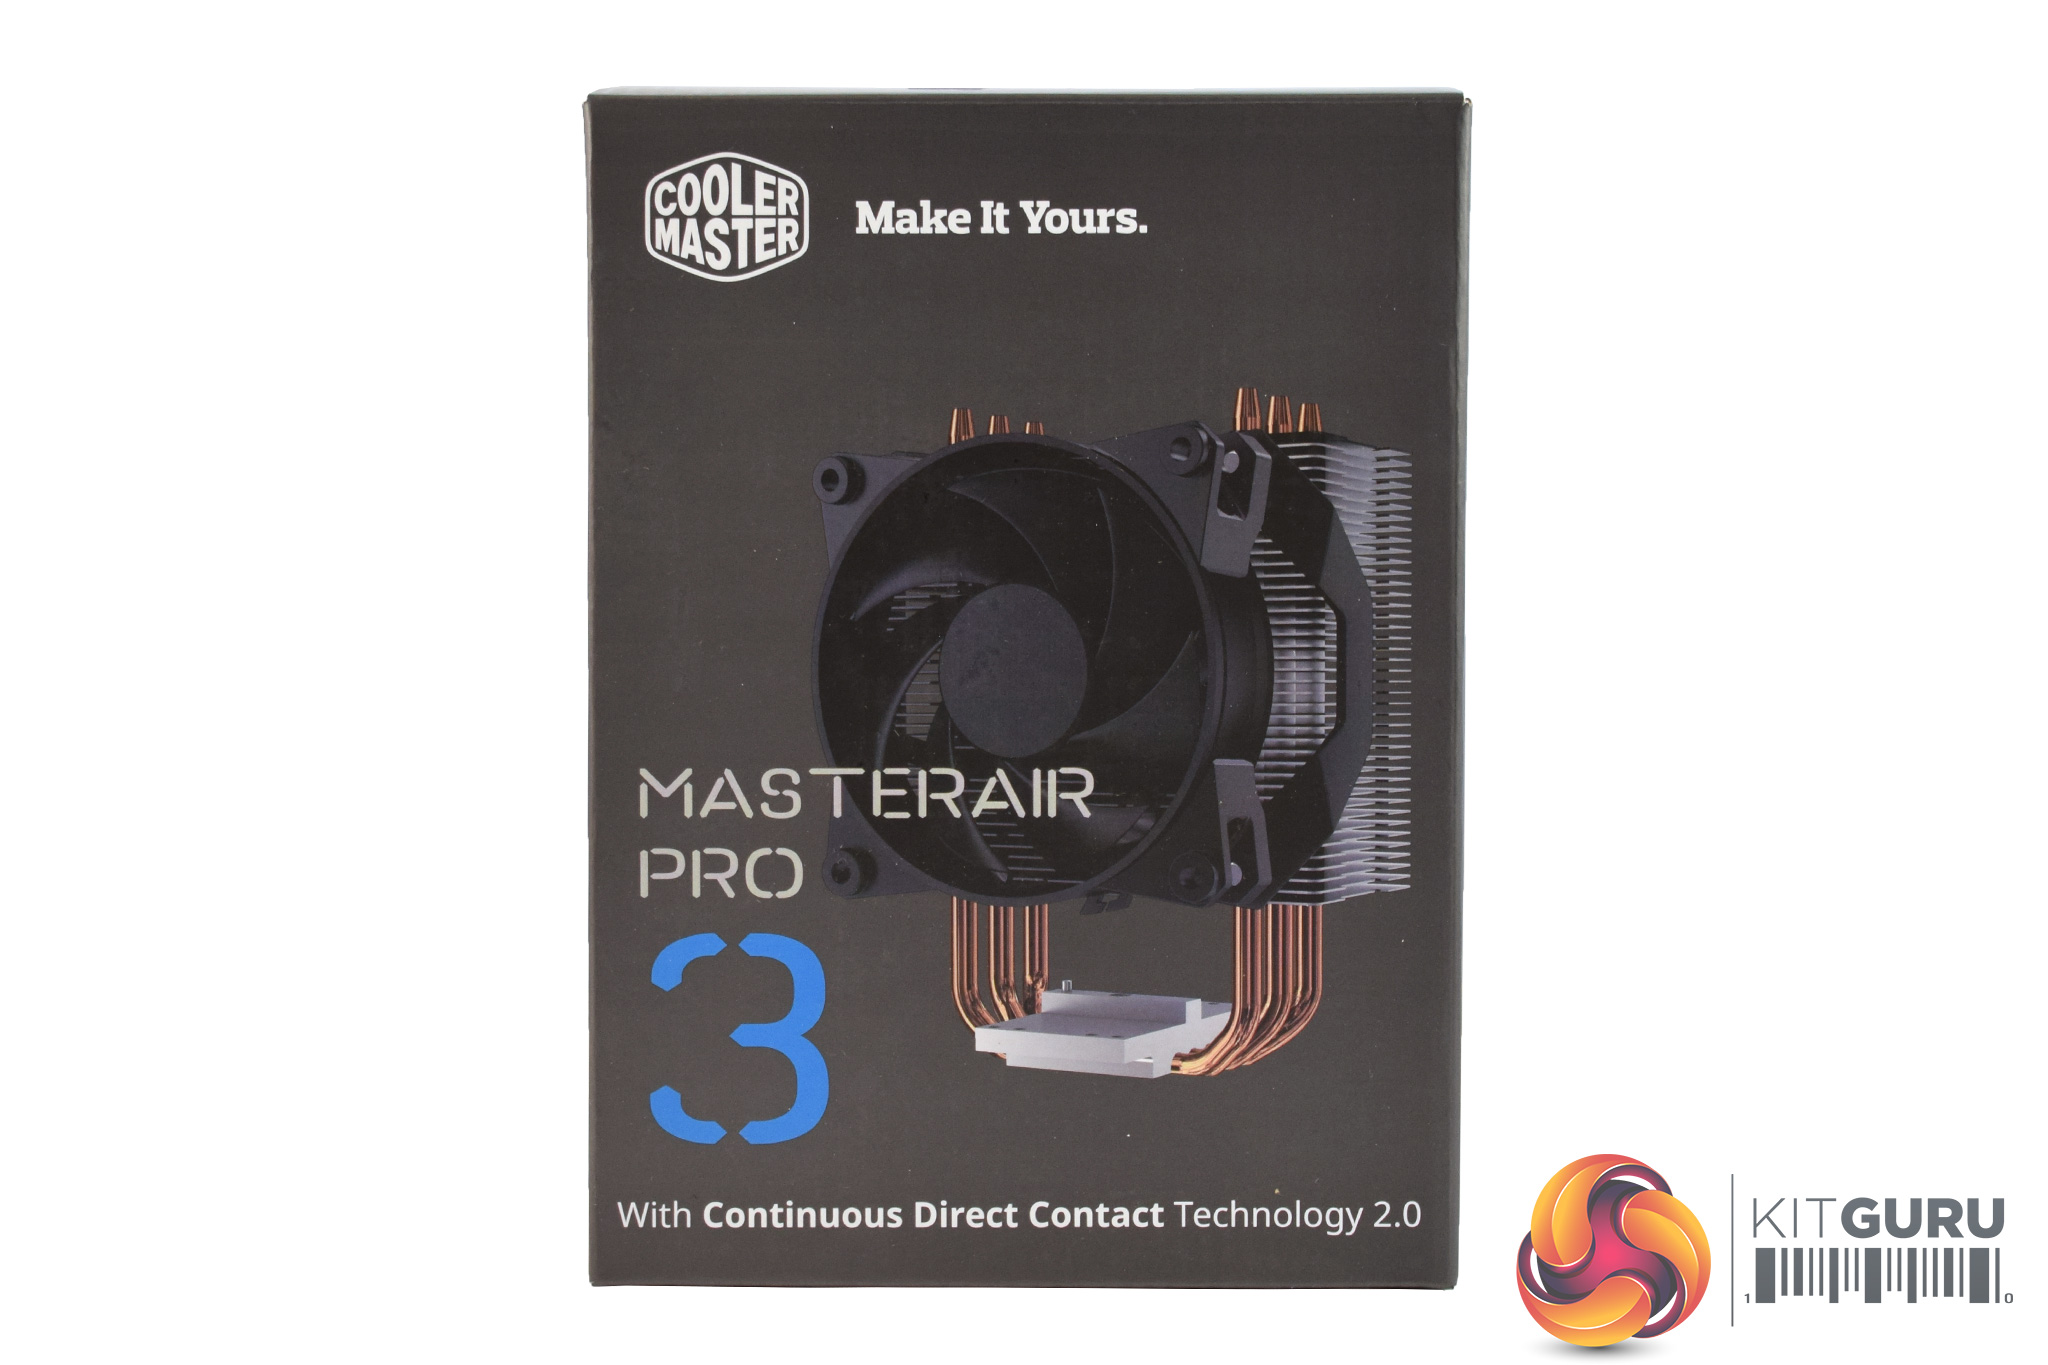
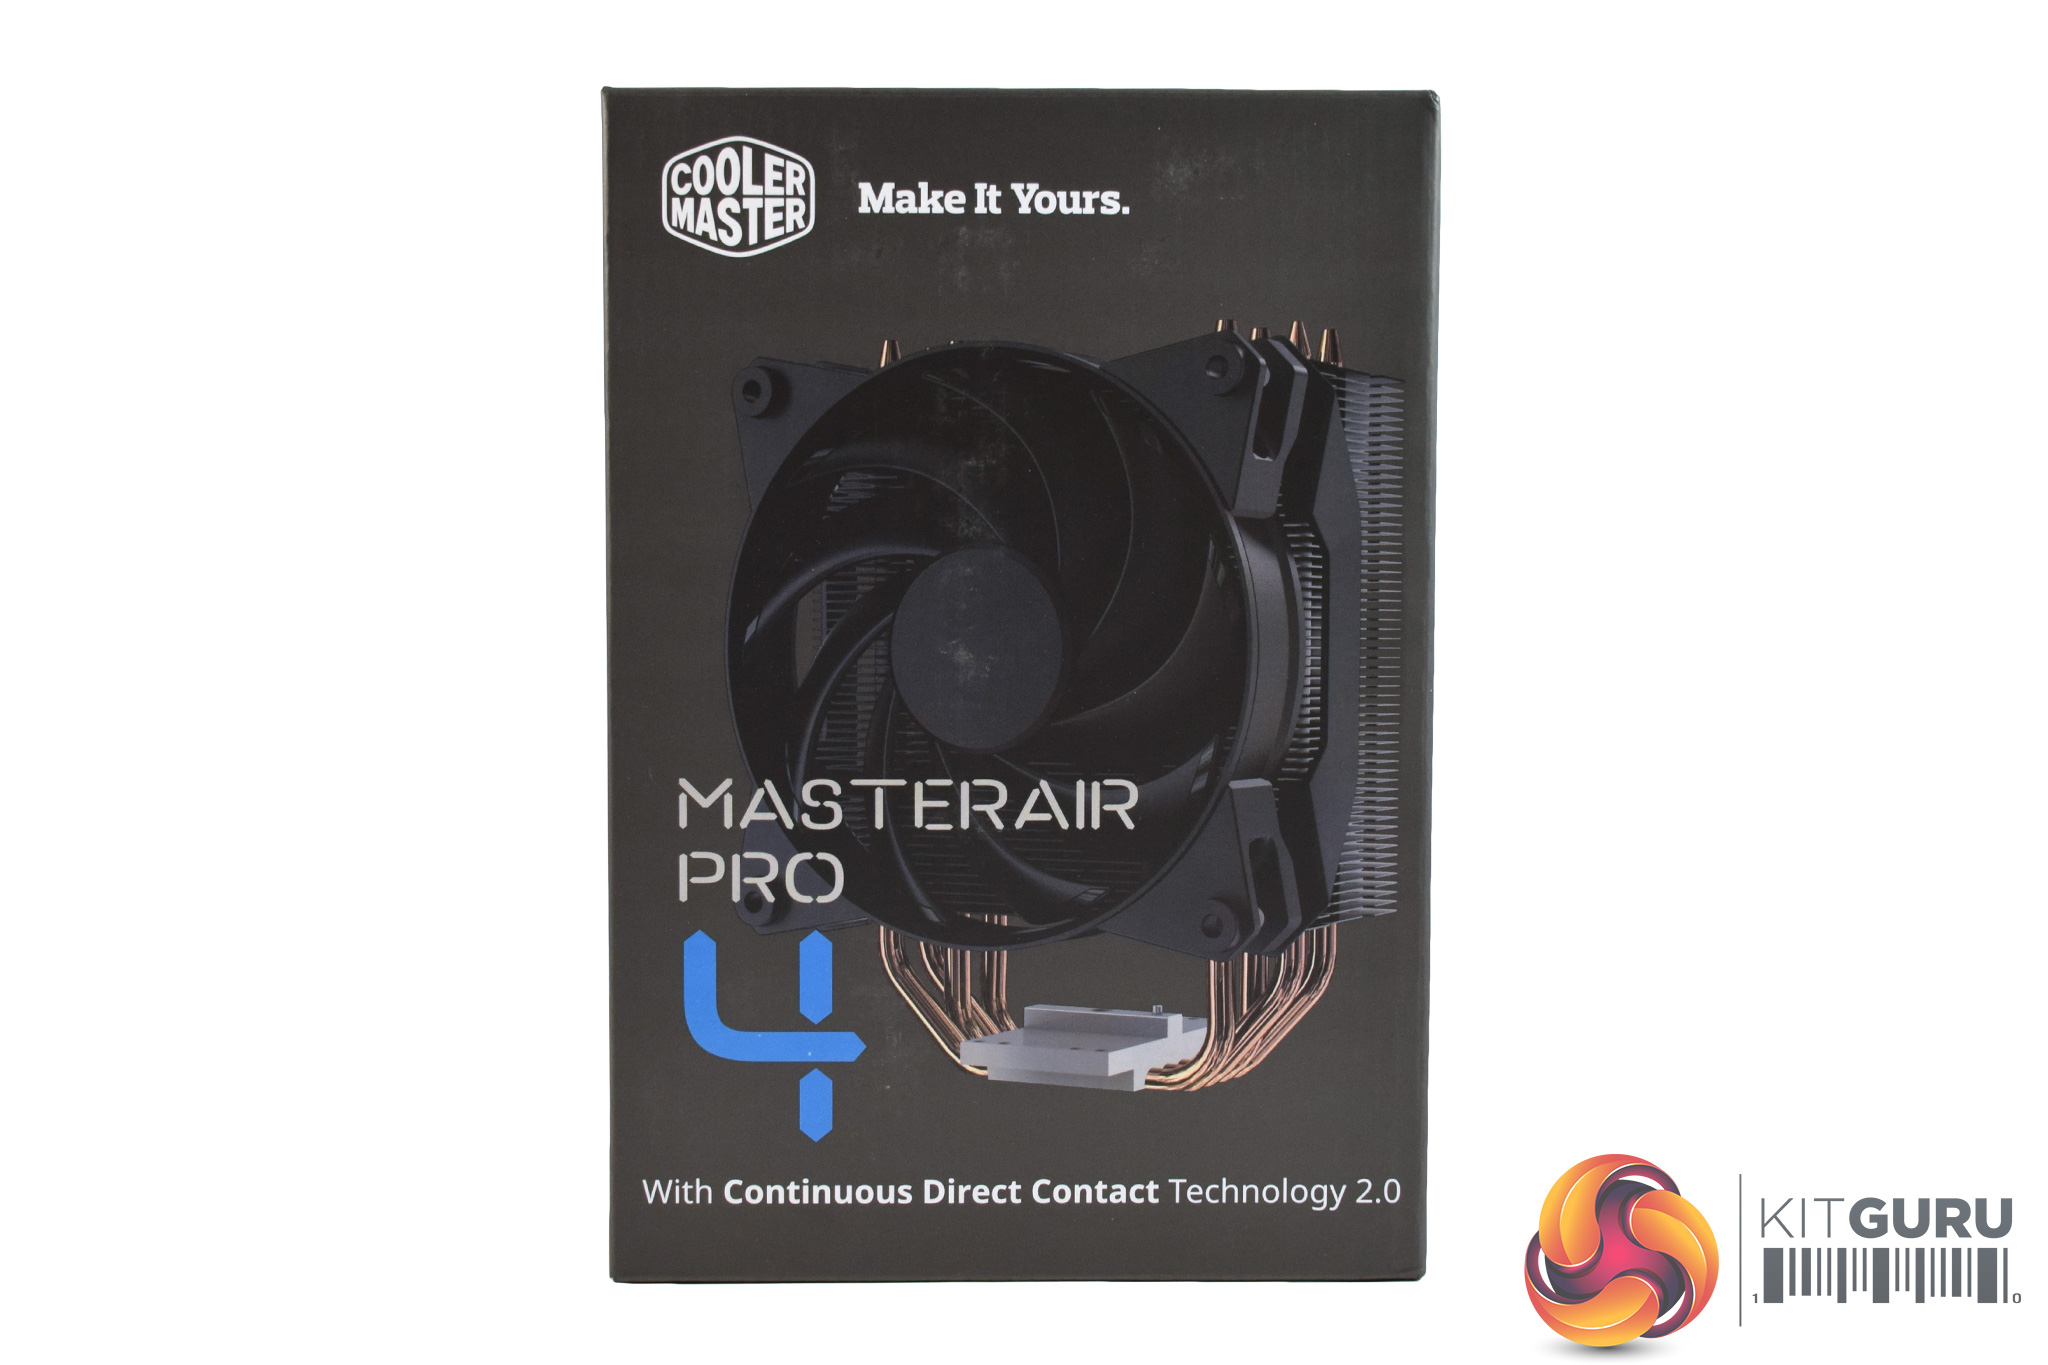
Both the MasterAir Pro 3 and the MasterAir Pro 4 ship in essentially identical boxes, with both featuring large product photos on the front.
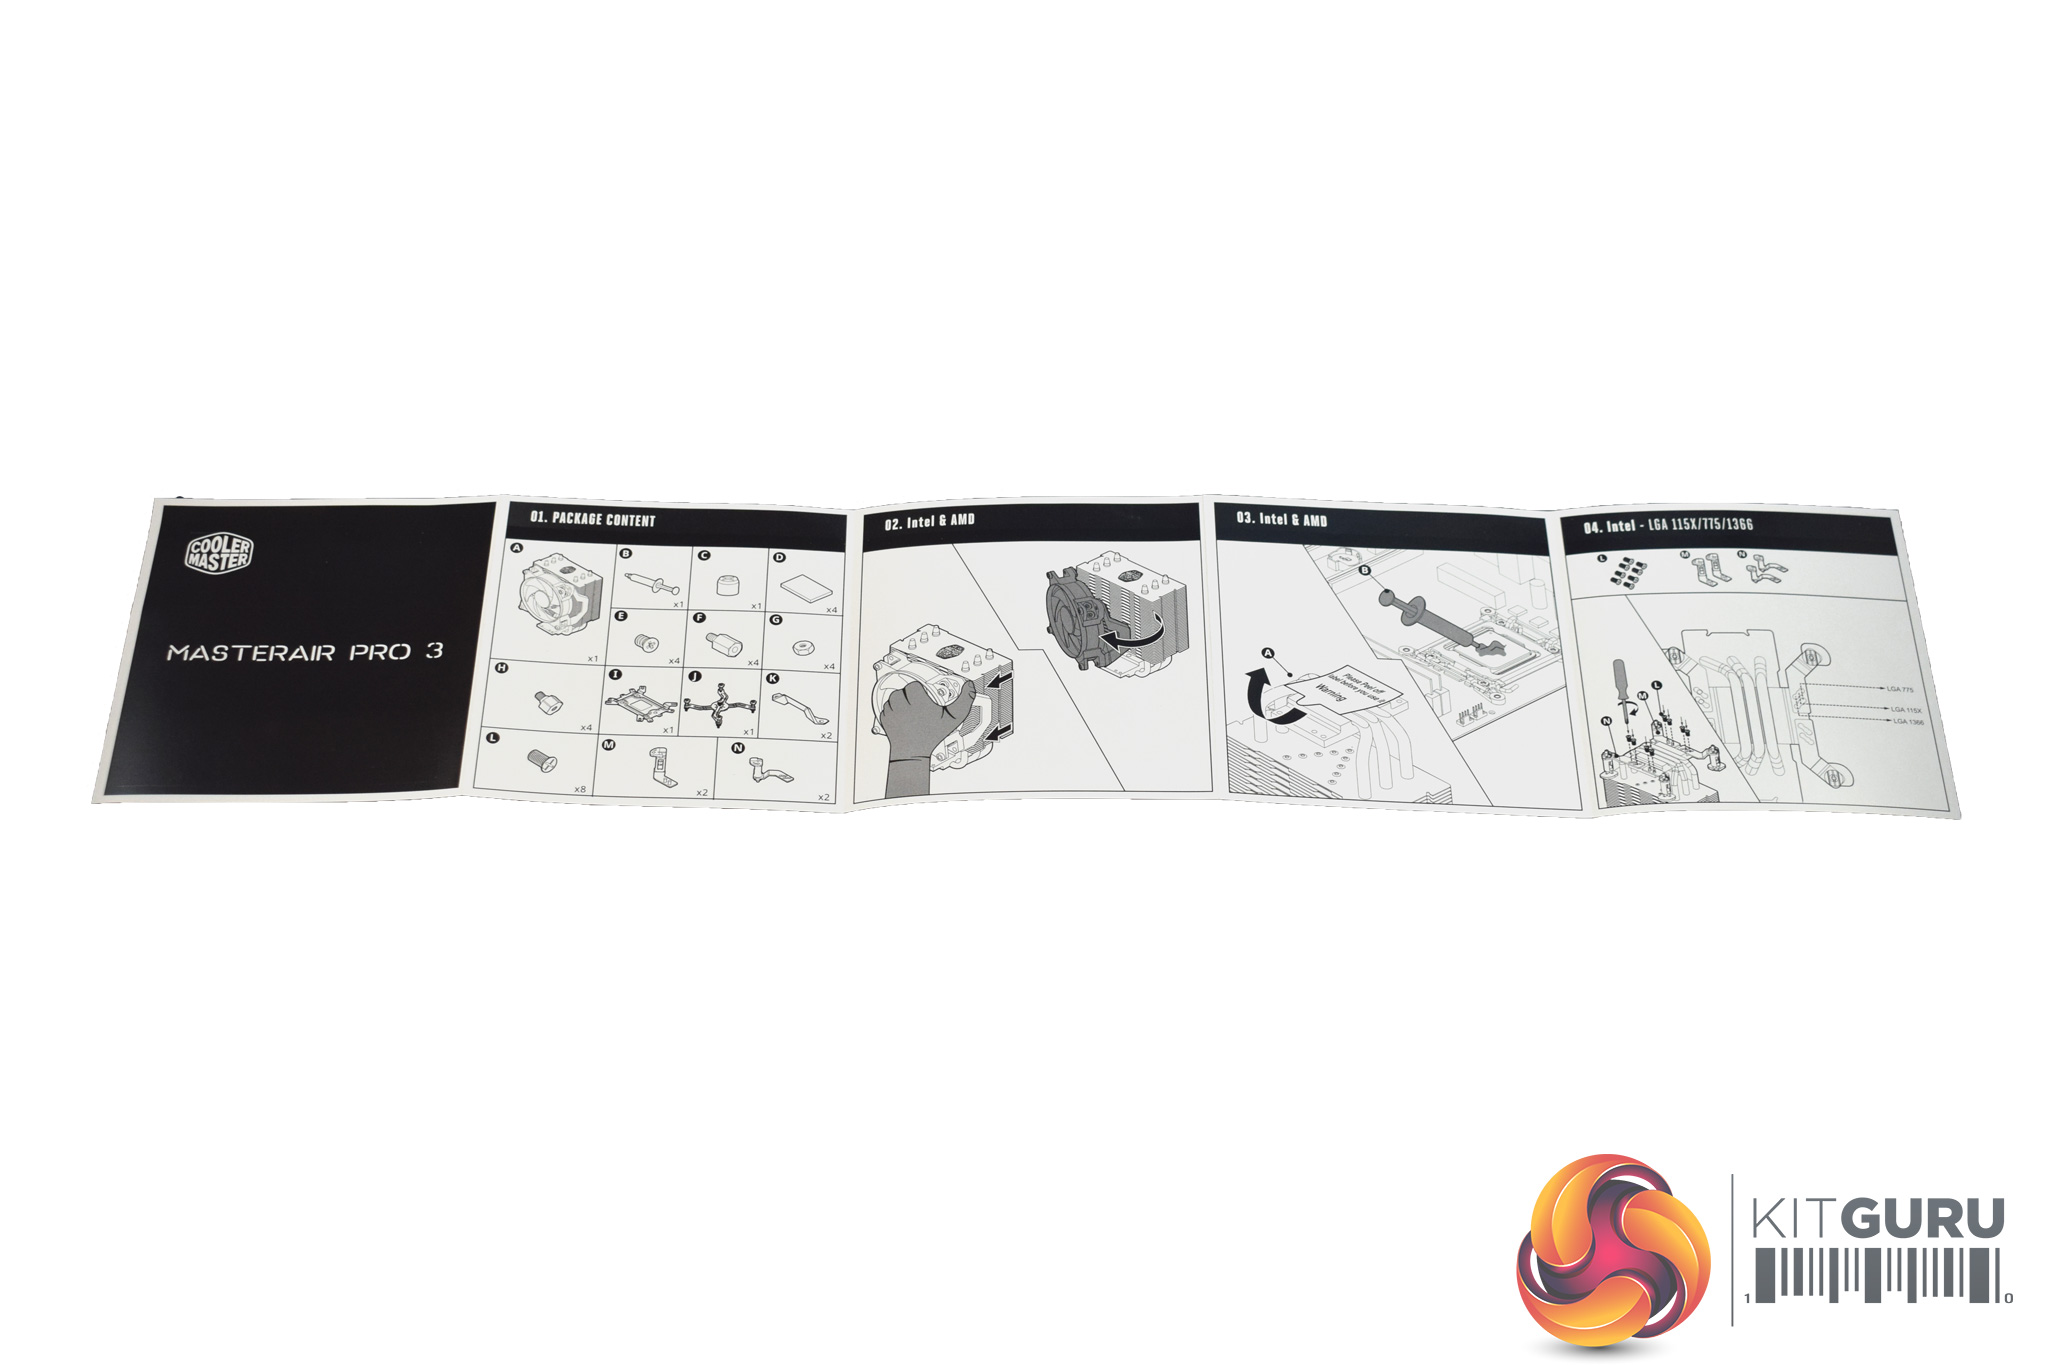
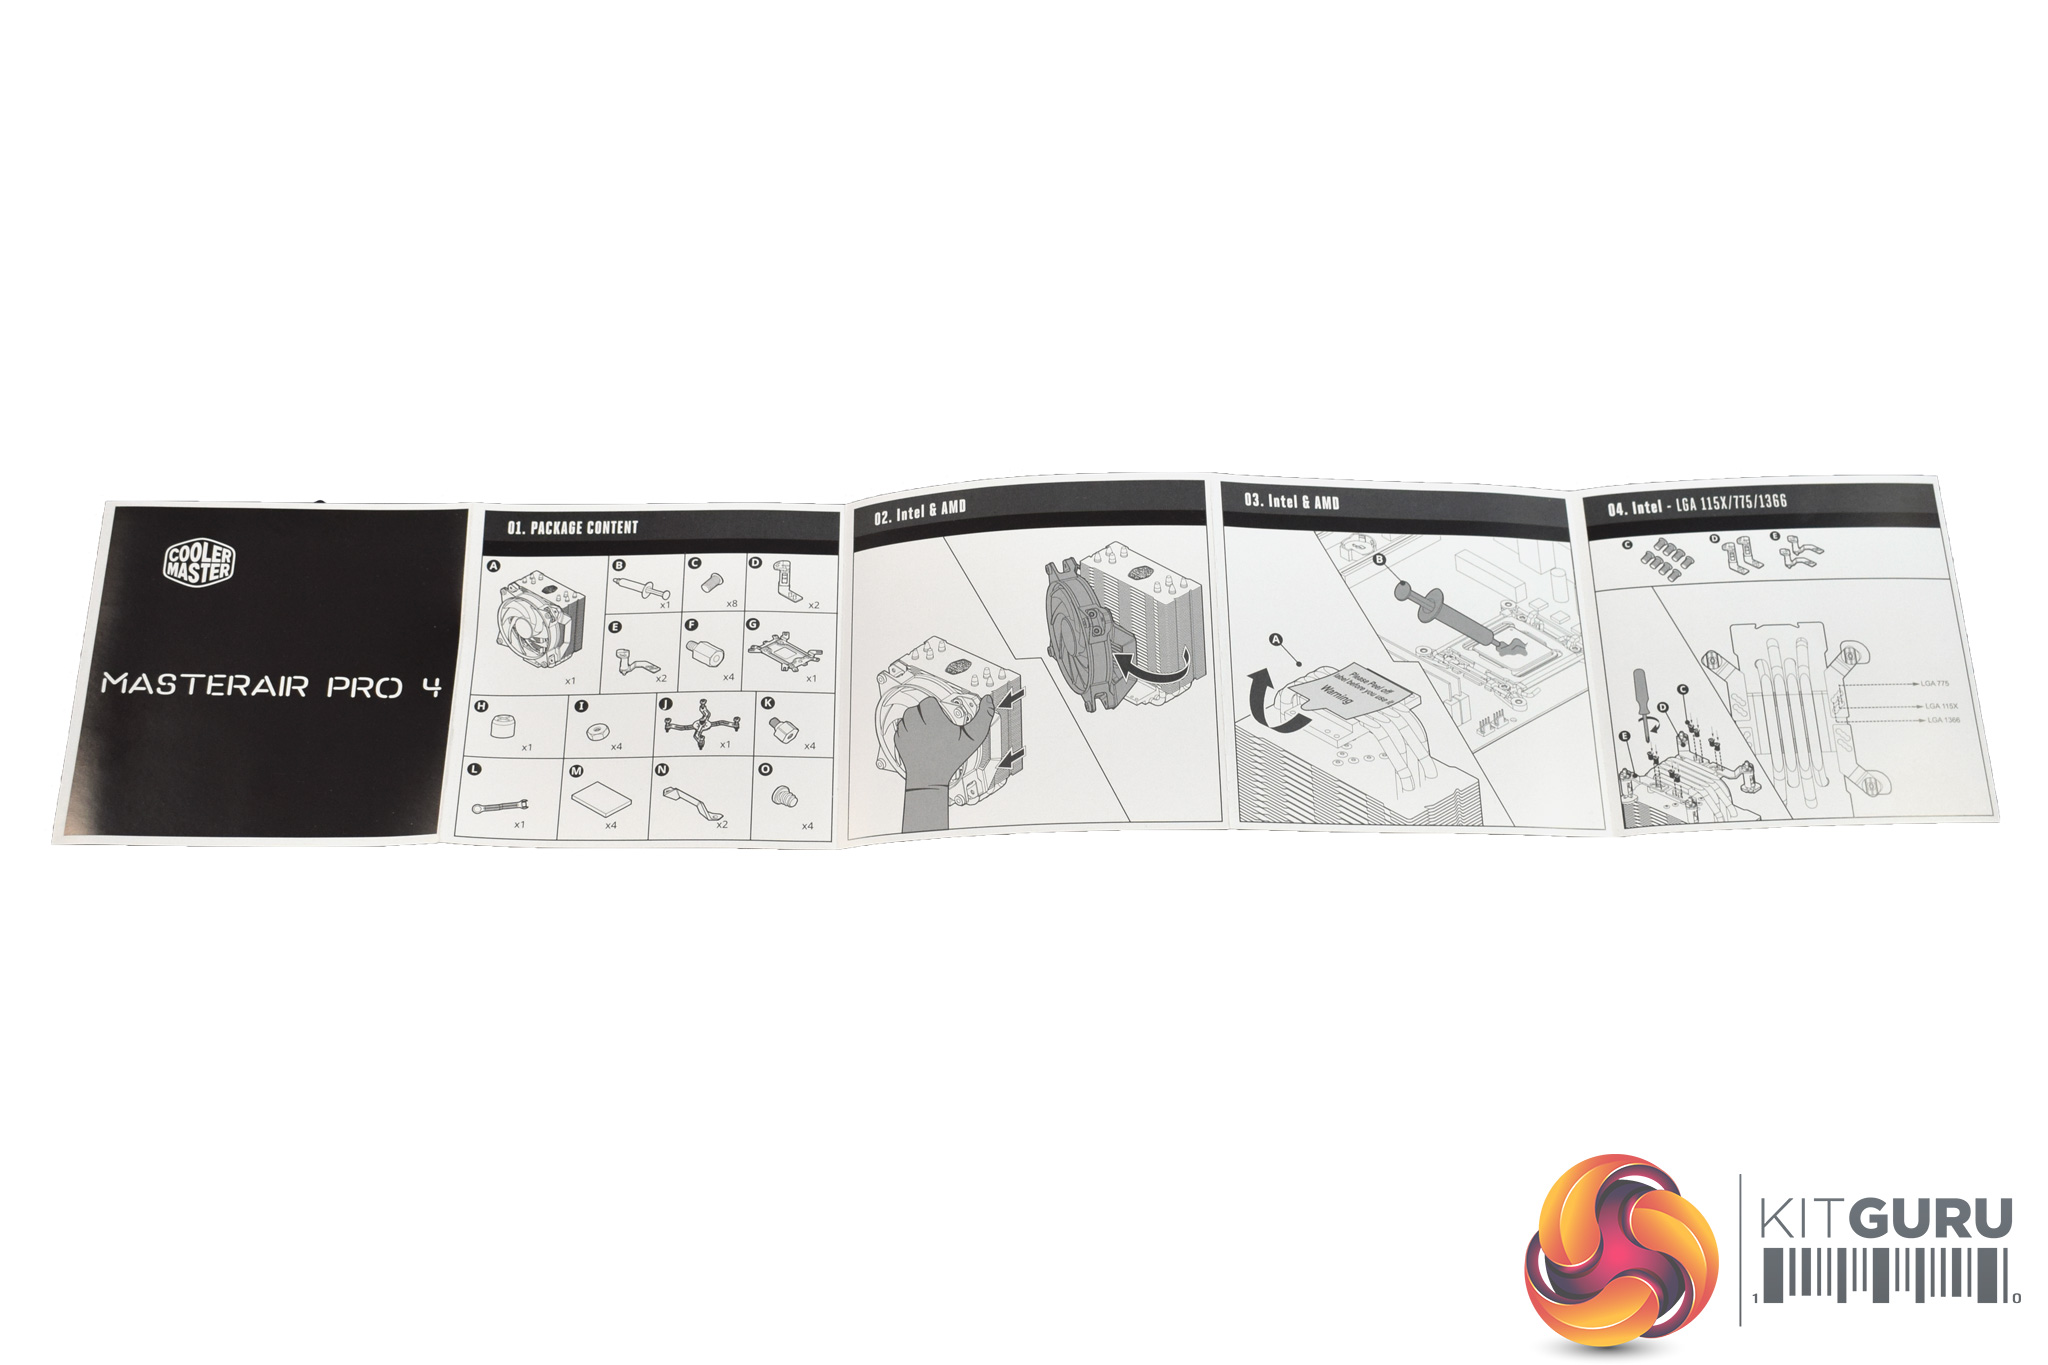
Inside, the manuals are also essentially the same thing – although this is not bad at all, as the diagrams are clear and helpful.
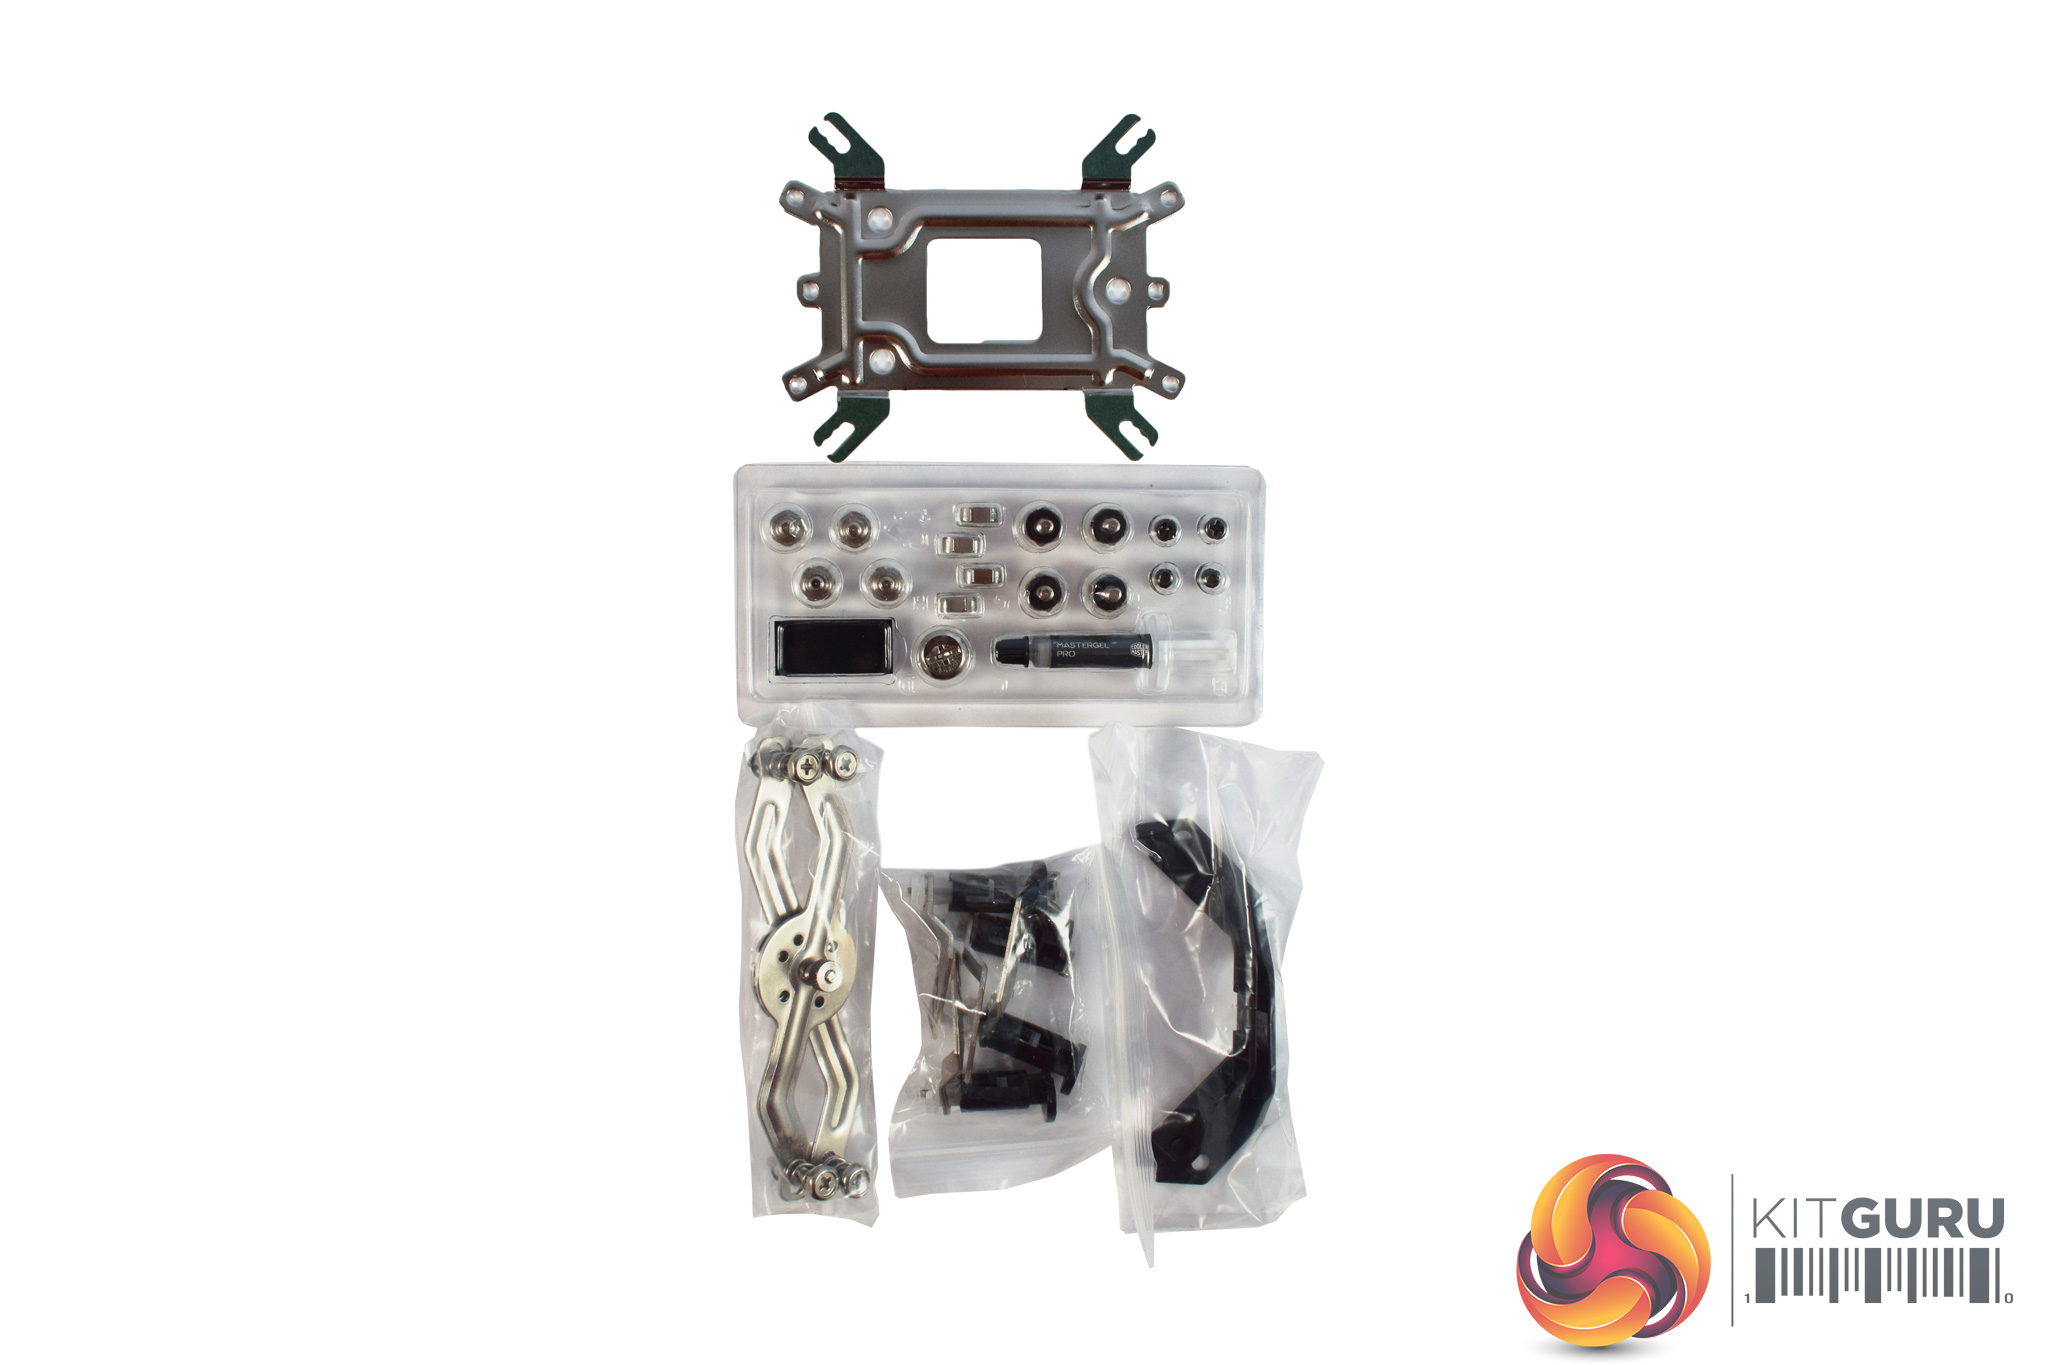
The installation hardware comes neatly packaged and the screws are kept separate from each other, a nice touch from Cooler Master.
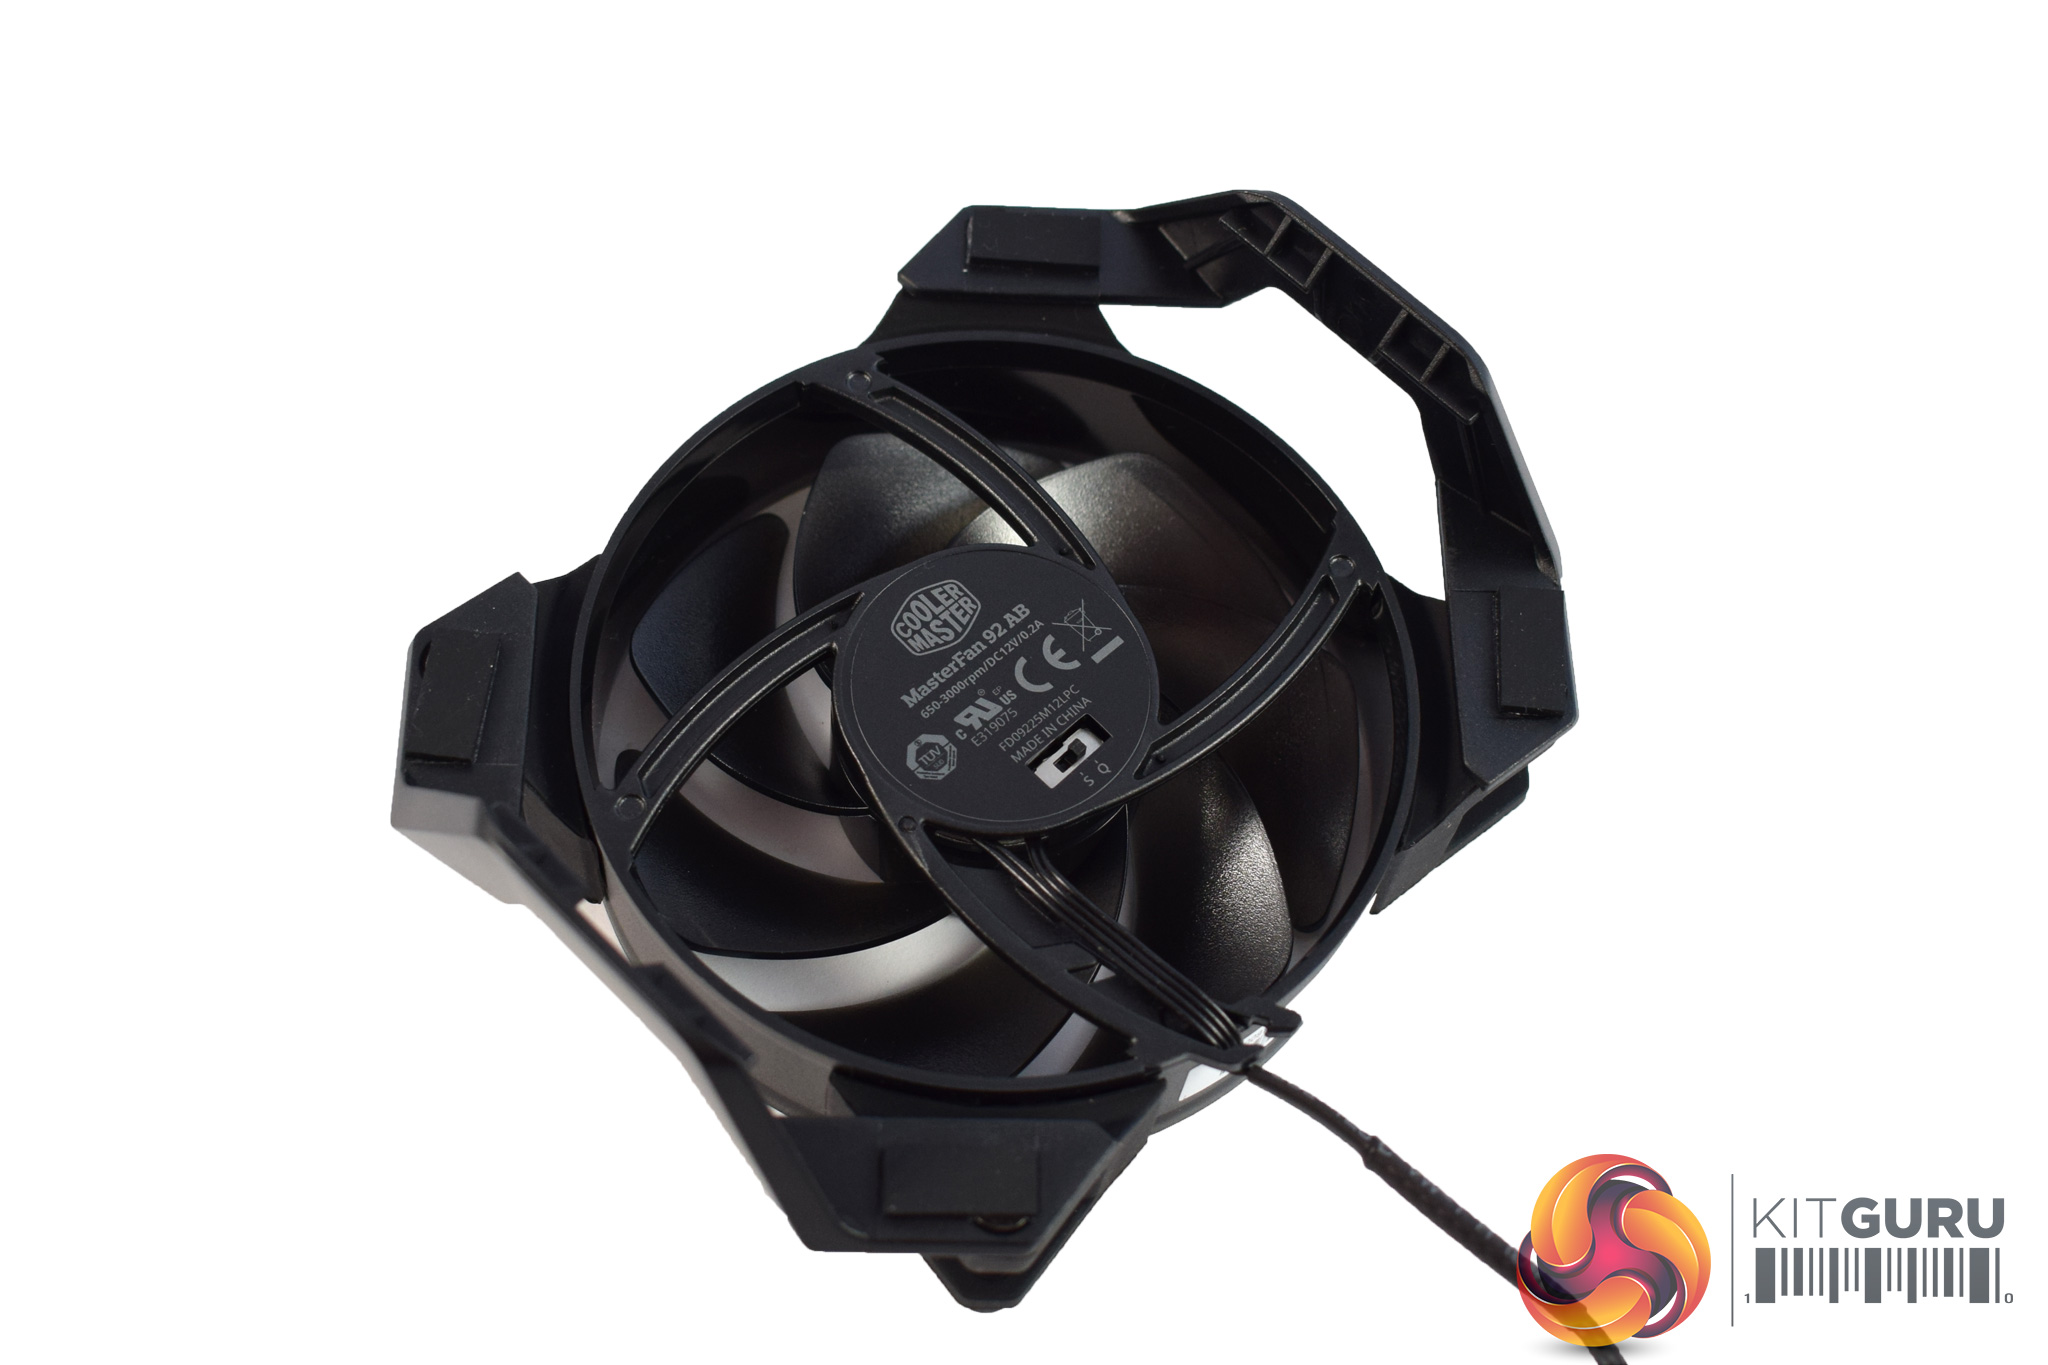
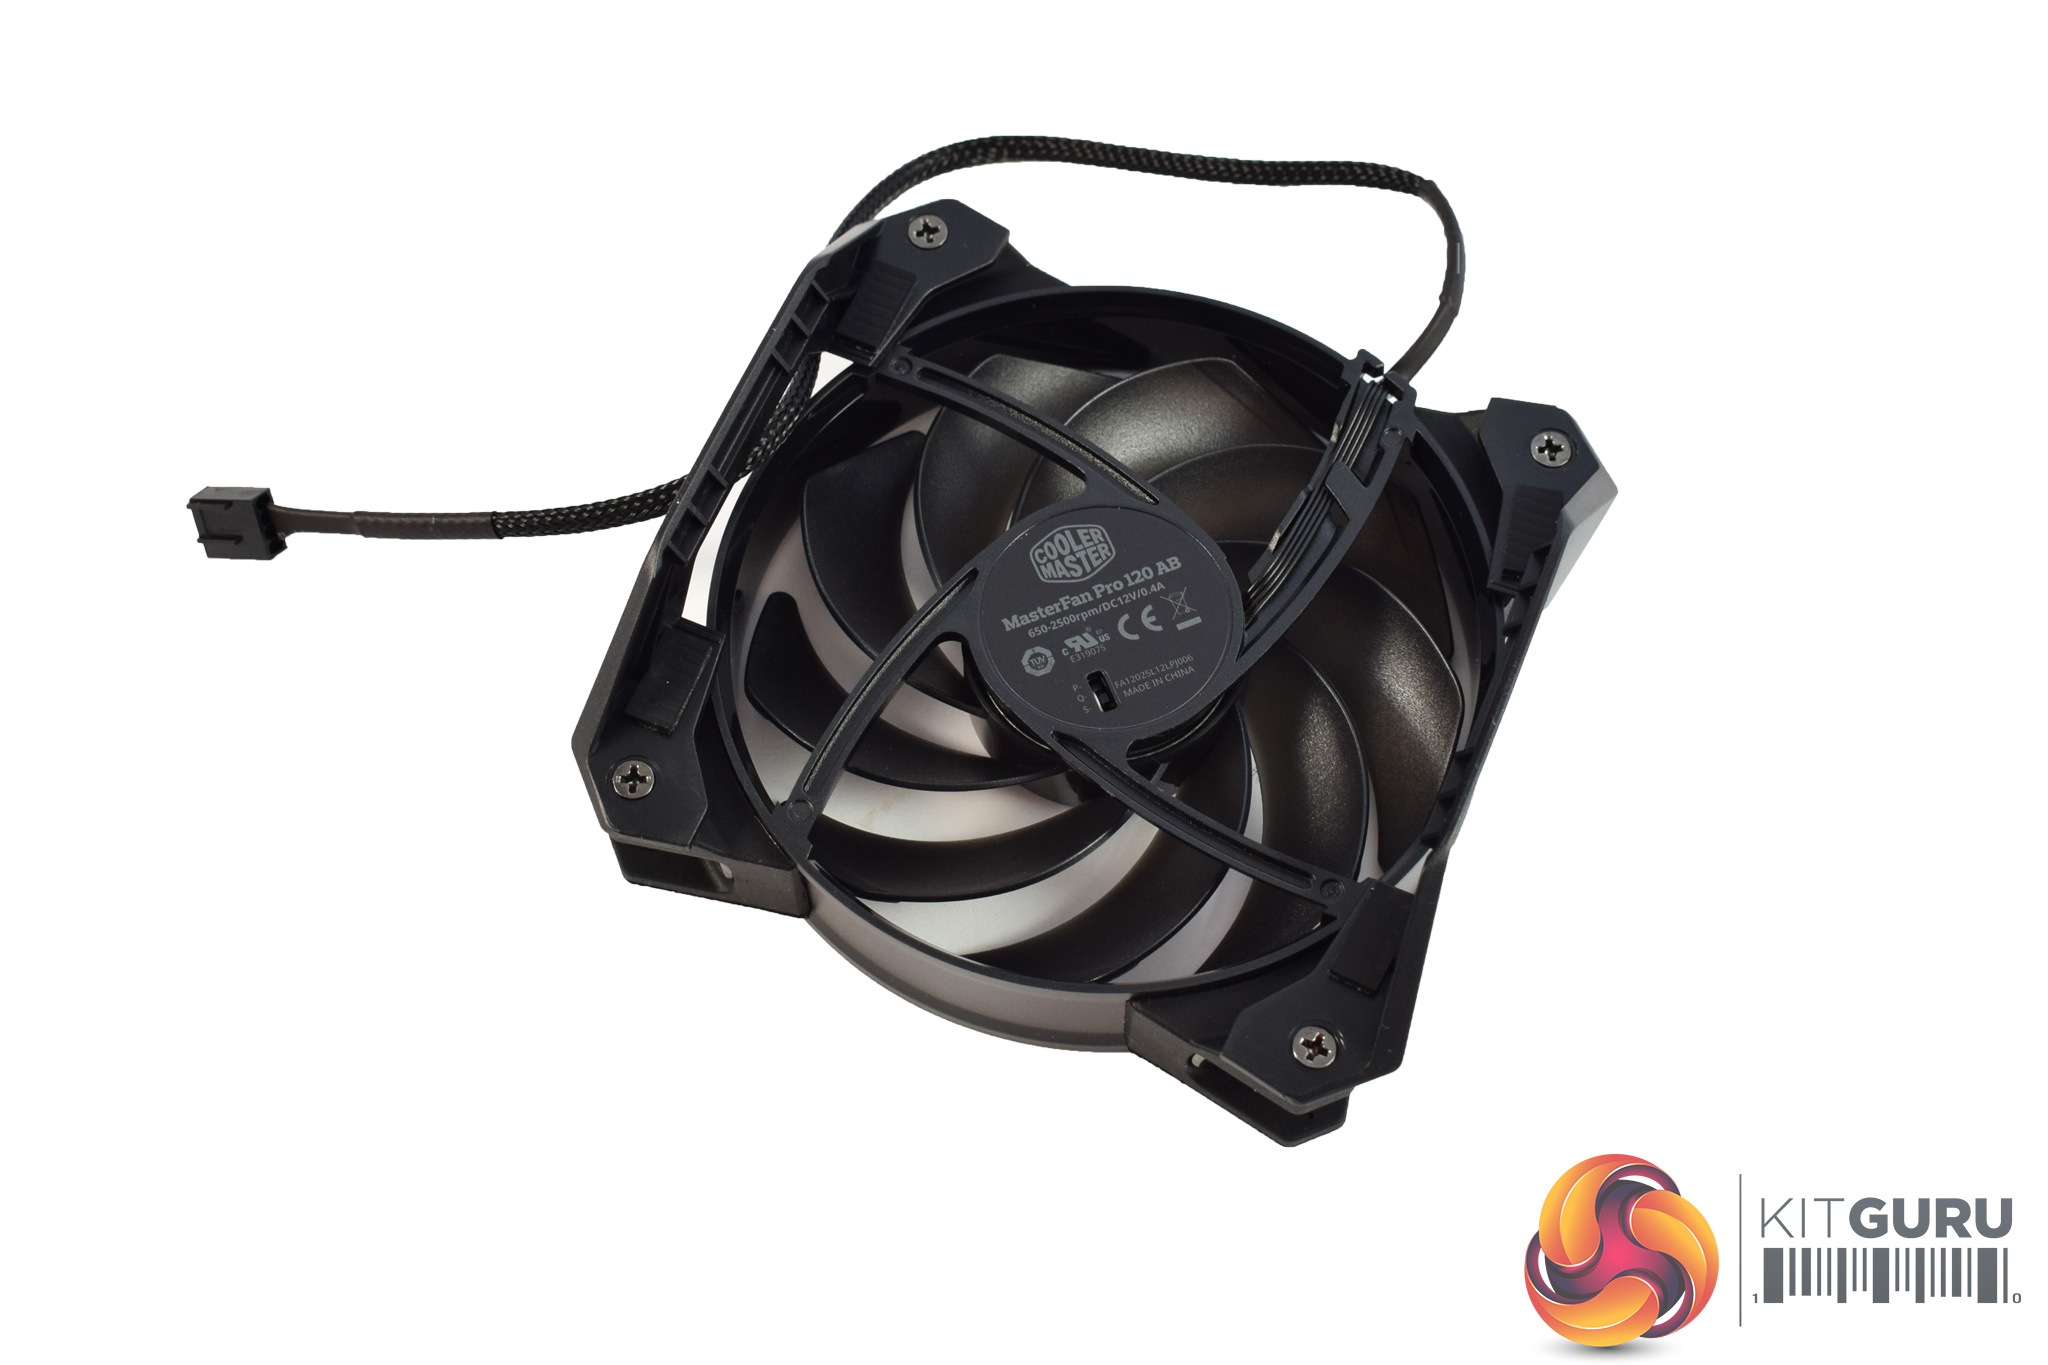
We begin to see some differences between the two coolers when looking at the provided fans. The Pro 3 (left) uses a 92mm fan, while the Pro 4's fan (right) measures 120mm in size. Both are from Cooler Master's ‘Air Balance' range.
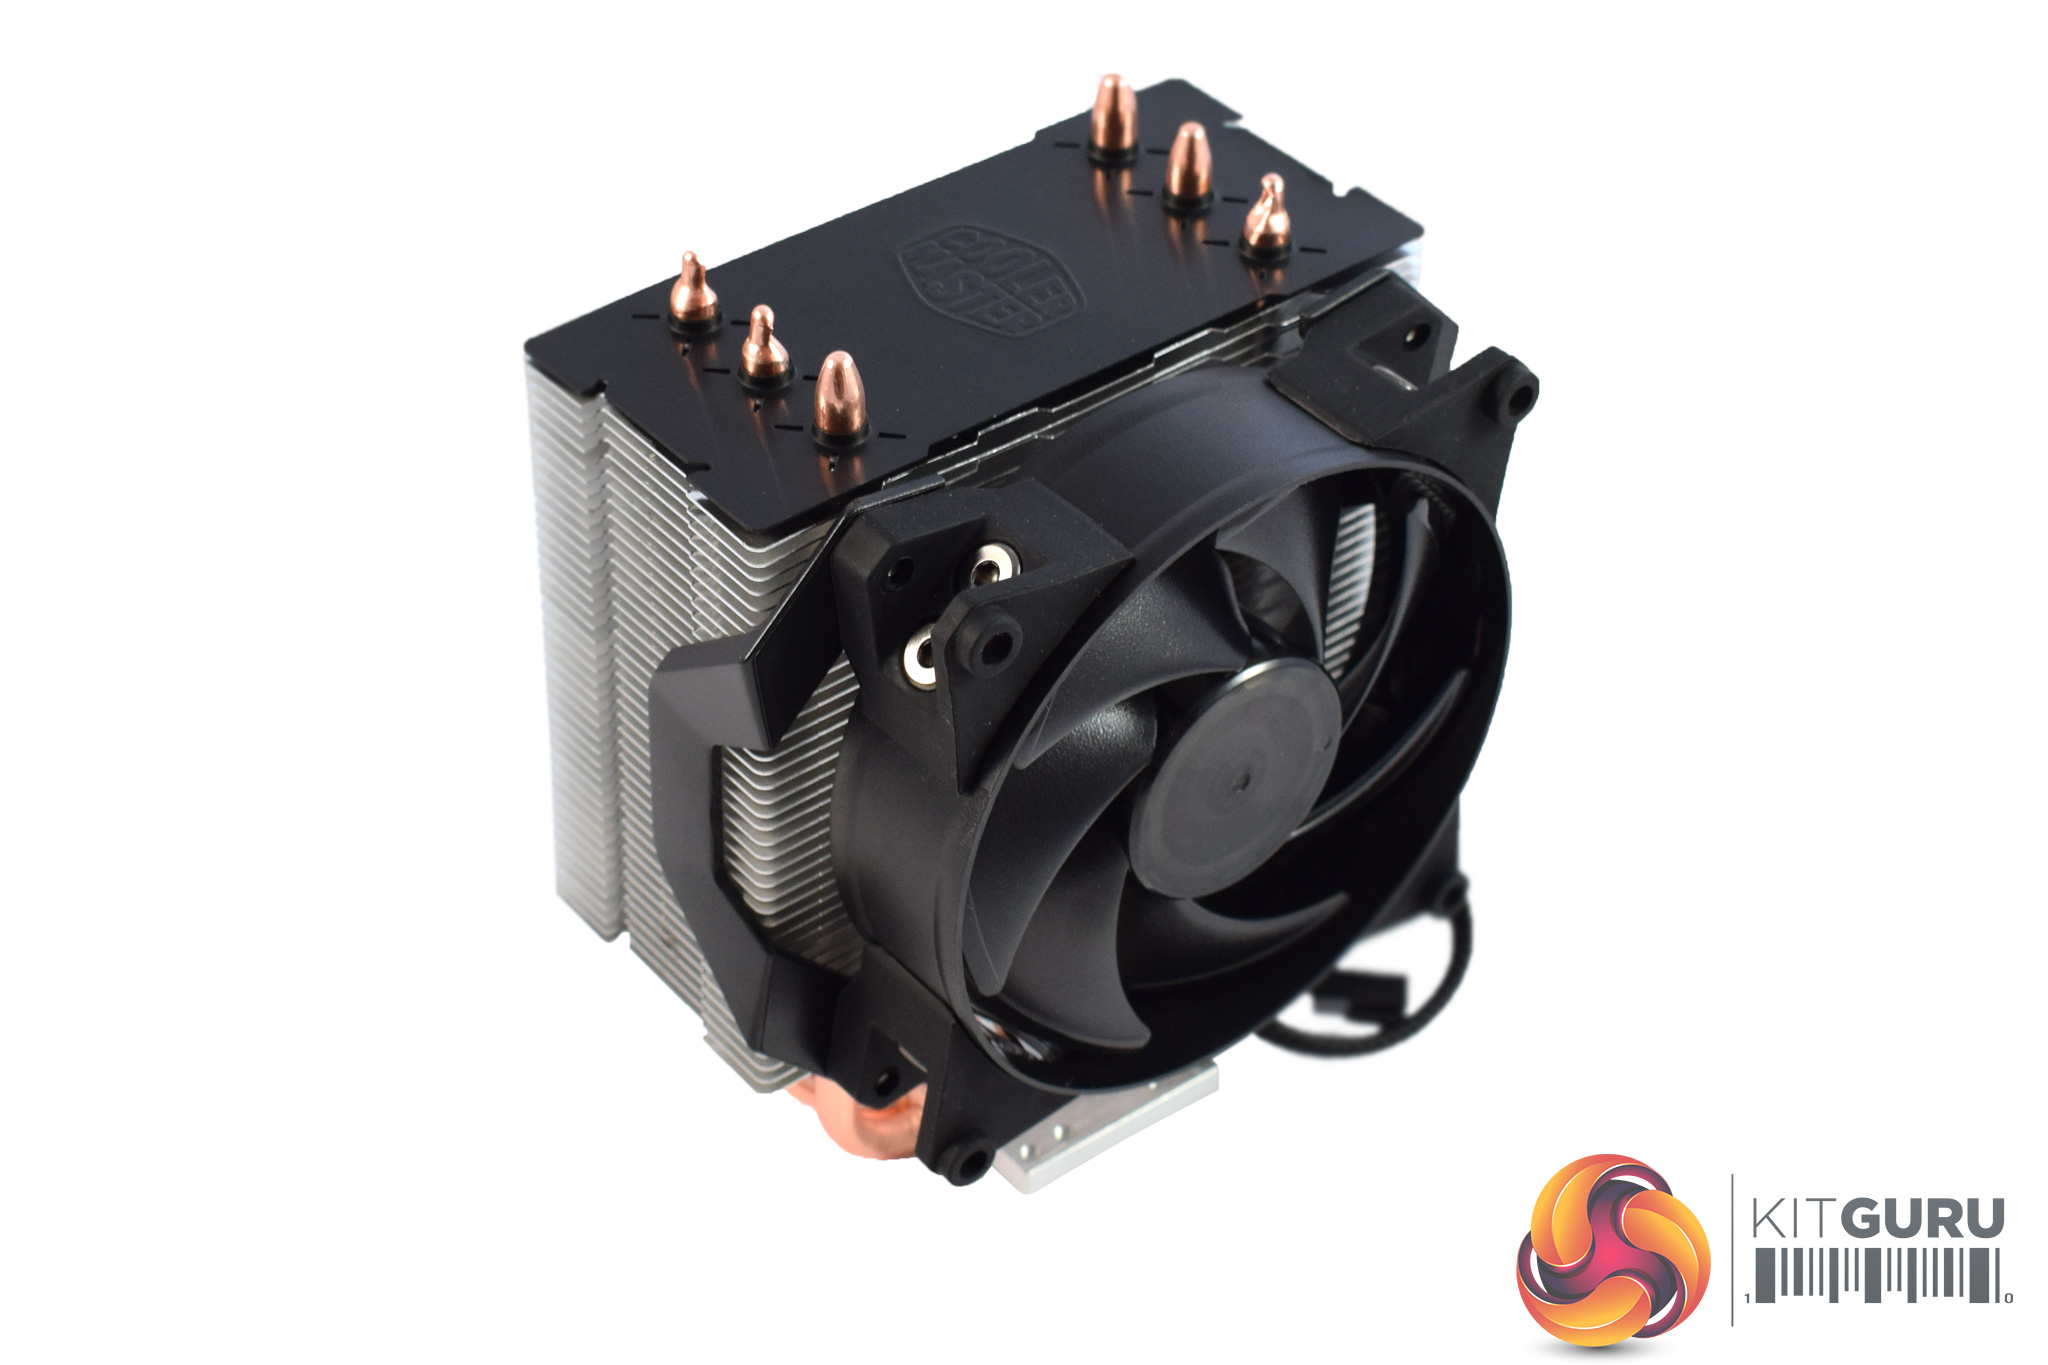
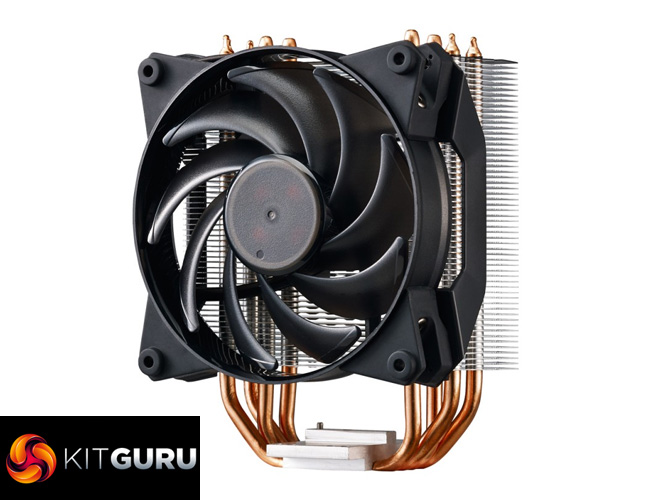
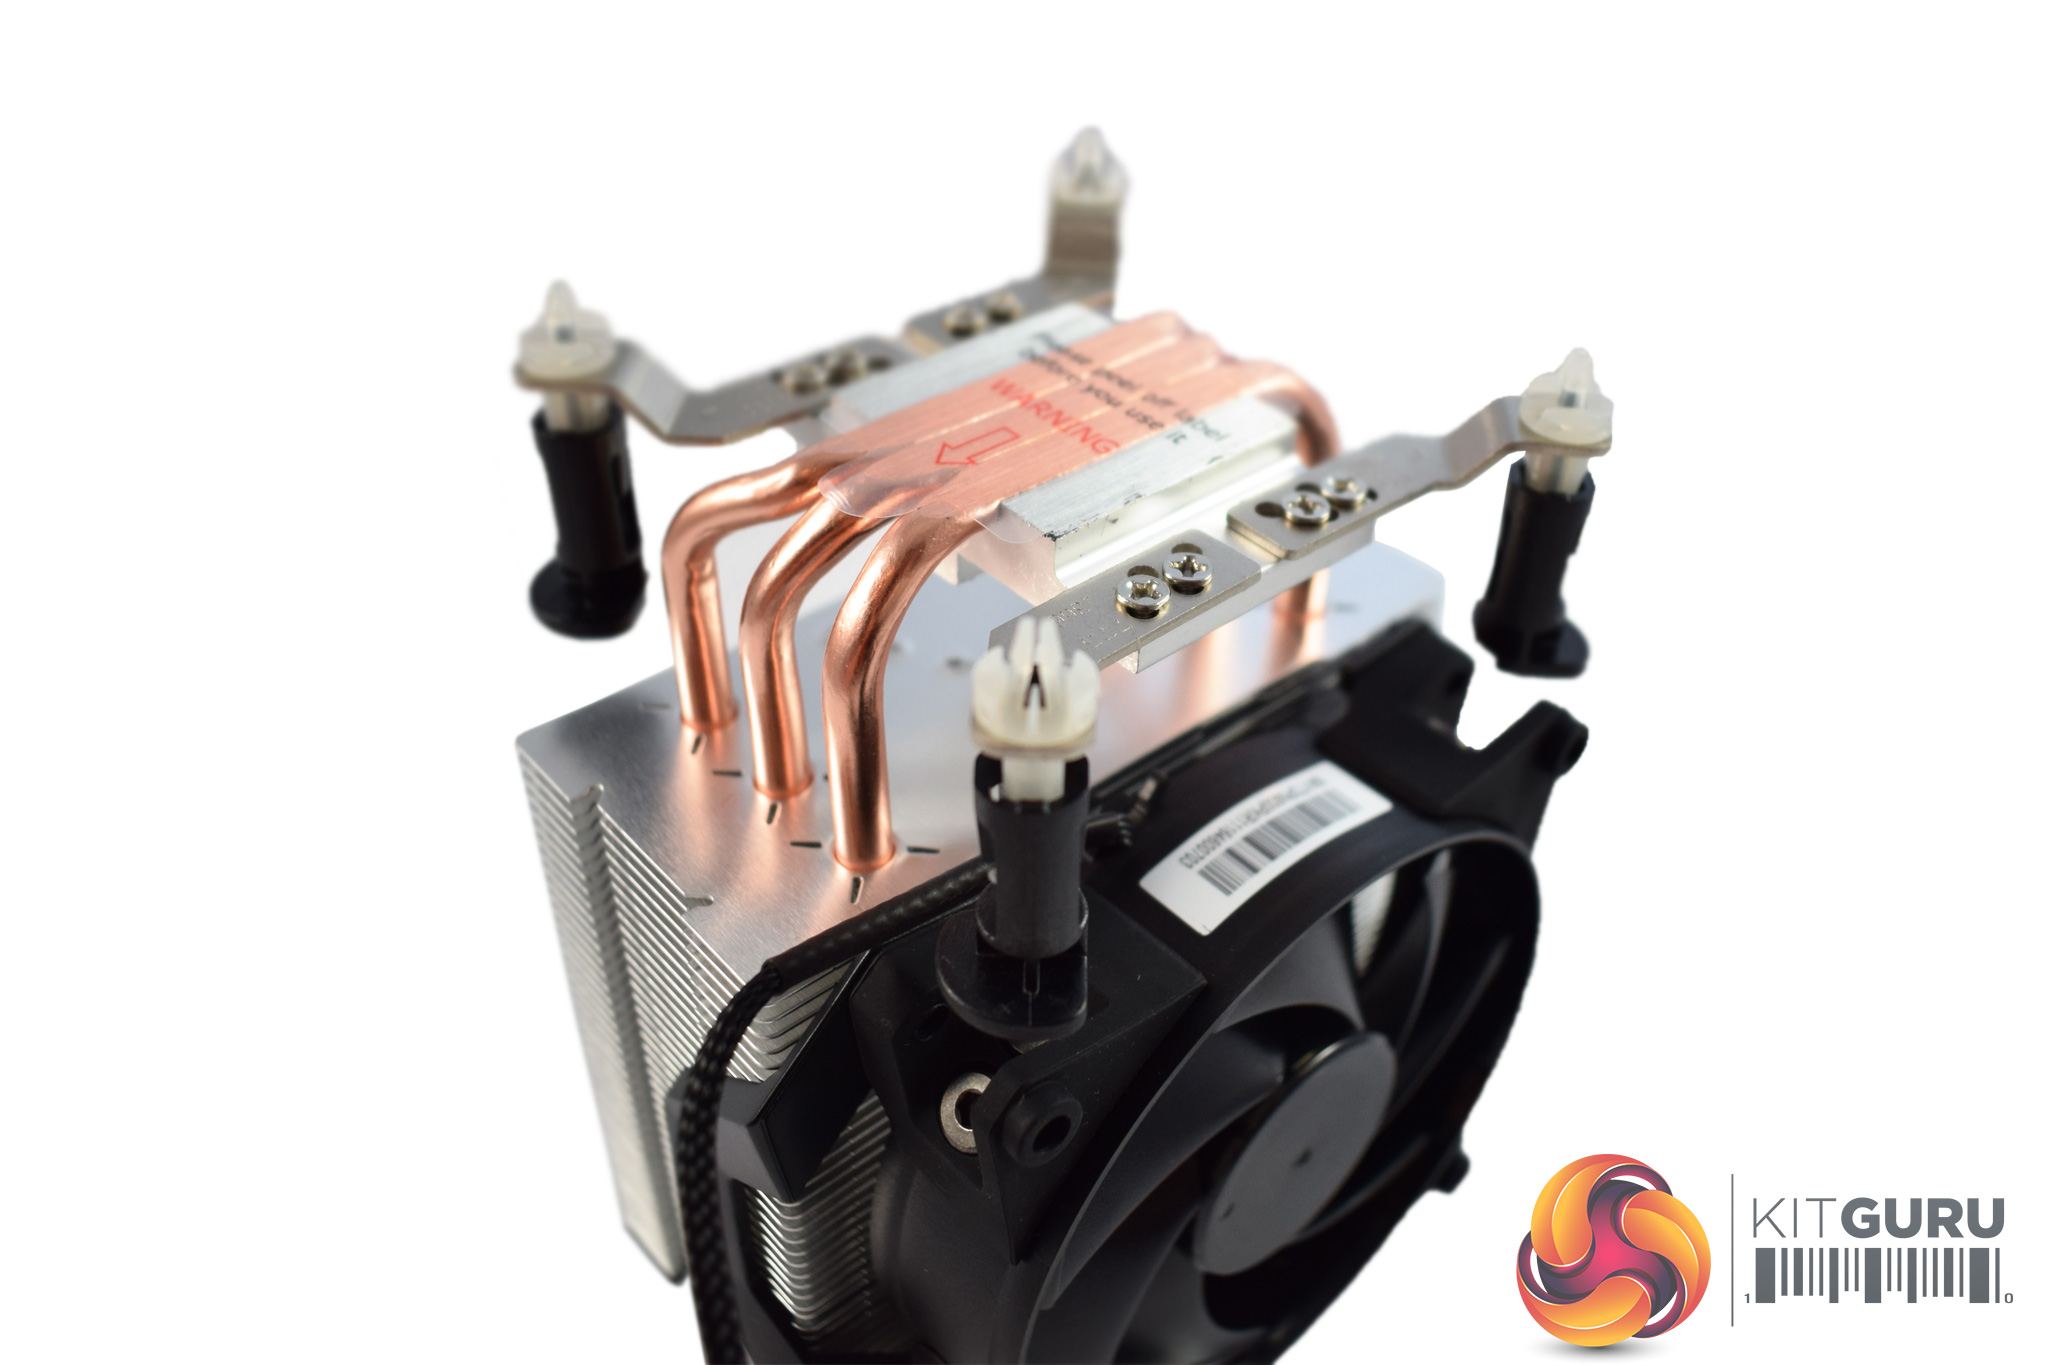
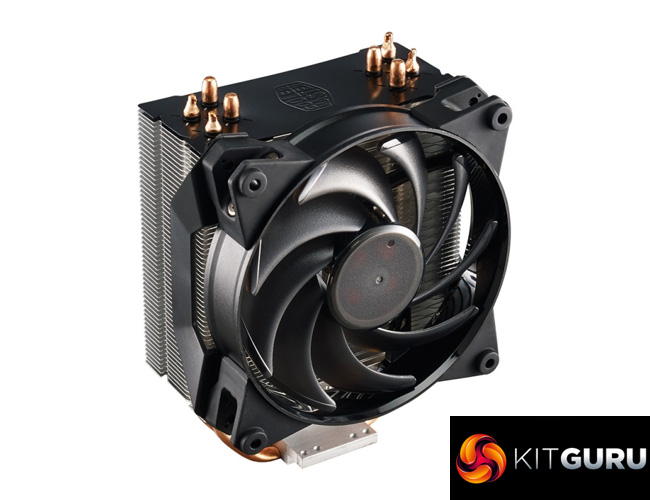
The heatsinks are also similar but differ in one key area: size. The Pro 3 (pictured left) is a much more compact cooler, measuring just 140mm tall. It also uses just 3 copper heatpipes.
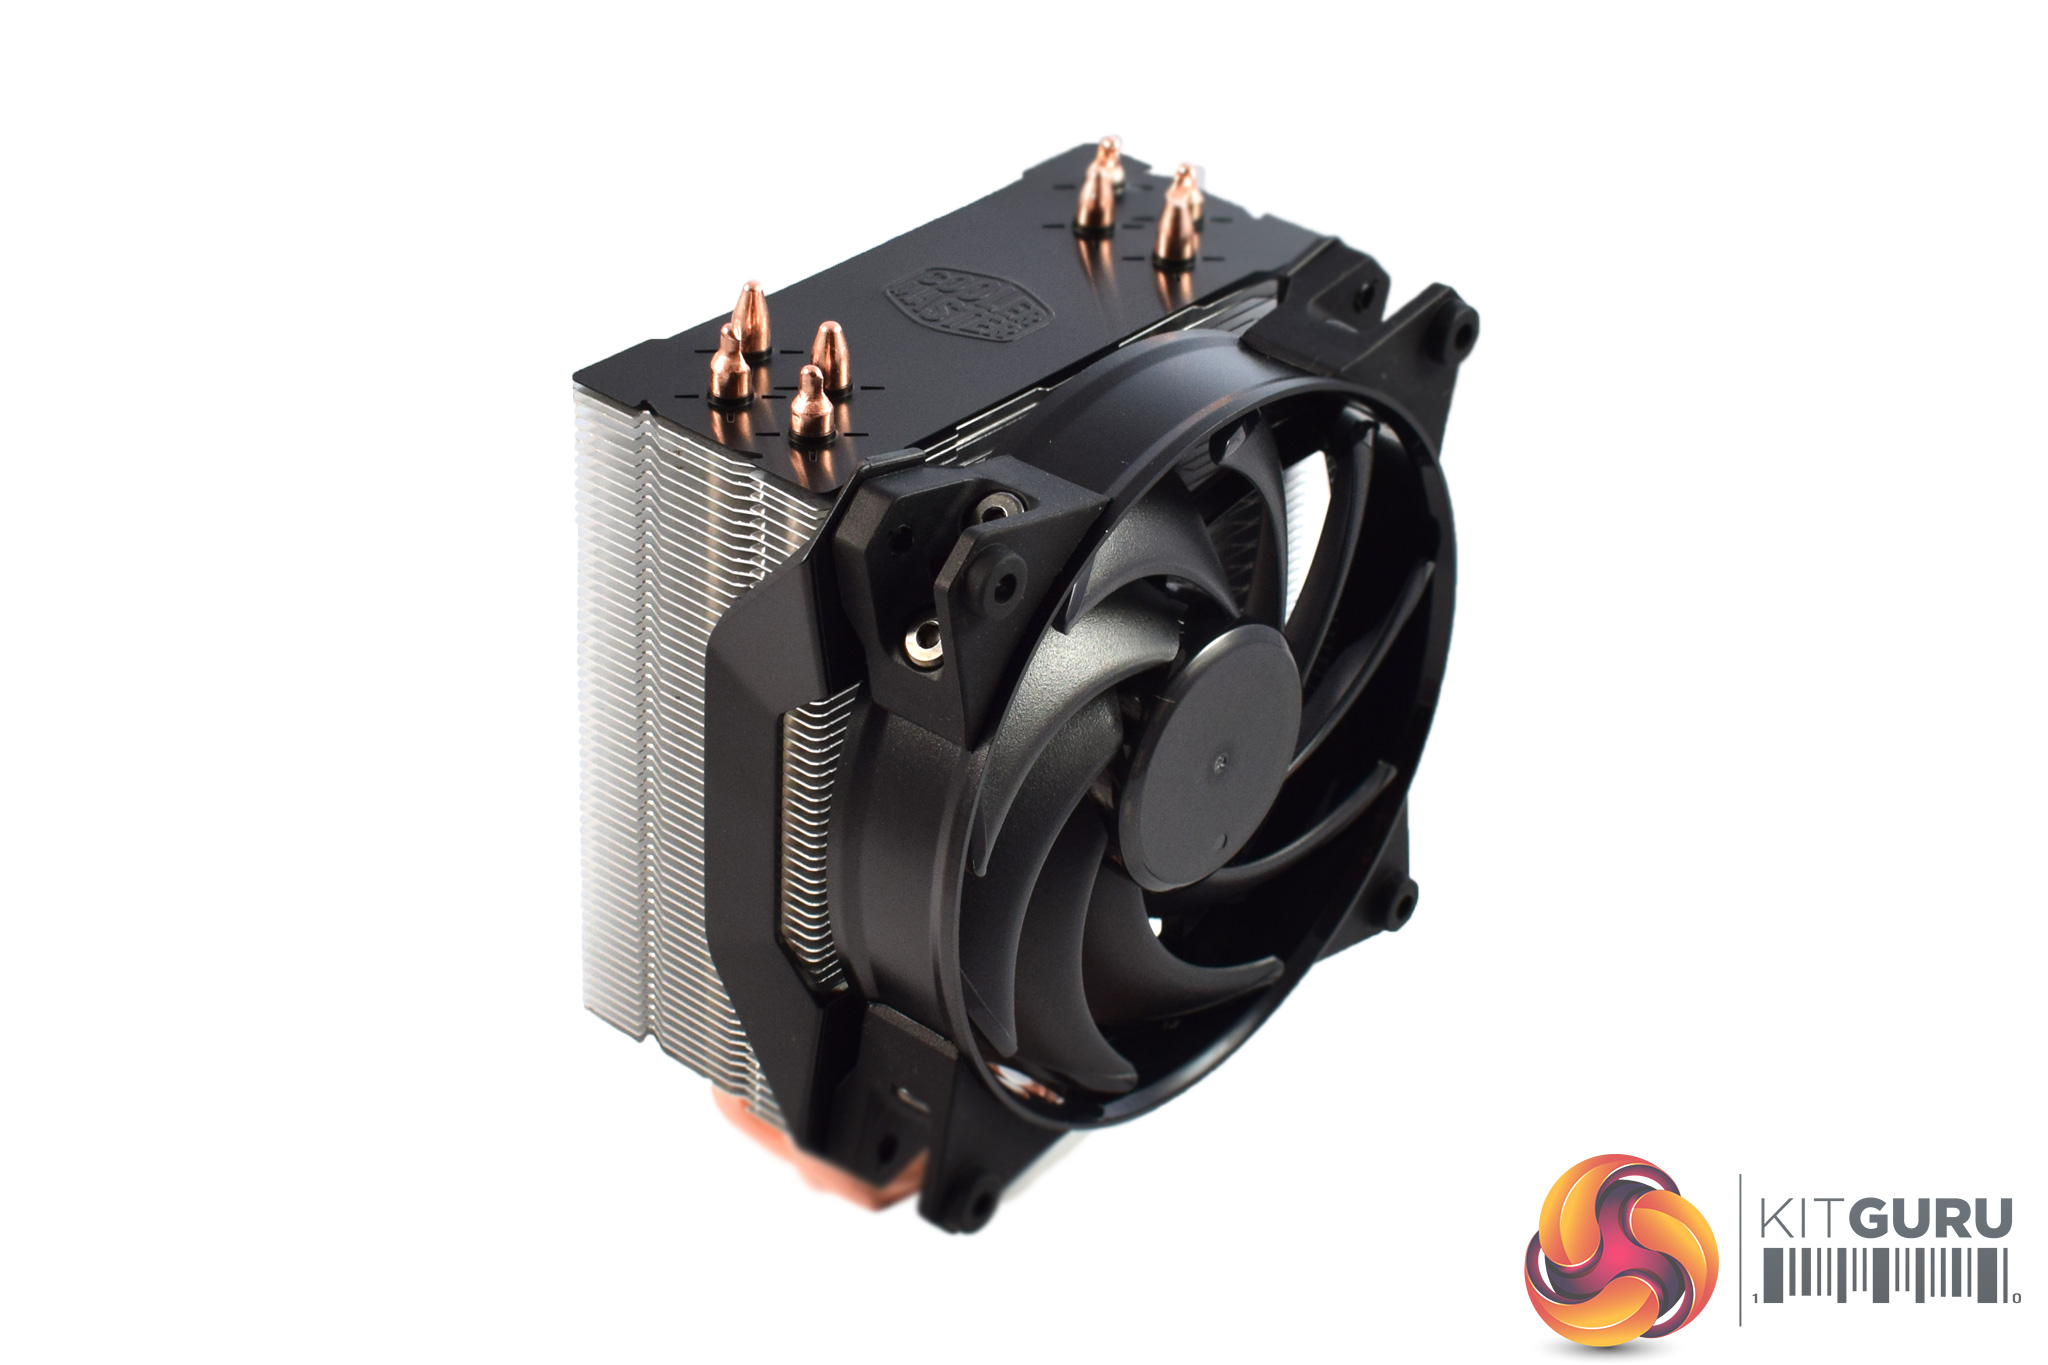
The Pro 4 (pictured right) is a bit bigger, measuring in at 158mm tall, while it also features 4 copper heatpipes.
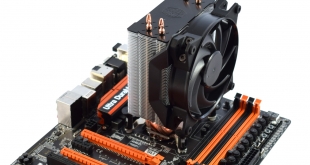
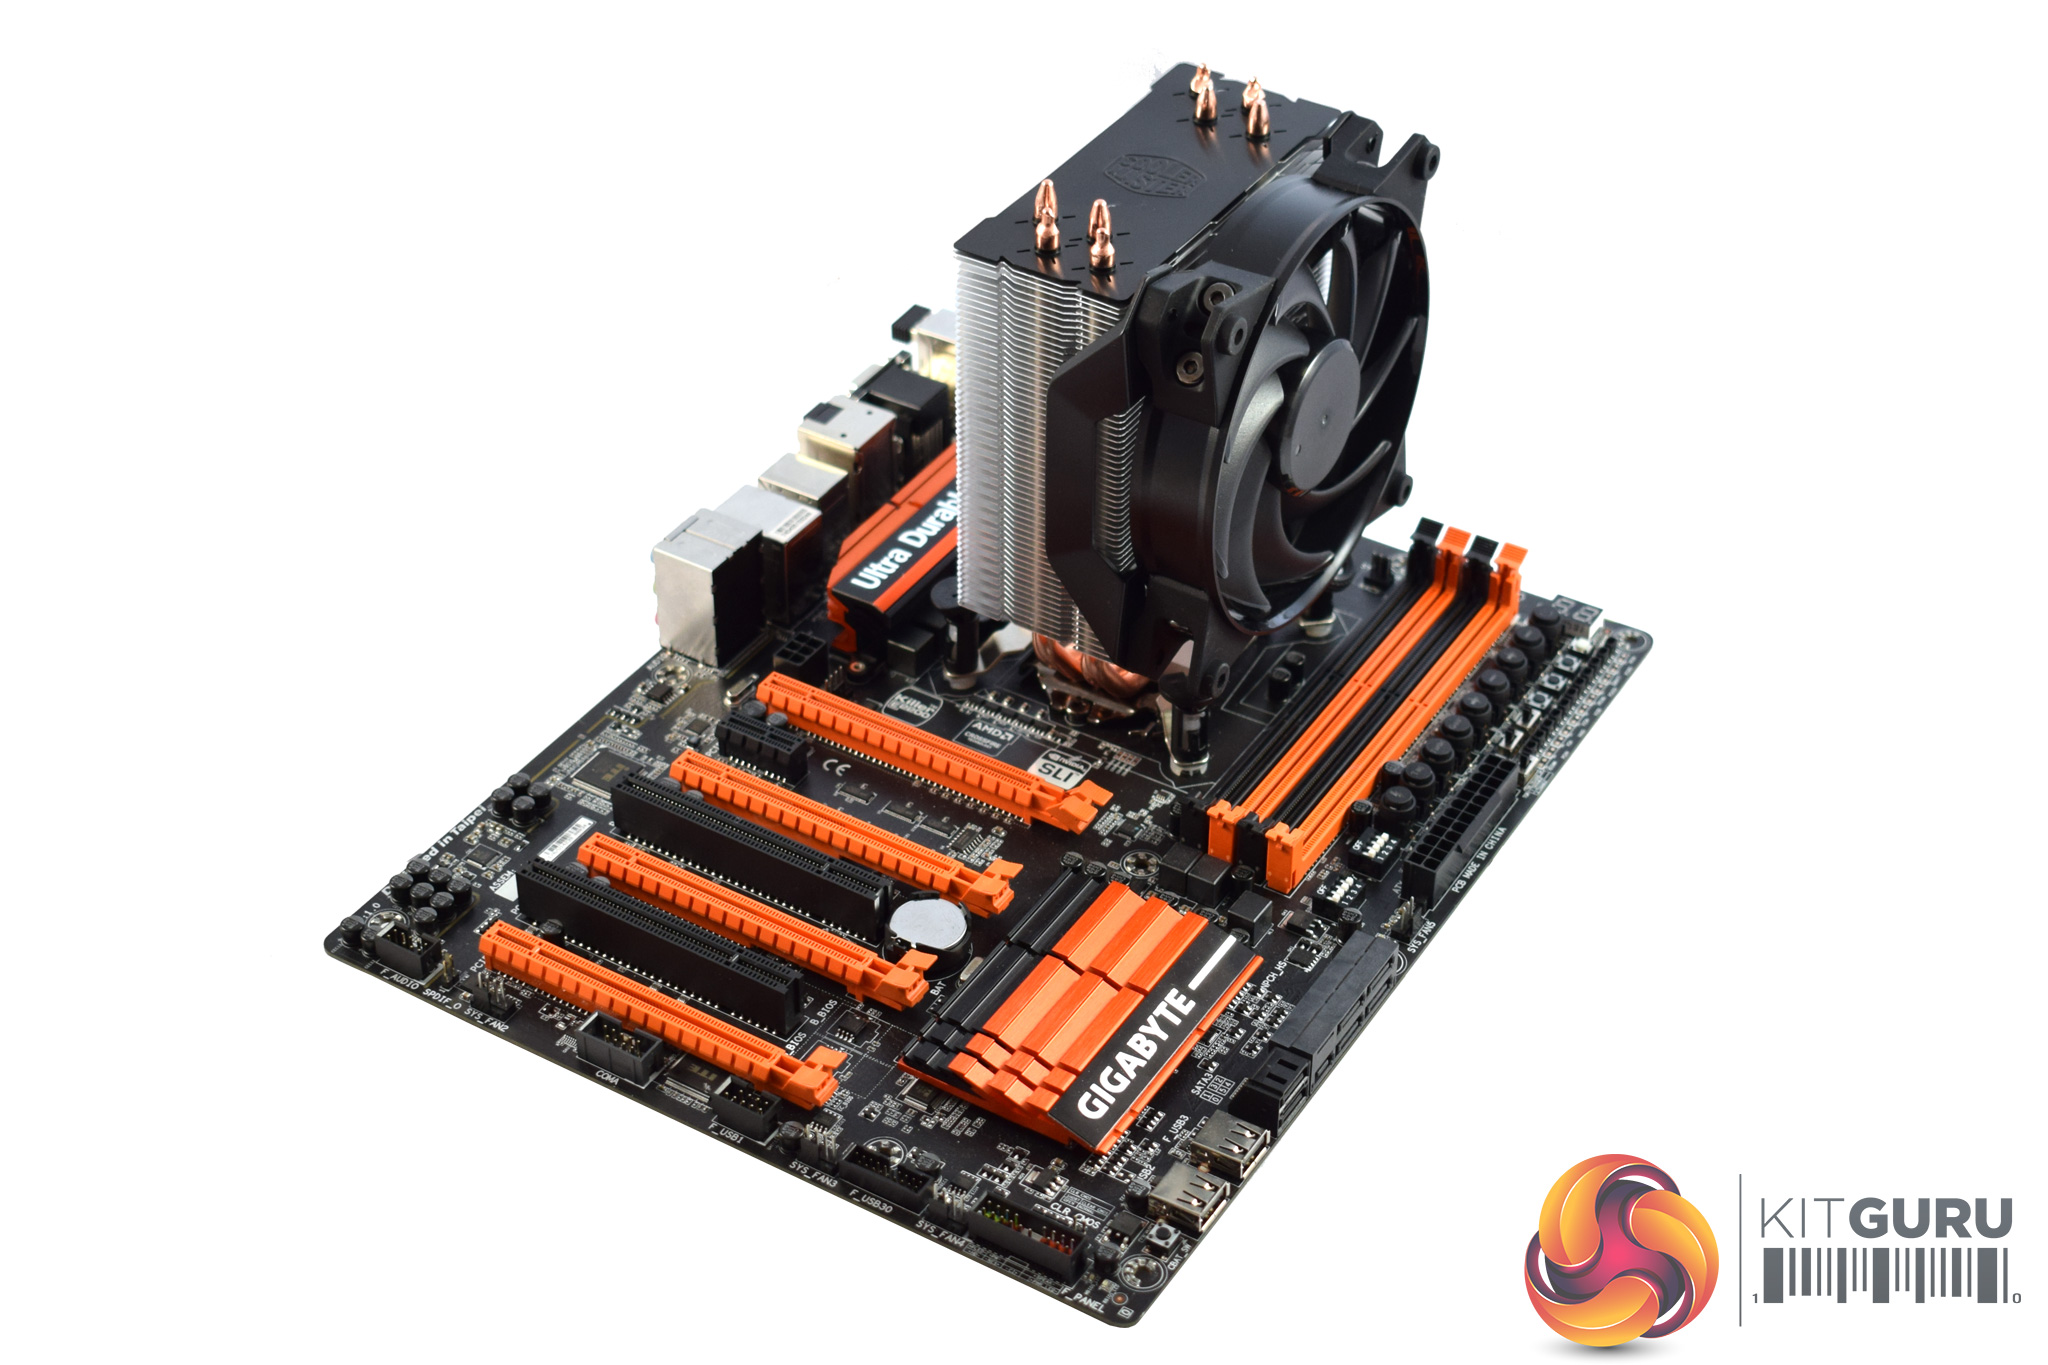
Both coolers feature matte-black heatsink covers, though, which is definitely a more modern feature that the original Hyper 212 EVO lacks. I think it looks great and allows the coolers to ‘blend-in' with a PC a bit better.Here I will walk you through the installation process. It is worth noting we test using a Z97 motherboard – socket LGA 1150. The process below reflects that.
It is also worth pointing out that there are actually two ways of mounting the MasterAir coolers, which is definitely unusual. Cooler Master lets you choose between using the push-pin method (think stock Intel cooler) or using a bracket and studs, like the Hyper 212. I went with the push-pin method just because its so easy and hassle-free.
The first thing to do is screw the push-pin arms to the cooler's base. This is pretty simple and requires 8 screws in total.
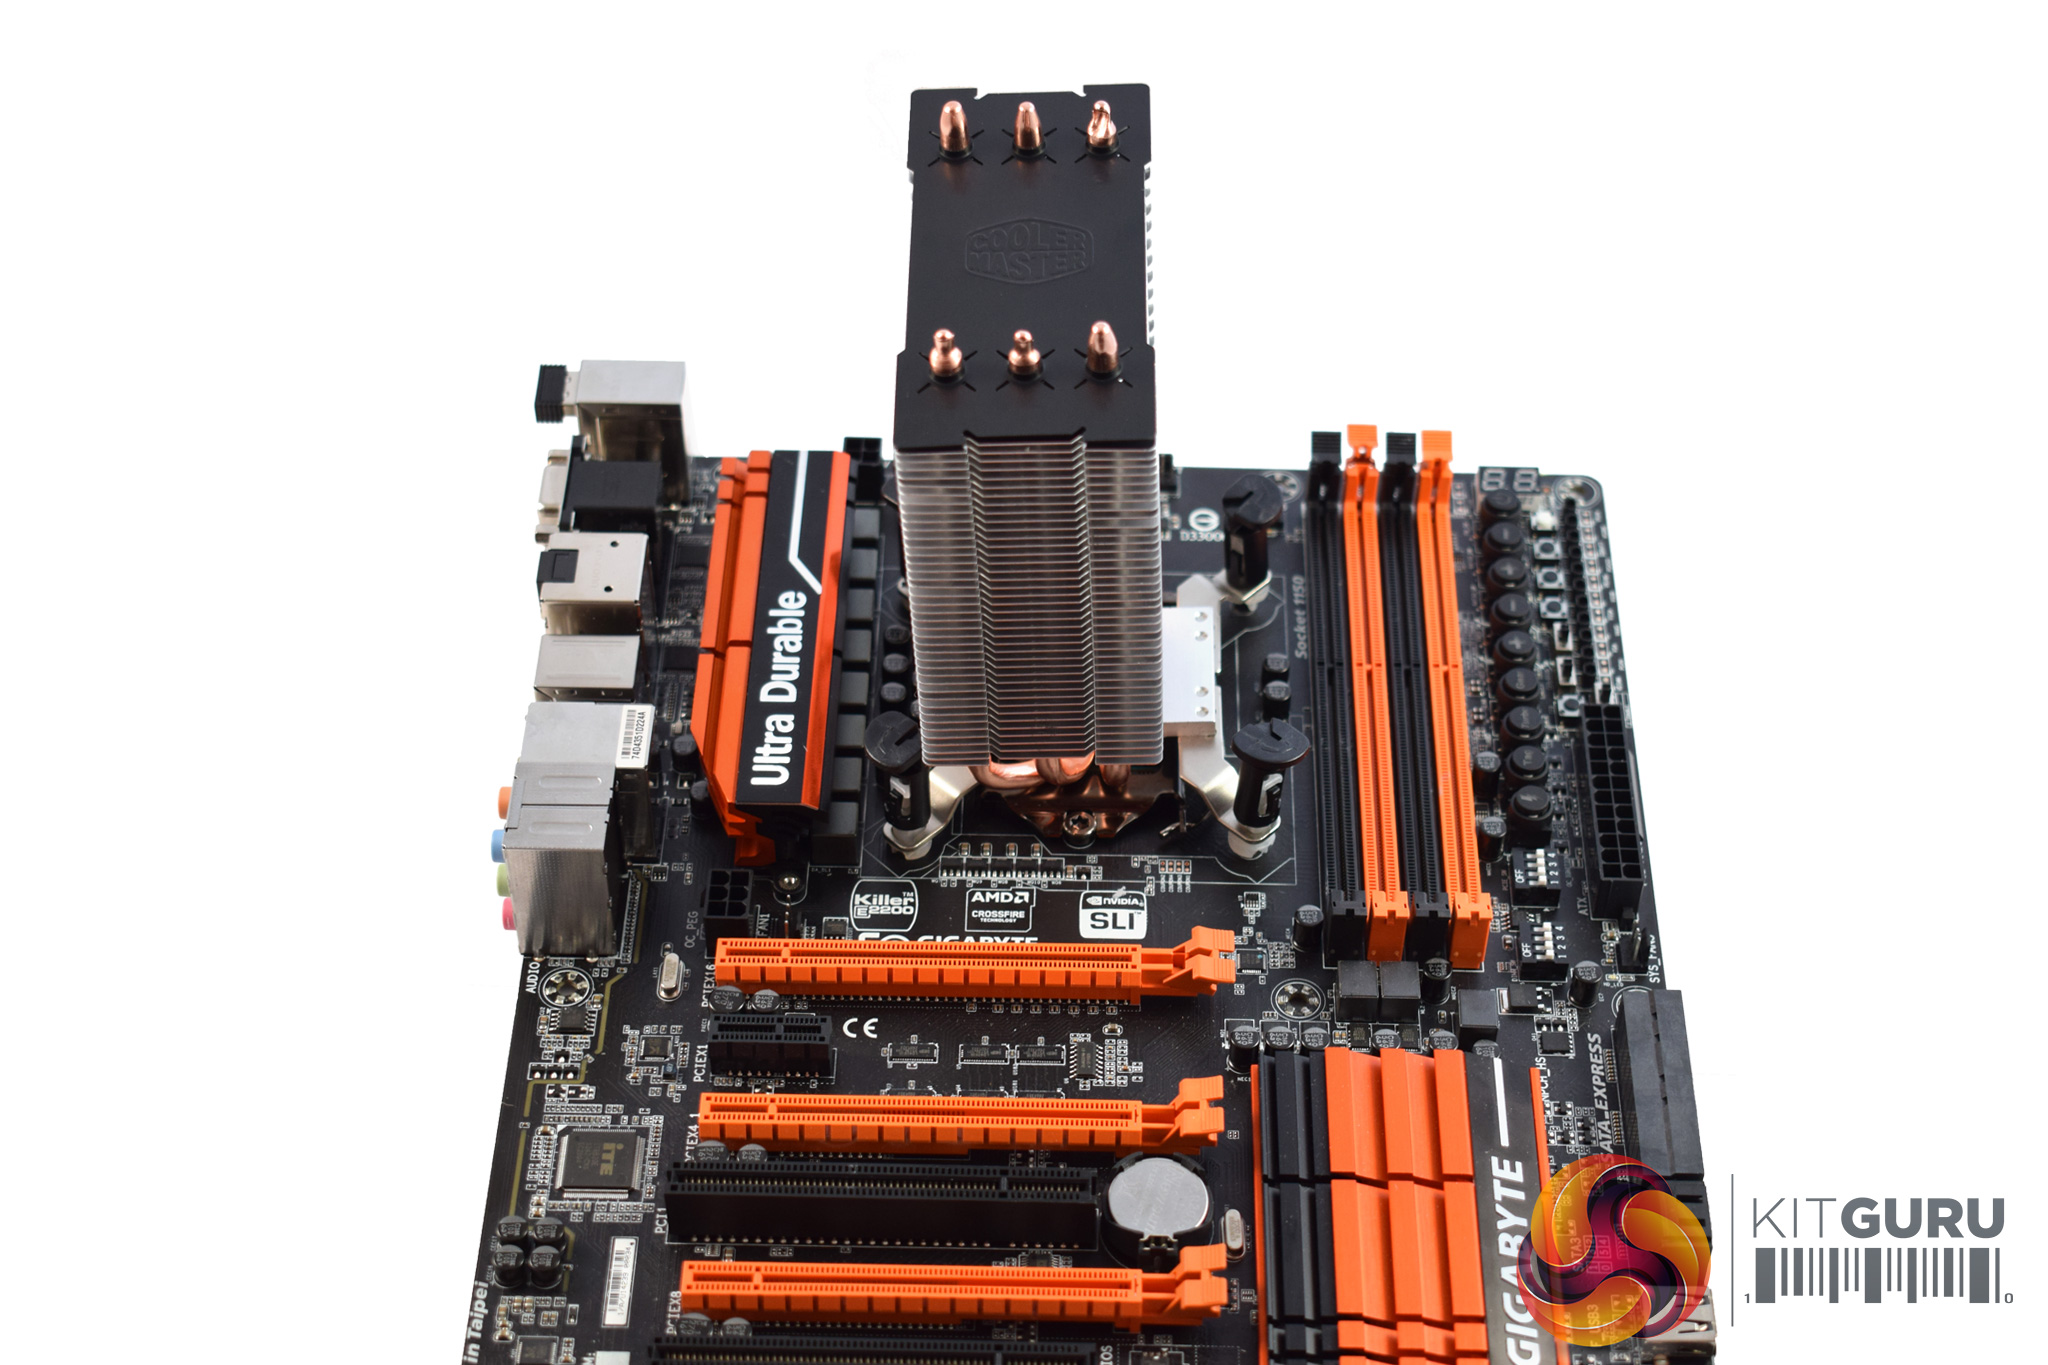
After that, remove the cooler's fan and mount it on-top of the CPU.
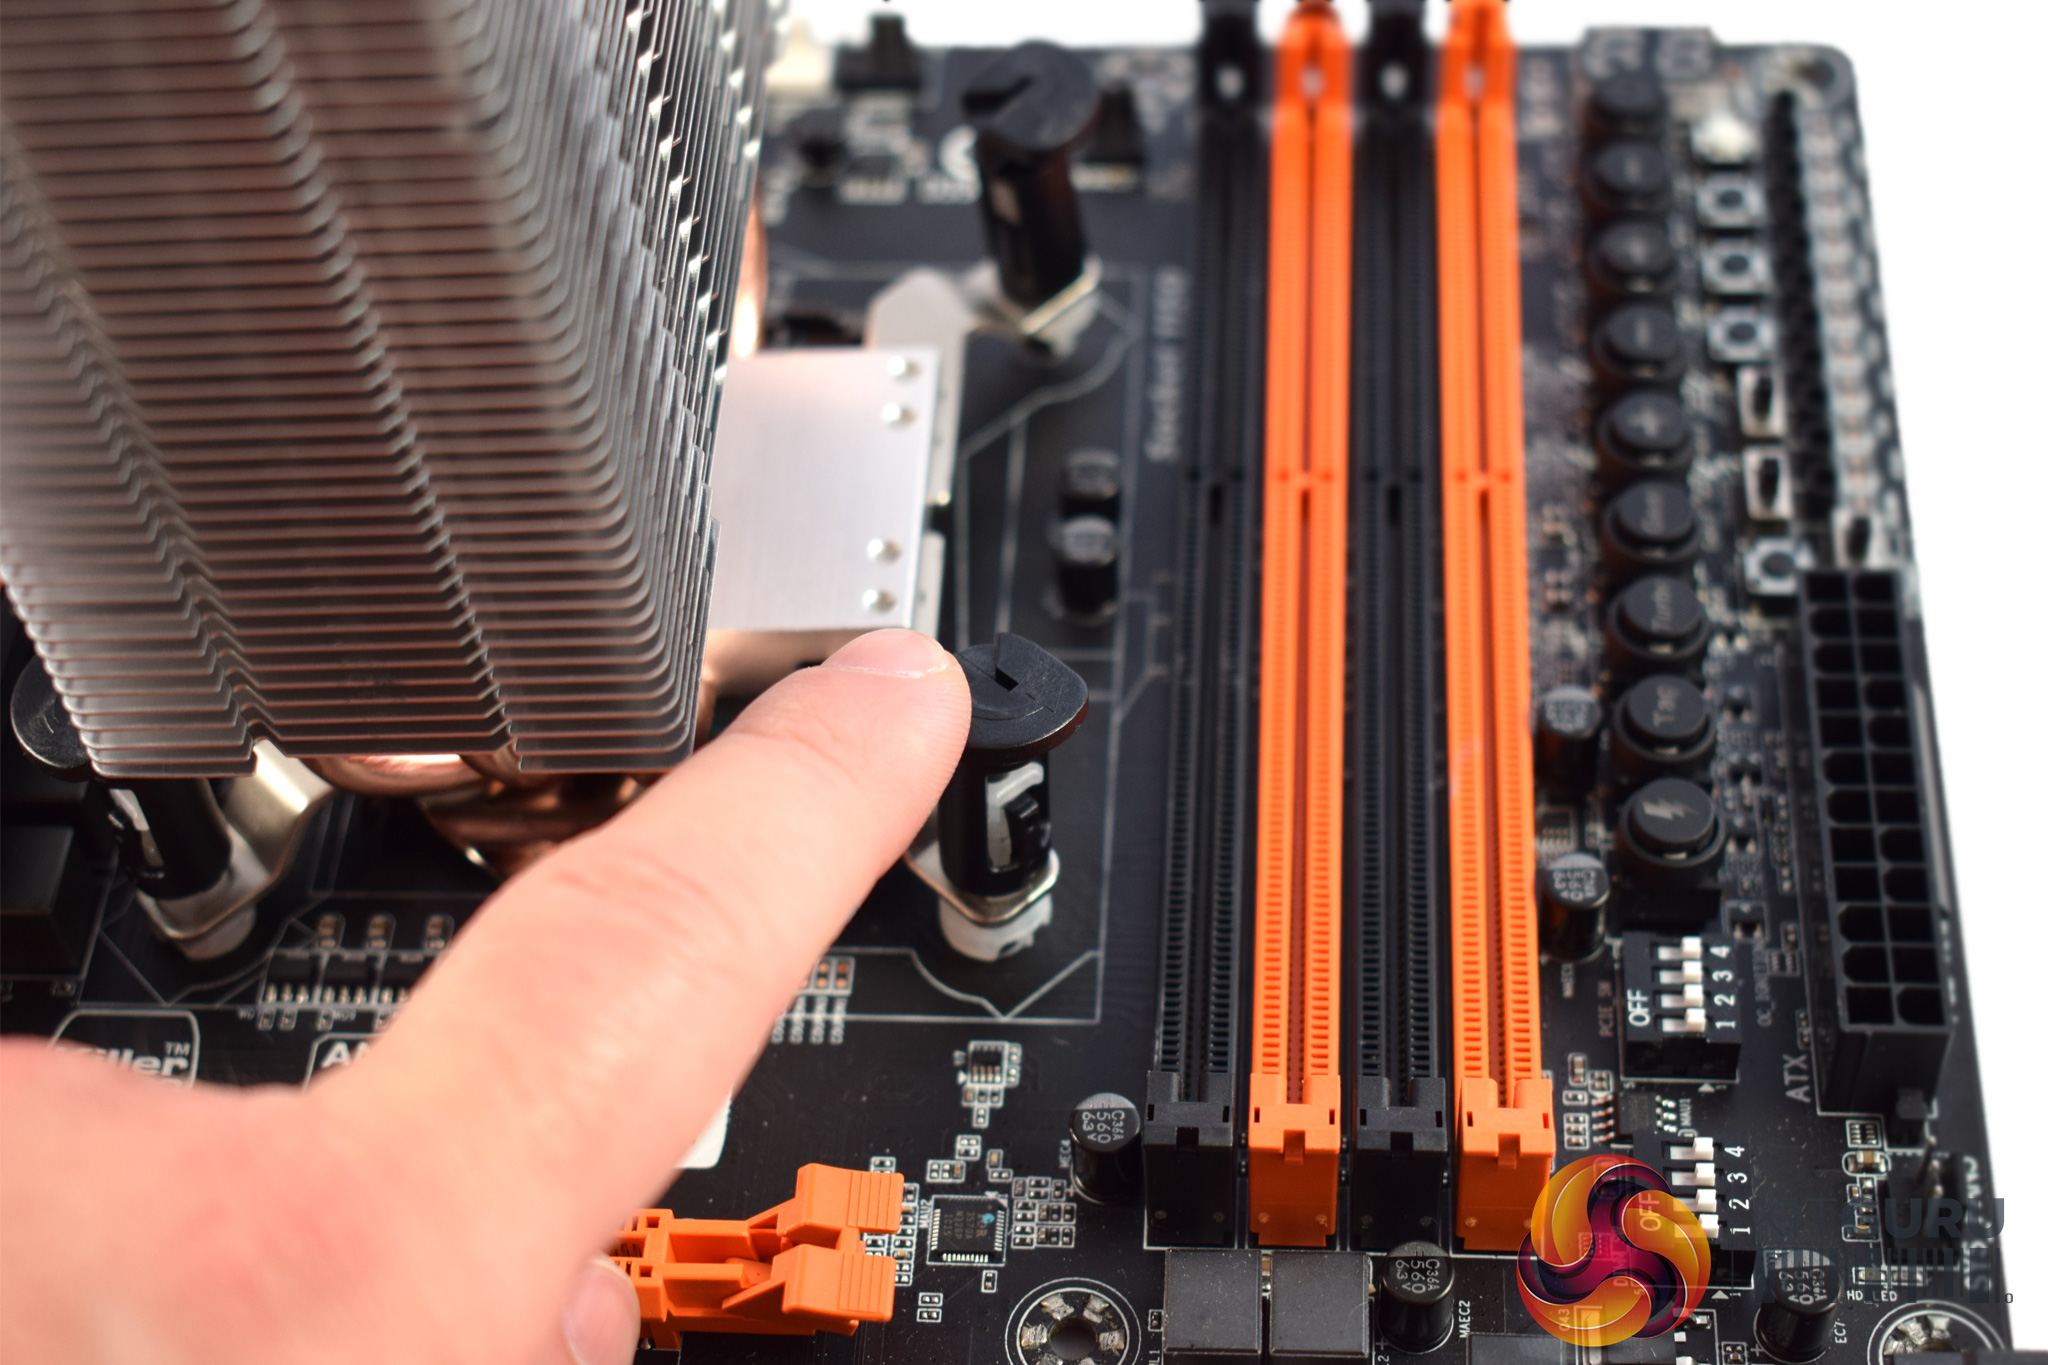
To secure the heatsink, simply push the pins through the motherboard's socket holes.
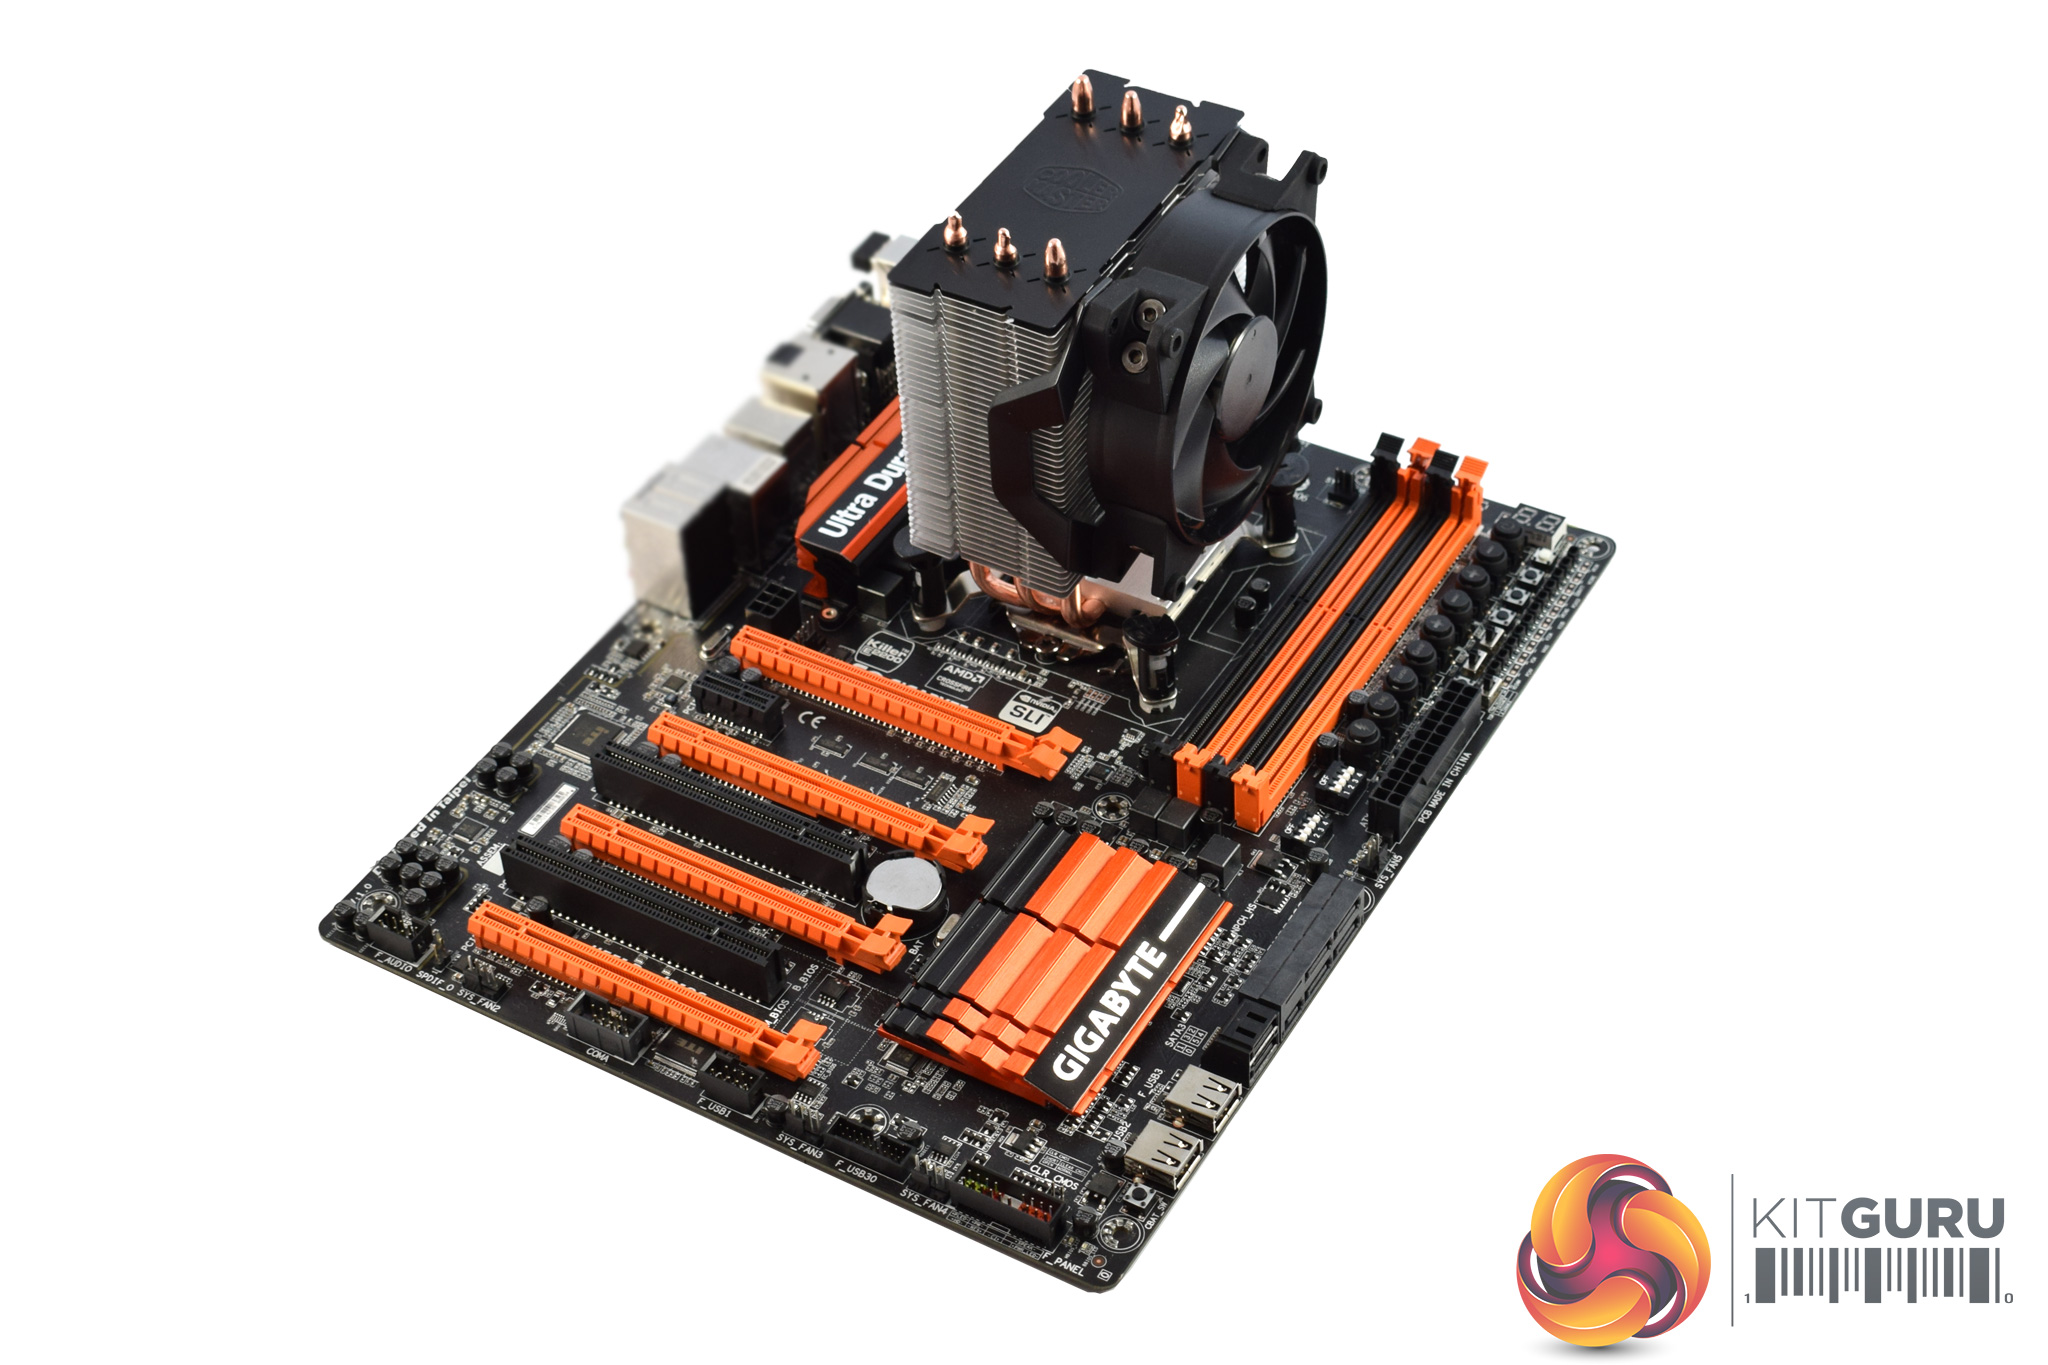
That's it! Re-attach the fan (which is very easy thanks to Cooler Master's fan pre-installed bracket) and installation is complete.
To test all CPU coolers, we devised an easily repeatable test with no variables other than the coolers themselves. This ensures that figures from every cooler we test are comparable with each other.
Test rig
Using an open-air test bench, we deploy an Intel Core i7-4790K plugged into a Gigabyte Z97X-SOC Force motherboard. Alongside this is 16GB of 2400MHz Corsair Vengeance DDR3, as well as a 120GB OCZ Trion 150 SSD. Powering everything is a Corsair RM750x PSU.
The test process
Testing coolers involves taking a total of 4 temperature readings per cooler. First, we measure the idle temperature of the i7-4790K at stock speeds (turbo boost disabled), before measuring its temperature under load at stock speeds. Next, we overclock the CPU to 4.5GHz using a 1.3 Vcore, ensuring greater heat output. In its overclocked state we then measure the idle and load temperatures of the CPU again. The figures we present are temperature deltas – meaning we take each temperature reading and minus the ambient temperature from it. This allows us to test in an environment that is not temperature-controlled.
To ward off potential comments or questions, we know 4.5GHz using a 1.3 Vcore is not the ‘best’ overclock – this particular CPU could reach that frequency at closer to 1.25 on the Vcore, which is more efficient. That is not the point, however. We are trying to stress the coolers to see how they deal with excess heat … hence the higher than necessary Vcore.
Where possible, each cooler’s fans are plugged directly into the motherboard using the CPU_Fan or CPU_Opt headers. Some AIOs, however, ship with their own fan controllers or PWM hubs. If we are unable to plug the fans directly into the motherboard, it is specified in the performance section of the review.
An idle reading comes from leaving Windows on the desktop for 15 minutes. A load reading comes from running Prime95’s (version 26.6) Small FFTs test for 15 minutes – enough time for temperatures to plateau.
Noise output
Unfortunately I am unable to properly measure the sound output of CPU coolers using a digital sound meter. This is because I am based alongside a busy road (with high ambient noise levels). Using a sound meter is, as such, not possible as there are variables out of my control. However, I will try my best to subjectively describe the noise output in a helpful manner.Temperatures
All temperature charts are sorted with lowest load temperatures at the top.
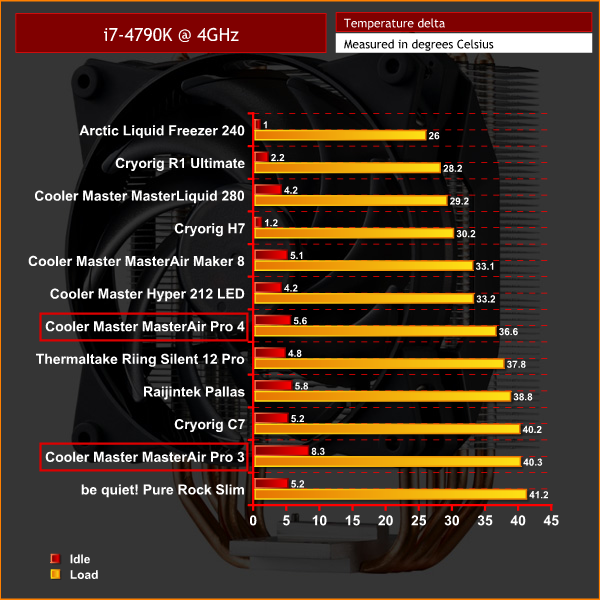
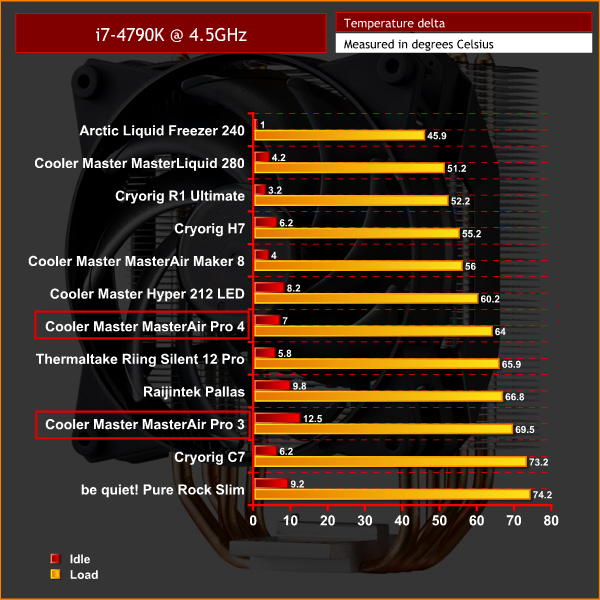
I must confess to being slightly disappointed with the performance of both coolers here. The Hyper 212 LED beats out the Pro 4 by a significant margin, while the Pro 3 is bested by a low-profile cooler in the shape of the Raijintek Pallas.
Considering the price of both these coolers, they do not seem overly competitive in the £30-£40 market segment – the Cryorig H7 remains the best bet here thanks to its incredible price-to-performance ratio.
Acoustics
Acoustically, both are fine. The Pro 4 benefits from its bigger, 120mm fan, as the Pro 3's 92mm spinner can get a little whiny at high RPMs. Both are audible when idling, but the noise is far from intrusive. With the CPU at 100% load, the Pro 3 is noticeable and slightly whiny as I said, but it is not overly annoying. The Pro 4, however, is little more than gentle hum.The MasterAir Pro 3 and MasterAir Pro 4 are two new coolers from Cooler Master, creators of the legendary Hyper 212 EVO.
Both are very similar, though the Pro 3 is a bit smaller and uses a 92mmm fan, while the Pro 4 is obviously bigger and makes use of a 120mm fan.
Installation is interesting as you can choose between the classic push-pin method, or go for the ‘Hyper 212' method using some studs and an x-shaped bracket. I went for the push-pin method and was up and running in minutes.
Unfortunately, though, neither cooler is overly competitive in this £30-£40 market segment. Our testing demonstrated that while both cool fine, there are some better options out there. For example, the Cryorig H7 is cheaper than the Pro 4 (and a mere £3-4 more expensive than the Pro 3) yet outperforms both by significant margins.
Acoustically, neither are mind-bogglingly quiet but the Pro 4 has the advantage thanks to its 120mm fan, while I did think the Pro 3's 92mm fan got a bit whiny. Neither are ‘loud' but both are audible.
All-in-all, the MasterAir Pro 3 and MasterAir Pro 4 coolers are easy to install and you can even choose which installation method you prefer. However, they could really do with a £10-£15 price cut to be make them more competitive, as at the moment, the Cryorig H7 looks a much better bet.
![]()
You can buy both coolers from Overclockers UK. The Pro 3 is available for £33.95 inc. VAT HERE, while the Pro 4 costs £41.99 inc. VAT HERE.
Discuss on our Facebook page, over HERE.
Pros
- Easy to install.
- Choice of installation methods.
- Black heatsink cover is a nice addition.
Cons
- Neither cooler is hugely competitive in-terms of thermal performance.
- Cryorig H7 out-performs both and is cheaper than the Pro 4.
KitGuru says: While both coolers look good and offer easy installation, the Cryorig H7 is definitely the king of this market segment.

Making money online through the internet is as super easy (or as stressful) quite as earning money off-line. However a wide range of Making money over the internet leaders promise to have a secret system to generate immediate dollars, the the reality is, it does not use any approach you may become wealthy person next day by just clicking a key or even acquiring some course. Earning profits via the internet takes hard work and regularity. If you happen to be ready to input enough time and strength in it, there are millions of ways to creating high money using the net.I am earning $10000 or just way more each and every month through this work.Here is the shortcut to generate money while the rest are longer term home money making ideas >>>>> DELICIOUSURL.COM//2s
not at all impressed by anything cooler master has released under the “new” branding of Master/Maker branding as they are either all overpriced to vastly over priced for the product delivered or just essentially “rebranding” via a few subtle design changes from what they had released years prior so they can charge more for a “premium model” type thing, often with the “old” legacy products performing better being of higher quality etc with a lower price point.(have never been fond of the steel mesh face for their cases, it looks nice and all, but is a potato to keep looking good)
The thermal paste/grease they have being MasterGel, MasterGel Pro, MasterGel Maker as well as ice fusion, Extreme Fusion X1, IC Essential E1/E2, Thermal Fusion 400 are all ok to very awesome performance for the price, wish thermal paste makers would have more included in each applicator 🙁
Need a TX3/103 there for comparison.
Much cheaper-been my go to for years………………..
Google is paying 97$ per hour! Work for few hours and have longer with friends & family! !mj223d:
On tuesday I got a great new Land Rover Range Rover from having earned $8752 this last four weeks.. Its the most-financialy rewarding I’ve had.. It sounds unbelievable but you wont forgive yourself if you don’t check it
!mj223d:
➽➽
➽➽;➽➽ http://GoogleFinancialJobsCash223ShopPlusGetPay$97Hour… ★★✫★★✫★★✫★★✫★★✫★★✫★★✫★★✫★★✫★★✫★★✫★★✫★★✫★★✫★★✫★★✫★★✫★★:::::!mj223d:….,……..
Have you any time cashed in plenty of cash without reselling a thing as well as left out achieving any of the multilevel marketing kind of job and not have to invest anything at all. Allow me to tell you a job in which all of the resources is going to be alloted to you and also it truly is quite a simple in addition to easy work. No need to startup your personal domains and stuff like that., all is definitely delivered to you free. Folks definitely will visit the landing page therefore you are able to get paid for that. Its as easy as that. I am getting plenty of cash from a home office from this project really like $20000 each and every month and sometimes more if you too genuinely wish to make money like that so therefore follow all these not difficult directions by going to this page >>>>> GOCHIURL.COM/15d9f
Did you test them with the push-pin or with the backplate method? Because AFAIK the push pin method makes a worse contact because of the lower mounting force