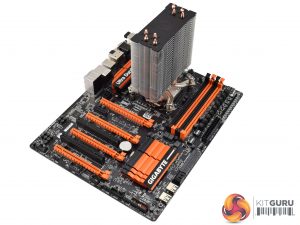
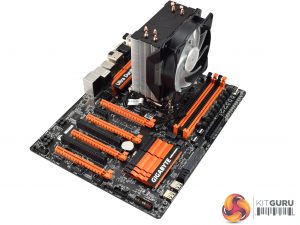
Here I will walk you through the installation process. It is worth noting we test using a Z97 motherboard – socket LGA 1150. The process below reflects that.
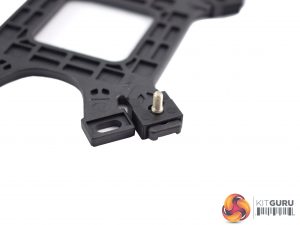
First of all, prepare the backplate by slotting four small screws through each mounting hole. These screws are then held in-place by four small clips.
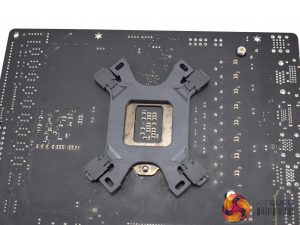
The backplate can then be placed behind the motherboard socket area, with the screws going through the four holes (as above).
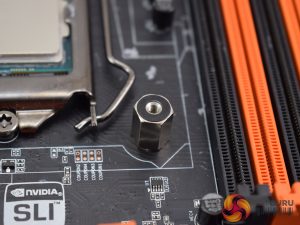
Place four nuts over each screw – this secures the backplate to the motherboard, and the cooler will mount to these nuts.
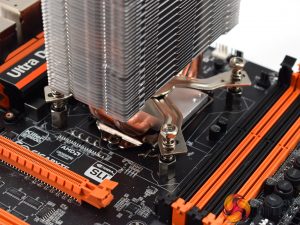
Removing the MA410P's fan, you can then slide the x-shaped mounting bracket through the space above the mounting area. Once you have got it into place, you can pull the bracket out so it aligns with the four nuts.
After that, you just need to screw the bracket into the nuts and re-attach the Air Balance fan – job done.
Installation on the whole is thus very easy and I can't complain at all.
Touching on the RGB lighting, users can either plug the fan's 4-pin header into a compatible motherboard, or use Cooler Master's included controller.
The integrated controller isn't the best, but it does give you options for up to 7 colours, while you can choose between 6 different colour modes. The colours themselves look great, and for the price we can't complain too much.
 KitGuru KitGuru.net – Tech News | Hardware News | Hardware Reviews | IOS | Mobile | Gaming | Graphics Cards


