

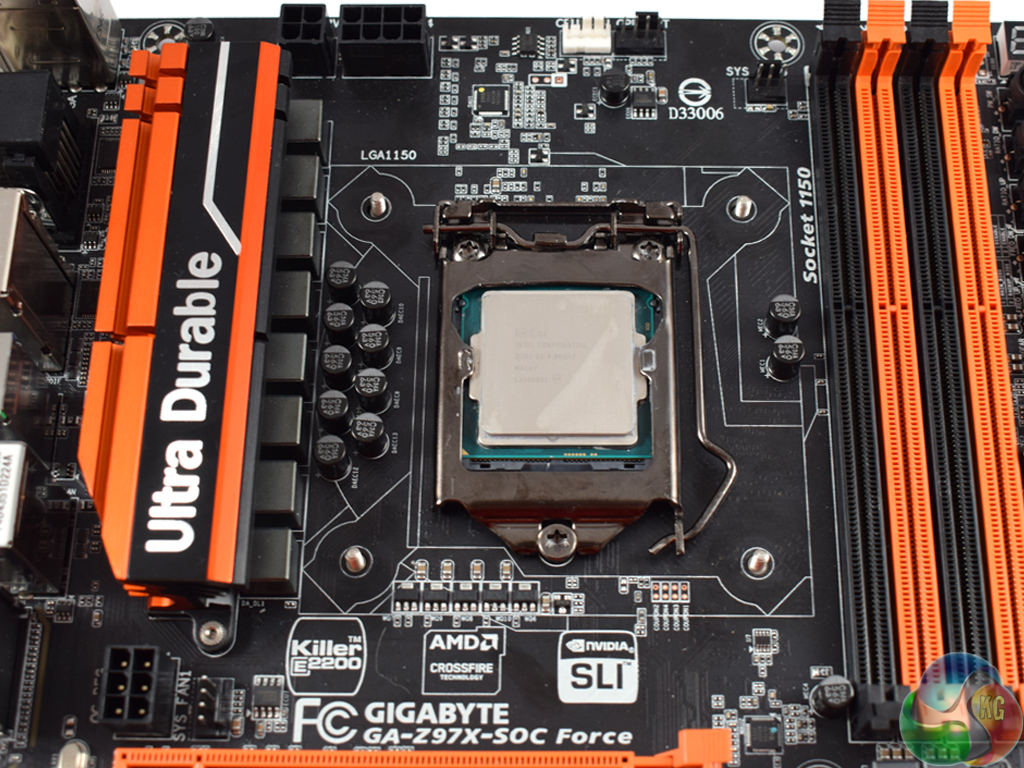
As a disclaimer, we installed the 212 LED on a motherboard using the LGA 1150 socket. The process below reflects that.
The whole mounting mechanism has been revamped too, which should make the installation process nice and easy. I remember building my first PC a few years back – I used the Hyper 212 EVO, and although it performed excellently for me, it was a nightmare to install for a first-timer.
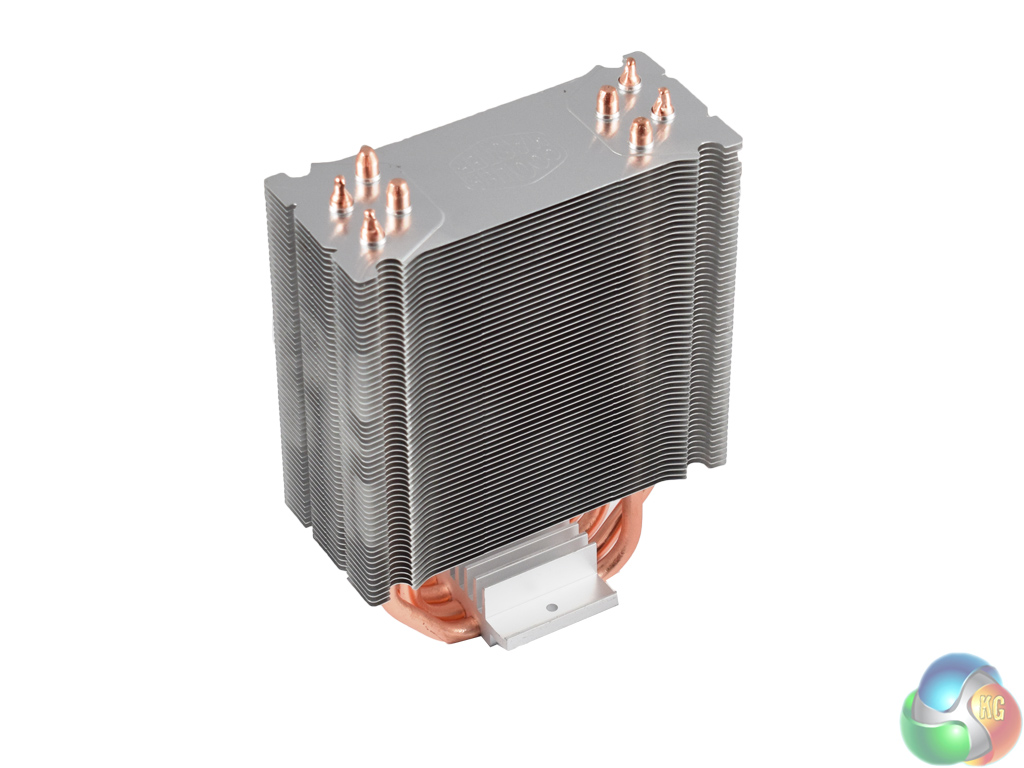
First things first, you need to just pop off the fan from the heatsink. The fan is clipped in place – so just pry the clips from one edge free, and it should come loose.
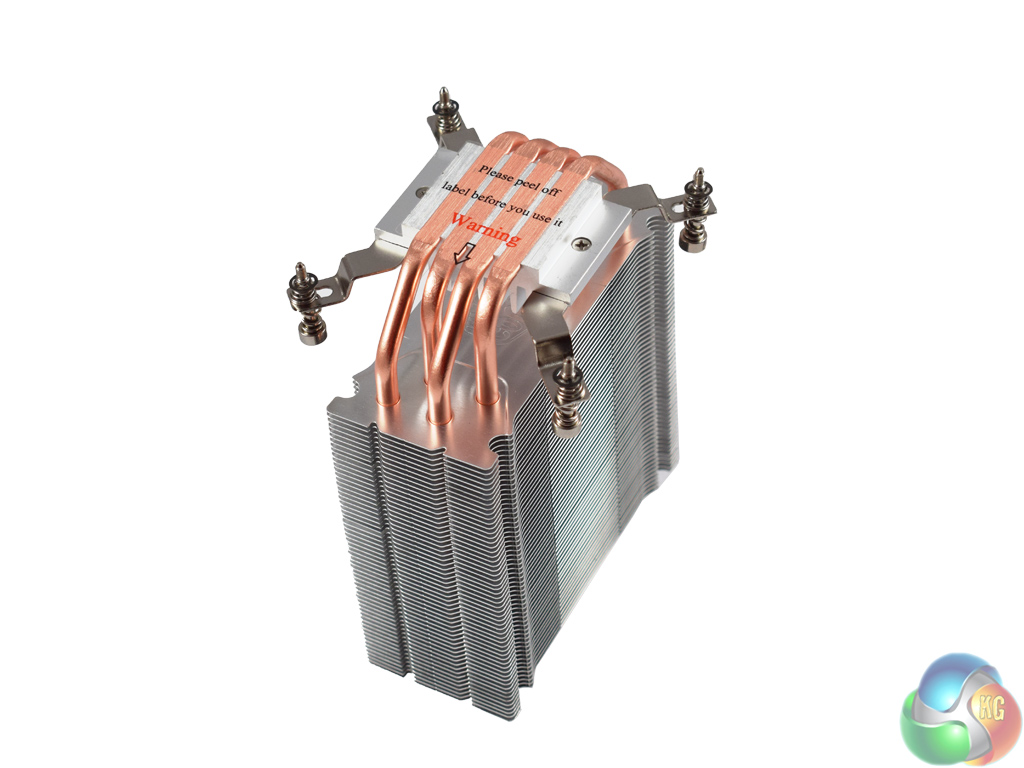
In the next step we see one change from the original 212 EVO – gone is the x-shaped mounting bracket that caused me such grief, and it has been replaced by two separate mounting arms. These just need to be screwed to the base of the heatsink, as pictured.
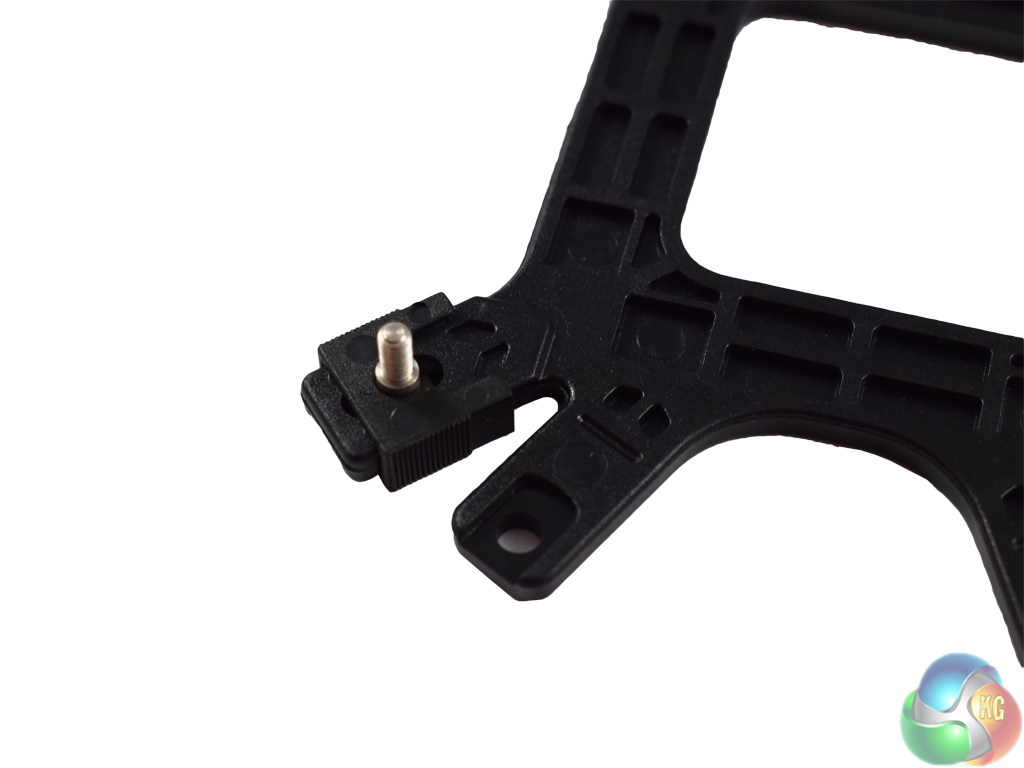
As we are using a Z97 motherboard – LGA 1150 socket – we need to use a backplate. Before installing it, make sure the backplate screws are in the central position – it can be aligned in 3 places depending on the motherboard socket, and we want it to be in the middle. Just slide it up or down as need be.
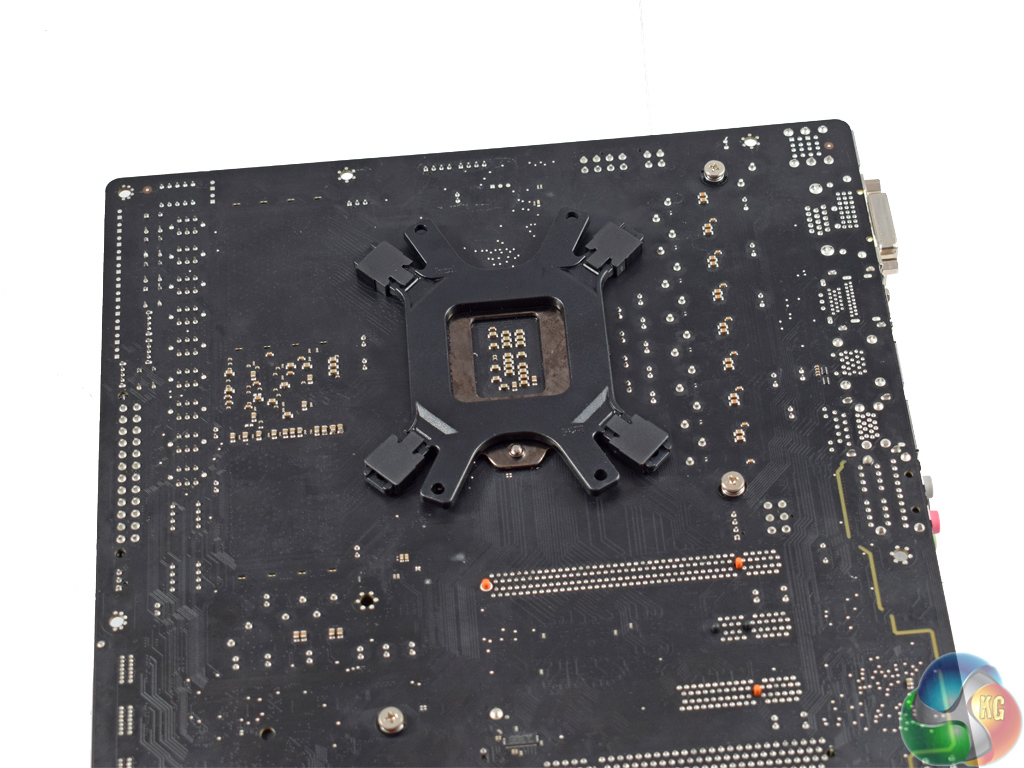
Next, go ahead and put the backplate in place. Flipping over the motherboard, pinch one of the screws coming through from the backplate – this will stop the backplate from falling out of position as you turn the motherboard over.
After that, you want to install the four nuts to the backplate screws. To do this, Cooler Master include a little screwdriver adapter (as above) for easy installation of the nuts.
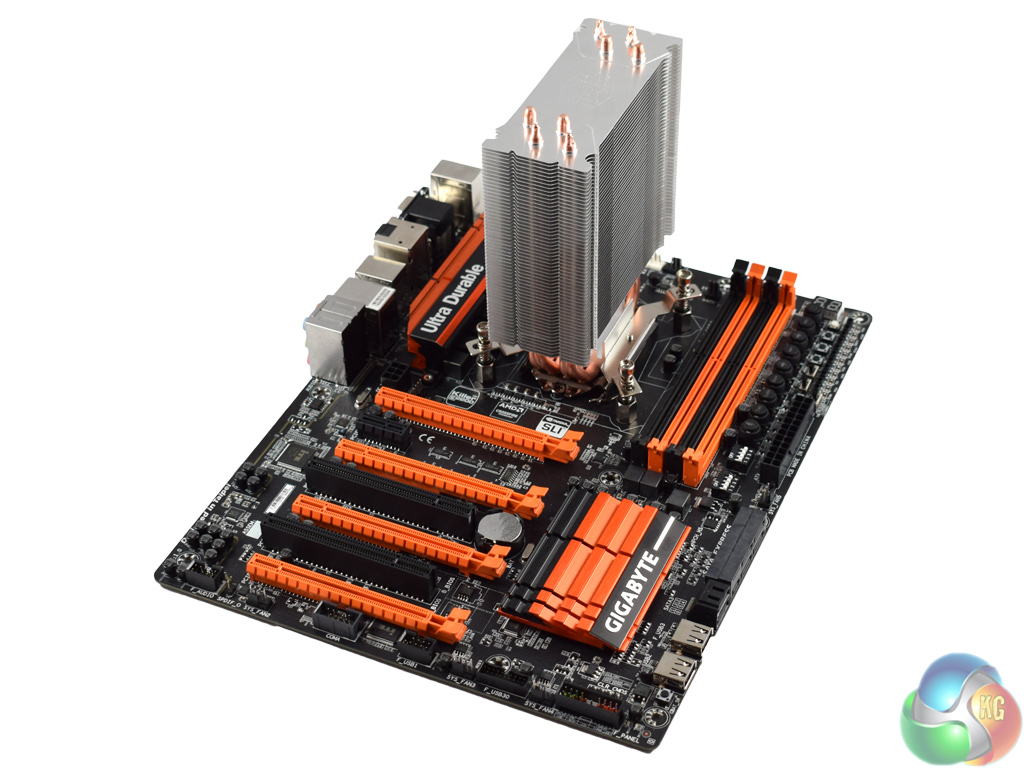
After that, go ahead and mount the cooler. The screws from the mounting arms should align with the nuts we just installed. If they don't, make sure the installation screws on the cooler are also in the middle position. Once they are in place, secure the cooler by tightening down the four screws.
After that, all there is left to do is re-attach the fan – it just clips in to place.
All-in-all, the Hyper 212 LED is very pain free to install. It is certainly an improved method when compared to the 212 EVO, so progress has definitely been made.

Shame you didn’t have the chance to compare the new 212 with the older model and see how it they performed against one another
funny how its not compatable with am4 boards as thats only around the corner
You can bet the farm,that once am4 becomes available-there will eventually be a 212 to fit.
212 probably best selling cooler ever is not going to miss out on am4 market………………….
i have one in my machine at the moment
Hello there. How does it compare noise wise to the i32?
How does it perform relative to it’s bro, the 212 Evo? I read somewhere that this performs worse than the Evo because of the direct contact pipes being 5mm apart? Is it true? How do I go around this.