Here I will walk you through the installation process. It is worth noting we test using a Z97 motherboard – socket LGA 1150. The process below reflects that.
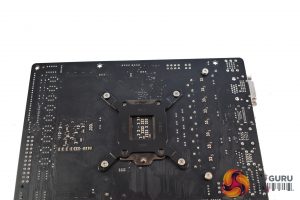
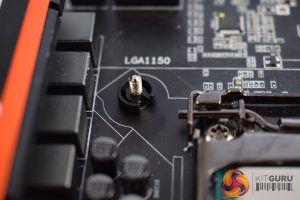
The first thing to do is attach the backplate. Place it over the motherboard socket holes and push the four longer screws through the holes.
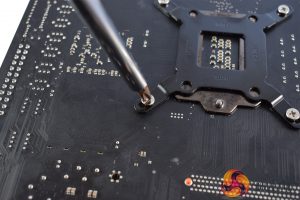
Next, flipping the motherboard over, you should see the four screws poking through. To keep those screws in-place, attach a small black clip to each screw (as pictured).
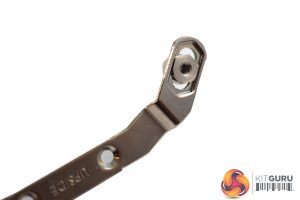
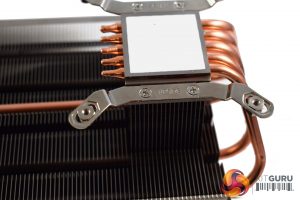
With that done, we can our turn our attention to the cooler's mounting arms. Here, a thicker screw gets pushed through on one side and is secured on the other side with a hexagonal nut. be quiet! even provides the required spanner to tighten the nut down.
Once the arms are ready, they can be screwed onto the cooler's base.
With that done, go ahead an mount the cooler on-top of the CPU. The four screws should align with the four mounting arms.
To secure the cooler, though, you will need to turn the motherboard over and use a screwdriver to tighten those backplate screws into the cooler's mounting arms. This is a bit tricky and fiddly, and my recommendation is to to turn the motherboard on its side and secure one screw first and then you can turn the motherboard over and finish the rest.
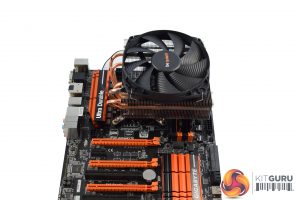
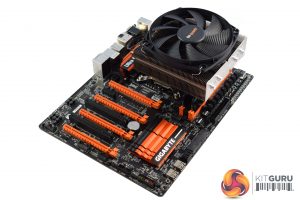
After that, the installation process is complete, and the finished article should look something like the above. You might just be able to see that my 2 Corsair Vengeance Pro DIMMs (at 44mm tall) fit just fine, too.
All-in-all, though, I do feel that the overall installation process is a bit fiddly and potentially long-winded. The whole process took me about 10 minutes which isn't overly long, but other coolers can be installed faster. I also think beginners may want to look at a simpler cooler to install if they were looking at this one, as the whole process of turning the motherboard over is not ideal.
 KitGuru KitGuru.net – Tech News | Hardware News | Hardware Reviews | IOS | Mobile | Gaming | Graphics Cards




how the hell the hyper 212 beat out the master air pro 4? Both got beat by the windale 4? time for me to sell my cm 212 and get a windale.