Here I will walk you through the installation process. It is worth noting we test using a Z97 motherboard – socket LGA 1150. The process below reflects that.
Both coolers use the same mounting process – a small bracket is attached to the backplate, and the coolers then clip on to the bracket.
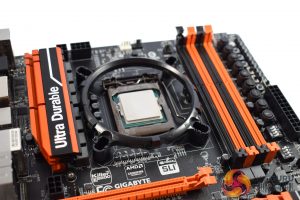
The first step is to place the included bracket over the motherboard's mounting holes.
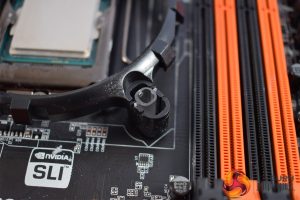
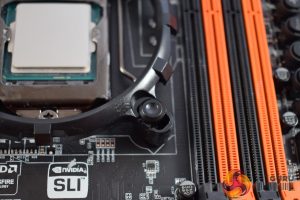
Next, four clear plastic pegs slot into the bracket's holes, going through the motherboard's socket holes as well.
To secure the bracket to the backplate, four more black plastic clips need to pushed through the clear plastic pegs from the previous step.
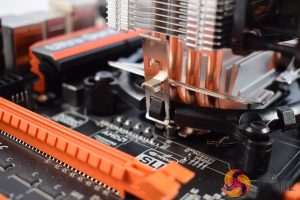
With the bracket now secure, users can apply thermal paste and mount the cooler. The cooler has two small metal clips on either side, pre-installed, and these just need to be locked to the bracket's mounting points.
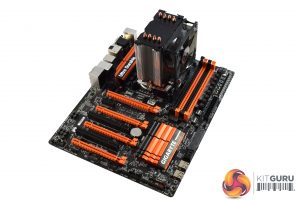
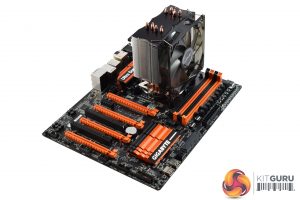
A40 Pro, left, and the C400, right.
After that, installation is complete. It is a doddle – absolutely anybody could do it and the whole process barely takes a minute.
 KitGuru KitGuru.net – Tech News | Hardware News | Hardware Reviews | IOS | Mobile | Gaming | Graphics Cards


Master air pro 4 is a heatsink with 12cm fan. While antec a40 pro is only equipped with a 9cm fan. How can the performance be so identical?
Many more variables to this, fin density and length for example, also at 1.3V you don’t actually max out the heat that 4 heatpipes can carry so there is that…
Cooler-master-hyper-212x or antec c400 cpu cooler which one is better?