Here I will walk you through the installation process. It is worth noting we test using a Z97 motherboard – socket LGA 1150. The process below reflects that.
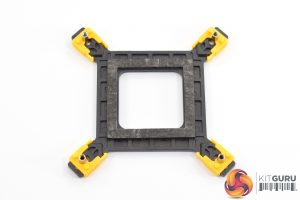
The first thing to do is prepare the backplate – a small adhesive gasket needs to be stuck onto the inside of the backplate, while the screws should be put in the central position marked ‘115x'.
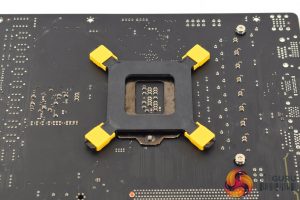
With that done, you can go ahead and place the backplate on the back of the motherboard.
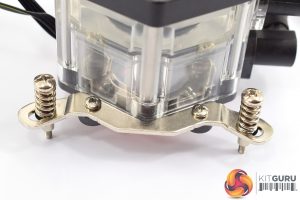
After that, two mounting brackets need to be screwed onto the pump/waterblock. Here, the manual actually says to screw them on from the underside but that obviously wouldn't work as the screw head wouldn't hold the bracket in place – something I tested myself. As pictured, I screwed the brackets on from the topside.
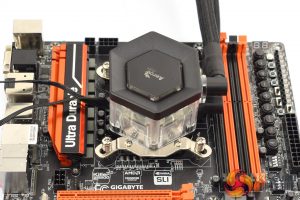
All that leaves is to attach the block to the CPU by securing each of the four screws.
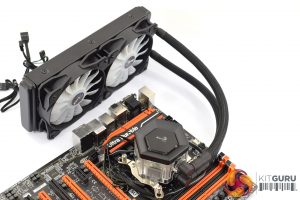
The finished result should look something like this – job done.
Overall, it is a very easy installation which took me about five minutes from start to finish – perfect for beginners as well as experienced builders.
One thing I do have to say about the finished result, though, is that there are quite a few cables which can make cable management tricky. The pump has one long 4-pin fan header for its power, as well as one RGB cable, while each fan has its own 4-pin PWM cable and another RGB header. For those who like a very clean setup, this might take some work with the P7-L240.
Note: if the above gallery is not displaying correctly, please consider disabling your ad blocker as they are known to interfere with our display code.
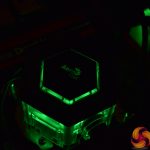
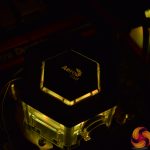
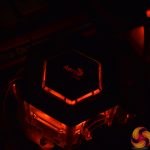
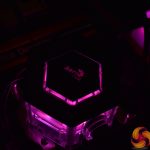
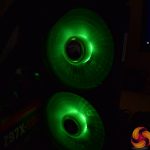
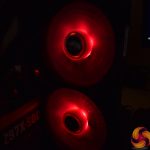
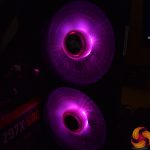
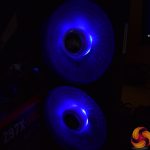
Moving onto the RGB lighting, as you can see above, with the pump and both fans lit up, the overall look is very appealing.
However, and this is quite a significant oversight, there is no RGB controller bundled with the P7-L240, so if you don't have a RGB-capable motherboard then you are be out of luck. Our test Z97 motherboard does not have any RGB headers, but as it happens I managed to dig out a RGB controller from Cooler Master no less to get the lights to work.
I think that is a big shame, as anyone without RGB headers on their motherboard – which has only started becoming standard over the last year and a half – won't be able to utilise the lighting without spending more money on a controller. Aerocool does sell its own controller, but I really think that's something which should come included here.
 KitGuru KitGuru.net – Tech News | Hardware News | Hardware Reviews | IOS | Mobile | Gaming | Graphics Cards


coool
Don’t understand your scoring. This performs better than the Corsair H115i Pro, has good acoustics and costs less than the rival cooler. Yet they both score 8.5?