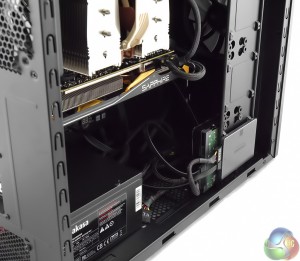
Here is the result of mounting an SSD and 3.5-inch HDD on the drive plate. It is a simple matter to connect the SATA power cable but there is no easy way to keep things neat. It is a similar story with the SATA data cables as they pass across the case from the drives to the motherboard, so there is no practical way to keep the finished PC looking good.
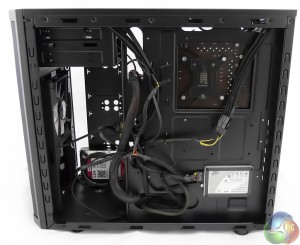
Behind the motherboard tray you have 22mm of space to keep the cables tidy, which is just about sufficient.
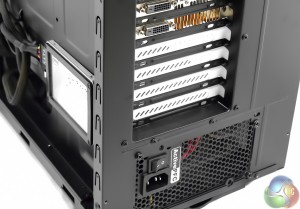
These two photos show another aspect of the Core 3300 which are the two SSD mounts on the rear of the motherboard tray. The Intel SSD is mounted in the lower position and if you look above the SSD you'll see the four holes used to mount a second 2.5-inch drive.
Unfortunately these mounts suffer from some glaring problems. One mount has all four screw holes behind the motherboard while the other has two holes covered by the motherboard and two covered by the PSU. You can see how the SSD sits at a height where it overlaps the expansion slots and, therefore, the motherboard. If you wish to swap an SSD or add a new drive you need to dismantle your PC.
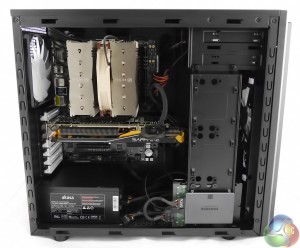
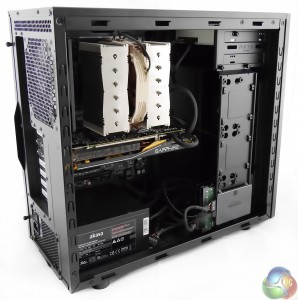
Building a Core i7 PC with the Core 3300 was fairly straightforward. Fractal Design does not install the motherboard stand-offs at the factory, although they do supply a tool to assist installation. The threaded holes in the motherboard tray are marked A (ATX) or M (Micro-ATX) to make life easier.
For some reason we only received nine stand-offs and screws which is a bit mean as many ATX boards use ten mounts.
With the enormous Noctua NH-D15 CPU cooler installed the Core 3300 looks reasonably smart, although the drive plate and cabling really don't help the cosmetics.
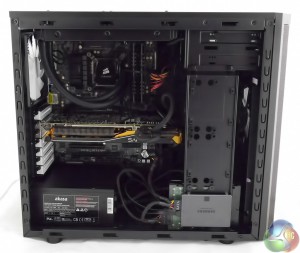
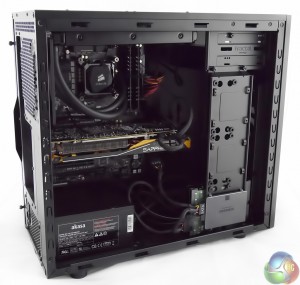
Switching to a Corsair H100i with the 240mm radiator mounted in the roof of the case opens up a massive amount of space. The process was more fiddly than expected as the 120mm/240mm radiator mounting holes are rather lost in the perforated part of the roof of the case and you need to look carefully to find the right holes.
 KitGuru KitGuru.net – Tech News | Hardware News | Hardware Reviews | IOS | Mobile | Gaming | Graphics Cards


