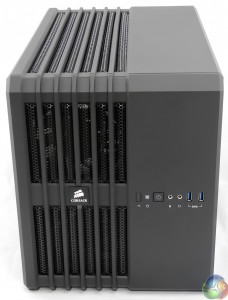
The front of the Corsair Air 240 looks very smart. The left side is ventilated so air can flow to the two 120mm Corsair AFL120L fans and onward to the motherboard, CPU and graphics card. The right side of the case is solid at the front and there is nothing to indicate from this angle that you'll find the power supply, solid state and hard drive bays on this side of the case.
Take a look at the position of the Power, Reset, headset jacks and USB 3.0 ports and you'll see their location is significant. The buttons and connectors are arranged in a row only 15cm from the bottom of the case so if you stand the Air 240 on the floor they are pretty much out of reach. If Corsair meant you to use the case in that way my guess is that the ports would be located on the top edge of the front panel.
The only way the Air 240 makes sense to me is if you stand it on your desk or table where is it within easy reach. That could be a problem as the Air 240 has a large footprint (397mm deep and 260mm wide) so while it isn't very tall it is actually quite large.
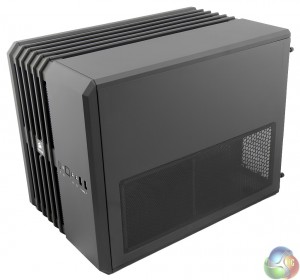
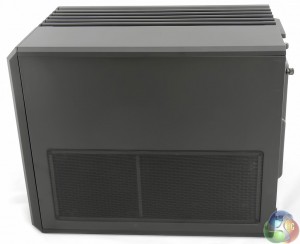
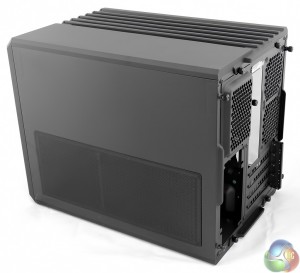
On the right side of the case you can see the panel is ventilated to allow air to pass to the power supply and drives. Turning the case to show the rear you can see where the power supply will be located next to the four expansion slots.
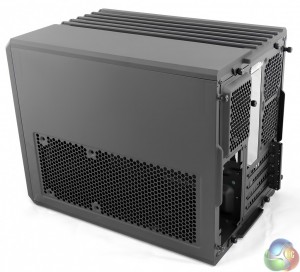
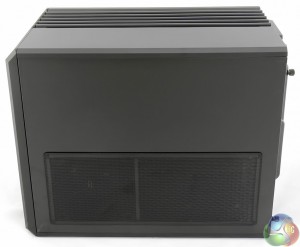
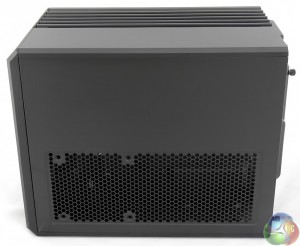
The dust cover over the vents is held in place with a number of magnets and is very easy to remove for cleaning. You'll notice there are mounts to add a 120mm fan towards the front of the case but no mounts further back on the side panel as the power supply occupies that space.
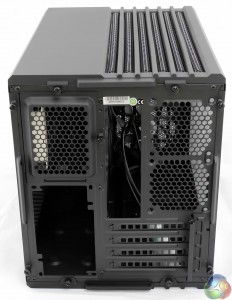
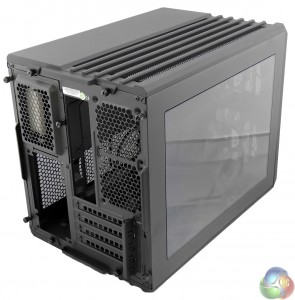
I can confidently predict the rear of the case is like nothing you have ever see before. Forgetting for a moment, that we are looking at the rear so left is right and right is left, you can see the power supply is at the bottom left of the panel. The I/O panel is located in the center with two 80mm fan mounts to the right hand side. Below that we have the four expansion slots (it is a Micro-ATX design after all) but that is enough to install a pair of gaming graphics cards in CrossFireX or SLI.
No doubt you are wondering about the perforated cover to the top left, just above the power supply. Would you believe it conceals the three 3.5-inch drive bays? The flash of white that you can see in the photos is the box of accessories that sits, as ever, in one of the drive bays. Yes, this means the hard drives are inserted from the rear of the case as we shall see in a while.
Incidentally the accessories consist of the various screws you need, along with some cable ties and four self adhesive rubber feet for the chassis. You don't get four screws for the power supply, which seems a bit mean.
 KitGuru KitGuru.net – Tech News | Hardware News | Hardware Reviews | IOS | Mobile | Gaming | Graphics Cards


Nice review, thanks.
Do you think there is enough clearance to install the H100i at the bottom even with a mATX mainboard and a single GPU? Then I might considering getting one of these.
With a mATX board in there, the bottom fan mounts are inaccessible… So no bottom rad, or even bottom fans, unless you go mITX 🙁
But with mITX, you might even get a full loop in there, with two 240 rads!