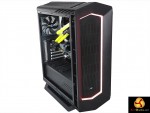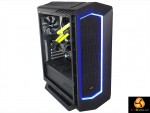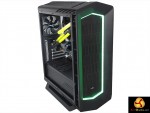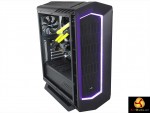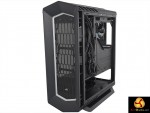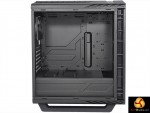
Aerocool Project 7 C1 is a mid-tower case with a windowed side panel, integrated lighting in the front panel and a PWM hub behind the motherboard tray. These are all useful features however none of them is unique so the simple fact is that Aerocool faces a stiff battle in this review as it is pitching itself against a bunch of other case manufacturers such as BitFenix and Phanteks.
Curiously enough we shall also be comparing this P7-C1 with the version of P7-C1 we recently saw housing the AWD-IT Wraith PC (Review HERE). The reason is that this sample has an acrylic window and comes without interior lighting while the AWD-IT case had a glass panel and an LED strip – so we shall kill two birds with one stone.
Specification:
Case Type Mid Tower
Steel Thickness 0.6mm
Motherboards ATX / micro ATX / mini-ITX
Case Dimensions 244.6 x 550 x 446.4mm (W x H x D, overall)
3.5” Drive Bays 2 (Internal)
2.5” Drive Bays 4 (Internal)
Expansion Slots 7
GPU Clearance 375 mm / 400mm (without front fan)
CPU Clearance Support Max. Height of 165 mm For CPU
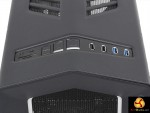
I/O Ports 2 x USB2.0 + 2 x USB3.0 + HD Audio & Mic.+ SD card reader
Air Cooling:
System Front : 3 x 120mm or 2 x 140mm (Optional)
Top: 2 x 120mm (Optional)
Rear : 1 x 120mm (12025 black fan Included)
Radiator Support Front : 240 / 280 / 360 mm (Optional)
Top: 240mm (Optional)
Rear : 120mm (Optional)
Net Weight 6.8Kg / 8.4Kg (Gross Weight)
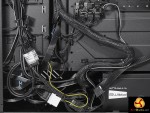
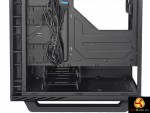
Building our test PC was a straightforward process, except in two respects. The major headache was the installation of our Seasonic Prime Titanium power supply, which is not a large unit. Nonetheless it was hard work to install as there is very little space behind the drive tower and the power supply cover comes down rather low.
The particular snag is that the bottom of the case is rolled up to form a significant lip which gives you very little space to perform this routine task. The other problem was the block connectors on the I/O panel wiring as they are a poor fit and feel rather cheap and nasty. In the end the only way to keep the lighting connector attached to the power was to use adhesive tape.
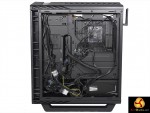
Build quality is low end as evidenced by the complete lack of grommets in the cable management holes. Pulling off the front and top panels requires some effort and as both panels are attached to the chassis with cabling it will inevitably be a chore to clean the dust filters. To pop out the front air filter you have to flex it out of position.
The top of the case is open metal mesh and the power supply filter is a fixed screen. You get a good deal of choice with the hardware as you have space for a 280mm or 360mm radiator at the front, a 240mm in the roof and a 120mm at the rear.
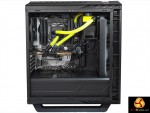
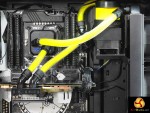
Realistically the P7-C1 is designed to accommodate an All In One as there is no obvious place to locate a pump and reservoir, however we managed the task without too much difficulty.
When the PC first started to run the fans made a fair old racket and did not respond to PWM control. This caused some confusion however the user manual explains that the PWM hub has three modes; PWM, fixed 60% and fixed 100%. Once we had toggled the button to PWM mode everything settled down and was fine.
Hiding the cables away was made easier by the removal of the two drive caddies as it gave us somewhere to stuff the spare wiring and the end result looked perfectly OK to our eyes.
Testing
To put this case through its cooling paces we will be using a test system consisting of an Intel Core i7-5802K, a GTX 980 graphics card and an SSD. This system allows us to produce a substantial amount of heat and effectively test the Aerocool Project 7 C1‘s cooling capabilities.
For stress testing we use AIDA64 to create the maximum heat output to stress our CPU and GPU.
Test System:
- Processor: 3.3GHz/3.6GHz Intel Core i7-5820K
- Motherboard: ASRock X99 Taichi
- CPU cooler: Custom loop – Alphacool and EKWB
- Memory: 16GB Corsair Vengeance LPX DDR4-2800MHz
- Graphics card: EVGA GTX 980 4GB
- Power supply: Seasonic Prime 750W Titanium
- Storage drives: Kingston SSDNow M.2 SSD
- OS: Windows 10
Cooling Performance.
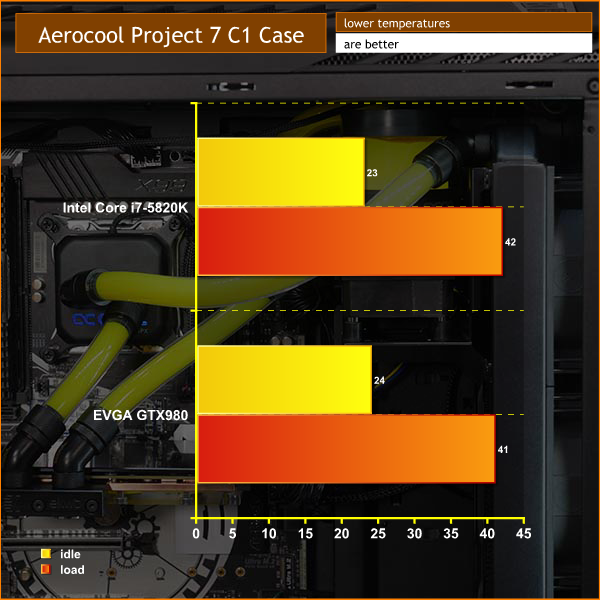
Our chosen liquid cooling hardware kept the Core i7-5820K and GTX 980 nice and cool. This may be a relatively compact chassis but it has no trouble flowing enough air. We had the same experience with the AWD-IT PC with air cooler on the AMD FX CPU so this is not a one-off observation on our part.
Acoustics performance.
With three EKWB Vardar fans on the 360mm radiator along with the stock exhaust fan, we were able to keep noise levels nice and low. On the other hand the AWD-IT PC was rather noisy and the fact of the matter is that the Aerocool chassis does nothing to reduce noise levels. If you use noisy hardware you will have a noisy PC so you had better choose wisely if you do not wish to suffer the consequences.
Closing Thoughts.
Aerocool has covered all the essentials with the Project 7 C1, so you can install a decent range of hardware, it has two SSD bays and two drive caddies, and the front panel lights up in a pleasing selection of colours. Once you understand the workings of the PWM hub you will find it is a nice touch.
Balanced against that the air filters are not easy to clean and the build quality is unimpressive. That would be acceptable if the P7-C1 were a cheap case however it is pitched at the enthusiast market and does not quite hit the mark.
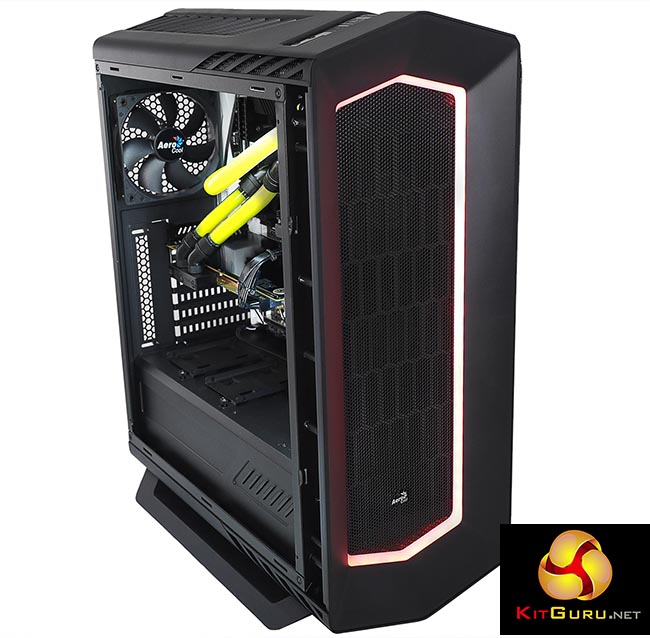
The annoying thing is that the Glass version does away with the naff Acrylic window and replaces it with an impressive tempered pane that displays the side of your PC. Added to that you get an accessory lighting strip that helps to seal the deal. The Glass version is only slightly more expensive than the Acrylic which means the cheaper case is pretty much an irrelevance.
Enthusiasts will find minor faults with the P7-C1 but overall the Glass version fills a certain niche and is worth some consideration.
Today we reviewed the Acrylic version and it scores 7.5 out of 10. The Glass version which was seen in our review of the AWD IT system recently (HERE) would score higher – around 8 points out of 10.
Pros:
- Glass panel looks great.
- PWM hub is included.
- Integrated lighting in the front panel.
Cons:
- Cleaning dust filters is tricky.
- Installing the power supply is fiddly.
- Acrylic window is very basic.
- Build quality is unimpressive.
KitGuru says: Aerocool Project 7 C1 has a number of interesting features, but you need to get the Glass version, rather than Acrylic.
 KitGuru KitGuru.net – Tech News | Hardware News | Hardware Reviews | IOS | Mobile | Gaming | Graphics Cards


