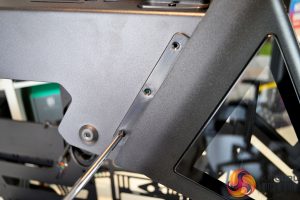
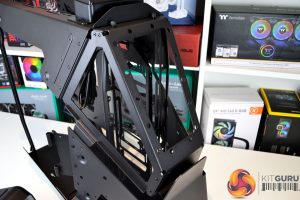
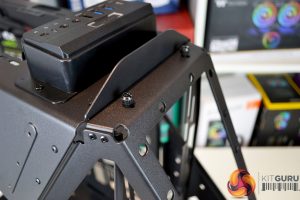
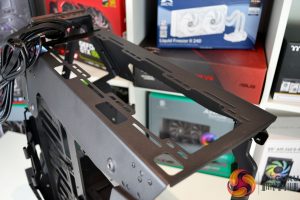
Installing fans or radiators at the front and top of the chassis requires the removal of exterior panels. To gain access to the front radiator/fan mounting bracket, we first need to remove the front tempered glass and plastic outer panel.
To do this, remove the six screws on each side of the panel. The panel is held to the chassis via plastic clips, just pull the panel away from the chassis to release it and gain access to the thumbscrews that hold the radiator bracket in position.
Once the outer panel is removed, simply unscrew the two thumbscrews at the top of the chassis and with your hand inside the chassis, tilt the bracket towards the rear and release it from the slots in the chassis floor to remove.
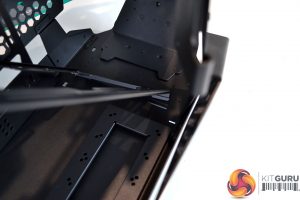
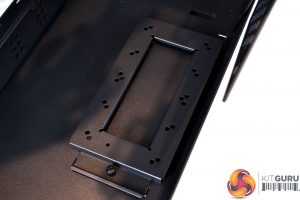
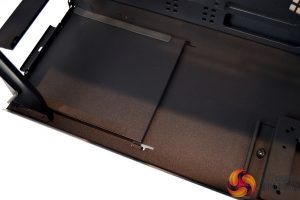
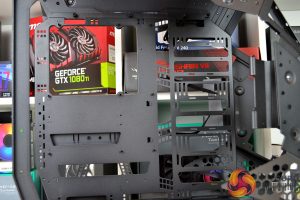
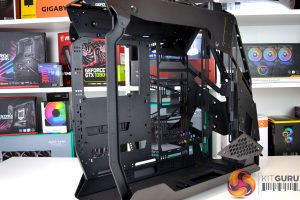
On the floor, towards the front of the chassis is a mounting plate for water cooling pumps or combo units, this can be removed if not needed, and towards the rear are slots for the power supply bracket to locate on.
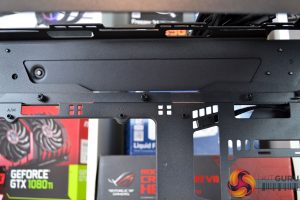
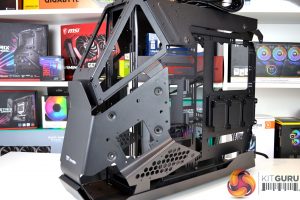
The motherboard tray is also removable to make installing parts onto it more accessible. To detach the tray from the chassis requires removing three thumbscrews from inside the chassis at the top and three more at the bottom on the outside.
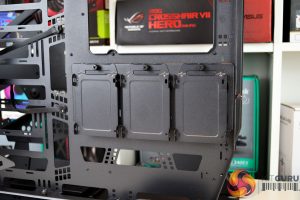
At the right-hand side of the motherboard tray is space to install up to a 360mm radiator or three 120mm fans, alternatively, the HDD bracket can be located here. Along the bottom, the top and right-hand sides are cable management cutouts and on the rear of the motherboard tray is the default location for the 2.5-inch HDD cages.
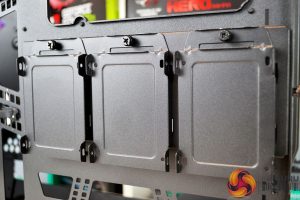
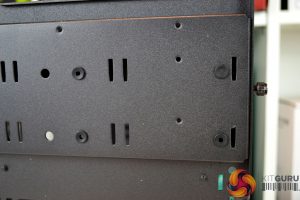
The HDD bracket has three removable 2.5-inch bays attached with thumbscrews, to install 3.5-inch drives the smaller bays need to be removed and the 3.5-inch HDDs are installed directly using anti-vibration rubber mountings.
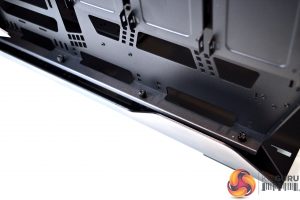
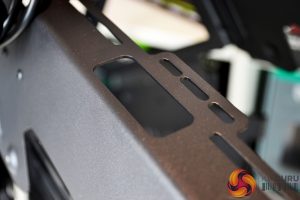
At the top of the chassis is another area where up to 360mm radiators or three 120mm/ two 140mm fans can be installed, access to the bracket requires the outer panel to be removed. There are also cable cut out on the top radiator/fan bracket to allows fan cables to pass through.
The modular design of the chassis is both necessary and beneficial when it comes to planning the installation of components. There are plenty of options inside the chassis to accept complex water cooling systems as well as abundant space for large high-end components. The case will no doubt be a great place for installing custom water cooling and high-end desktop platforms.
 KitGuru KitGuru.net – Tech News | Hardware News | Hardware Reviews | IOS | Mobile | Gaming | Graphics Cards


