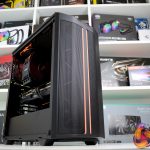
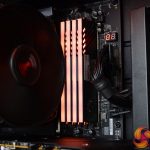
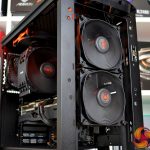
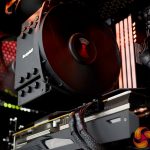
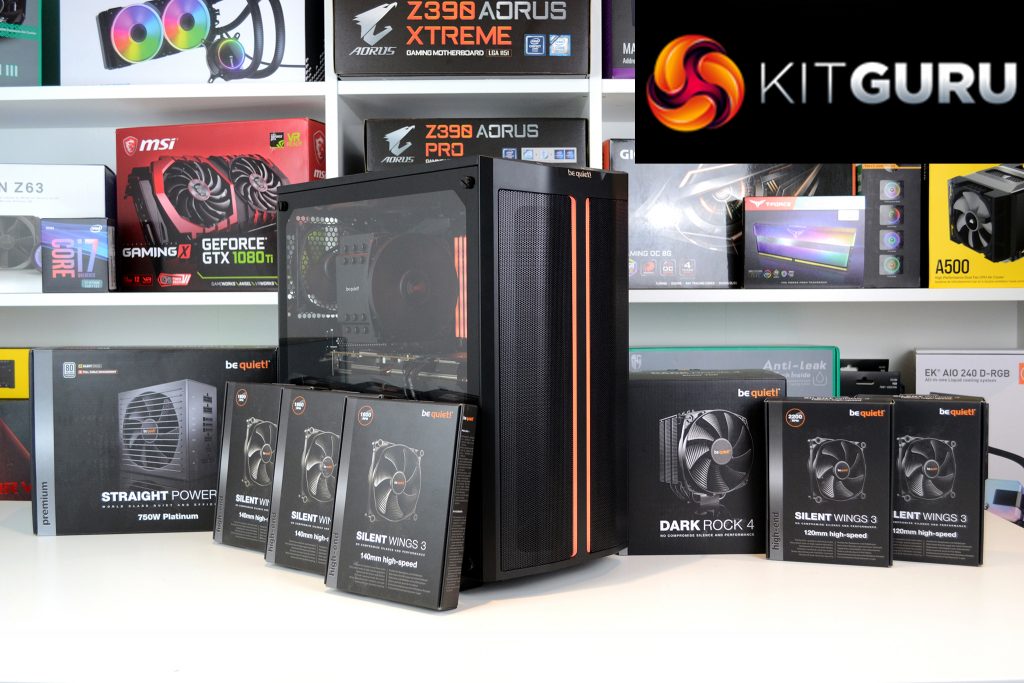
Airflow inside a PC case has always been a hot topic (no pun intended), that often causes quite heated debate among the PC enthusiast following. Today we build a system using a bunch of be quiet! components and run thermal performance tests using an AMD B550 Ryzen 3000 machine with high positive pressure, high negative pressure and balanced airflow. We see just what effect fan placement and orientation has on the temperature of a CPU and GPU and hopefully put this argument to bed once and for all.
For over two decades of PC building, I have always preferred a balanced airflow configuration inside a PC case. However, I have never actually run any prolonged tests to find out whether this airflow method is the optimal setup for component temperature, or whether different fan configurations have any noticeable effect on system temperature at all.
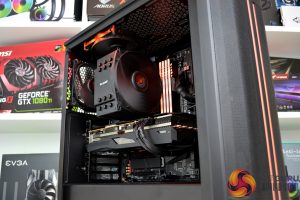
So, to find out which, if any, airflow configuration is optimal for your system temperature, we have built a system inside the new be quiet! Pure Base 500DX high airflow chassis and tested almost every fan configuration possible, including high positive pressure, negative pressure and balanced airflow configurations. We also tried two extreme fan configurations which we expect to have a negative impact on the system temperature, one with all fans pulling air into the case and one with all fans as exhausts.
Test System Specification:
- CPU: AMD Ryzen 5 3600X
- Motherboard: Gigabyte B550 Aorus Master
- Memory: 16GB (2 x 8GB modules) Aorus RGB DDR4 3600MHz
- Graphics card: Aorus AMD Radeon RX 5700 XT
- Storage: 500 GB Corsair MP600 PCIe 4 NVMe M.2 SSD
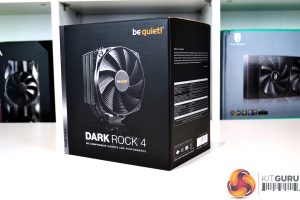
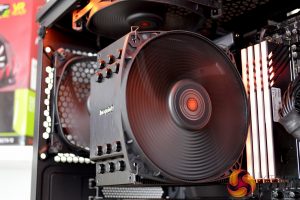
- CPU cooler: be quiet! dark Rock 4 (non-pro)
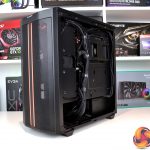
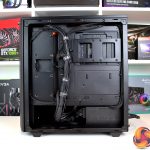
- Case: be quiet! Pure Base 500DX
- Power supply: be quiet! Straight Power 11 750W Platinum
- System fans: 120mm/140mm be quiet! Silent wings 3 High Speed
Fan configurations tested:
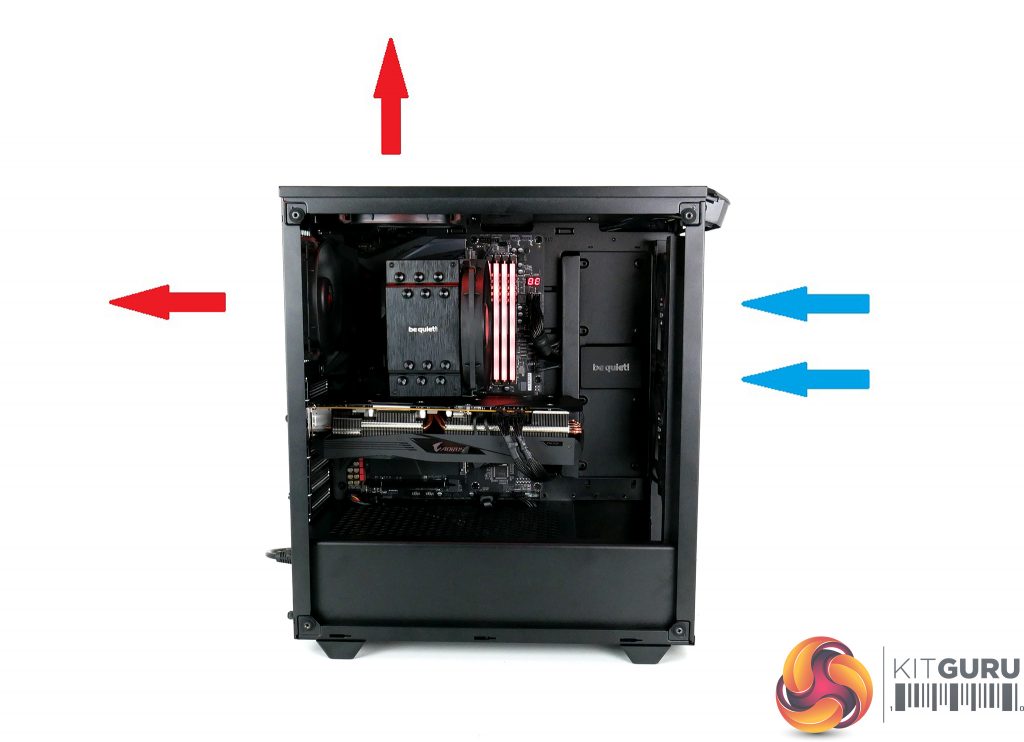
- Positive pressure: 2 x 140mm front as intake, 1 x 120mm rear exhaust.
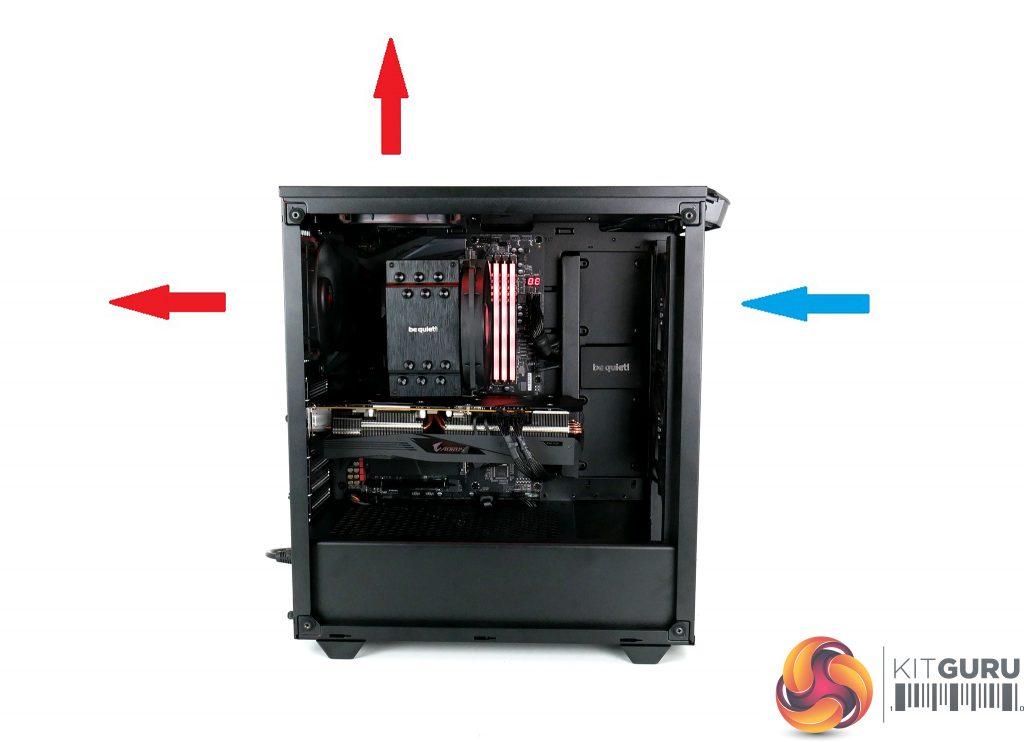
- Negative pressure: 1 x 120mm front as intake, 1 x 140mm top and 1 x 140mm rear exhaust.
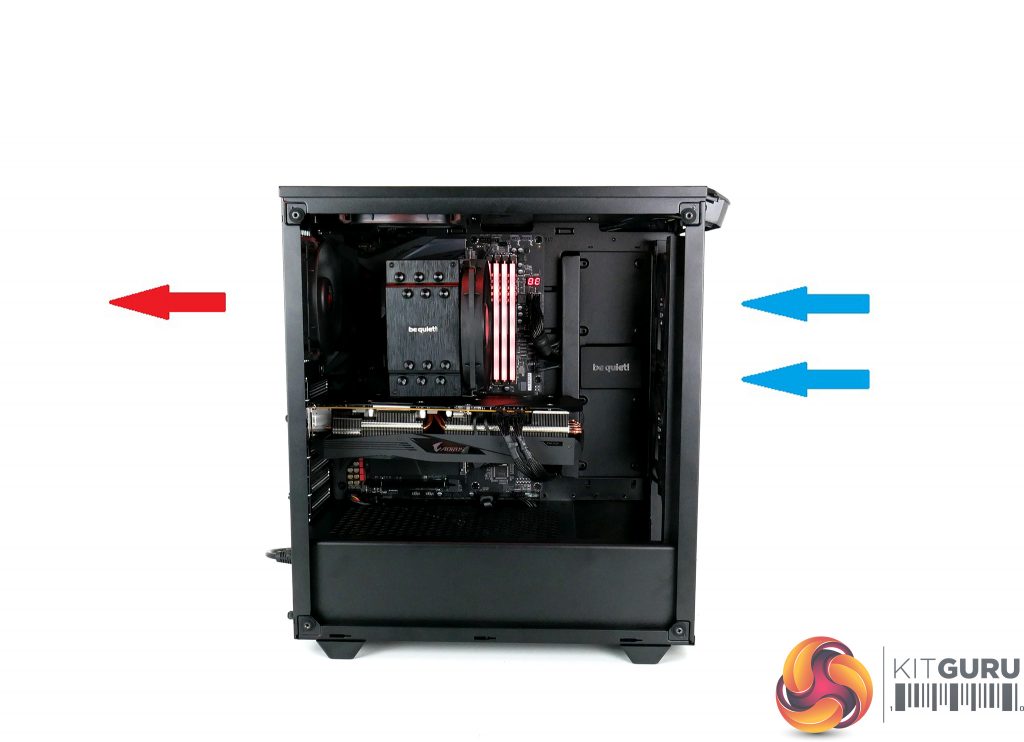
- Balanced pressure: 2 x 120mm front as intake, 1 x 120mm top and 1 x 120mm rear exhaust.
- All fans intake: 2 x 120mm front, 1 x 120mm top and 1 x 120mm rear all pulling air into the system.
- All fans exhaust: 2 x 120mm front, 1 x 120mm top and 1 x 120mm rear all pulling air into the system.
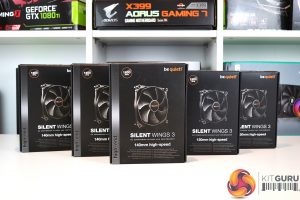
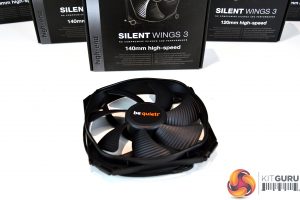
Thanks to be quiet! We can use some of the highest quality components on the market for this test. We have a bunch of be quiet! Silent Wings 3 fans of both 120mm and 140mm in size. These are the high-speed Silent Wings 3 fans, which means we have a broader range of speed to decipher the ideal RPM for this experiment.
Along with the Silent Wings 3 fans, we also have a be quiet! Dark Rock 4 (non-pro) CPU cooler, a stealthy looking single tower cooler, we went for the non-pro version to give us more space inside the system to make things a little easier when it came to swapping out the top and rear fans.
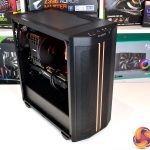
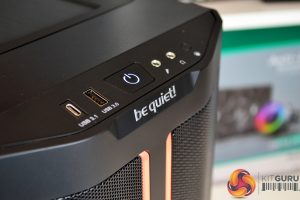
The be quiet! Pure Base 500DX is an ideal case for this airflow experiment with its brand-new mesh front panel. I reviewed the original non-DX Pure Base 500 case last year and was very impressed with its quality, Leo also reviewed the DX version earlier this year and was equally happy with the build quality and found the new mesh front to be a success in terms of thermal performance.
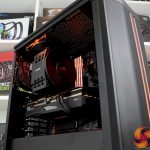
Sticking with a hint of orange to the theme of our build, the system will be based on the new AMD B550 platform in the shape of the B550 Aorus Master motherboard from Gigabyte, paired with an AMD Ryzen 5 3600X CPU, 16 GB of Aorus RGB memory and an Aorus RX 5700 XT graphics card. Powering the system is a be quiet! Straight Power 11 750W platinum power supply.
Testing Methodology
To accurately measure the effect various airflow configurations have on system temperature, we devised a simple testing procedure. A prolonged stress test is performed on the system using the various fan configurations set out above to ensure the system reaches its steady-state temperature.
We use Aida64 benchmarking and stress testing tool to apply 100% load to the CPU, FPU, Cache and GPU for 60 minutes with the system in each fan configuration. HWINFO records the data of the CPU ctl/tdie, GPU and system temperature. We then plot the data in a spreadsheet to work out the average temperature throughout each test and present the findings in a chart for comparison.
To ensure any change of the ambient temperature in the test room does not adversely affect the results of the test, all average temperature measurements displayed in the comparison data are presented as Delta T, which means we deduct the ambient room temperature from the average component temperature to calculate the Delta. Throughout testing, the ambient temperature of the test room remains between 21-23⁰C.
During stress testing the AMD Ryzen 3600X processor is configured using the motherboard BIOS with a fixed Core frequency and voltage to ensure consistency of the results, all systems fan speeds are fixed to 1200RPM. The core frequency of the Ryzen 3600X is configured to 4.2GHz across all cores and vcore is fixed at 1.275v.
Throughout testing the CPU cooler fan speed is fixed at 1200RPM, The GPU fans are fixed at 50% duty cycle and all case fans are configured to 1200RPM to maintain consistency.
BIOS: CPU configuration
- CPU multiplier: x42
- CPU VCORE: 1.275v
- XMP: Enabled
- CPU load Line Calibration: Level 4
Fan Configurations tested and results
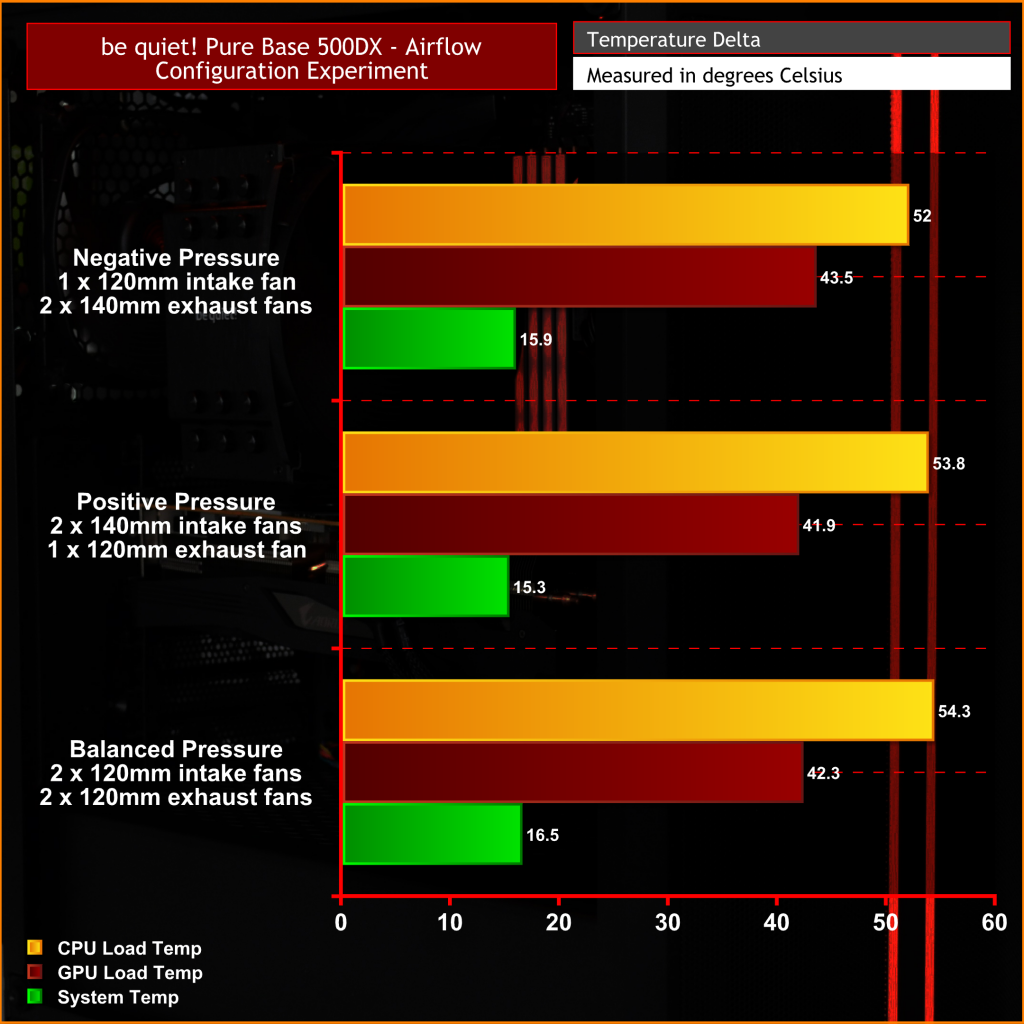
For the first two fan configurations, we tested setups that leaned slightly towards negative or positive pressure and compared the thermal performance of both against a balanced pressure setup.
Negative Pressure Configuration:
A fan configuration slightly leaning towards negative pressure consists of a single 120mm fan fitted to the front of the case as an intake, with two 140mm fans as exhaust, one in the rear and one at the top of the case.
Positive Pressure Configuration:
Positive pressure configuration is the reverse of the negative pressure setup with two 140mm fans at the front of the case for intake and a single 120mm fan exhausting hot air out of the rear.
Balanced Pressure Configuration:
Setting up a balanced pressure fan configuration means equal intake and exhaust fans. For this setup, we used two 120mm fans at the front of the case as intakes and two 120mm fans as exhausts, one rear-mounted and one top mounted.
With the system configured to either a balanced pressure setup with equal intake and exhaust fans or leaning slightly towards negative or positive pressure, there isn't a huge change in component and system temperature. A negative pressure configuration slightly favours CPU temperature, however, a positive pressure configuration should be optimal for keeping dust from entering the system to a minimum, as long as all intake fans are filtered.
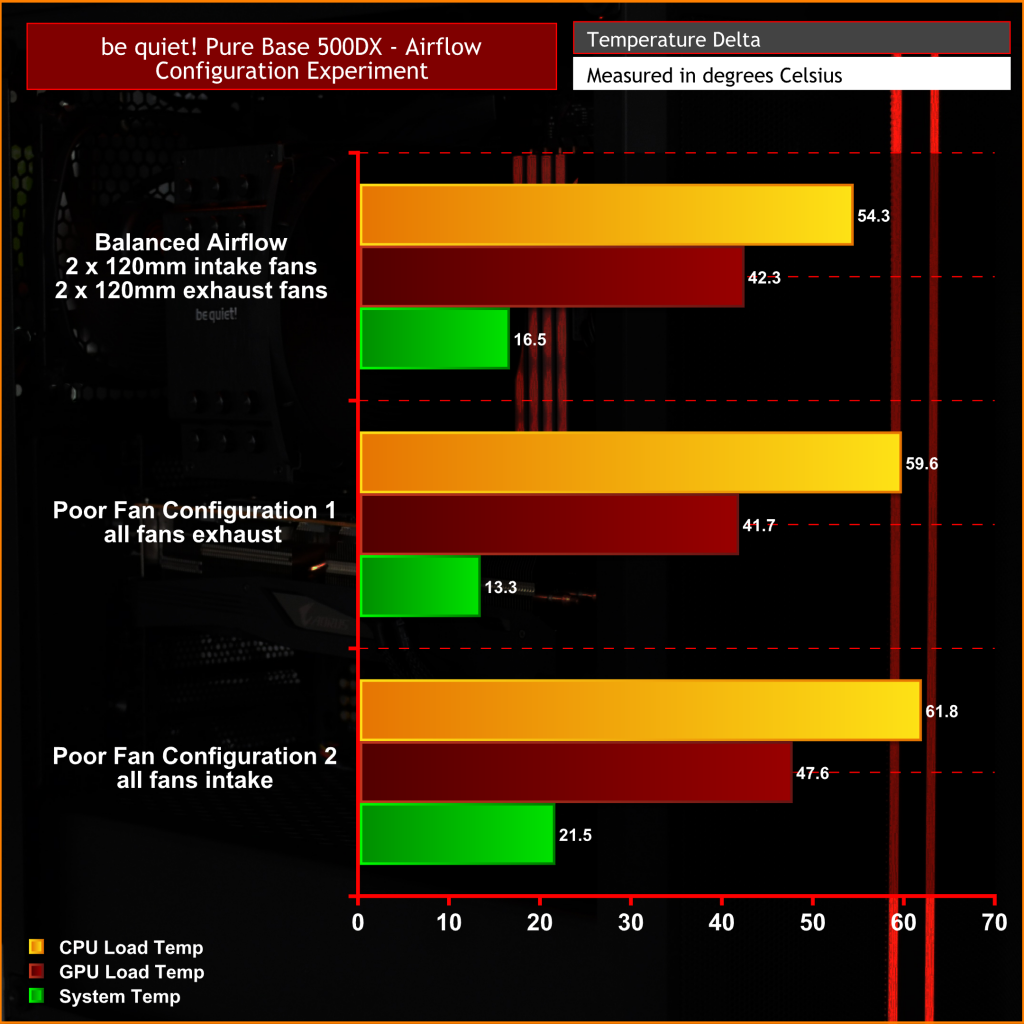
We then compared the data from the balanced pressure configuration and tested against two poor fan setups that a novice PC builder could unknowingly configure their system in, to see how much this affects the component temperatures inside the system.
Poor fan configuration 1:
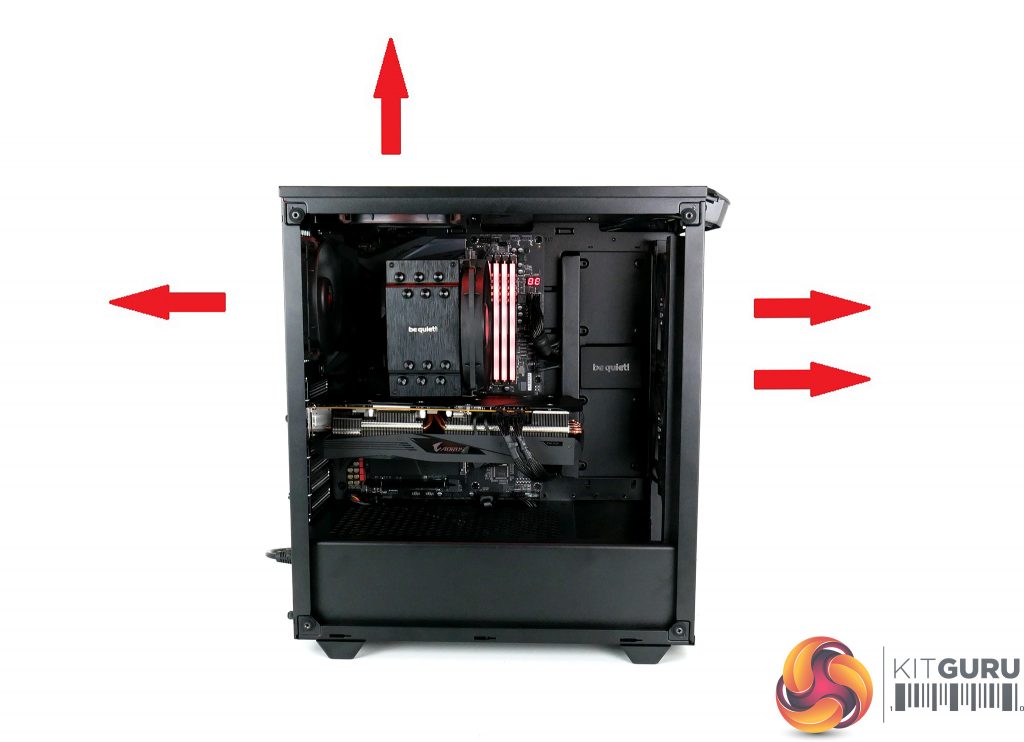
In this configuration, all four 120mm fans inside the case are set to exhaust so the only cool outside air being pulled into the system will come through any gaps such as the PCIe slots or other panel gaps around the case.
Poor fan configuration 2:
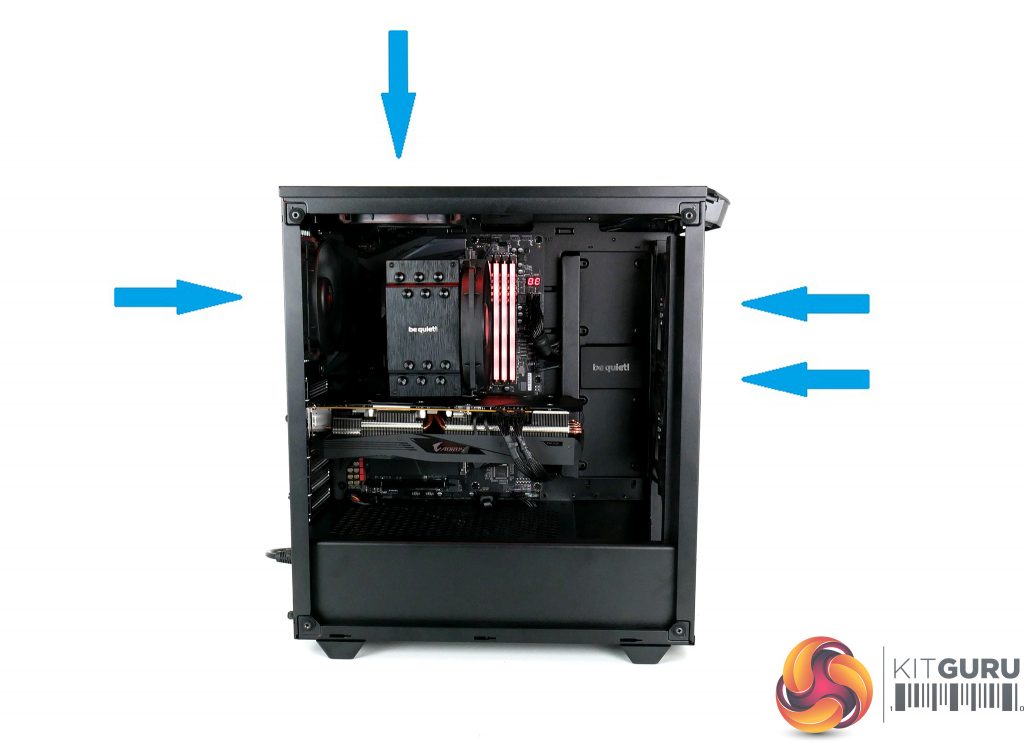
Another potential error with fan configuration would be to install all the system fans as intakes, so for this setup, we switched all four 120mm fans to intake making it difficult for warn air to exhaust out of the case.
The most noticeable effect on component temperature comes when a poor fan configuration is chosen, such as with all the fans set as intakes or as exhaust. Both the highest CPU and GPU temperature was recorded while all the system fans were in these poor configurations, even with all fans configured to exhaust the CPU temperature is considerably higher than when the system is set up in a balanced pressure configuration. Configuring all the fans to act as intel produced the worst result out of all the tests.
Conclusion
After approximately 12 hours of testing, swapping fan configurations, leaving the system to cool and then testing again, we can conclude that running the system in either a positive, negative or balanced airflow configuration produces very similar results in terms of thermal performance with this style of PC case.
Even though there is very little difference in component temperature in the positive, negative and balanced configurations, we would expect an airflow configuration leaning slightly towards positive pressure may be optimal for dust build-up, in a negative configuration dust particles could be drawn into the system through any gaps in the chassis such as the empty PCIe slots or just any other panel gaps.
With this in mind, we would suggest when using a PC case of this type, to install the system fans to slightly favour a positive pressure airflow configuration for the optimal compromise between system temperature and dust levels. To create a positive pressure fan configuration you will need slightly more intake fans or higher intake flowrate than exhaust.
The be quiet! Pure Base 500DX case worked excellent for these airflow experiments with its new front panel design. If you are thinking of picking up one for yourself, you can do so from Overclockers UK priced at £99.95 HERE. The be quiet! silent wings 3 fans are also available from OcUK priced at £20.99 for the 140mm variants and £19.99 for the 120mm high-speed models.
Discuss on our Facebook page HERE.
KitGuru says: If you are struggling with high system temperature or are thinking of building a system shortly, we hope this information will help you decide on the optimal airflow configuration. Choosing either a balanced, negative or positive pressure fan configuration should all yield good thermal performance results, with a configuration leaning slightly towards positive pressure being the best for dust build up inside the case.
 KitGuru KitGuru.net – Tech News | Hardware News | Hardware Reviews | IOS | Mobile | Gaming | Graphics Cards


