For our review today, we have a sample of the black with light tint tempered glass version of the Fractal Design Define 7 Compact. Since only the side panel opacity and material is the only difference between models, the content of this review should apply to all versions available.
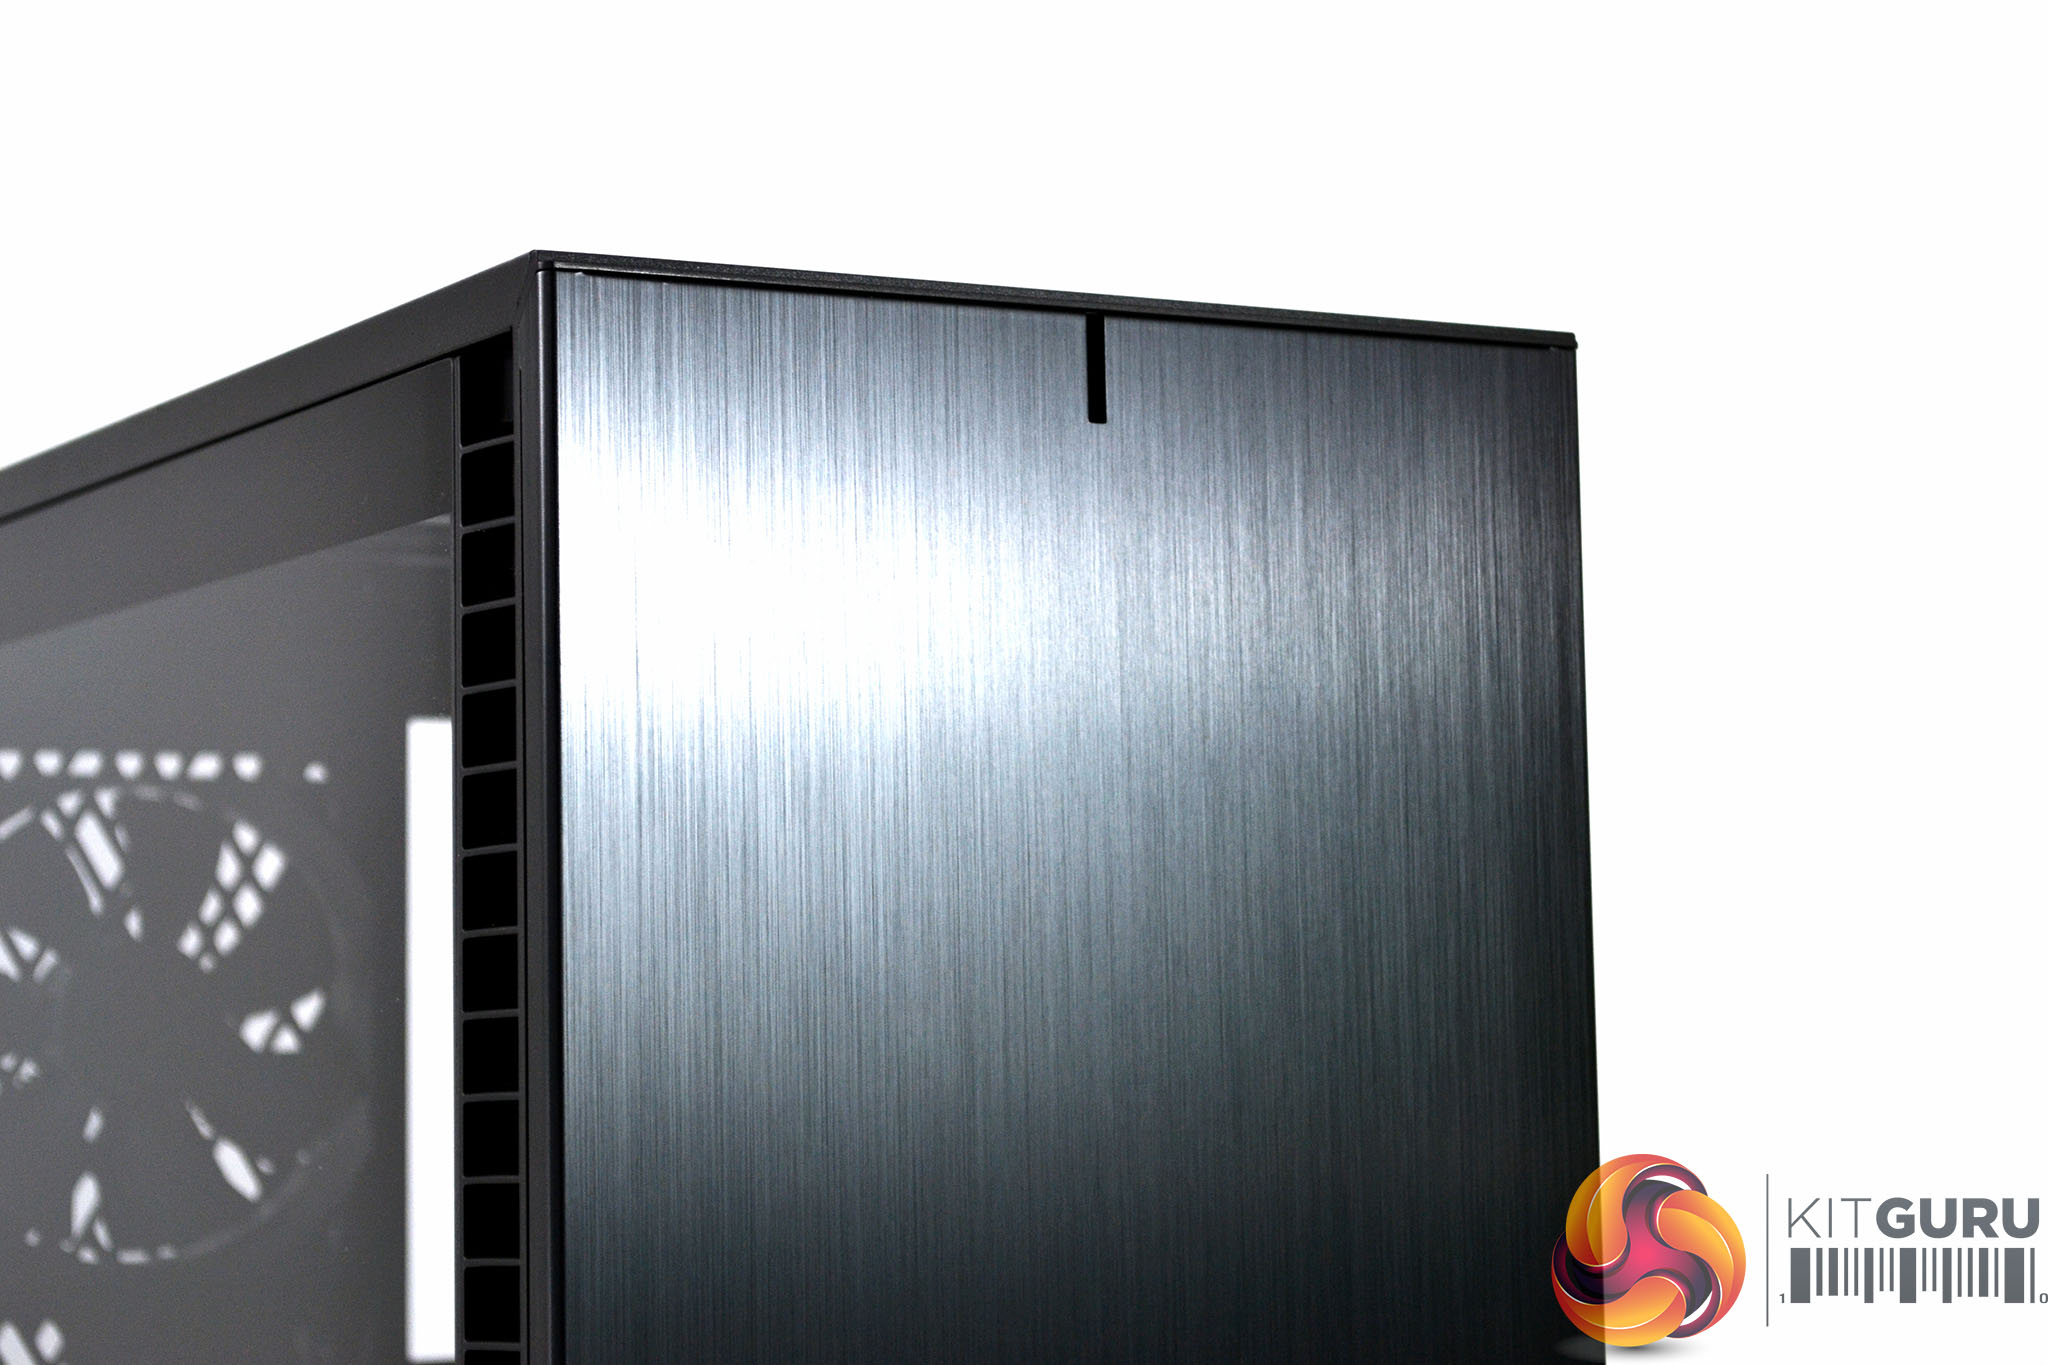
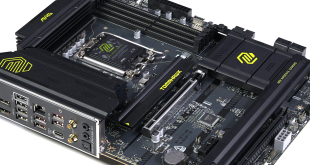
The front panel of the 7 Compact features the traditional understated design that has become a trademark of the Define series. Unlike the 7 and 7 XL that have a hinged door front panel, the Compact is fixed since there is no access to a 5.25-inch bay required. The panel has a brushed aluminium fasica with side air vents and a small Fractal logo embossed into the bottom left corner.
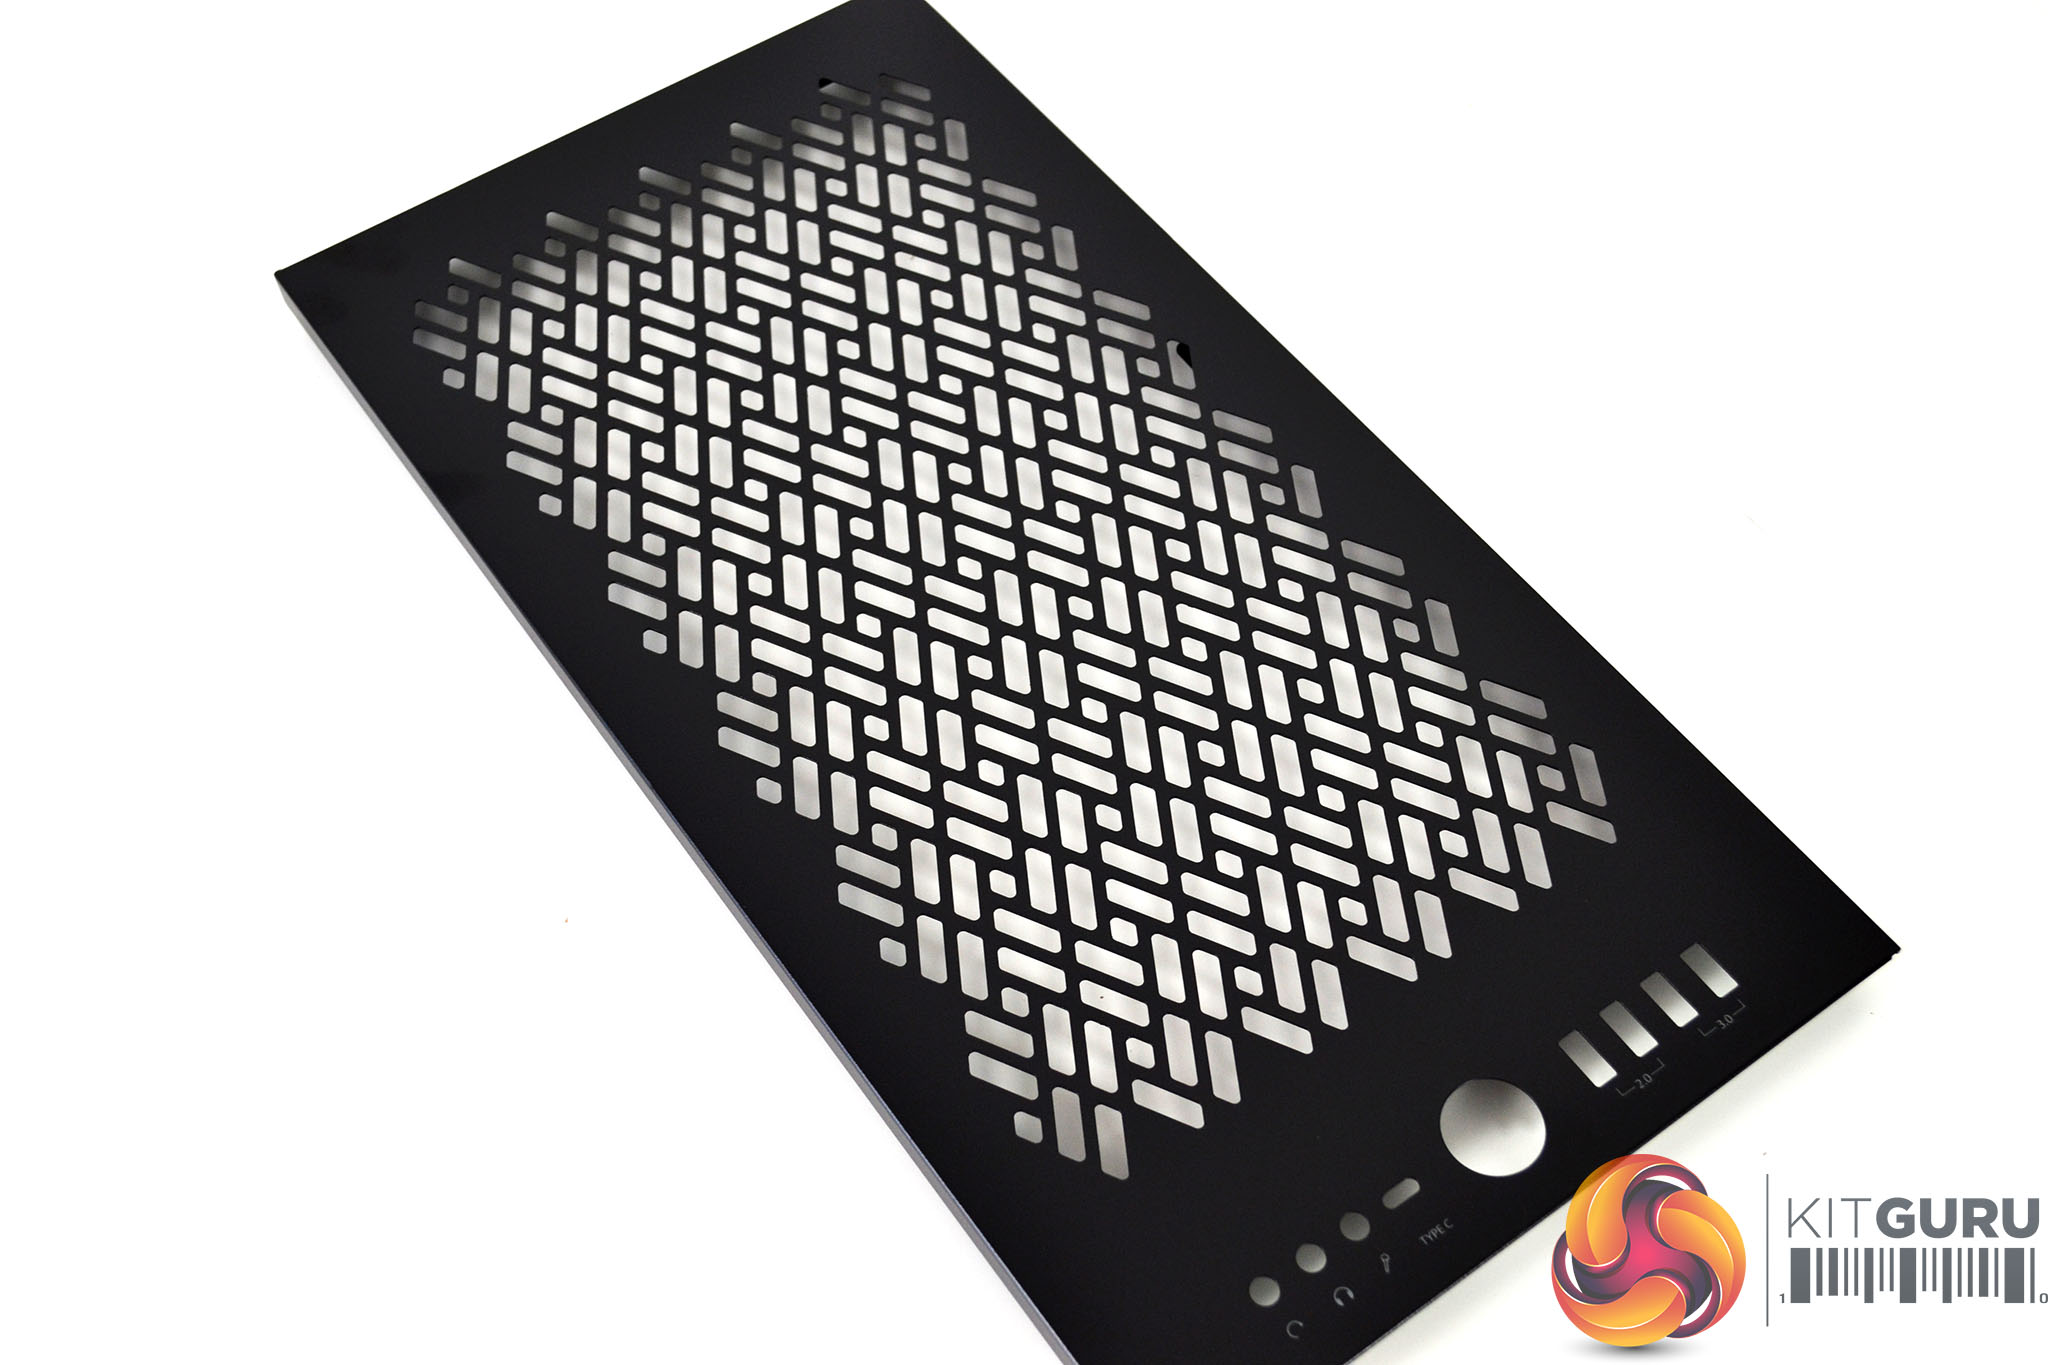
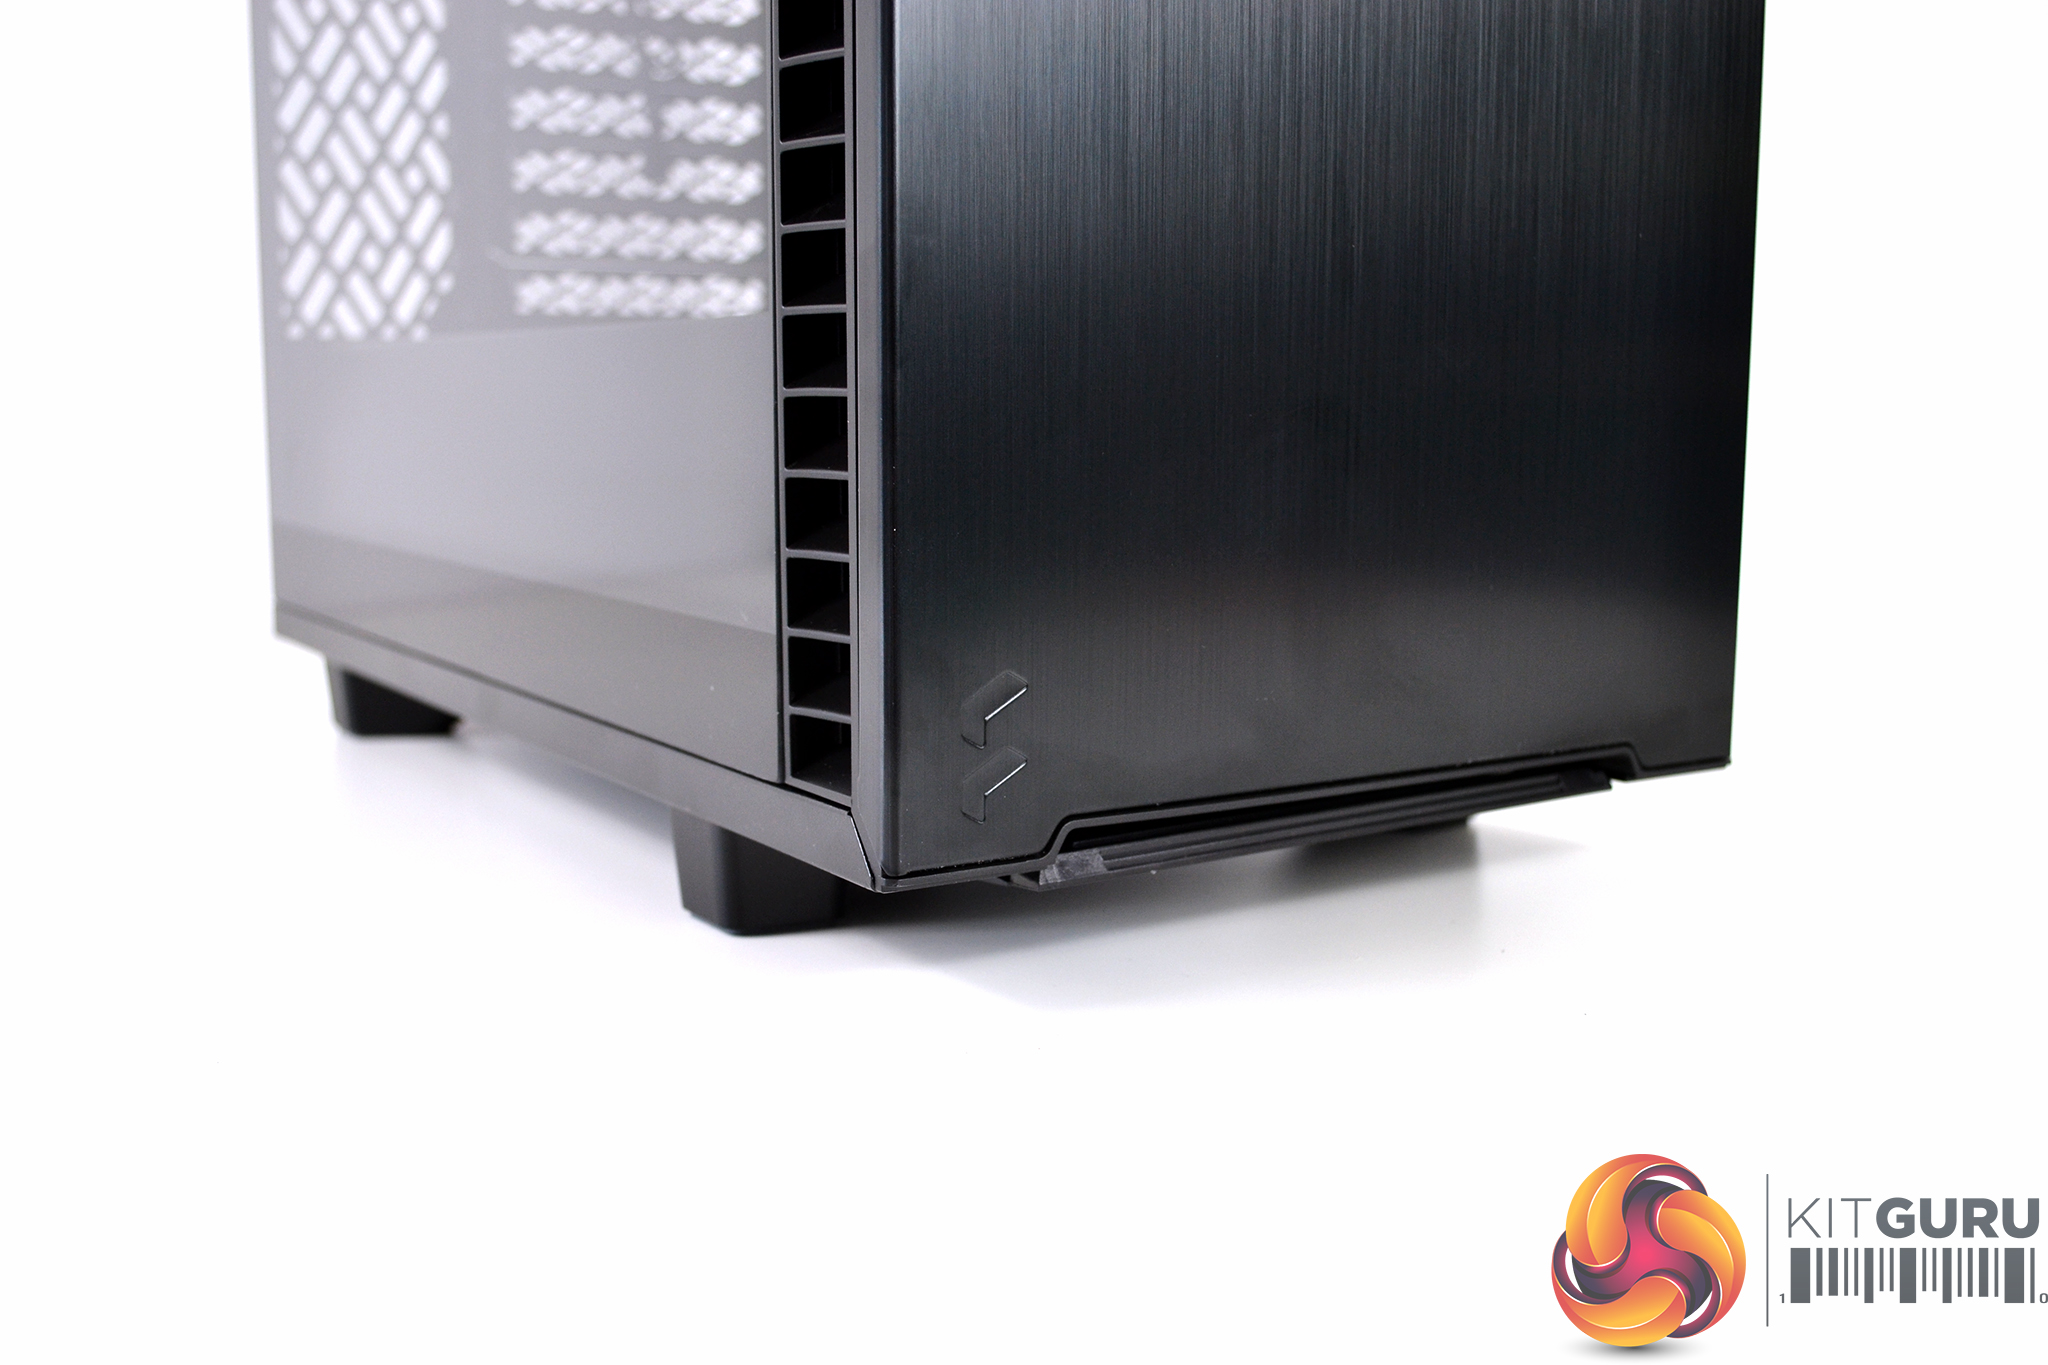
Fractal ships the case with a solid top panel fitted. There is an alternative airflow panel inside the accessories box equipped with a large vented section that would be recommended to use when running top-mounted fans or a radiator. Switching between the two panels should be simple since the 7 Compact has a tool-free panel design.
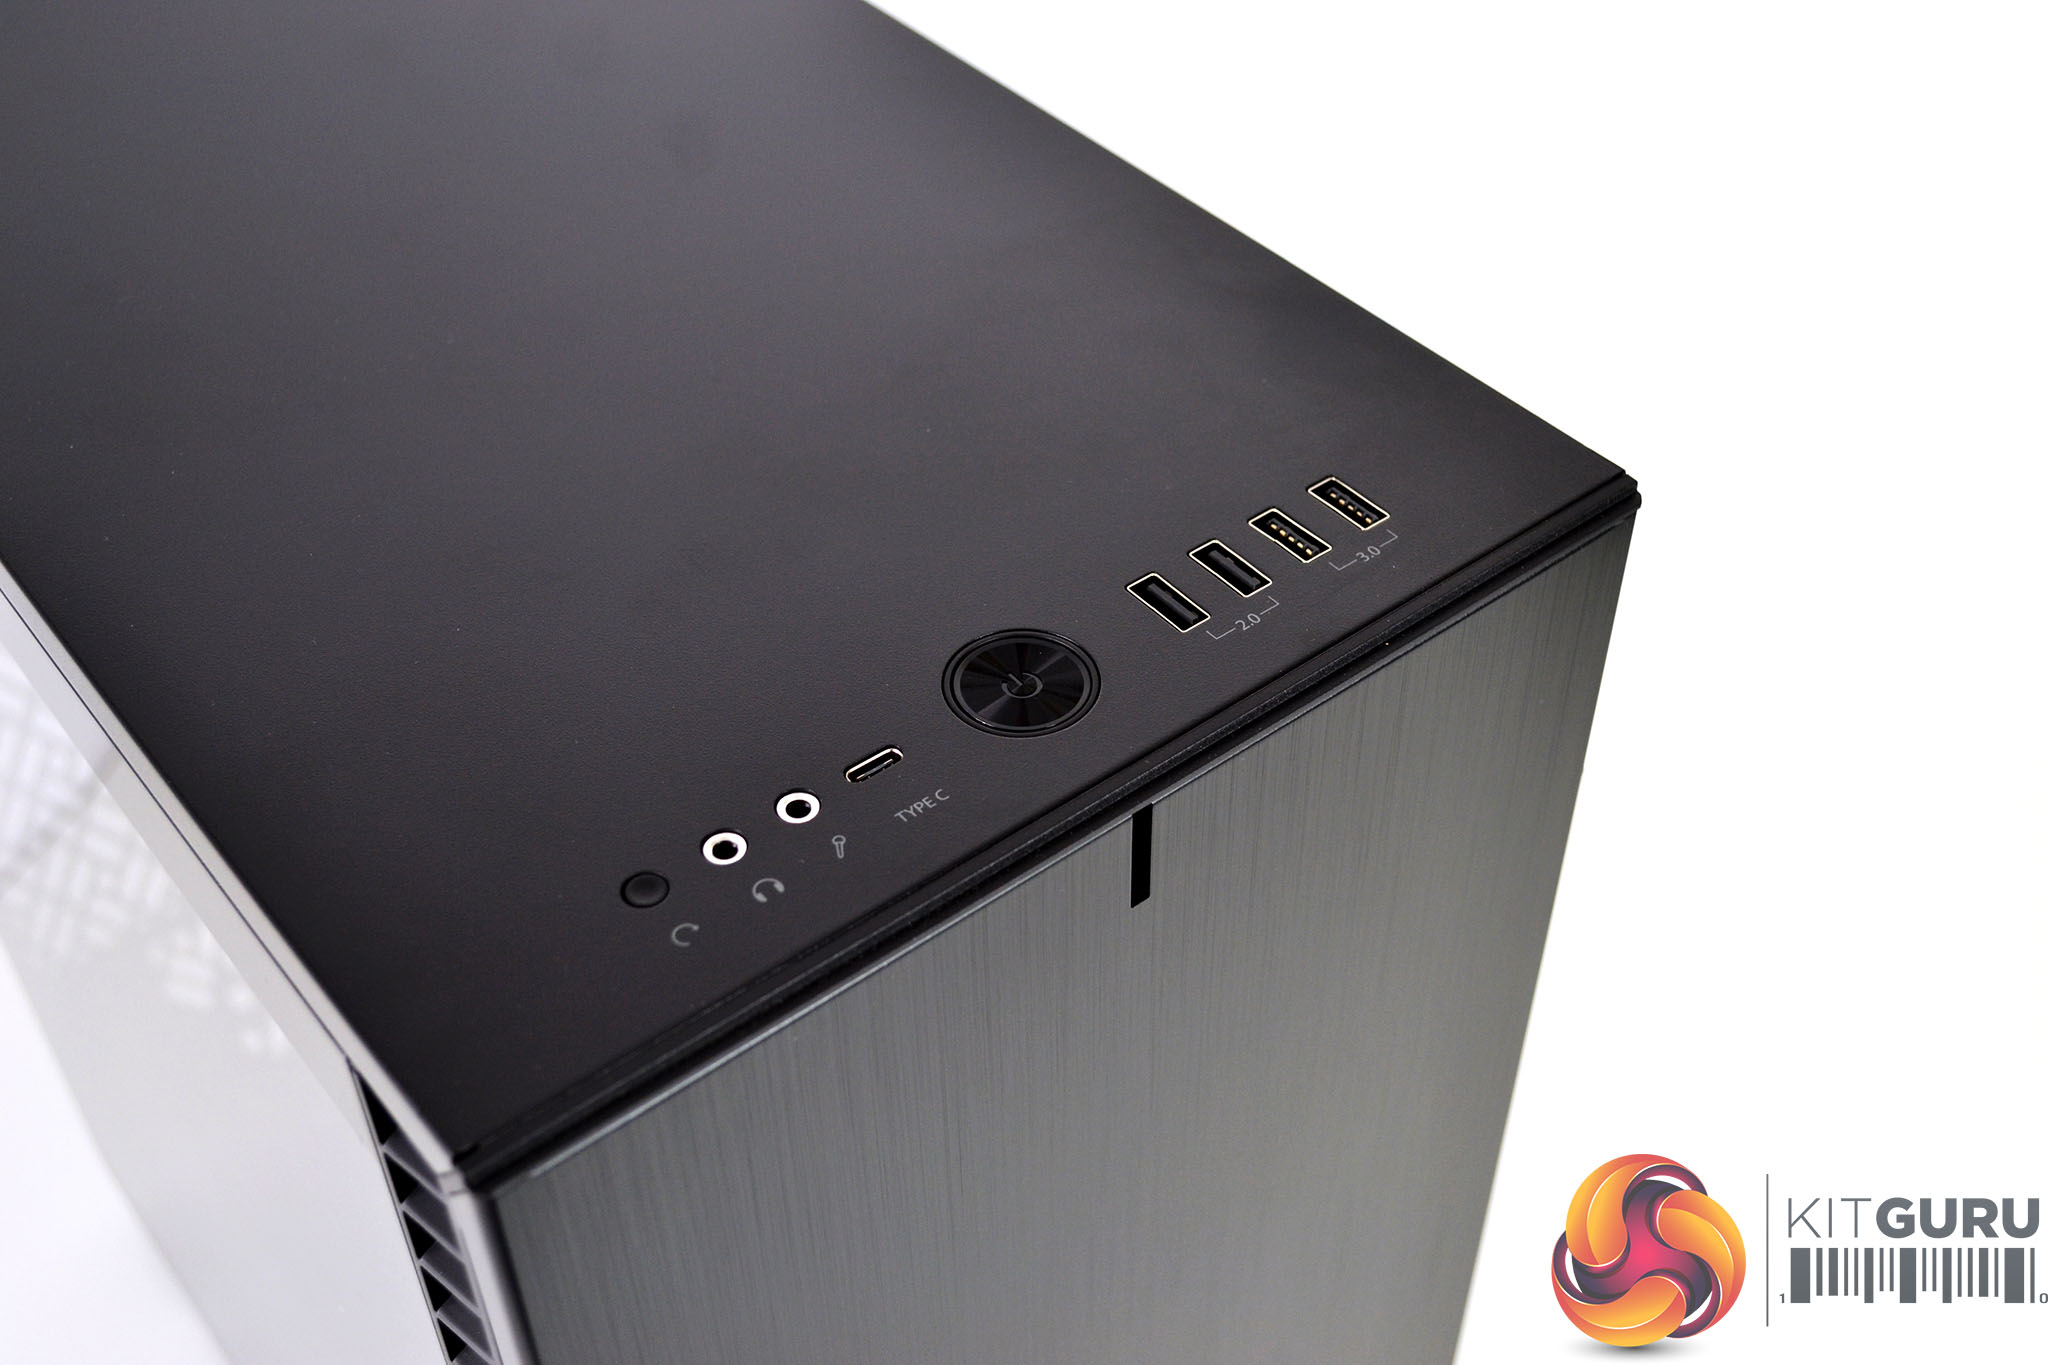

Placed towards the very front of the top panel for convenience is the front I/O. this consists of a large power button in the centre and a reset button to the far left. Connectivity options of the 7 Compact front I/O are impressive of a case in this price range, with two USB 2.0 ports, two USB 3.0 ports, a USB Type-C port as well as 3.5mm audio jacks to connect a microphone and headphones.
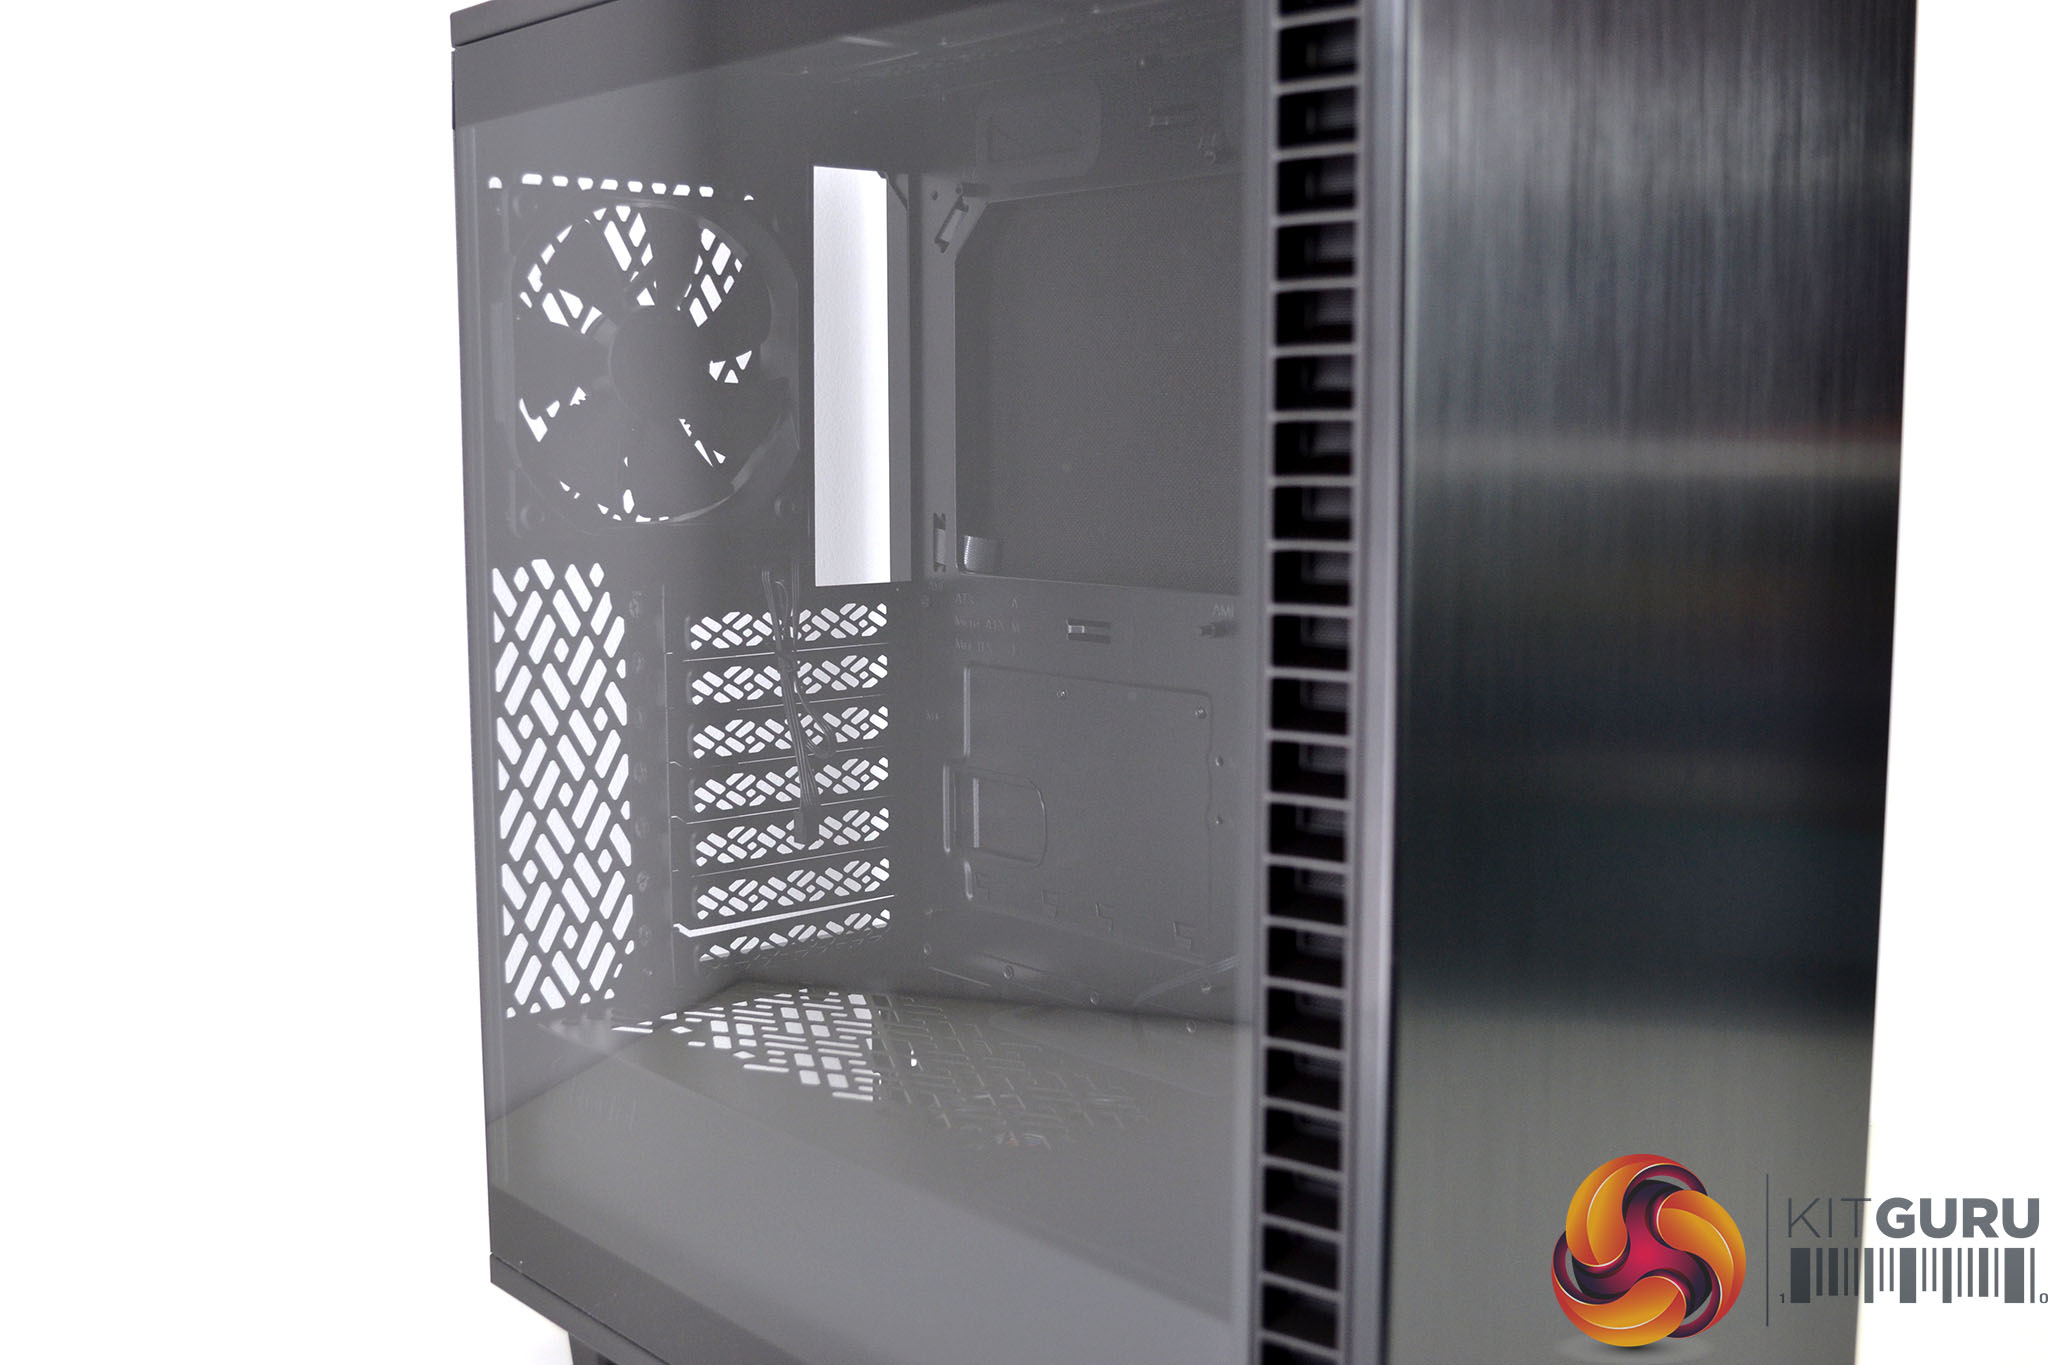
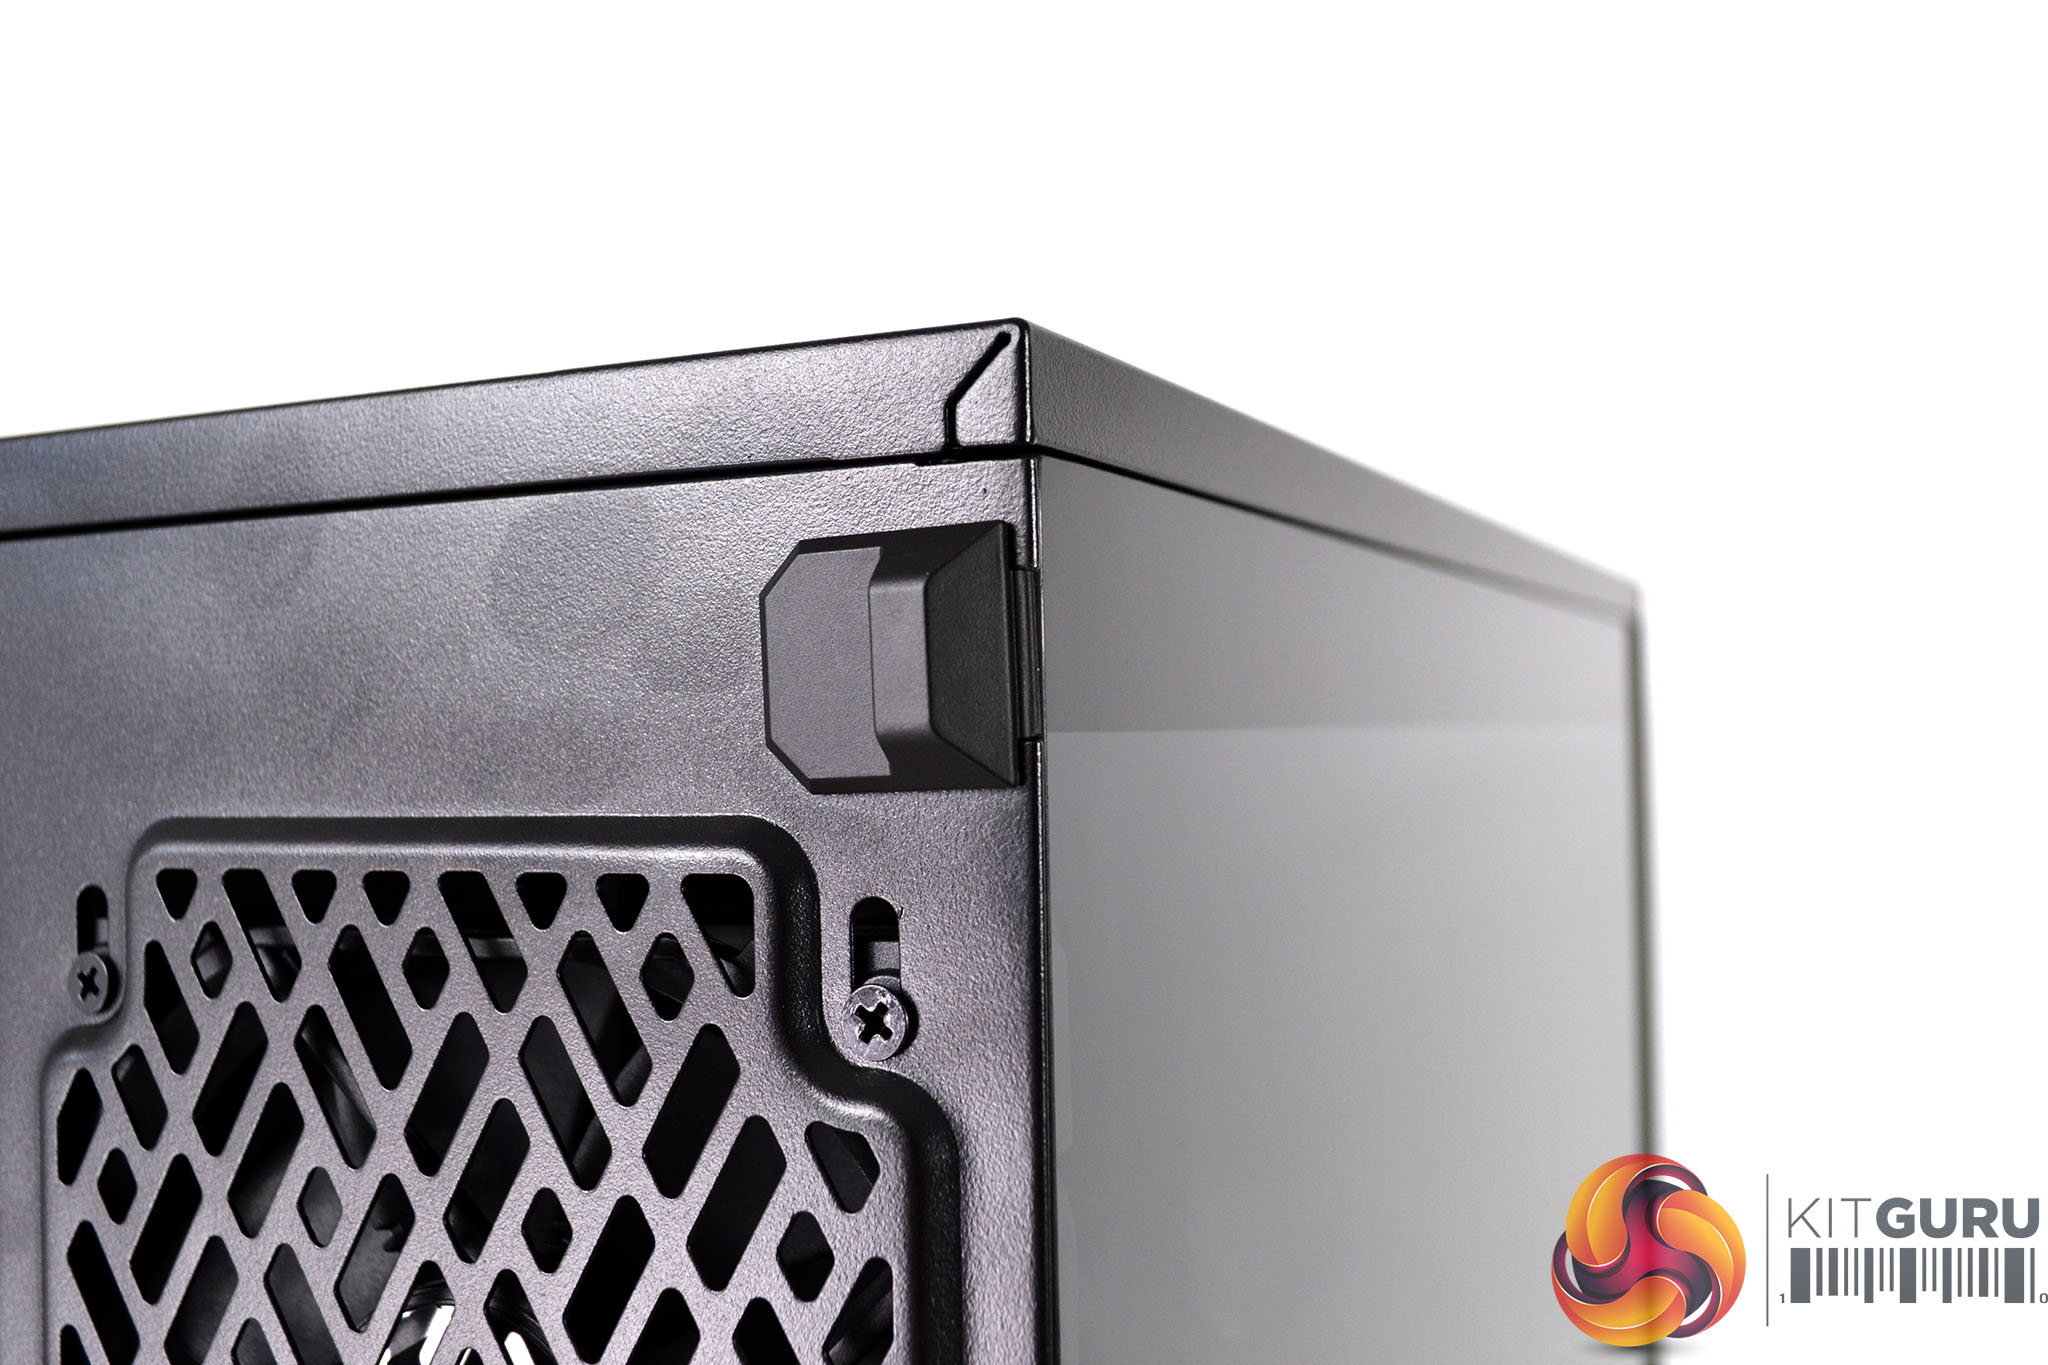
The light tint of the left hand tempered lass panel is very light and offers an unrestricted view of the case internals. The bottom and top of the glass feature black borders that cover up the internal metal strengthening and at the rear, towards the top is a small tab used to release the panel from the chassis frame.
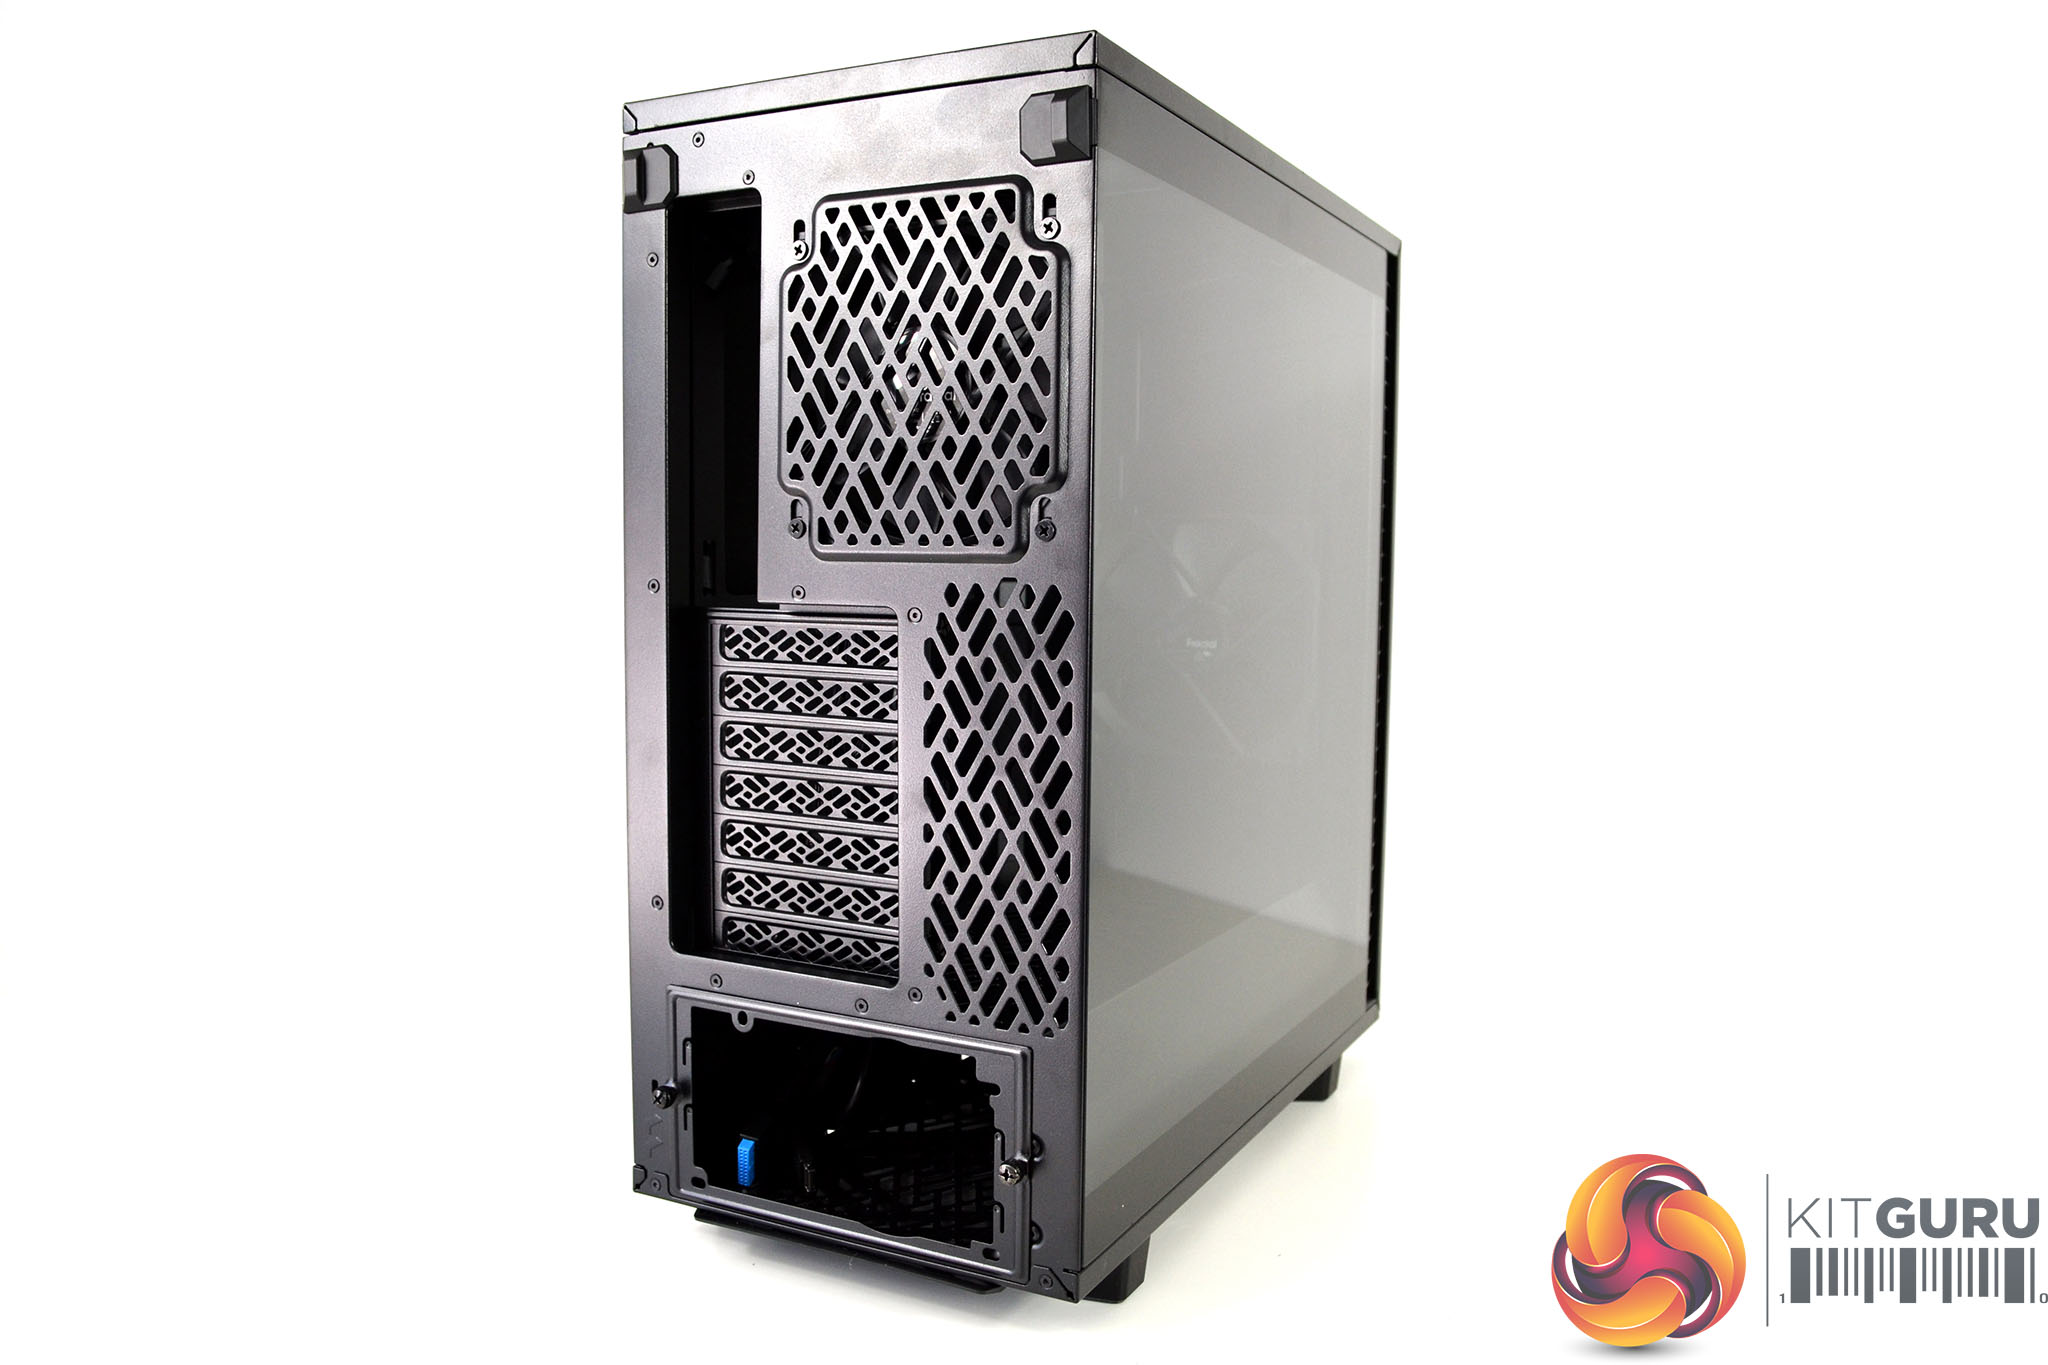
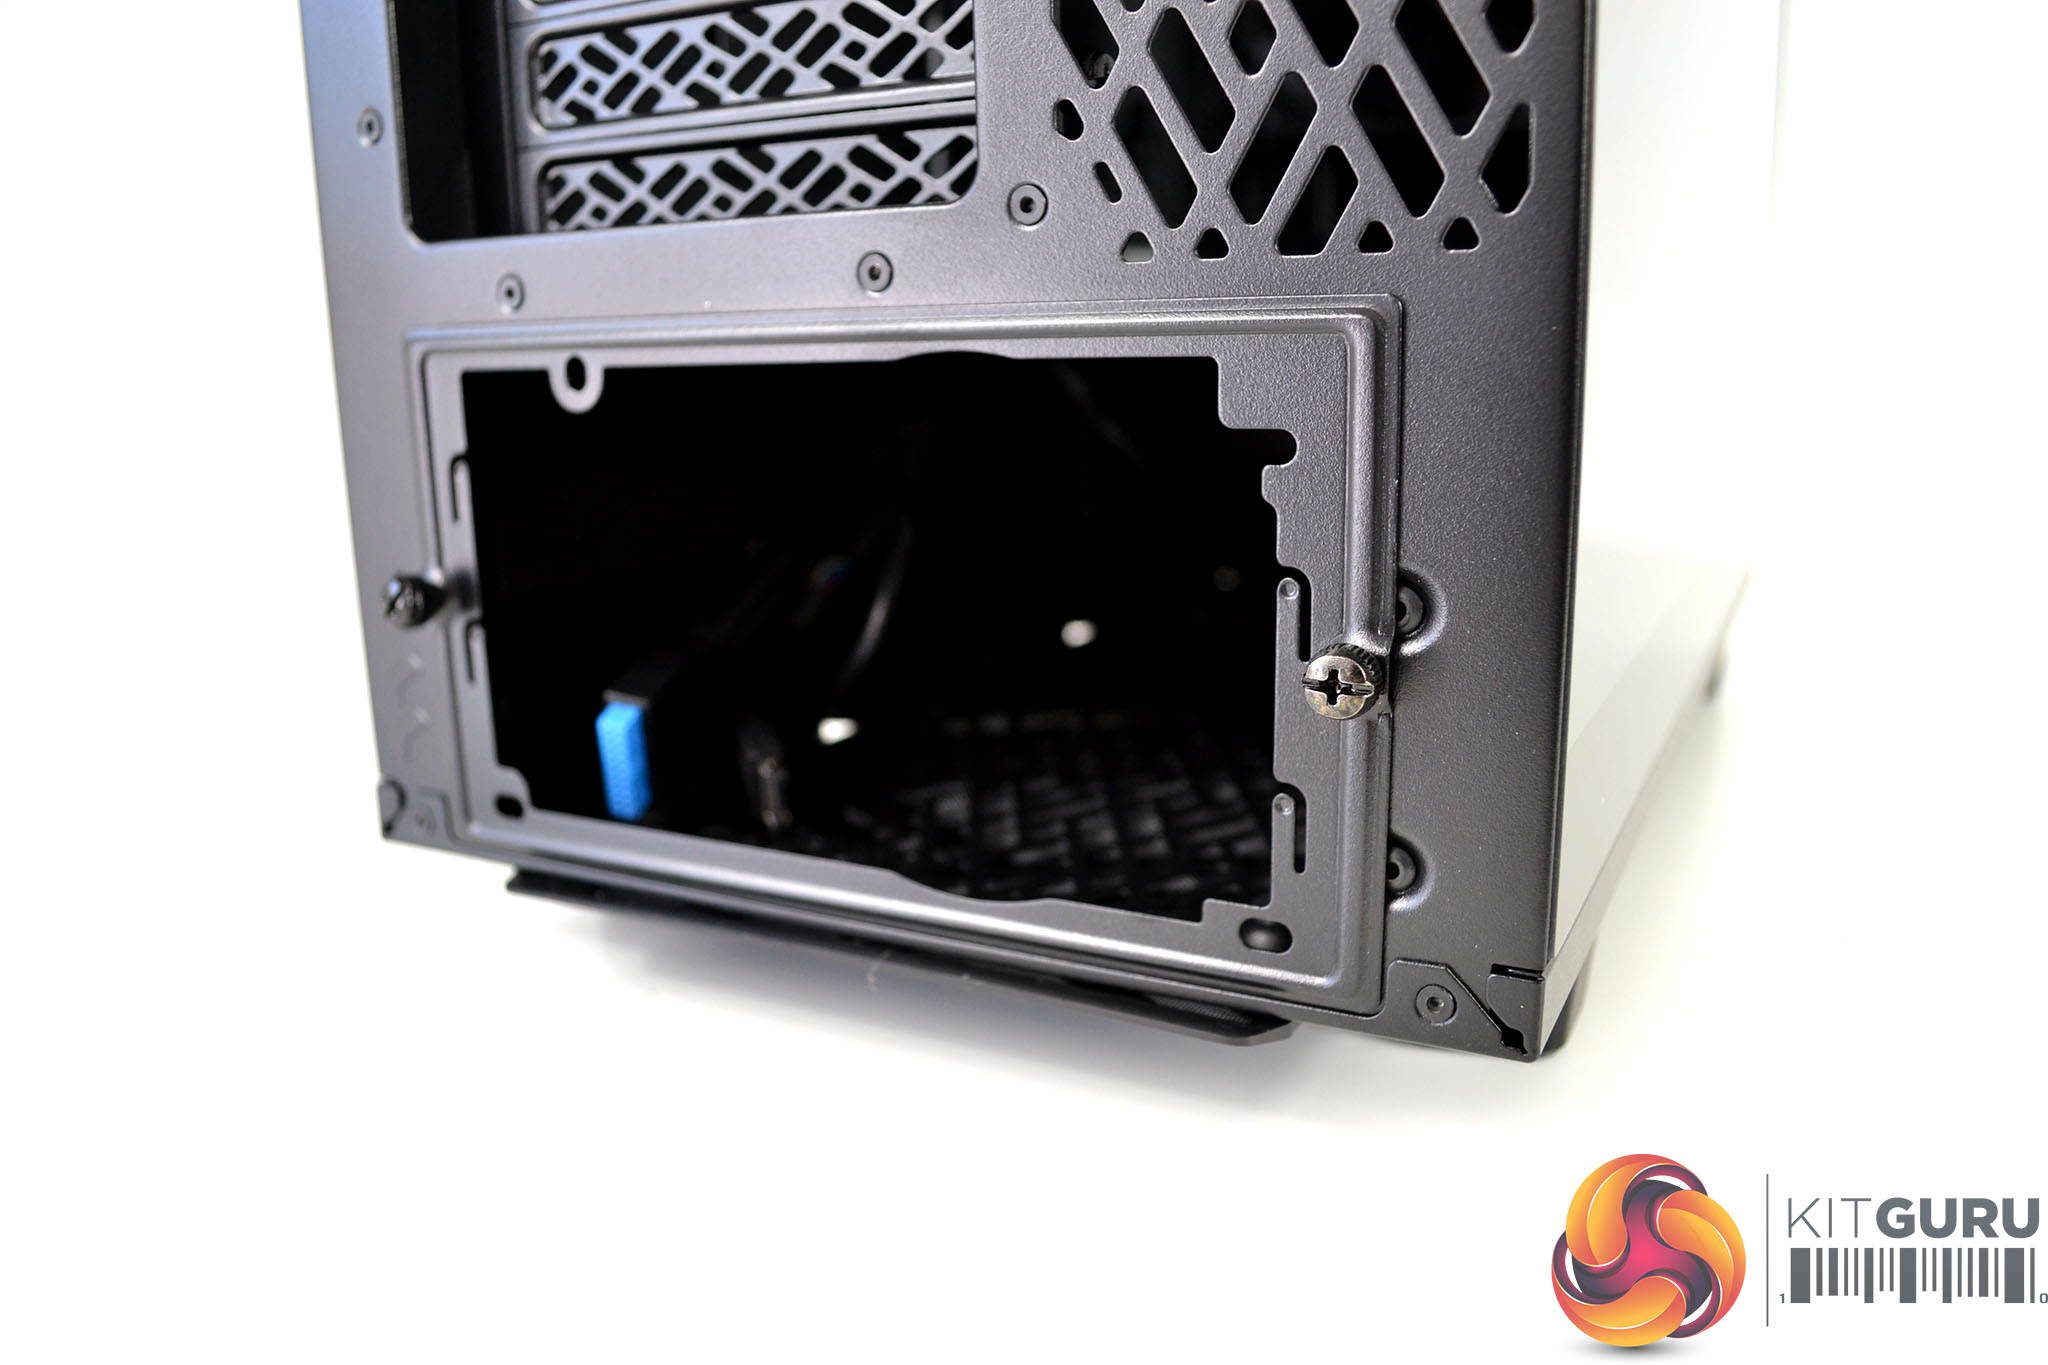
Even though this is a very compact mid-tower chassis and not much larger than some micro-ATX cases, the rear panel is outfitted with seven PCIe expansion slots with a vent section to the right. There is a 120mm fan vent and at the bottom is a removable power supply bracket for inserting the PSU from the rear.
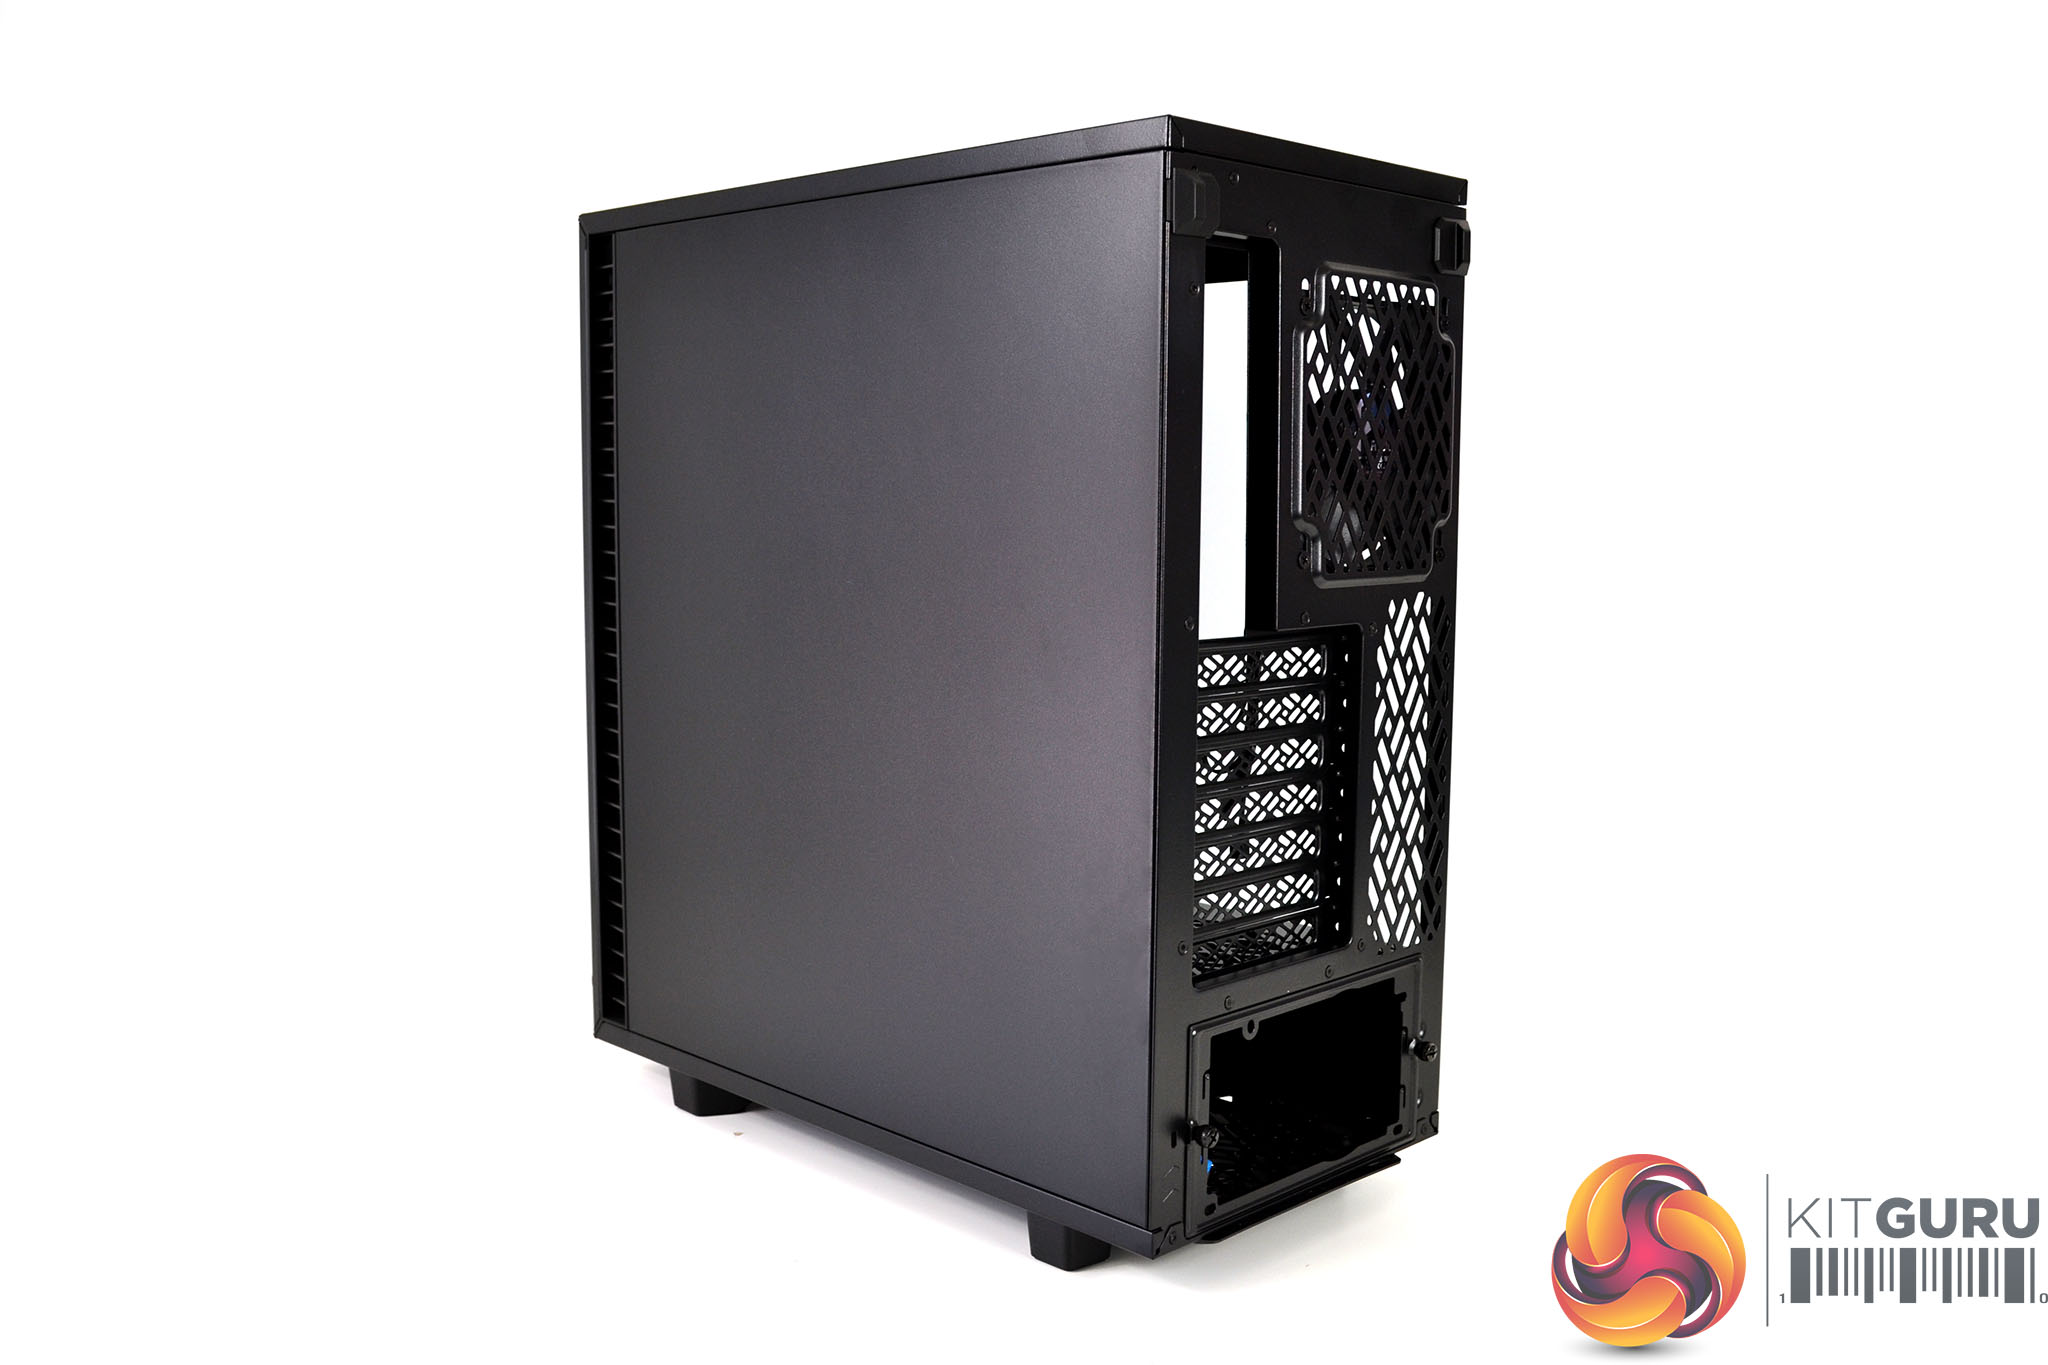
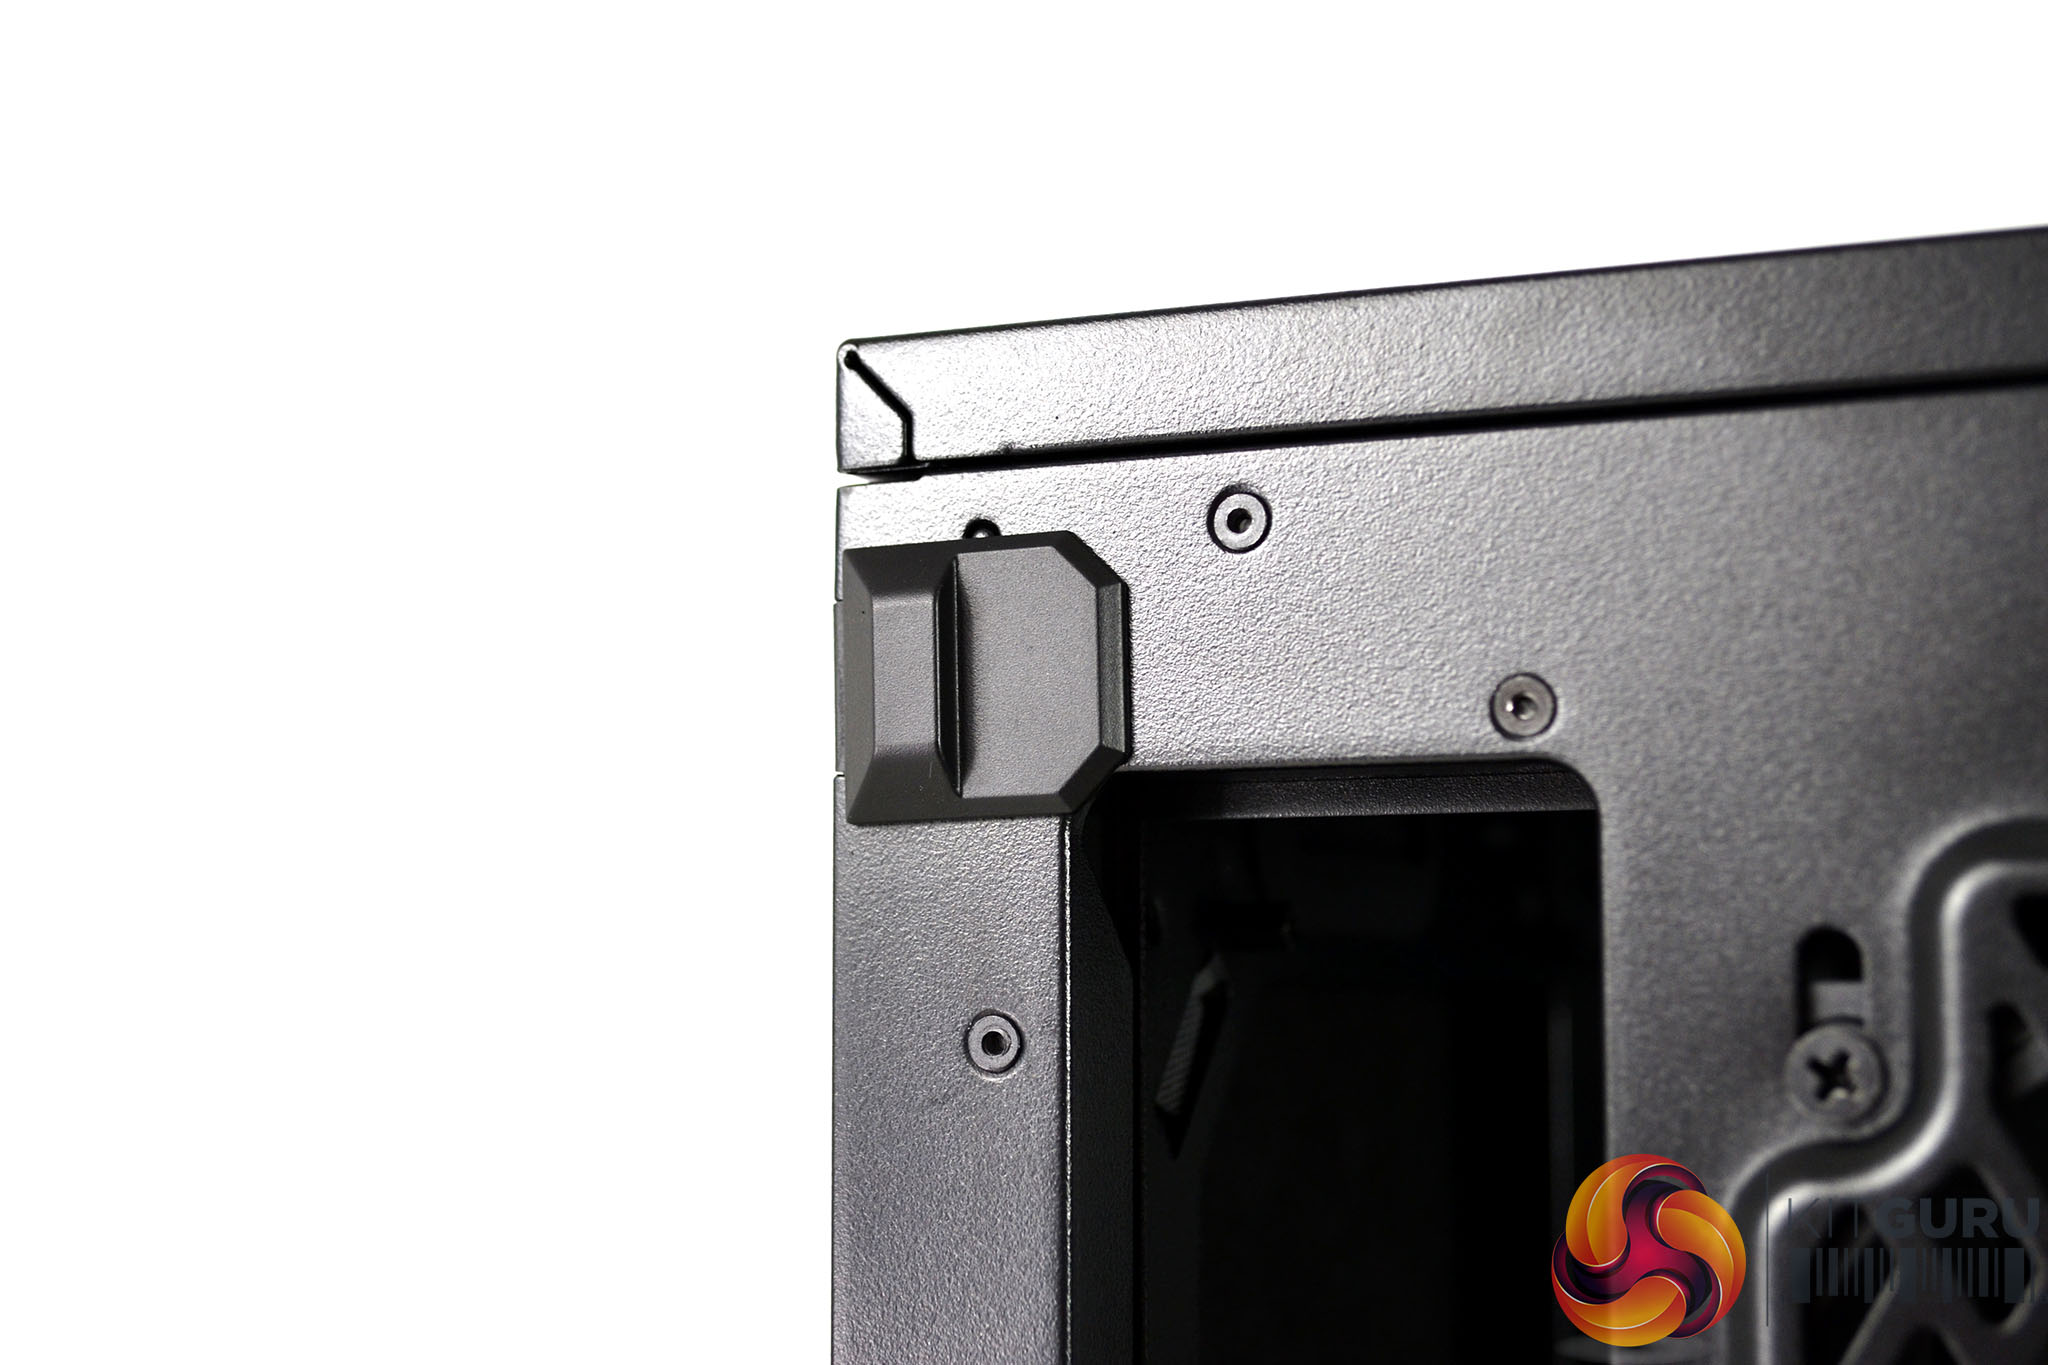
At the right-hand side of the case is a traditional solid steel panel. Just like the tempered glass panel, the right-hand steel side panel has tool-free removal with the same top tab to assist with releasing the panel from its clips.
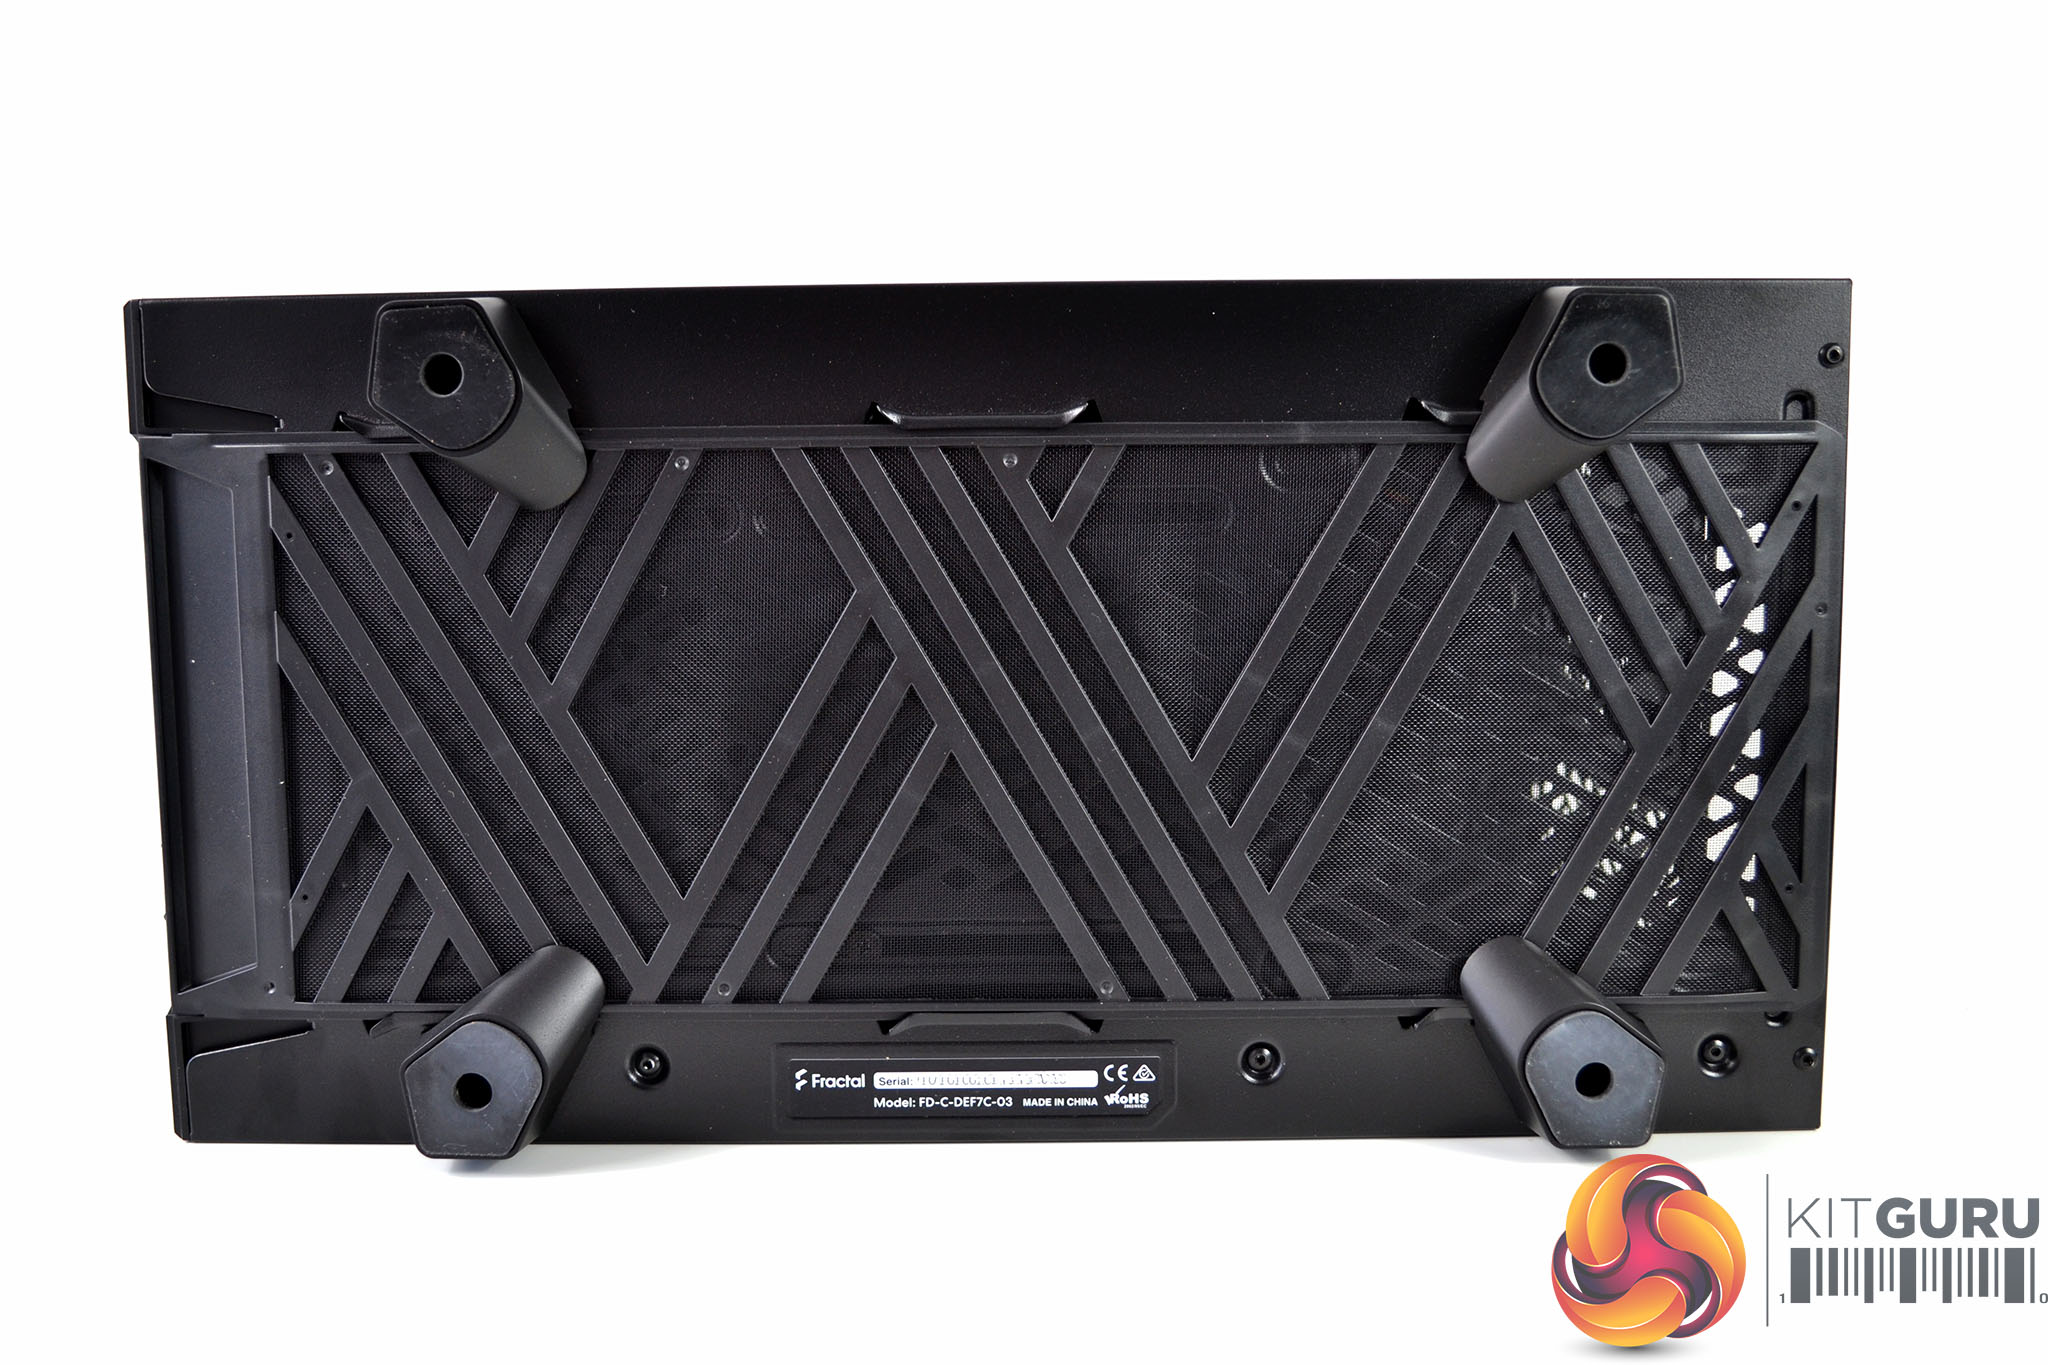
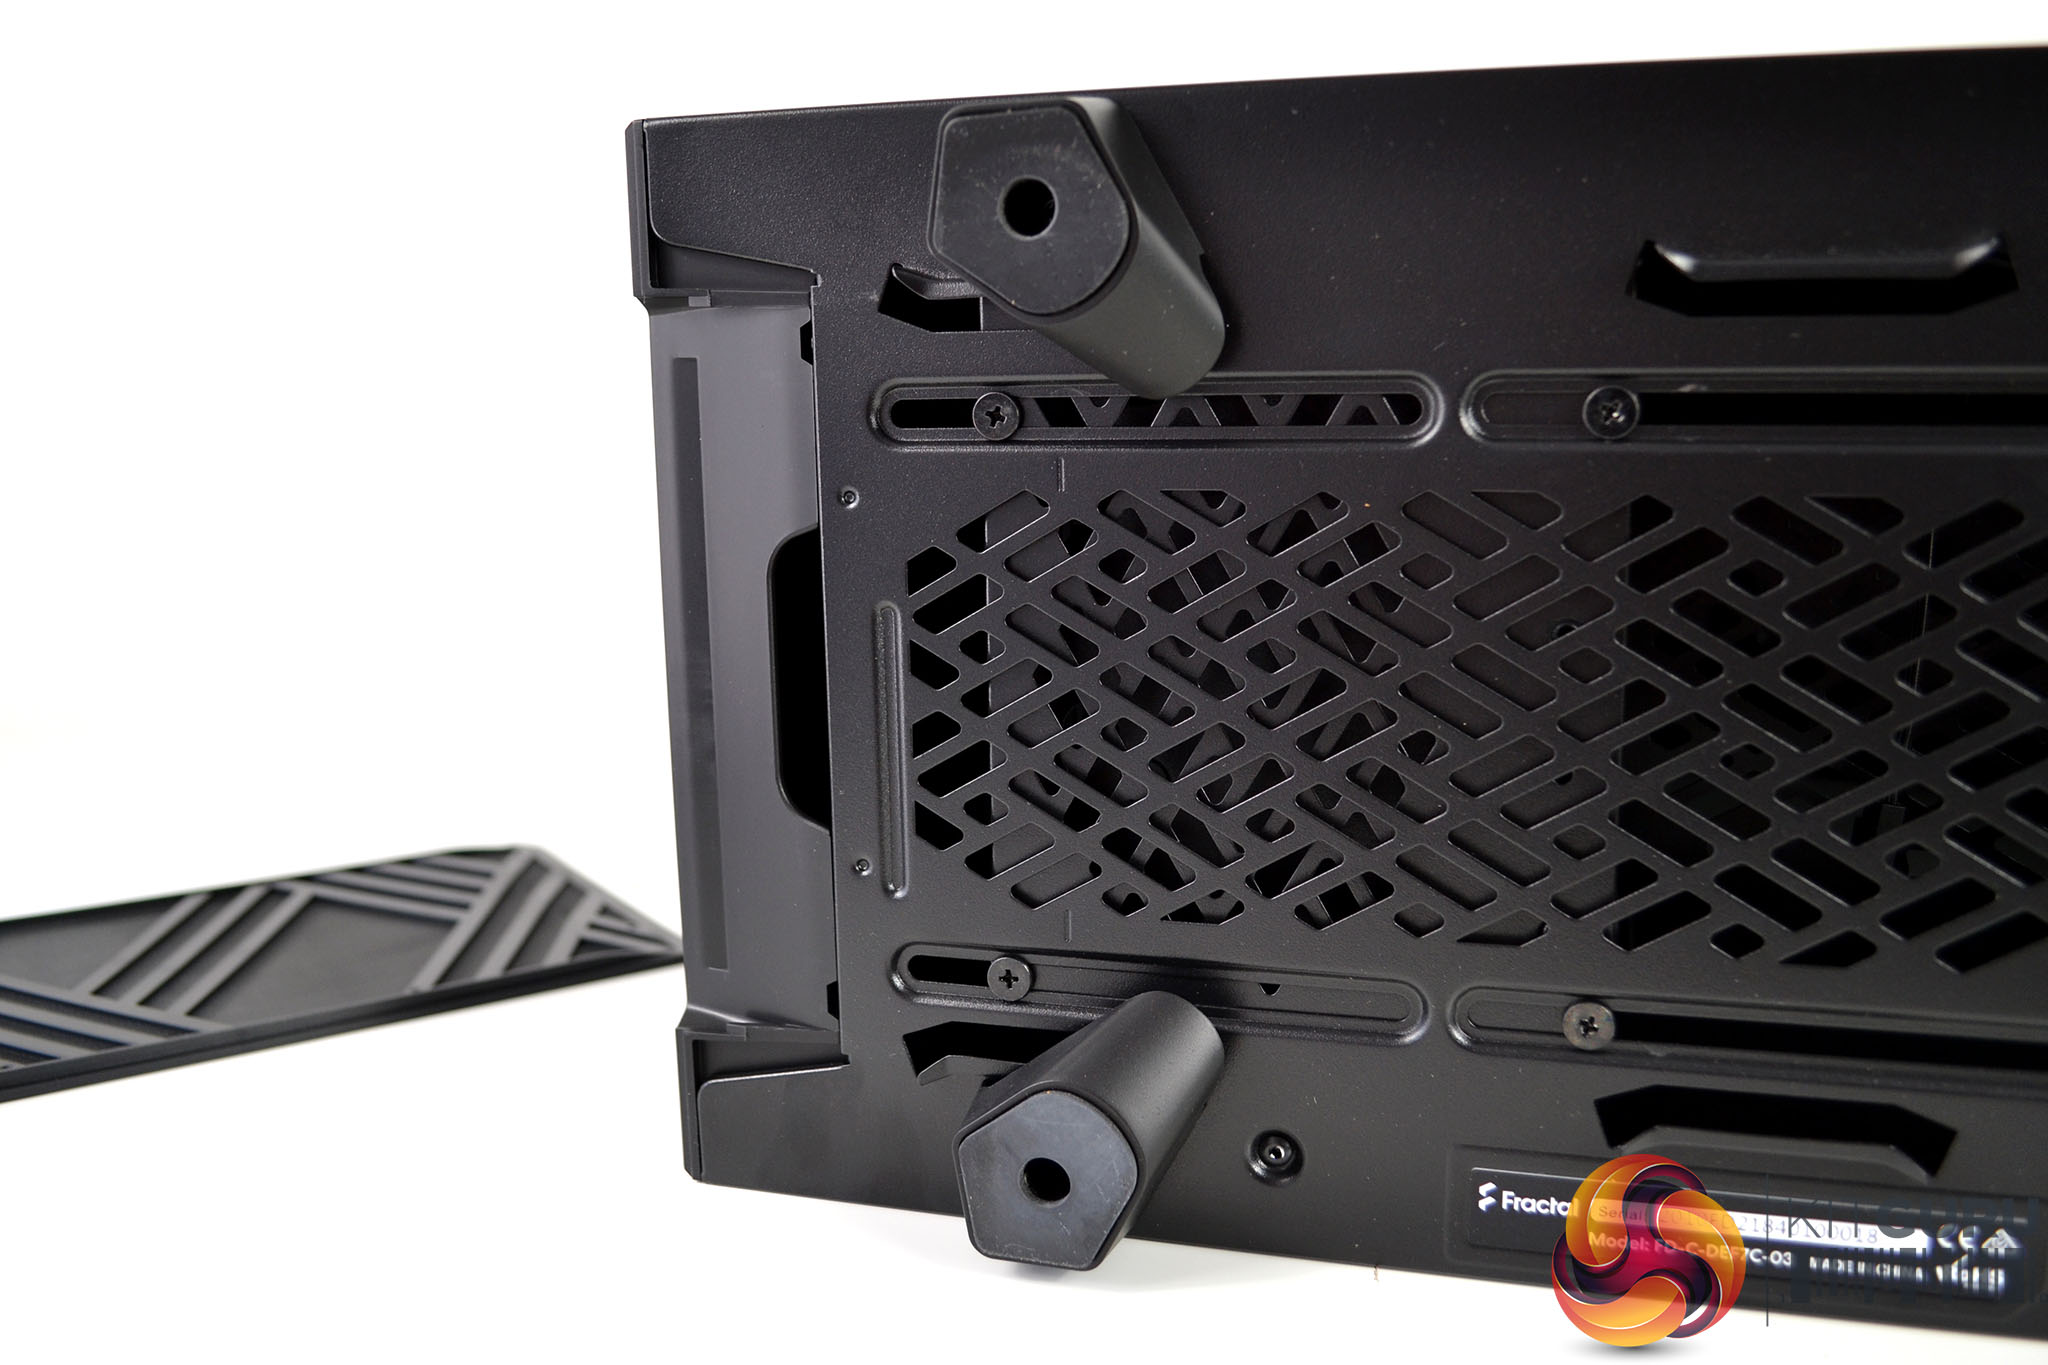
On the base of the case are four rubberised feet that raise the case up approximately 25mm. There is also a large dust filter that covers the whole underside. The filter slides out from the front and uncovers a large vented section the spans the power supply and a section where a 120mm fon or radiator can be fitted by removing the HDD cage.