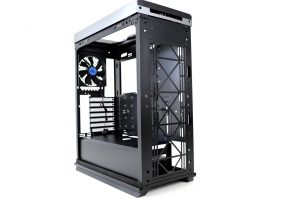
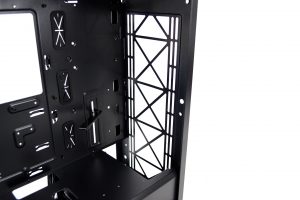
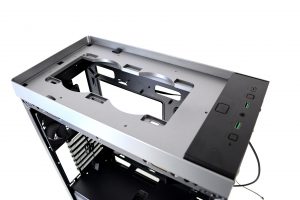
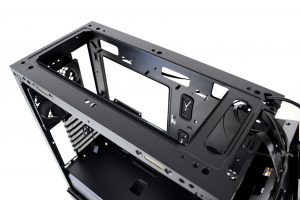
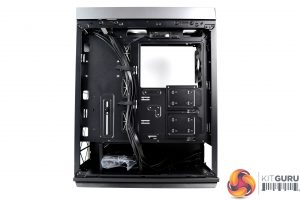
With all external panels removed from the chassis frame, it is clear to see that there is space at the front of the case to install up to 360mm radiators. There is also enough space between the front outer panel and inner chassis frame to install fans of 25mm thickness, which leaves more space inside the case for other components such as custom water-cooling pump/res combos.
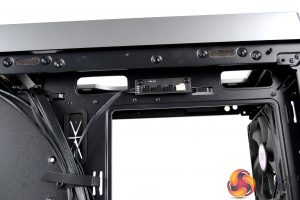
The top plastic fan/radiator mounting bracket that supports 240mm radiators can also be removed from the chassis frame since it is located on a series of plastic clips. The benefit of being able to remove this bracket is that it improves access to install an AIO, radiator or fans and will make it easier to plug in cables at the top of the motherboard.
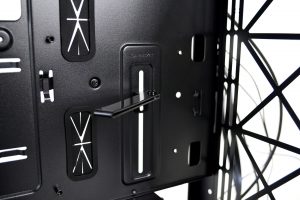
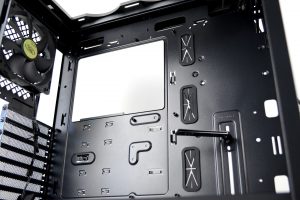
Layout of the motherboard tray in the CL500 looks identical to the Macube 310 series, with enough space to support full-size ATX motherboards (not EATX). To the right of the motherboard tray is the built-in GPU bracket which is a handy feature.
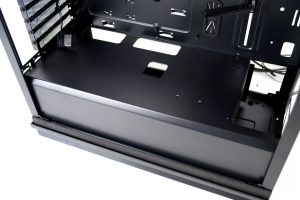
At the bottom of the case interior is a full cover power supply shroud with a cut-out at the front for front-mounted radiators/AIOs. There are numerous cable cut-outs in the PSU shroud and at the top of the chassis, However, the only cable cut-outs with rubber grommets pre-installed are along the right-hand side of the motherboard, which is a little disappointing. Grommets on the PSU shroud would have been an advantage here.
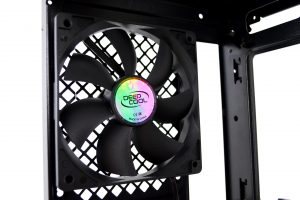
In the rear panel of the CL500 are the usual cut-outs for PCIe slots and the rear motherboard I/O ports, as well as the only fan that comes pre-installed to the case. The 120mm fan is a regular plain black Deepcool system fan with a choice of power by Molex or a standard 3 pin motherboard header.
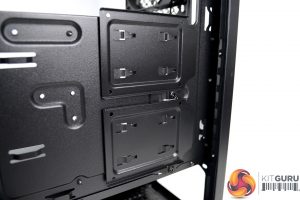
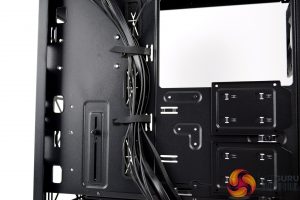
Behind the right-hand side panel is a traditional-looking layout by today's standards. The motherboard tray has a large cut-out to aid CPU cooler installation with a motherboard installed to the case, just below this cut-out are two removable 2.5-inch SSD brackets.
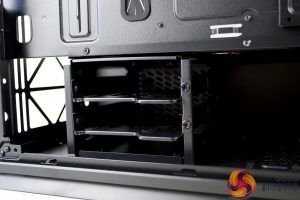
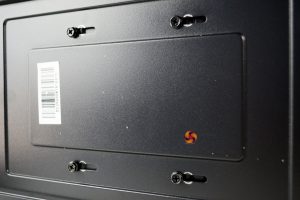
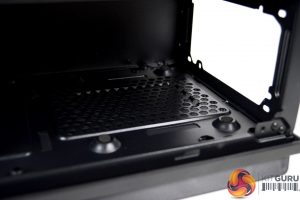
Mounted inside the PSU shroud is a 3.5-inch drive cage with two removable trays that drives are installed on outside the case. The Whole HDD cage features position adjustment by loosening off four screws on the underside of the case floor and sliding left or right.
With the HDD cage positioned as far to the front of the case as possible, there is 220mm of space left to install the power supply and all the cables, which sounds like a healthy amount. The PSU inserts into position from the side of the case, so installing big power supplies may be a little tricky. On the floor of the case are anti-vibration rubbers to reduce noise generated by the PSU.
In terms of cable management behind the right-hand side panel, Deepcool had provided two Velcro straps down the central cable management channel, as well as multiple cable tie eyelets. Additional cable eyelets are located at the top of the right-hand panel where the four-port PWM fan hub is located too.
 KitGuru KitGuru.net – Tech News | Hardware News | Hardware Reviews | IOS | Mobile | Gaming | Graphics Cards


