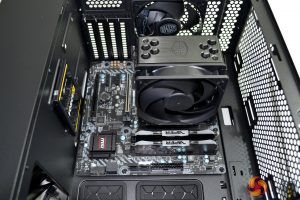
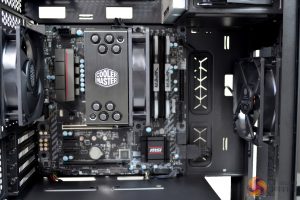
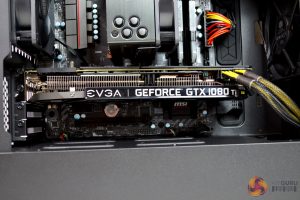
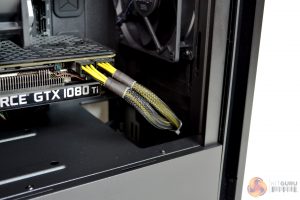
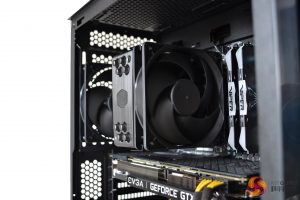
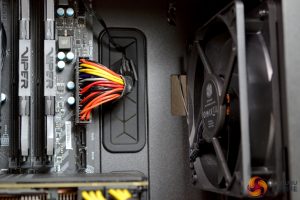
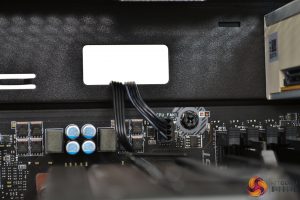
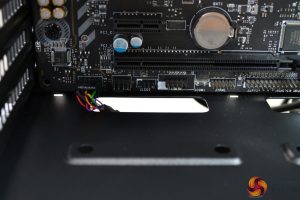
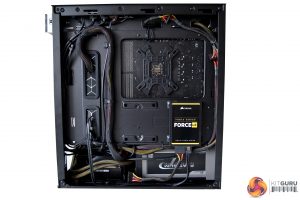
Overall, it was a pleasing experience building a system into the Silencio S400 case. We did come across one or two minor issues, but nothing to worry even a novice DIY system builder.
Installation of the motherboard is simple – all the pre-installed stand offs lined up correctly. It is advisable to remove either the 5.25” drive bay or the rear fan, as this will help motherboard installation when lowing it into position.
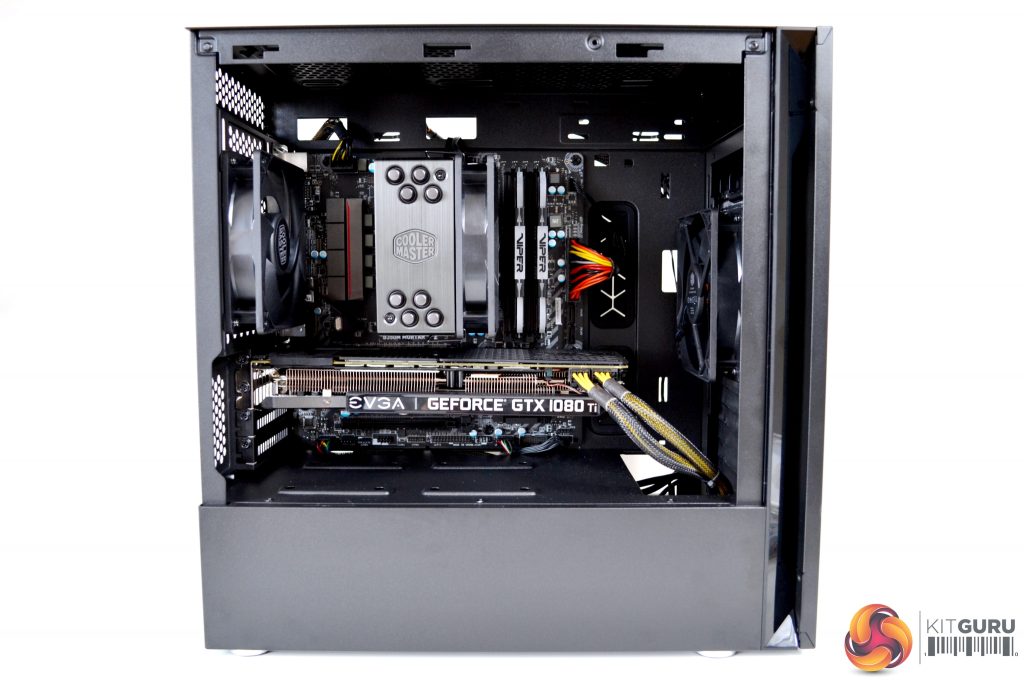
Installing a discrete GPU up to 319mm long should be manageable, as there is approximately 75mm of clearance between the motherboard and front fan. Our EVGA 1080 TI SC Black Edition fitted nicely, although it may have been a little close if a front mounted radiator was installed.
In the S400, there is clearance for up to a 167mm (with steel side) and 166mm (with tempered glass) CPU air cooler. For this build, we had no issues getting our Cooler Master Hyper 212 Black Edition to fit into this space.
Cable management cut outs are abundant and in the correct positions for almost every installation scenario. The two larger cut outs, at the right-hand side of the motherboard, are fitted with rubber grommets to protect the cables.
All upper and lower cut outs have no grommets, but this is often true of lower budget cases. There are also more than enough cable tie down points on the rear of the motherboard to make a tidy job of installation. A generous amount of cable ties is supplied in the accessory pack.
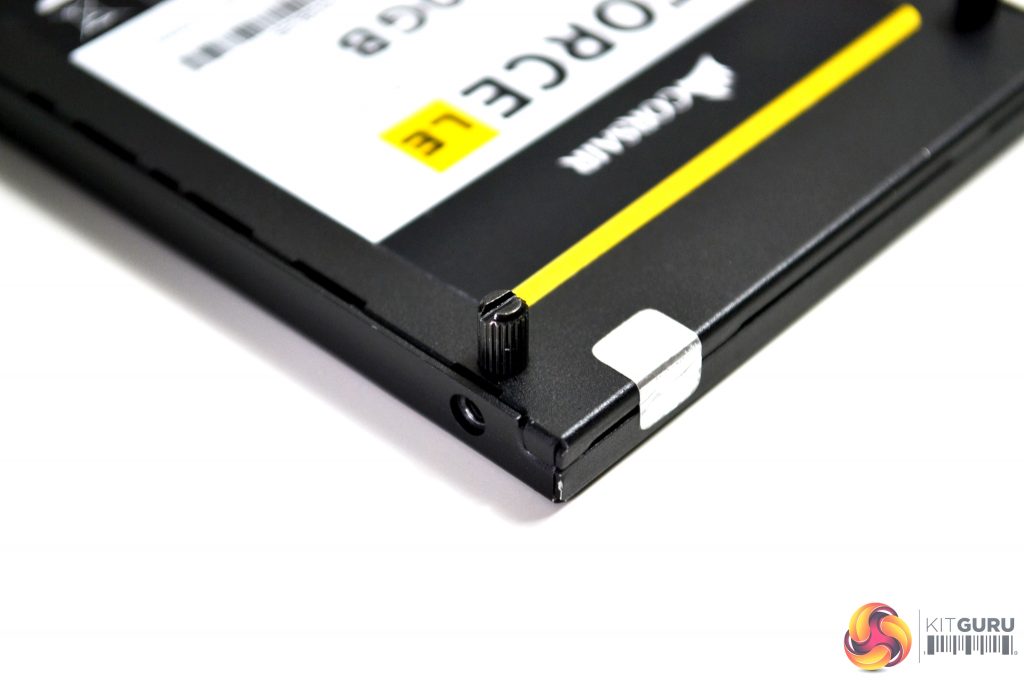
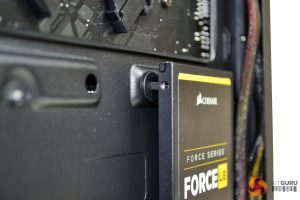
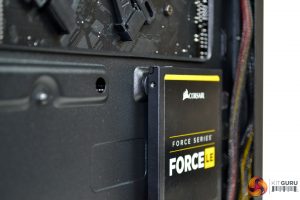
2.5” storage drives are installed with a potentially tool free process. Thumbscrew-style stand offs are included, which could be tightened by hand, but you can be extra safe and use a flat blade screwdriver if you wish.
Simply insert four rubber grommets into the mounting holes on the chassis, then screw four standoffs to the underside of your 2.5” storage drive and push the drive, with the standoffs, through the grommets. This should be enough to securely hold an SSD drive in position but may not be an ideal scenario for a mechanical 2.5” drive. The potential for mechanical vibration may loosen a HDD over time so keep this in mind.
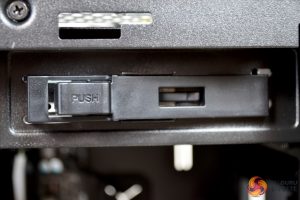
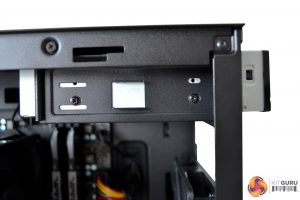
Installation of a 5.25” optical drive is also a tool free operation; a quick release plastic bracket has been implemented into the design. However, we did have issues with this falling off whenever we tried to insert the drive, as the mounting pegs didn’t seem to line up with the hole in the chassis very well. Due to this, we would recommend using screws to fix an optical drive in place.
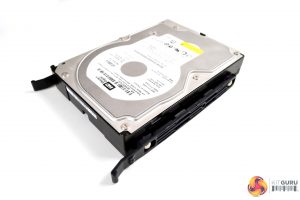
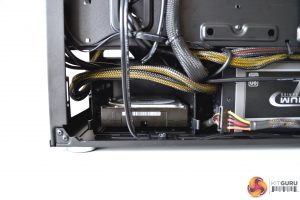
For 3.5” drive installation, we chose to use the cage mounted under the PSU shroud. Again, this is a simple tool free installation. Just take two of the plastic brackets and clip one either side of your 3.5” drive and slide the dive into the cage, until you hear it click into place.
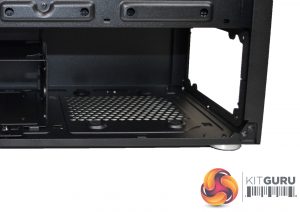
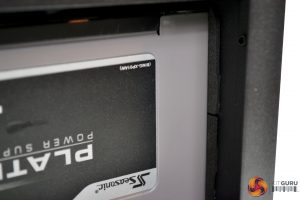
The Seasonic Platinum PSU we chose to use in this build may not have been the best. It was a very tight fit, as there was limited clearance to the 3.5” HDD cage, even with the cage in its furthest forward position. However, it did fit with some manipulation of the cables. There is always the option to remove the HDD cage completely to gain more space. Four rubber feet and a rubber seal pull sit tight to the PSU to help prevent vibration and unwanted noise.
As seen from the images, it is possible to make a neat looking build inside the Silencio S400.
 KitGuru KitGuru.net – Tech News | Hardware News | Hardware Reviews | IOS | Mobile | Gaming | Graphics Cards


