Although we found the process to be relatively simple, the Pure Base 500 does throw up some issues during installation, which may prove troublesome for novice or DIY system builders.
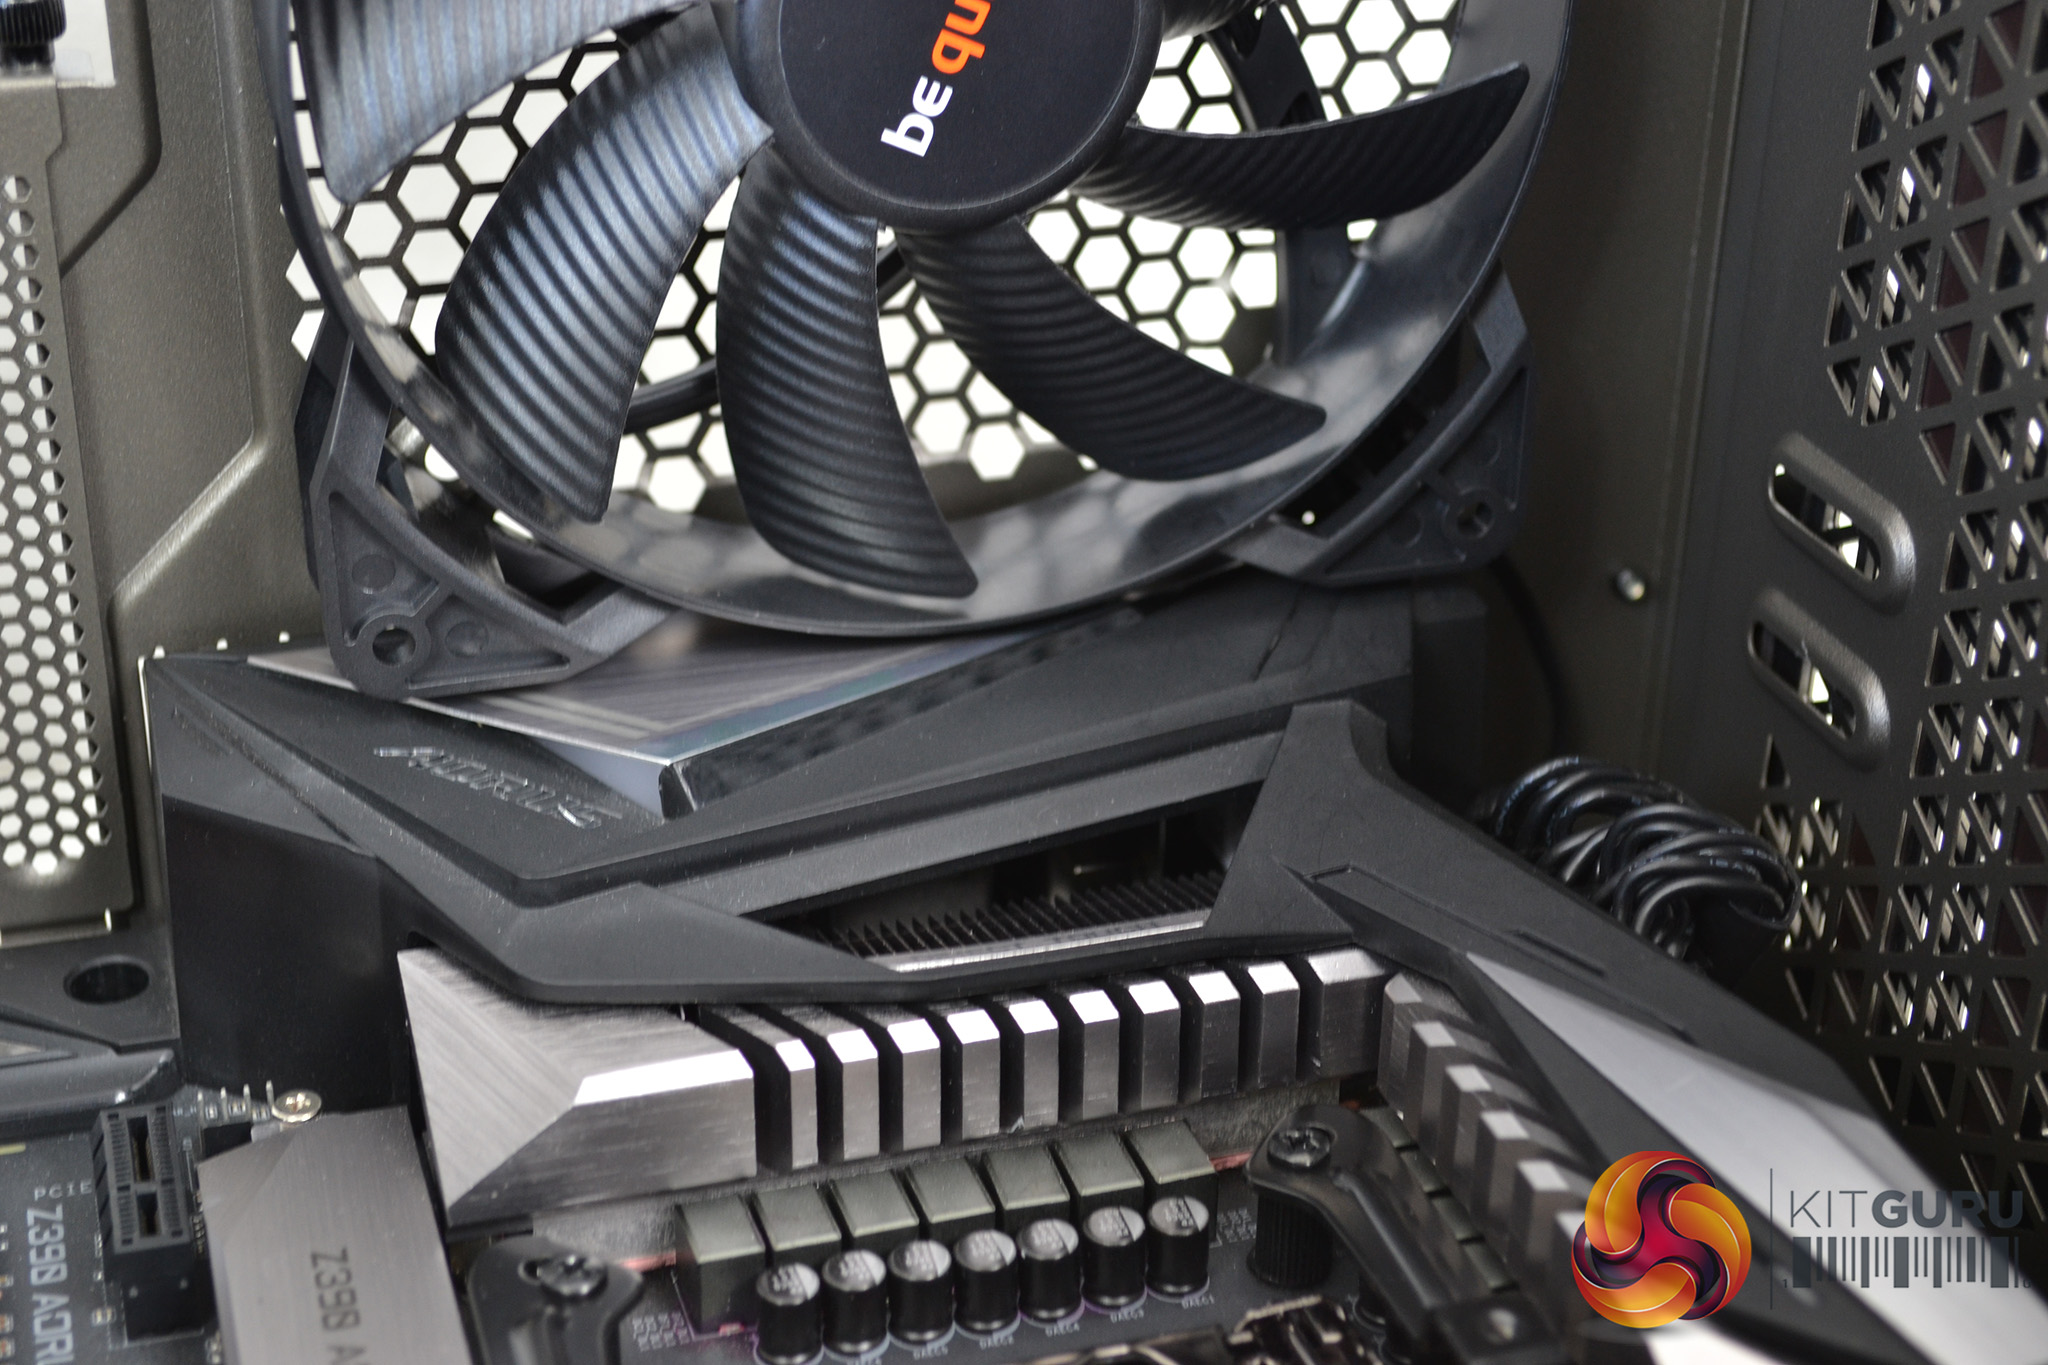
Installation of the motherboard created our first problem. Fitting of our Gigabyte Z390 Aorus Master was extremely tight. We had to remove both the rear fan and SSD panel to allow clearance to place the board in position. Even then we found it difficult to line up the motherboard to the stand offs – this may have been due to the armour back plate on the Aorus Master.
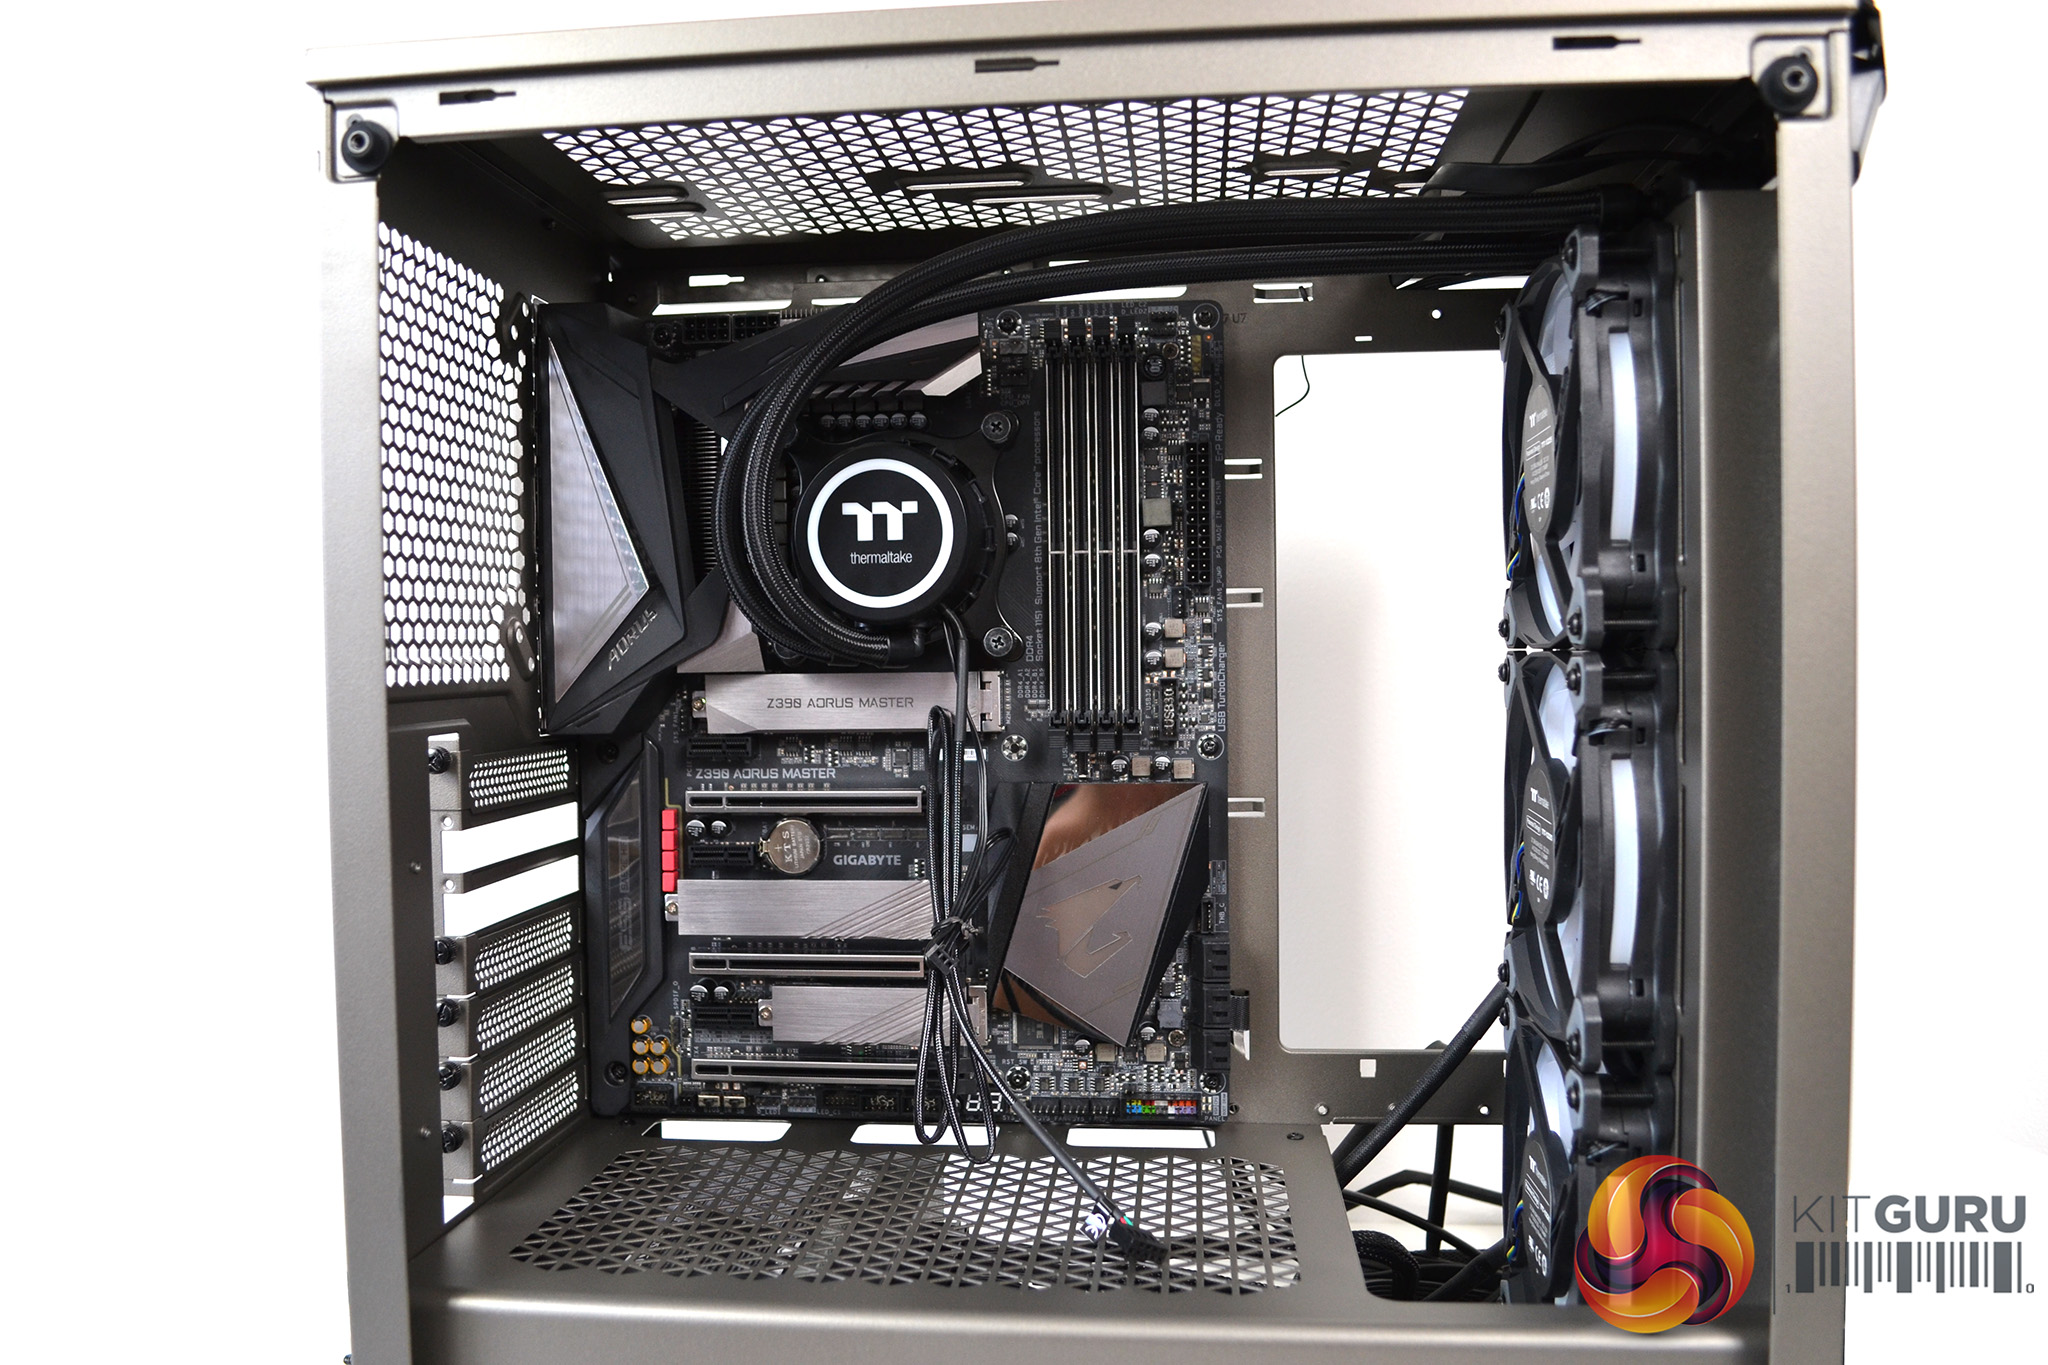
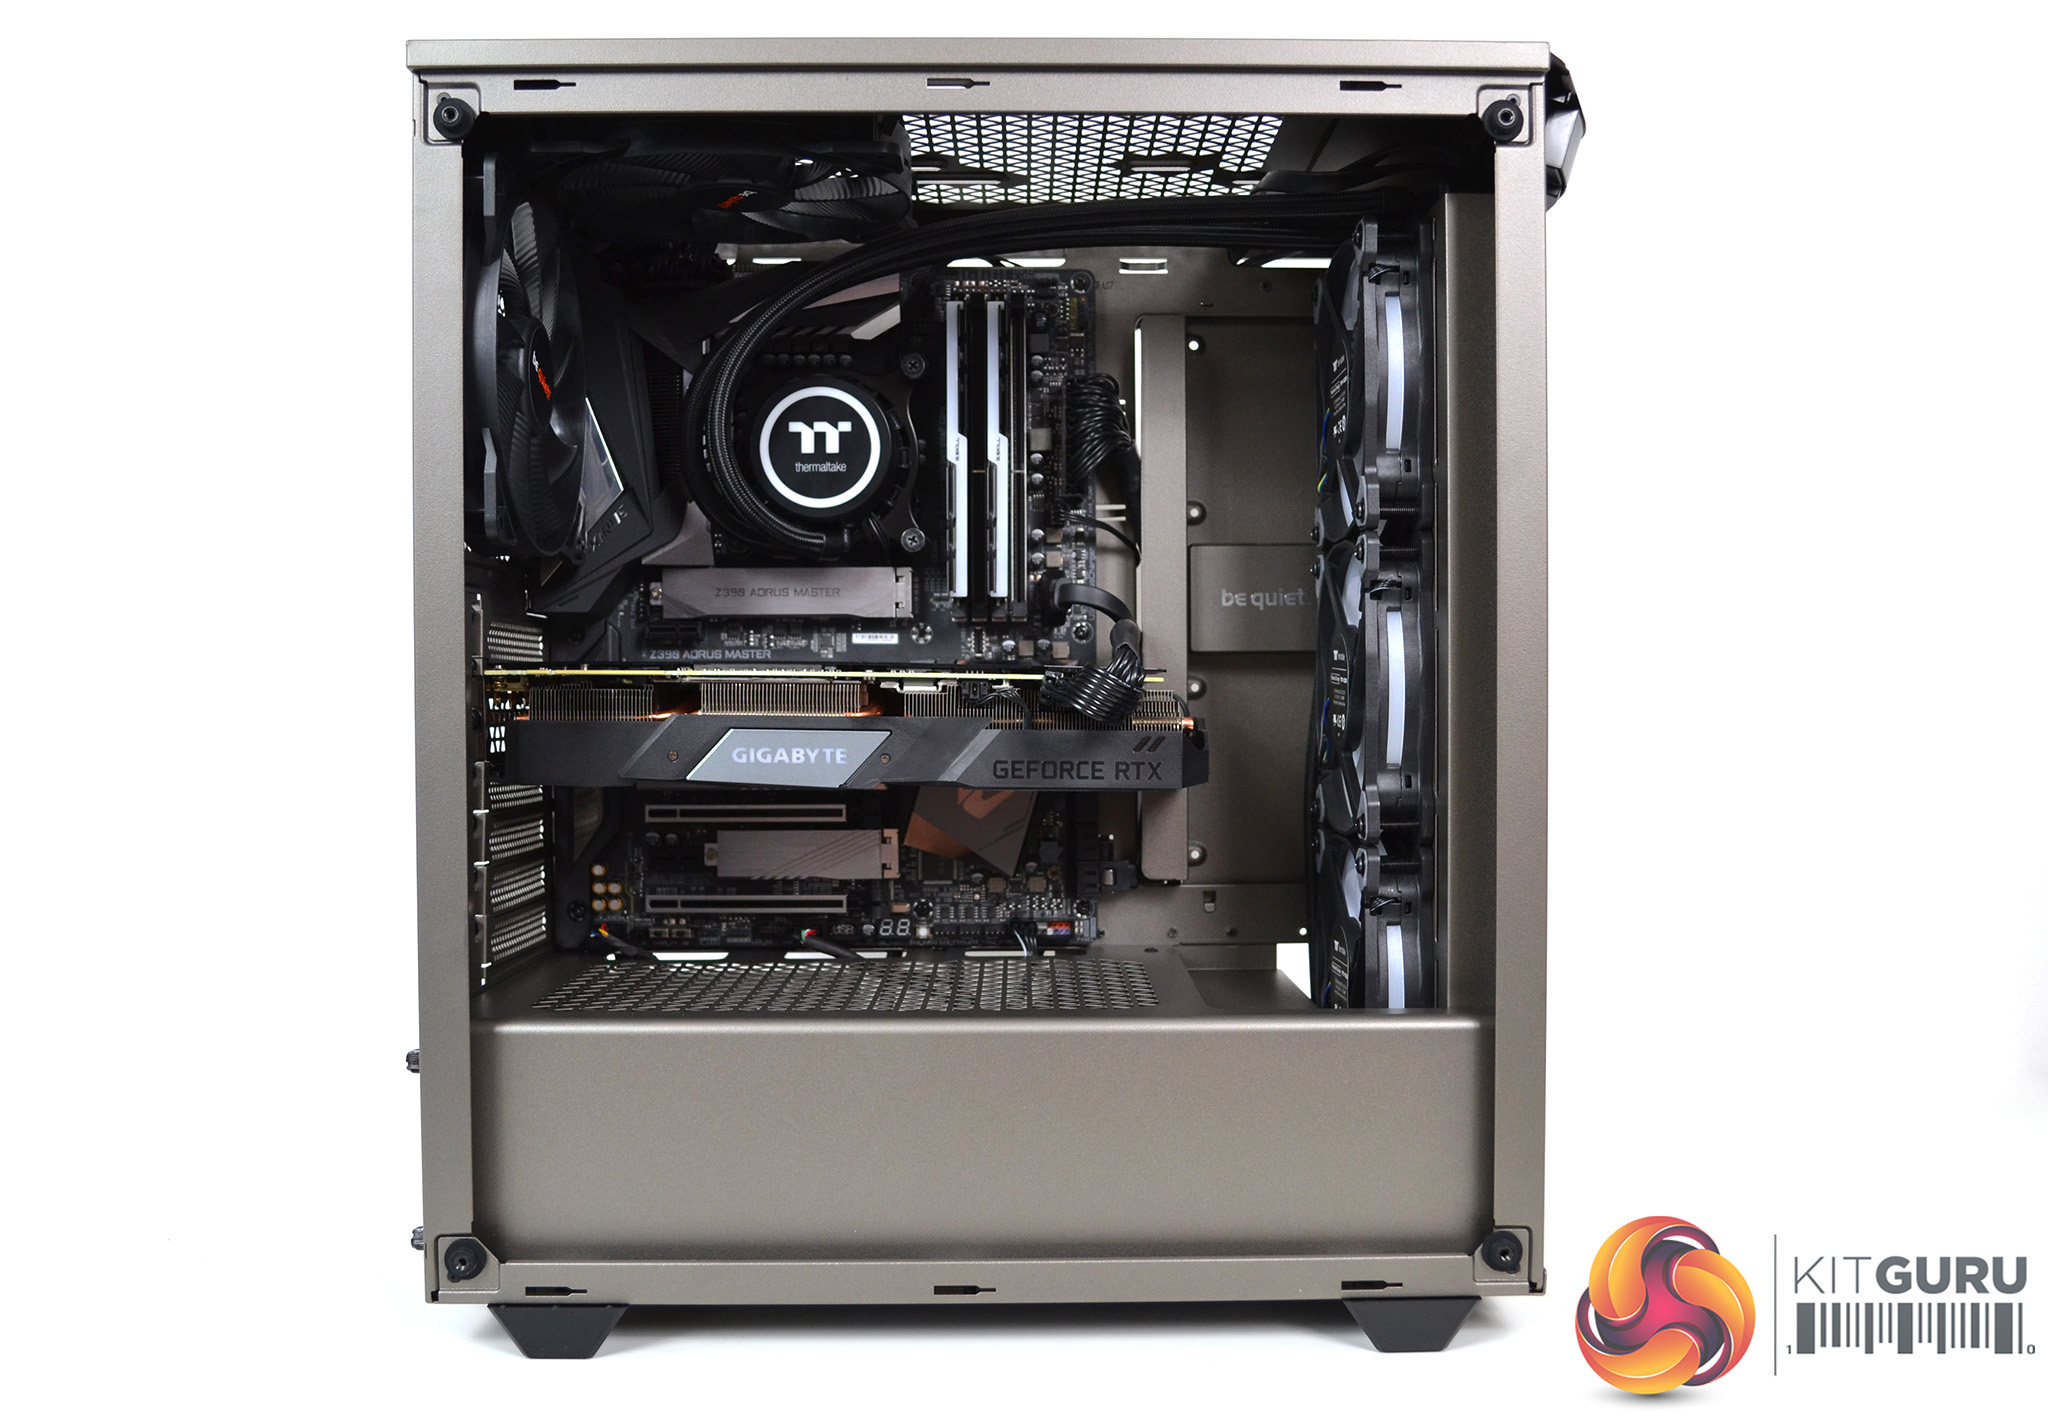
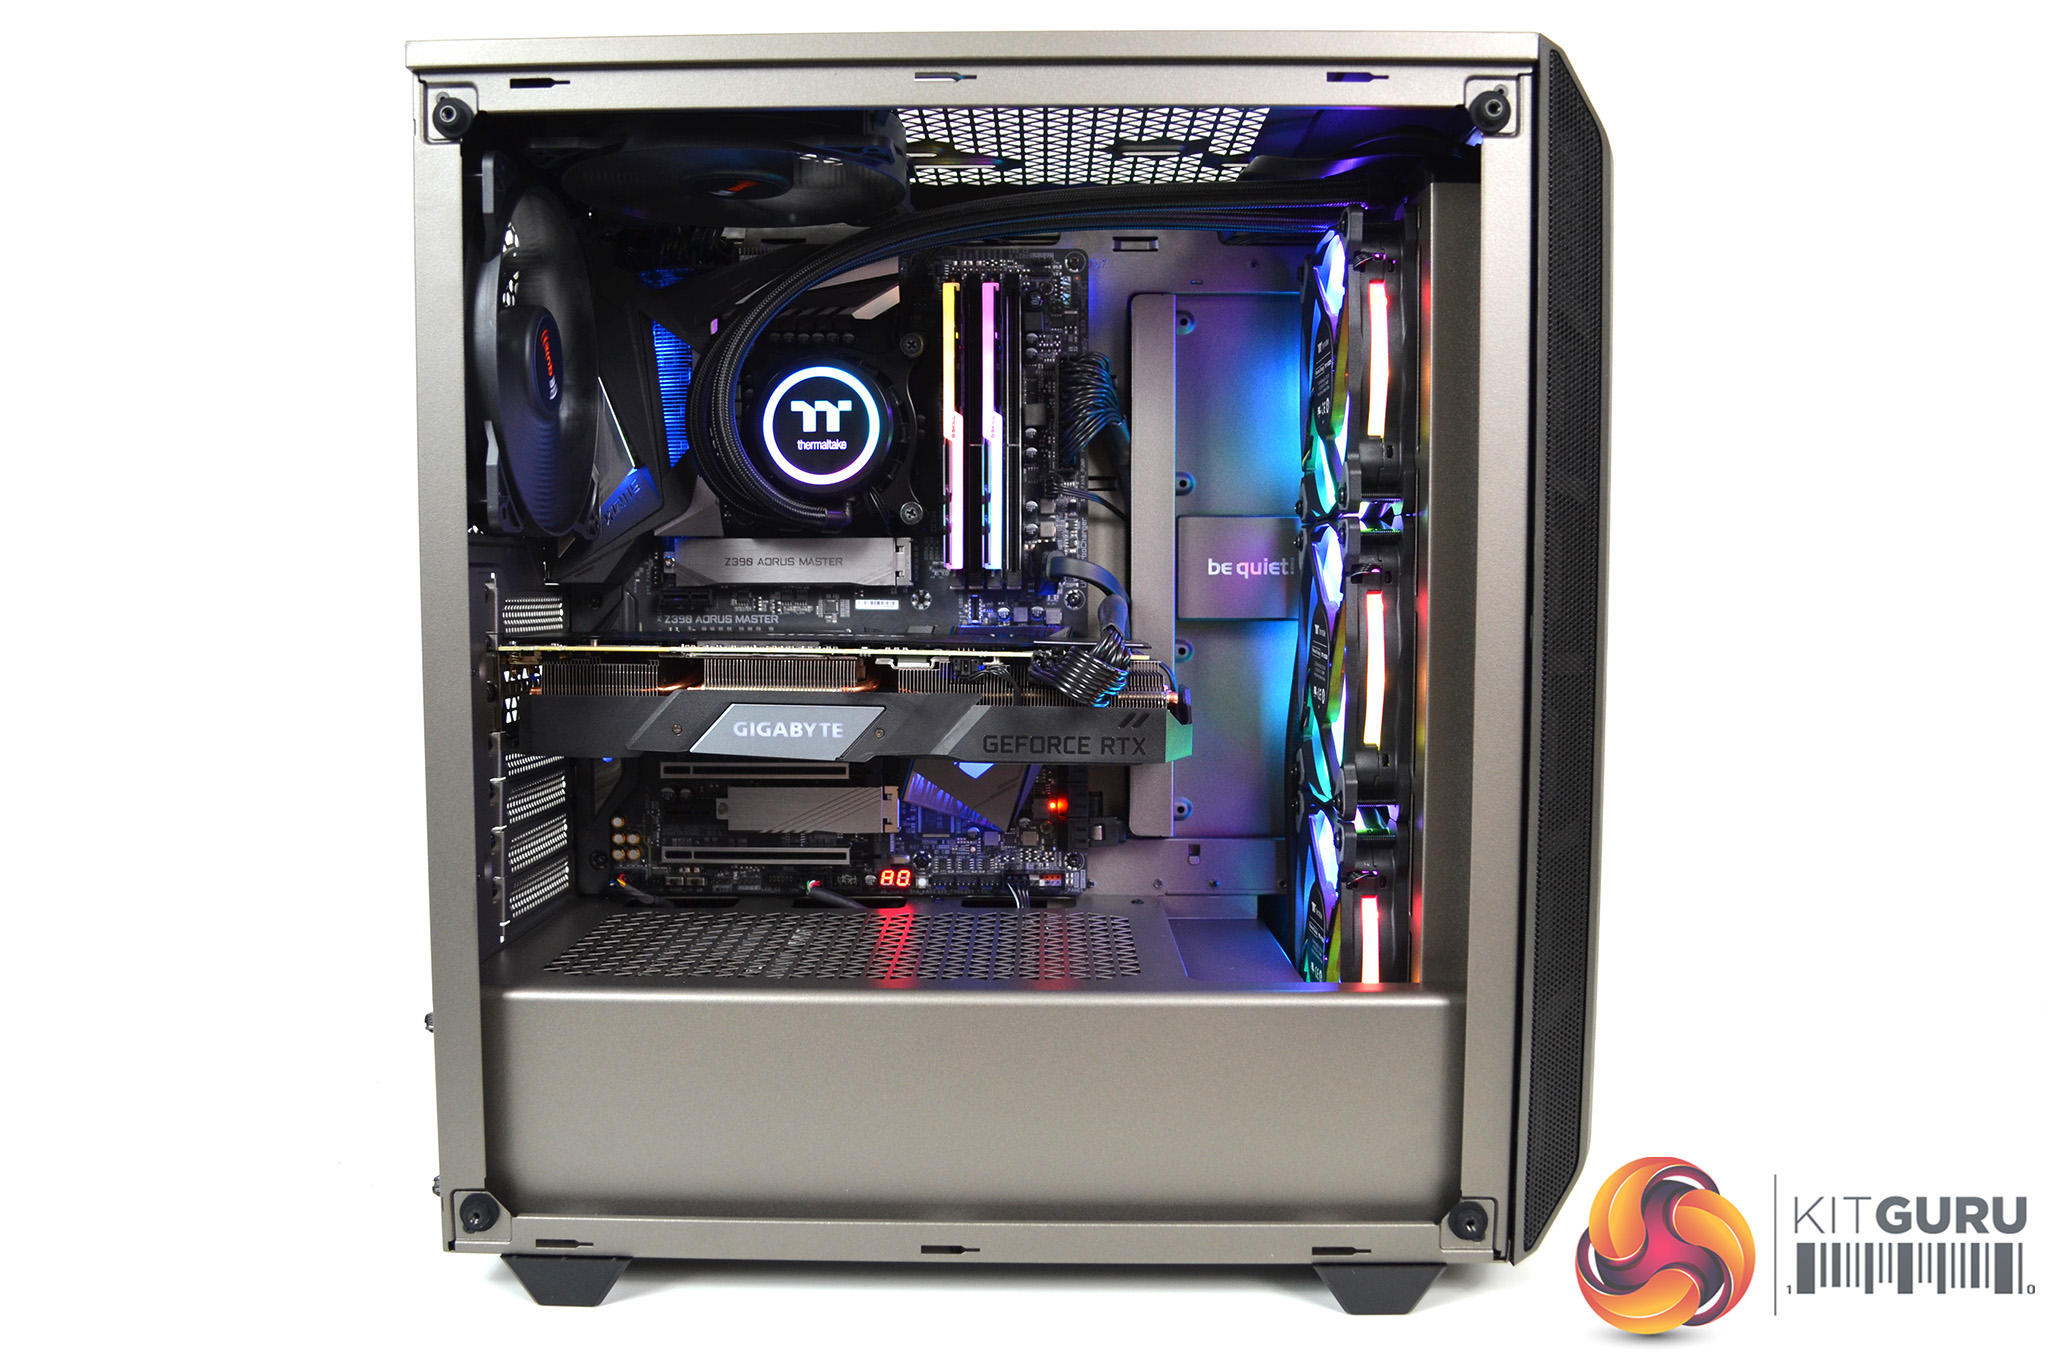
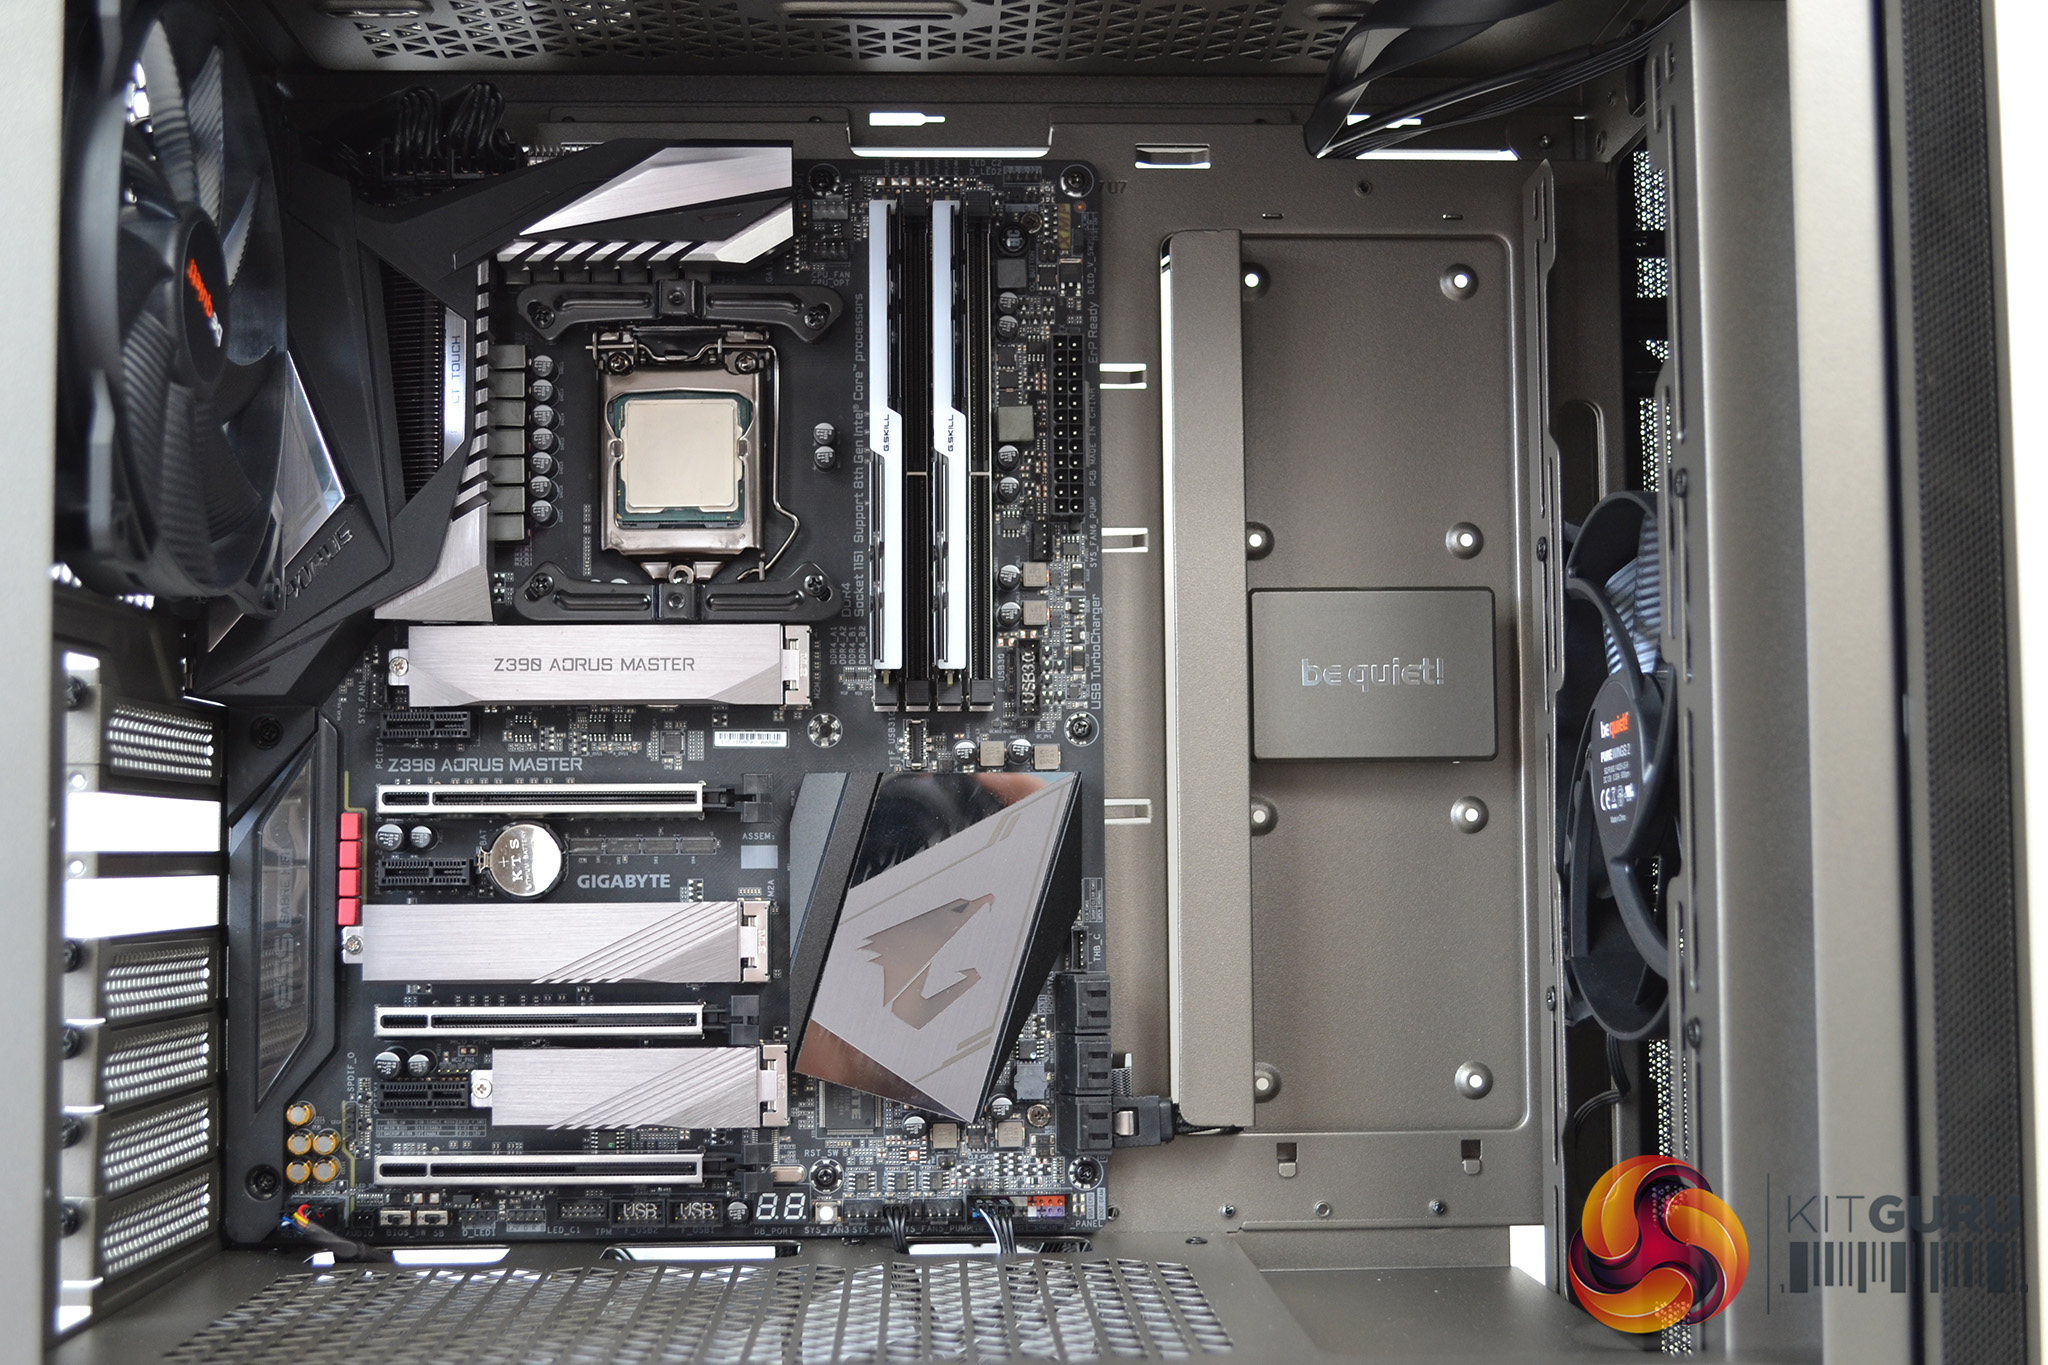
To test radiator clearance at the front of the case, we decided to fit a Thermaltake Floe DX 360mm AIO. Surprisingly this was very straight forward and once completed, there was still ample space to install the GPU. getting to the lower fan screws was tricky but not impossible.
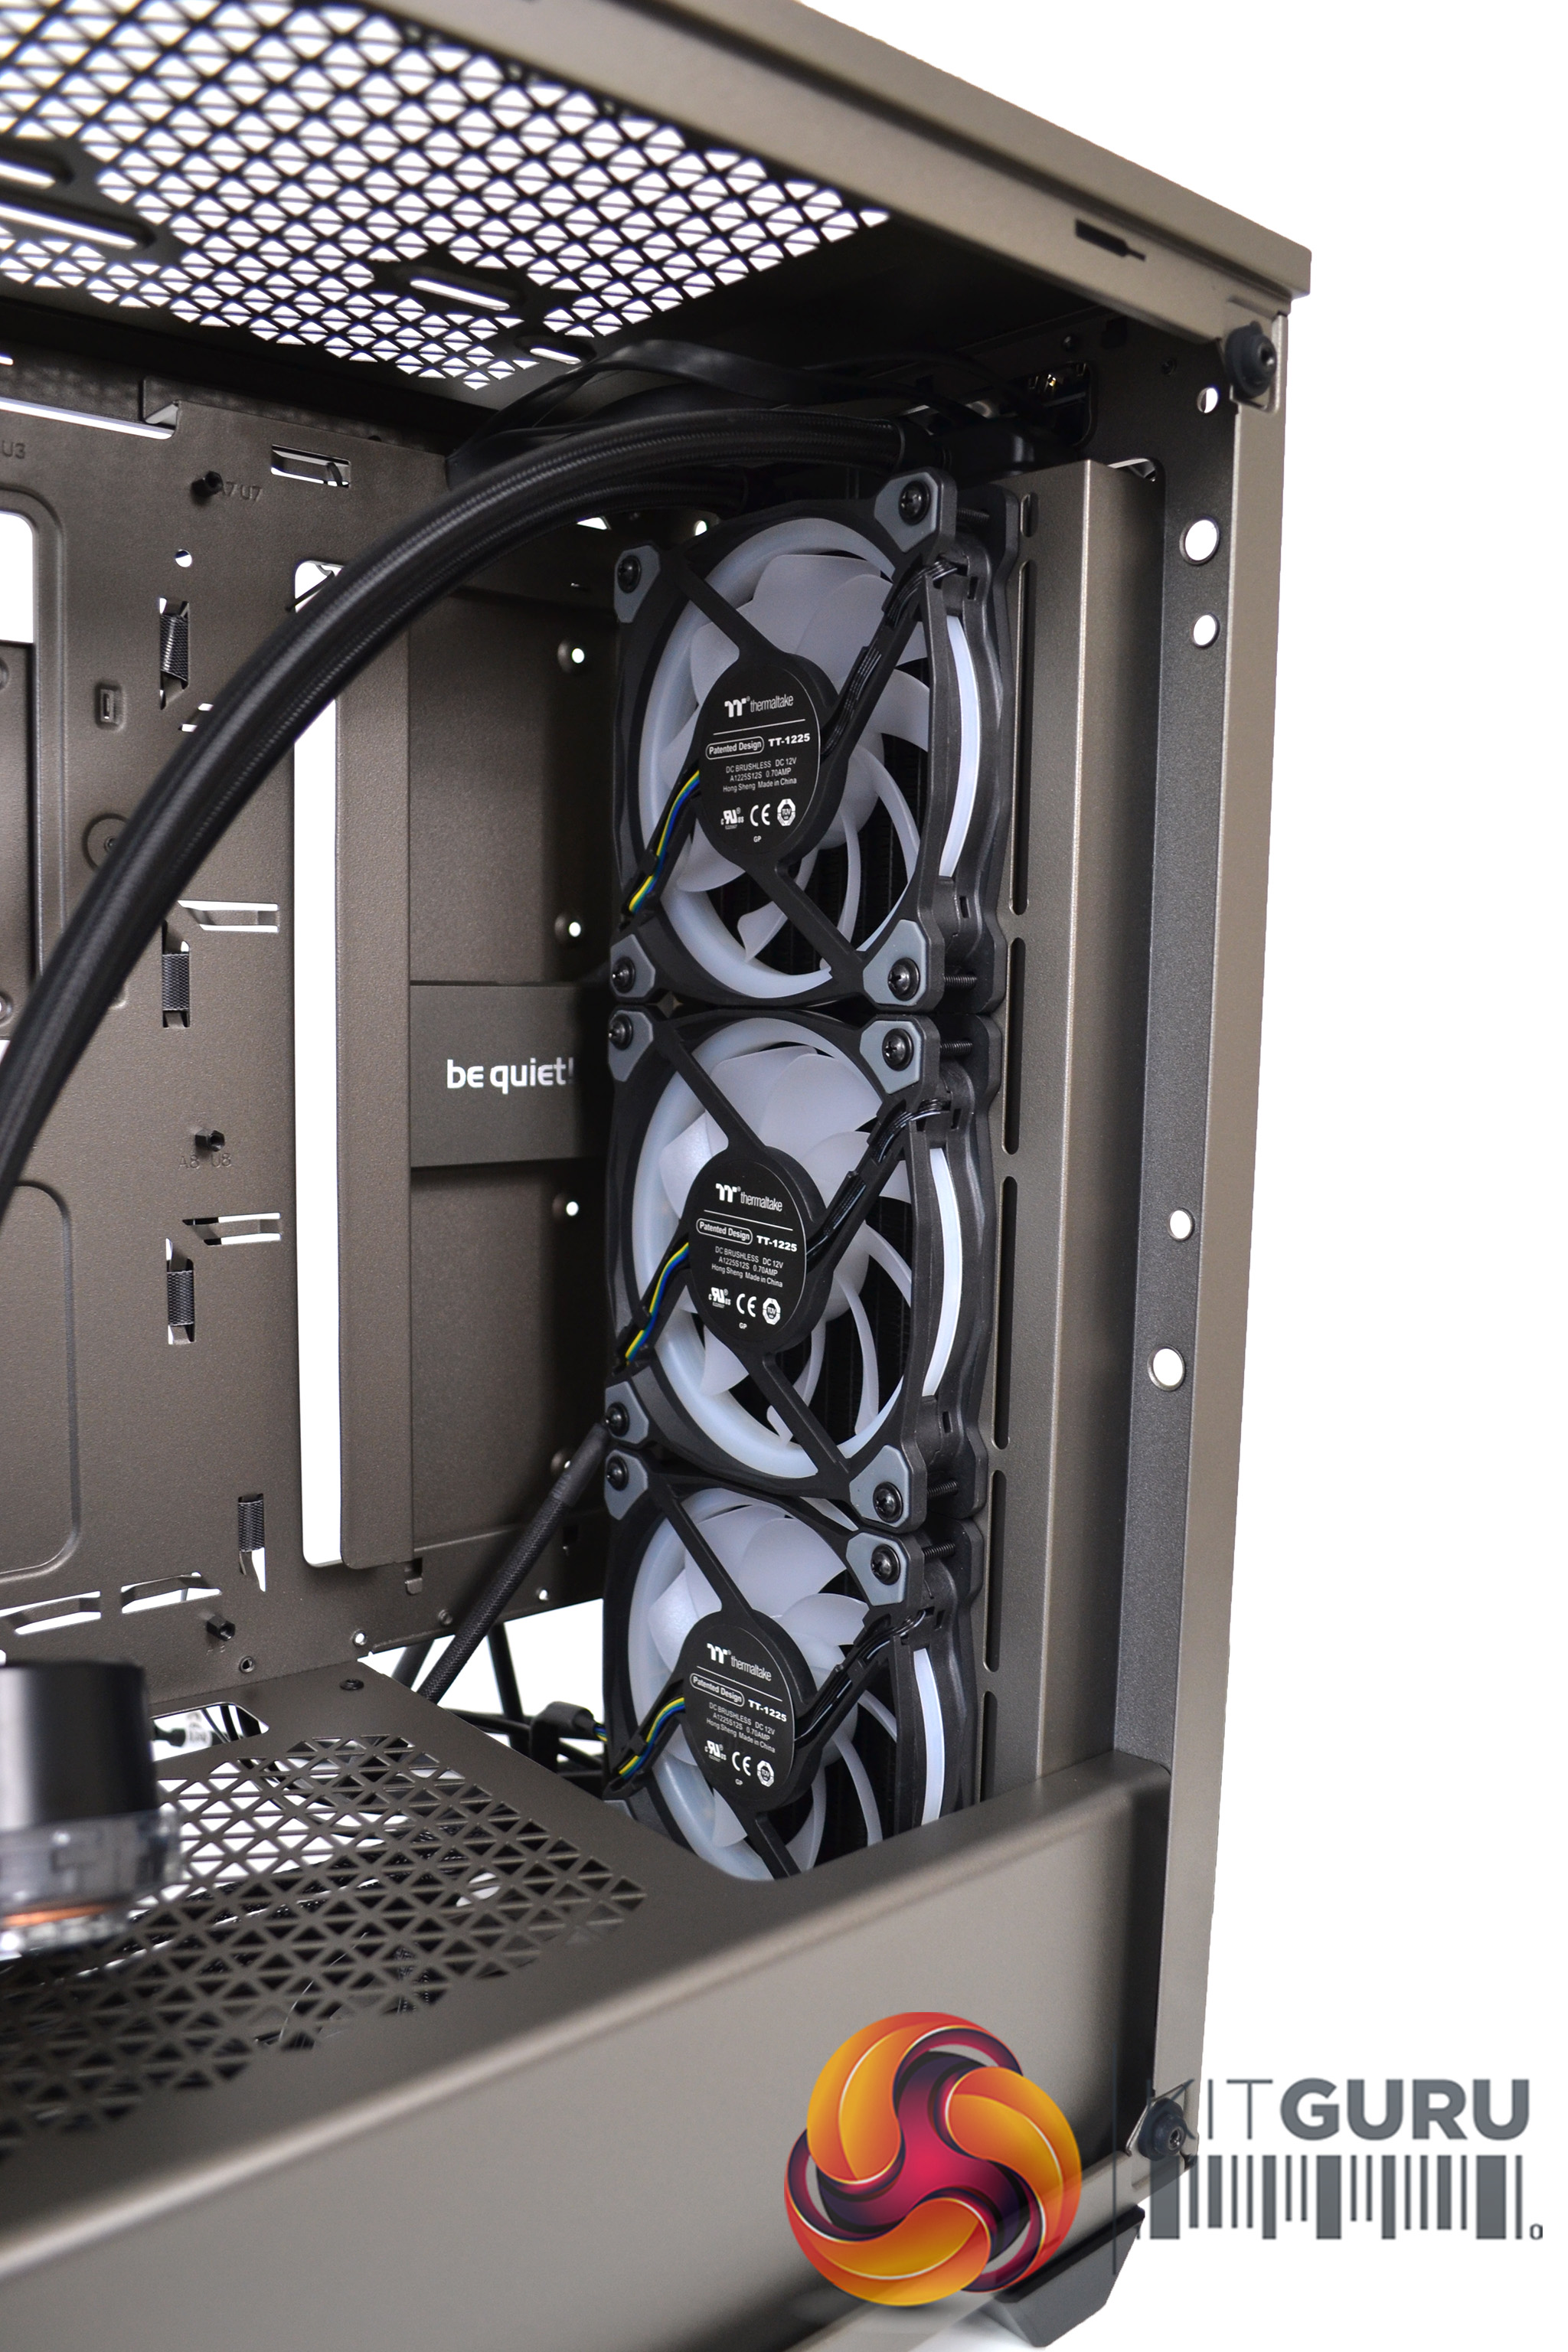

For the full potential of the Floe DX’s RGB lighting to be viewed, we installed the radiator in a pull configuration. This meant mounting the radiator on the outer side of the front mounts. Again, we found no problems – the front panel fitted back on perfectly.
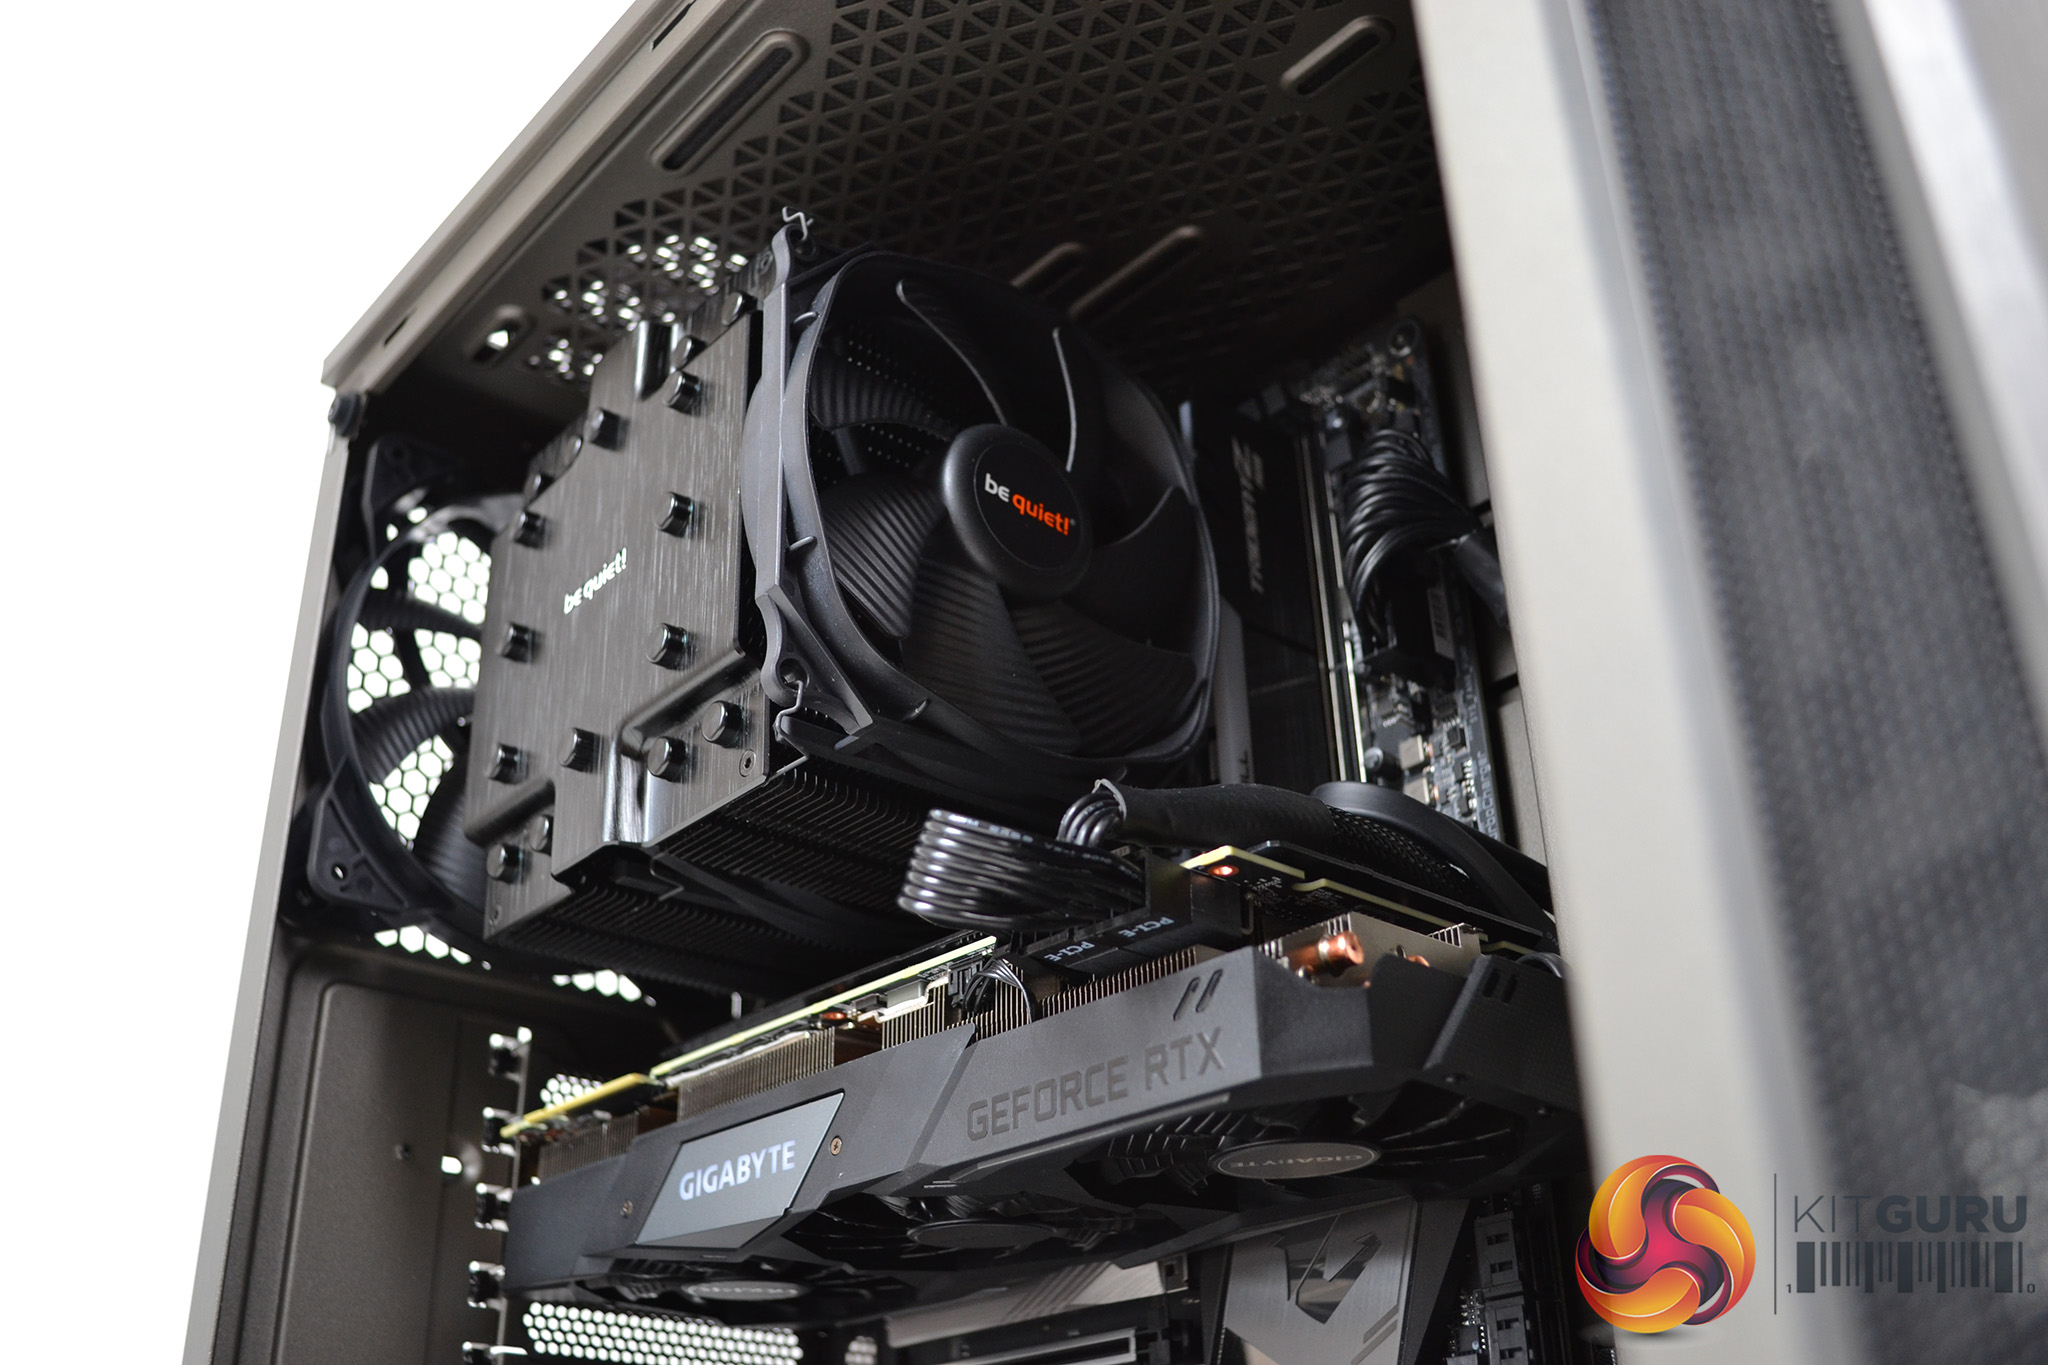
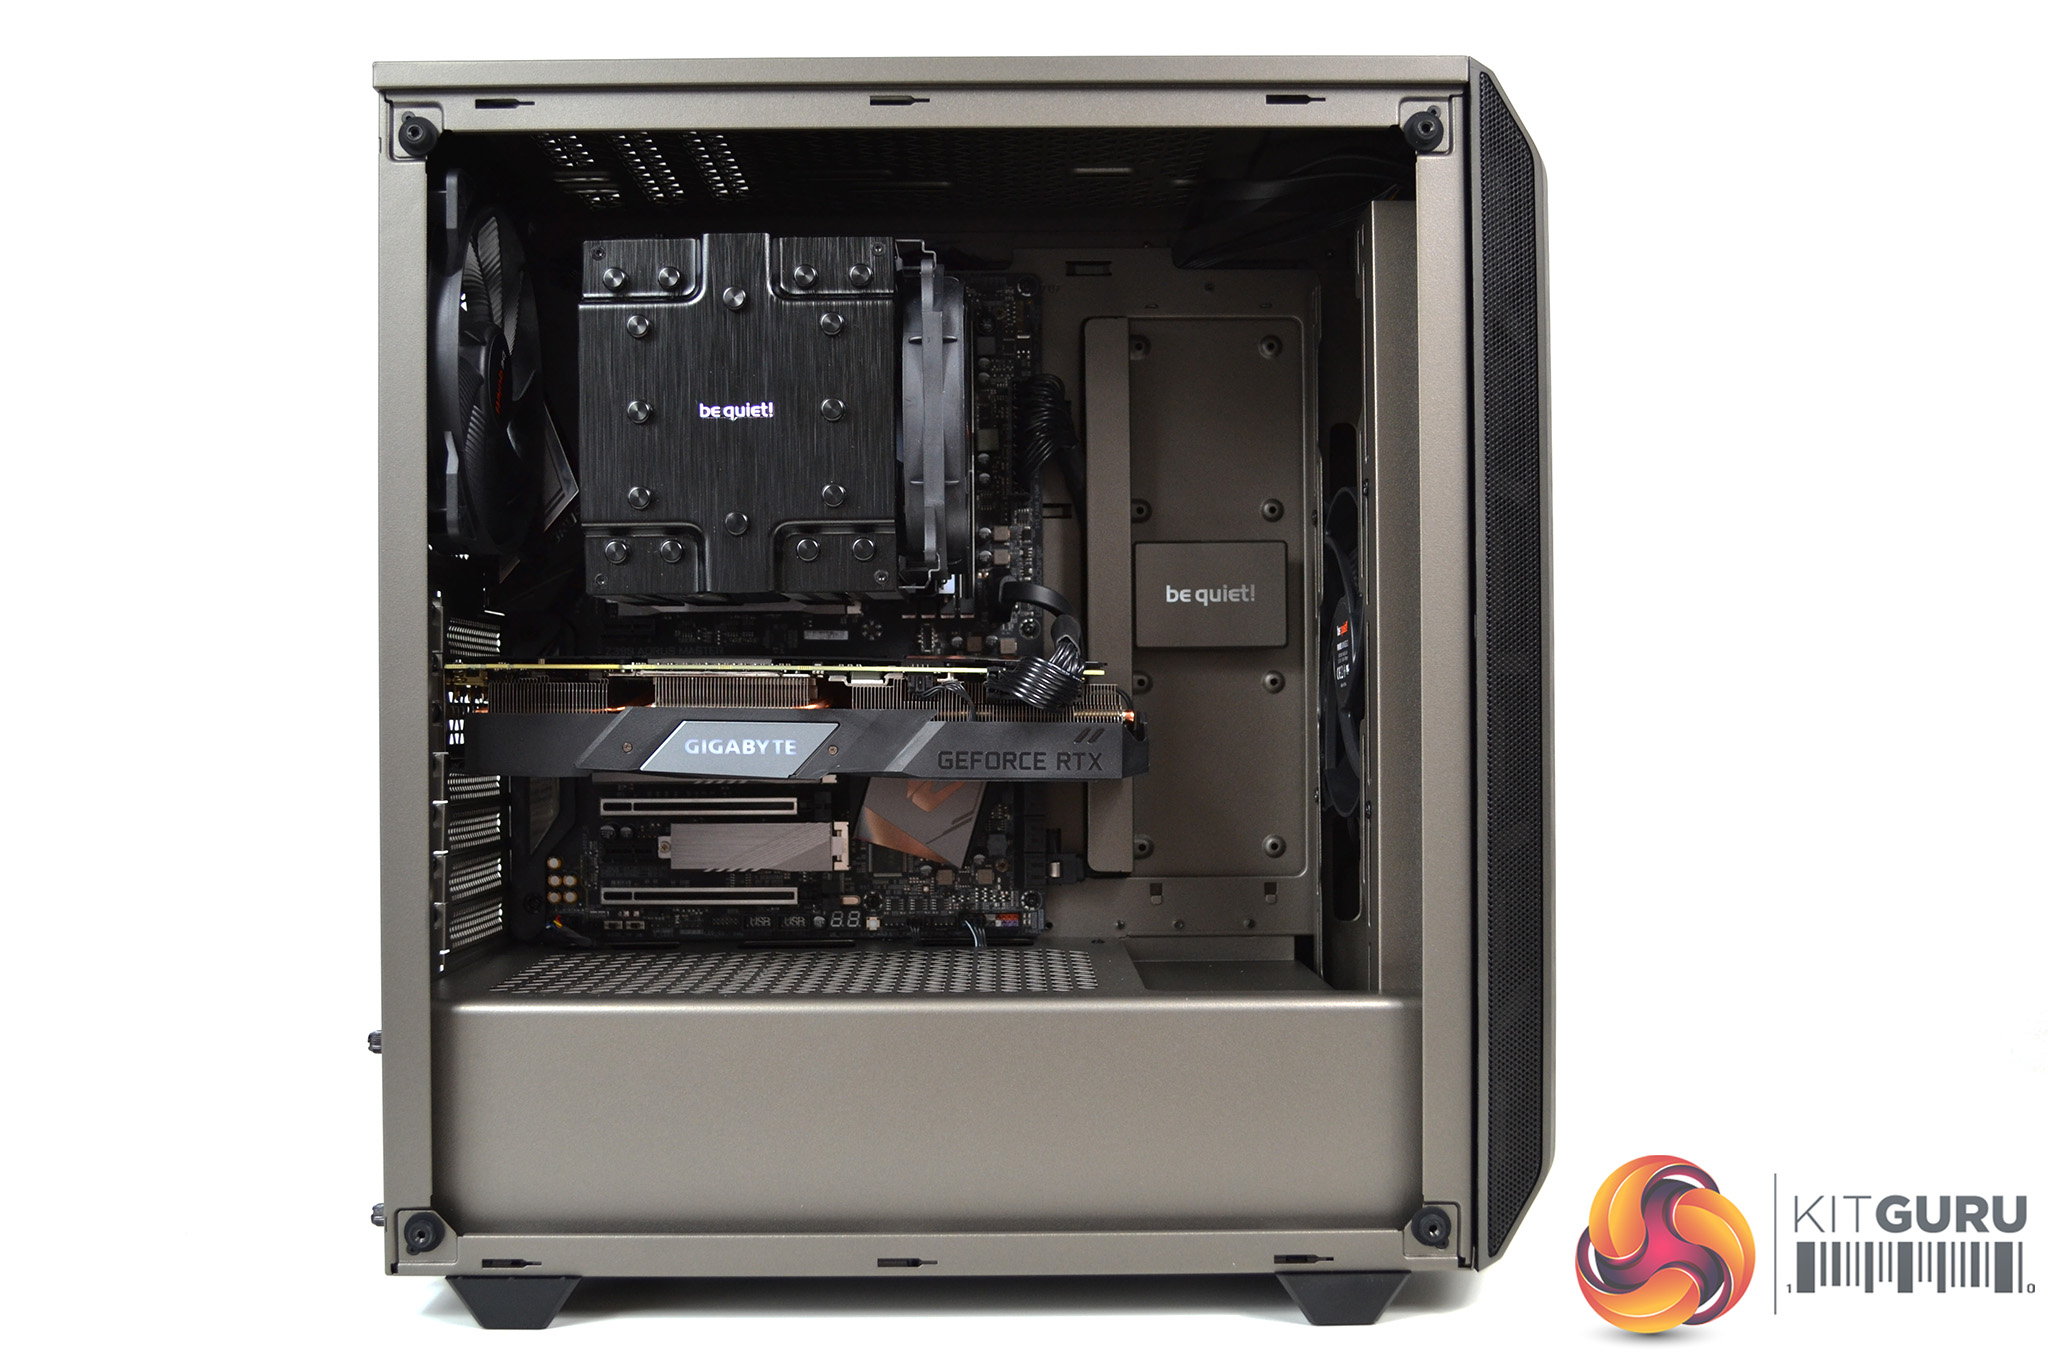
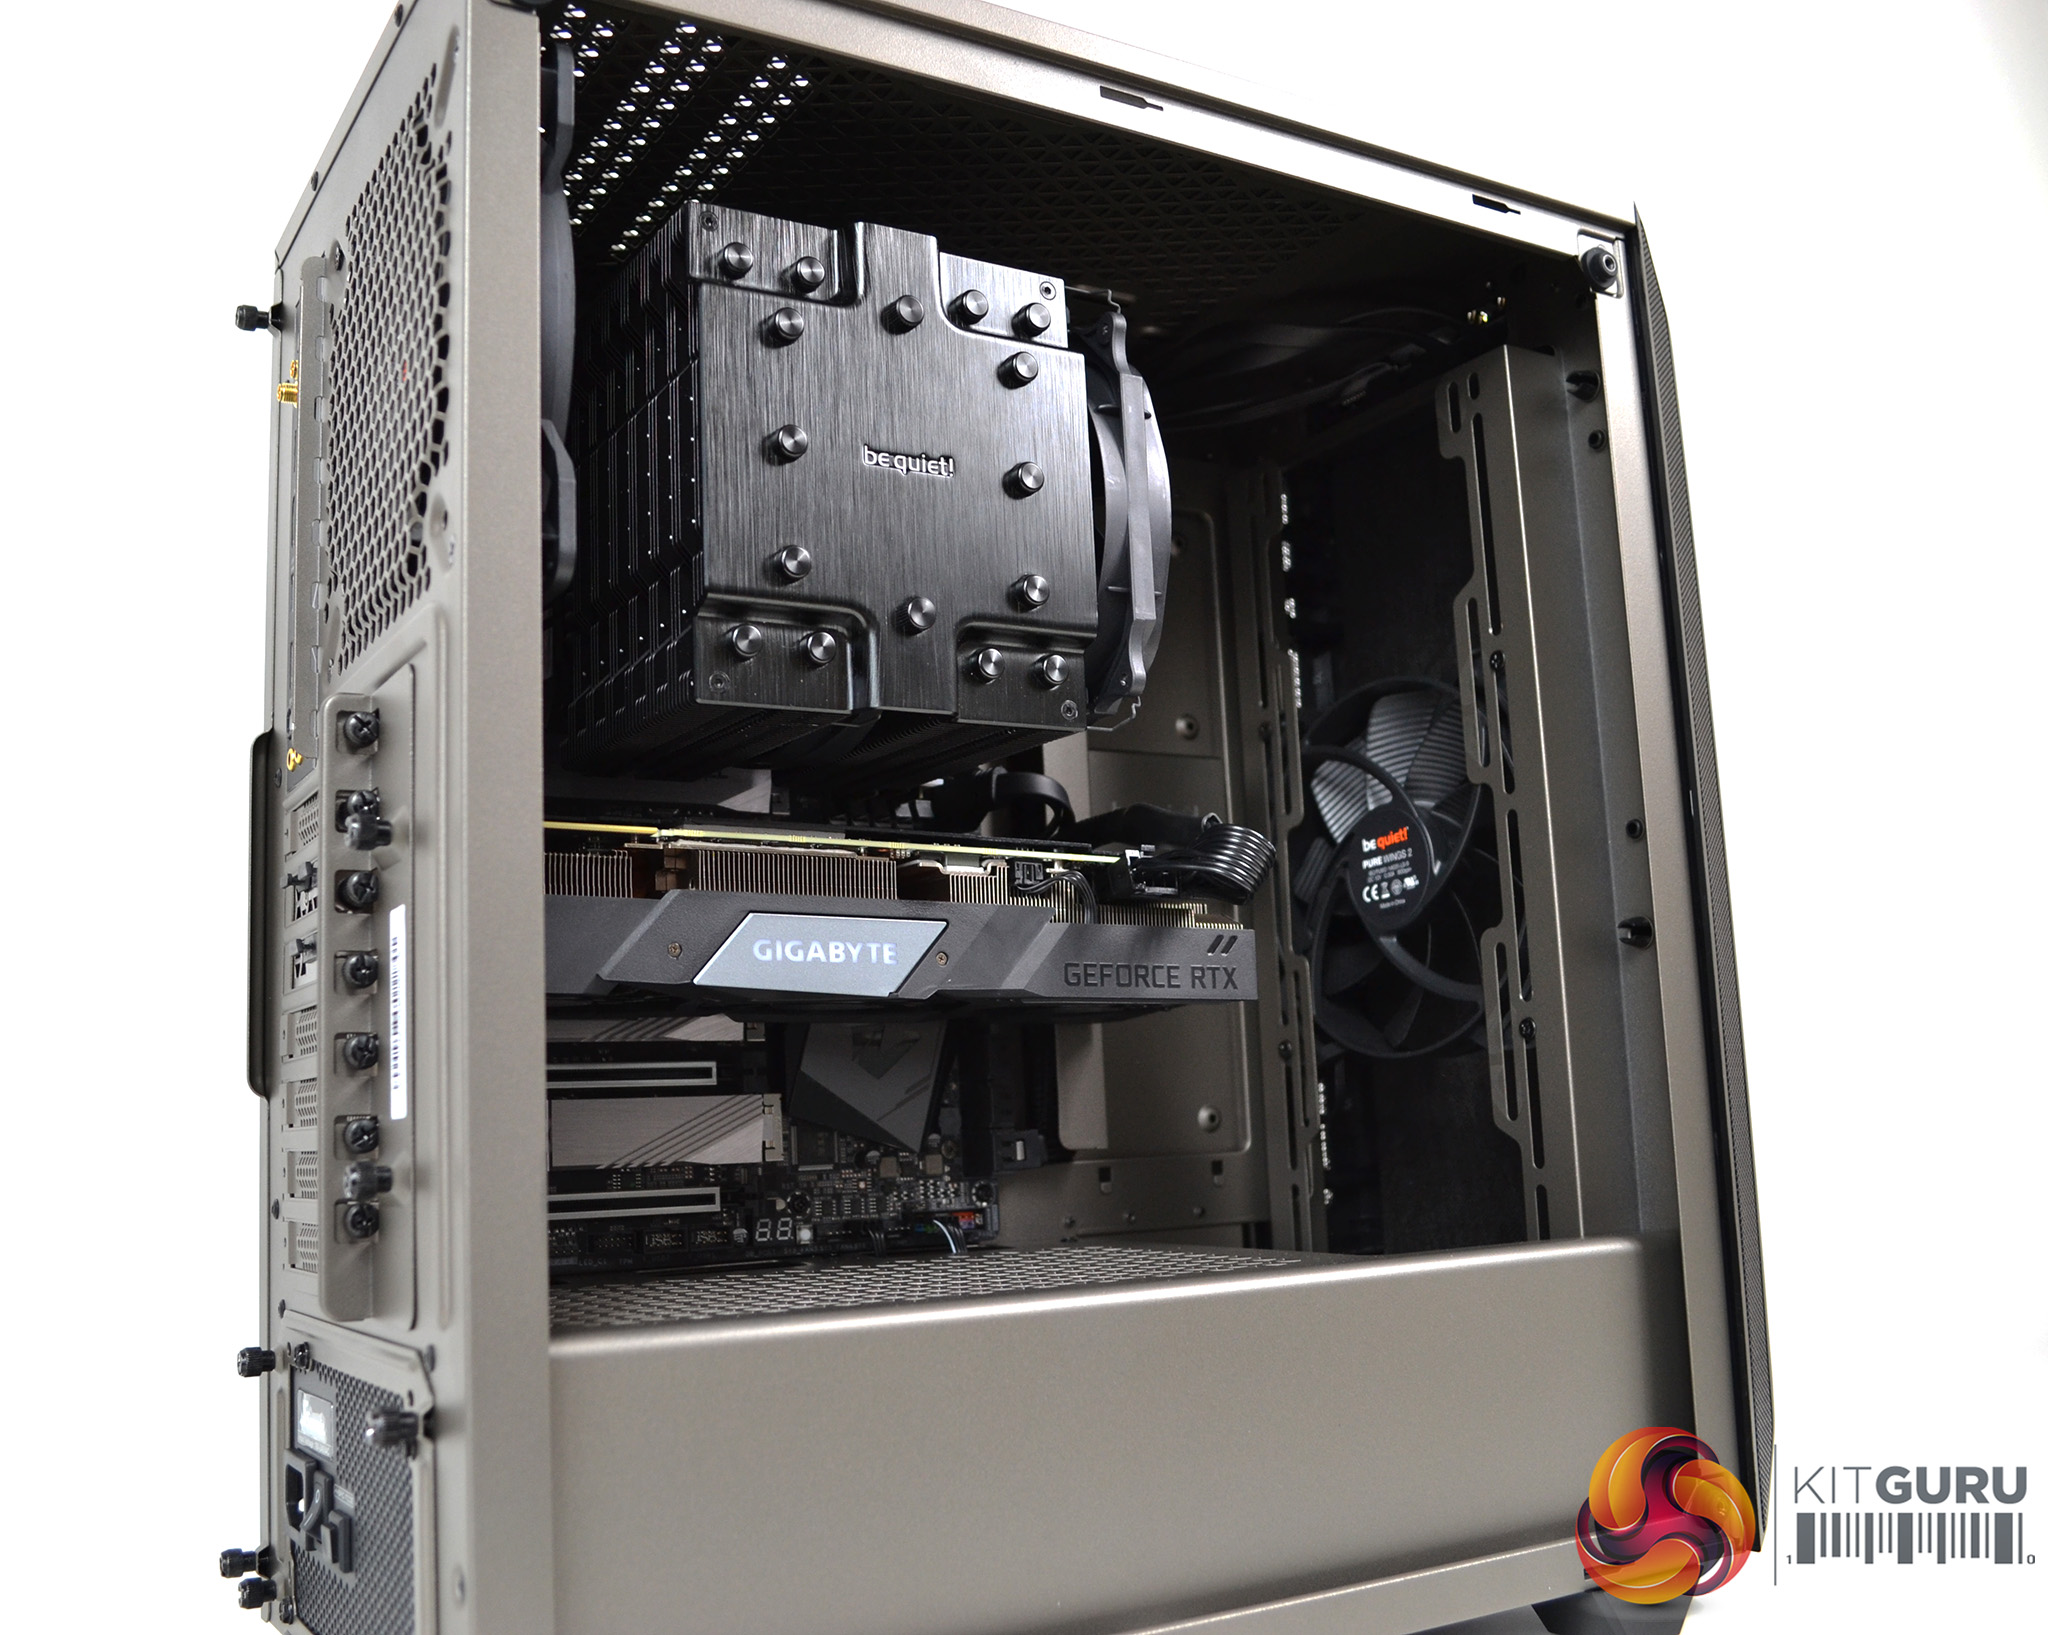
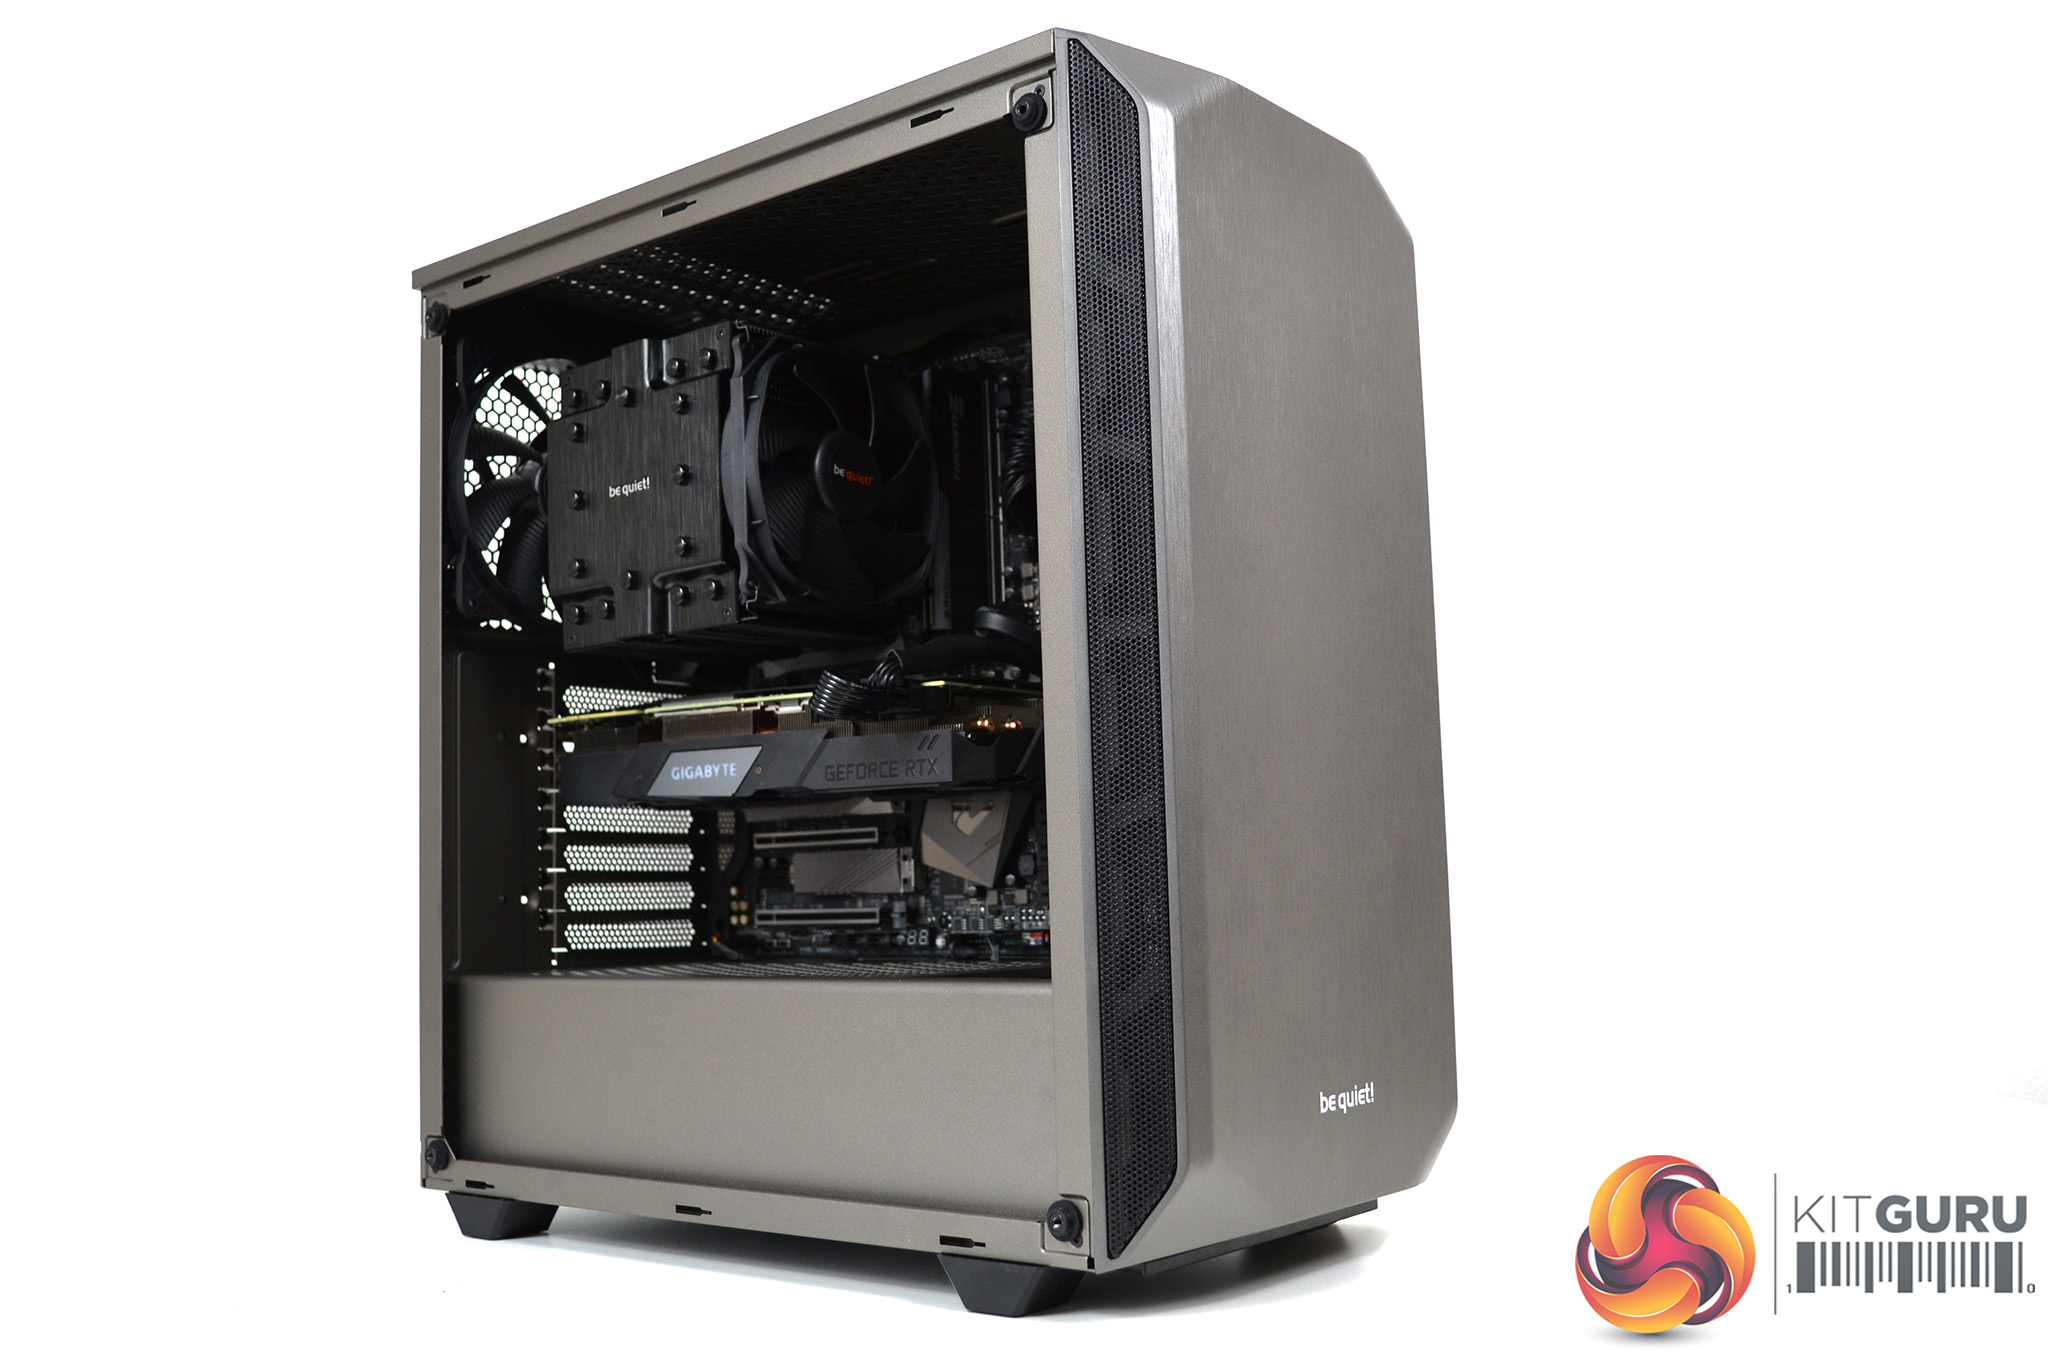
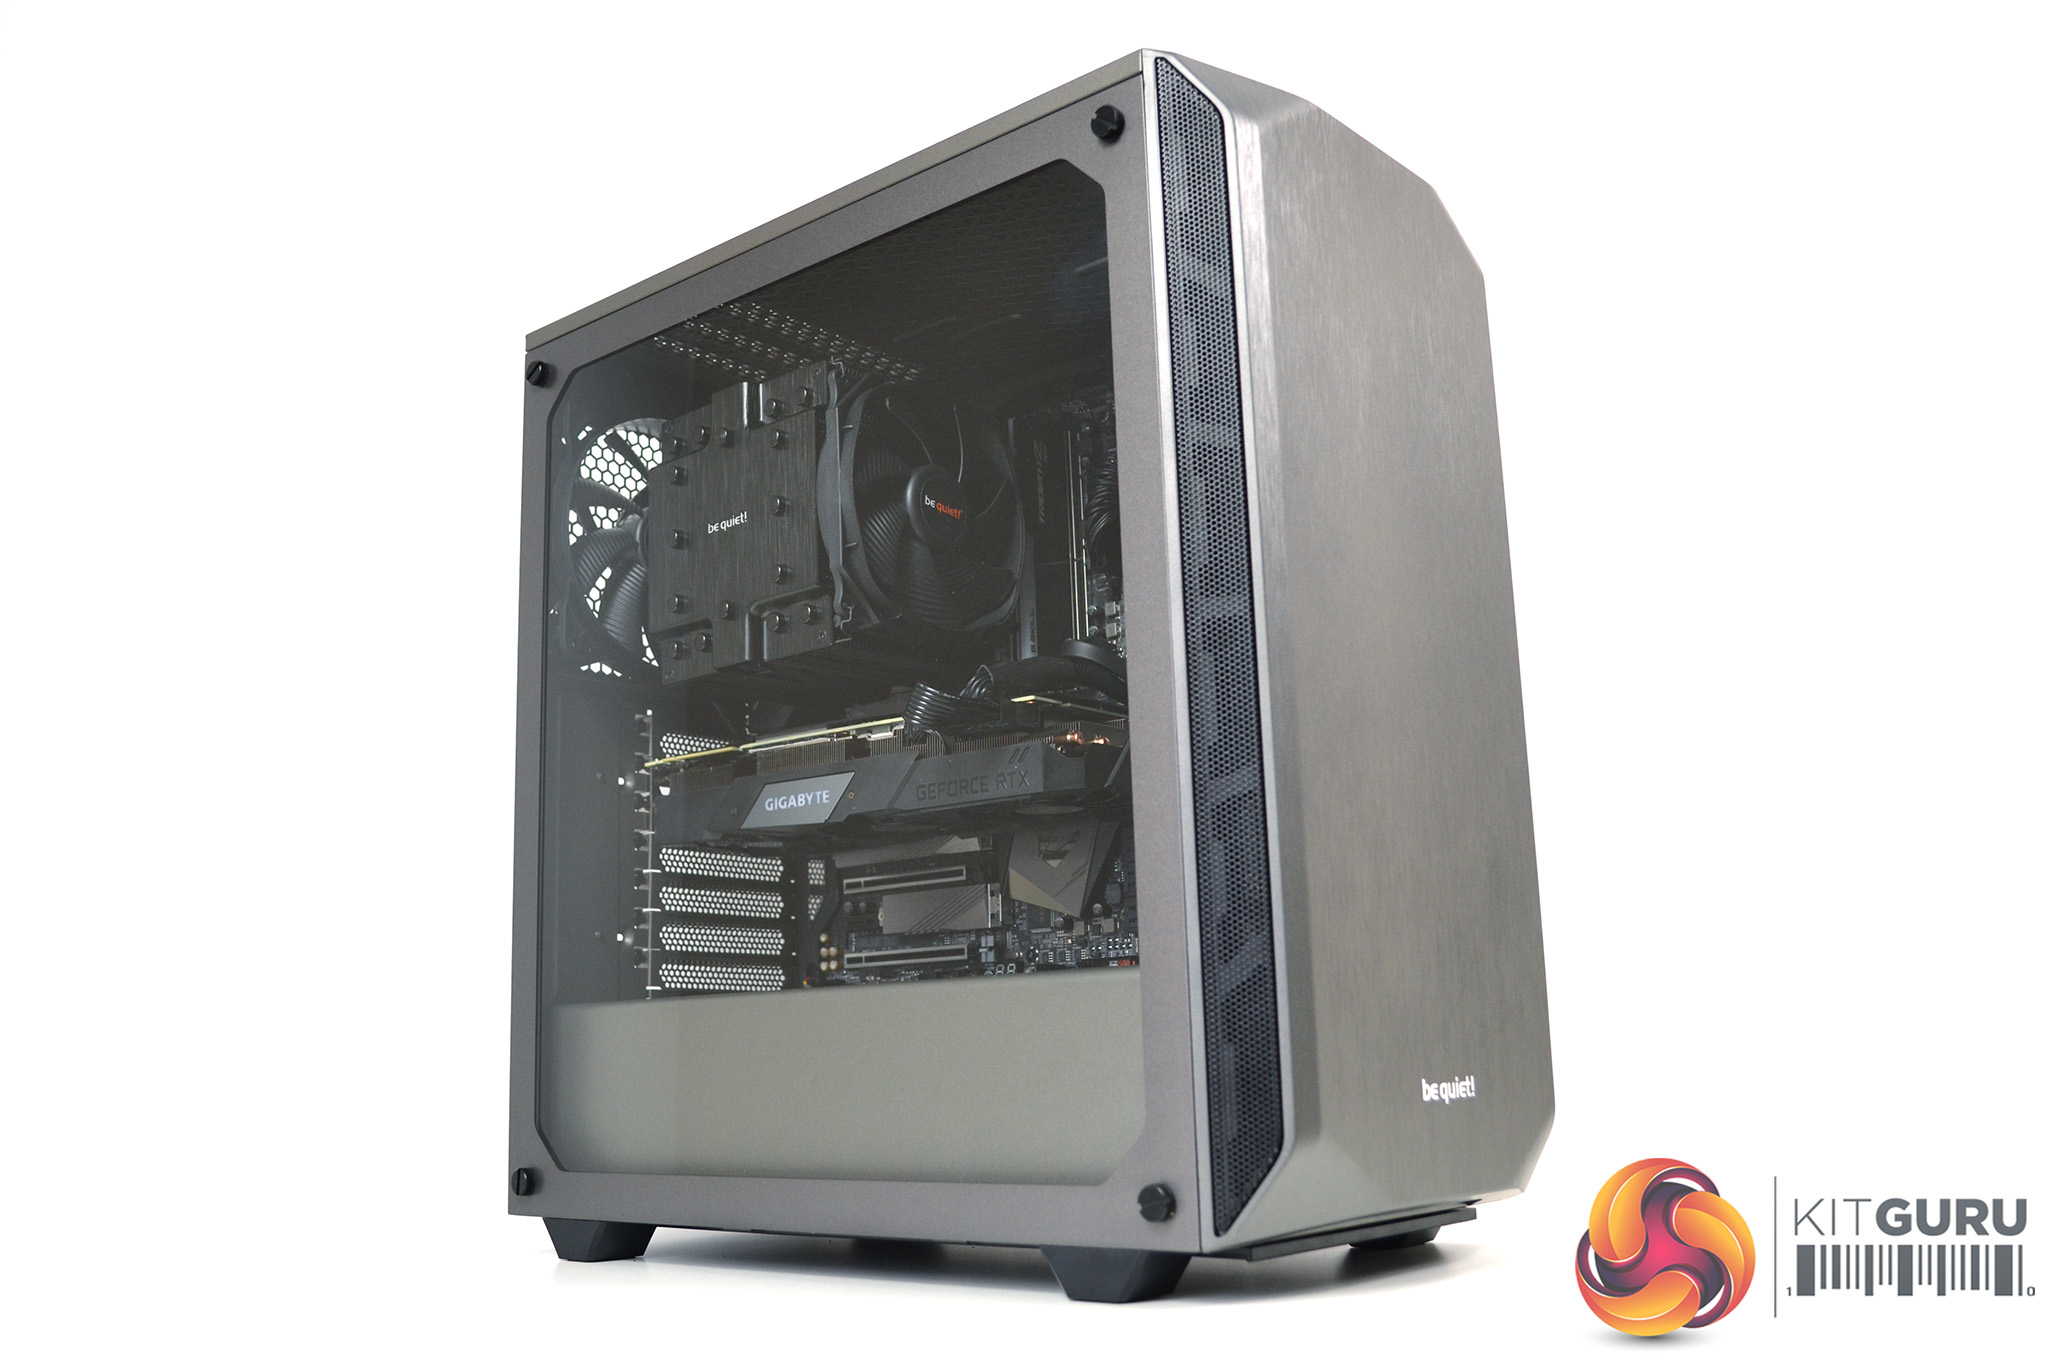
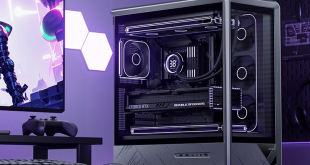
In our tests coming up later, we will be comparing thermal and acoustic performance of the Pure Base 500 with both AIO liquid cooling and large Air coolers. The chosen air cooler is the be quiet! Dark Rock Pro 4. Installation in the Pure Base 500 was straightforward, there was approximately 25mm of clearance to the tempered glass side panel once installation was complete.
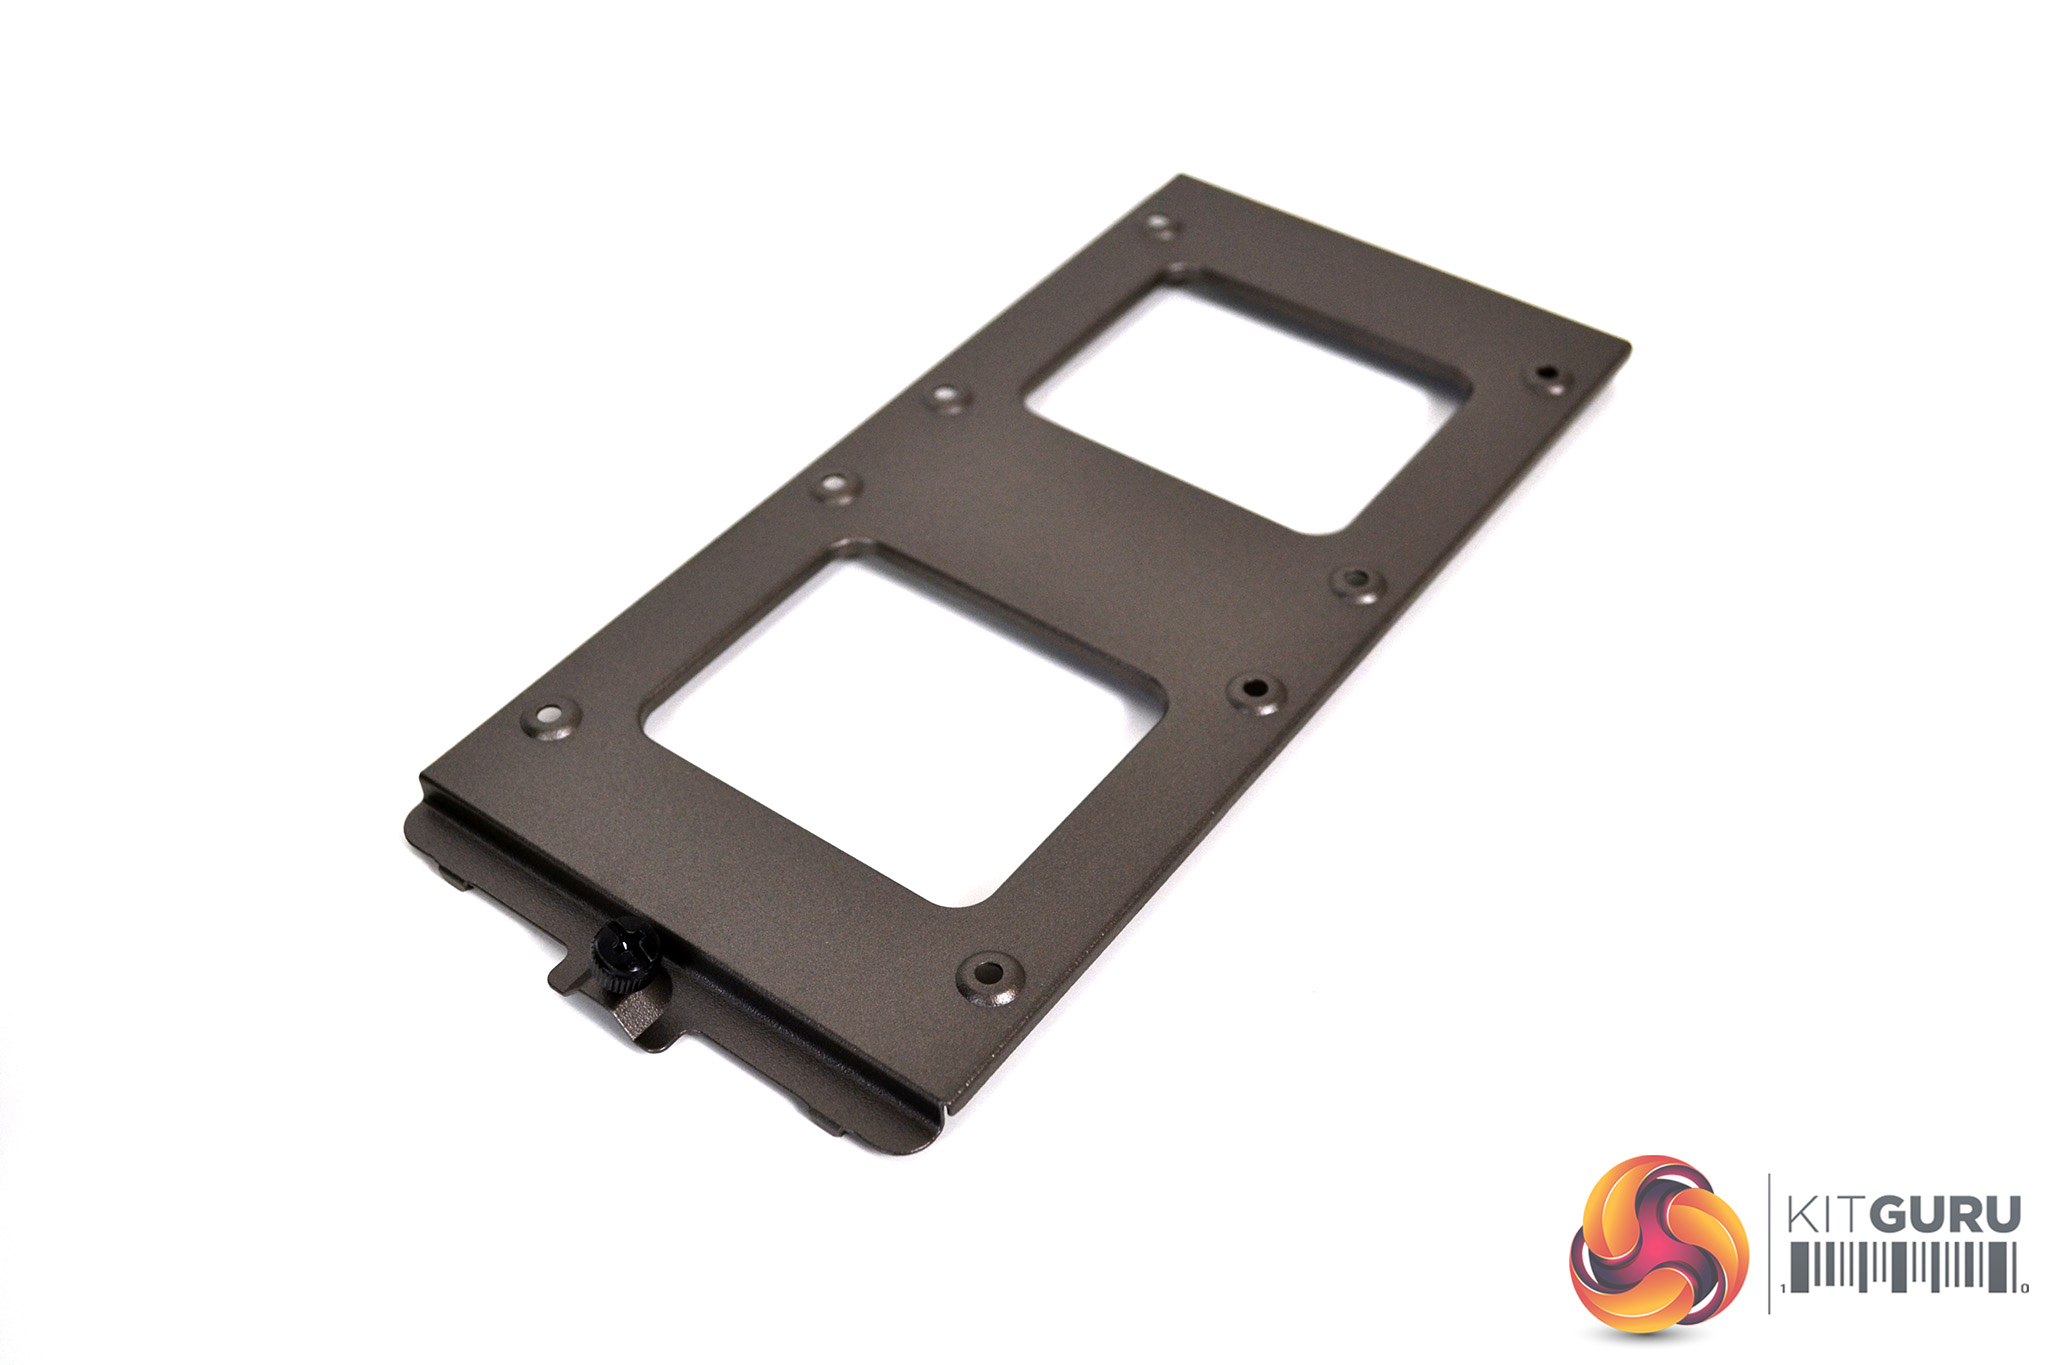
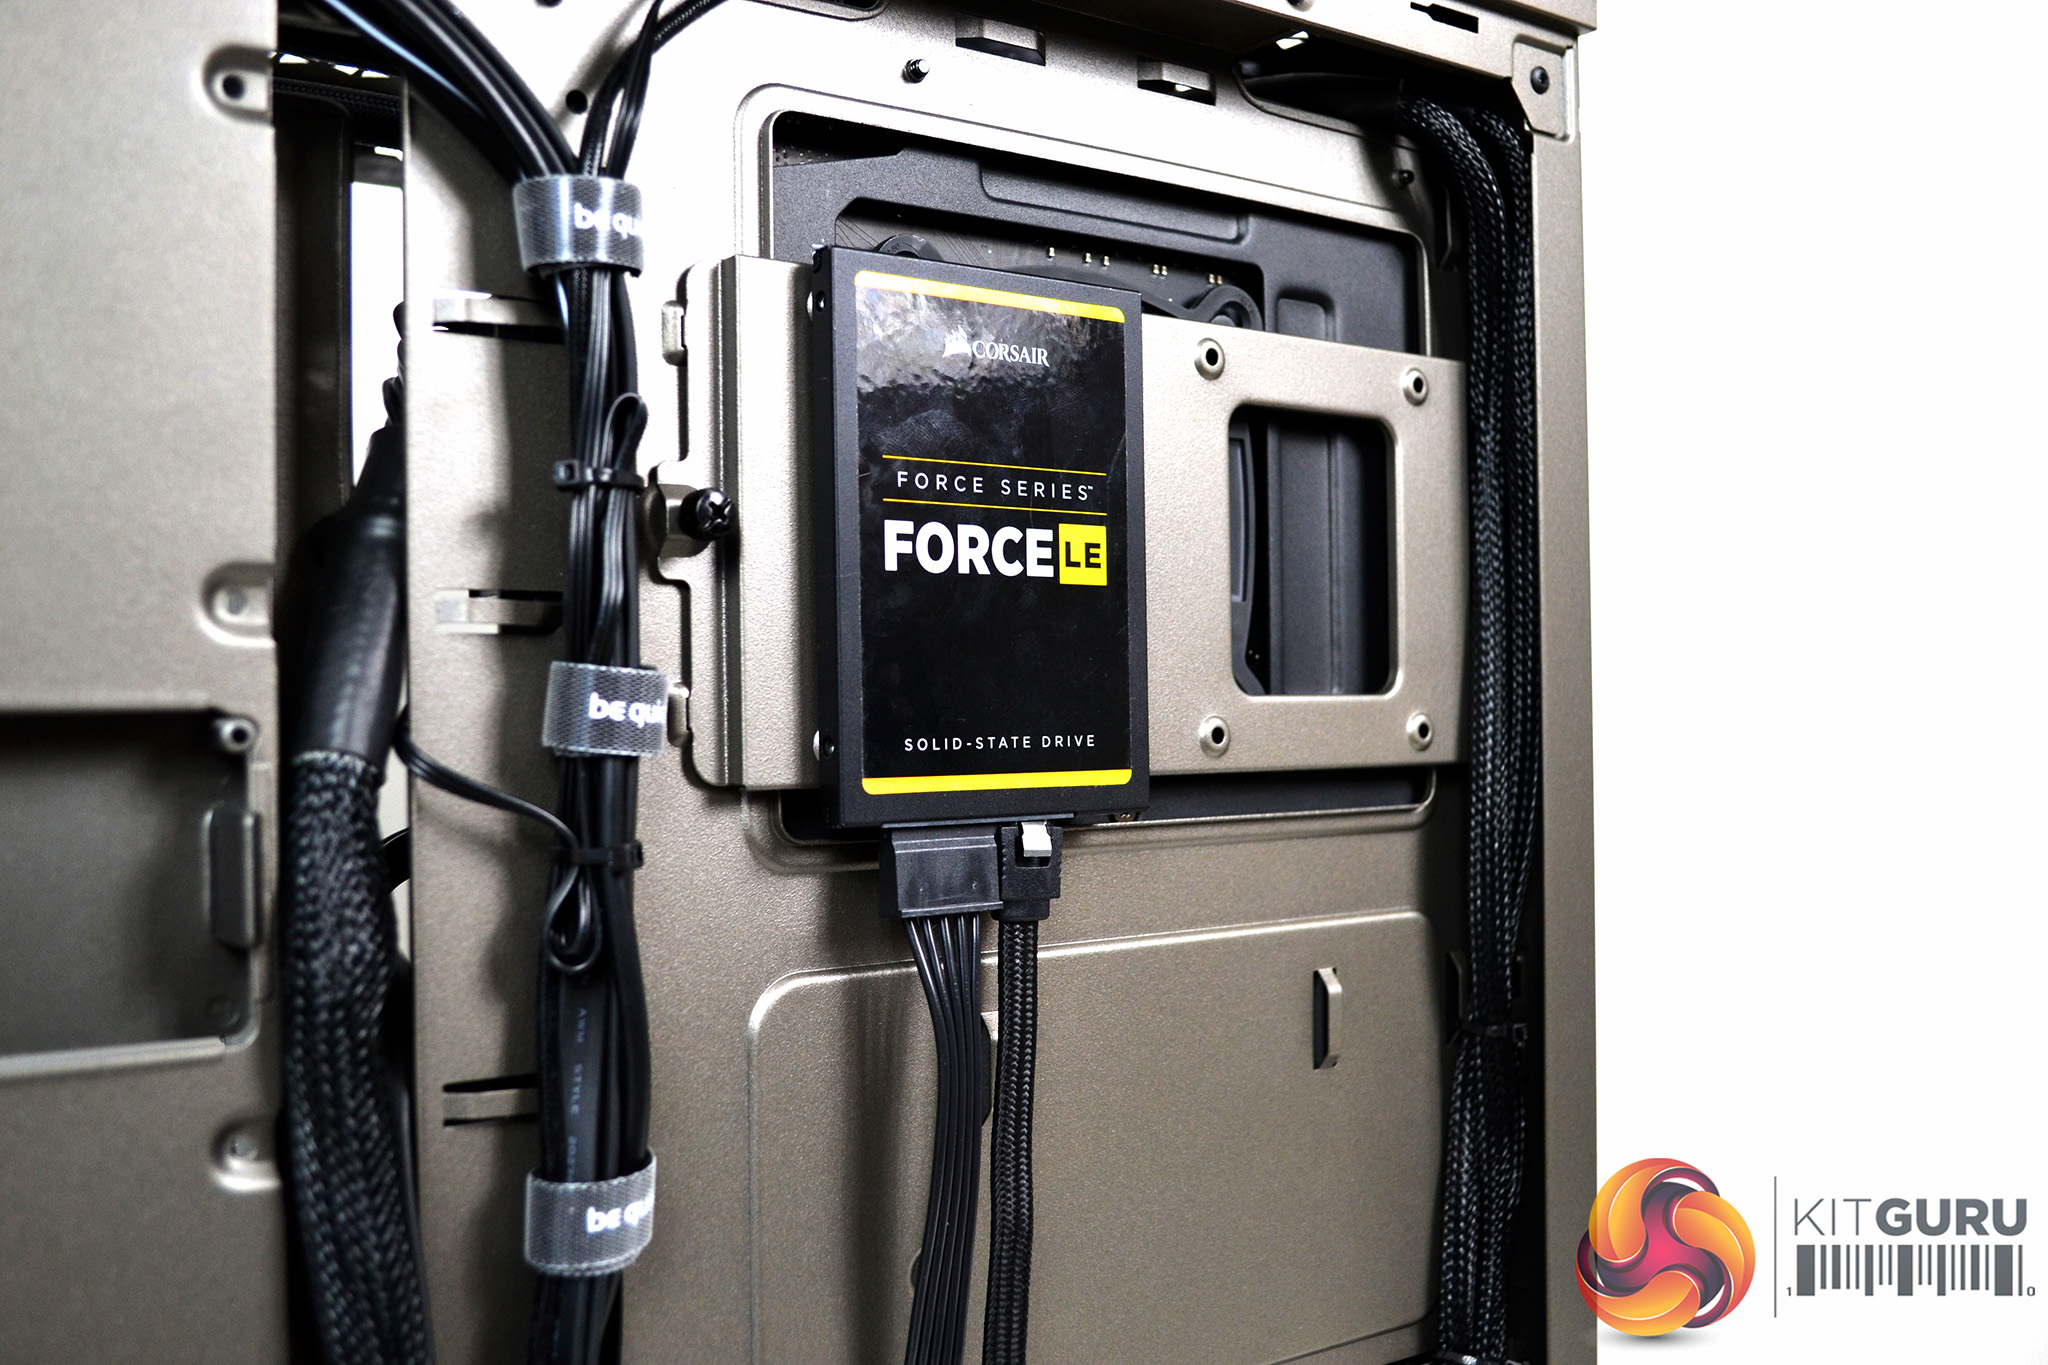
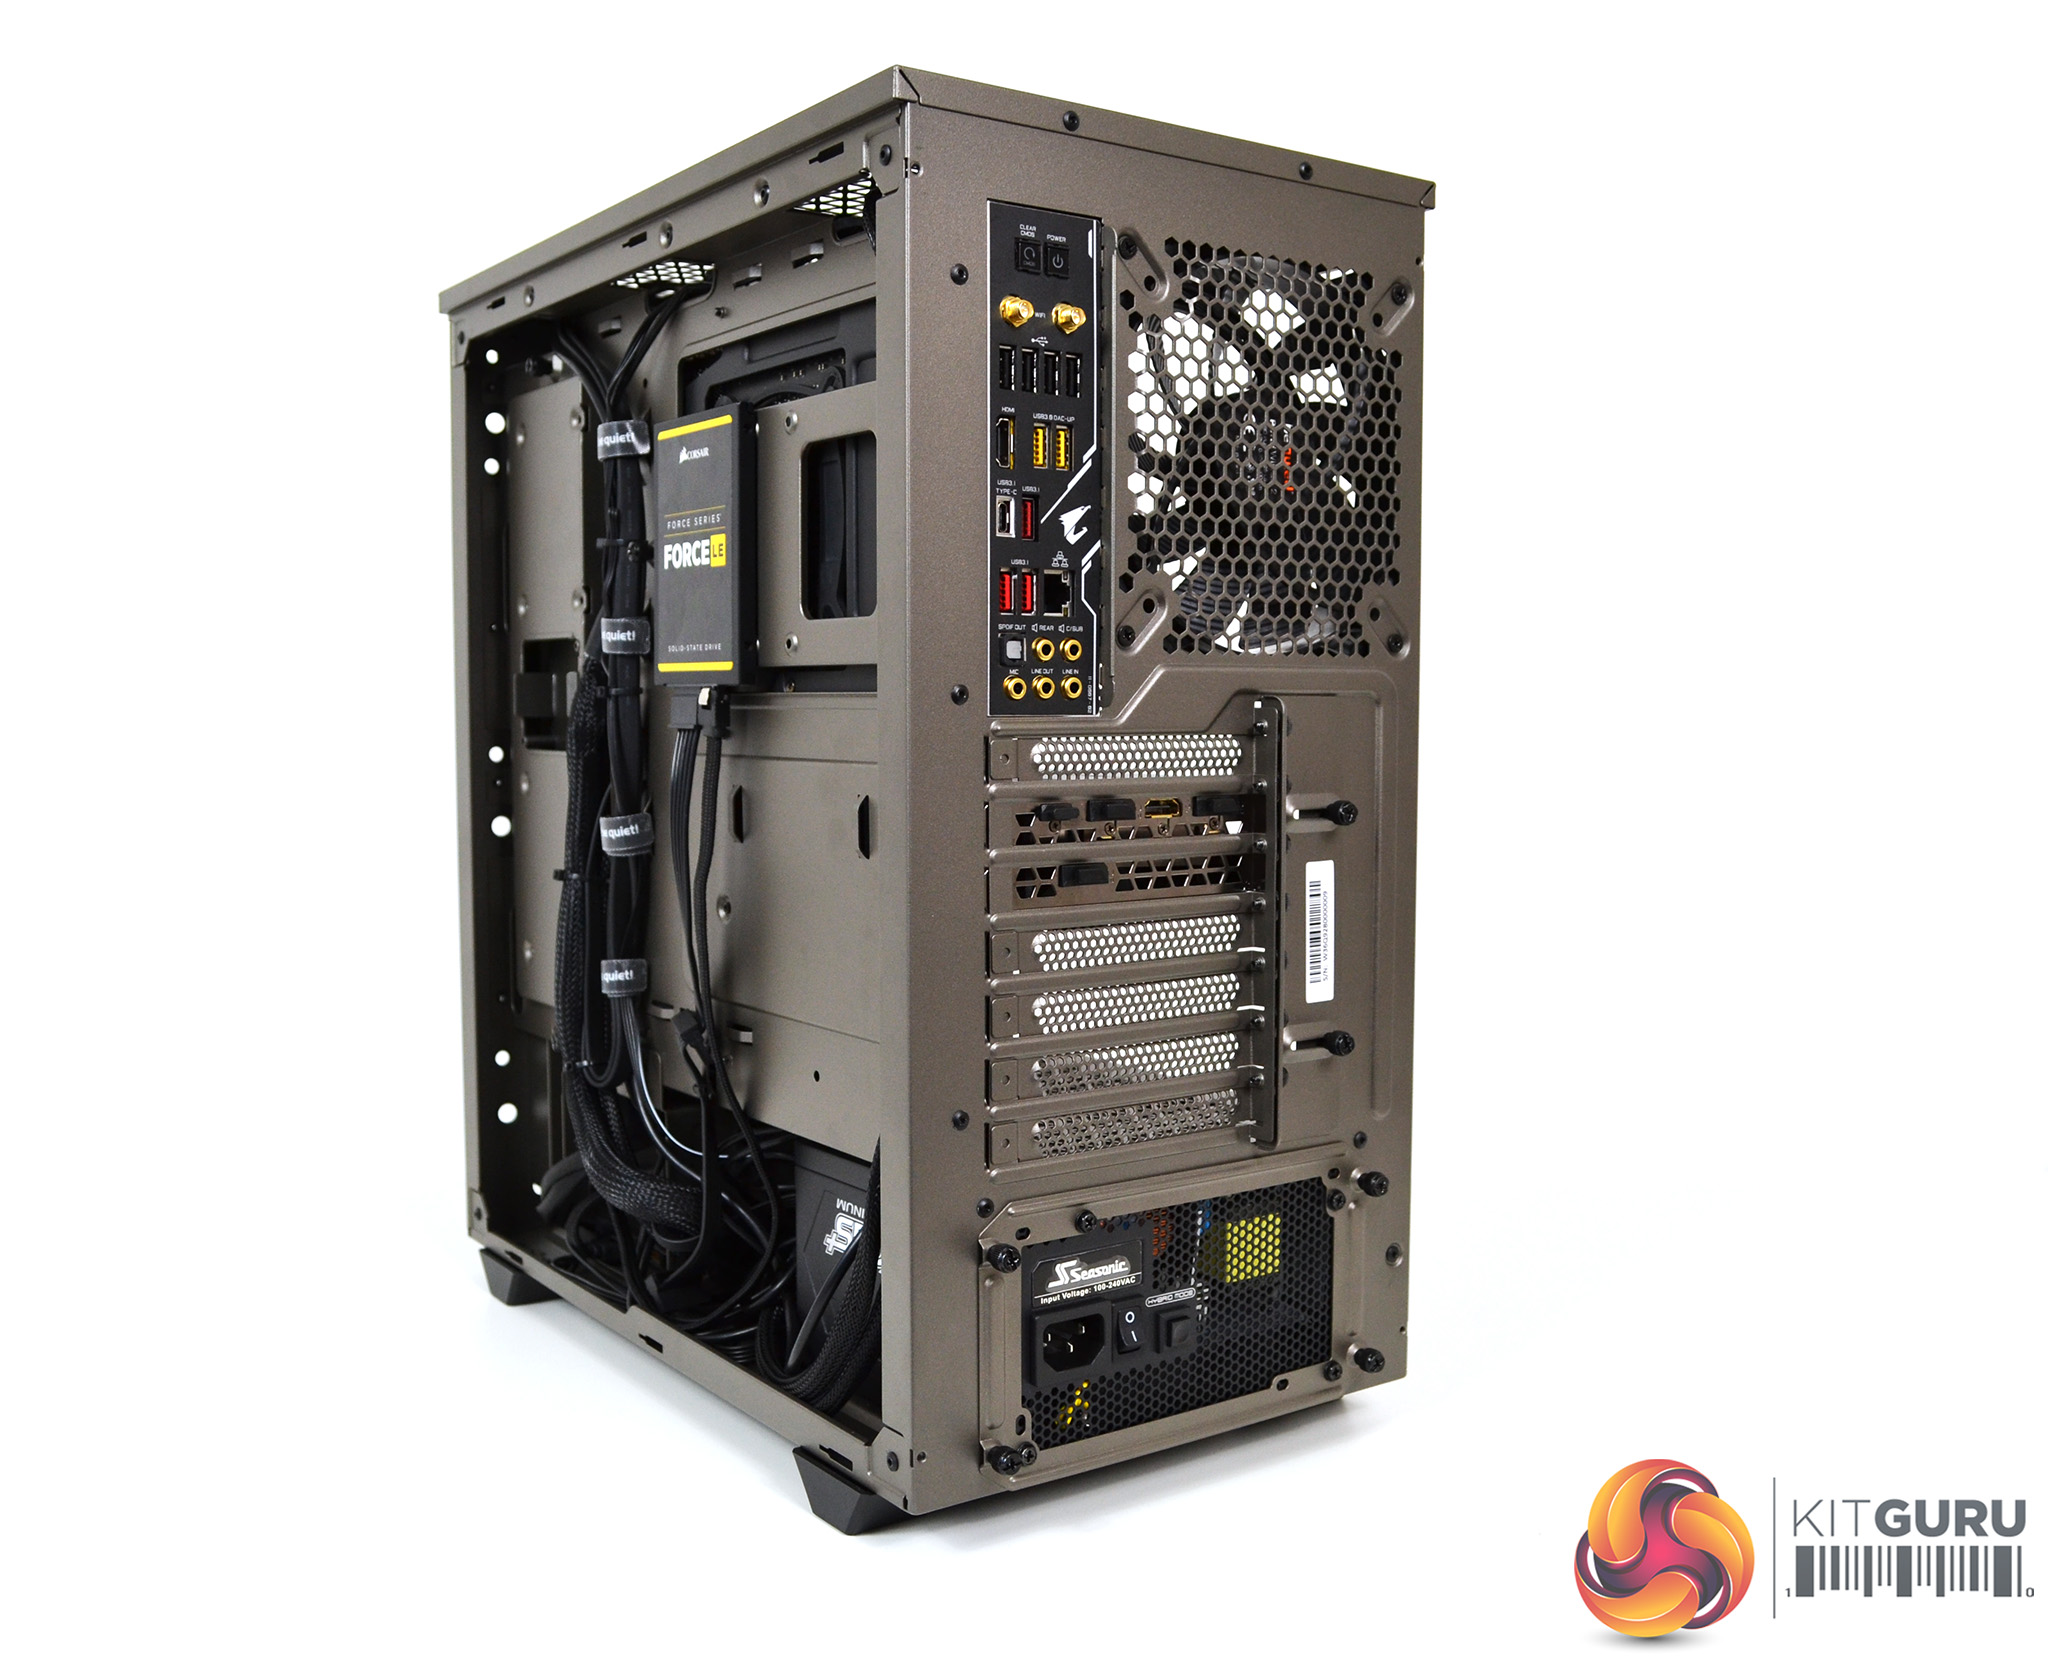
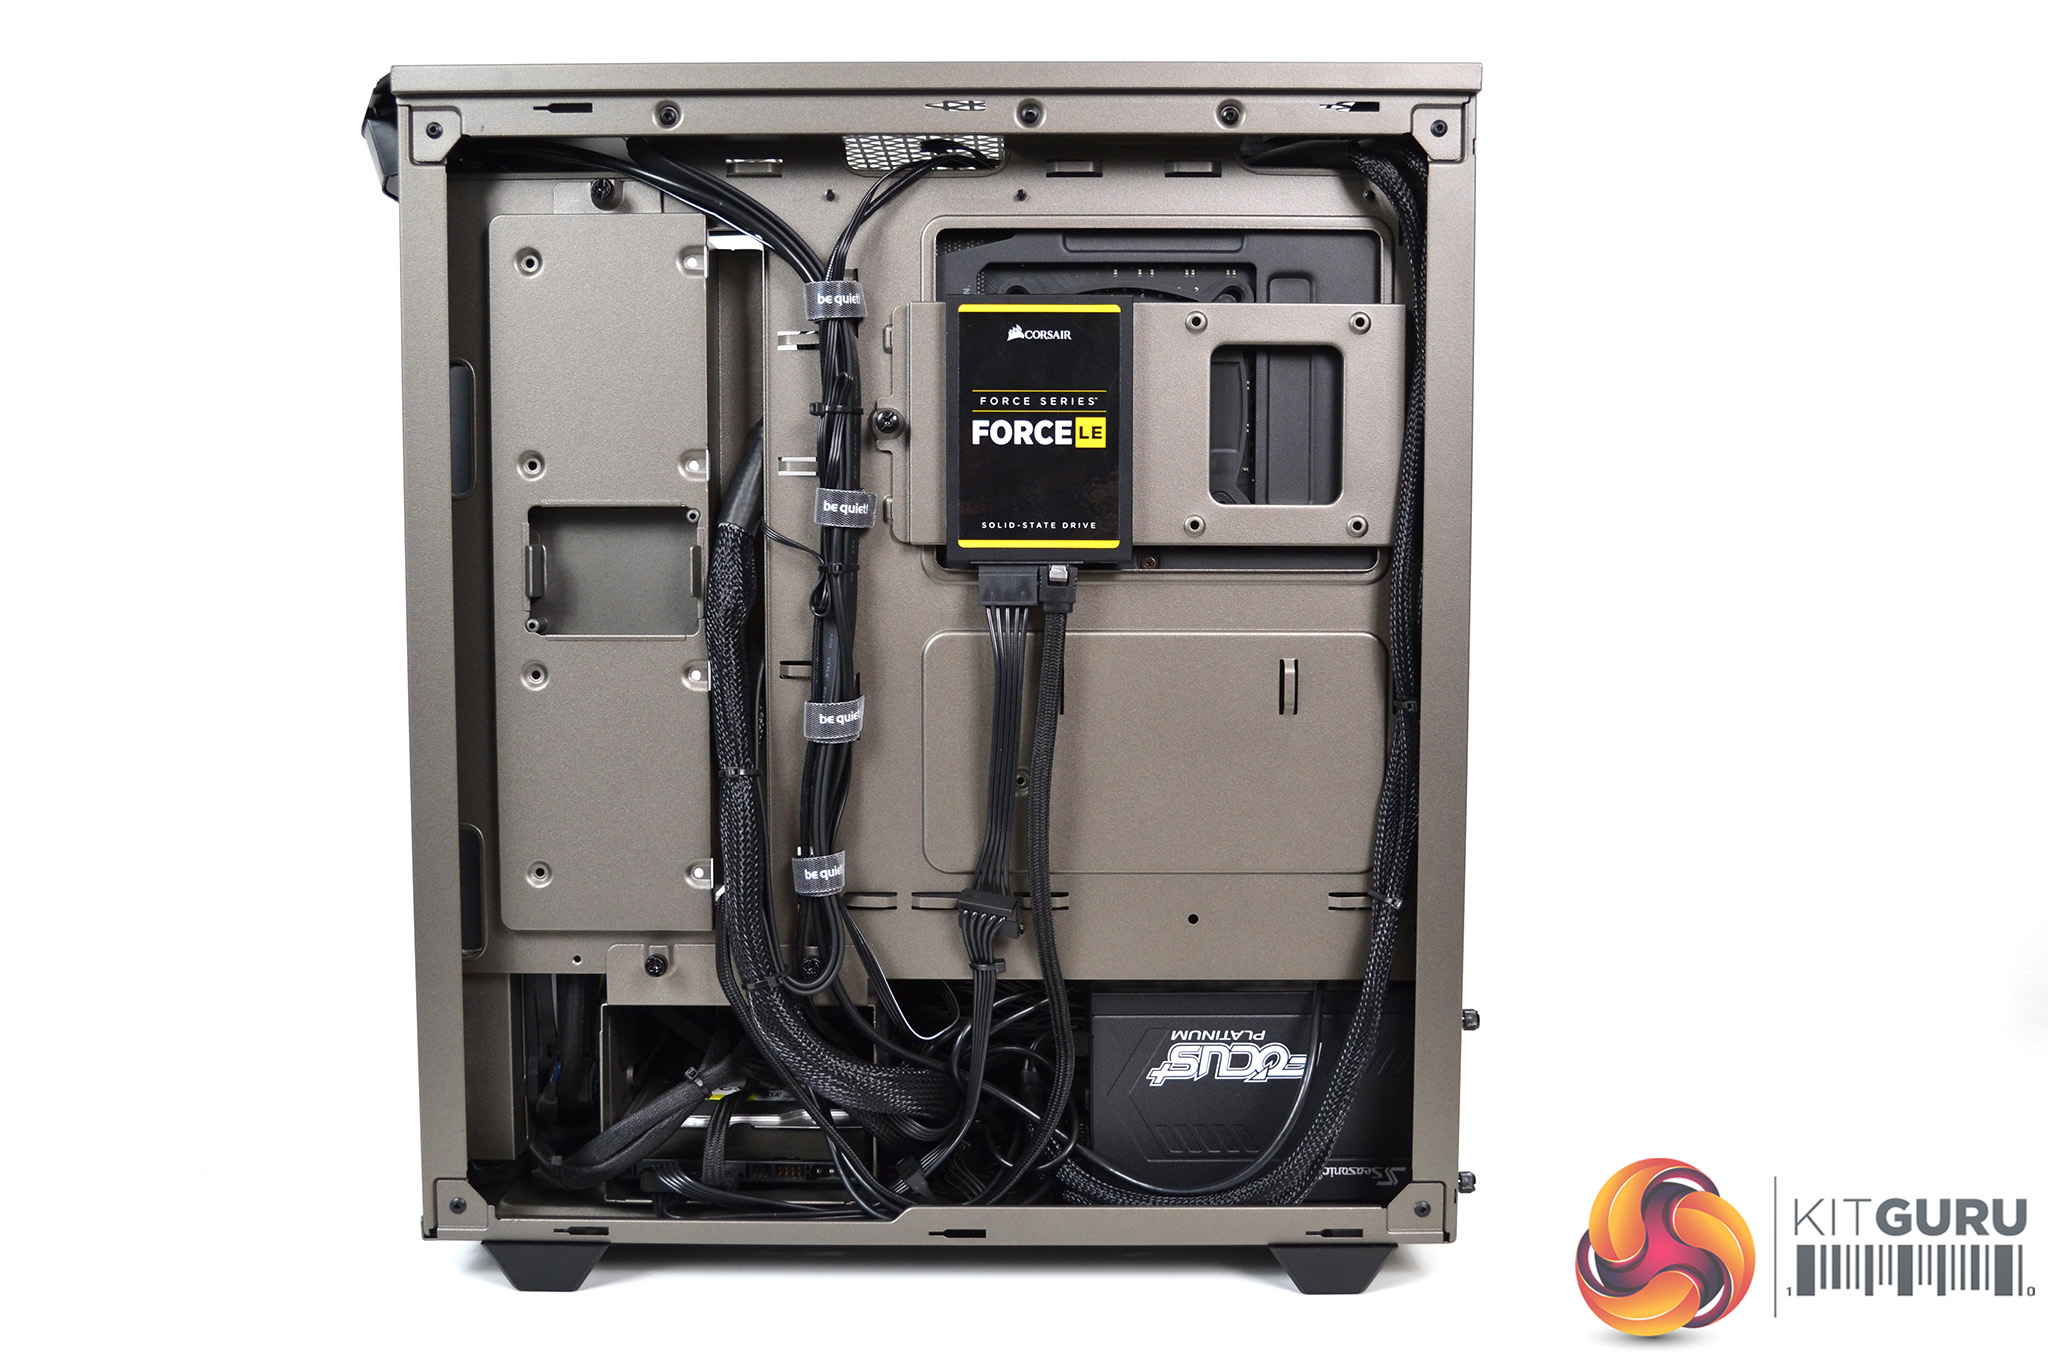
There are three areas where the SSD drive can be installed in the Pure Base 500. We chose to install on the SSD bracket to the rear of the motherboard. This was a simple process – we especially liked the removable nature of the panel, meaning the motherboard didn’t need to be removed to screw the SSD in place.
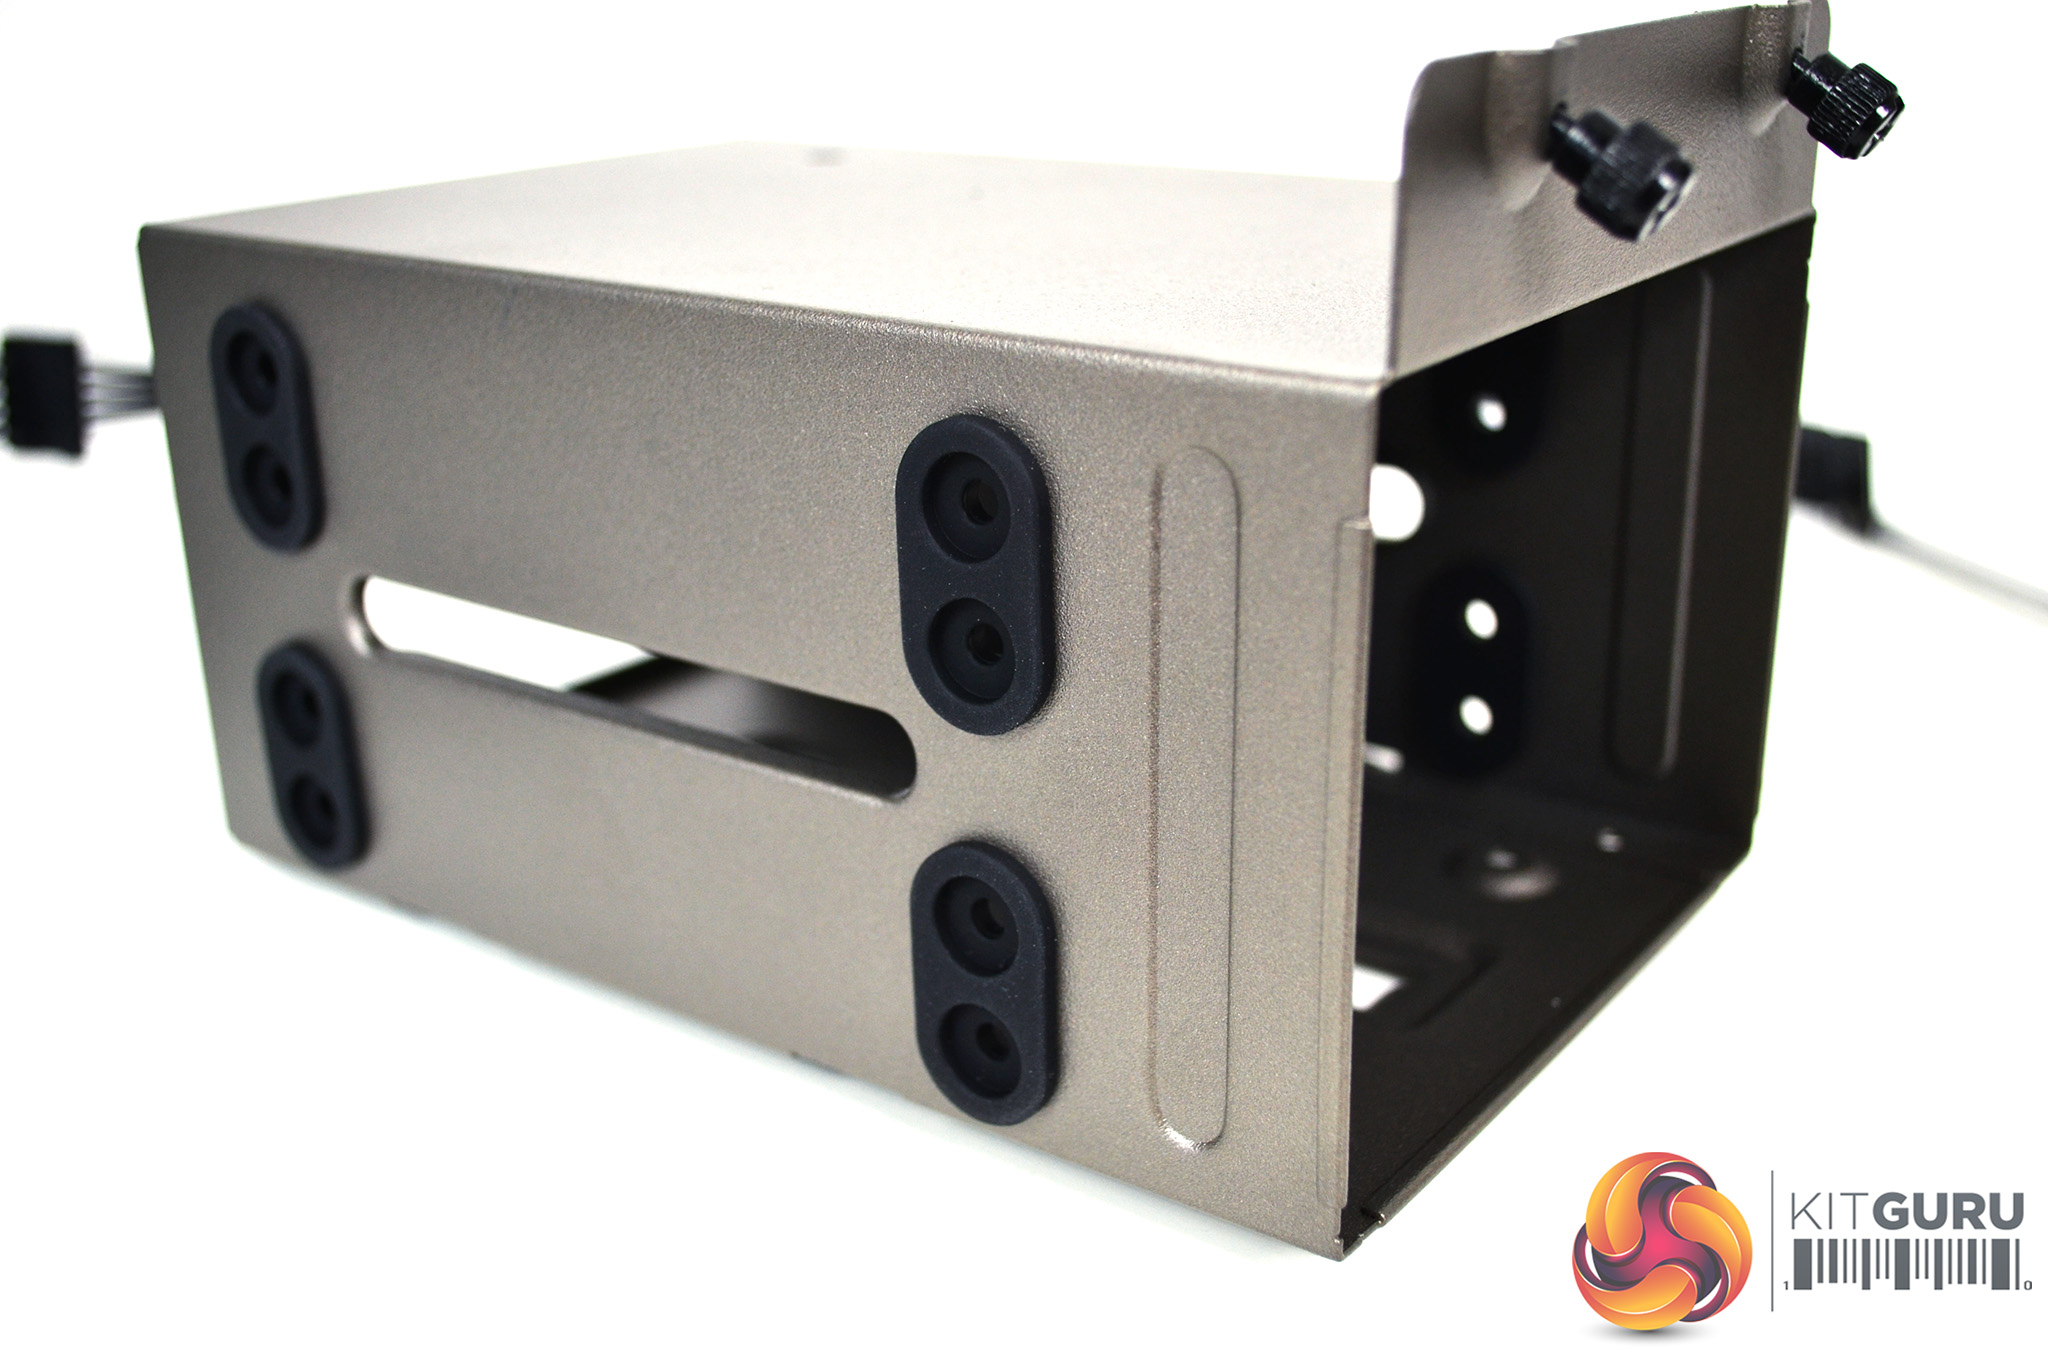
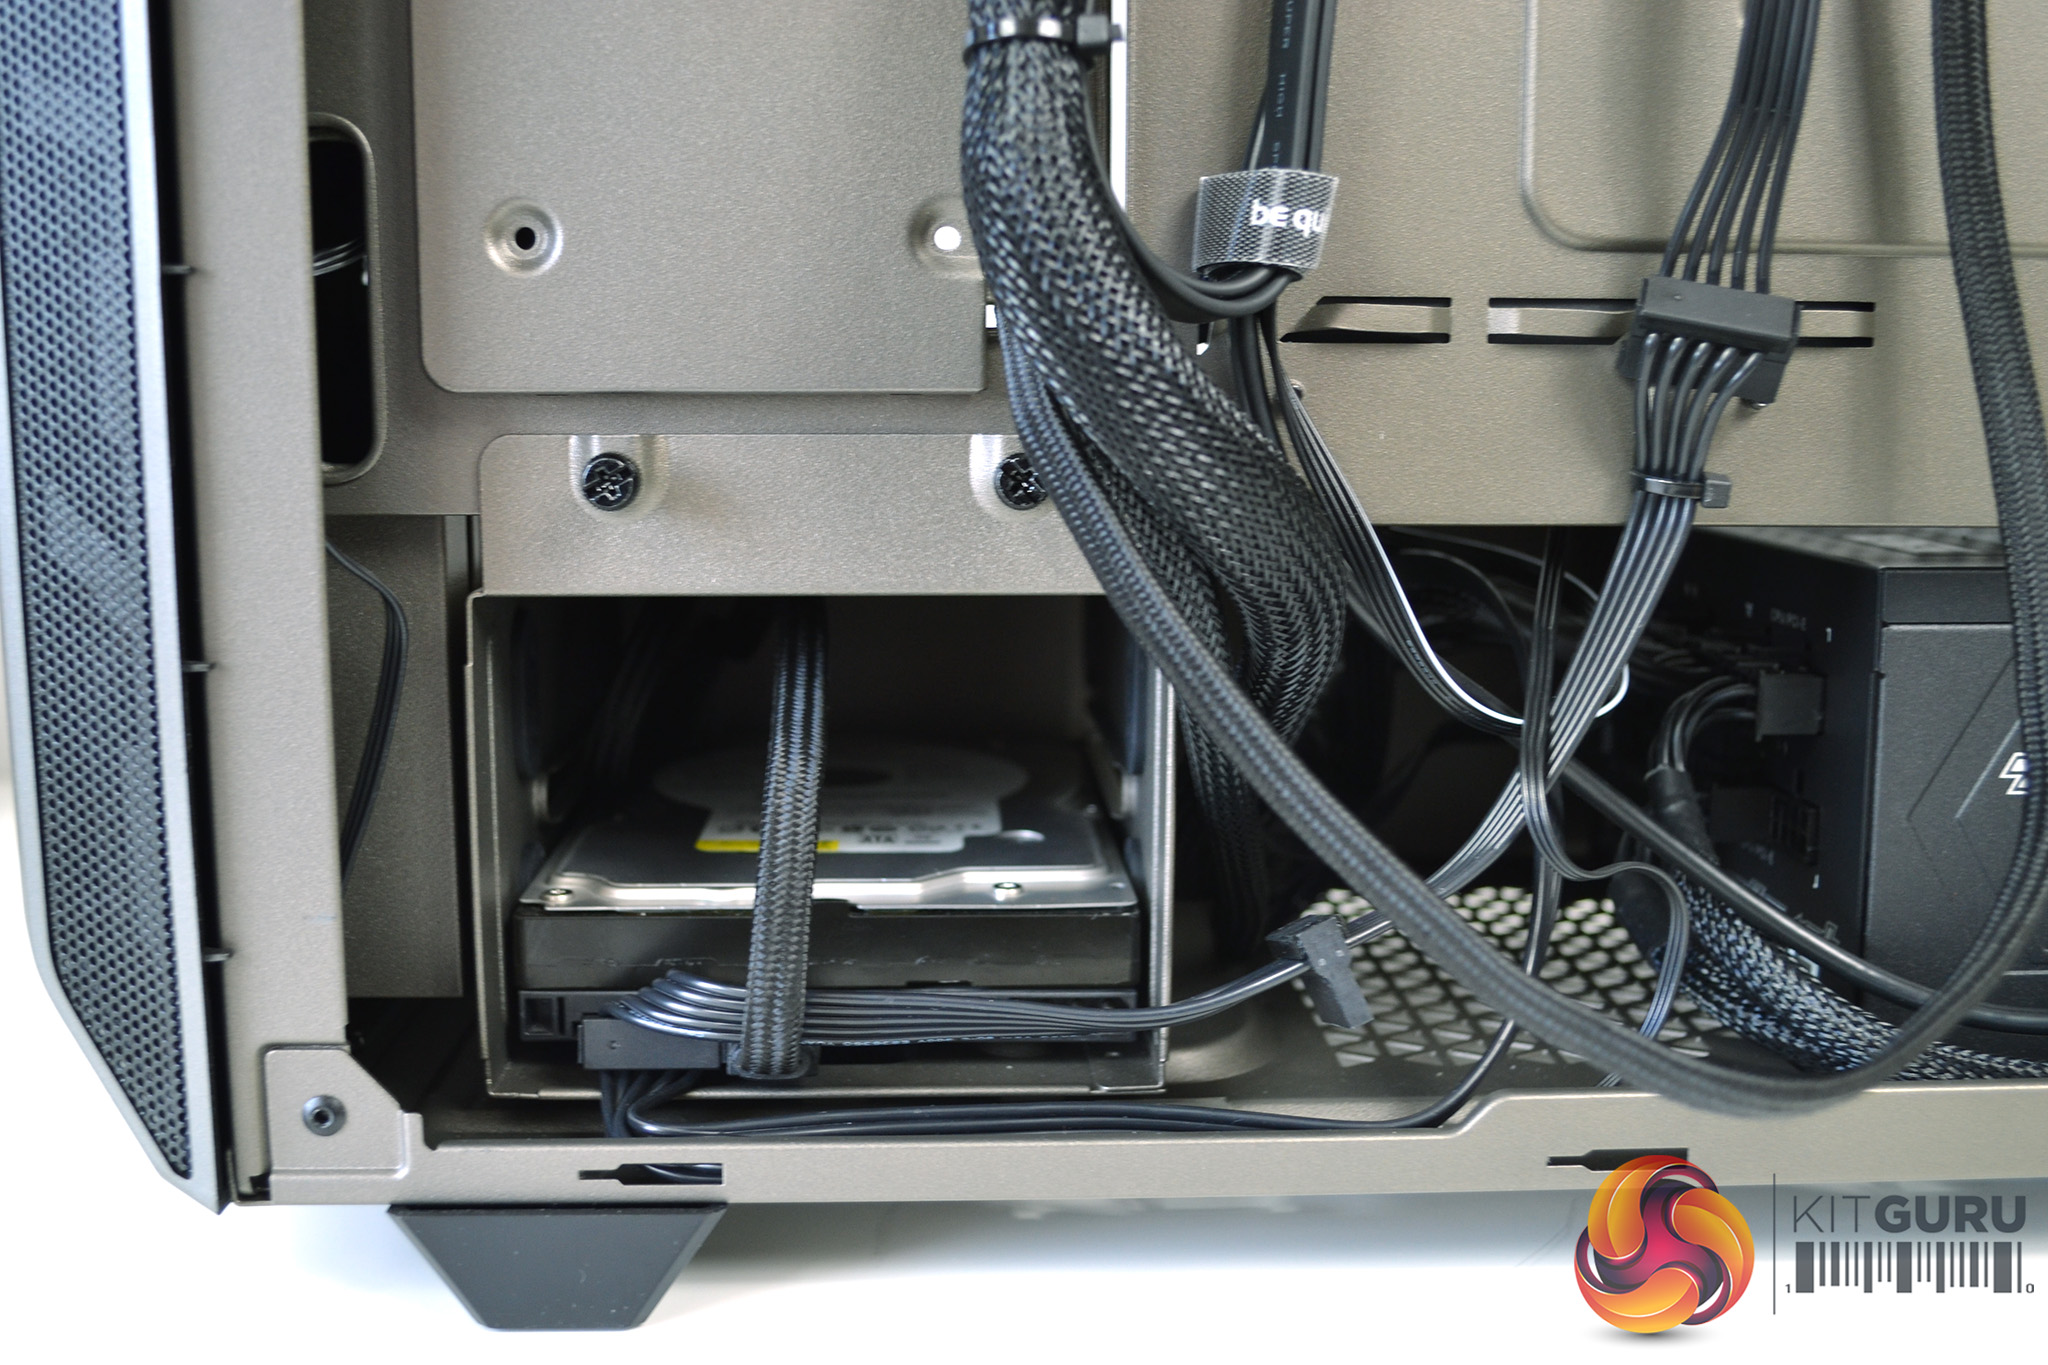
Also removable for installation is the HDD cage. Moving parts such as mechanical hard drives easily create noise-inducing vibration. be quiet! has overcome this problem with rubber decoupling grommets to suppress noise from the HDD.

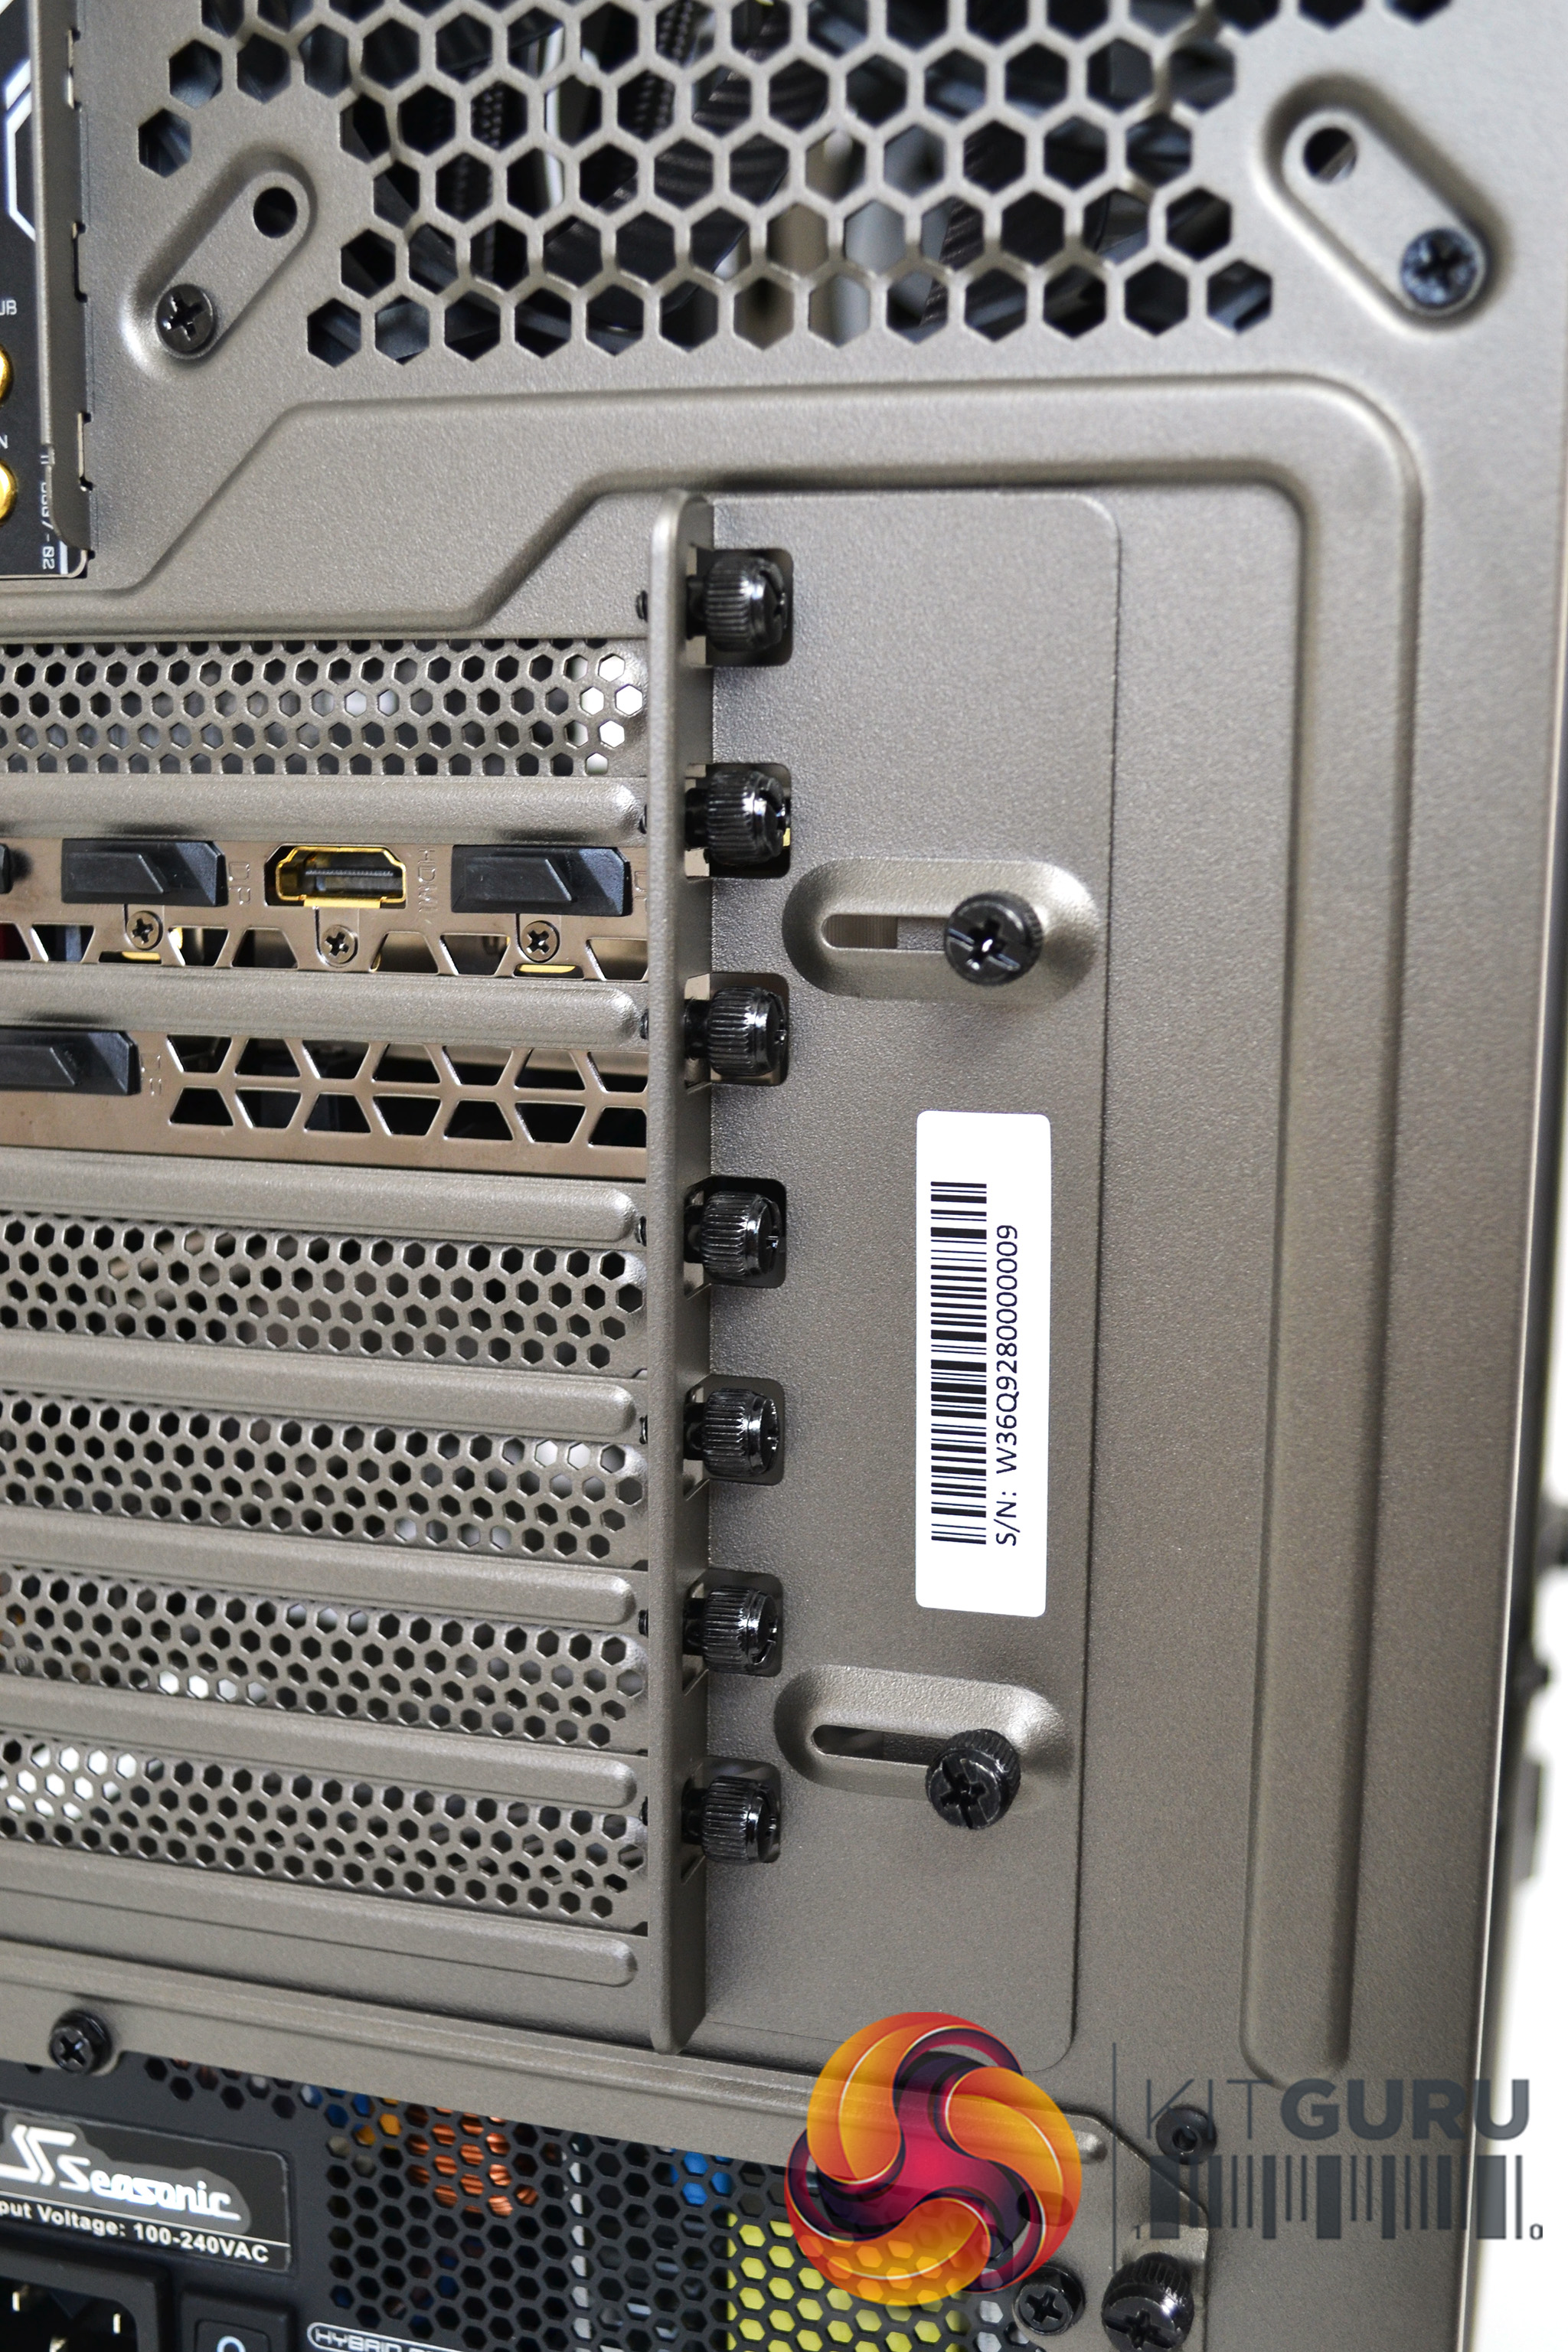
We found plenty of room to install our Gigabyte RTX 2070 Super GPU in the Pure Base 500. The rear PCI-e slots are covered with a shield and when both thumbscrews are loosened off, it allows installation/removal of PCI-e devices by sliding the shield away from the slots.
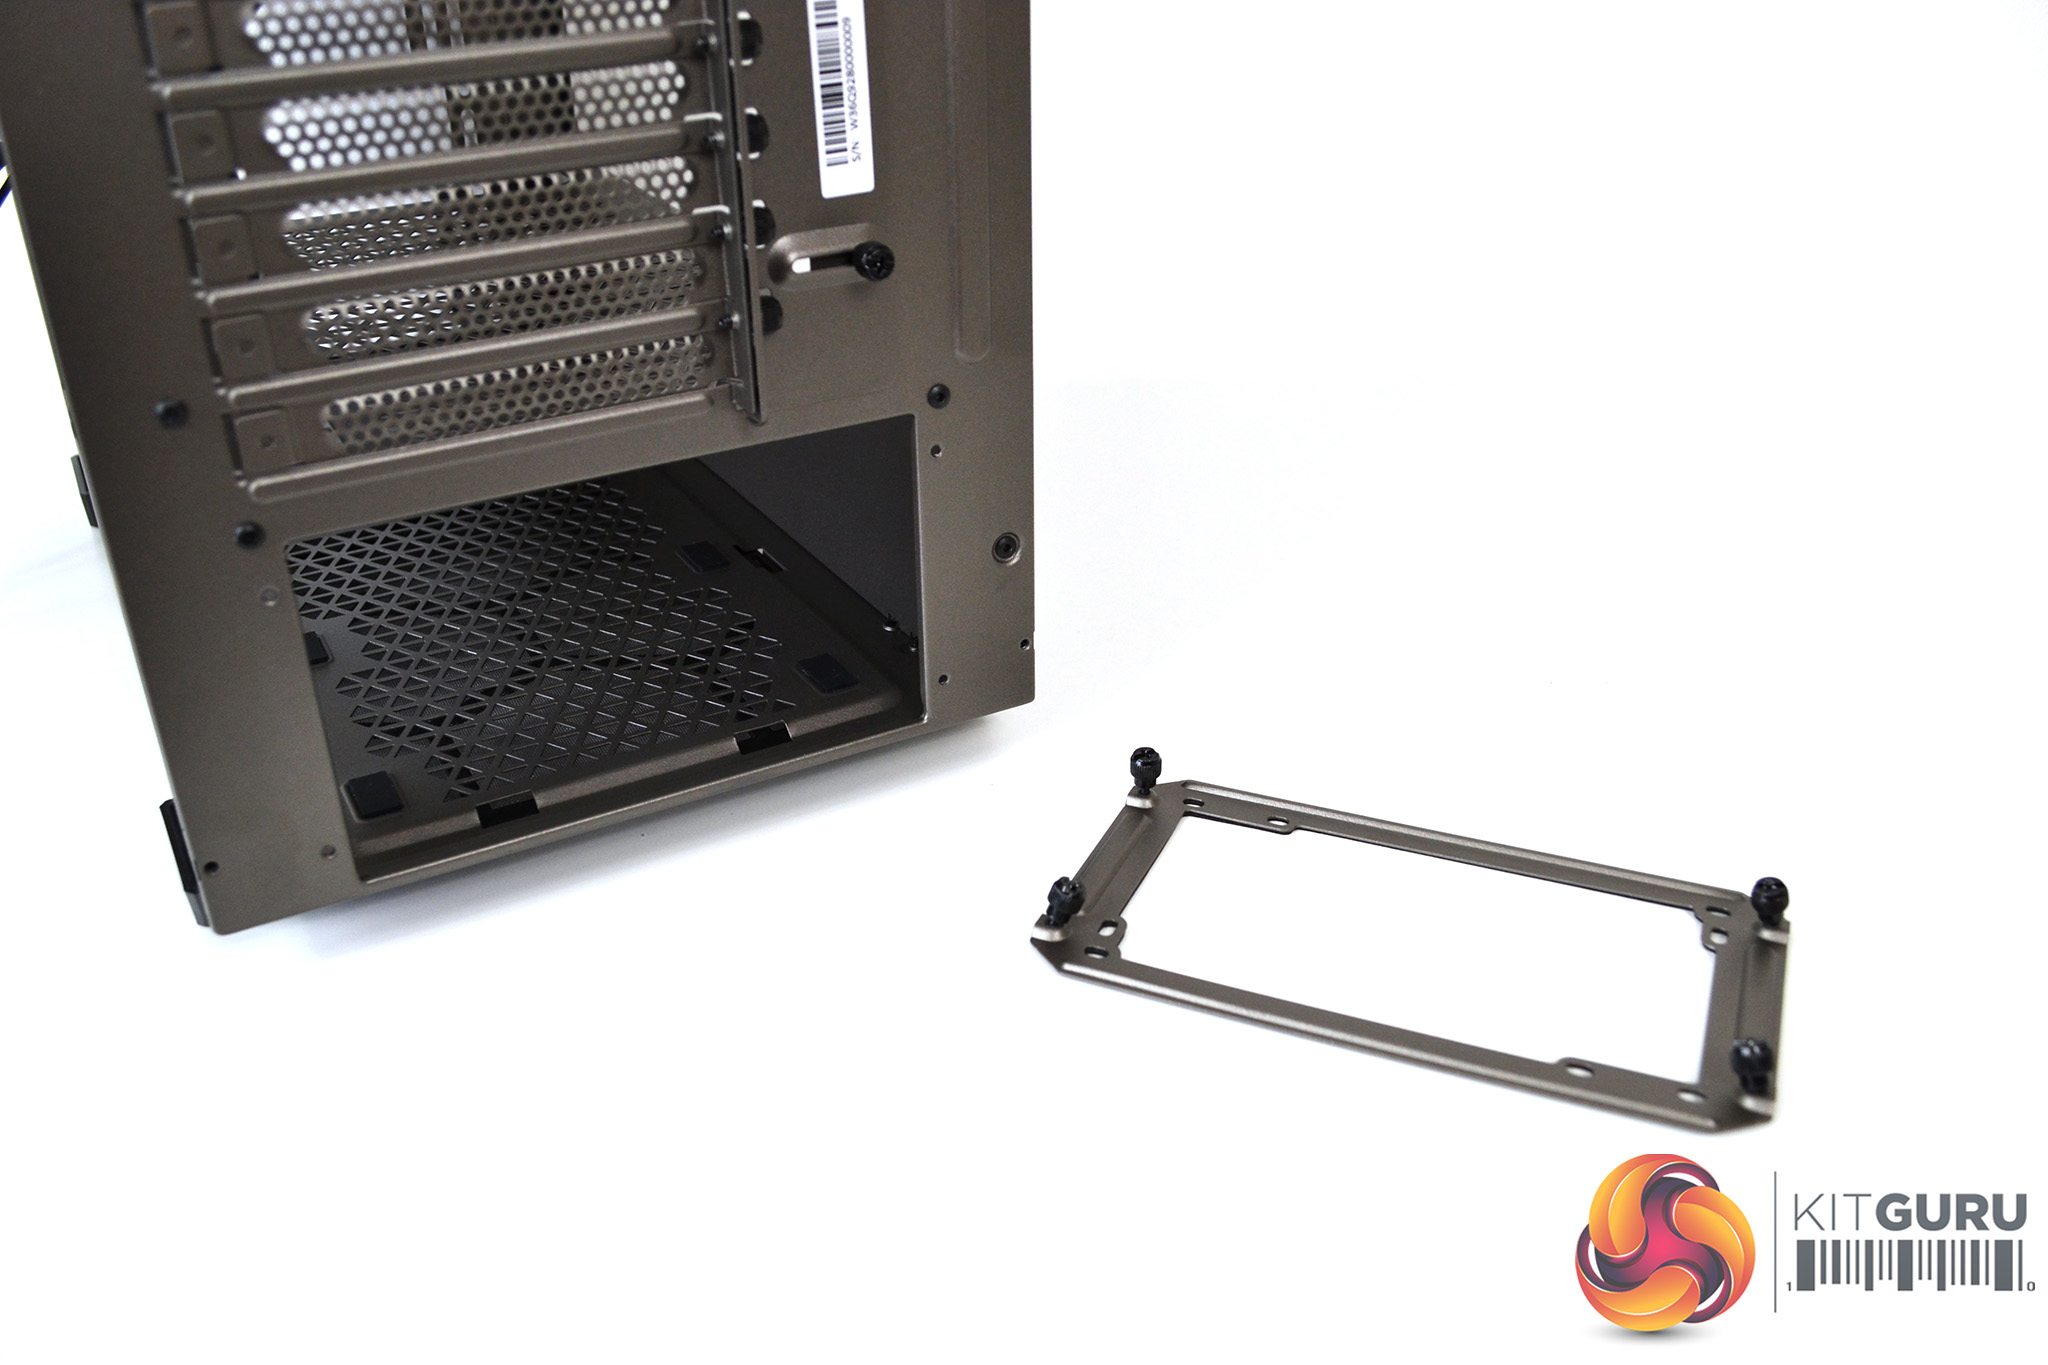
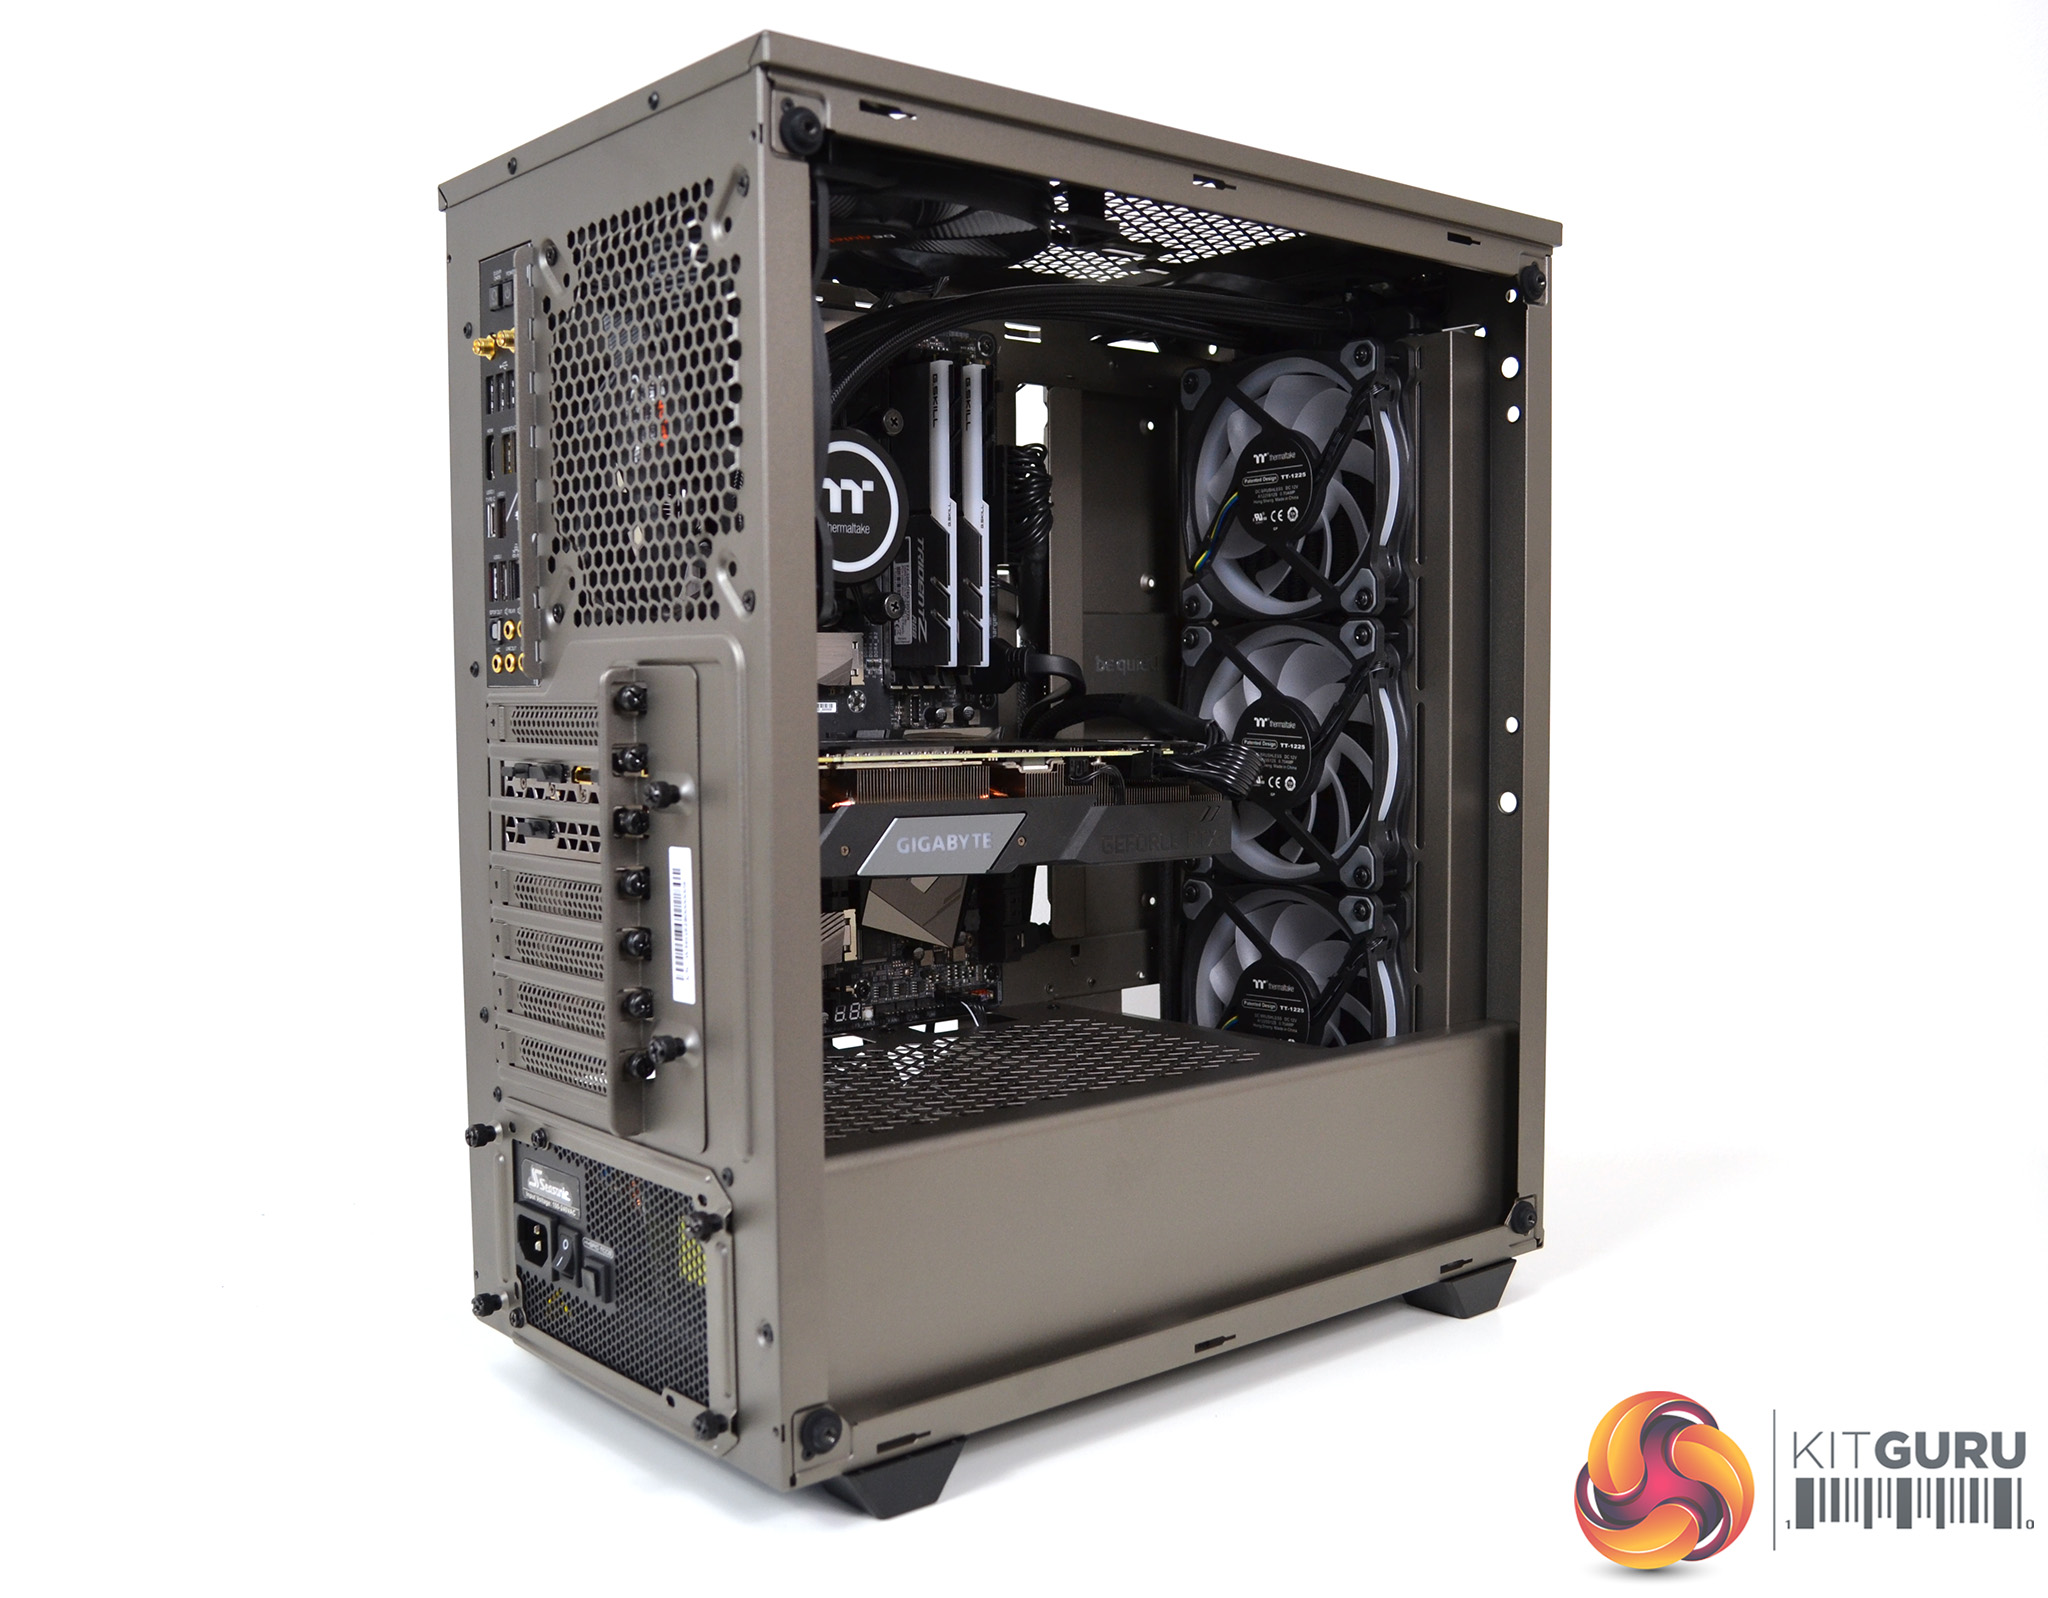
Another feature we like about the Pure Base 500 is the PSU installation method. be quiet! have included a removable rear PSU mounting plate which makes installation of the PSU easy compared to trying to slide it in from the side, which most cases in this price bracket force you to do.
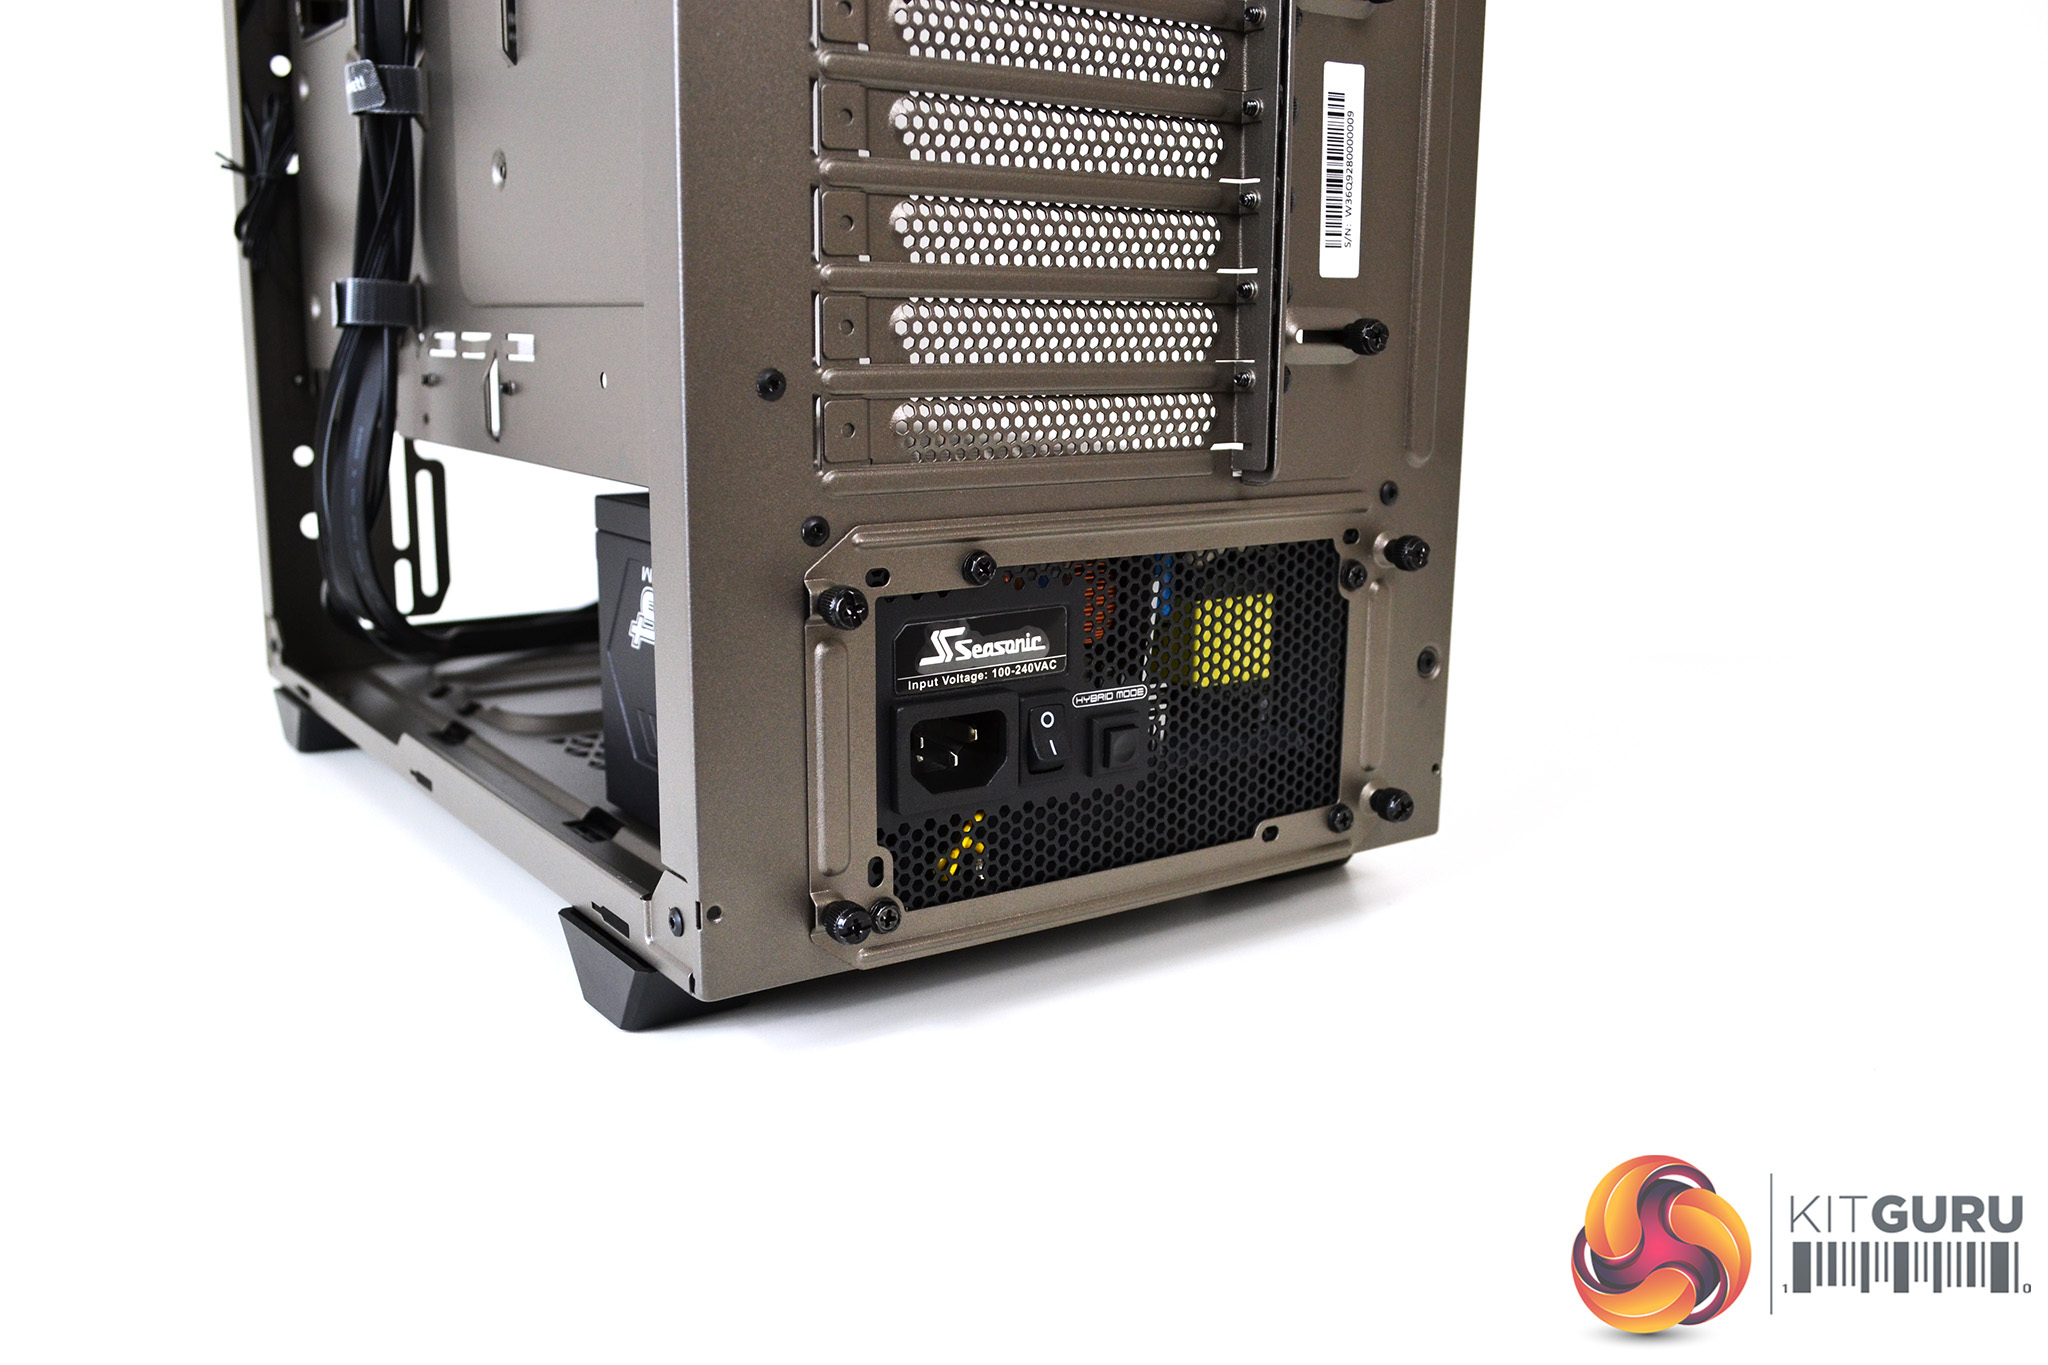
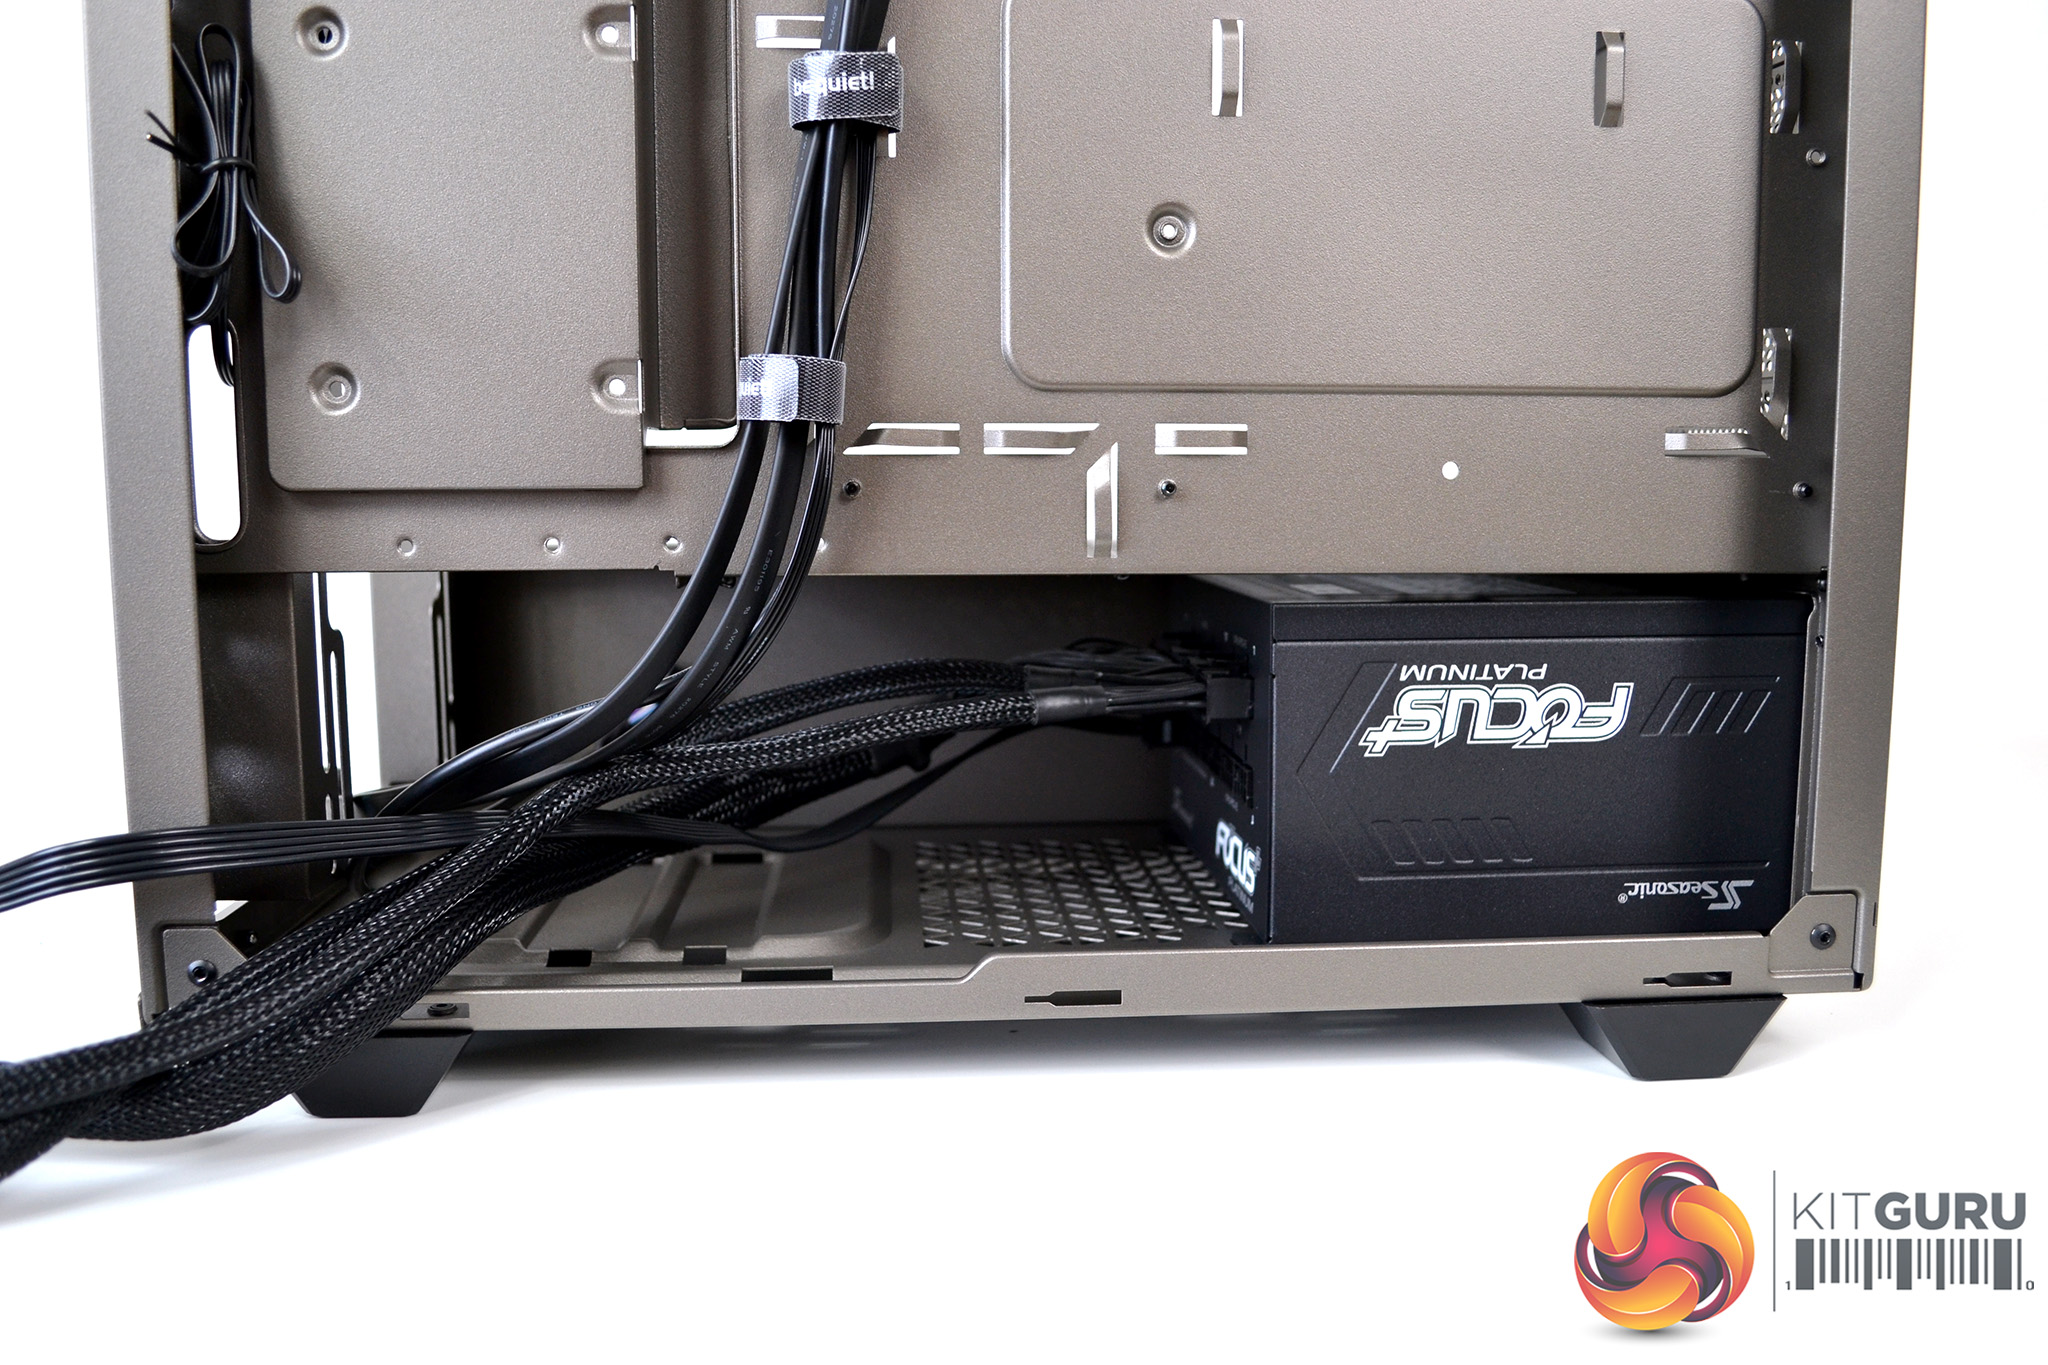
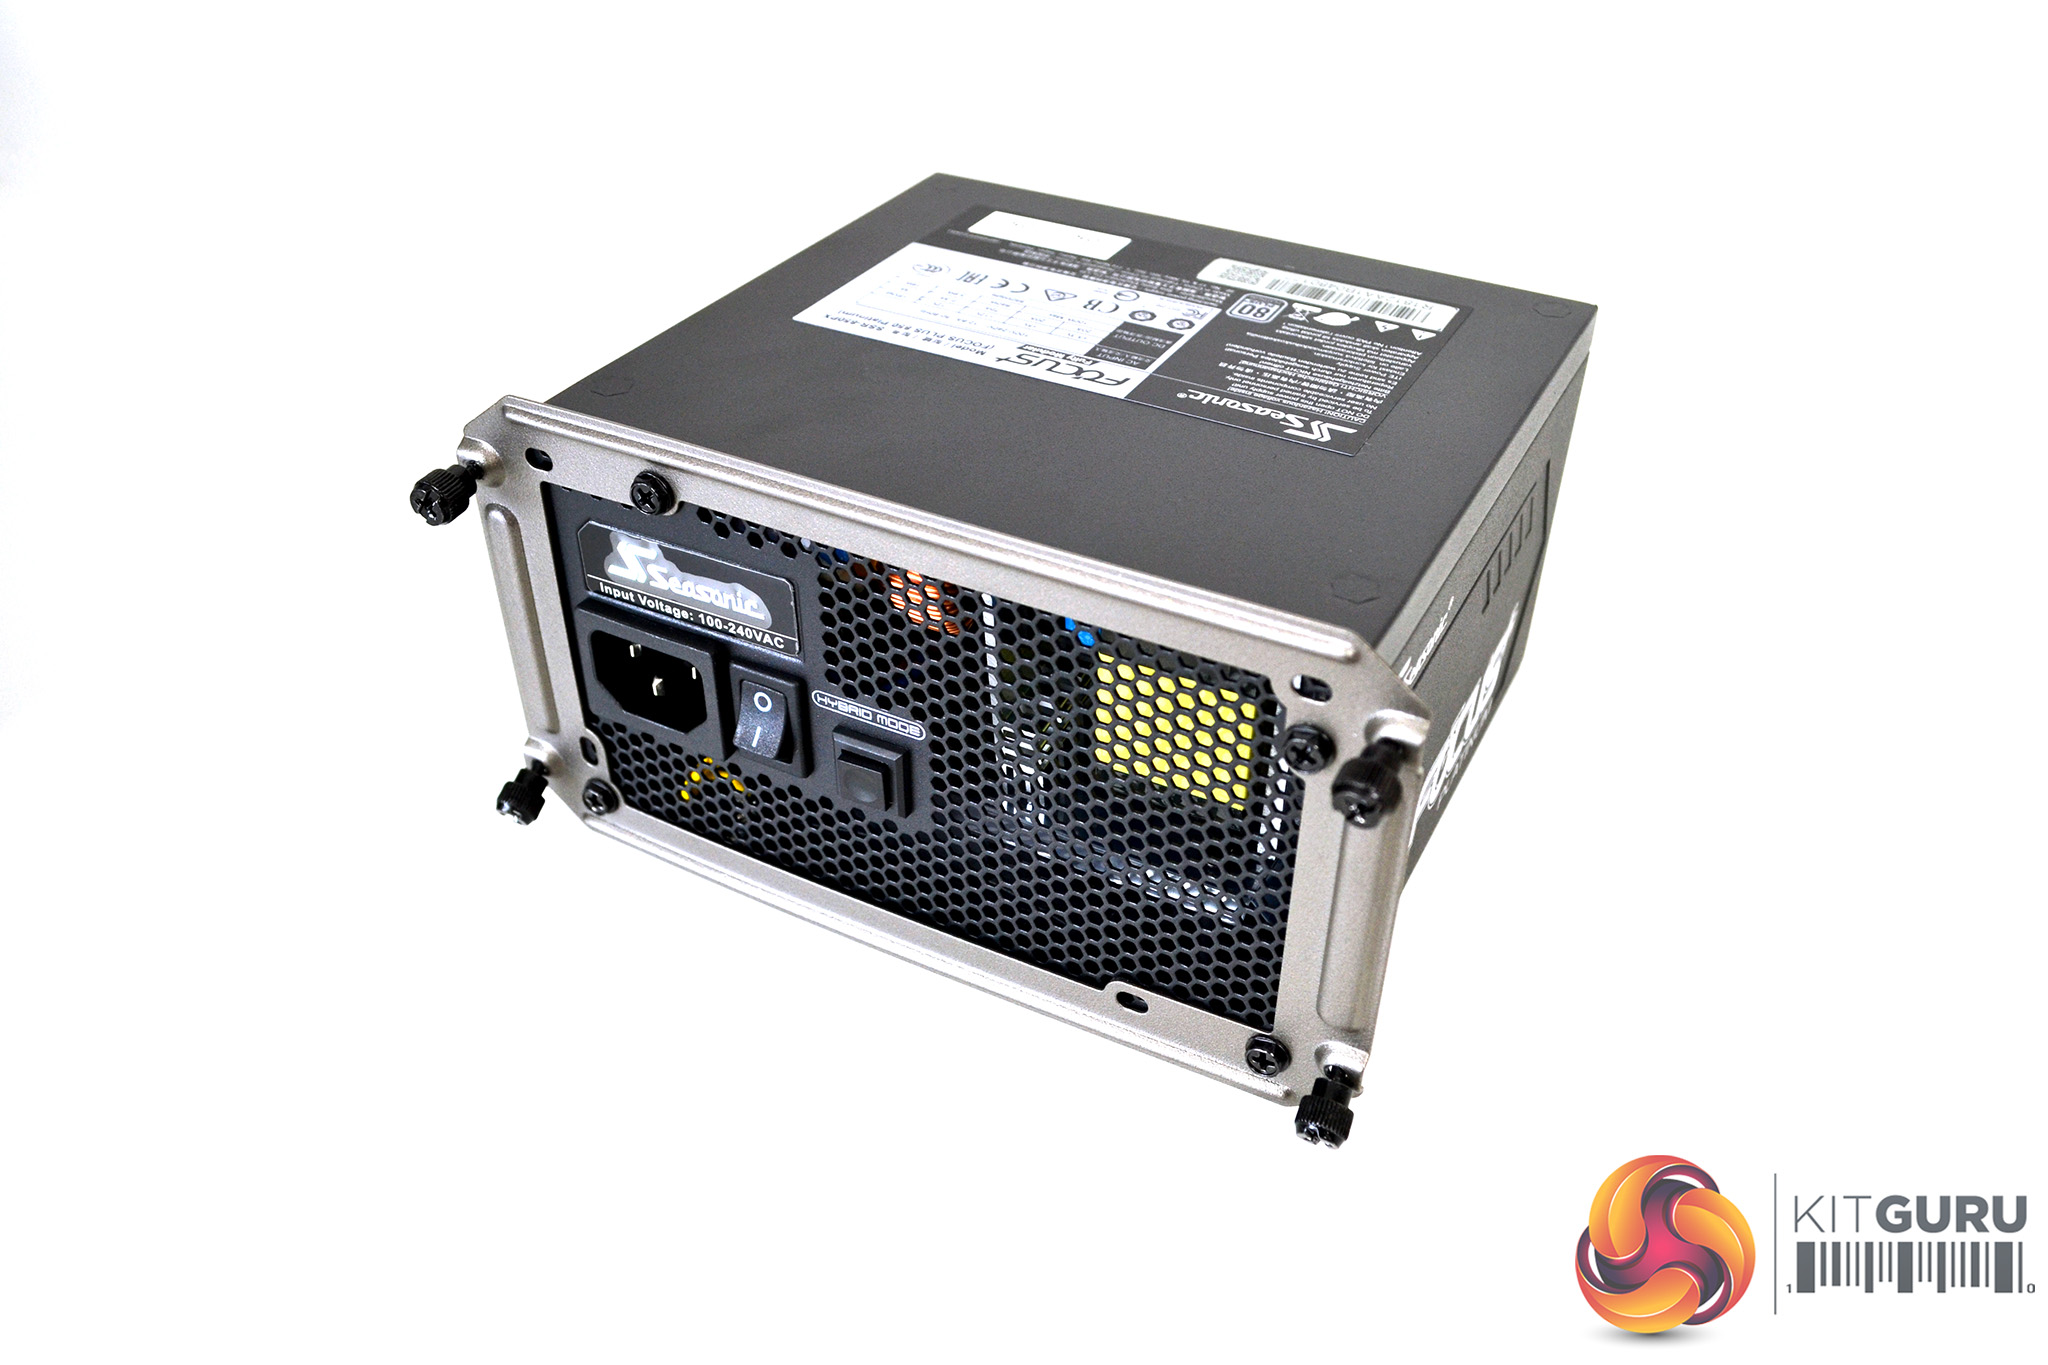
So, to install the PSU, detach the rear mounting plate and screw this to the rear of your PSU, then simply slide the PSU in place from the rear and secure with the four captive thumbscrews. Once installed, there is plenty of room to attach and remove cables if your PSU is modular.
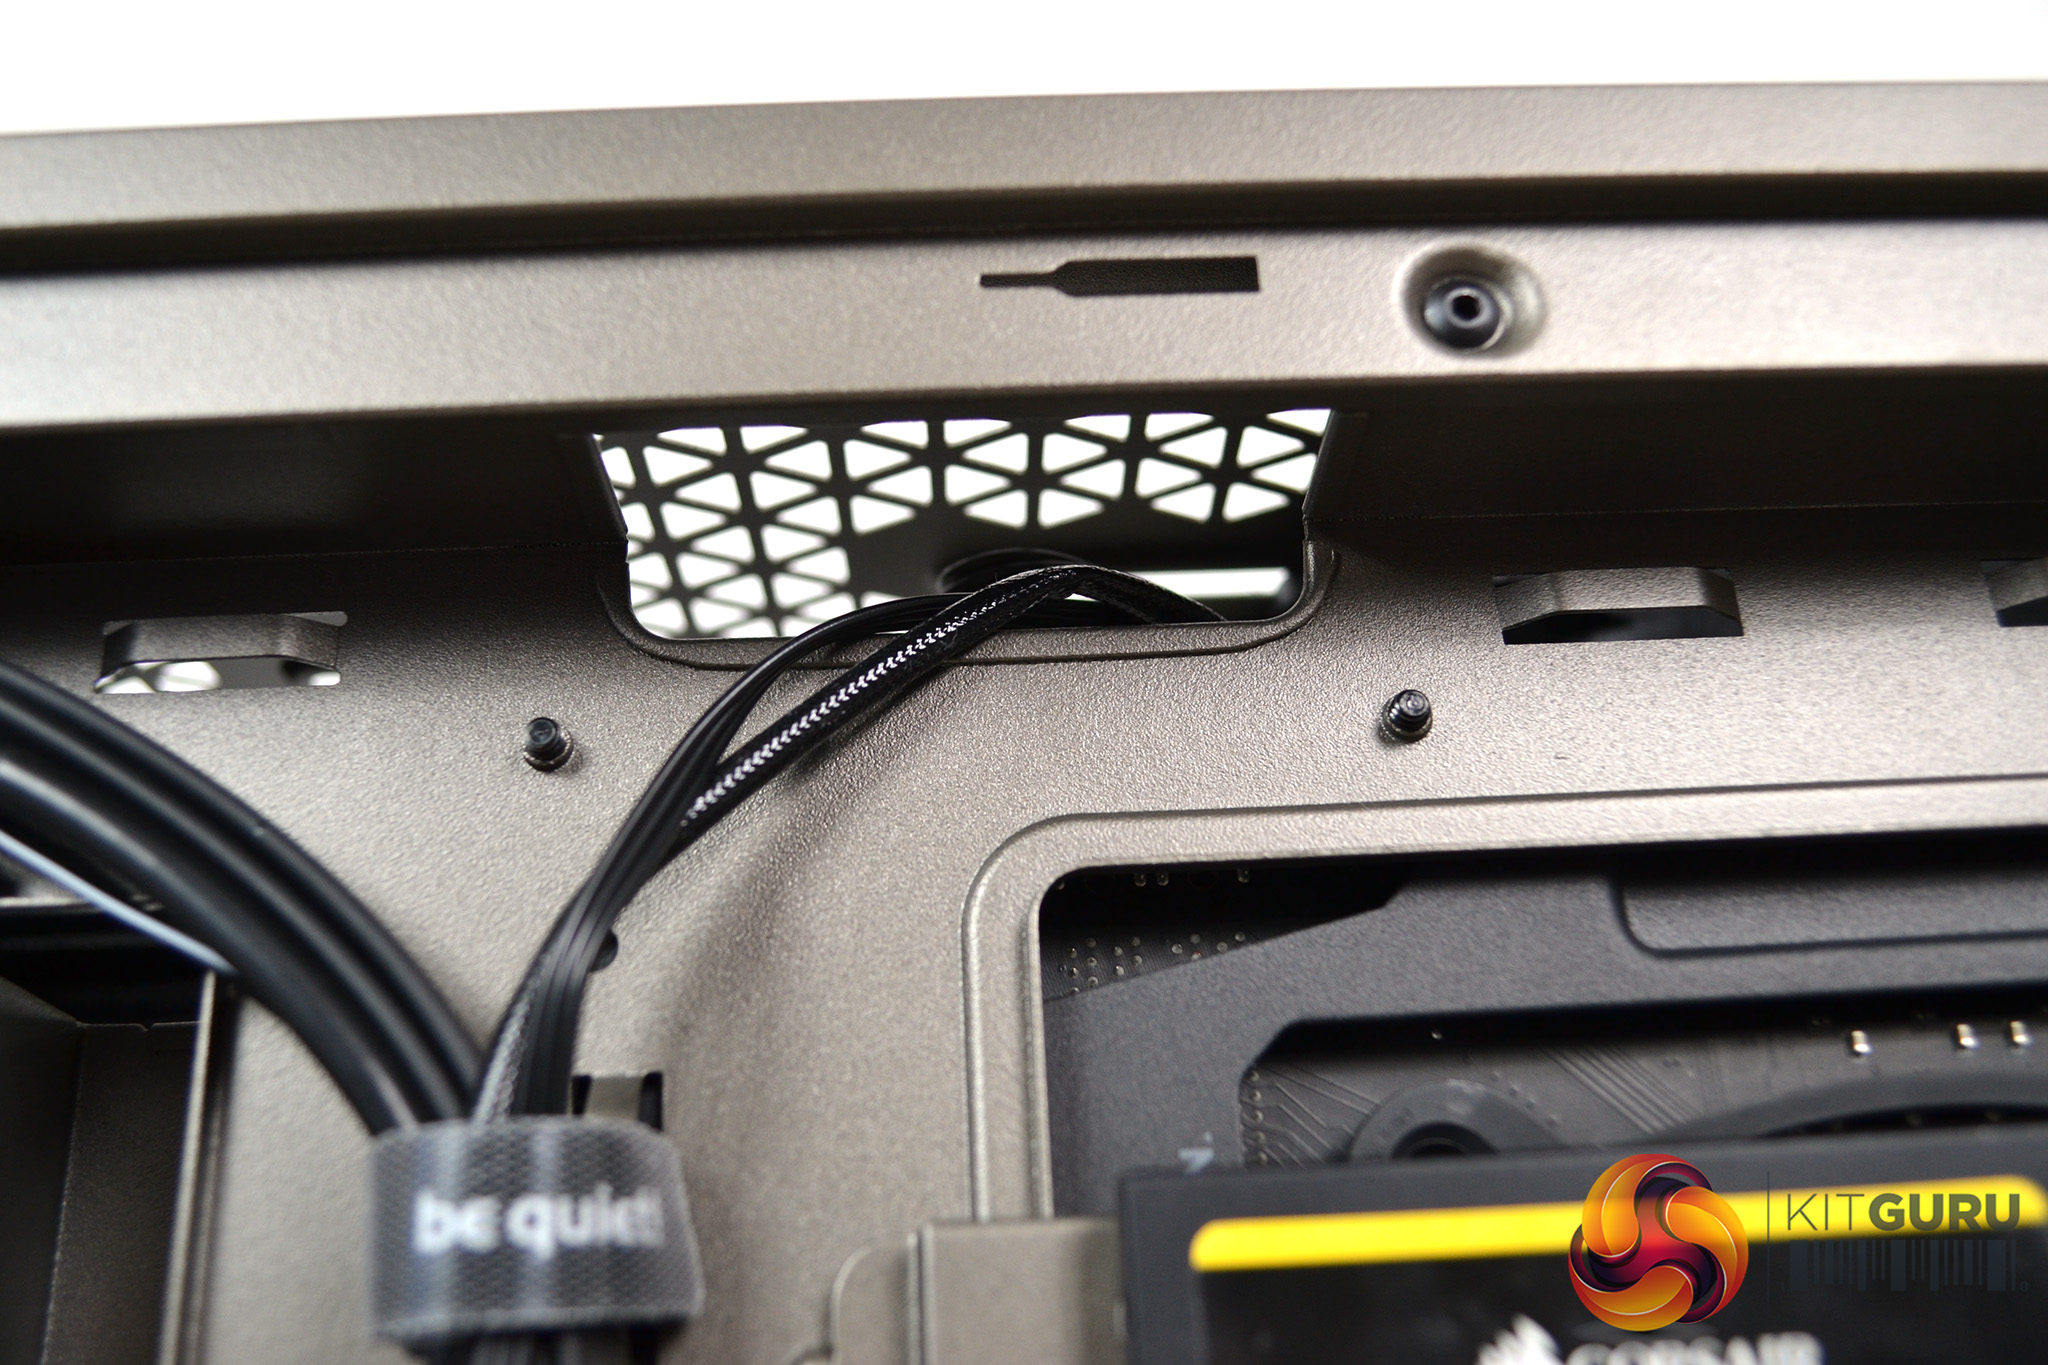
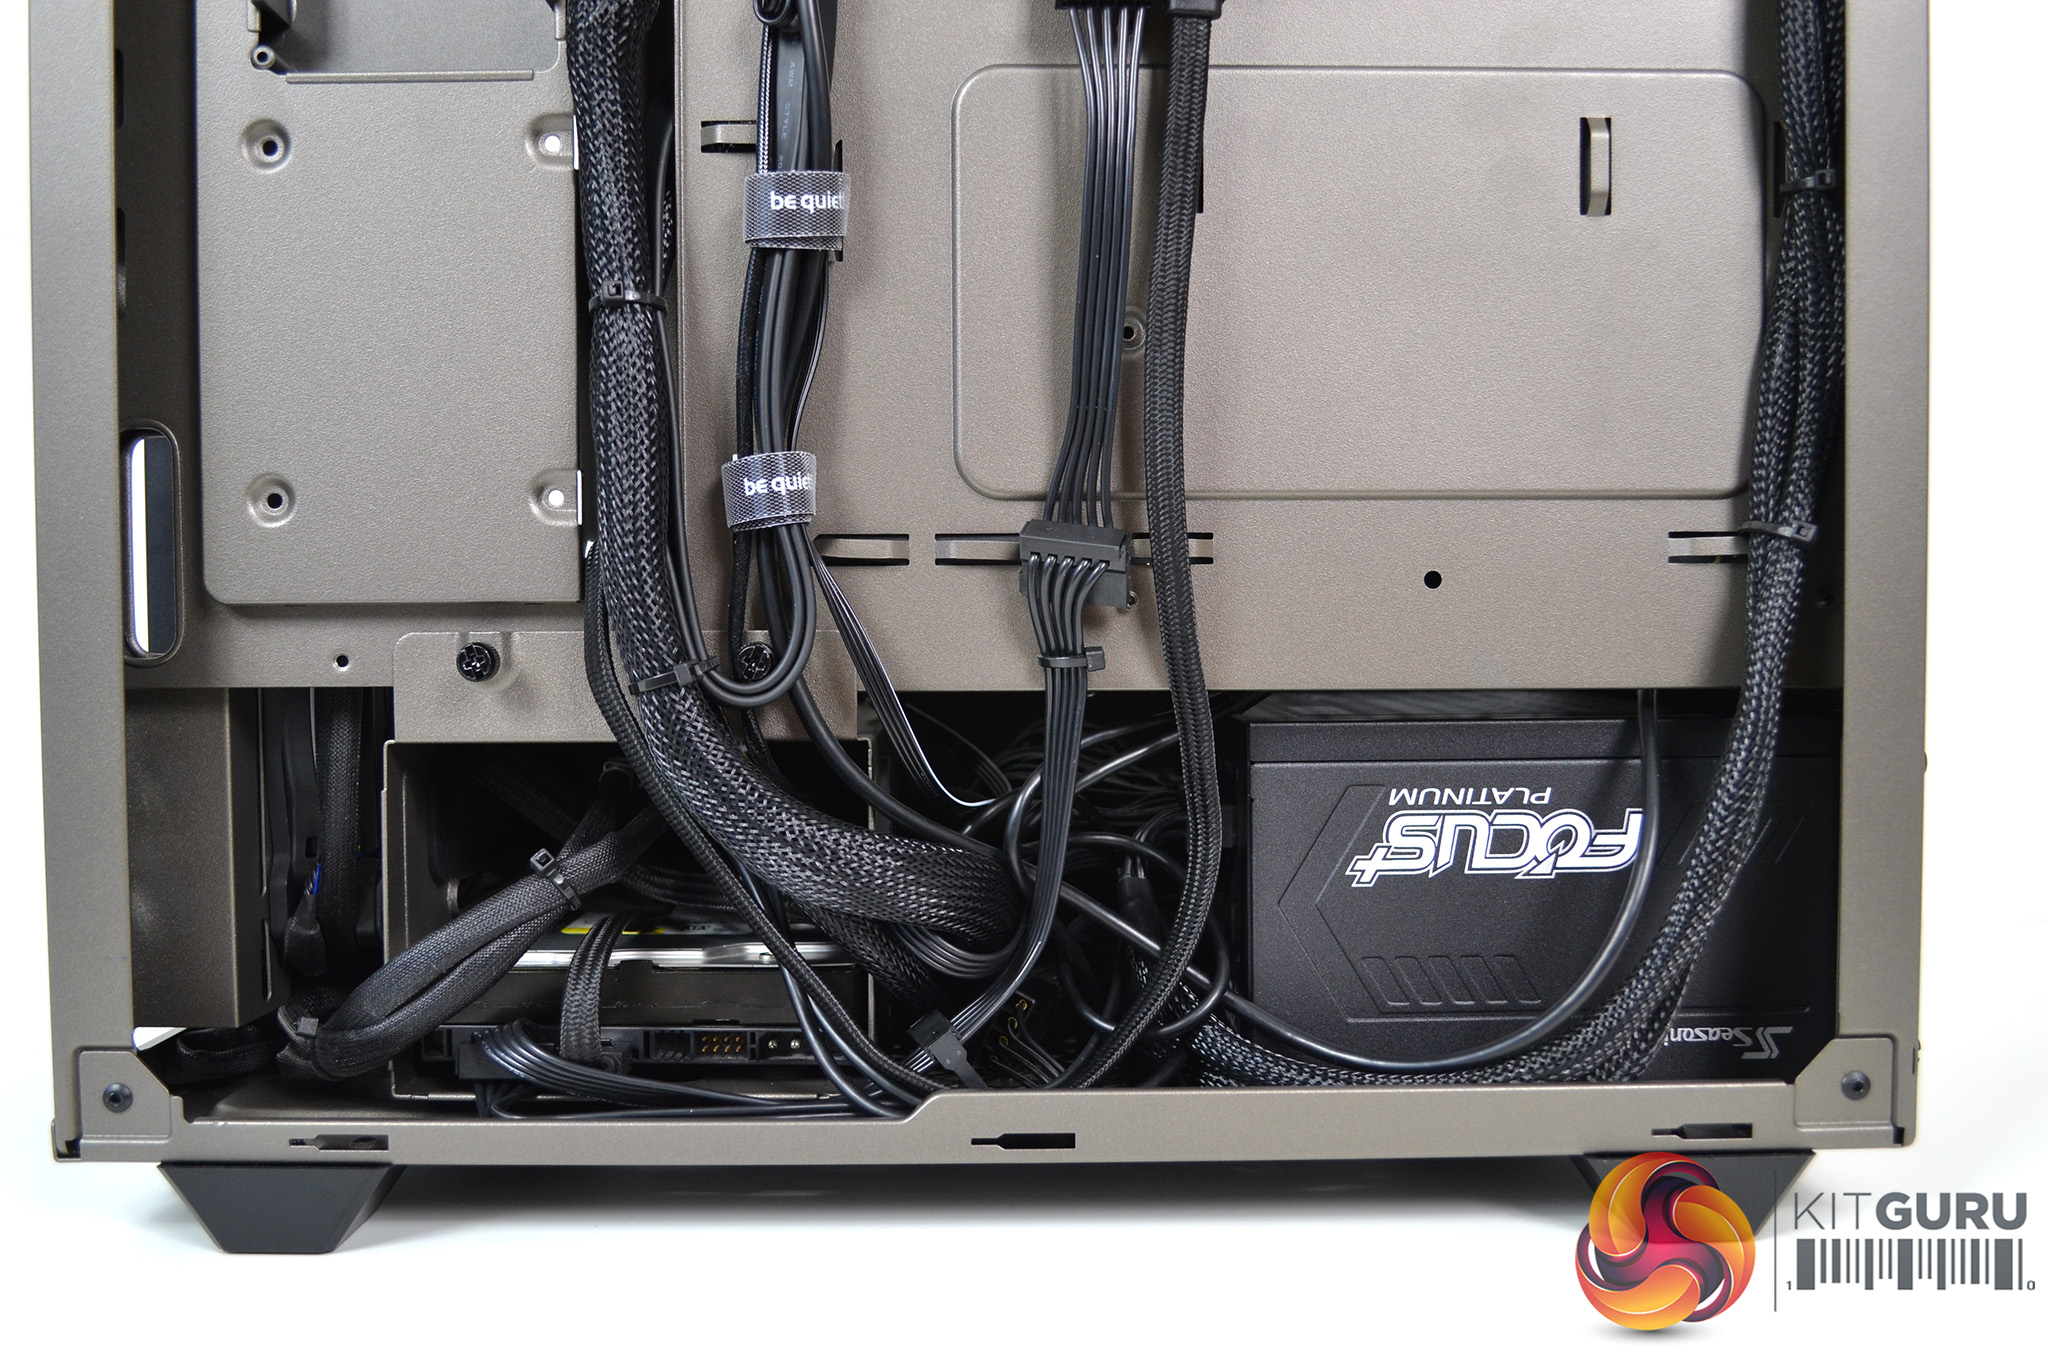
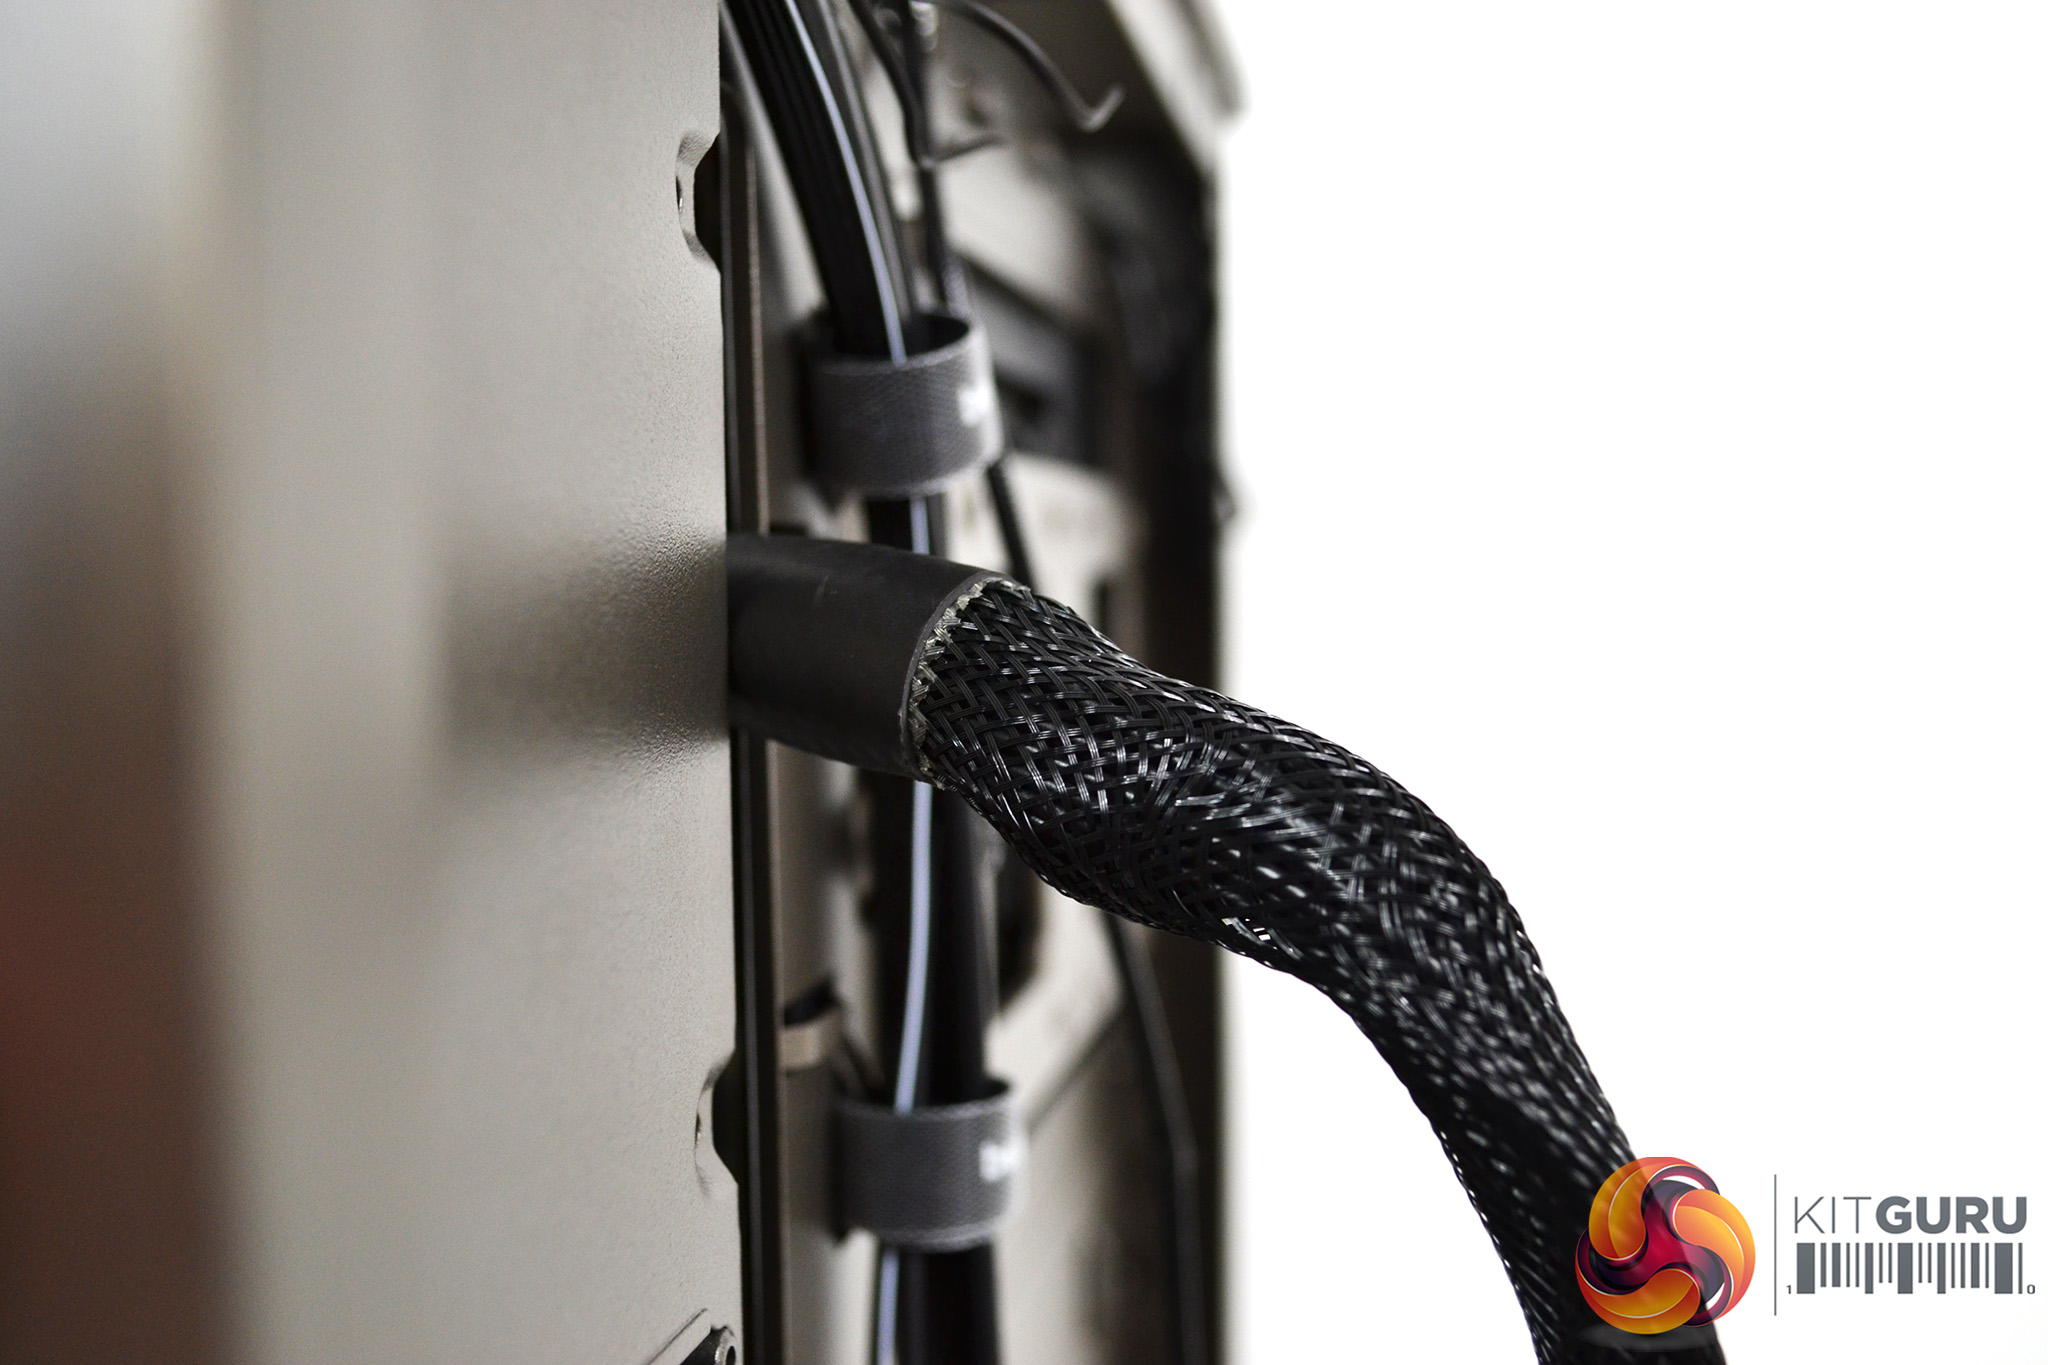
Cable management is a key feature in todays PC builds. In most areas, the Pure base 500 excels with many cable cut outs and tie down eyelets. However, there are one or two issues. Firstly, no rubber grommets are fitted to the cable cut outs which could cause chaffing over time.
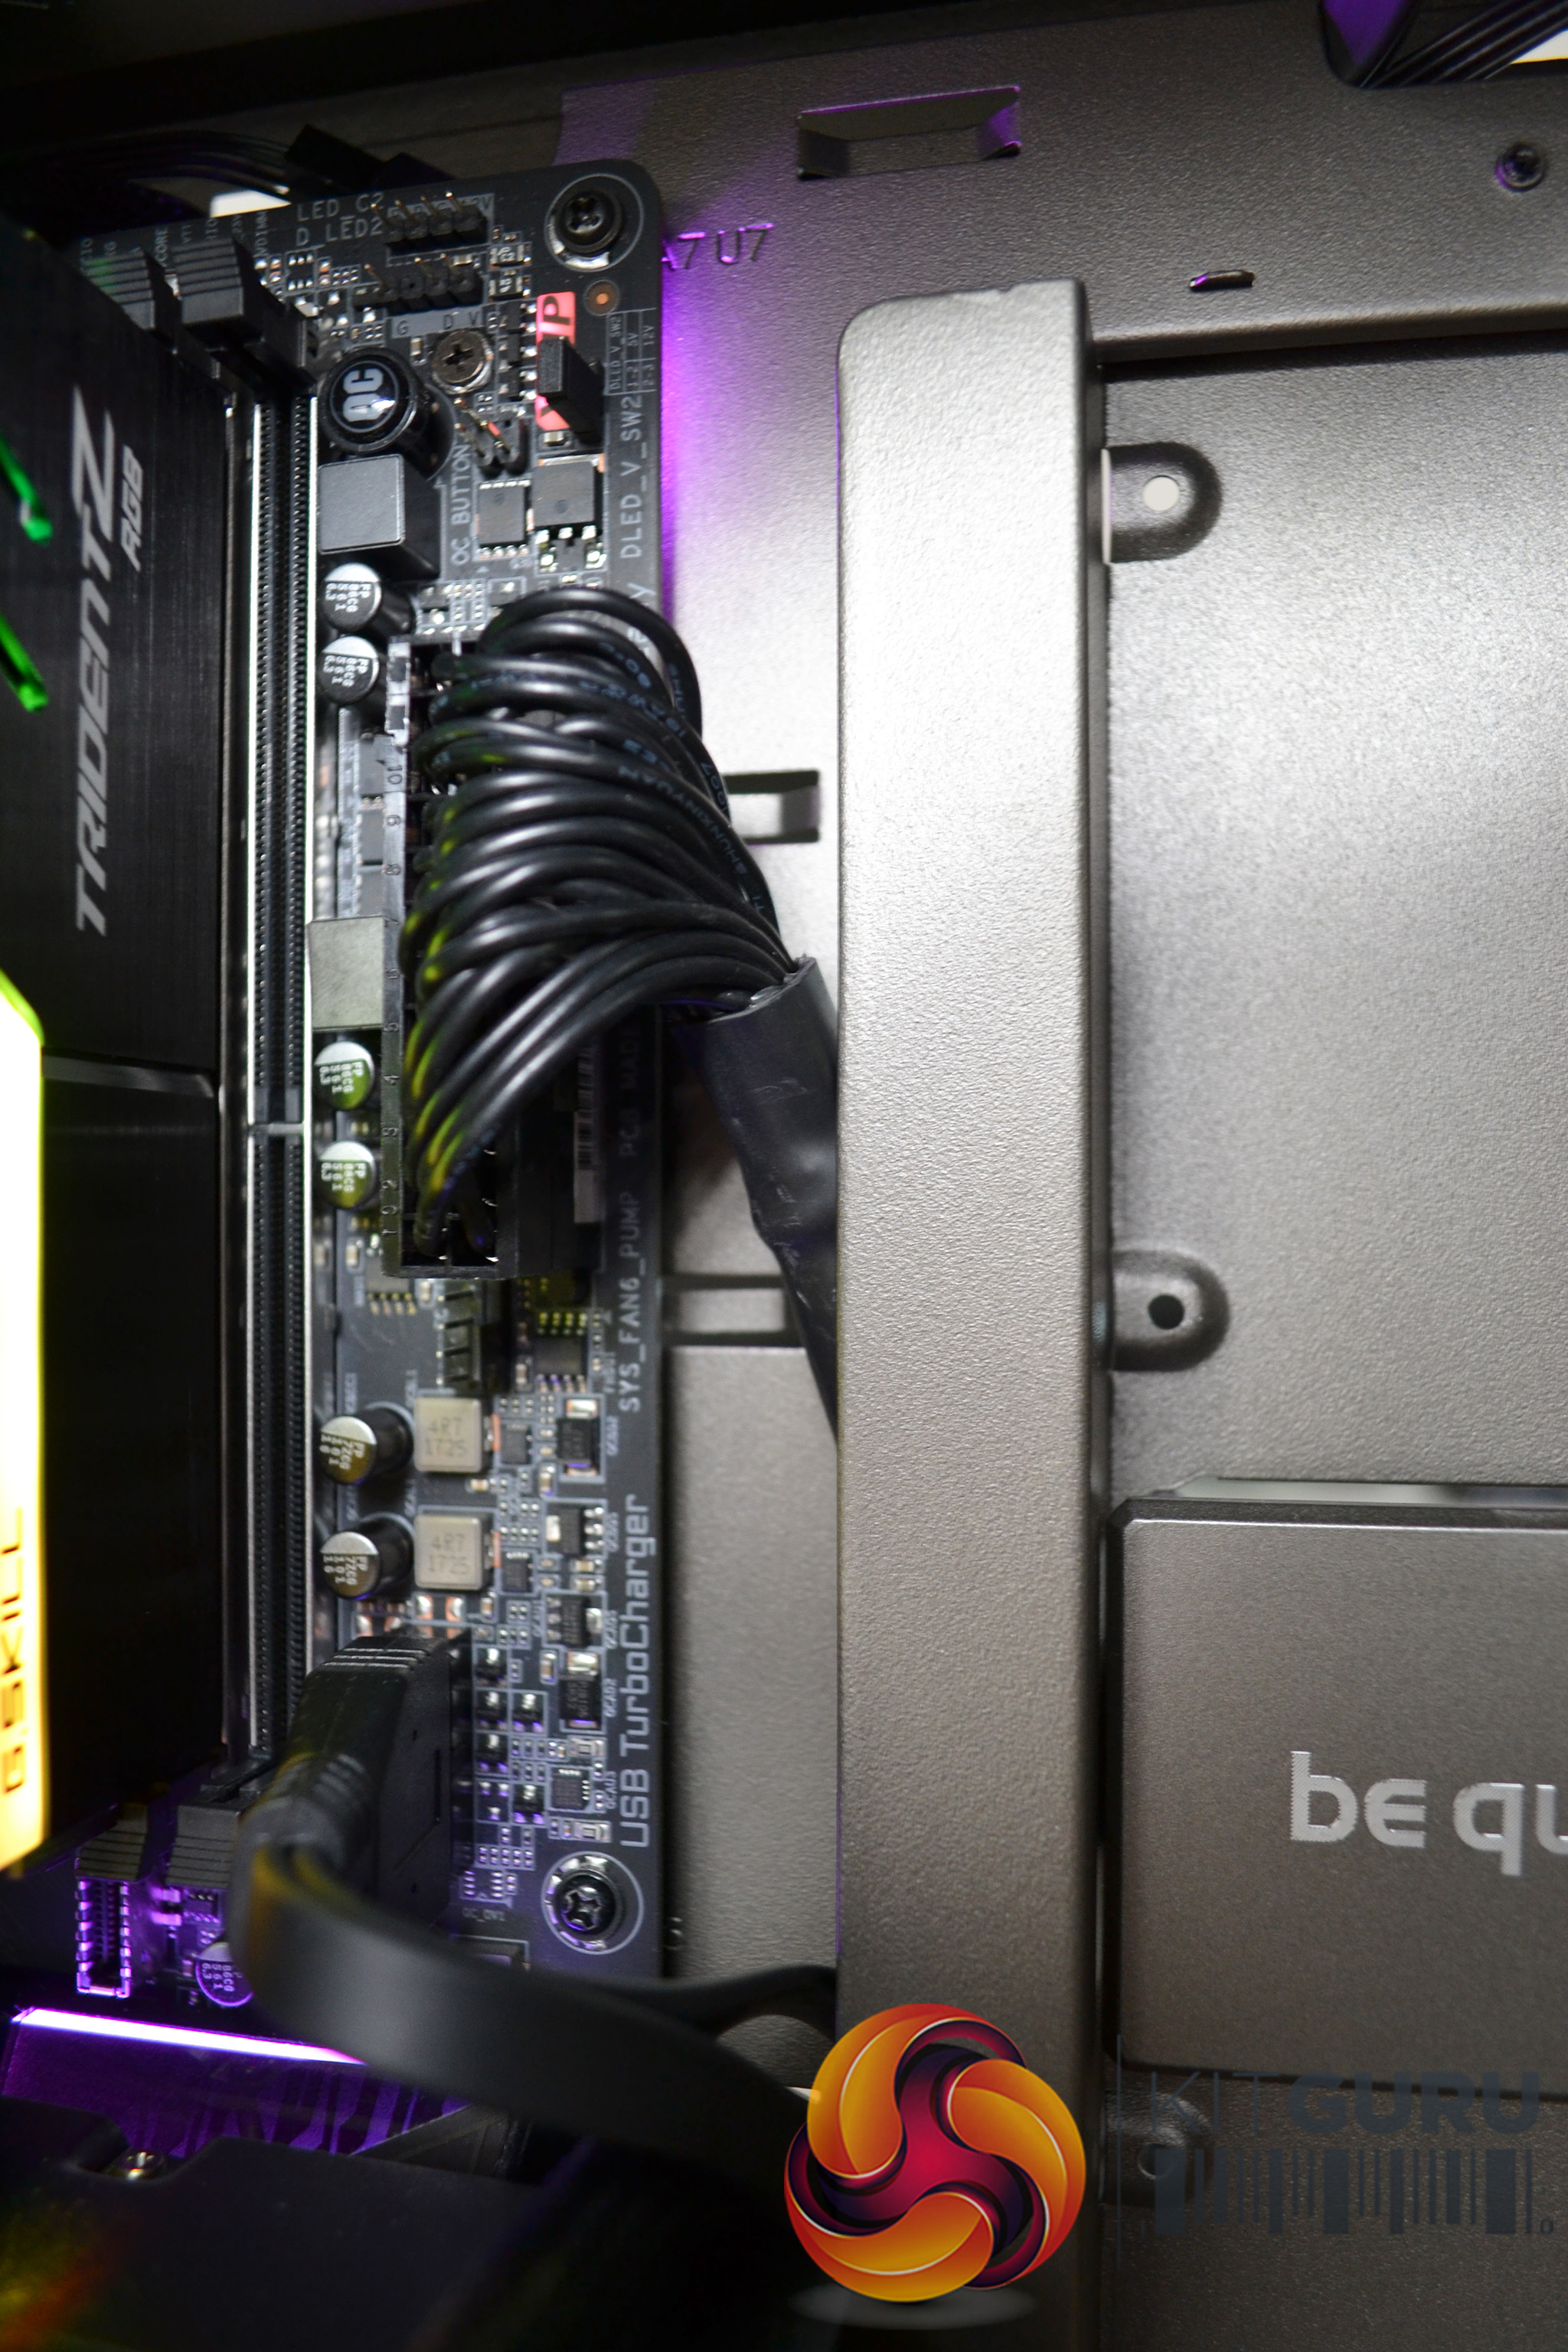
Secondly, our main bugbear with the cable management is the cut out on the removable SSD panel. When installing the 24-pin power connector, we could not manipulate the cable through the cut out as we desired. So, either the cable was stuck out of the case side too far or it had to be angled downwards for clearance.
Build Gallery