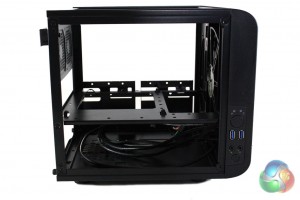
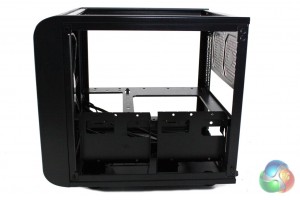
The interior of the Core V1 is also painted entirely in black, which should compliment most component choices aesthetically. Accessing the interior of the case is very simple as Thermaltake use plastic coated thumbscrews to secure all of the exterior panels in place – which are very simple to remove.
The case itself is loosely divided into two discrete sections, separated by the motherboard tray which is mounted horizontally. The stand-offs are pre-installed into the case to facilitate the installation of the motherboard.
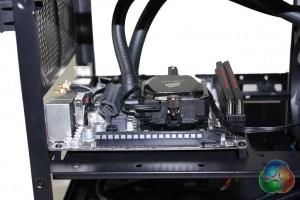
This case only supports mini-ITX motherboards, meaning that your choice of motherboard is restricted somewhat. The case offers enough space for two expansion bays, though, so dual-slot graphics cards can be installed.
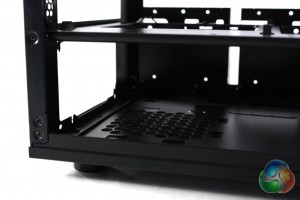
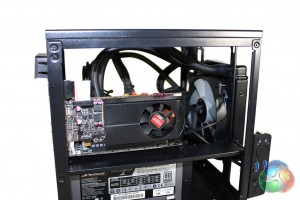
Moving down to the bottom section of the case, there is room for a full-size ATX power supply. We managed to fit our larger than average Seasonic Platinum 1000W in without any trouble, although we were forced to remove the bottom panel of the case to manoeuvre into position.
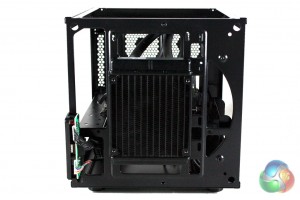
There is 140mm of clearance for CPU coolers in the case, although we chose to install a Corsair H75 into the unit. There is room for either a 120mm or 140mm radiator in the front of the case.
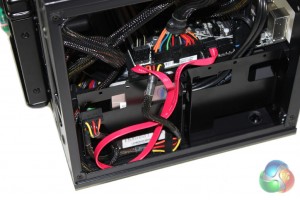
Rather than use a standard hard drive cage in the Core V1, Thermaltake have chosen to mount two hard drive trays behind the right hand side panel. These can each support a 2.5″ drive and a 3.5″ drive – we installed our Intel 330 Series solid state drive in one of these. Unfortunately we were not able to remove one of the trays from the case due to the poor quality screw thread.
Unfortunately our usual AMD Radeon R9 290X graphics card would not fit in the case as it is too long – the Core V1 only supports graphics cards up to 255mm in length. Instead we chose to install our AMD Radeon 6670 in the case which is more compact in nature.
 KitGuru KitGuru.net – Tech News | Hardware News | Hardware Reviews | IOS | Mobile | Gaming | Graphics Cards


swadf
swdf
swdf