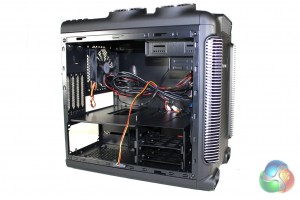
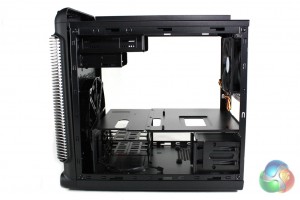
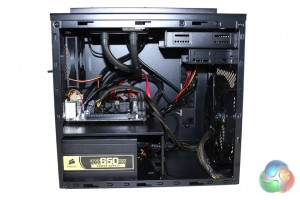
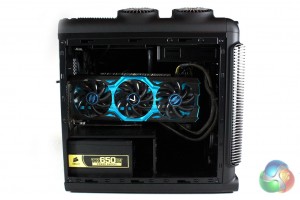
Accessing the interior of the case is made simply by the plastic covered thumbscrews which Deep Cool have chosen to use to secure both side panels into place. These are much easier to grip than the metal ones used by most manufacturers and save us from having to break out our screwdriver straight away. The inside of the case is painted entirely in black, which should compliment most components aesthetically.
As we mentioned previously, the Steam Castle supports both mini-ITX and micro-ATX motherboard, however the latter will require the installation of extra motherboard stand-offs. Installing a motherboard in the case is fairly simple, although those with longer screwdrivers may run into issues.
There is up to 200mm of room in the case for CPU coolers, however we chose to install a Corsair H75 which fits nicely in the roof. There is room for all-in-one CPU coolers with 240mm radiators in the roof, making this case ideal for those looking to build a powerful but compact gaming system.
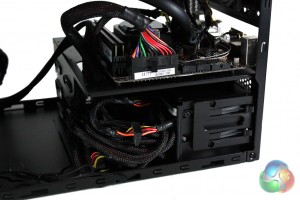
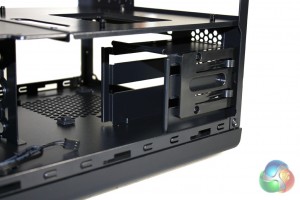
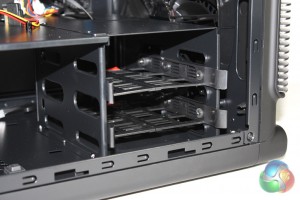
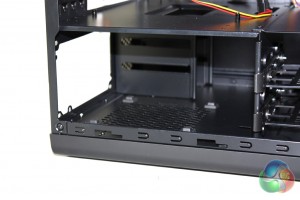
We find two hard drive cages located in the system, one for 3.5″ drives and one for 2.5″ drives. Both of these cages are removable and offer space for two of their respective drives. Removing the cages is actually a fairly complicated process as we have to remove the bottom panel of the case first, which is secured by a number of screws hidden underneath the rubber feet on the underside.
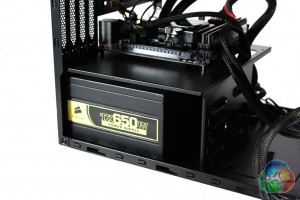
There isn't a great deal of room in the case for power supply installation – for example our usual Seasonic Platinum 1000W is too large for the space available. We were forced to use a Corsair TX650W non-modular power supply instead, which also highlighted the lack of cable routing options in this case.
The last step of the process is to install the graphics card in the system. There is a generous amount of room for graphics cards, however we were forced to remove the external 3.5″ drive bay to manoeuvre the power supply cables into place.
 KitGuru KitGuru.net – Tech News | Hardware News | Hardware Reviews | IOS | Mobile | Gaming | Graphics Cards


